Made this origami? Leave a comment & submit your photo here.
-
25
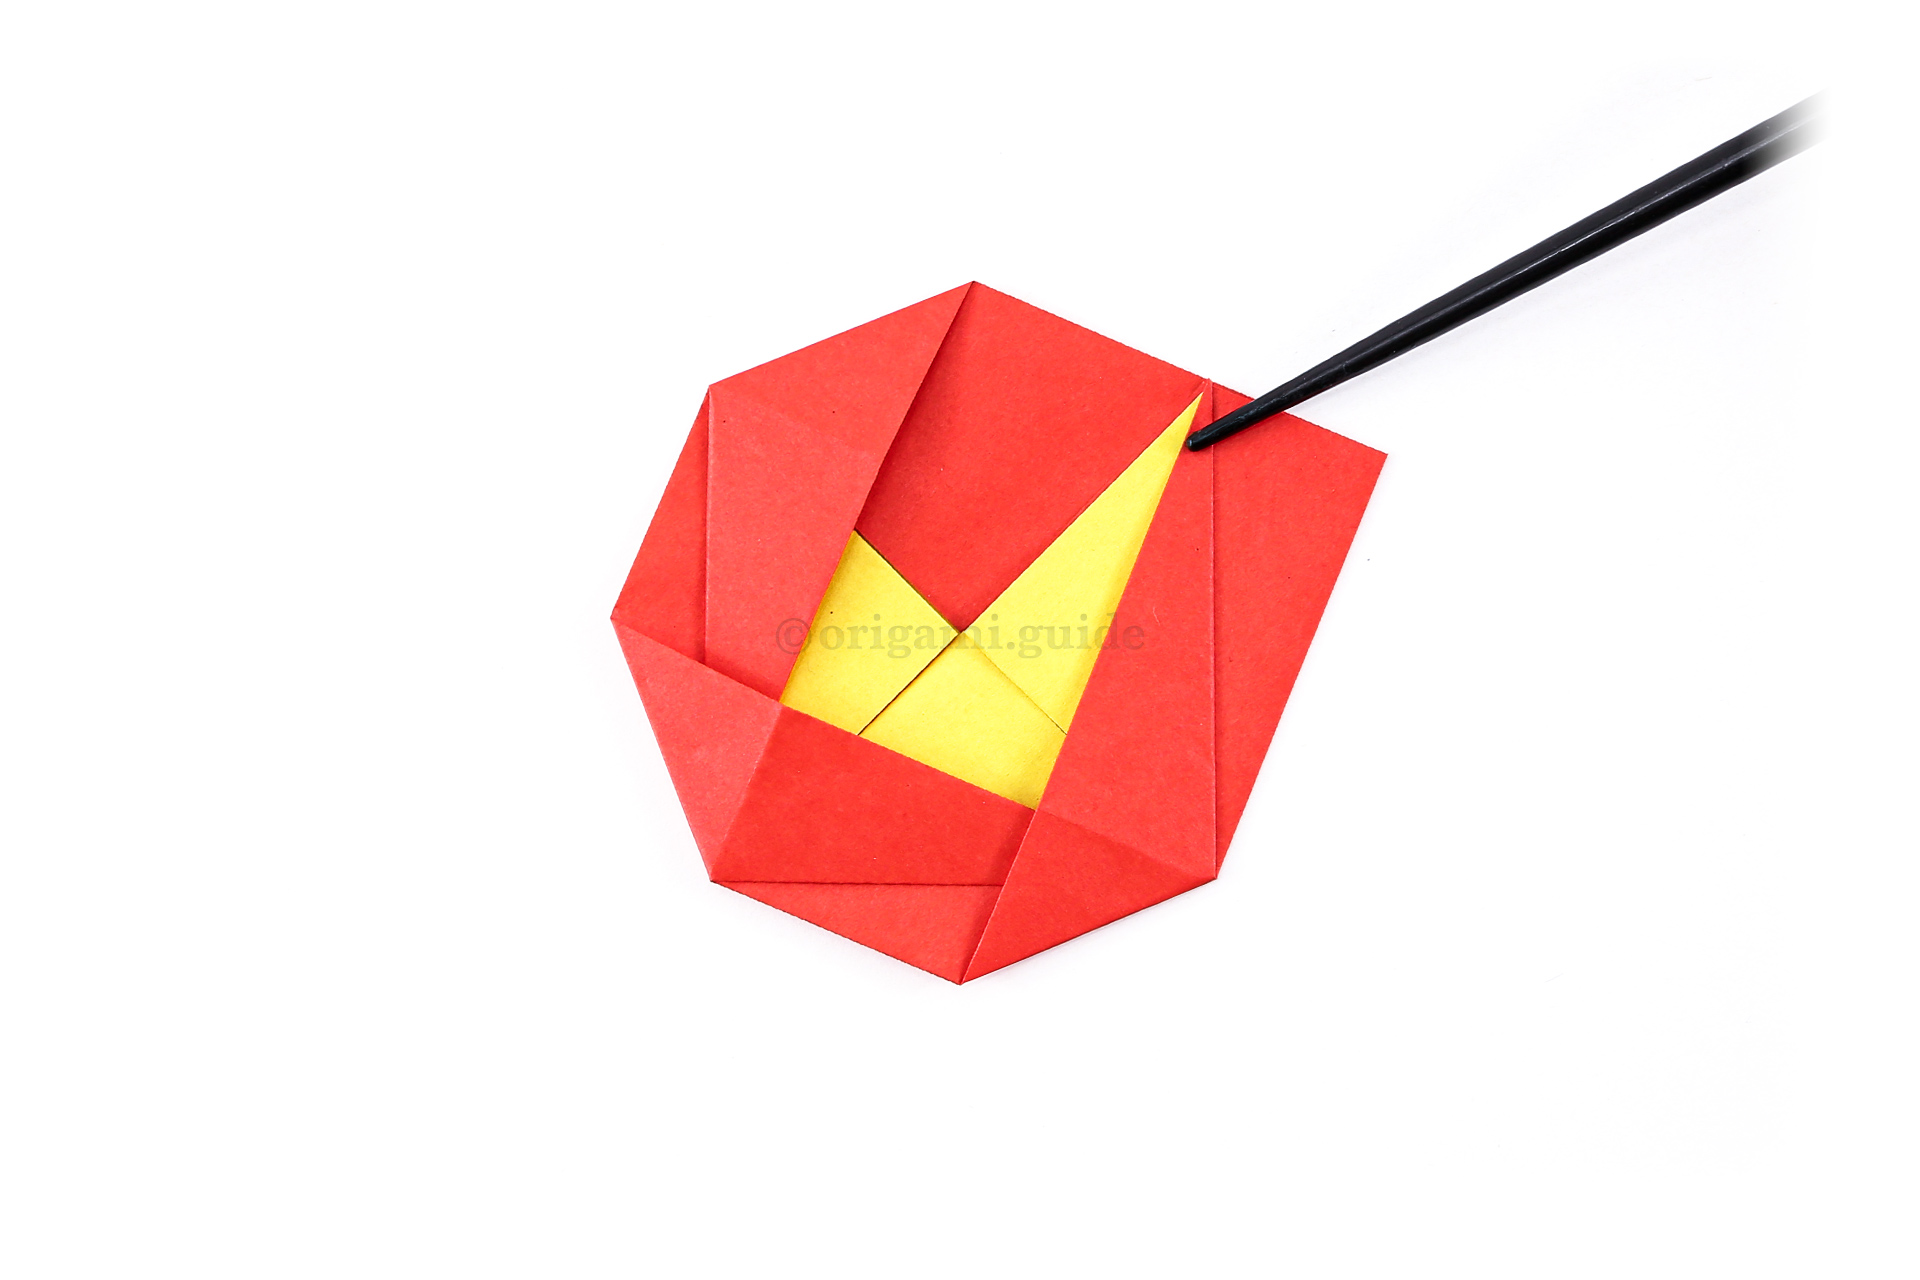
Step 25: Repeat the same process with this flap as step 17.
-
26
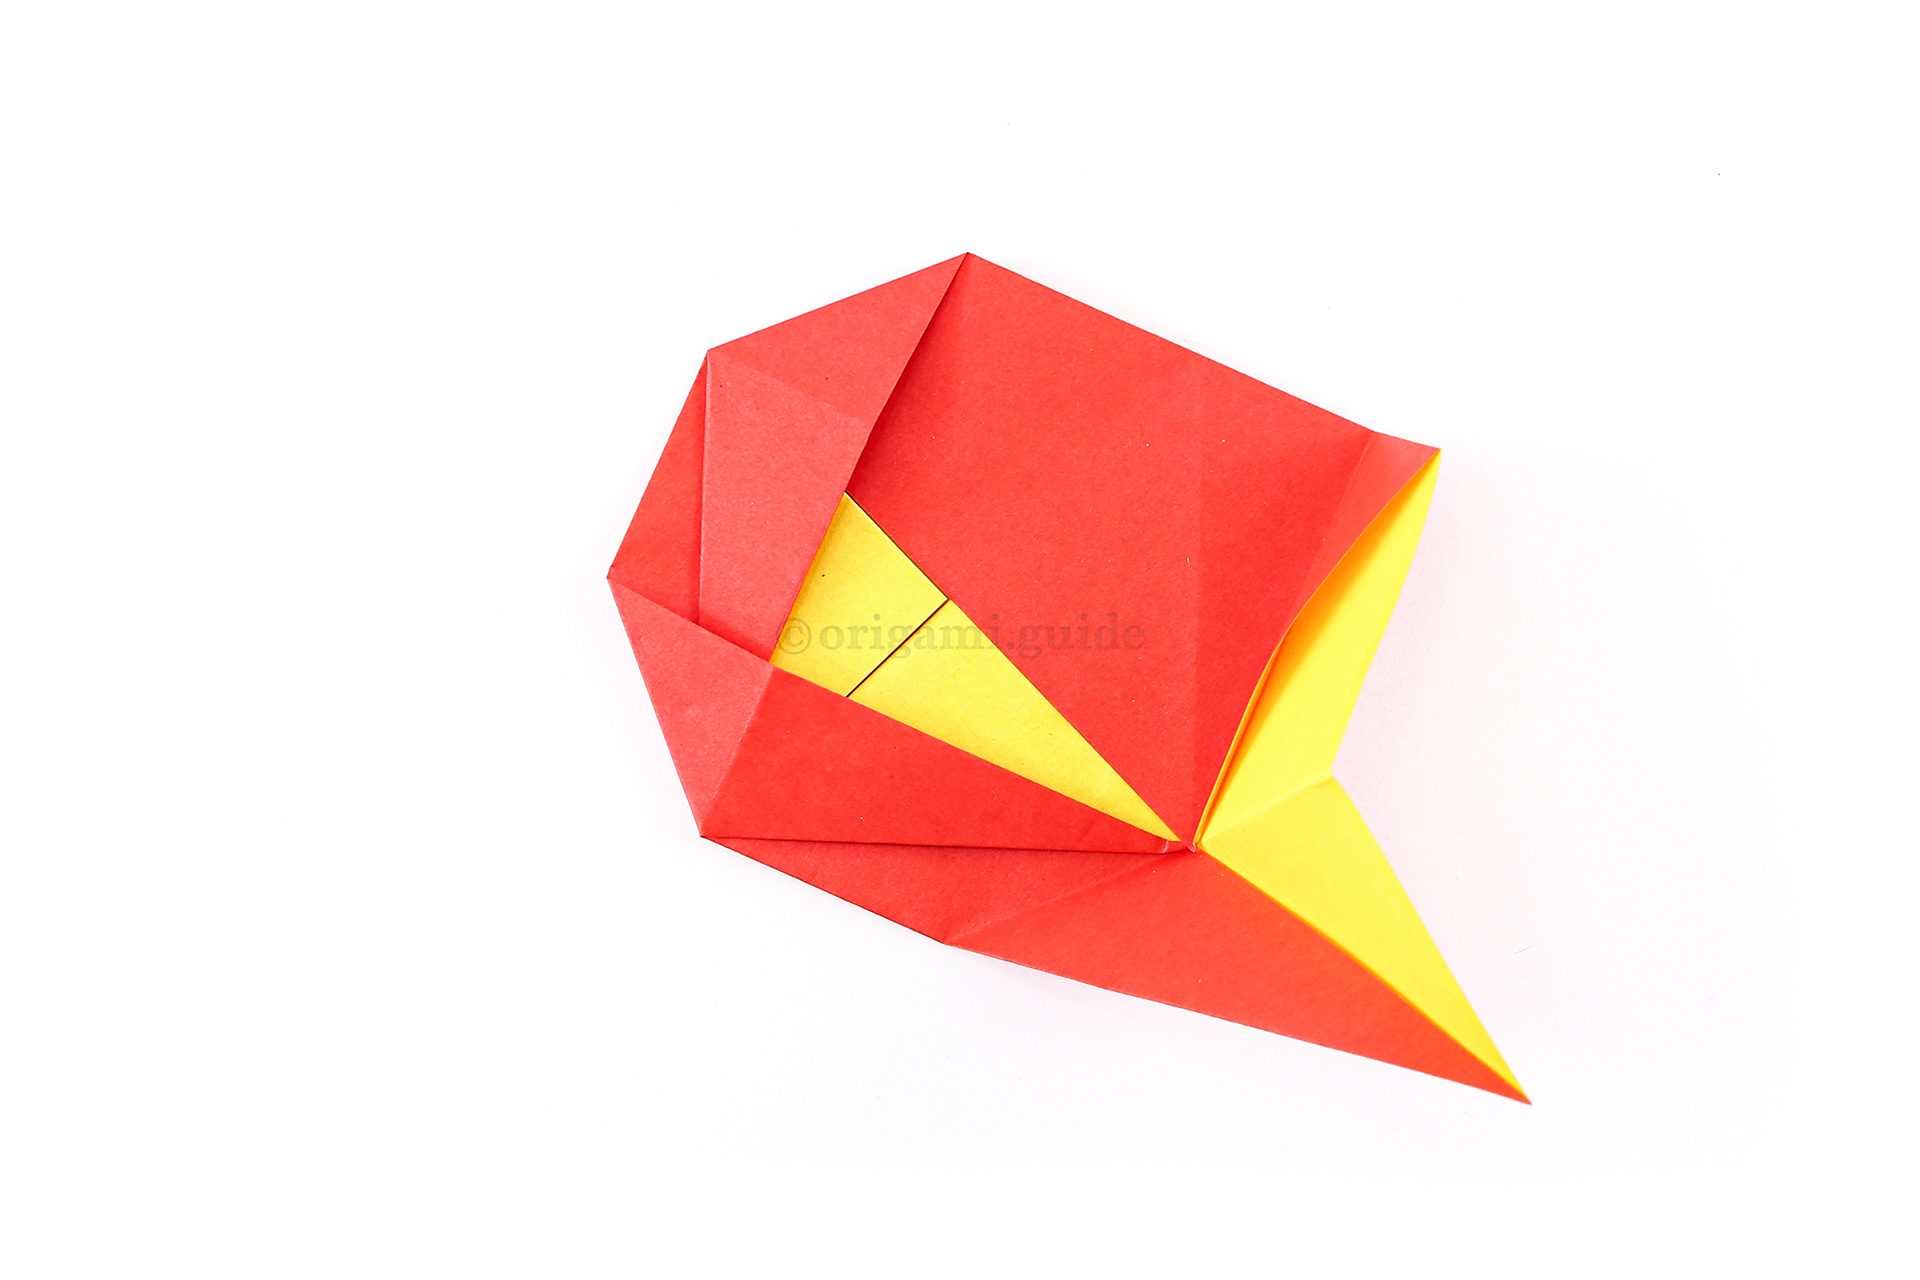
Step 26: Open up the paper back out as shown.
-
27
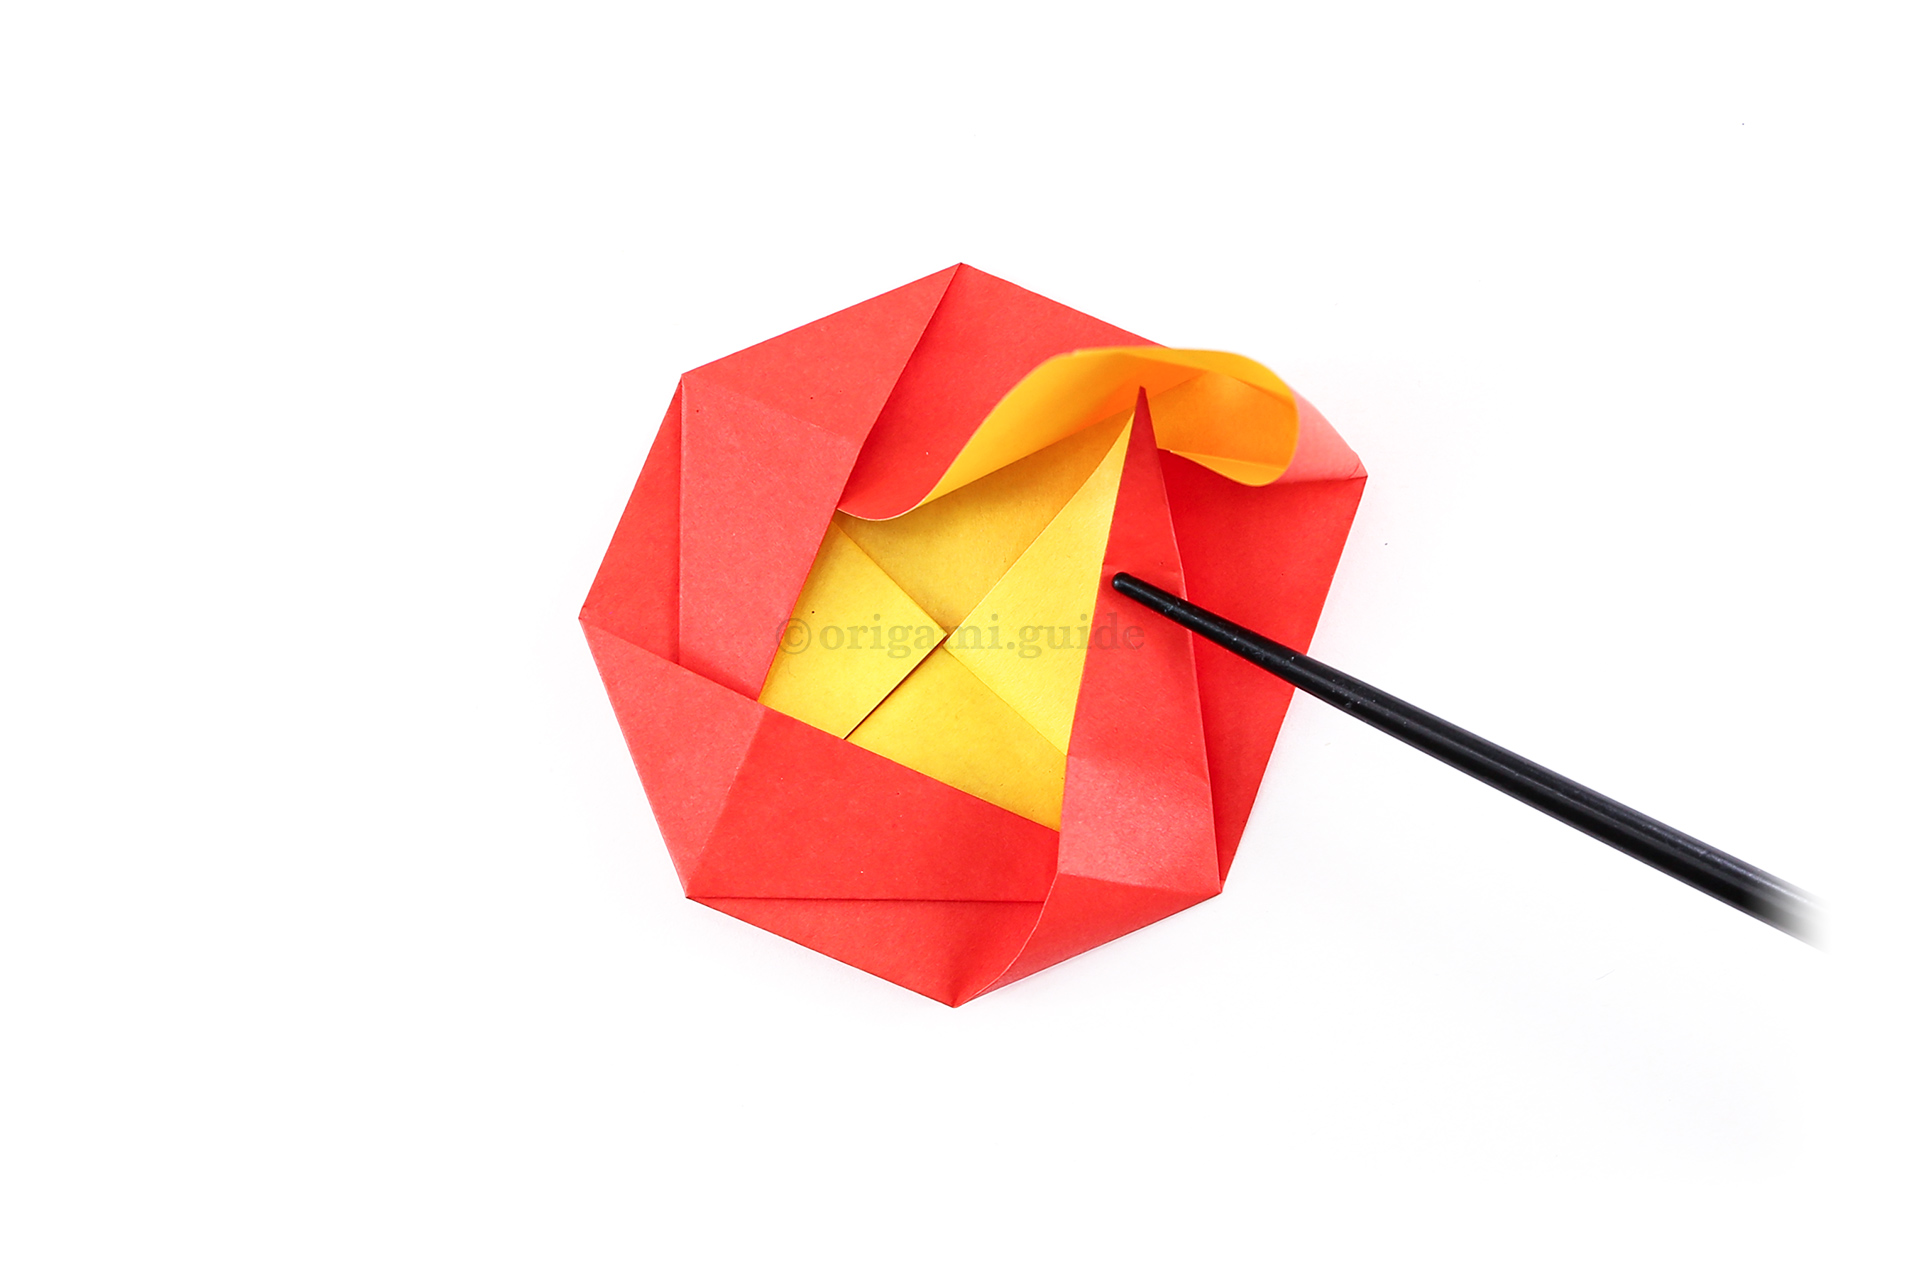
Step 27: Lift up the top right section, re-fold the last sequence of folds and tuck it beneath the top flap.
-
28
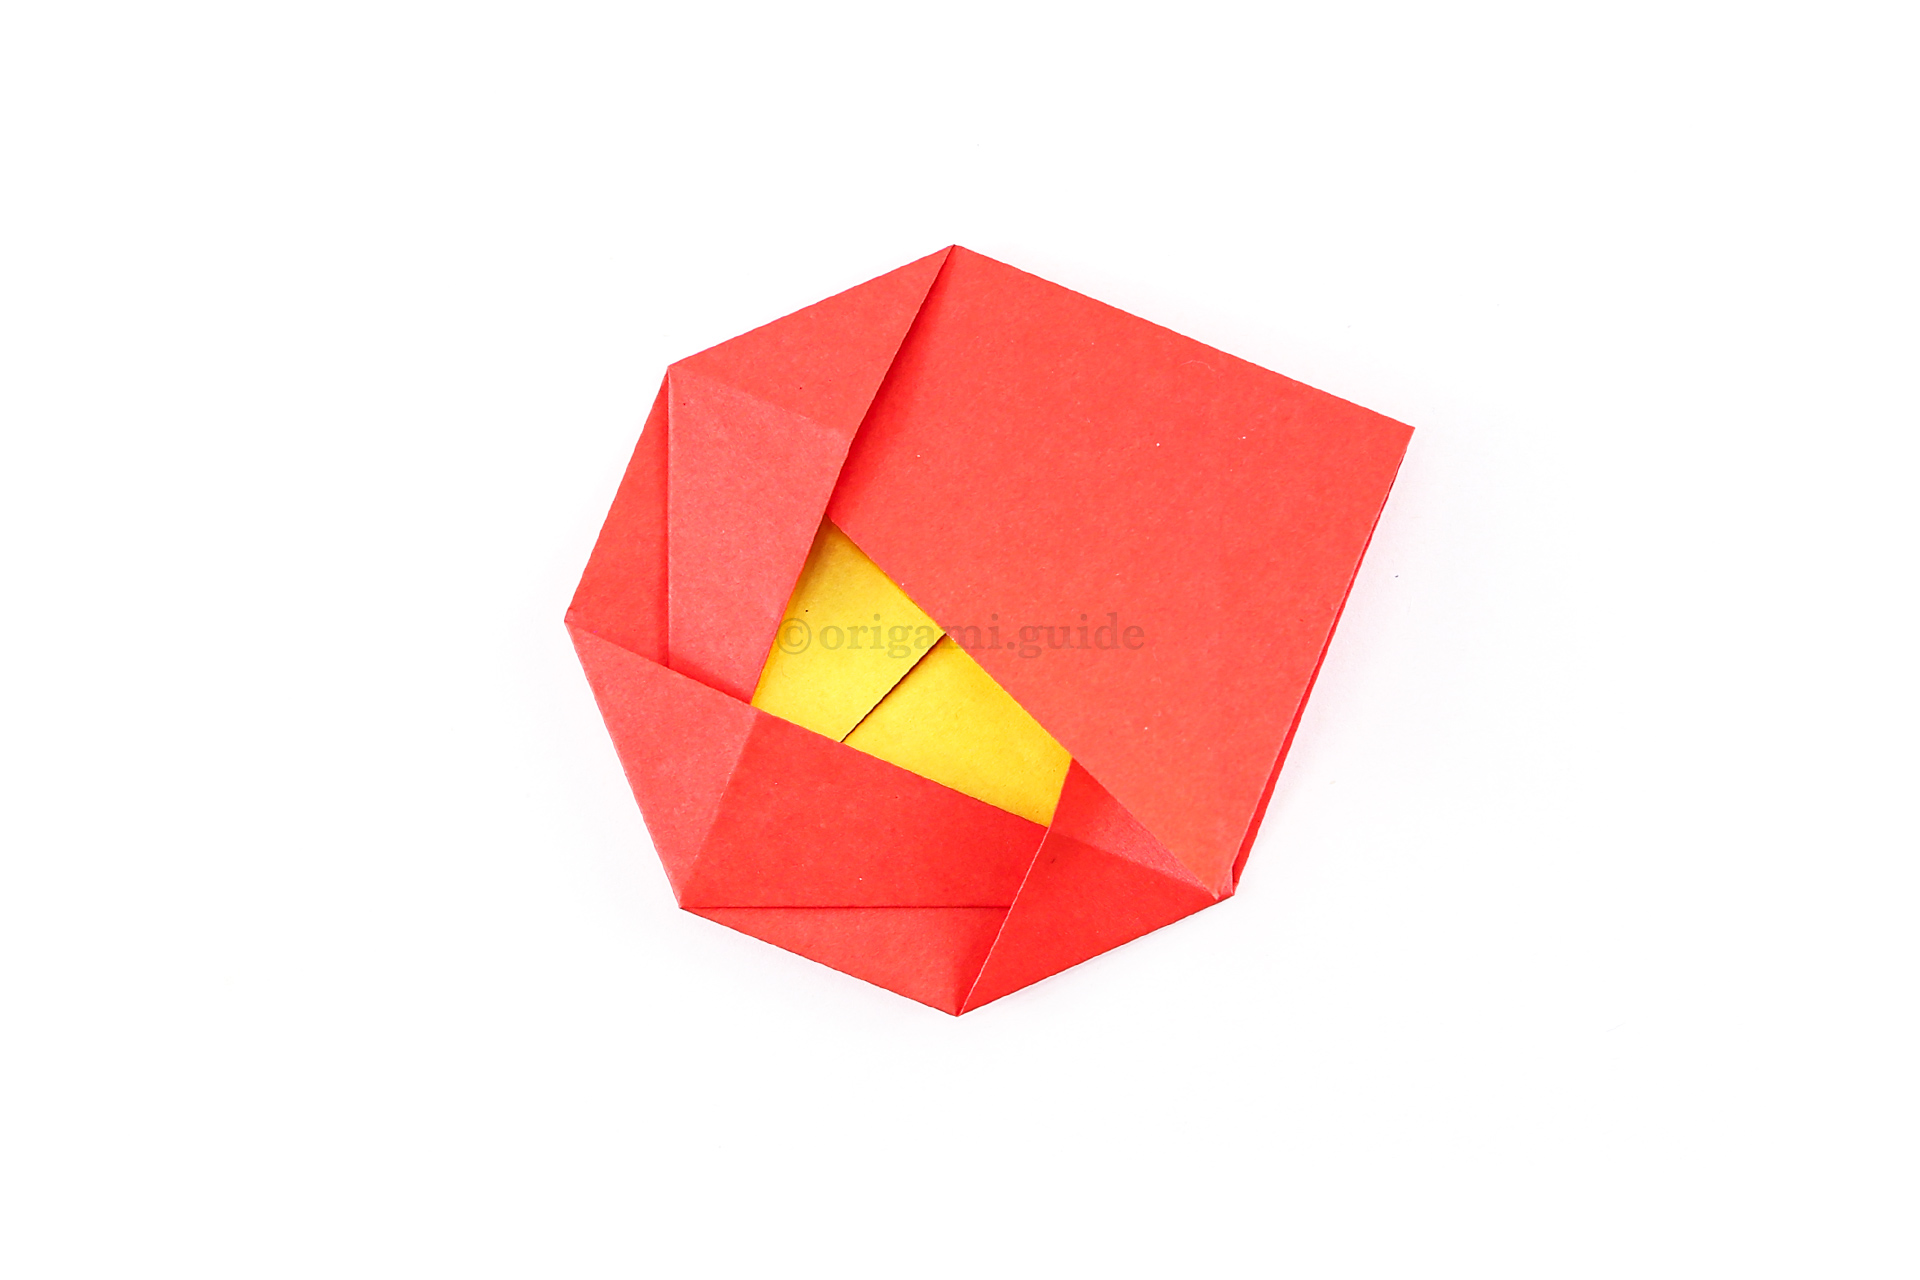
Step 28: Flatten the paper.
-
29
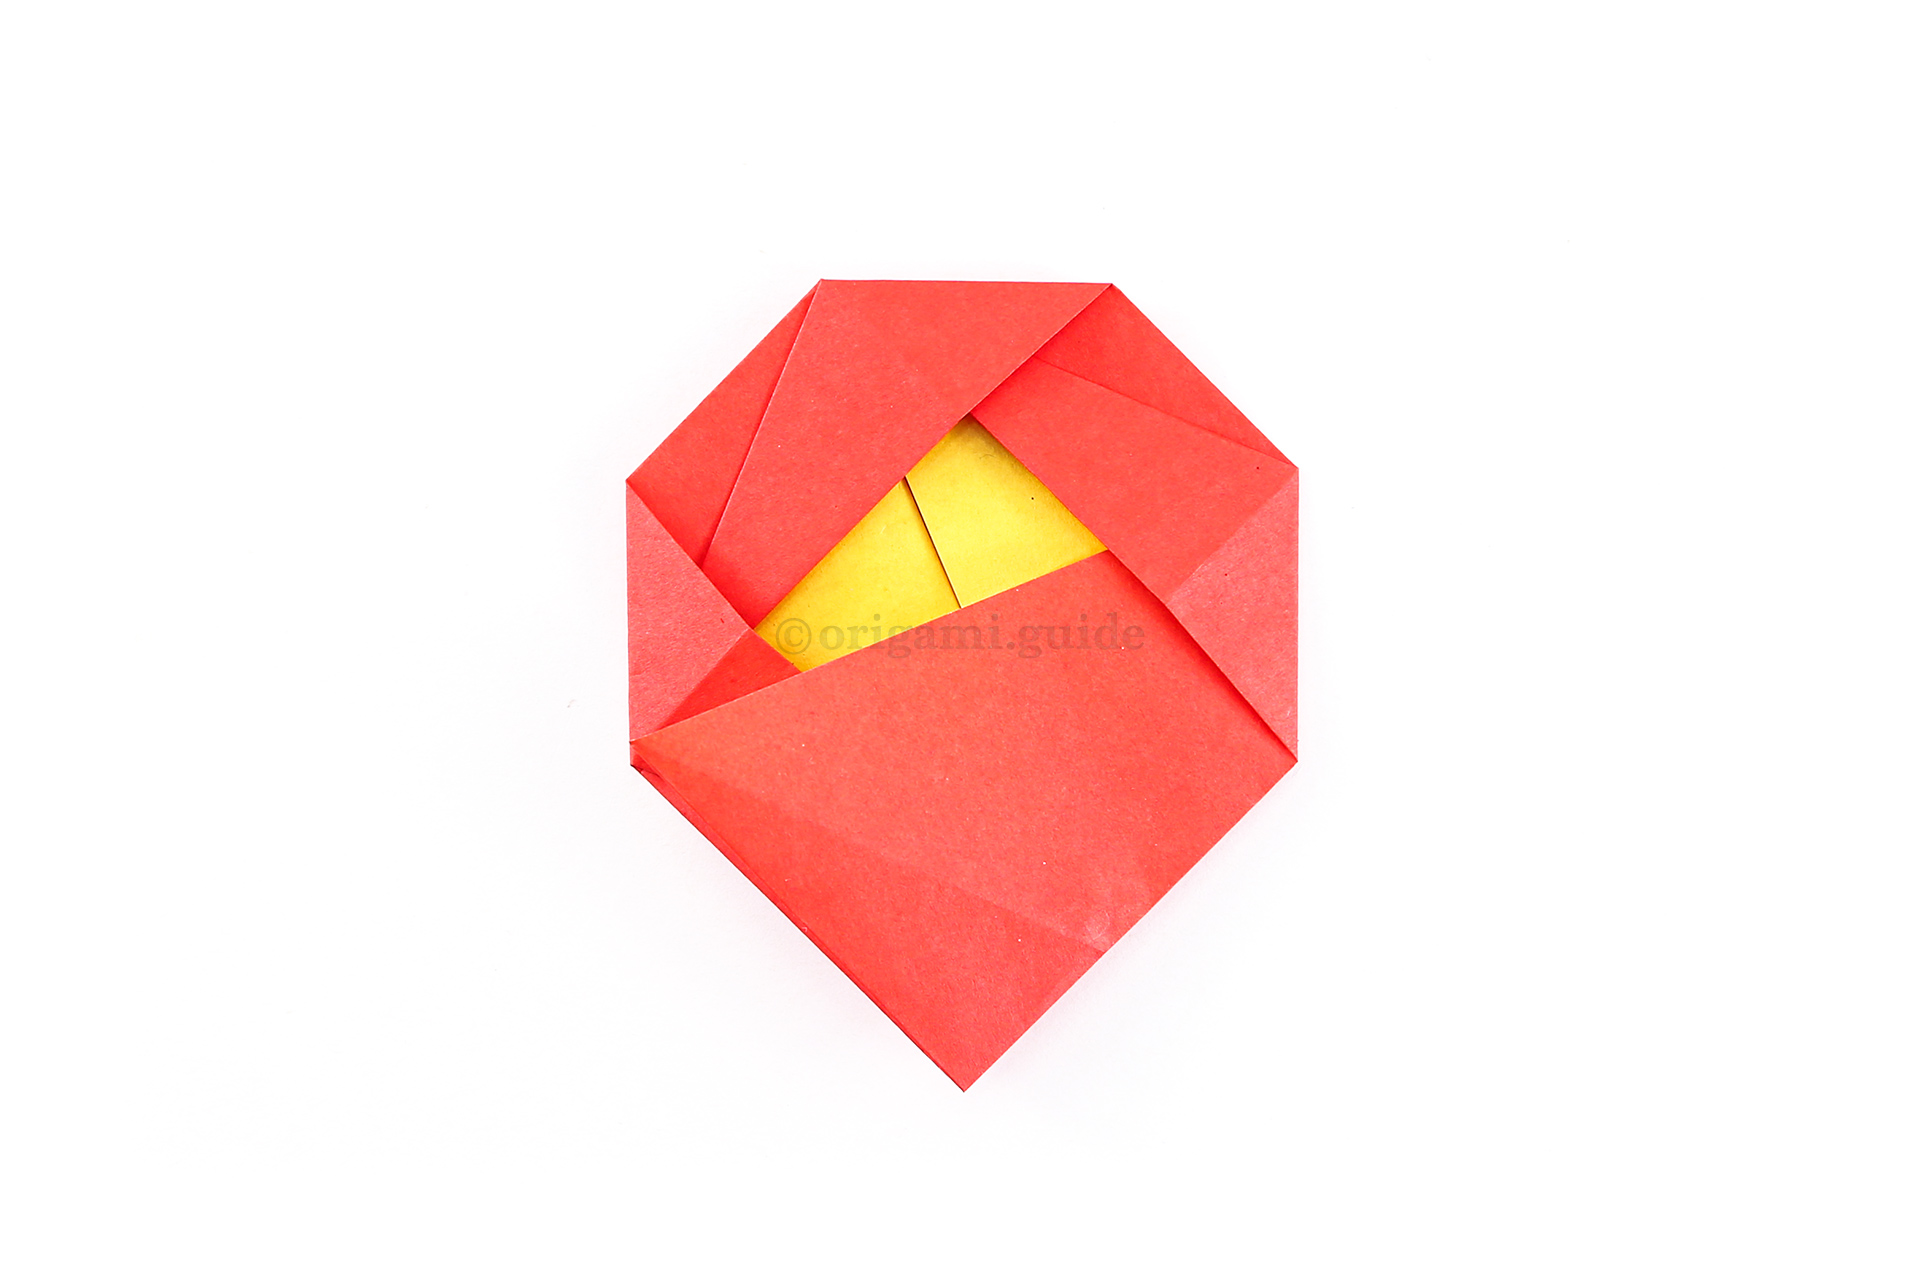
Step 29: Rotate the paper clockwise.
-
30
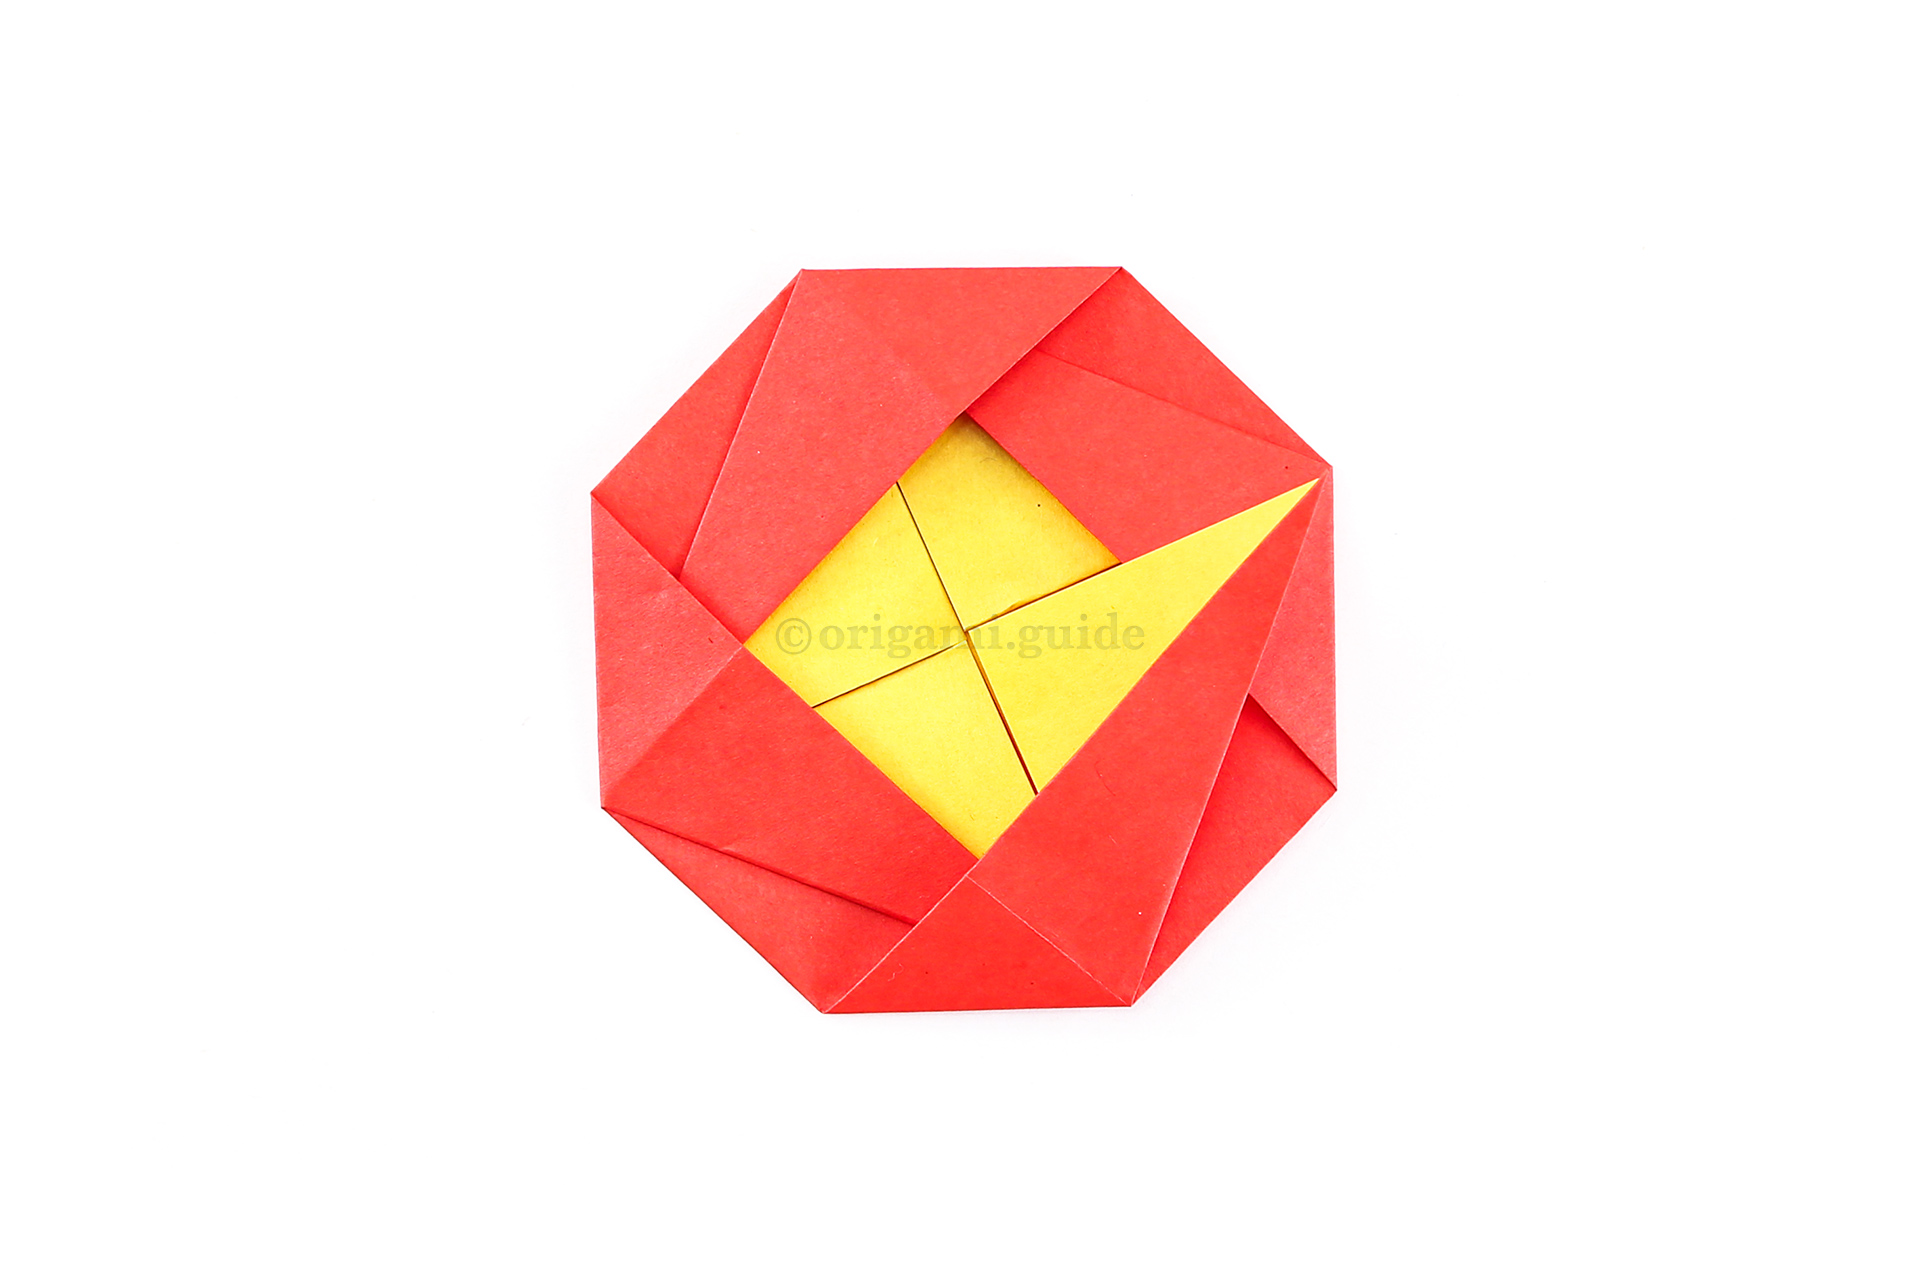
Step 30: Repeat the same process with this flap as step 17.
-
31
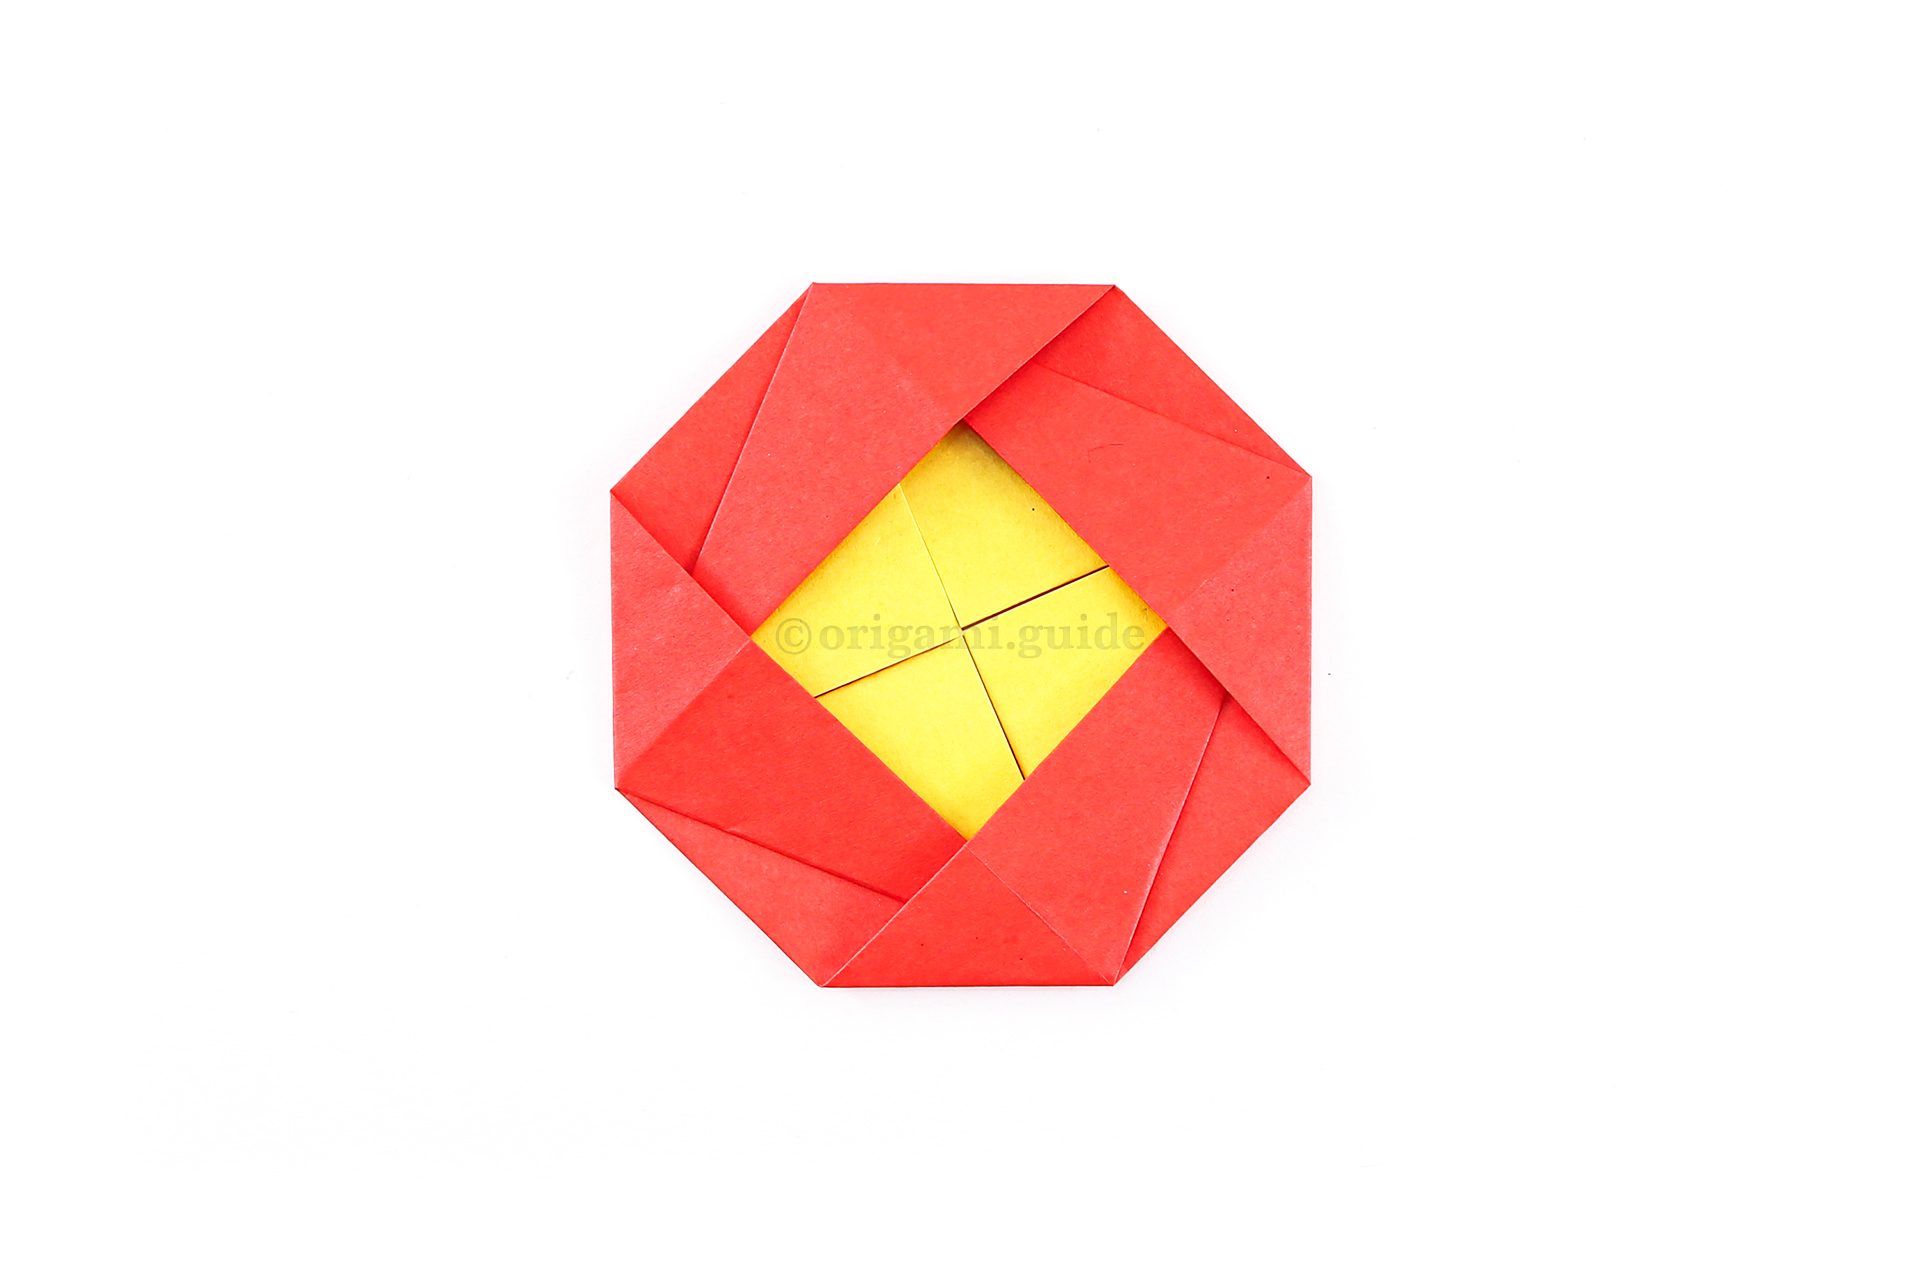
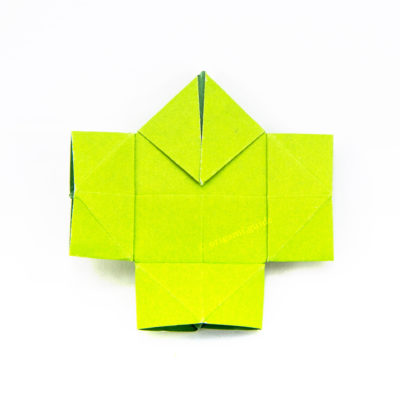
Step 31: Tuck the remaining point into the flap underneath.
-
32
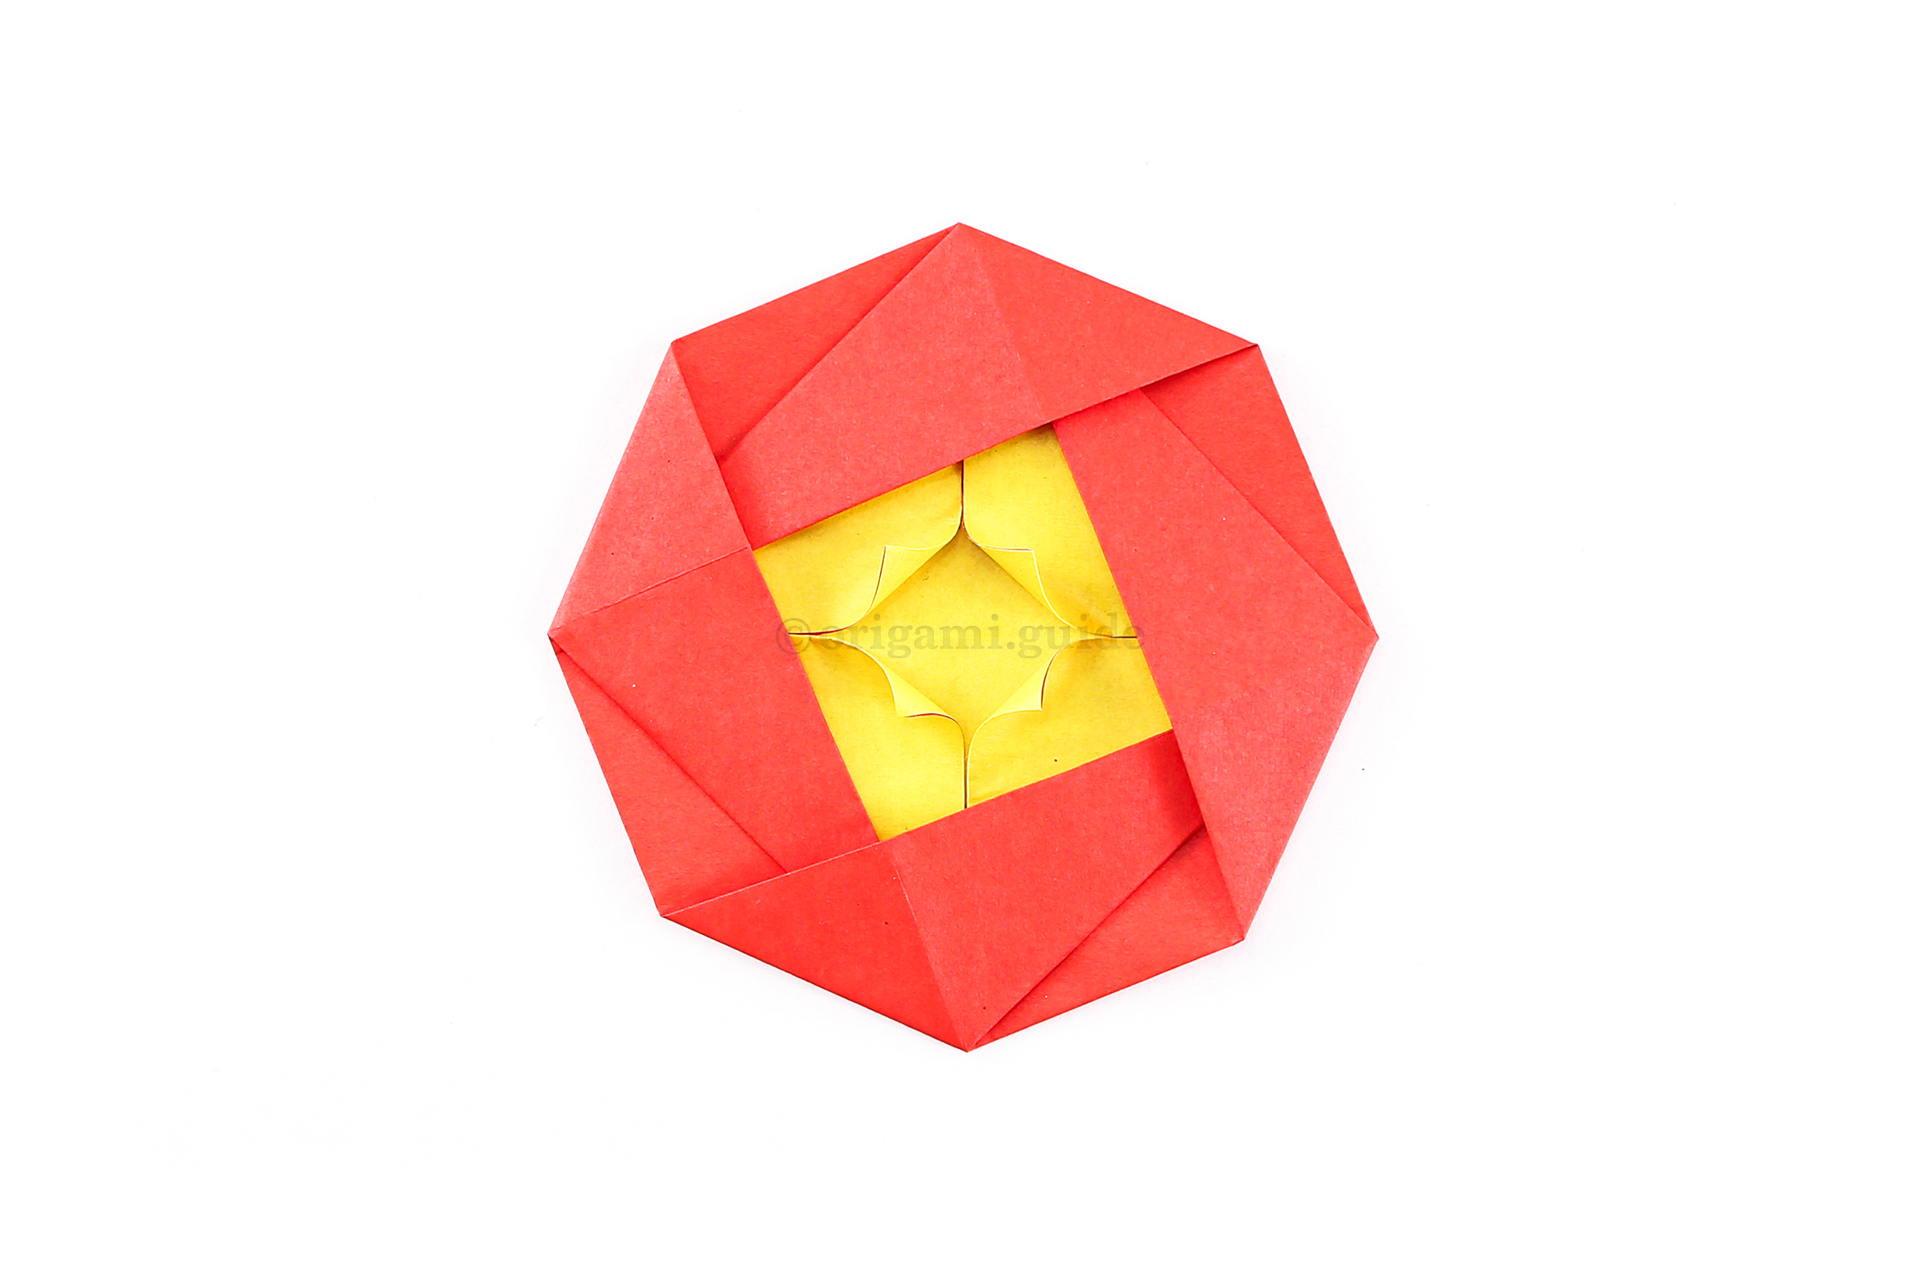
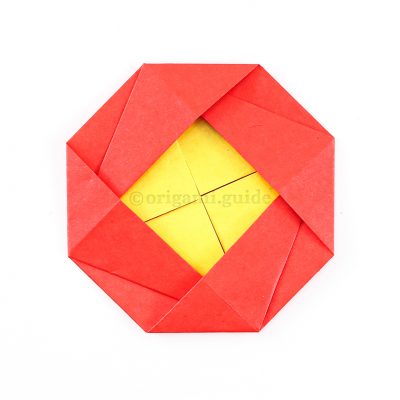
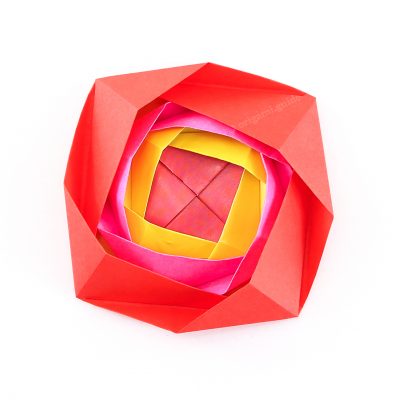
Step 32: Finally, you can curl or fold the inner flaps of the camellia flower.
Your Origami Camellia Flower is Complete!
You’ve completed the Origami Camellia Flower, why not check out our other Origami Flowers here.
Did you make this origami? How did it go? Leave a comment & submit your photo here.
Related origami: Easy Origami,
Intermediate Origami,
Traditional Origami,
Origami Flowers,
Origami Tatos,
Mothers Day,
What Origami Flowers To Fold Next?
View all Origami Flowers Tutorials






Leave A Comment
Did you fold this Origami Camellia Flower? Let us know what you thought.
You can also upload a photo of your result!