Made this origami? Leave a comment & submit your photo here.
-
17
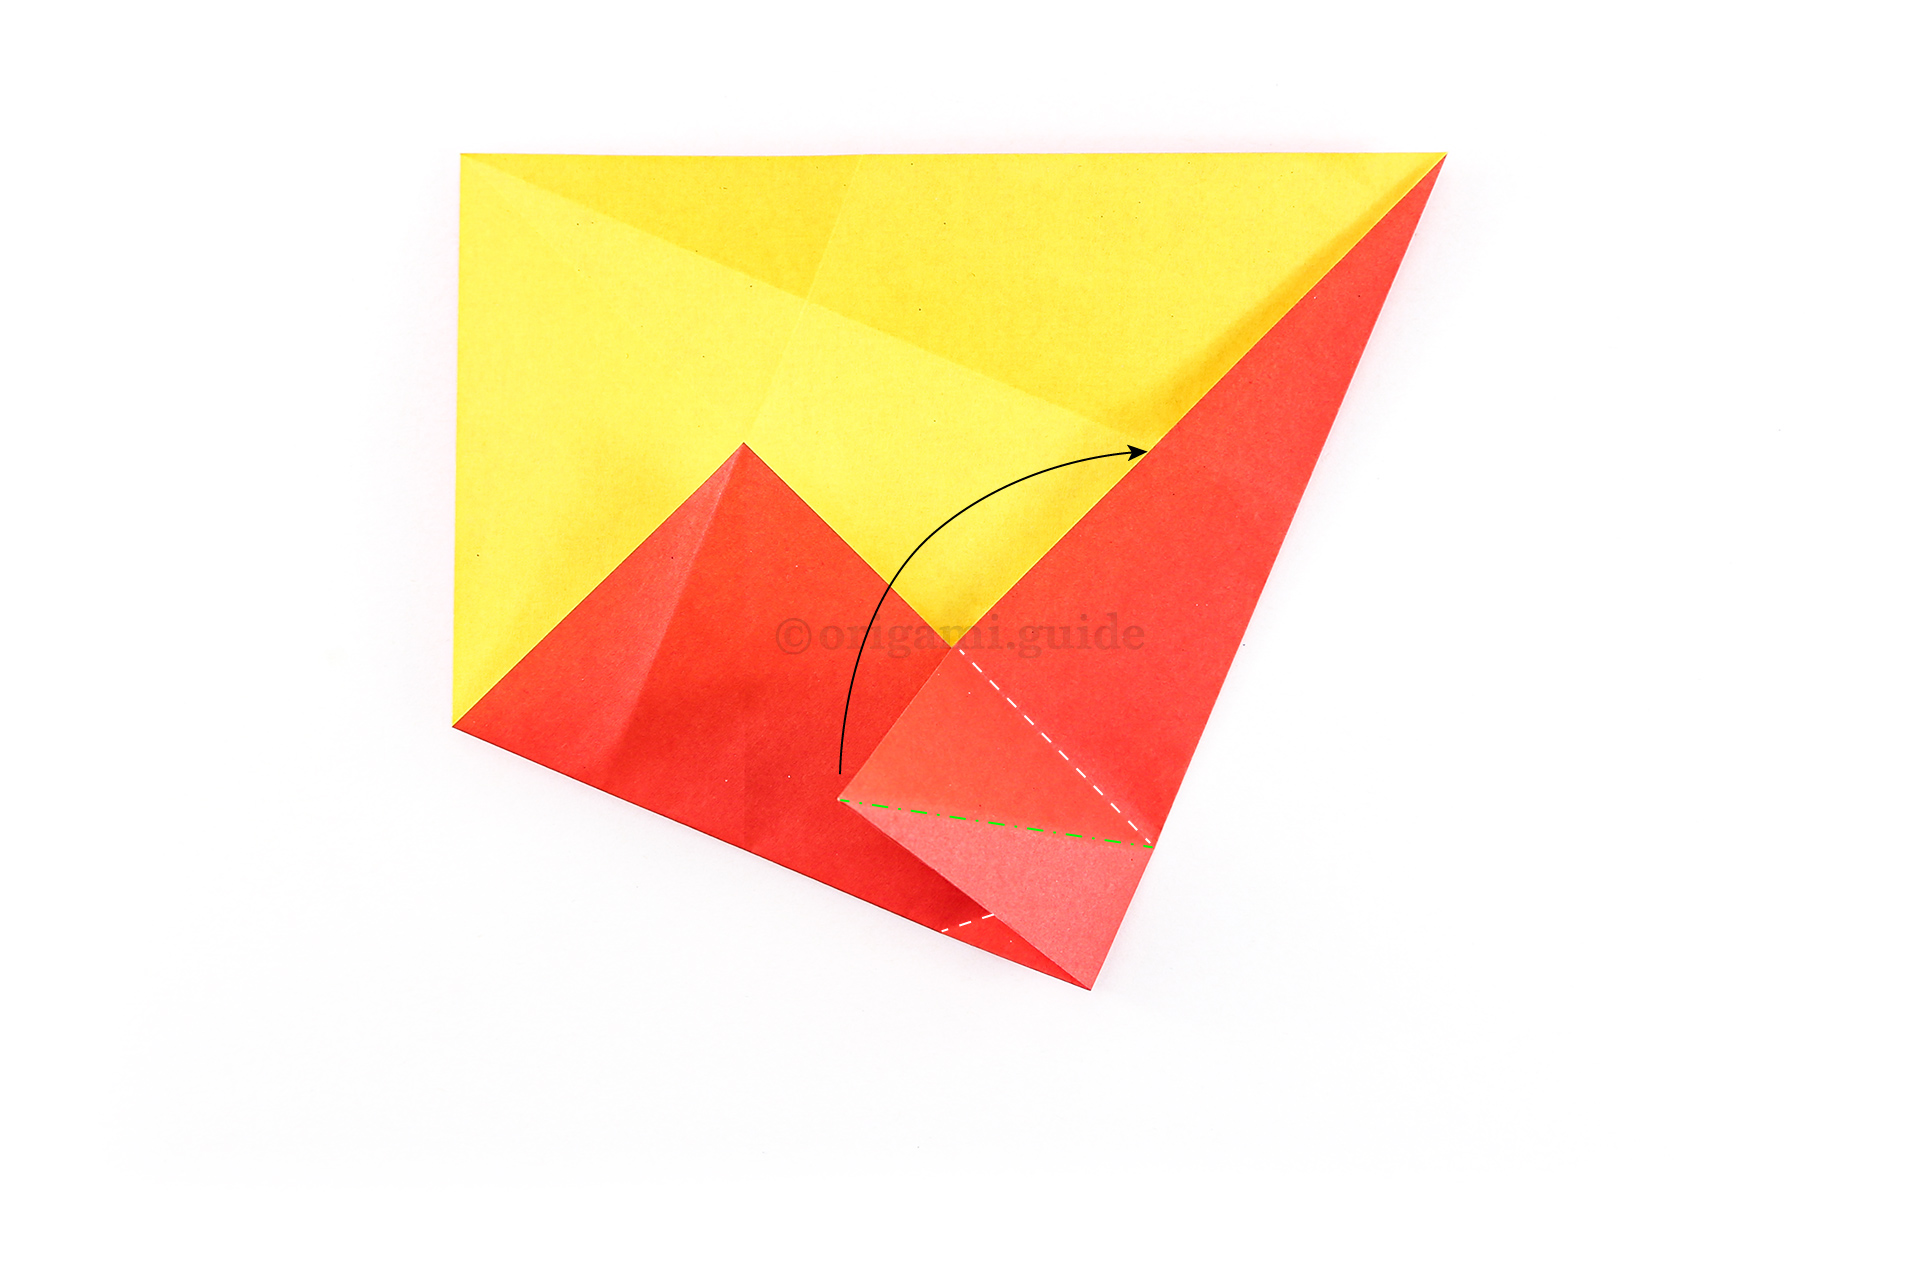
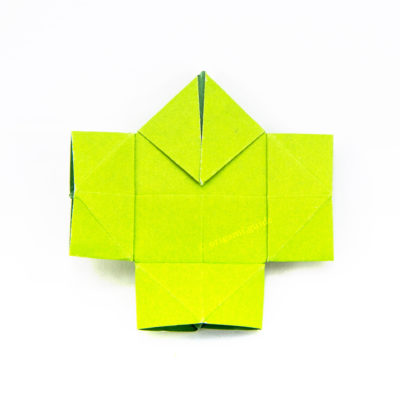
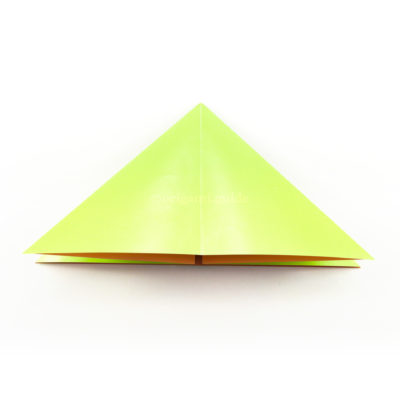
Step 17: Take note of the lines and the arrow. The white dotted line indicates a valley fold, the green dot-dash line indicates a mountain fold. Bring the bottom left point of the flap up and across to the right. A new crease is created where the white valley folds are.
-
18
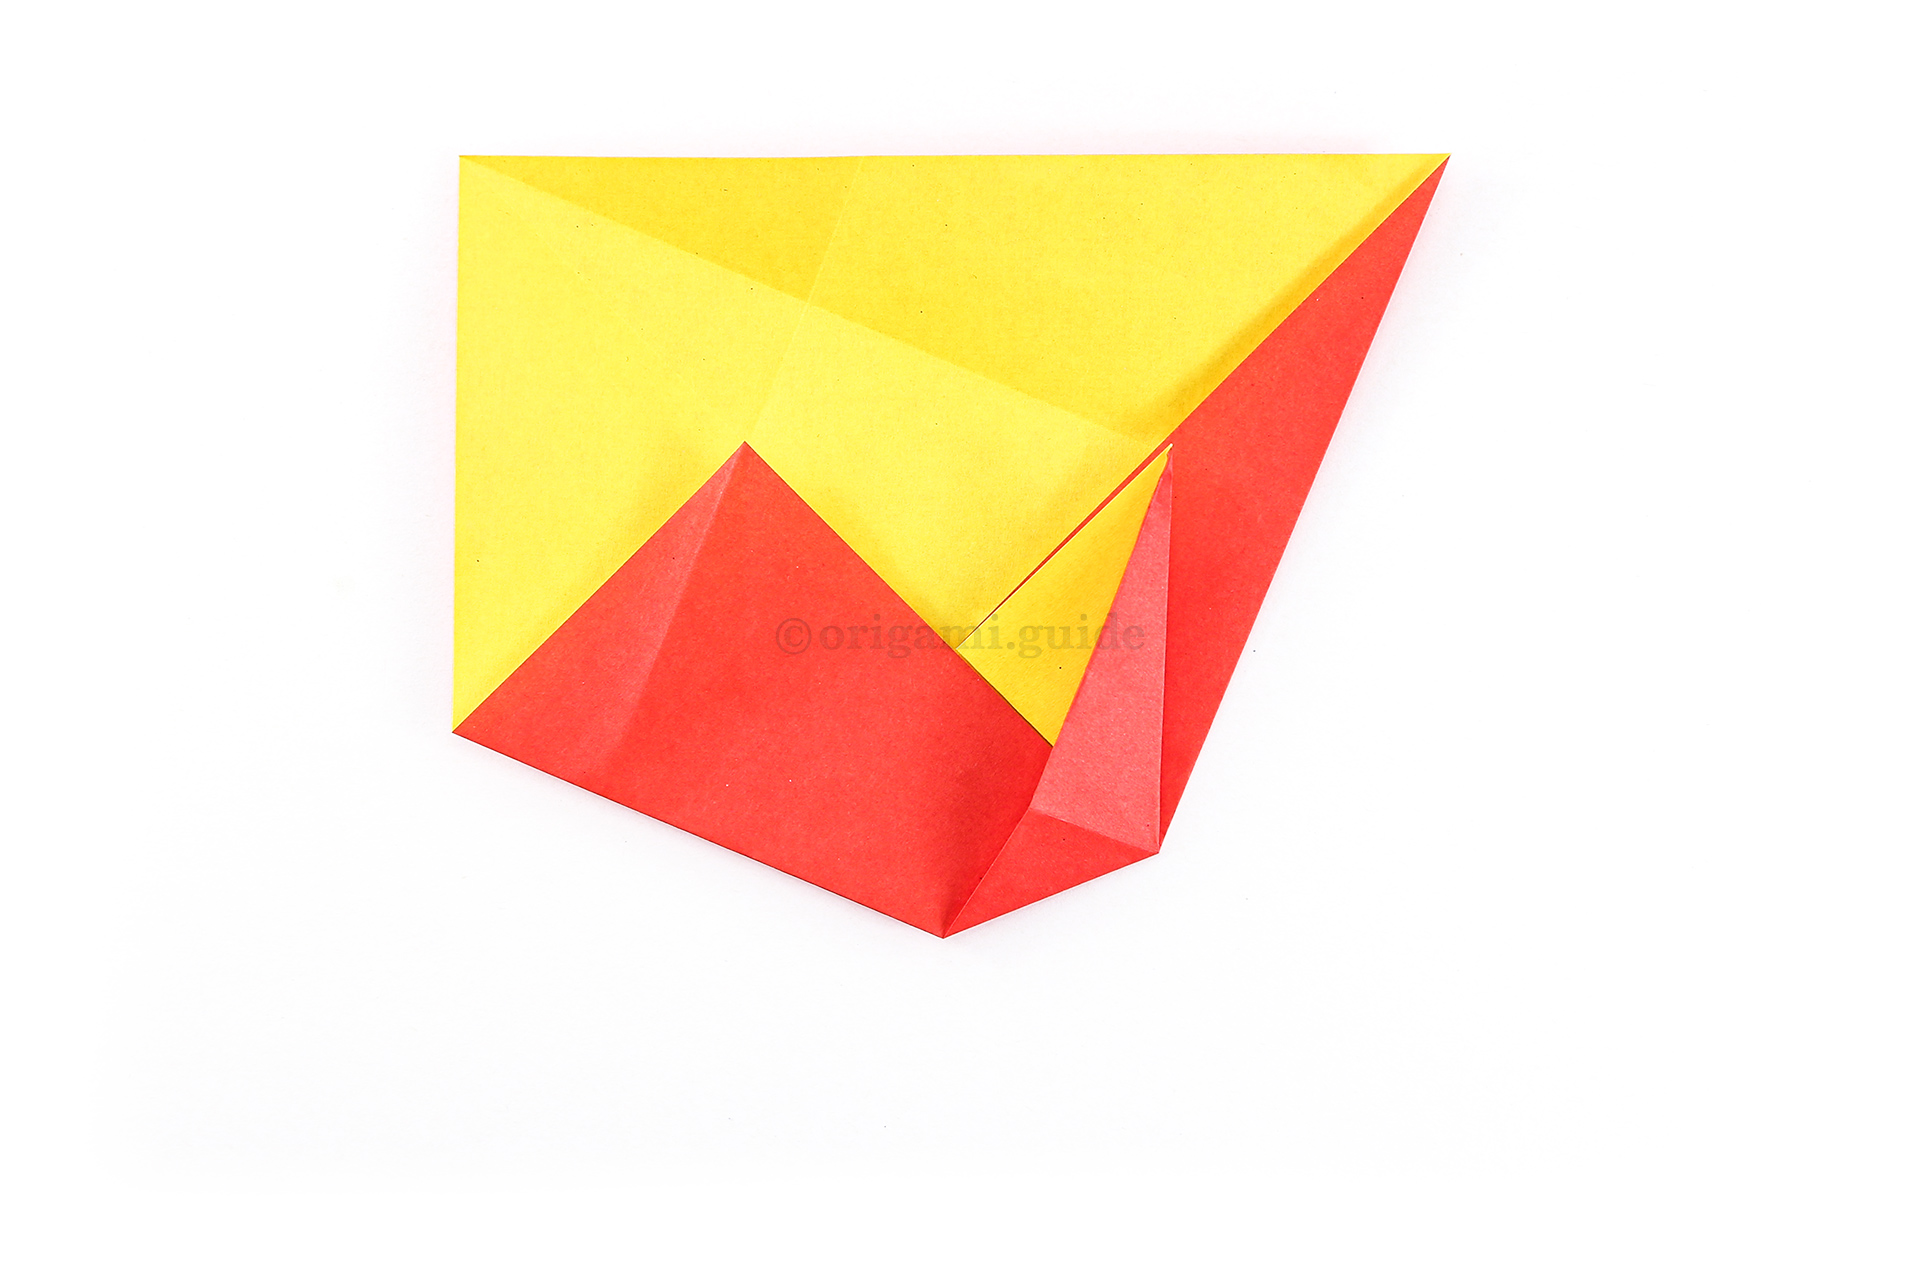
Step 18: Flatten the paper as shown.
-
19
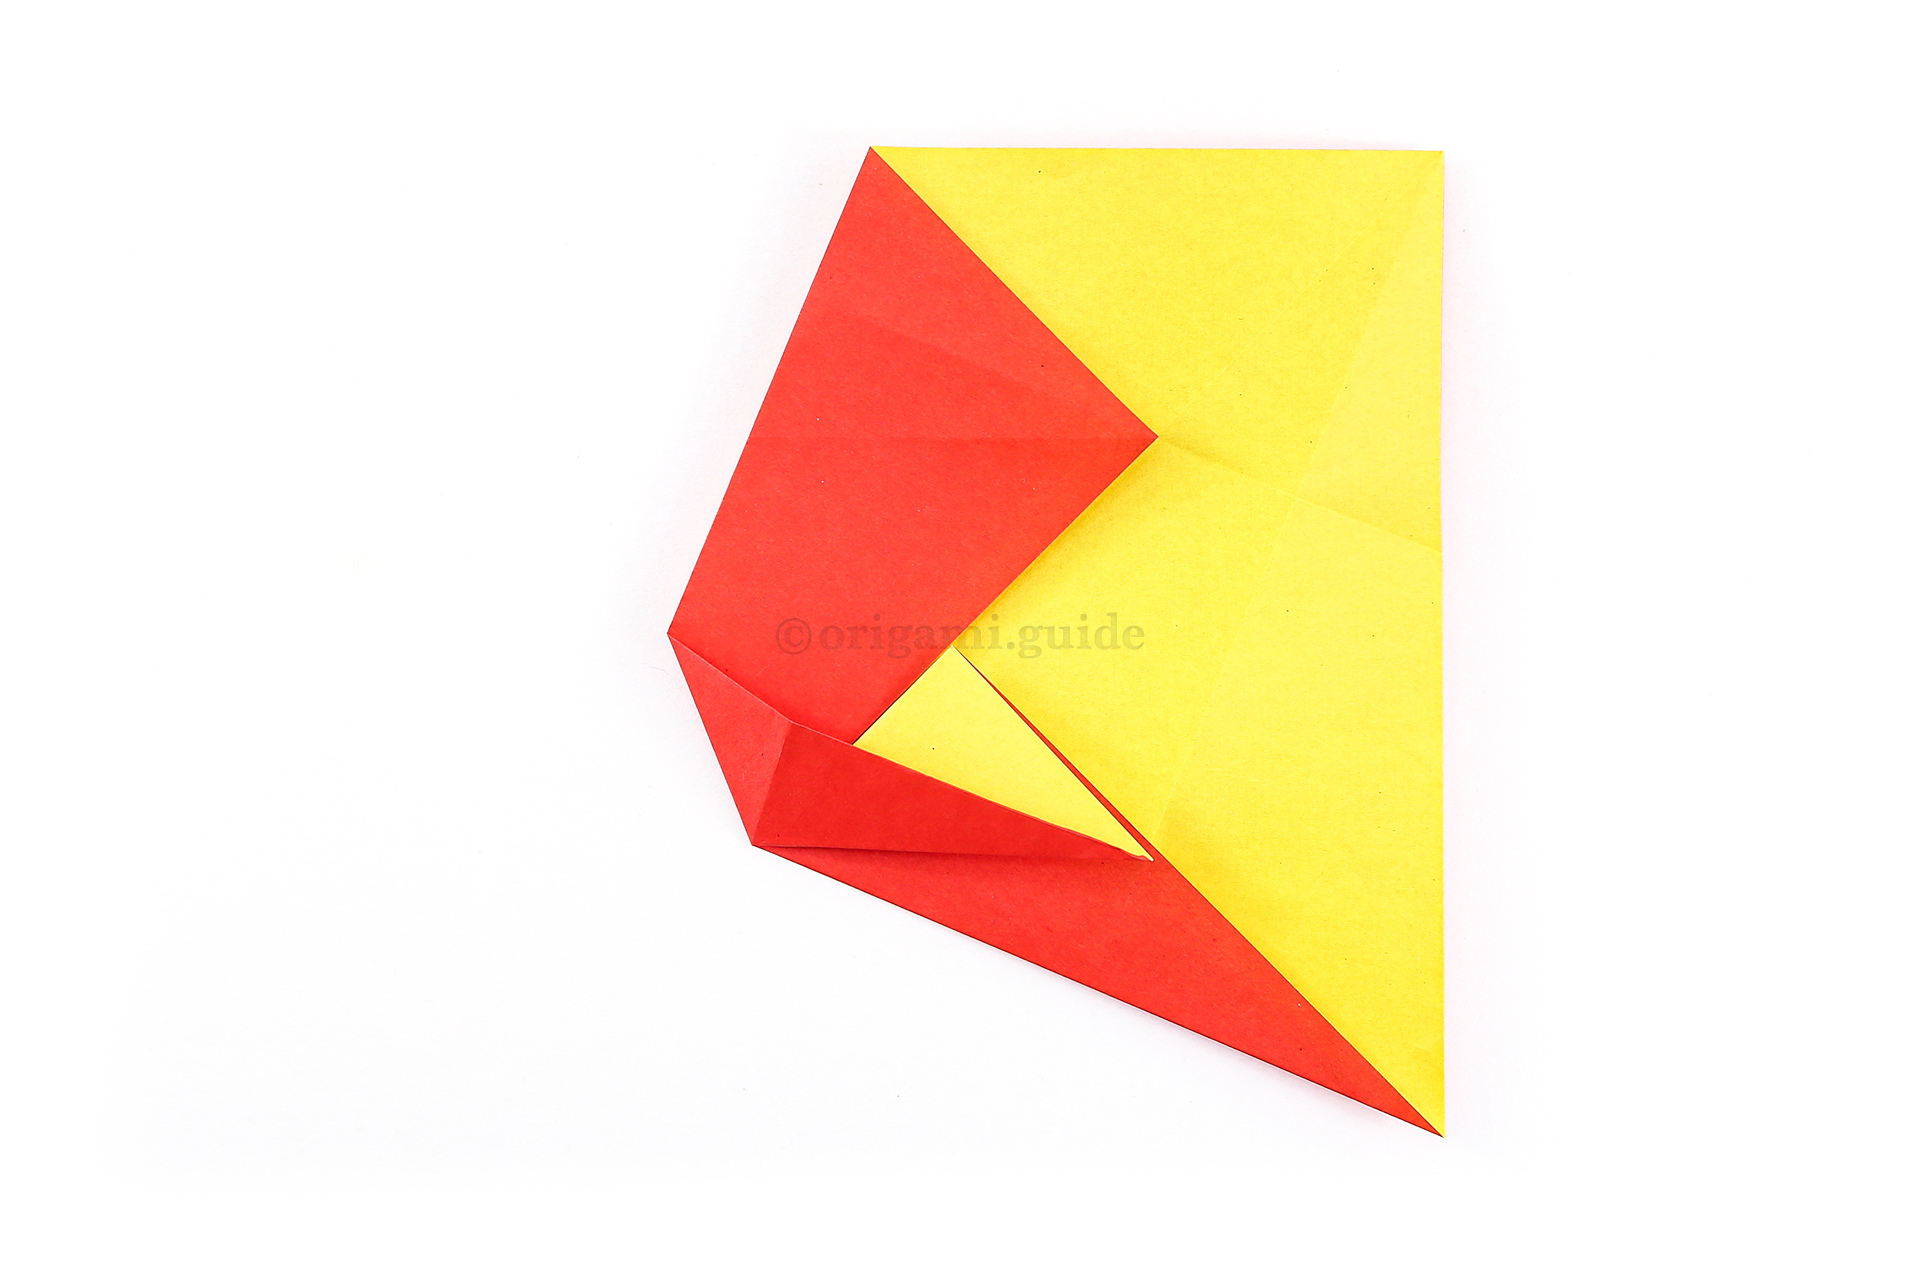
Step 19: Rotate the paper clockwise.
-
20
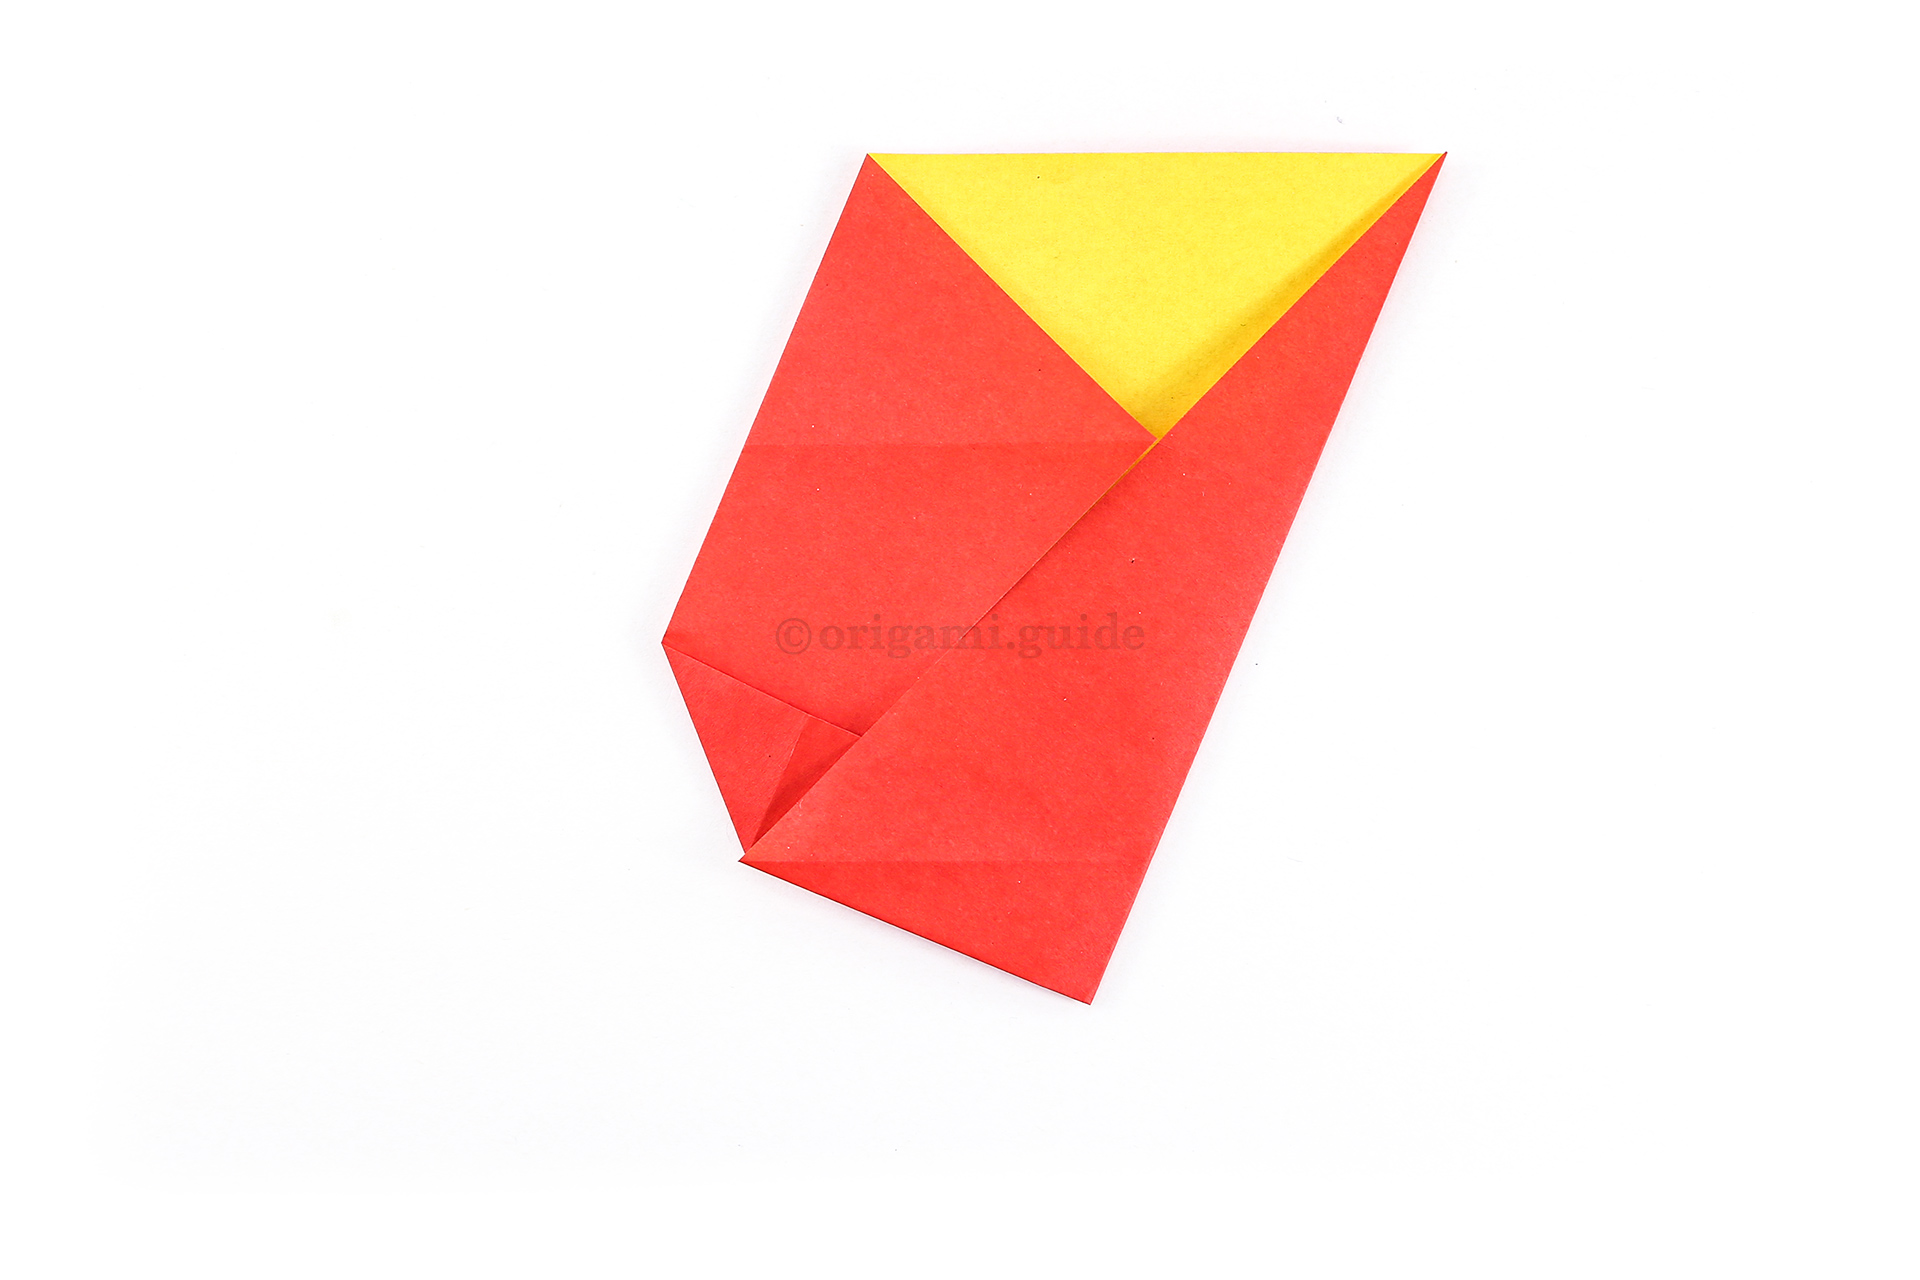
Step 20: Re-fold the bottom right flap.
-
21

Step 21: Repeat the same process with this flap as step 17.
-
22
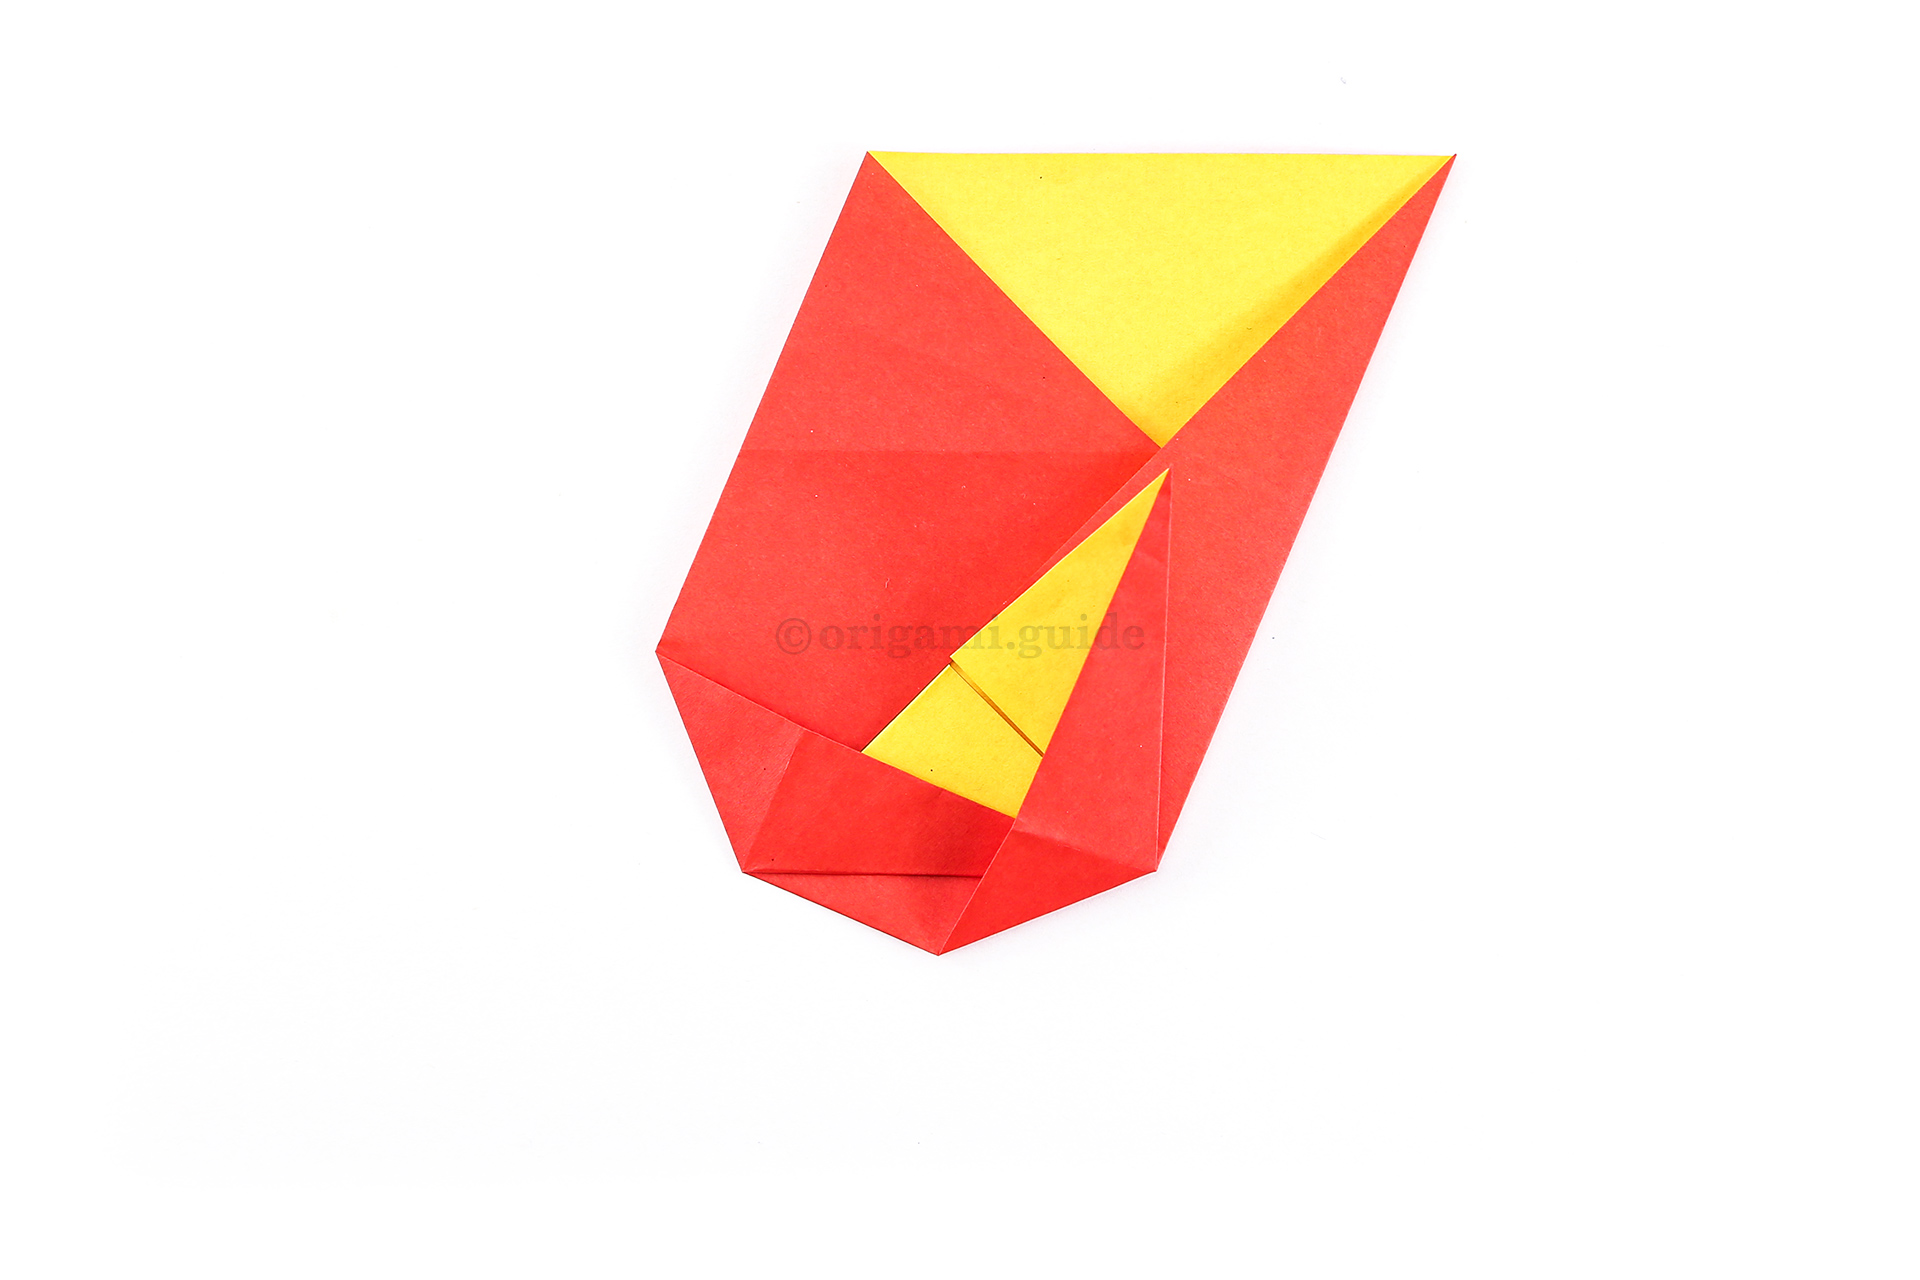
Step 22: Flatten the paper.
-
23
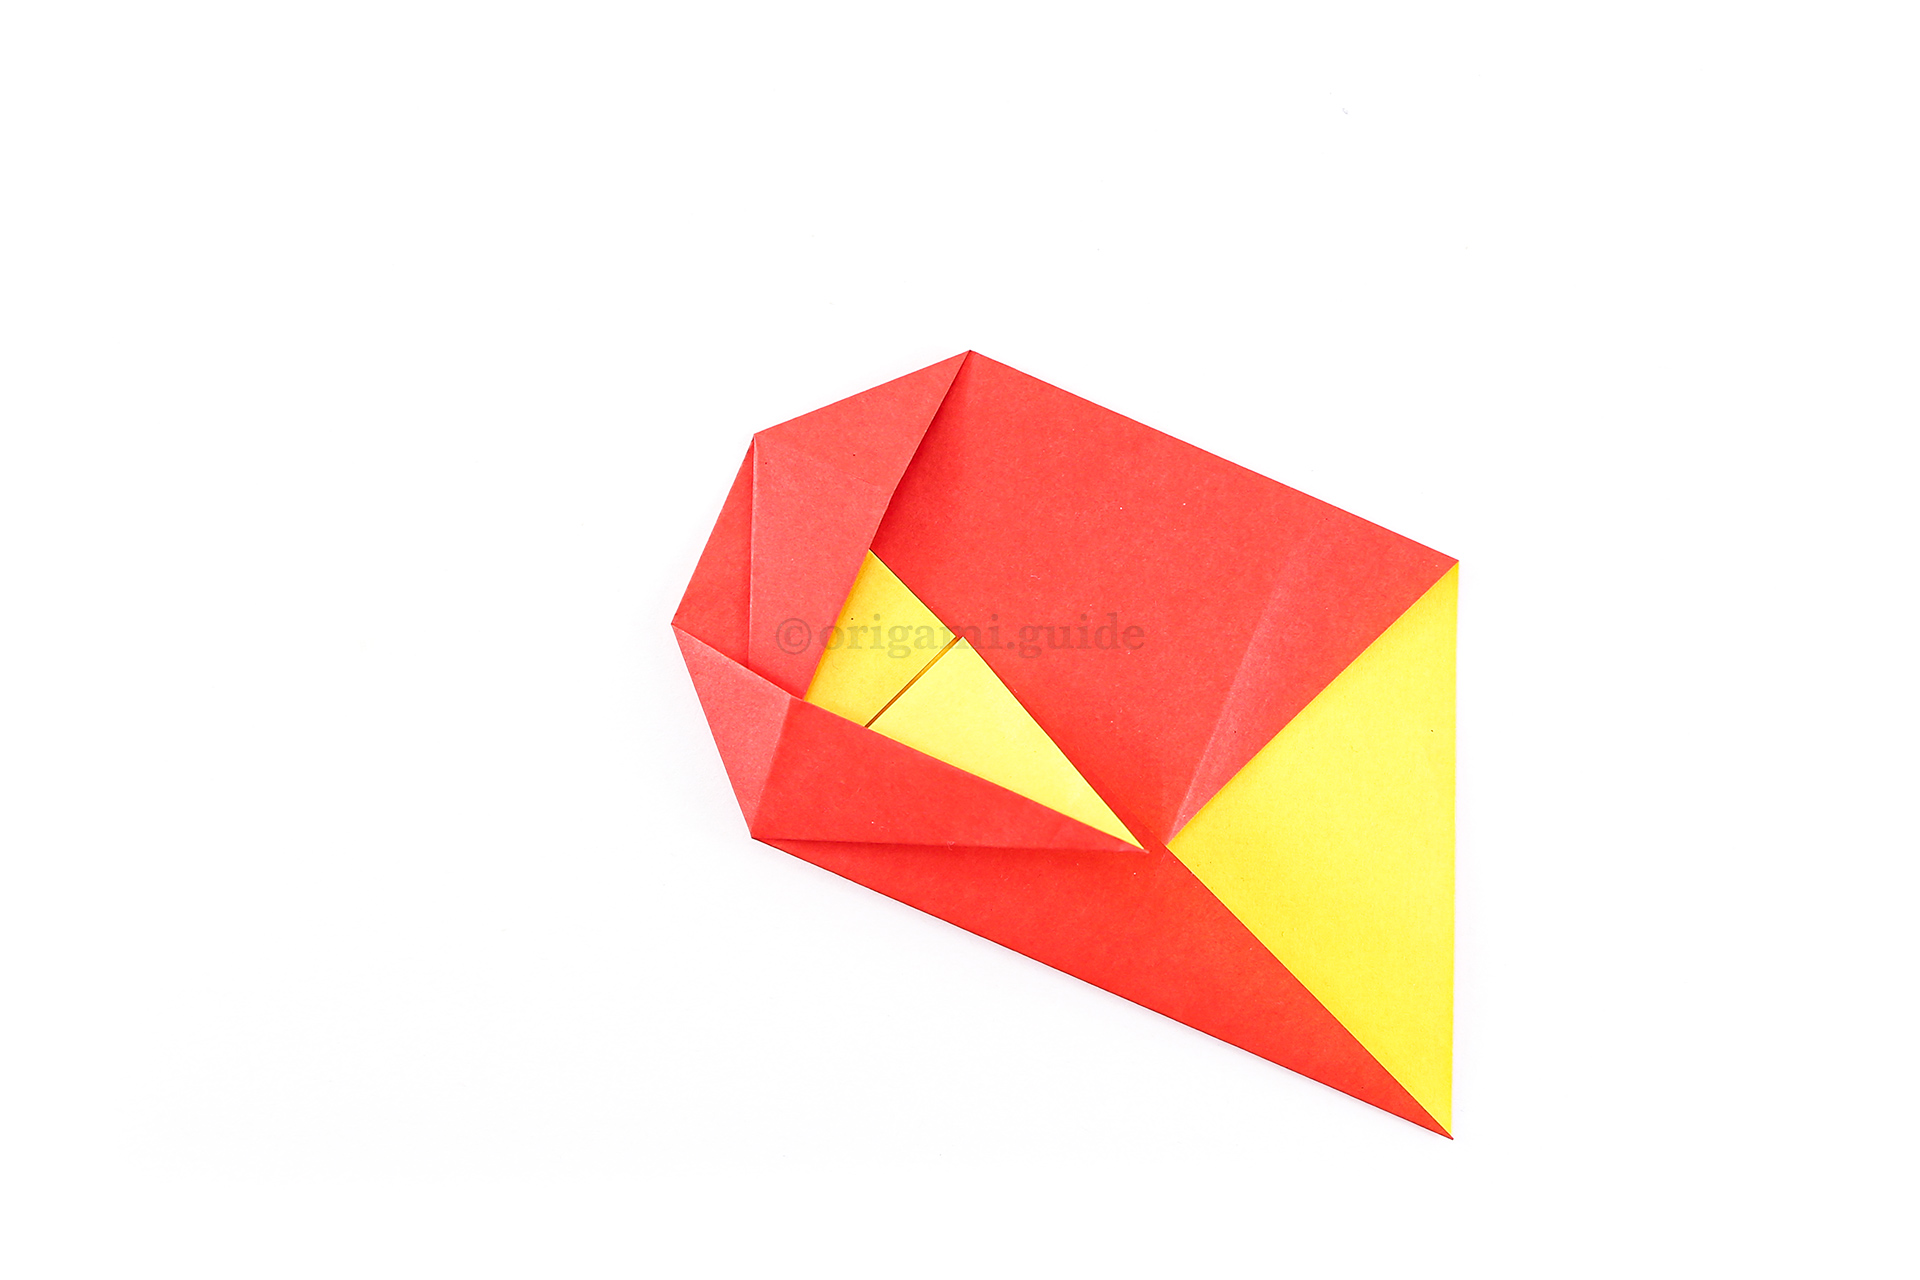
Step 23: Rotate the paper clockwise.
-
24
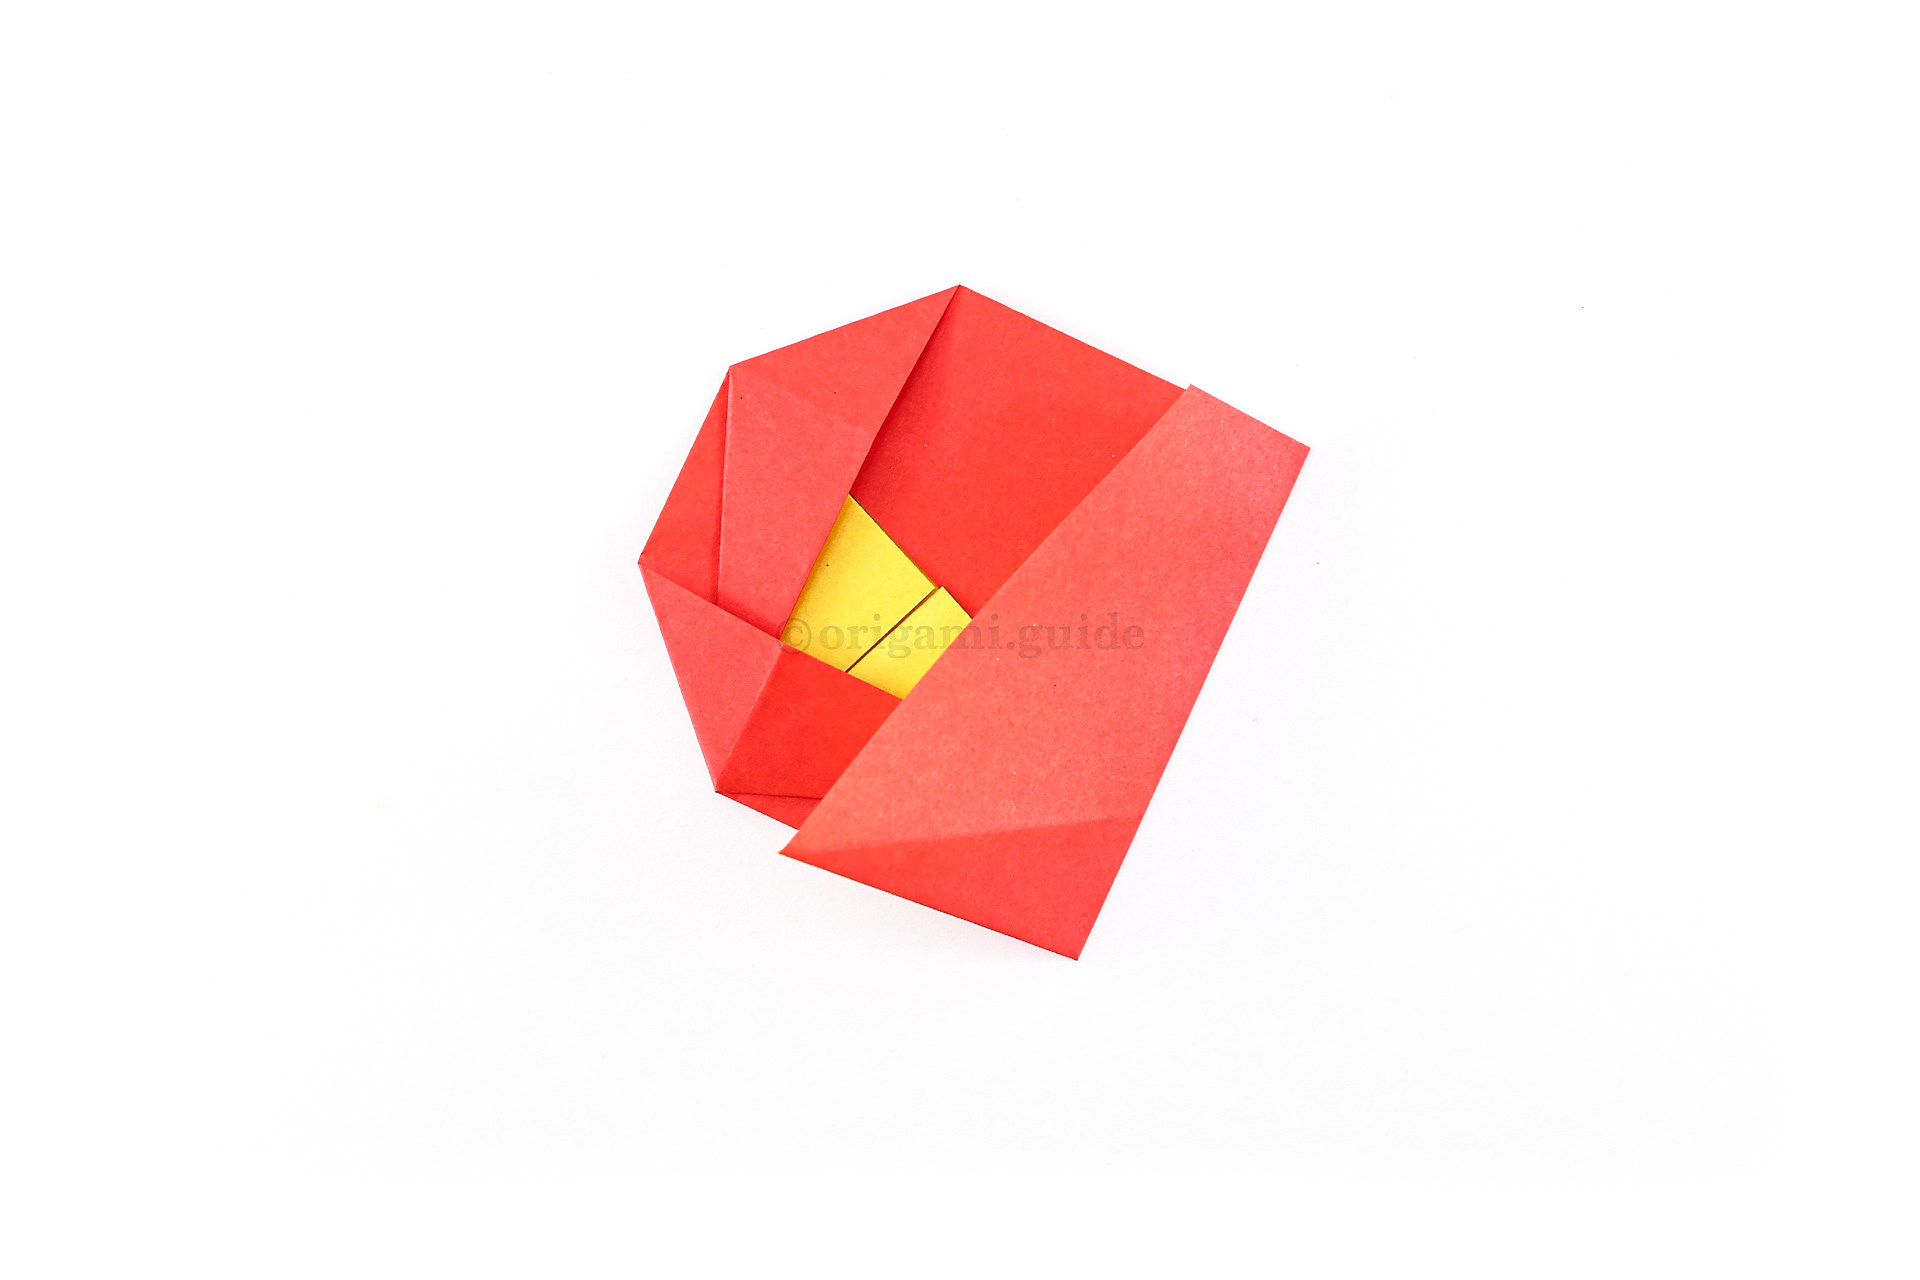
Step 24: Re-fold the bottom right flap.
What Origami Flowers To Fold Next?
View all Origami Flowers Tutorials








Leave A Comment
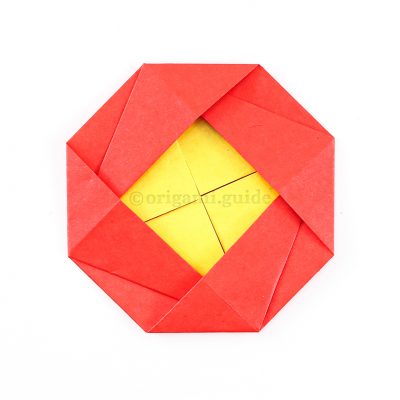
Did you fold this Origami Camellia Flower? Let us know what you thought.
You can also upload a photo of your result!