8 Petal Origami Flower
Learn how to fold a beautiful origami flower with eight petals and a stem from a single sheet of square paper. This intermediate traditional origami flower is perfect to make a whole bouquet of paper flowers.
This pretty origami flower is quite unique, having 8 petals and being a moderately easy origami model. Please use a large size of origami paper, such as 15 x 15 cm (6×6 inches) or even larger. Using thinner paper is also recommended.
Having a little stem at the back, you can use this to stand it up as well. When made with red paper this flower makes a perfect Christmas Poinsettia Flower.

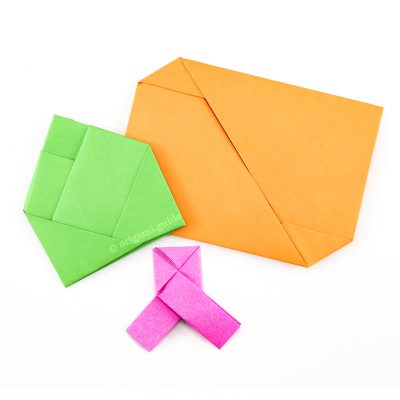
We have another similar flower for you to fold, if you struggle with this one, it may be a good idea to try that one first. Click here to view the Origami Blossom Flower tutorial.

8 Petal Origami Flower Instructions
Scroll down to follow the photo tutorial for the 8 Petal Origami Flower.
Made this origami? Leave a comment & submit your photo on the last page here.
-
1
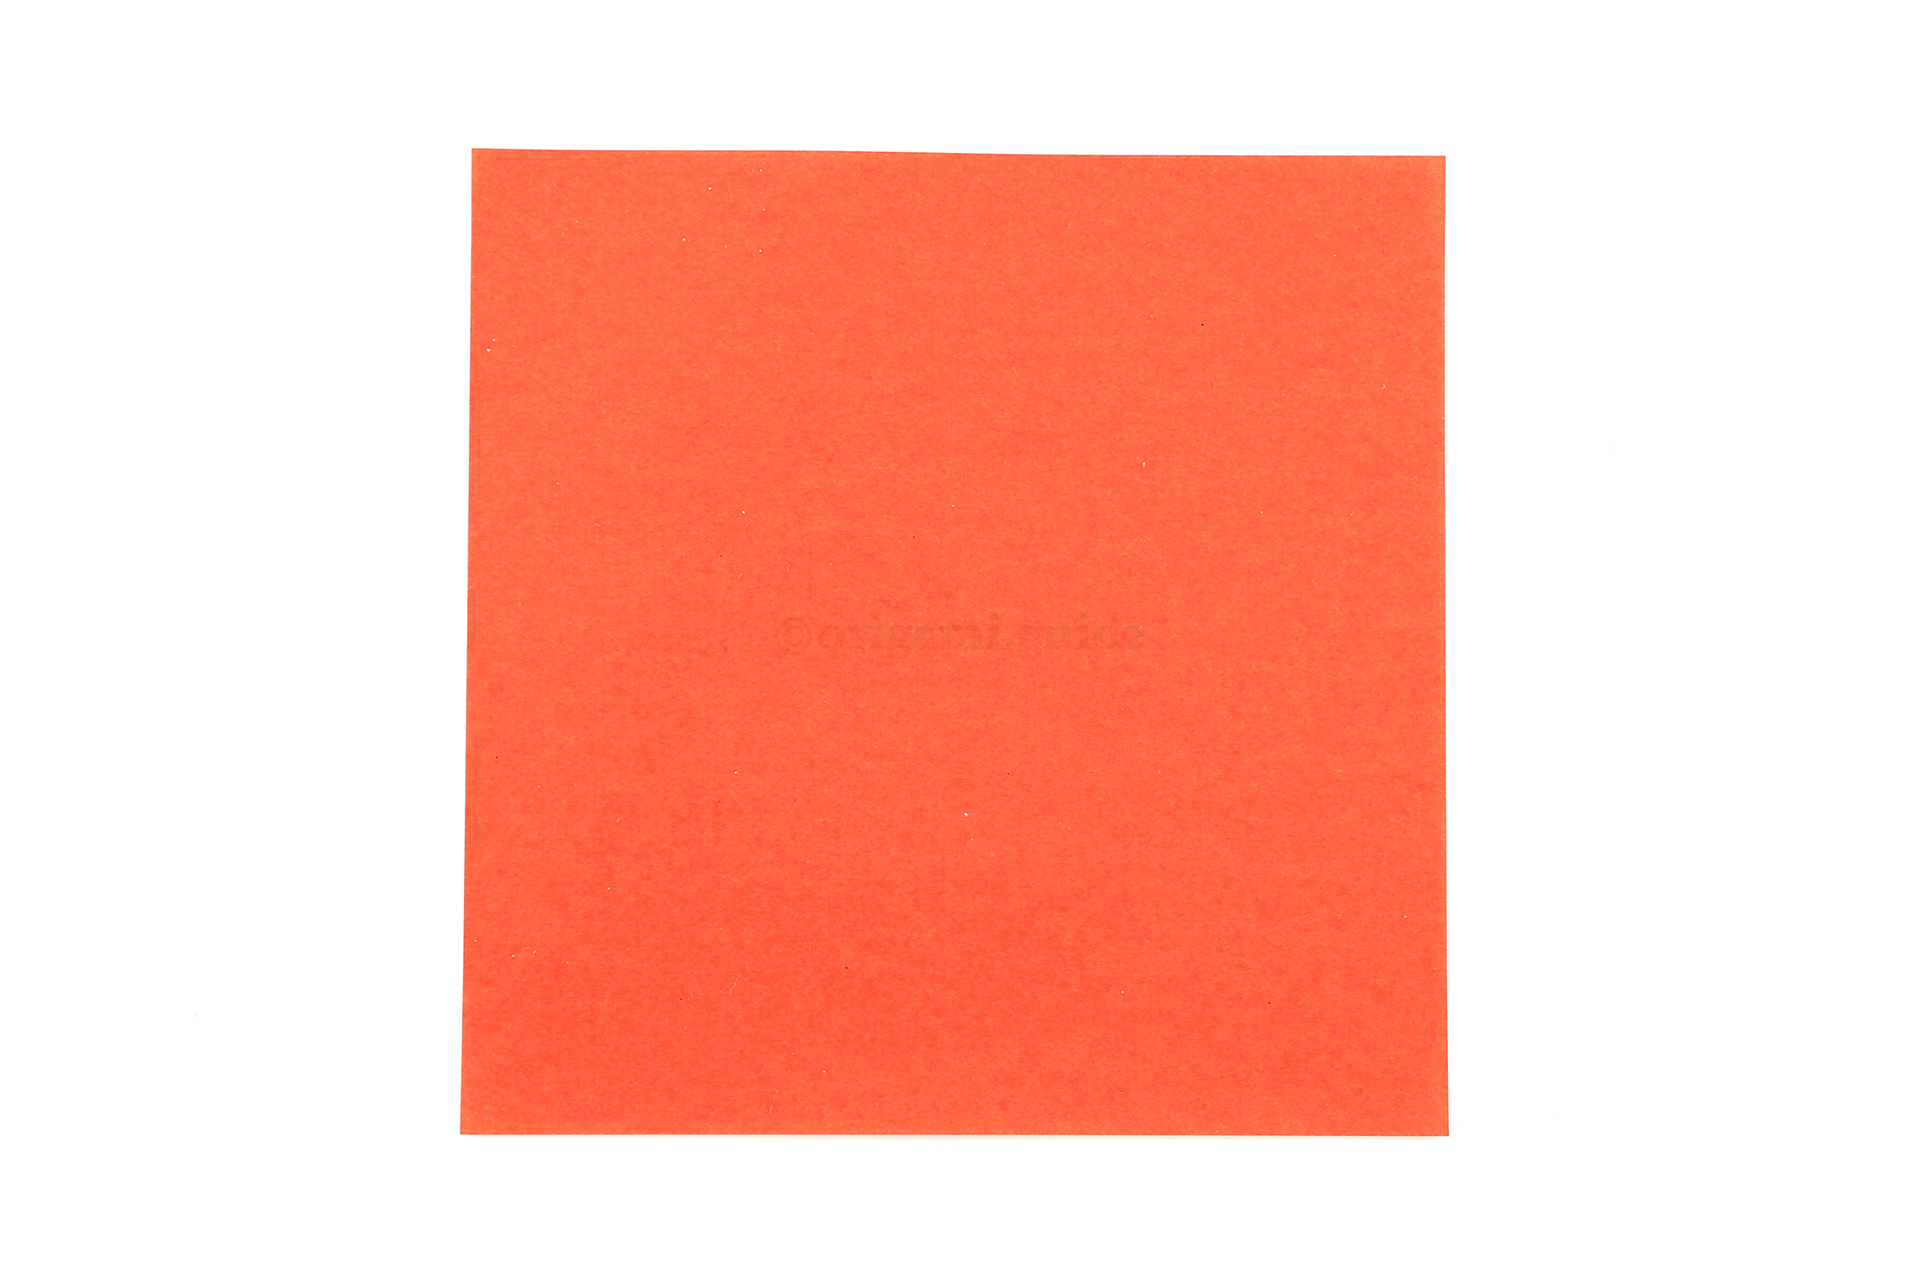
Step 1: This is the back of our origami paper which is often white, you will not see this colour on your finished flower.
-
2
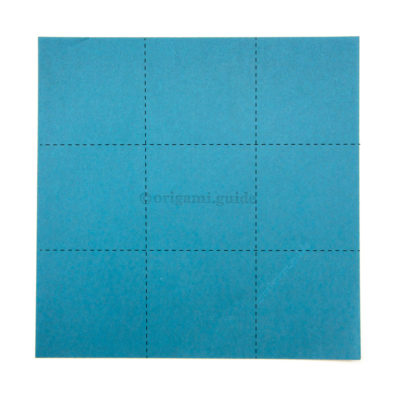
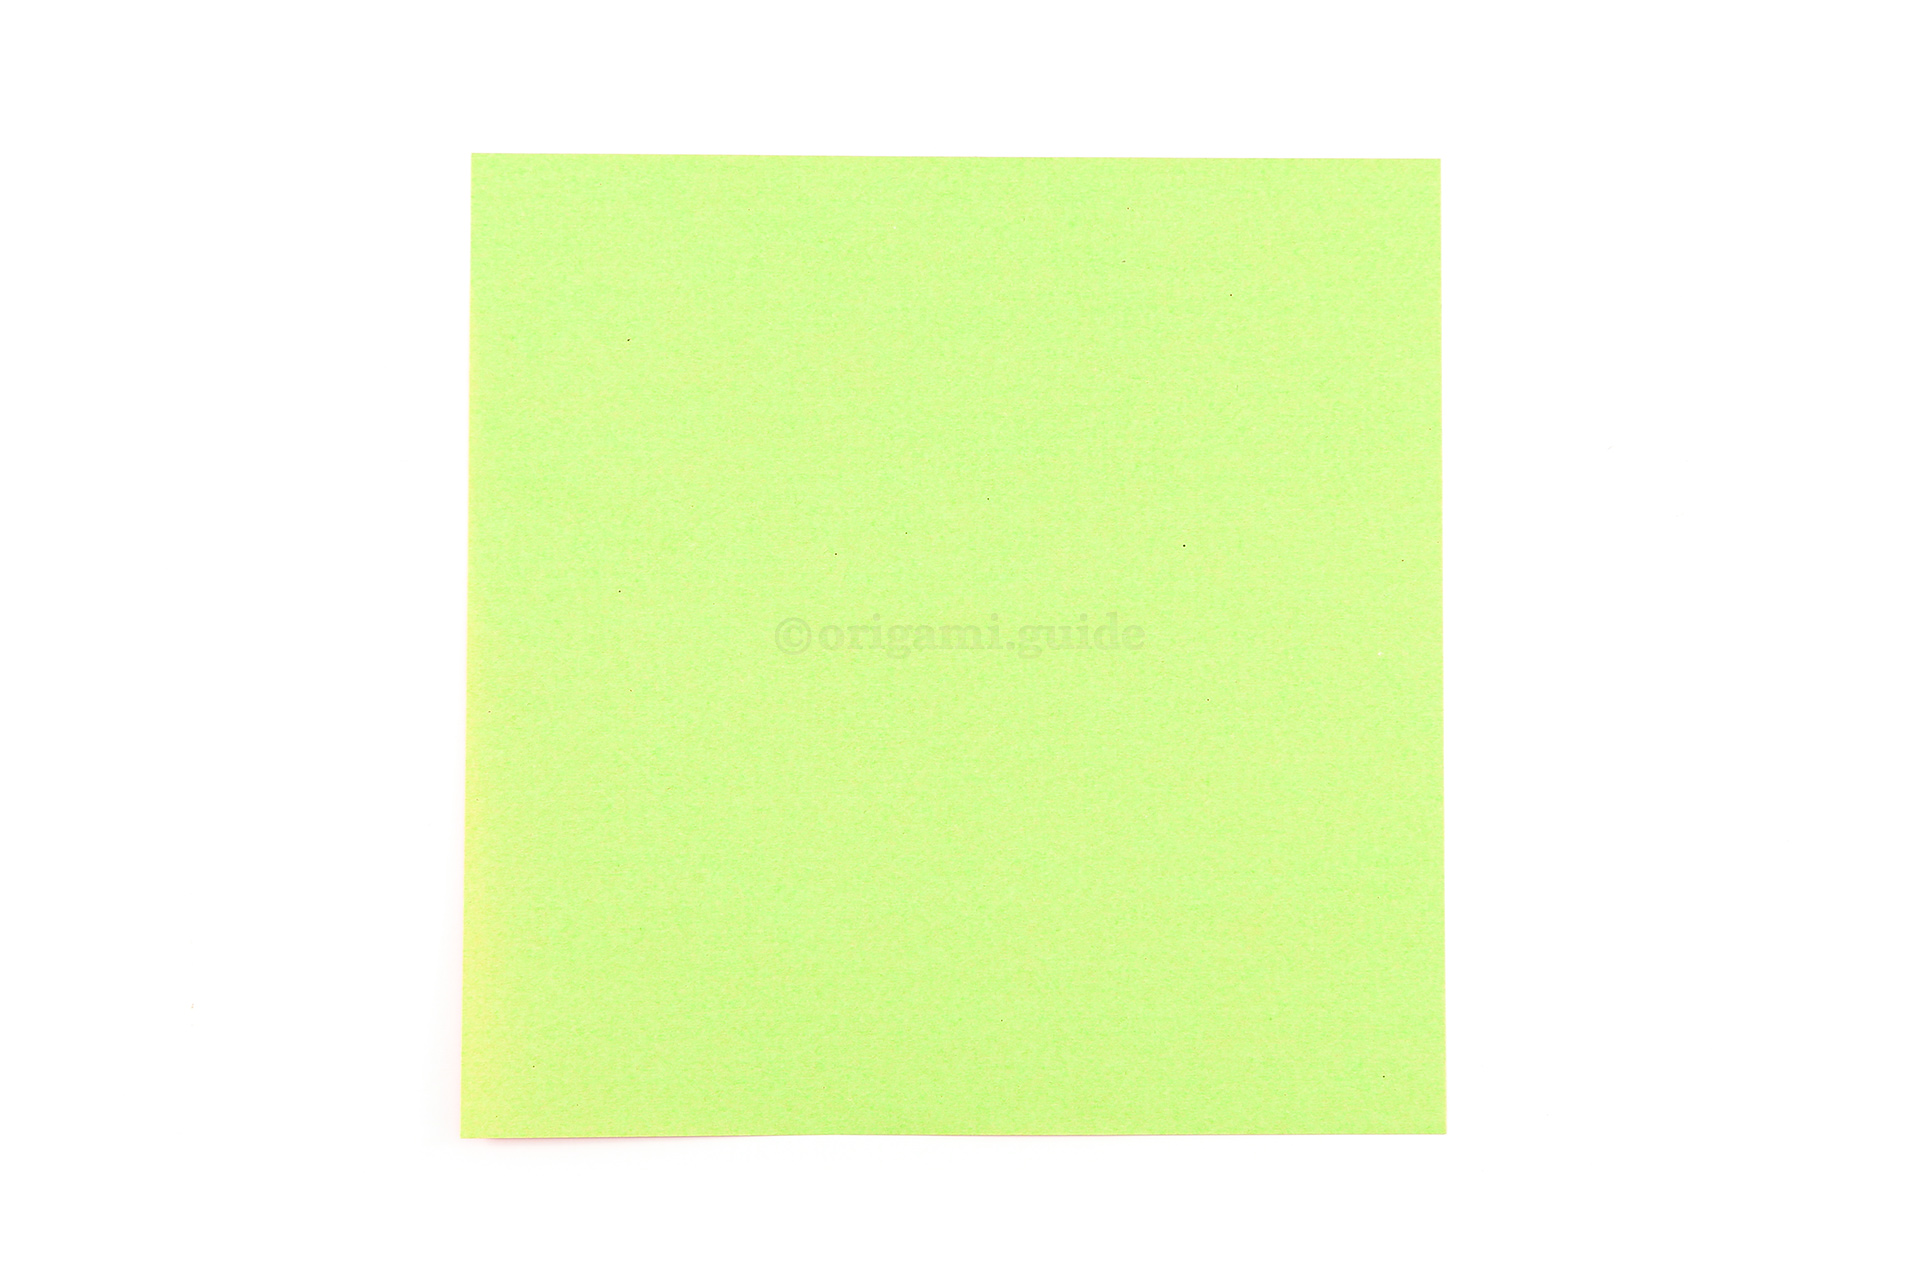
Step 2: This is the front of our origami paper, your flower will end up this colour all over.
-
3
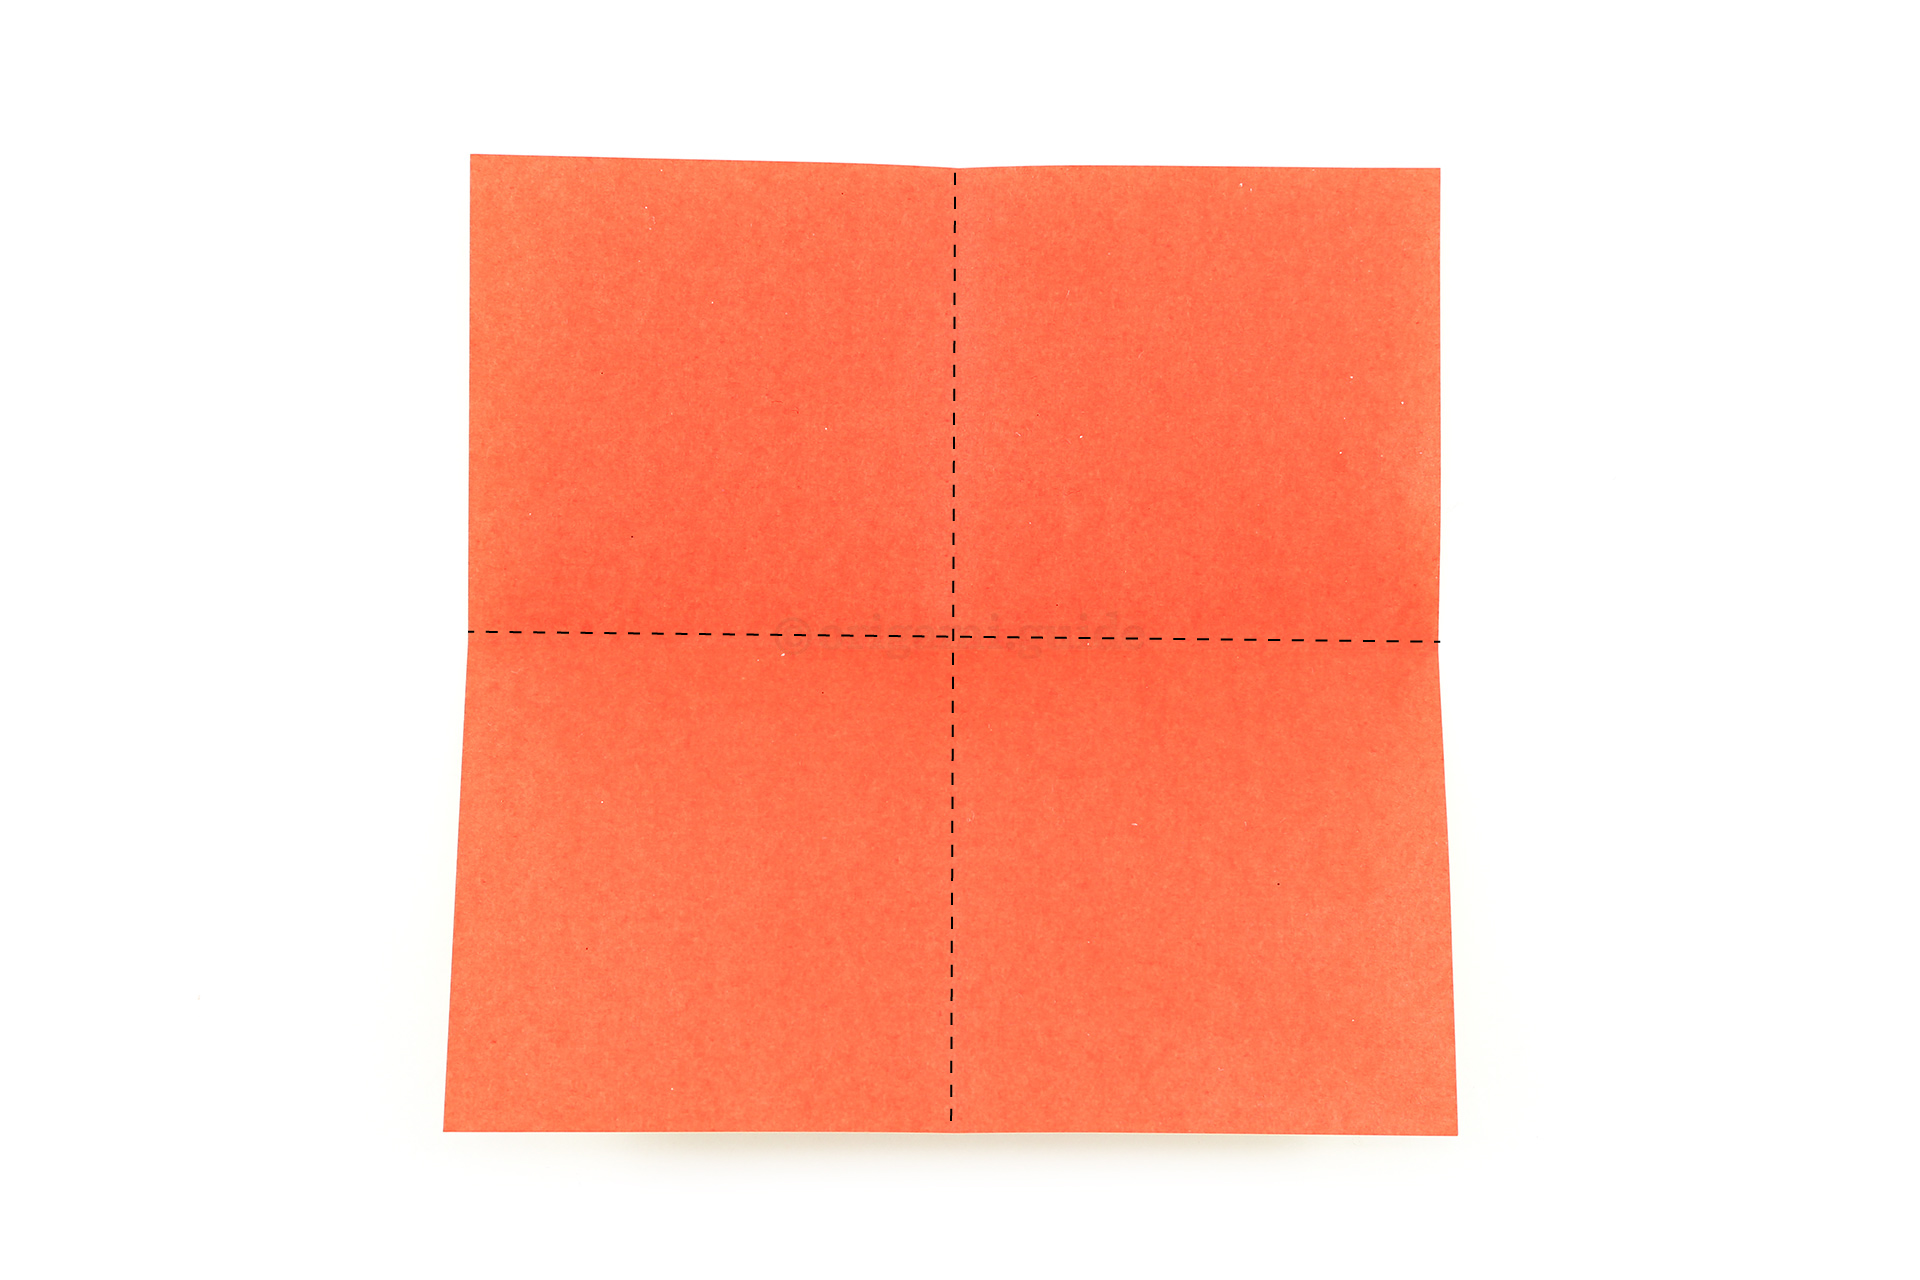
Step 3: Fold the paper in half, from left to right. Then rotate the paper and repeat.
-
4
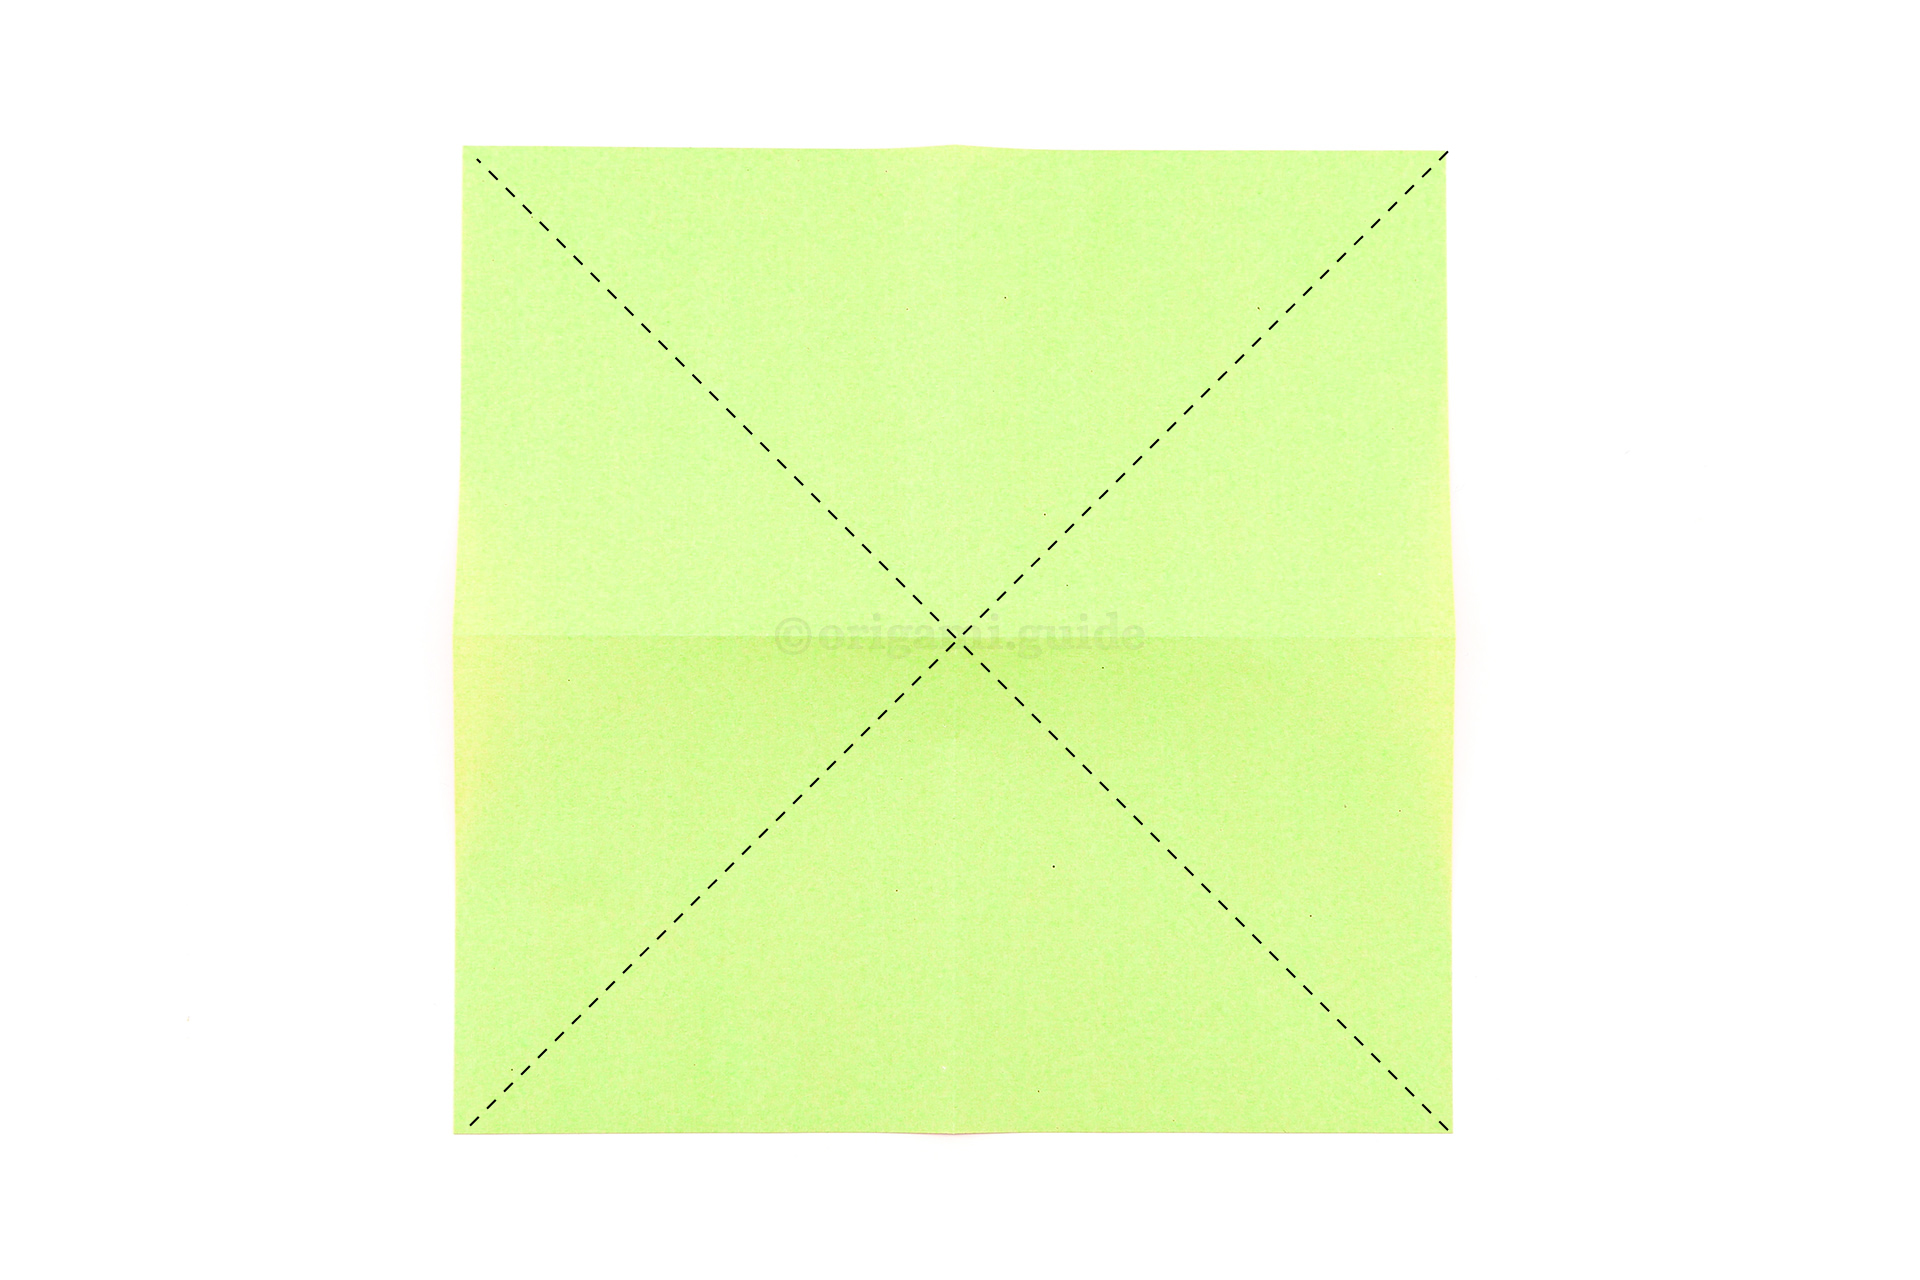
Step 4: Flip the paper over to the other side. This time fold the two diagonals.
-
5
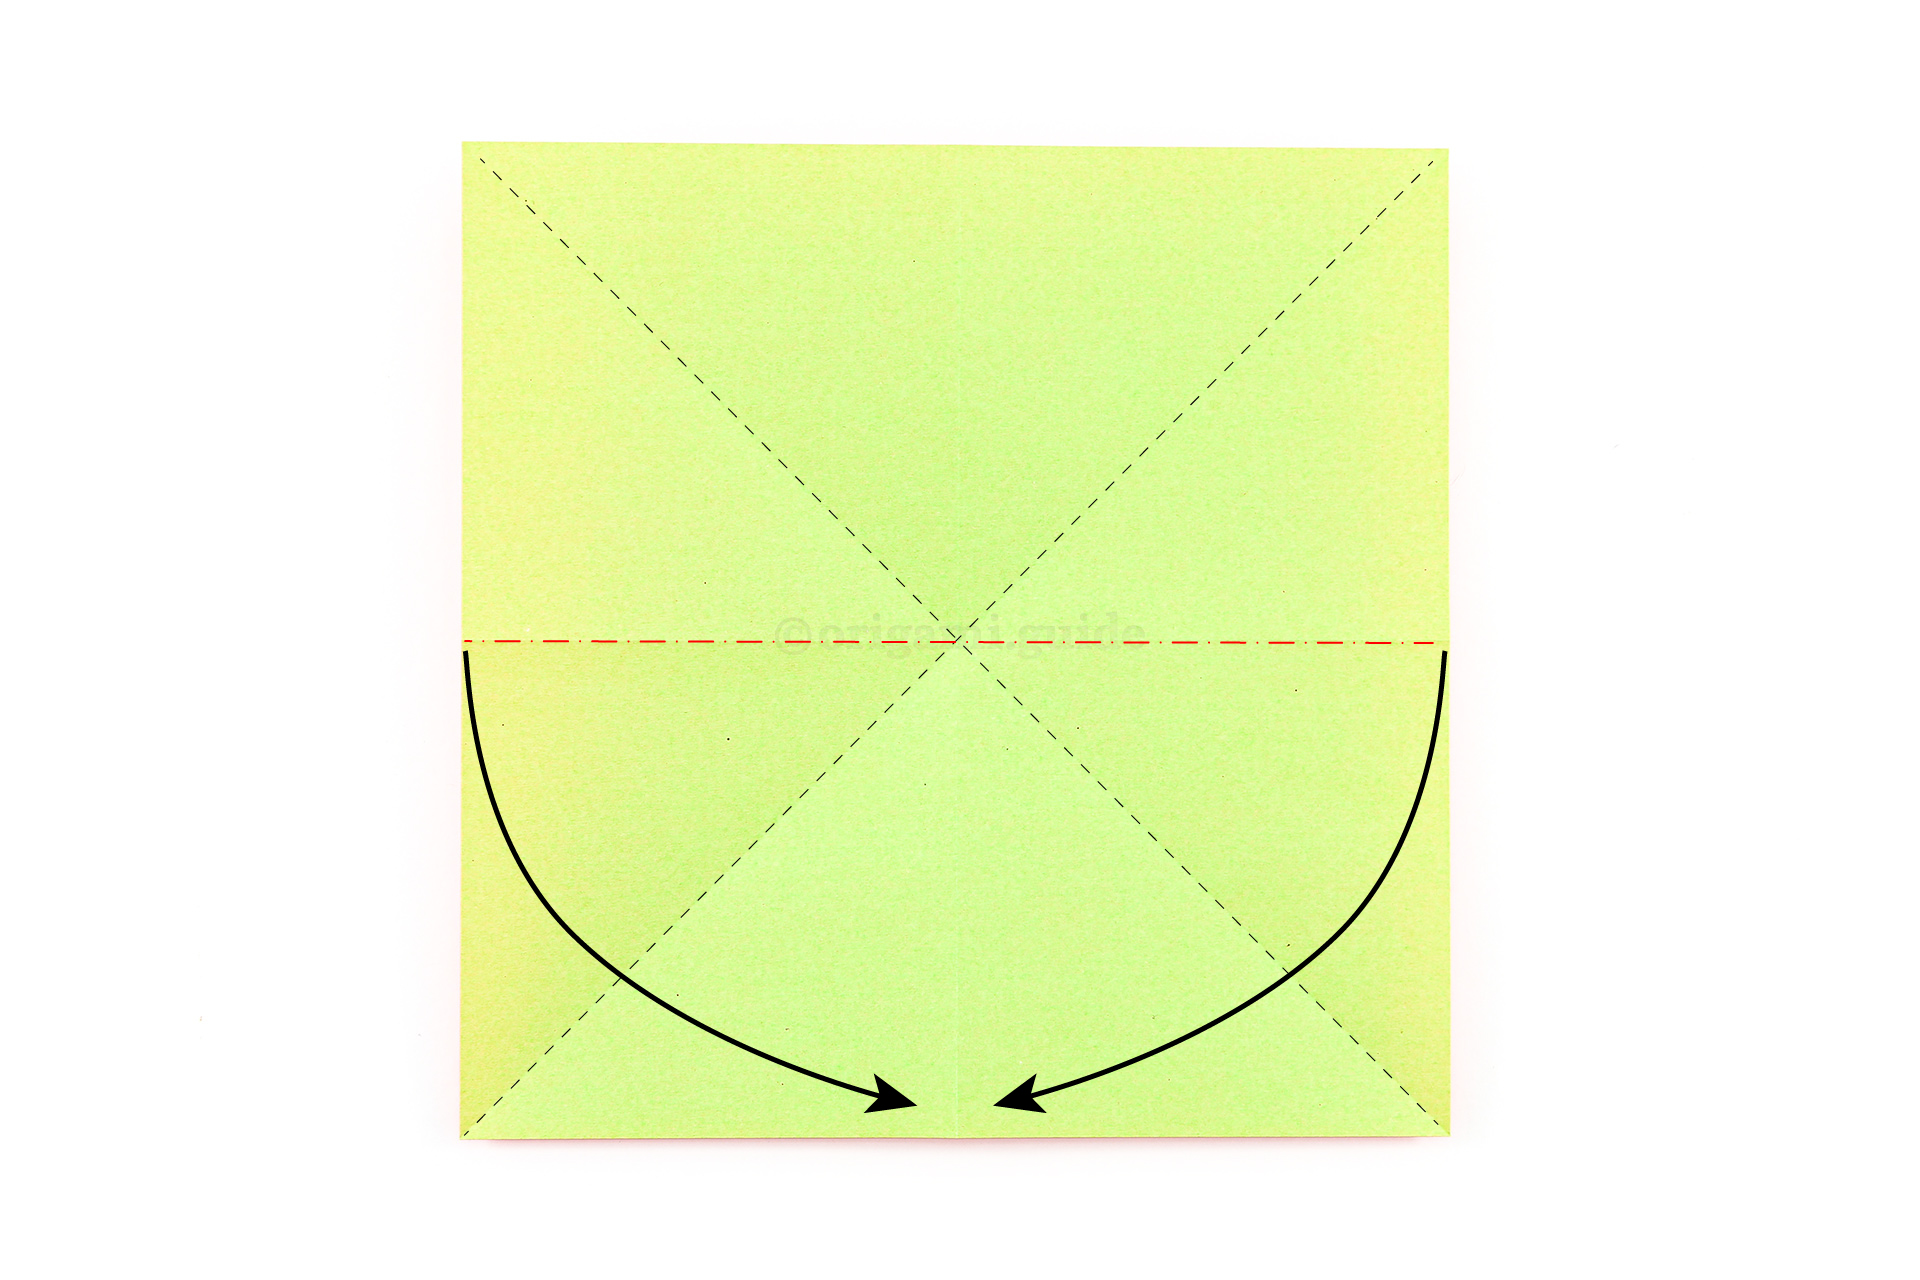
Step 5: Push your finger into the middle point. This will enable you to bring the two left and right edges inwards and collapse the paper downwards into a triangle shape.
-
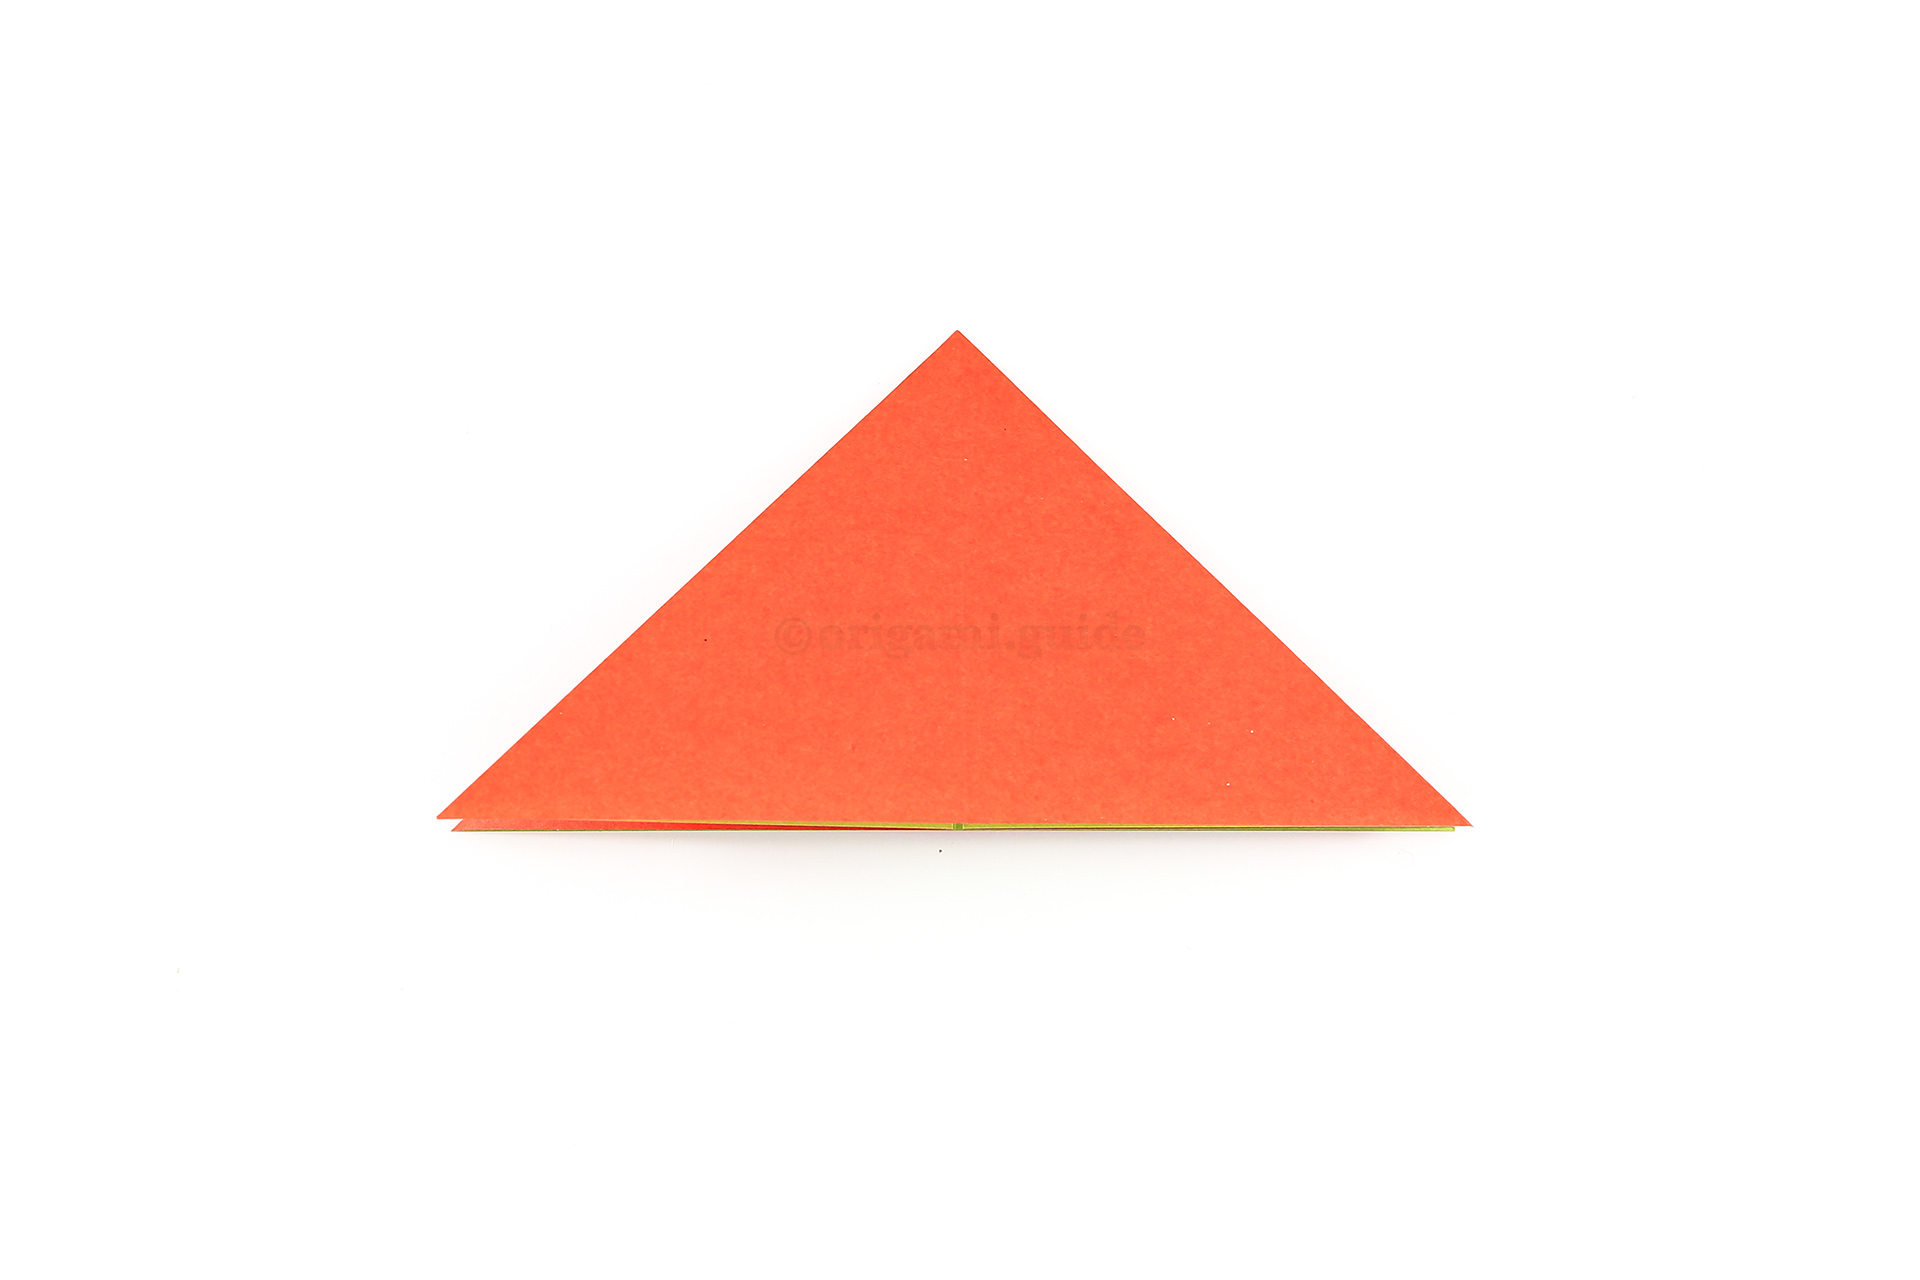
6
Step 6: Flatten the paper.
-
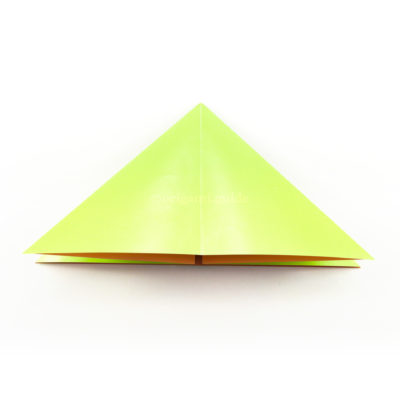
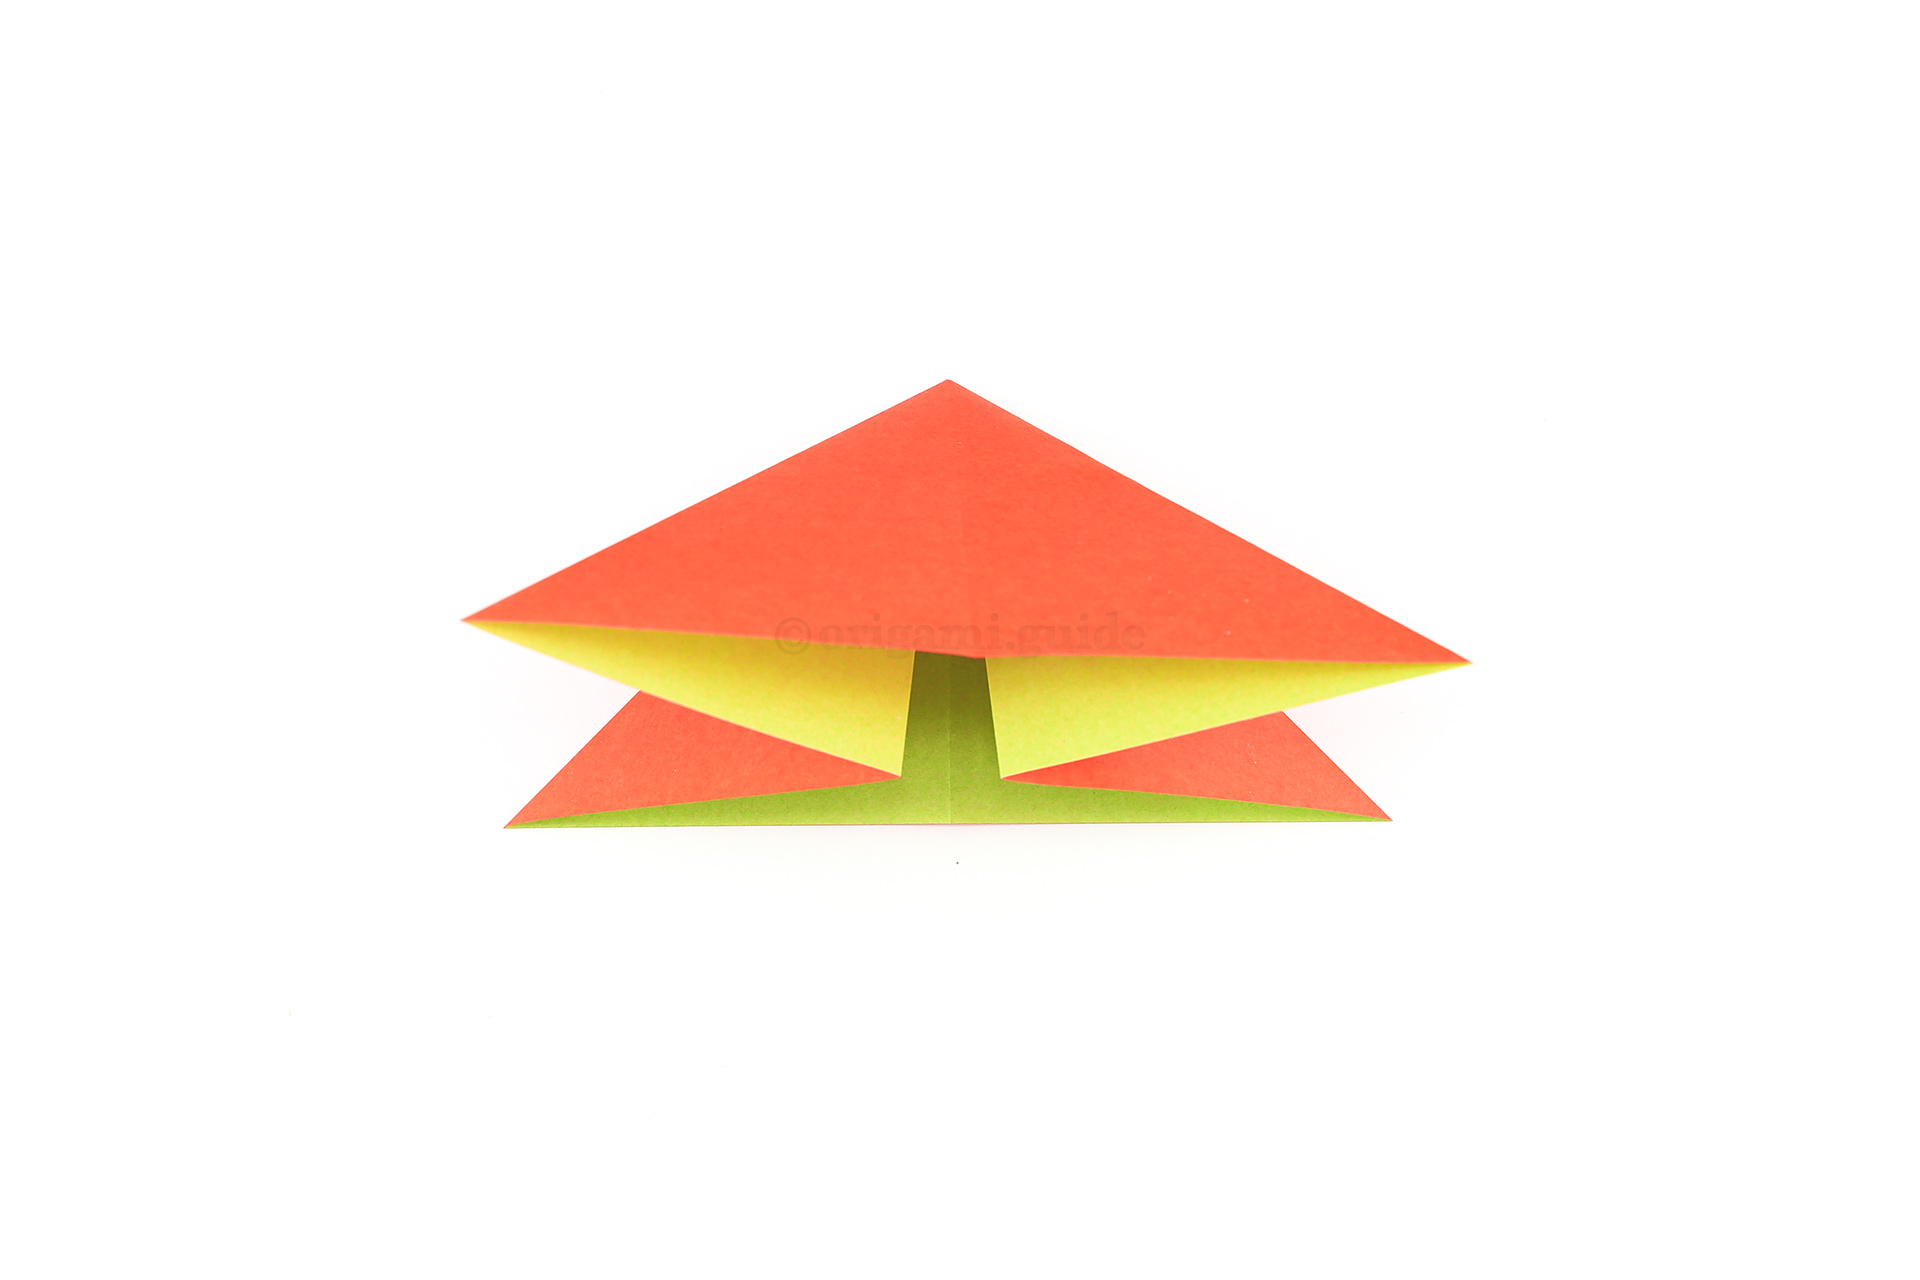
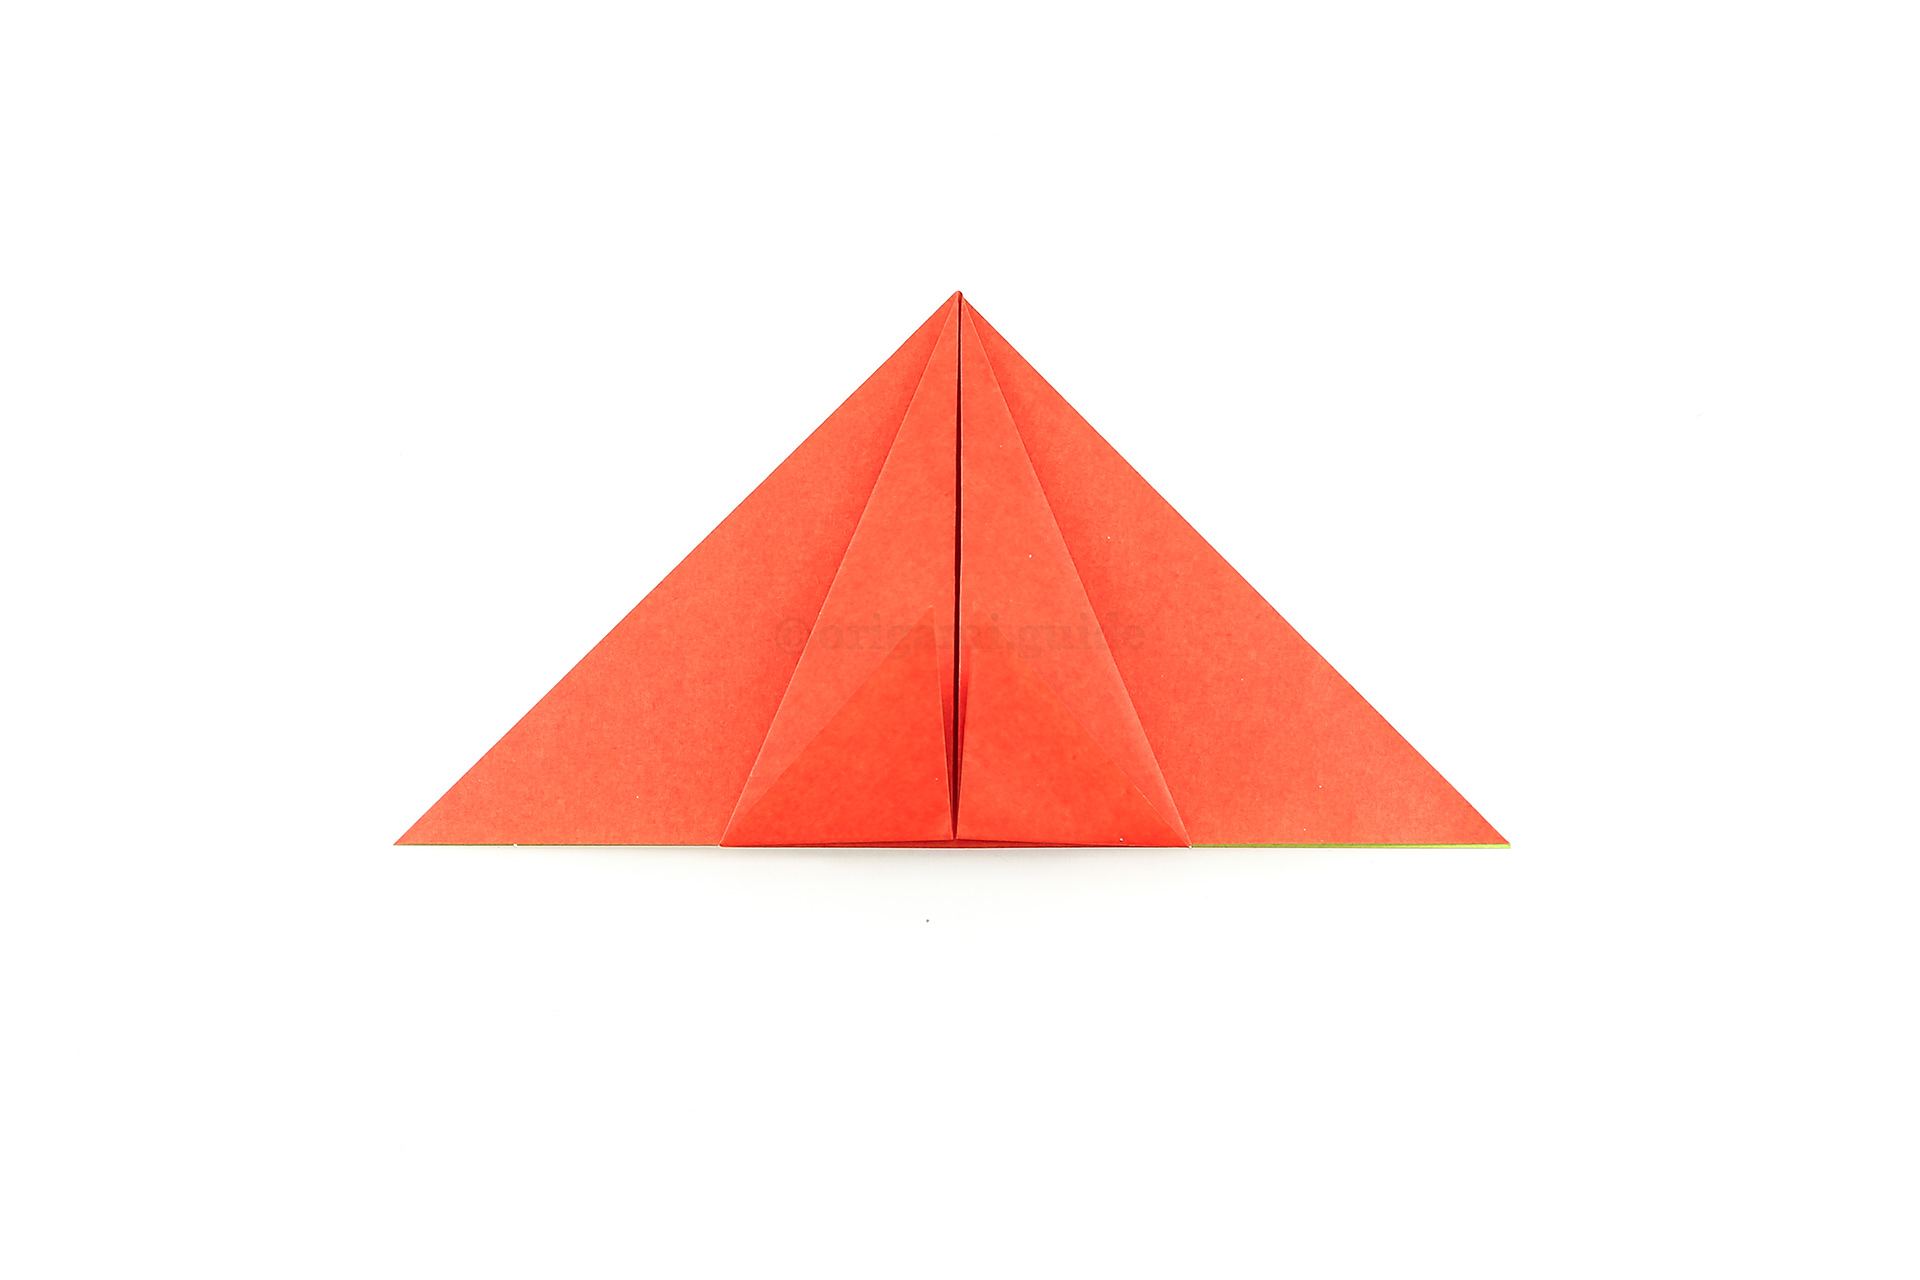
7
Step 7: This is an origami water bomb base.
-
8
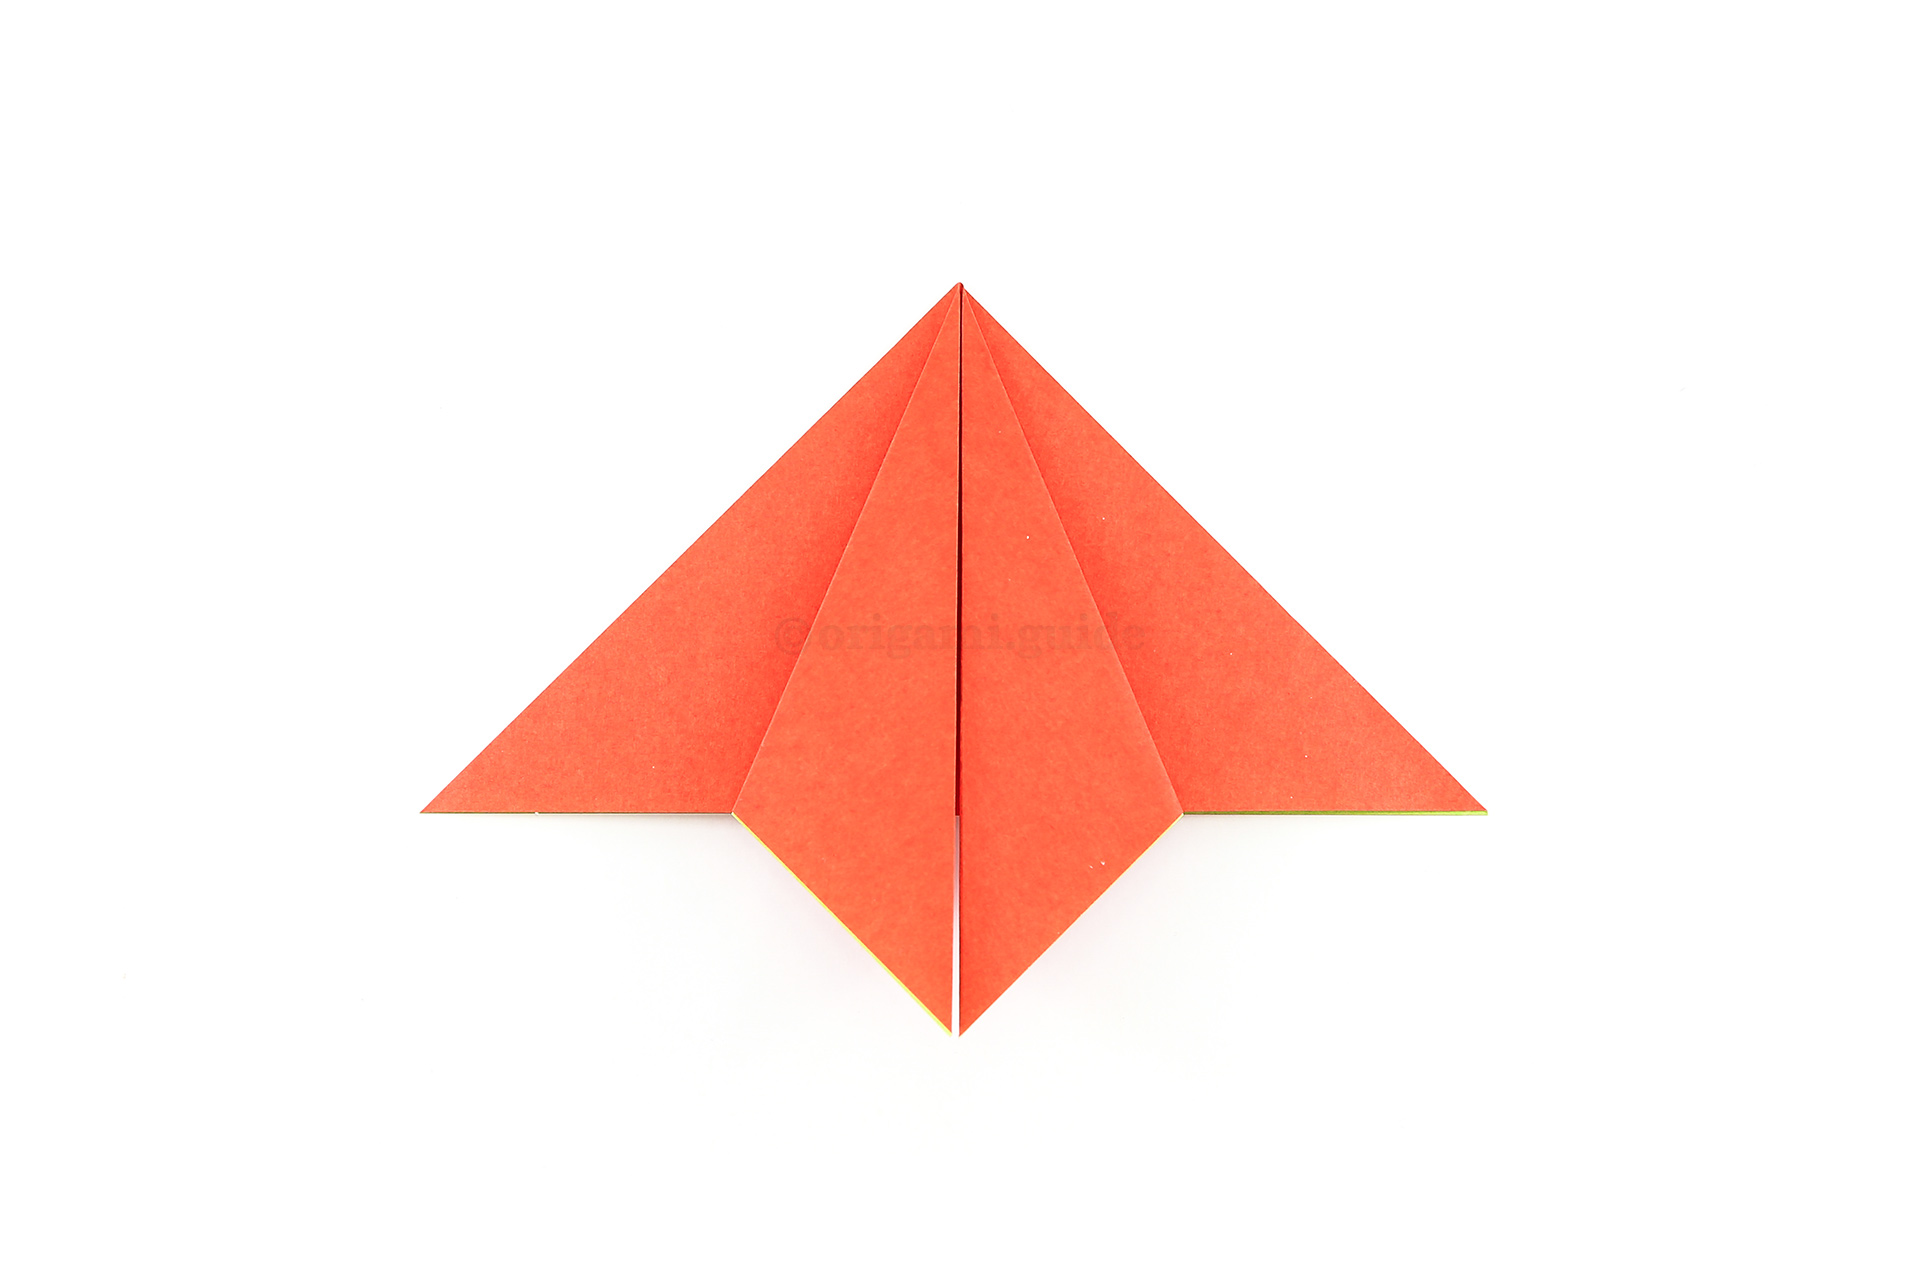
Step 8: Fold the front-most left and right flaps diagonally downed inward to align with the central vertical crease.
-
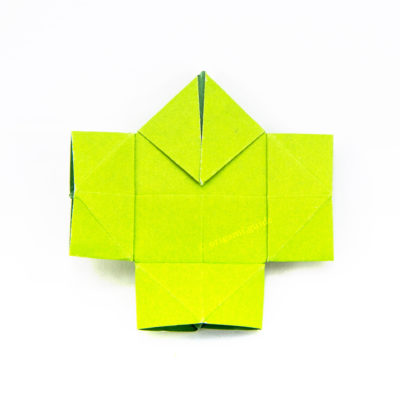
9
Step 9: Next, fold the two lower flaps upward, aligning with the bottom edge of the triangle.
What Origami Flowers To Fold Next?
- « How To Make An Origami Tulip Flower

- Fold An Easy Origami 8 Petal Flower »
 View all Origami Flowers Tutorials
Leave A Comment
Did you fold this 8 Petal Origami Flower? Let us know what you thought.
You can also upload a photo of your result!