Origami Simple Flower
Learn how to fold a traditional origami flower. This flower is very simple to make and only takes a couple of minutes!
It’s easy to customise the look of this blossom, make curves petals, rounded petals, or a cluster of flowers for a hydrangea.
We will start from an origami square base, if you already know how to make one, skip to step 13 on page 2.
Origami Simple Flower Instructions
Scroll down to follow the photo tutorial for the Origami Simple Flower.
Made this origami? Leave a comment & submit your photo on the last page here.
-
1
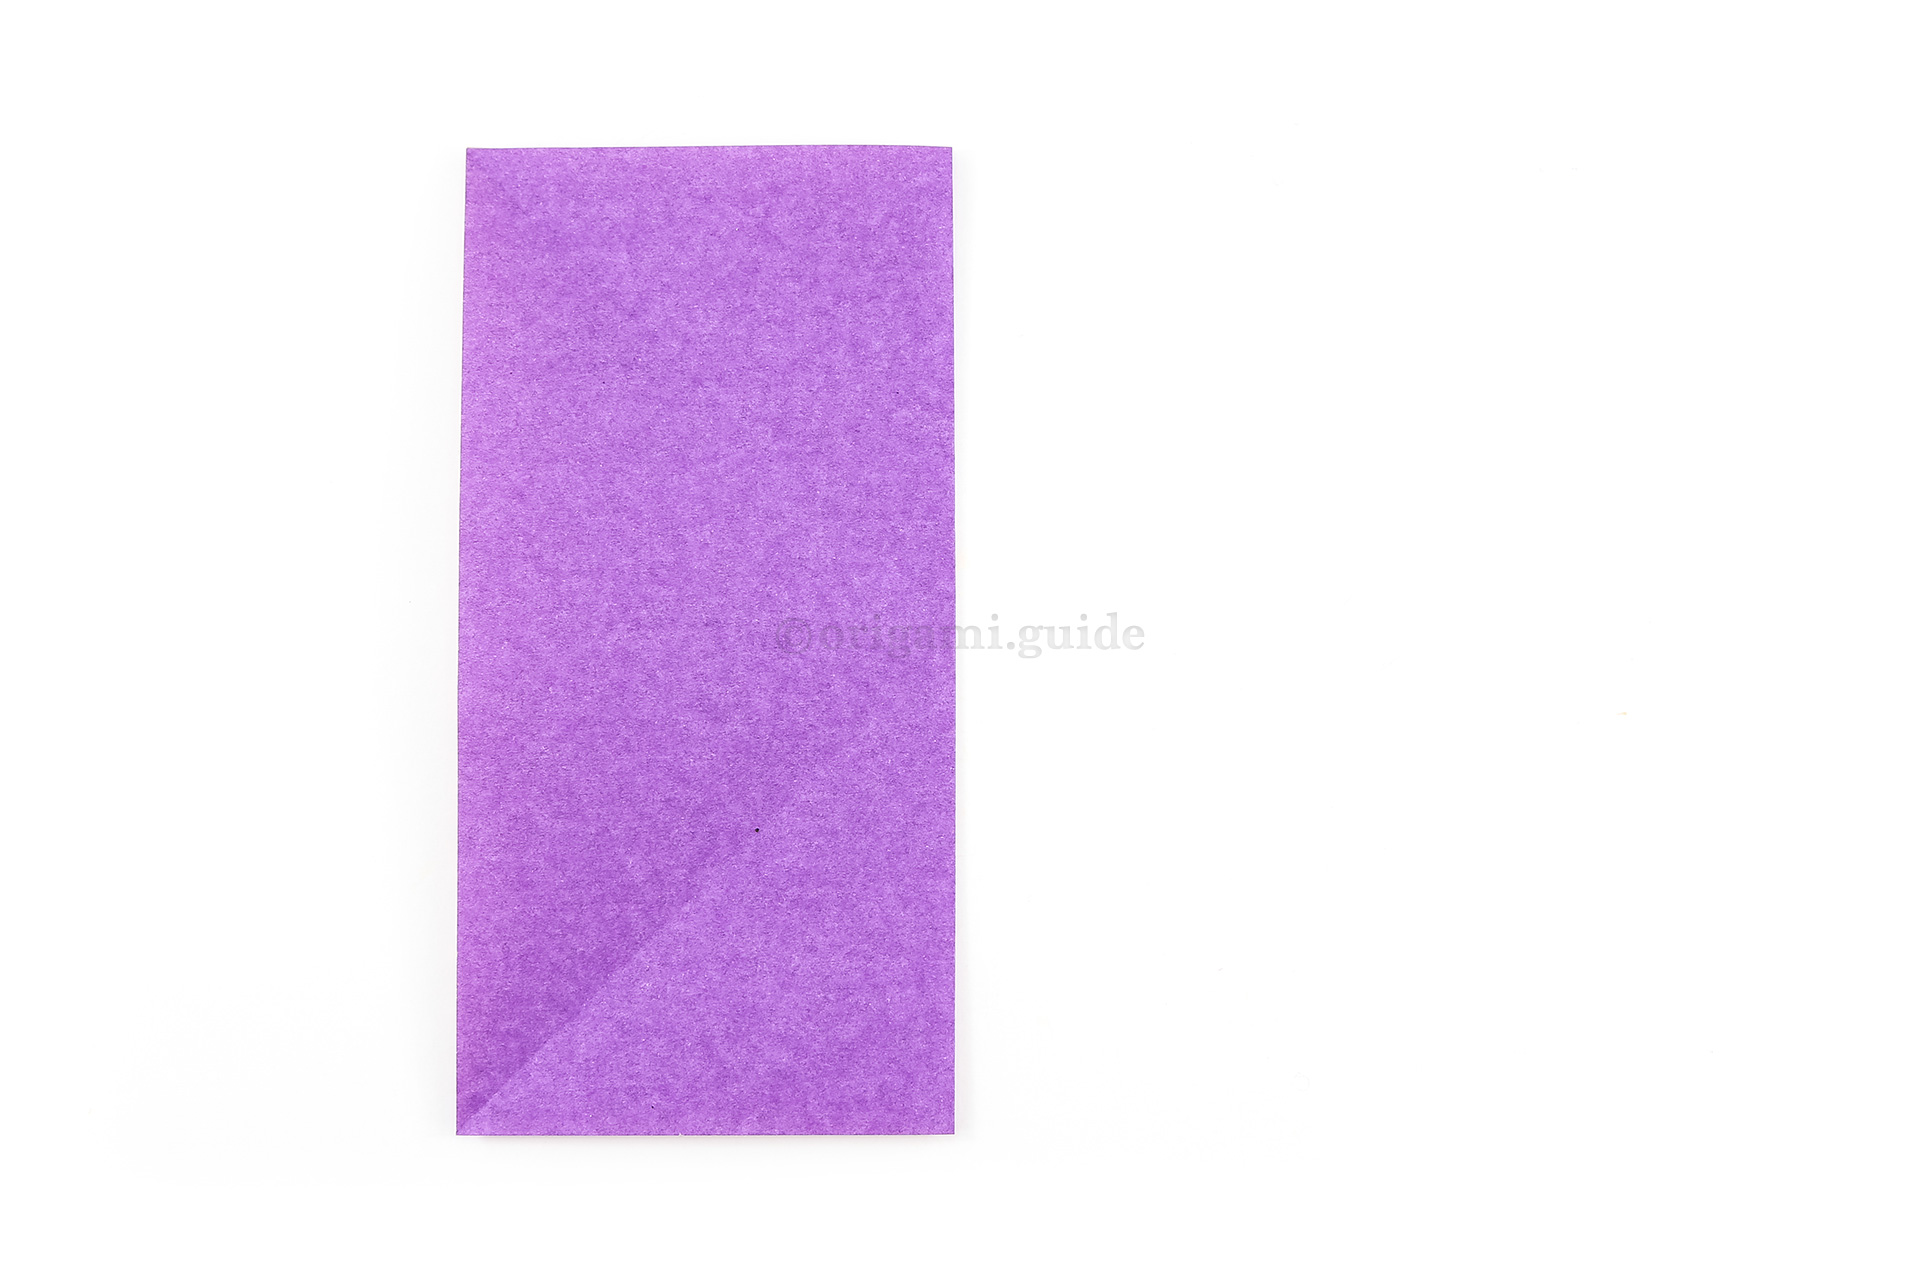
Step 1: This is the front of our origami paper, our simple flower will have this colour as the petals.
-
2

Step 2: This is the back of our origami paper (usually white), our stem will end up this colour.
-
3
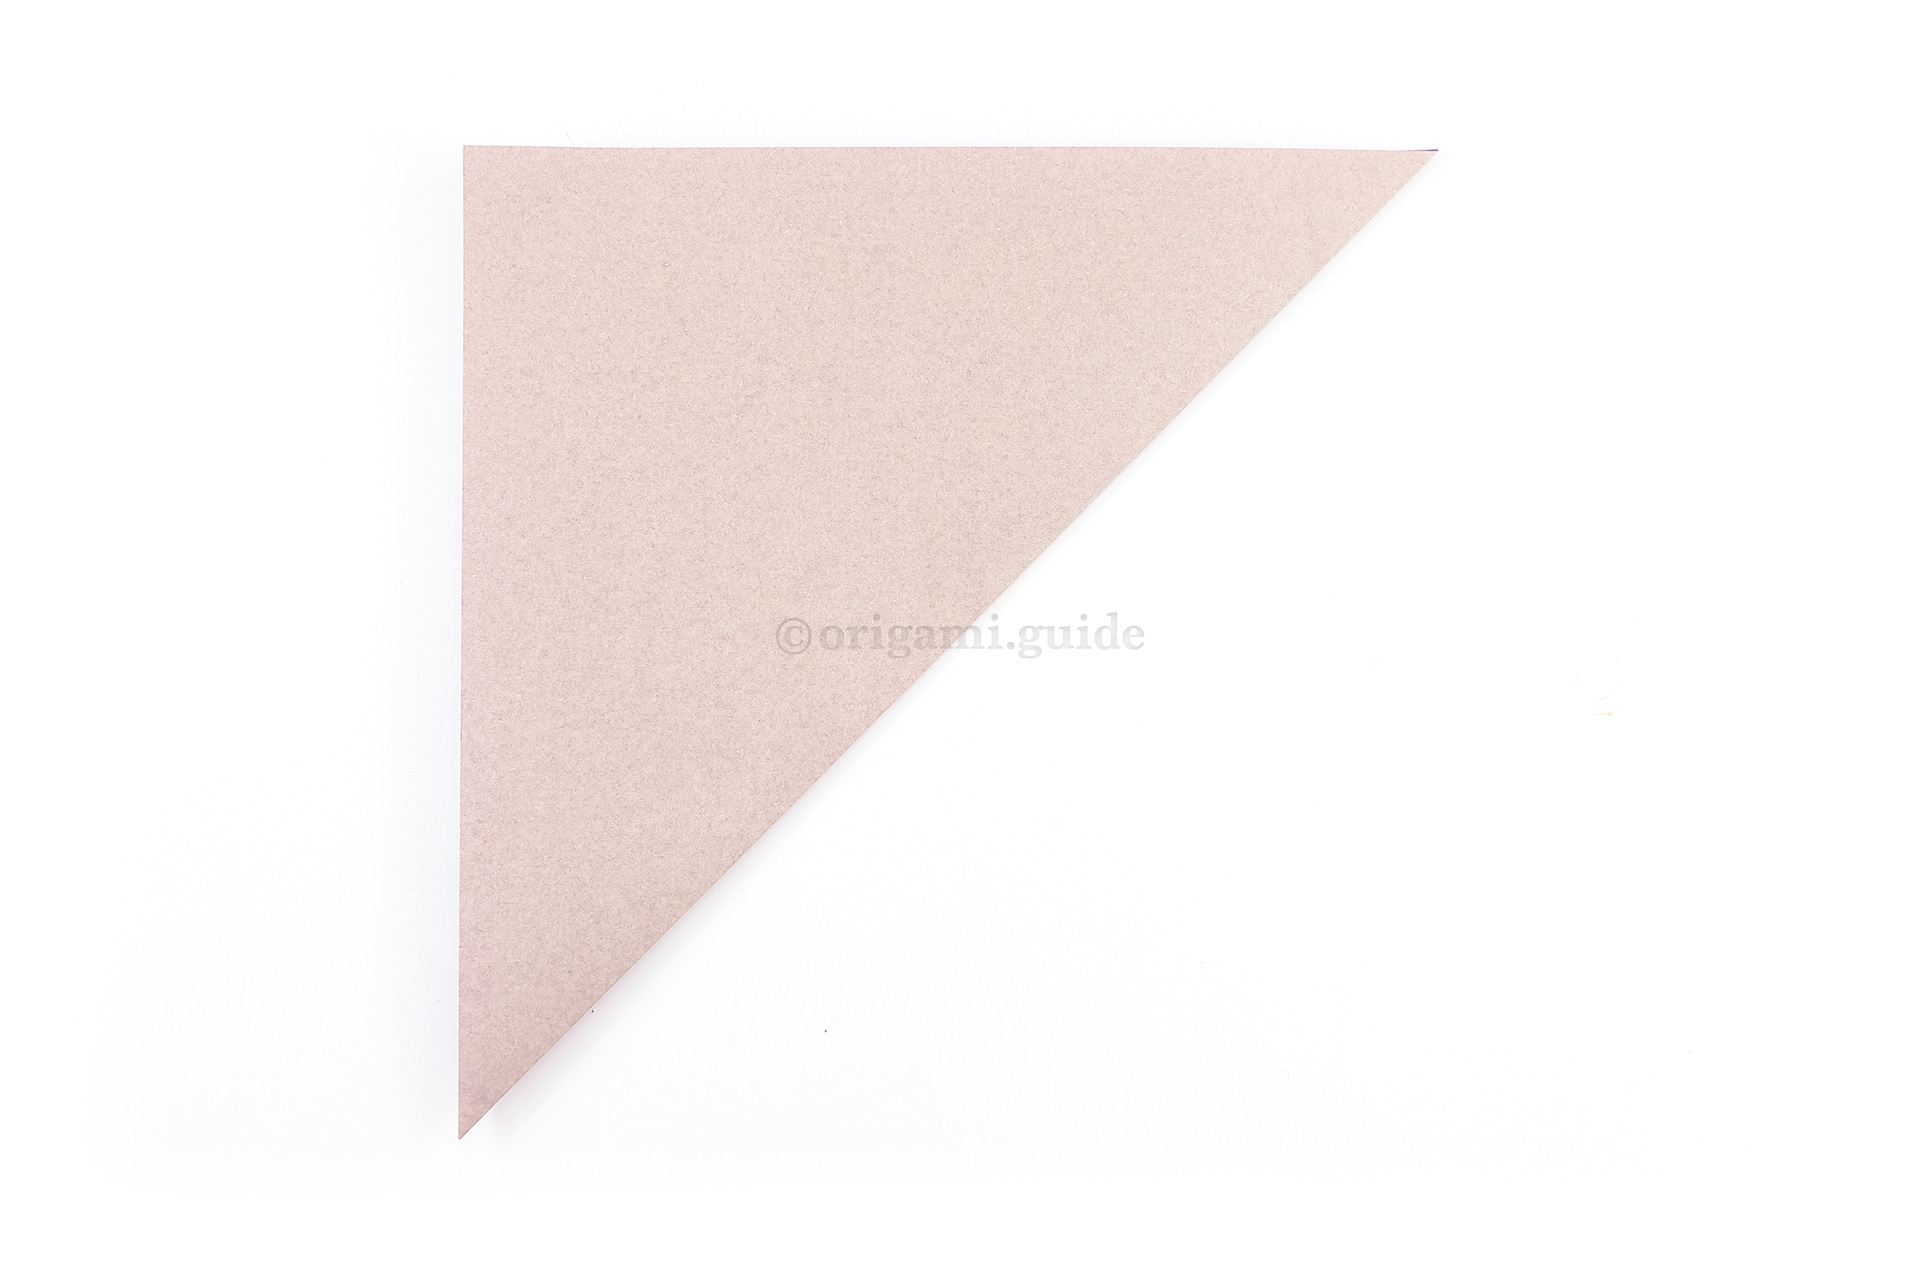
Step 3: We will fold a square base to start. Fold the bottom right point of the paper diagonally up to the top left corner.
-
4

Step 4: Unfold the previous step.
-
5
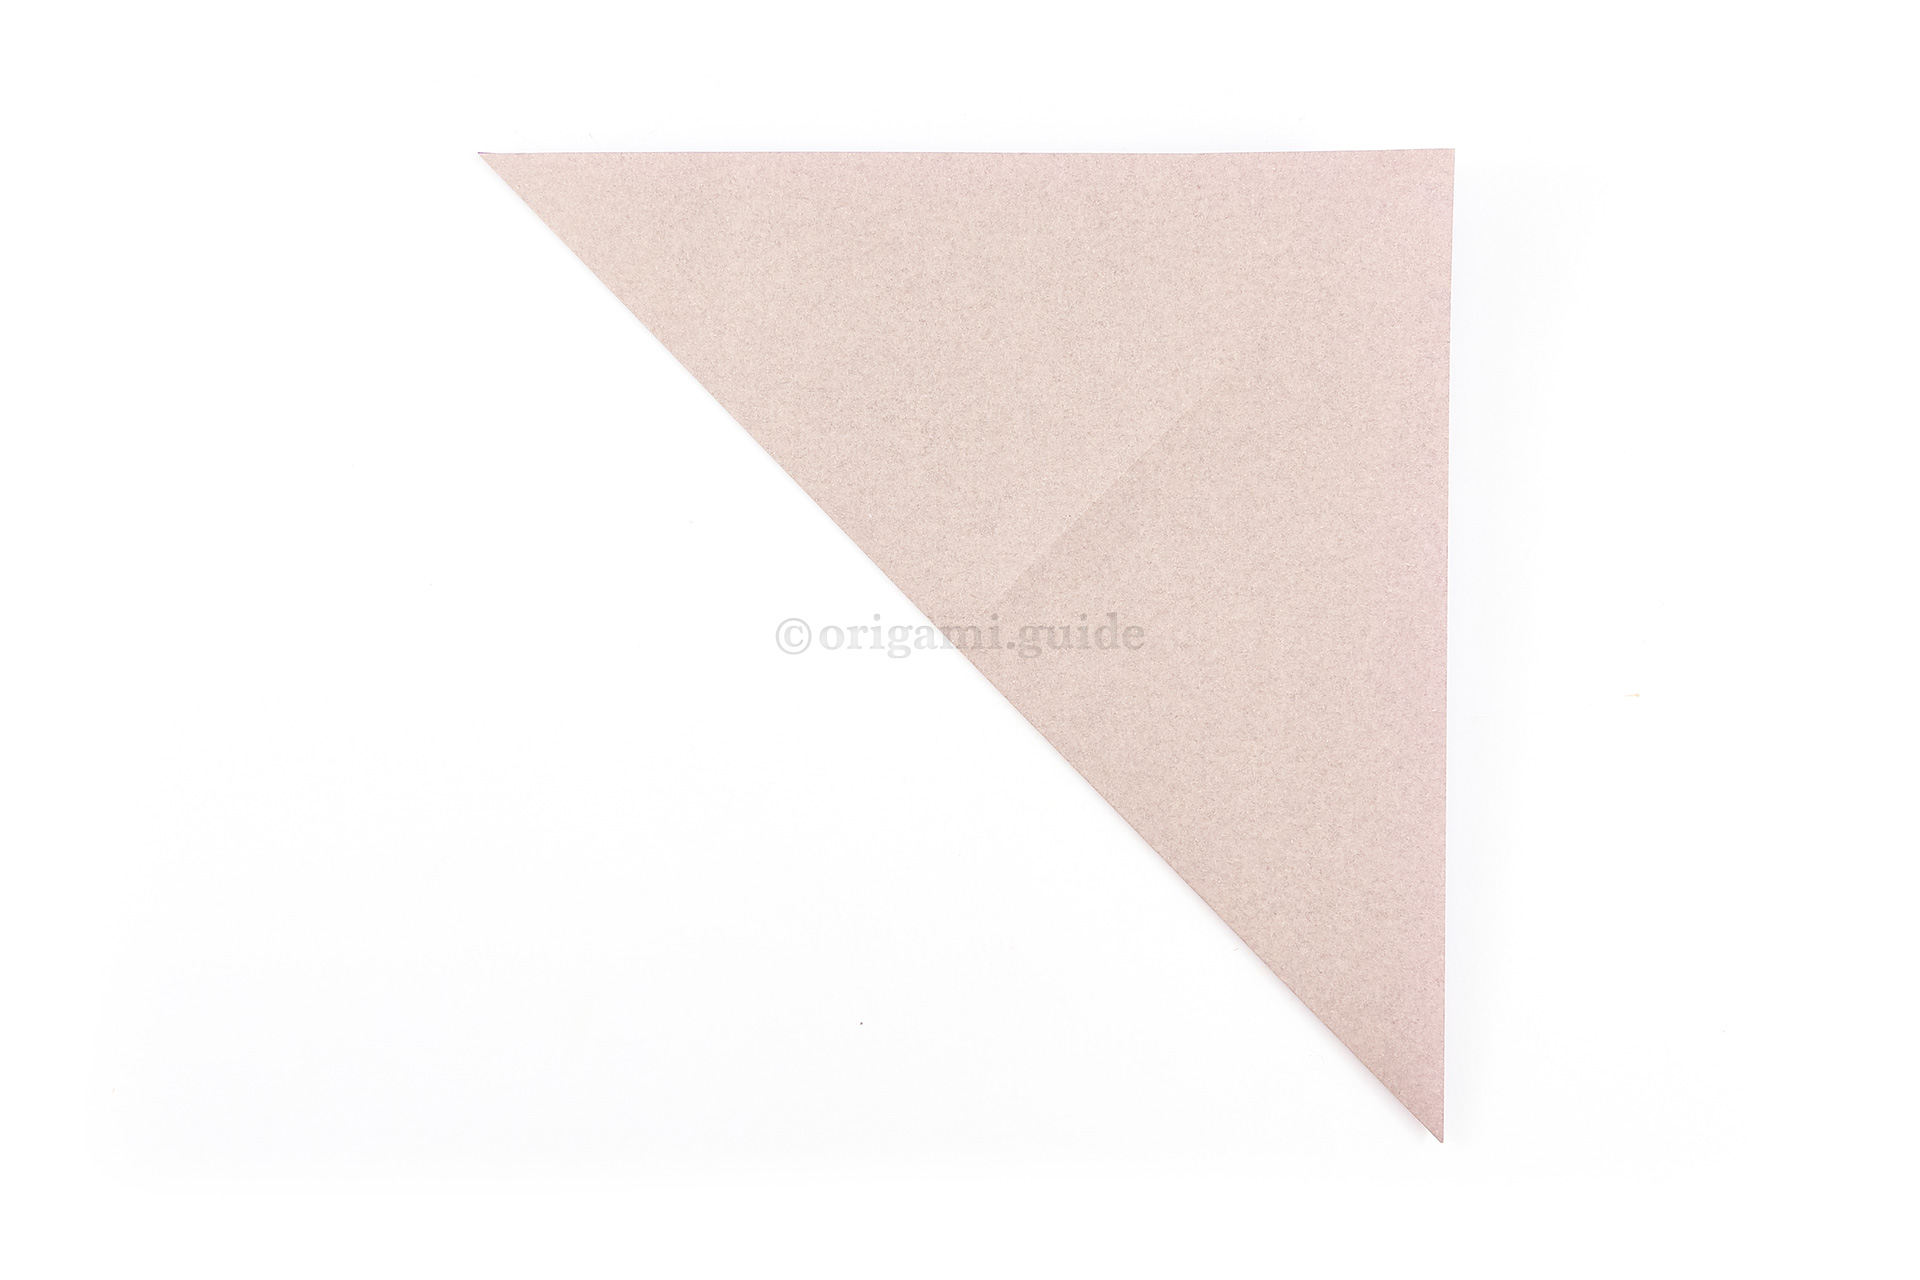
Step 5: Fold the bottom left point of the paper diagonally up to the top right corner.
-
6
Step 6: Unfold the previous step.
-
7

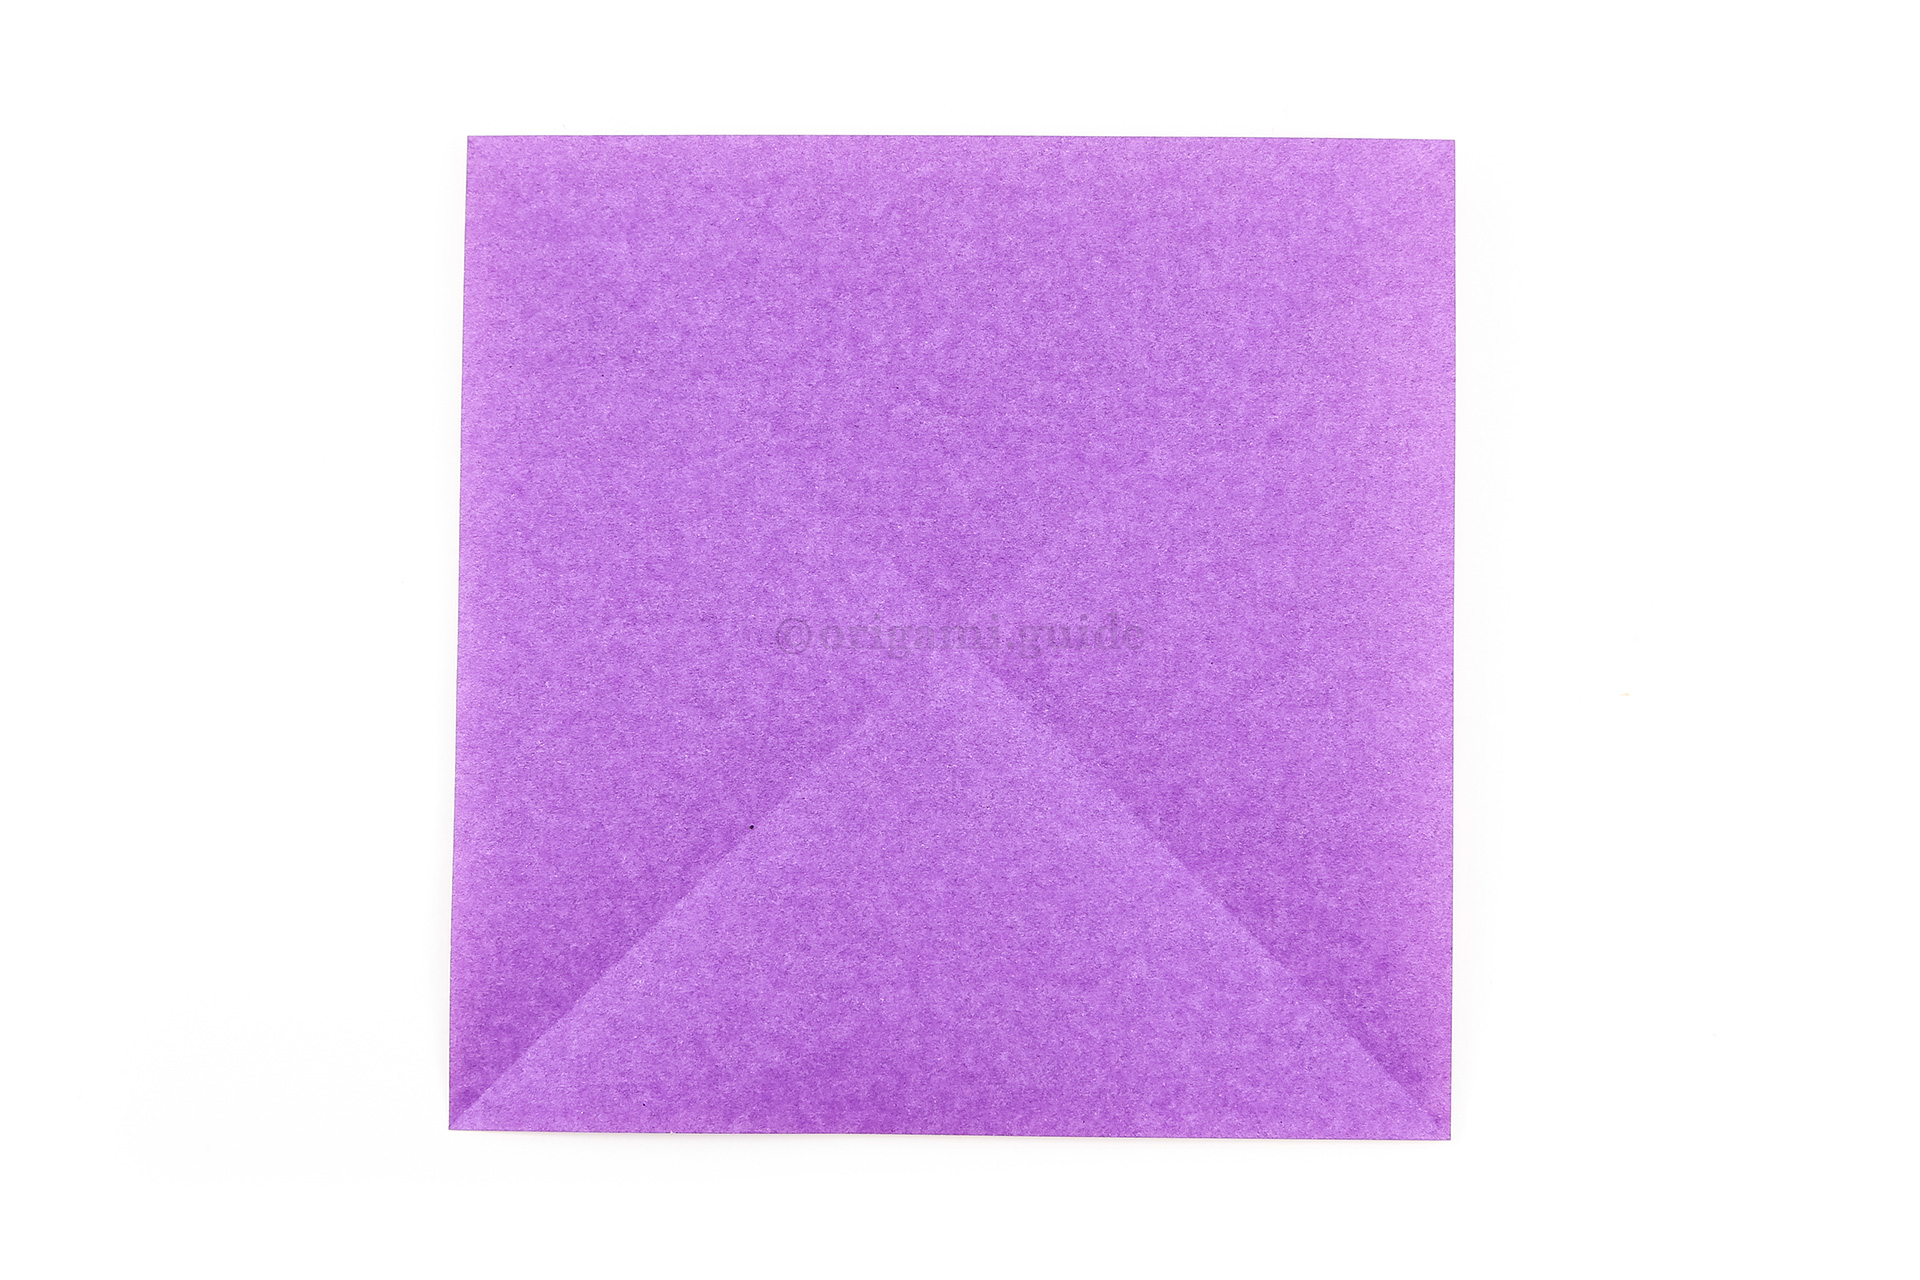
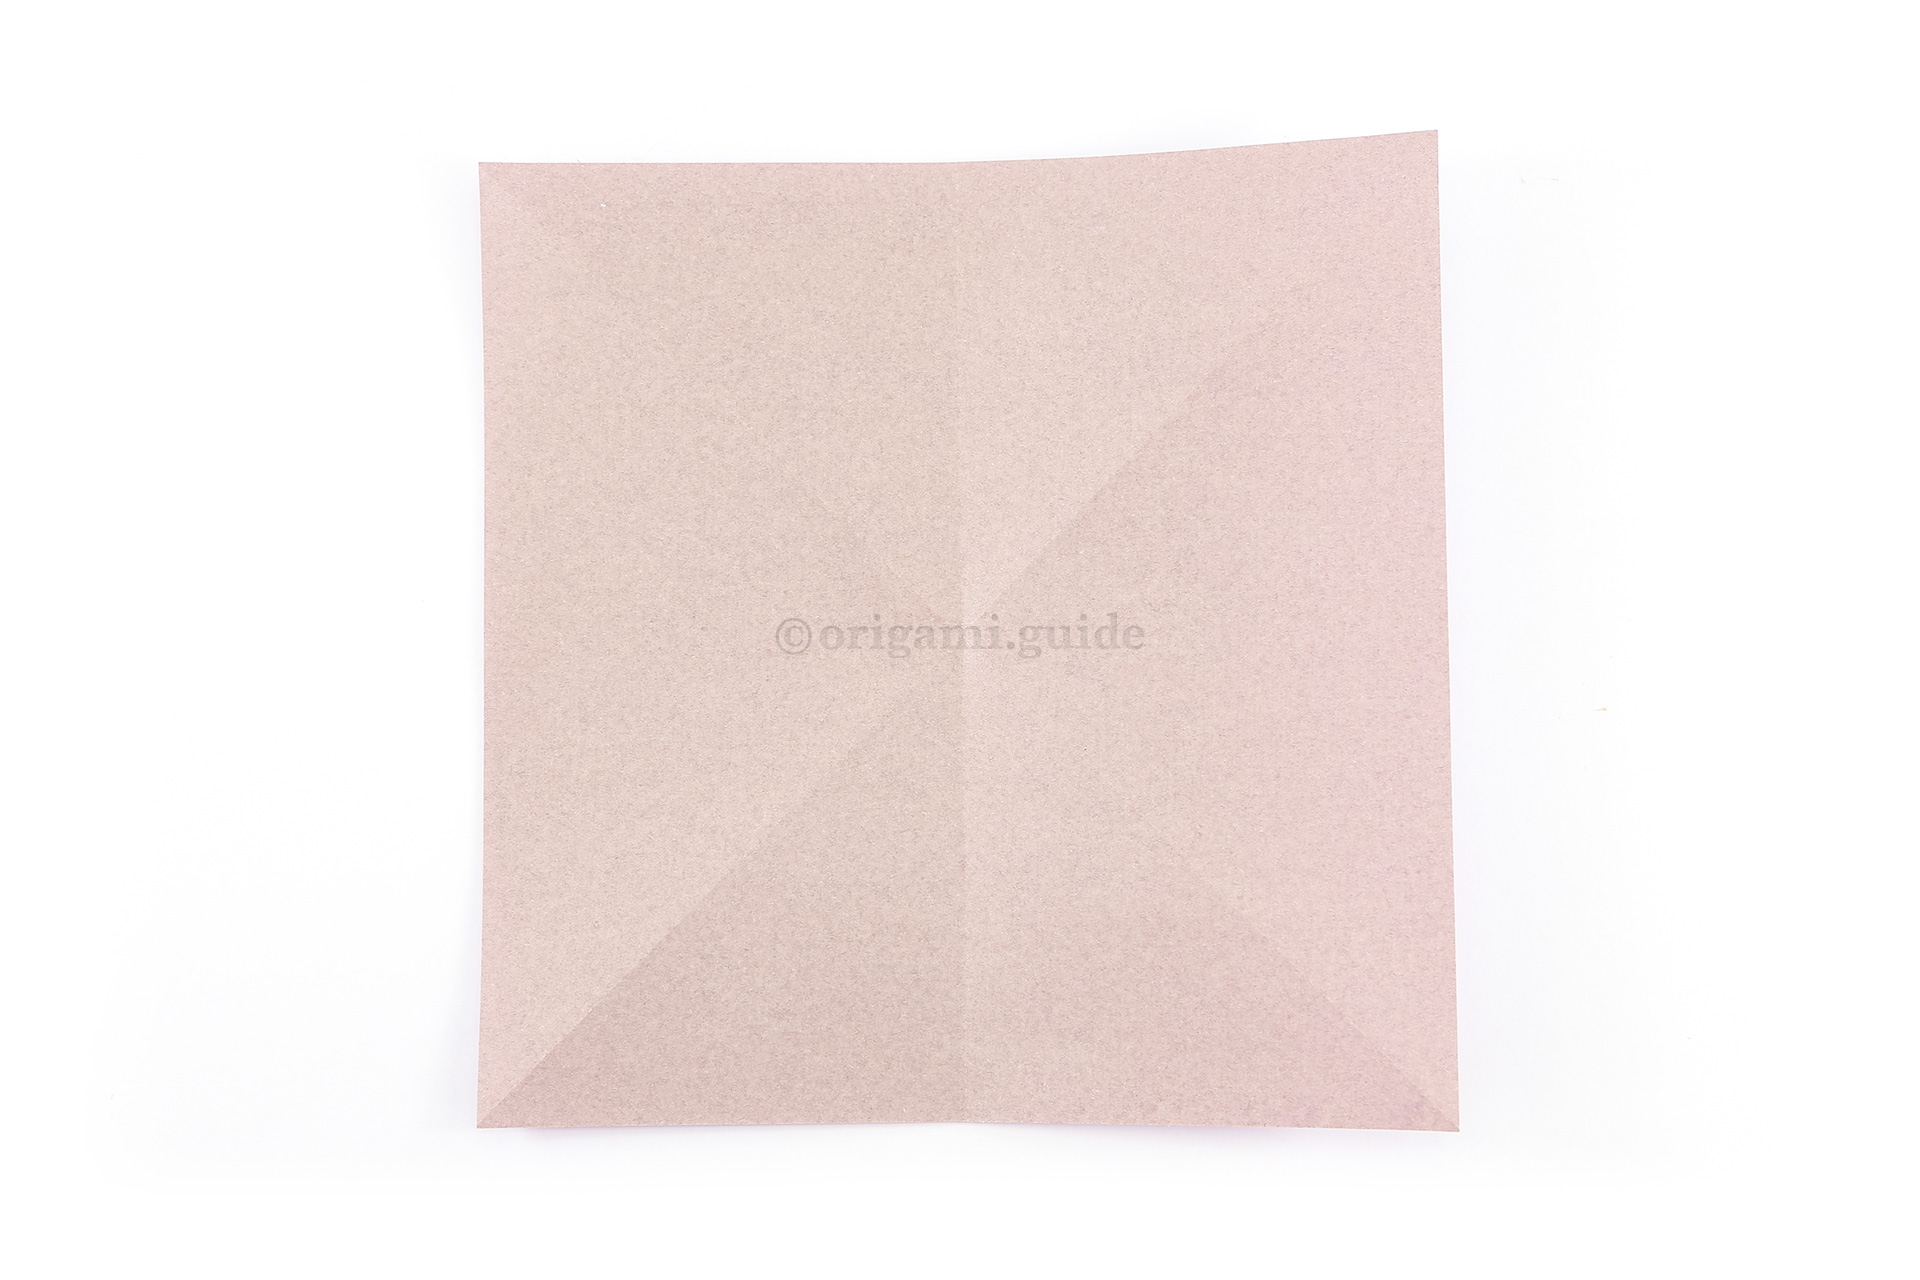
Step 7: Flip the paper over to the other side.
-
8
Step 8: Fold the right edge over to the left edge.
-
9
Step 9: Unfold the previous step.
-
10
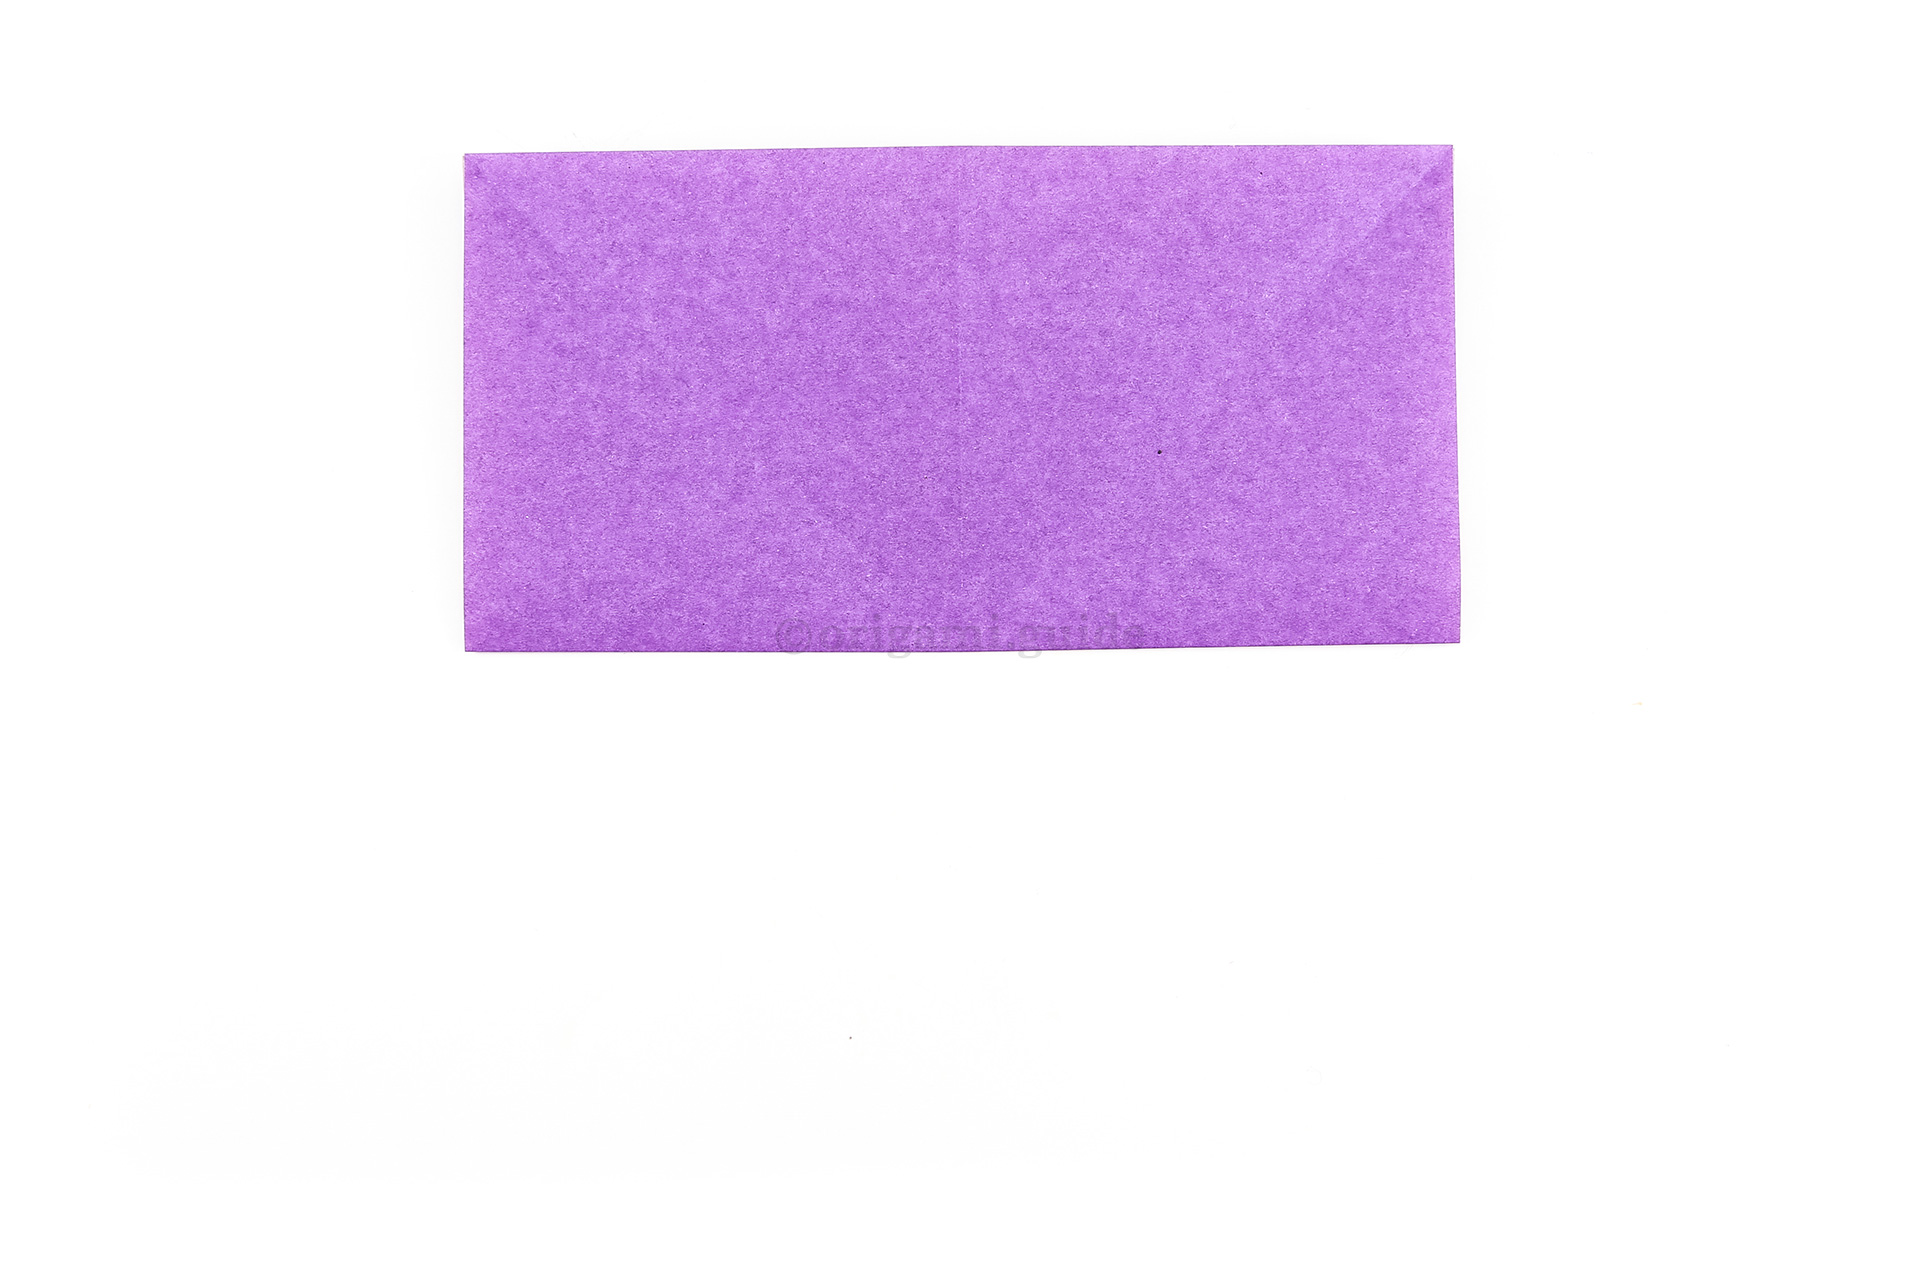
Step 10: Fold the bottom edge up to the top edge.
What Origami Flowers To Fold Next?
- « How To Make An Origami Daylily

- How To Fold An Origami Bellflower »
 View all Origami Flowers Tutorials

Leave A Comment
Did you fold this Origami Simple Flower? Let us know what you thought.
You can also upload a photo of your result!