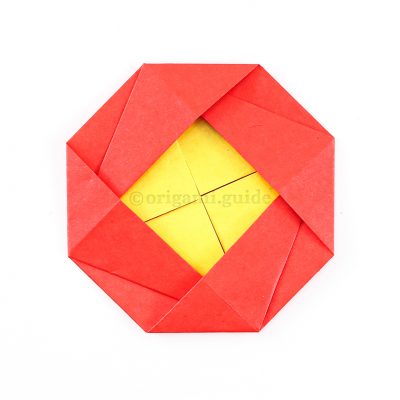
Origami Camellia Flower
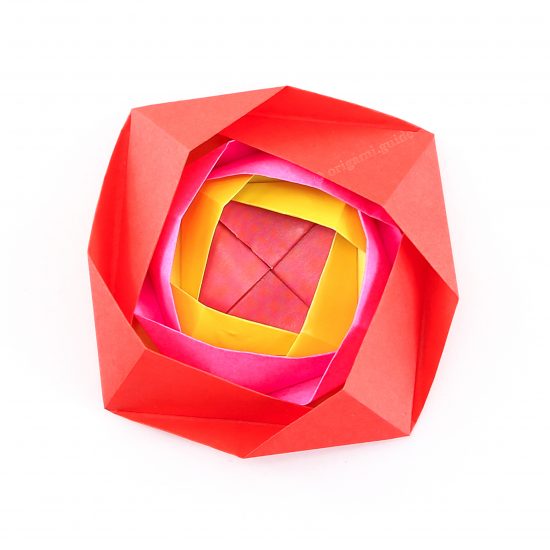
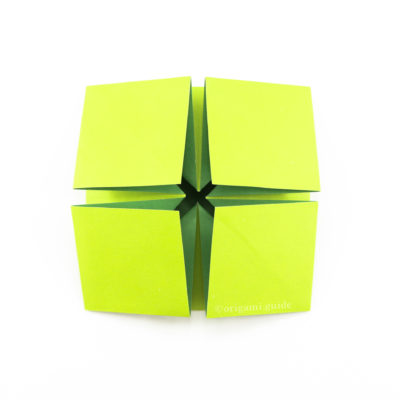
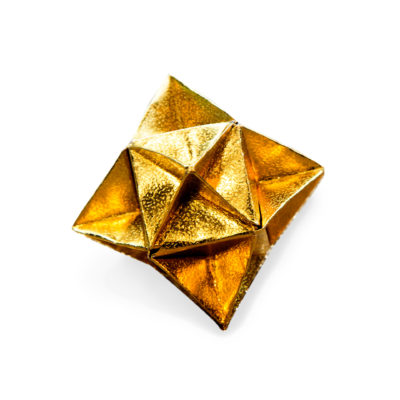
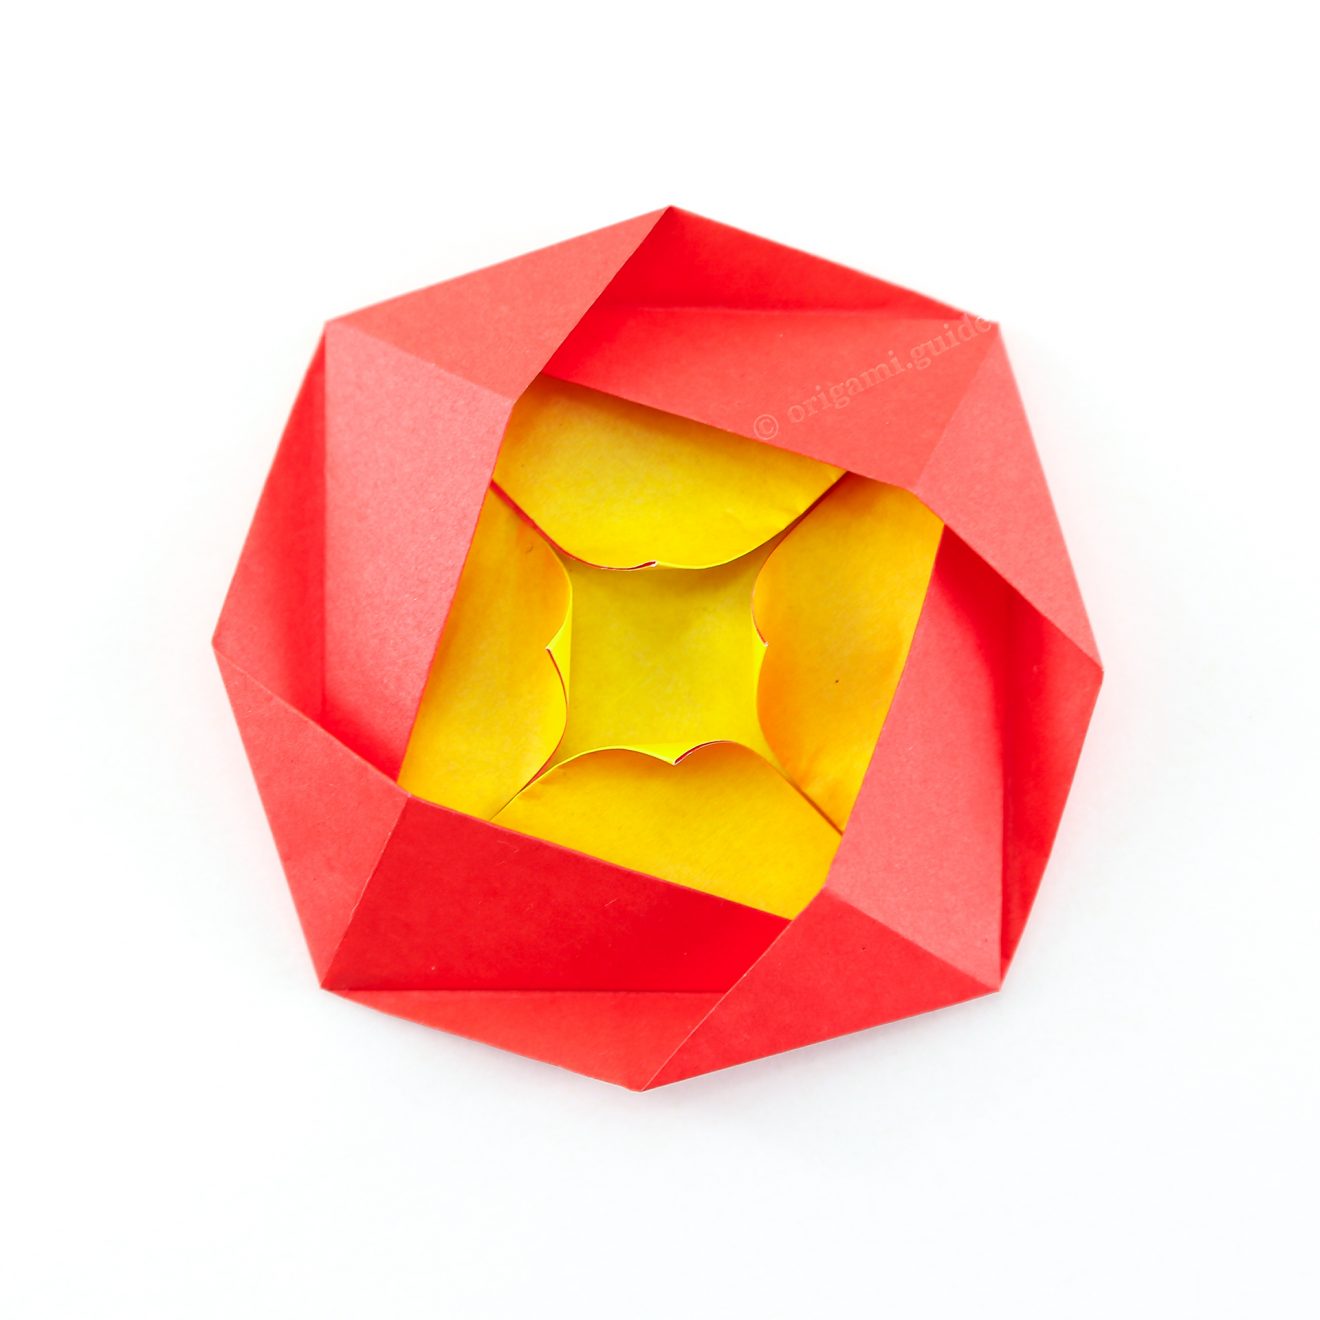
Learn how to fold a pretty origami camellia flower from one square sheet of paper. These origami flowers are easy to intermediate. This means that if you’re new to origami, you might find it a little challenging, at first!
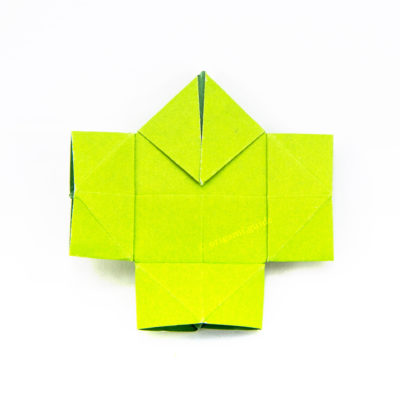
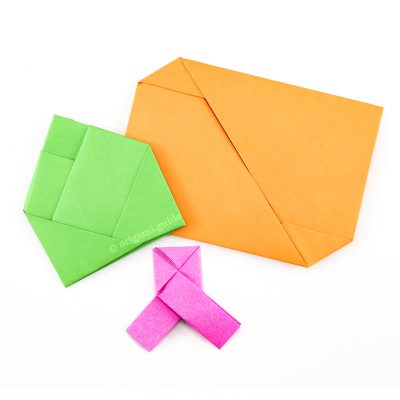
This camellia flower is actually an origami “Tato” which is a envelope type purse, that is flat but can hold coins or other flat items such as threads, needles or clips. Origami Tatos are popular to use as gift cards, to send messages or folded multiple times to make into an origami quilt.
Origami quilts are simply origami models that are fastened onto a poster board or other surface, in a repeating pattern.
This origami camellia flower looks lovely as a flat decoration, but you can also open the petal part of the flower up a little, making it look three-dimentional. The inner part of the flower can be folded out or curled, or left as is.
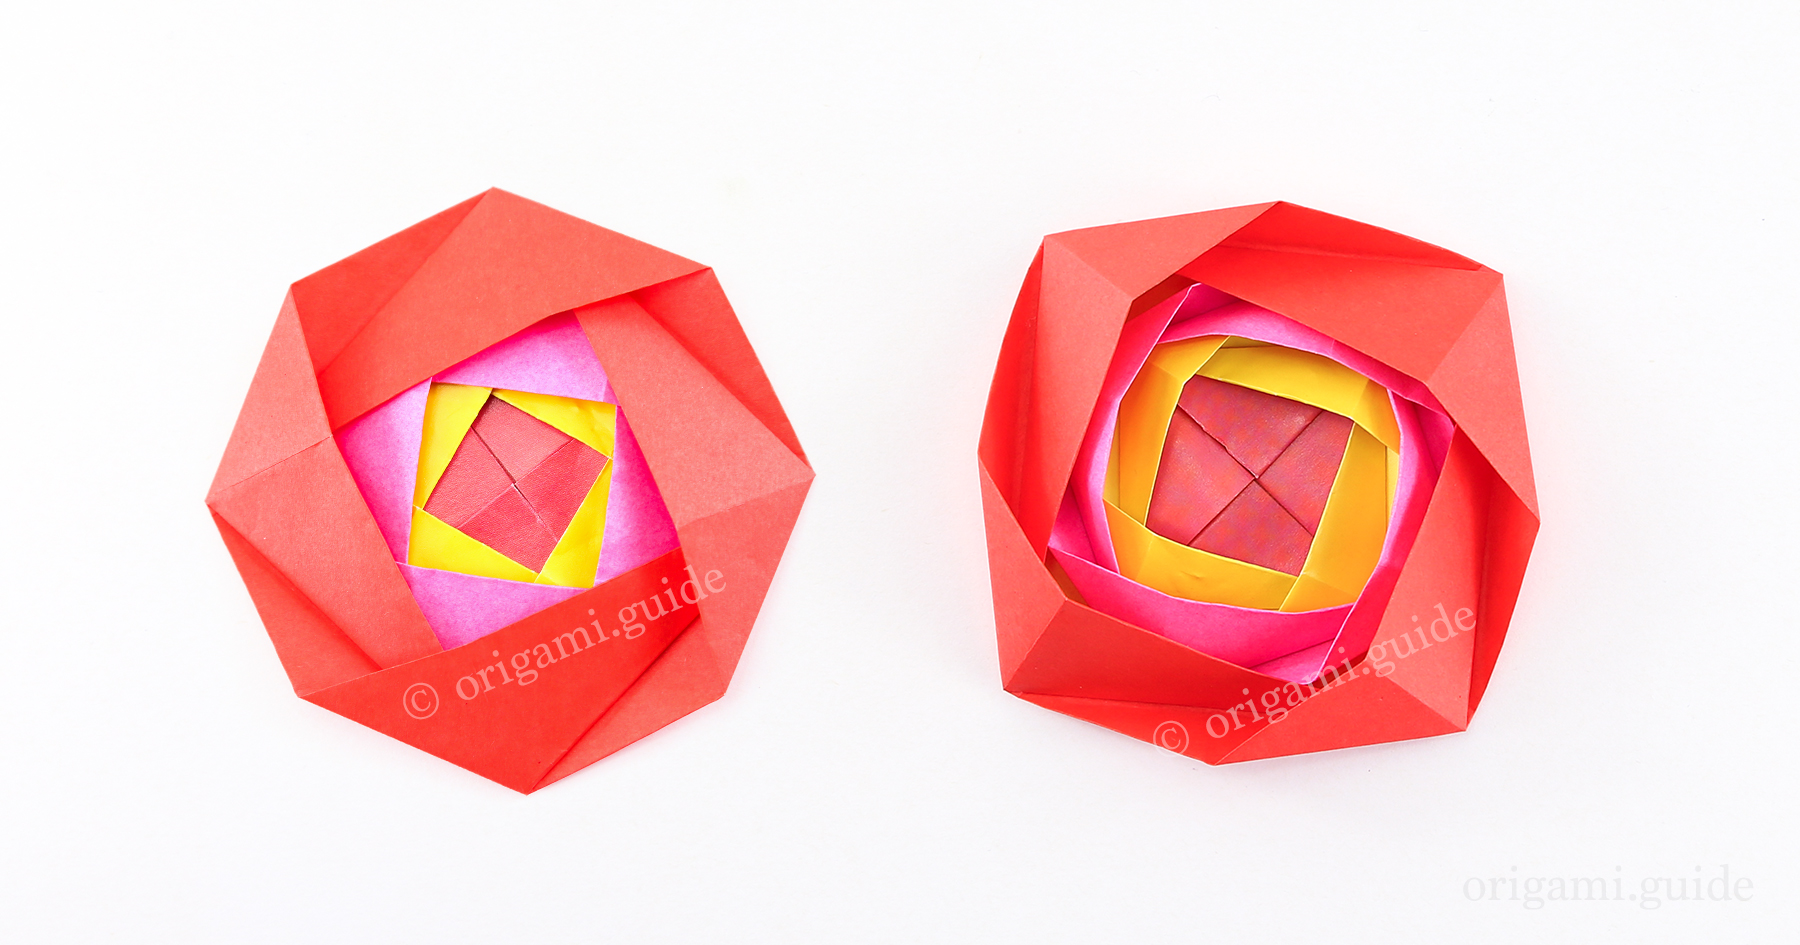
You can also nest these origami camellia flowers into one another, click here to get the instructions on how to do that.
Origami Camellia Flower Instructions
Scroll down to follow the photo tutorial for the Origami Camellia Flower.
Made this origami? Leave a comment & submit your photo on the last page here.
-
1

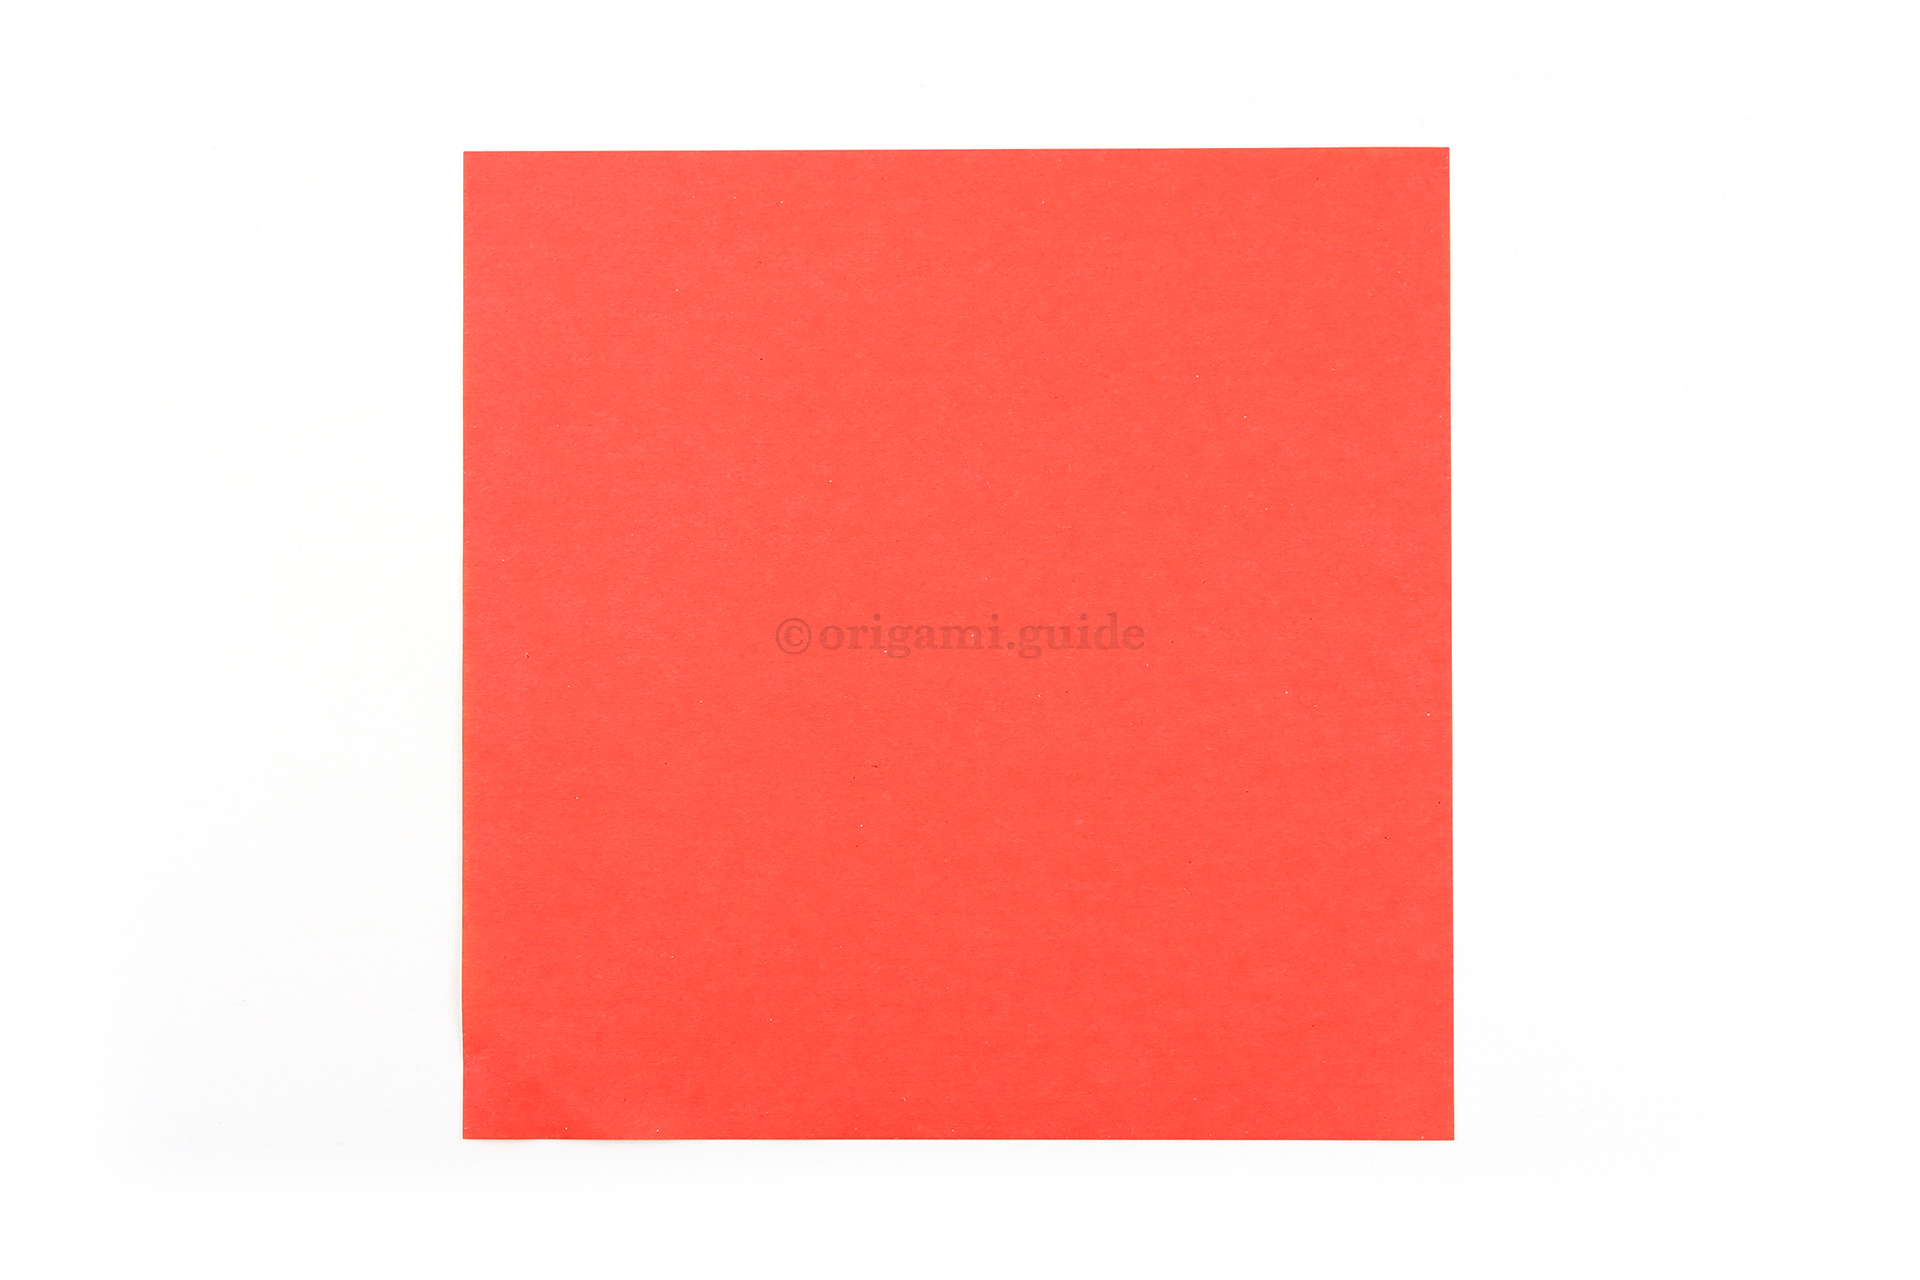
Step 1: This is the front of our origami paper, which is red. Our flower will have red petals.
-
2

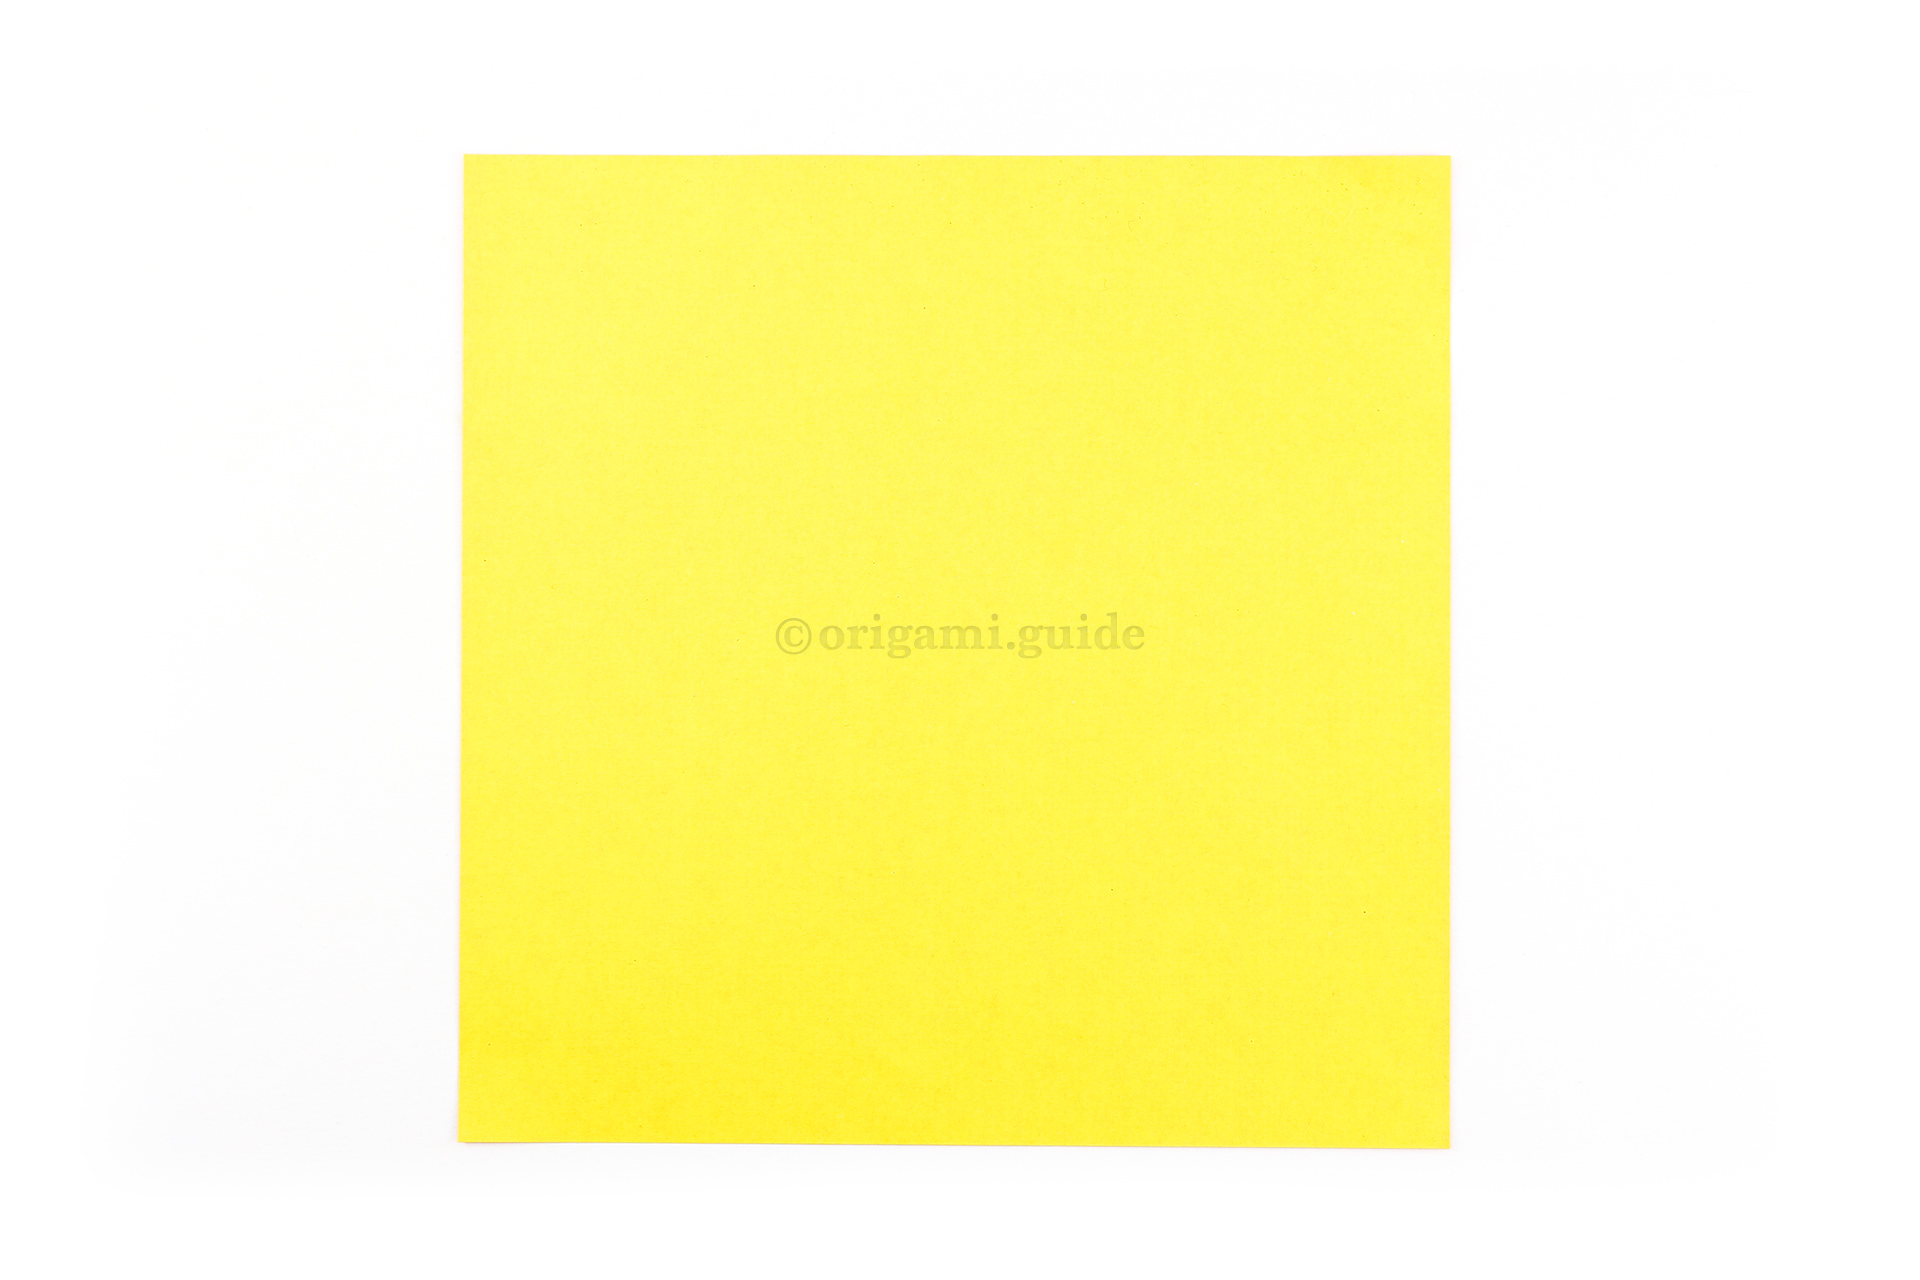
Step 2: Flip the paper over to the back of the origami paper, this colour will be visible on the inside of the flower.
-
3

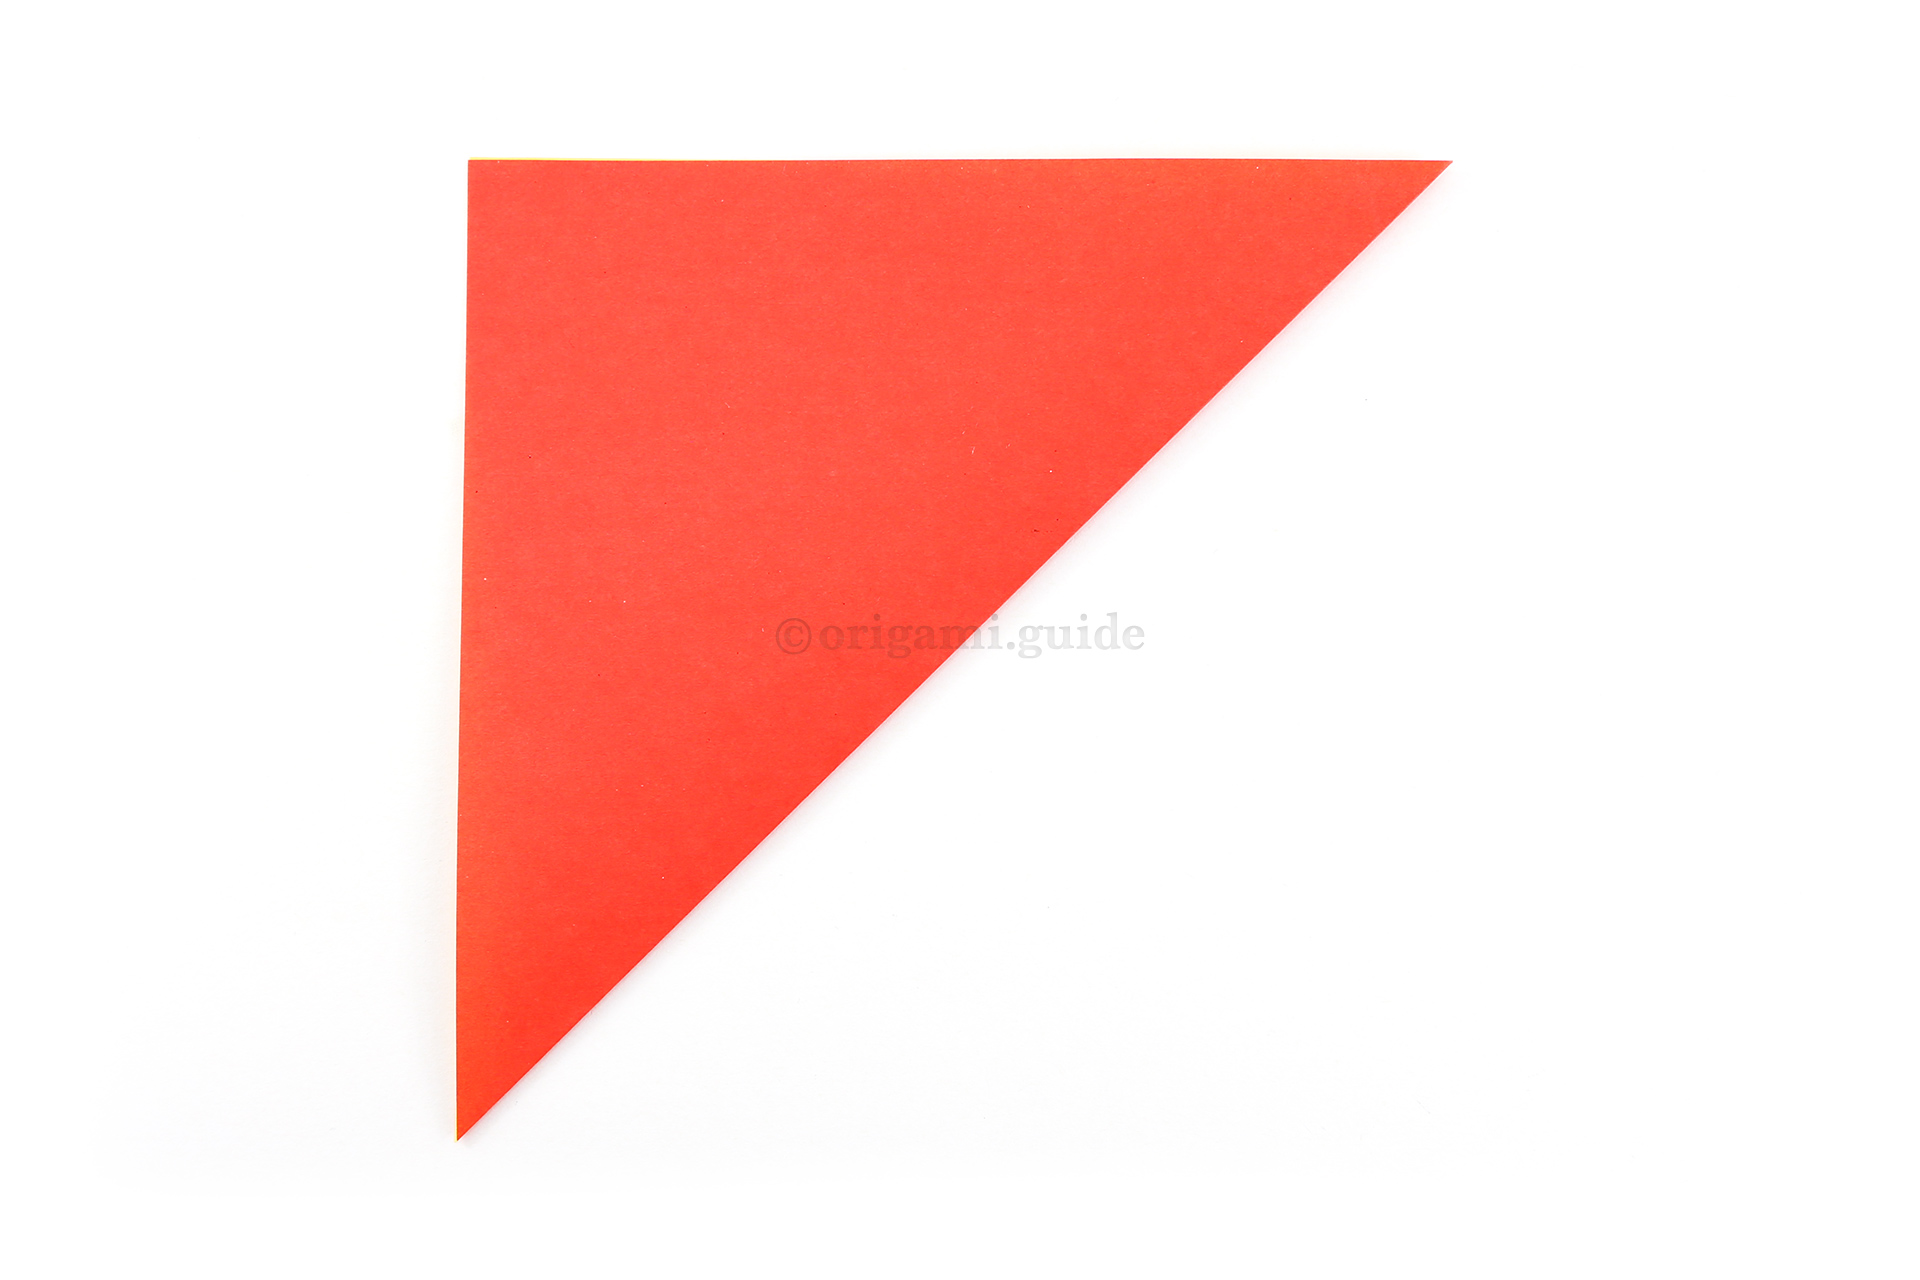
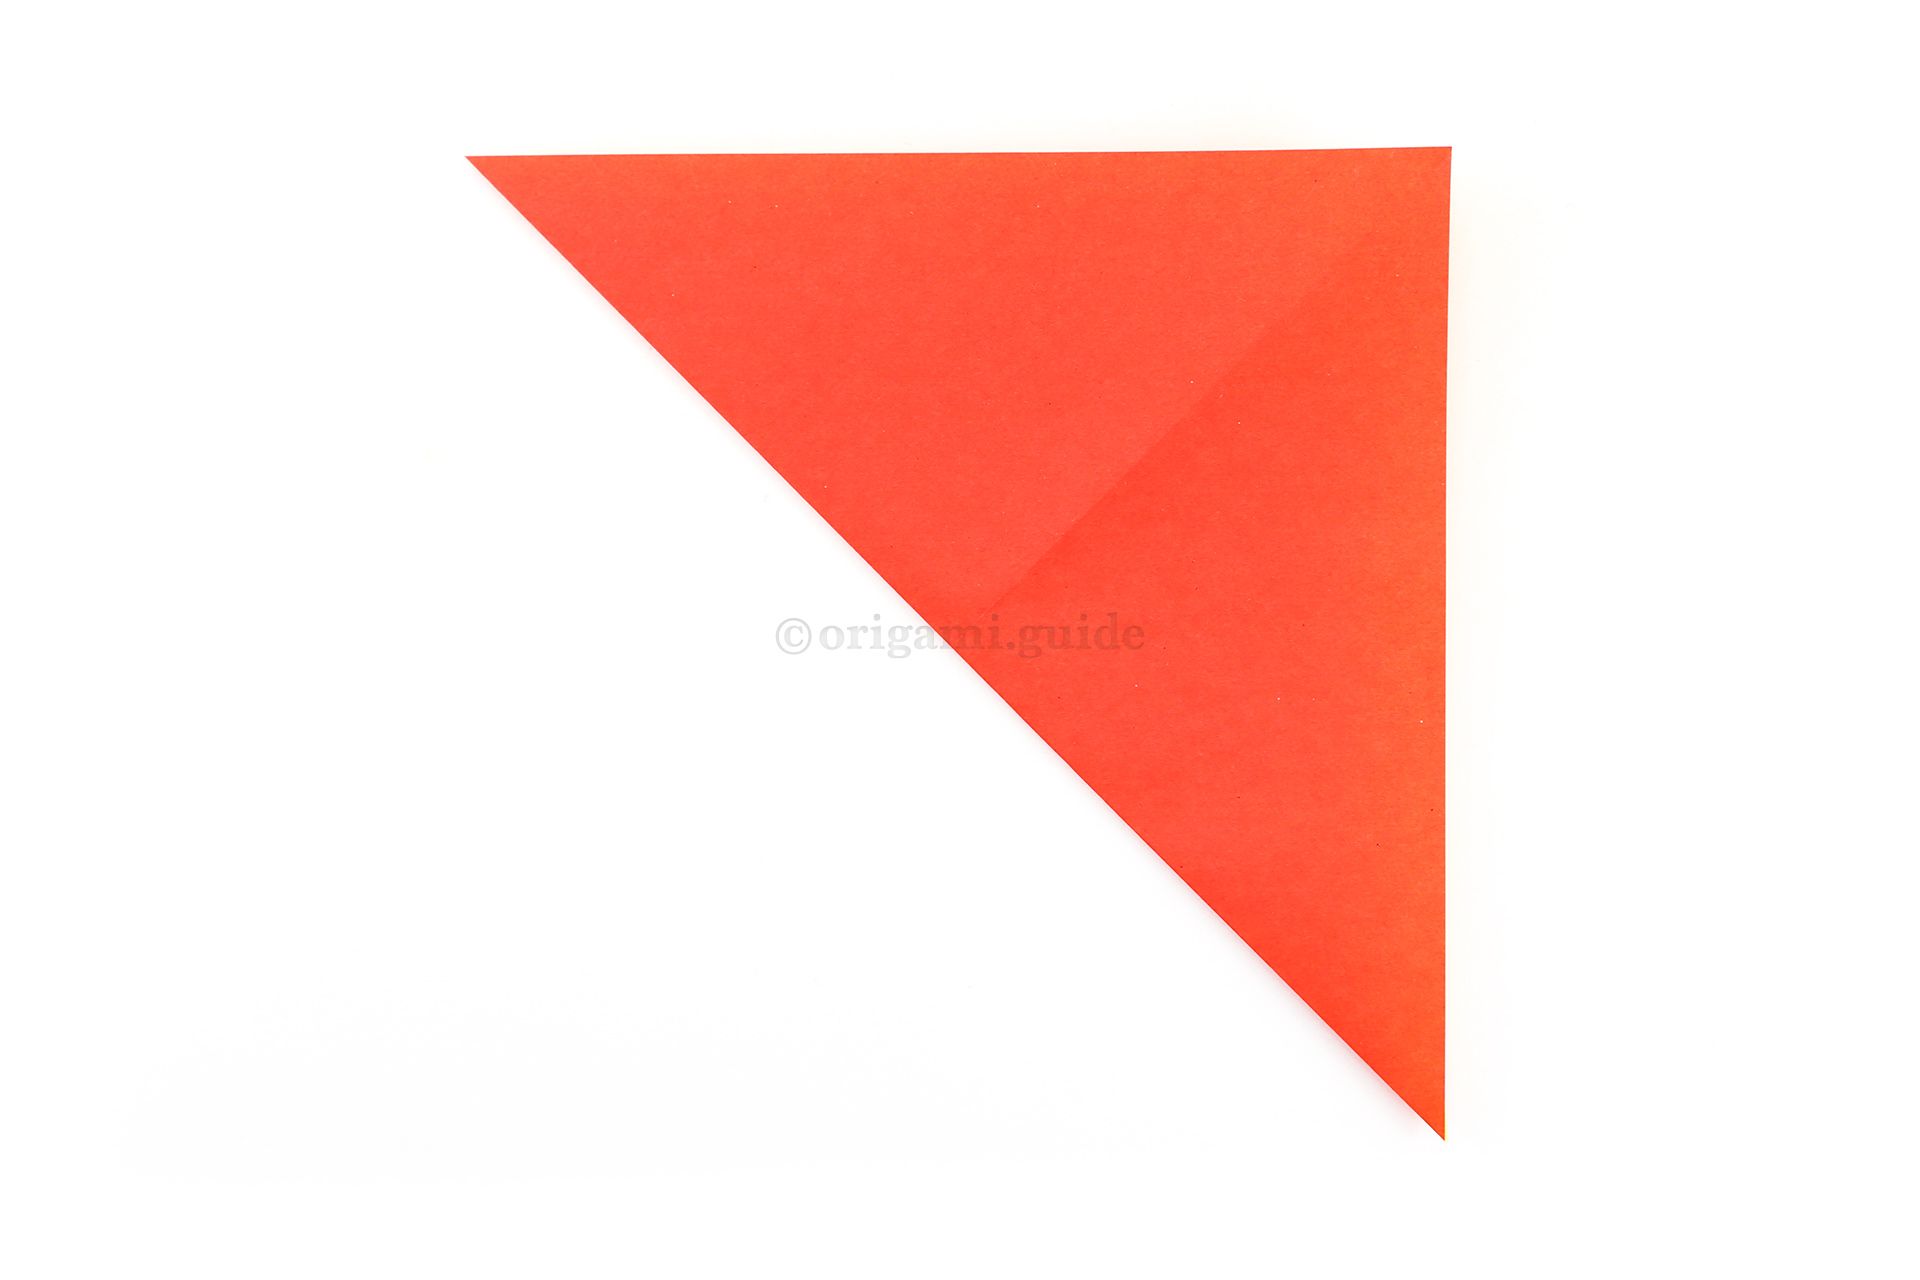
Step 3: Take the bottom right corner and fold it up to the top left corner.
-
4

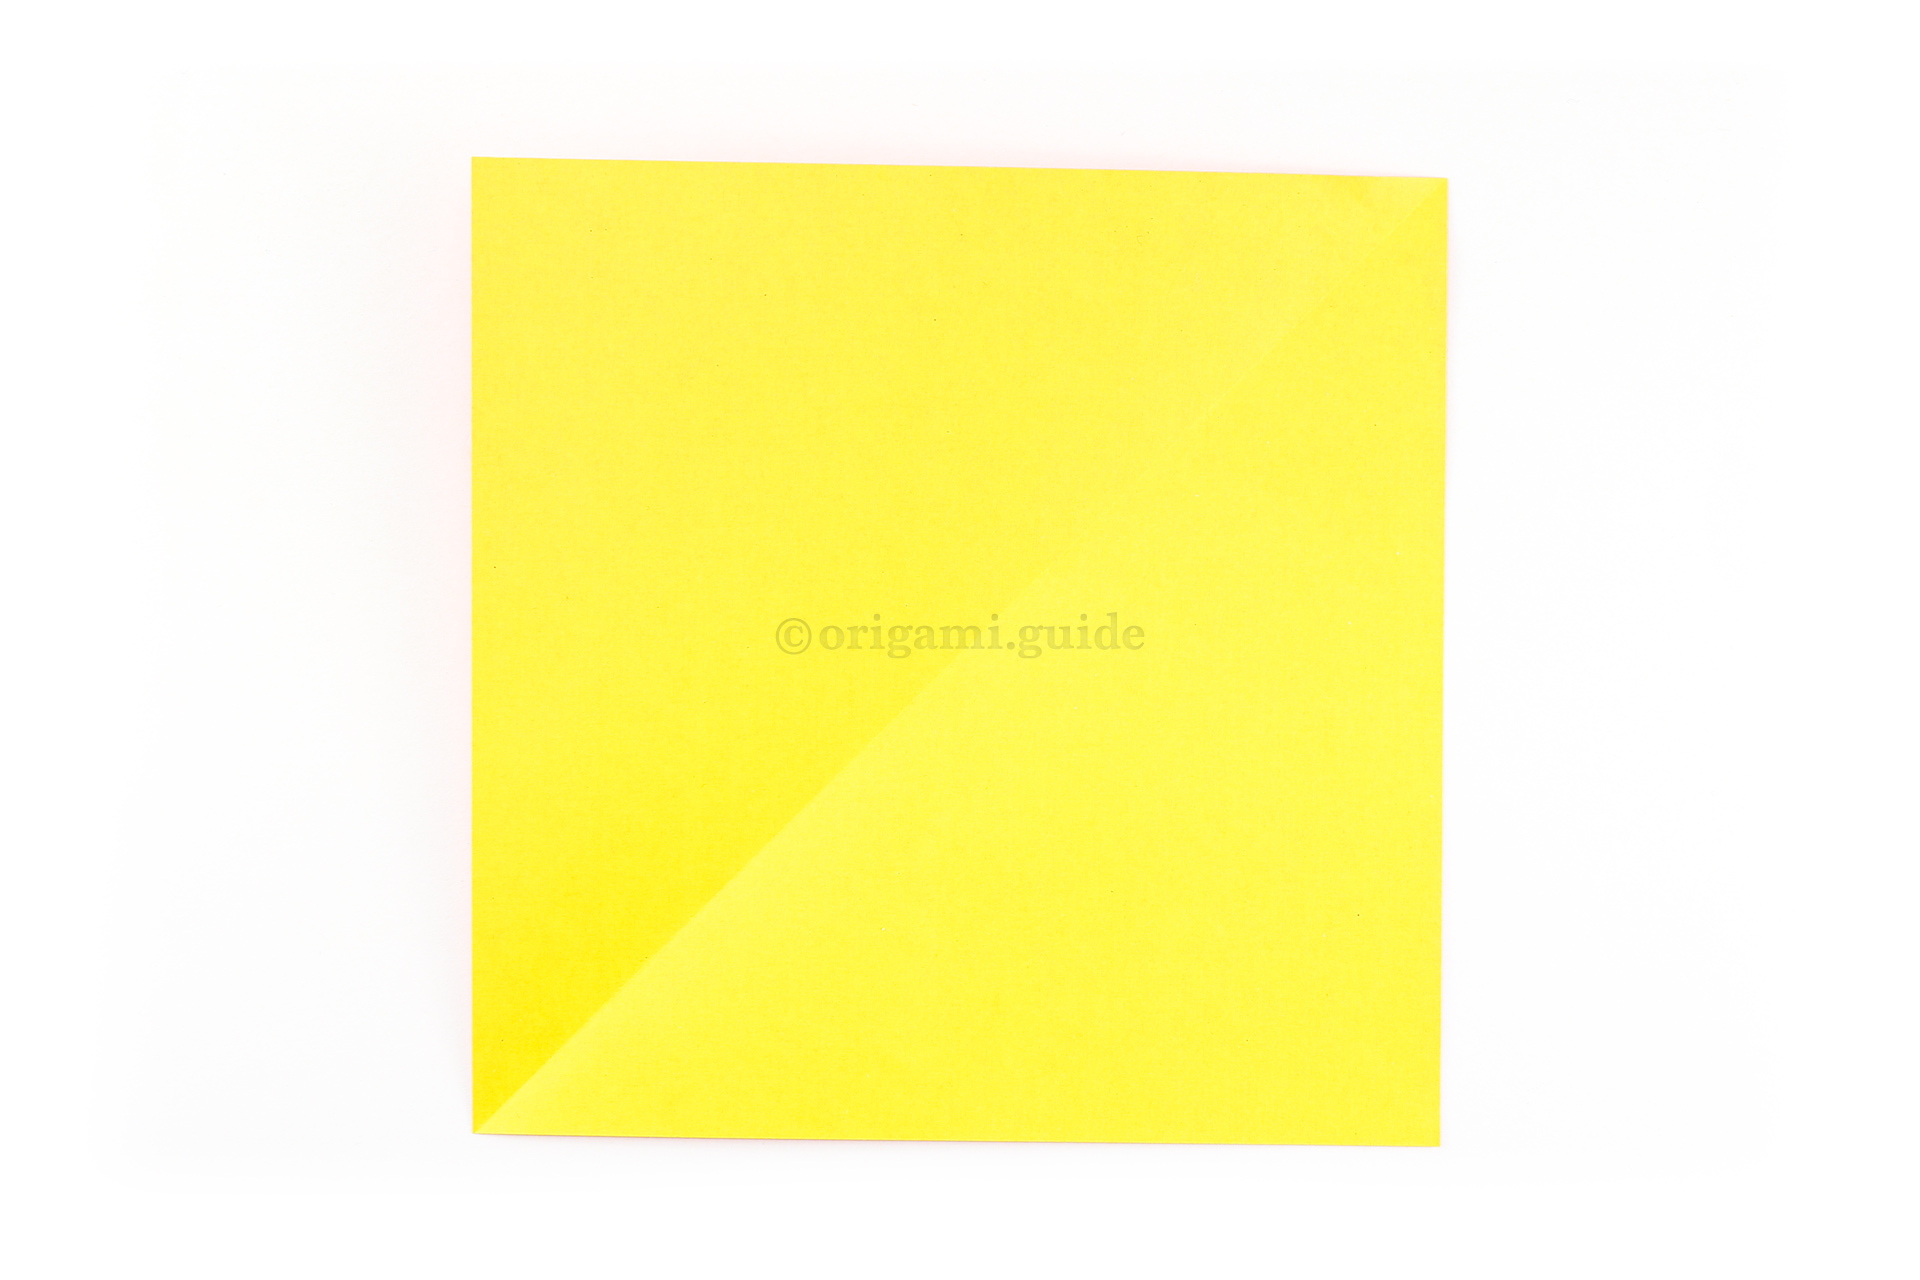
Step 4: Unfold the previous step.
-
5

Step 5: Fold the bottom left corner up to the top right corner.
-
6

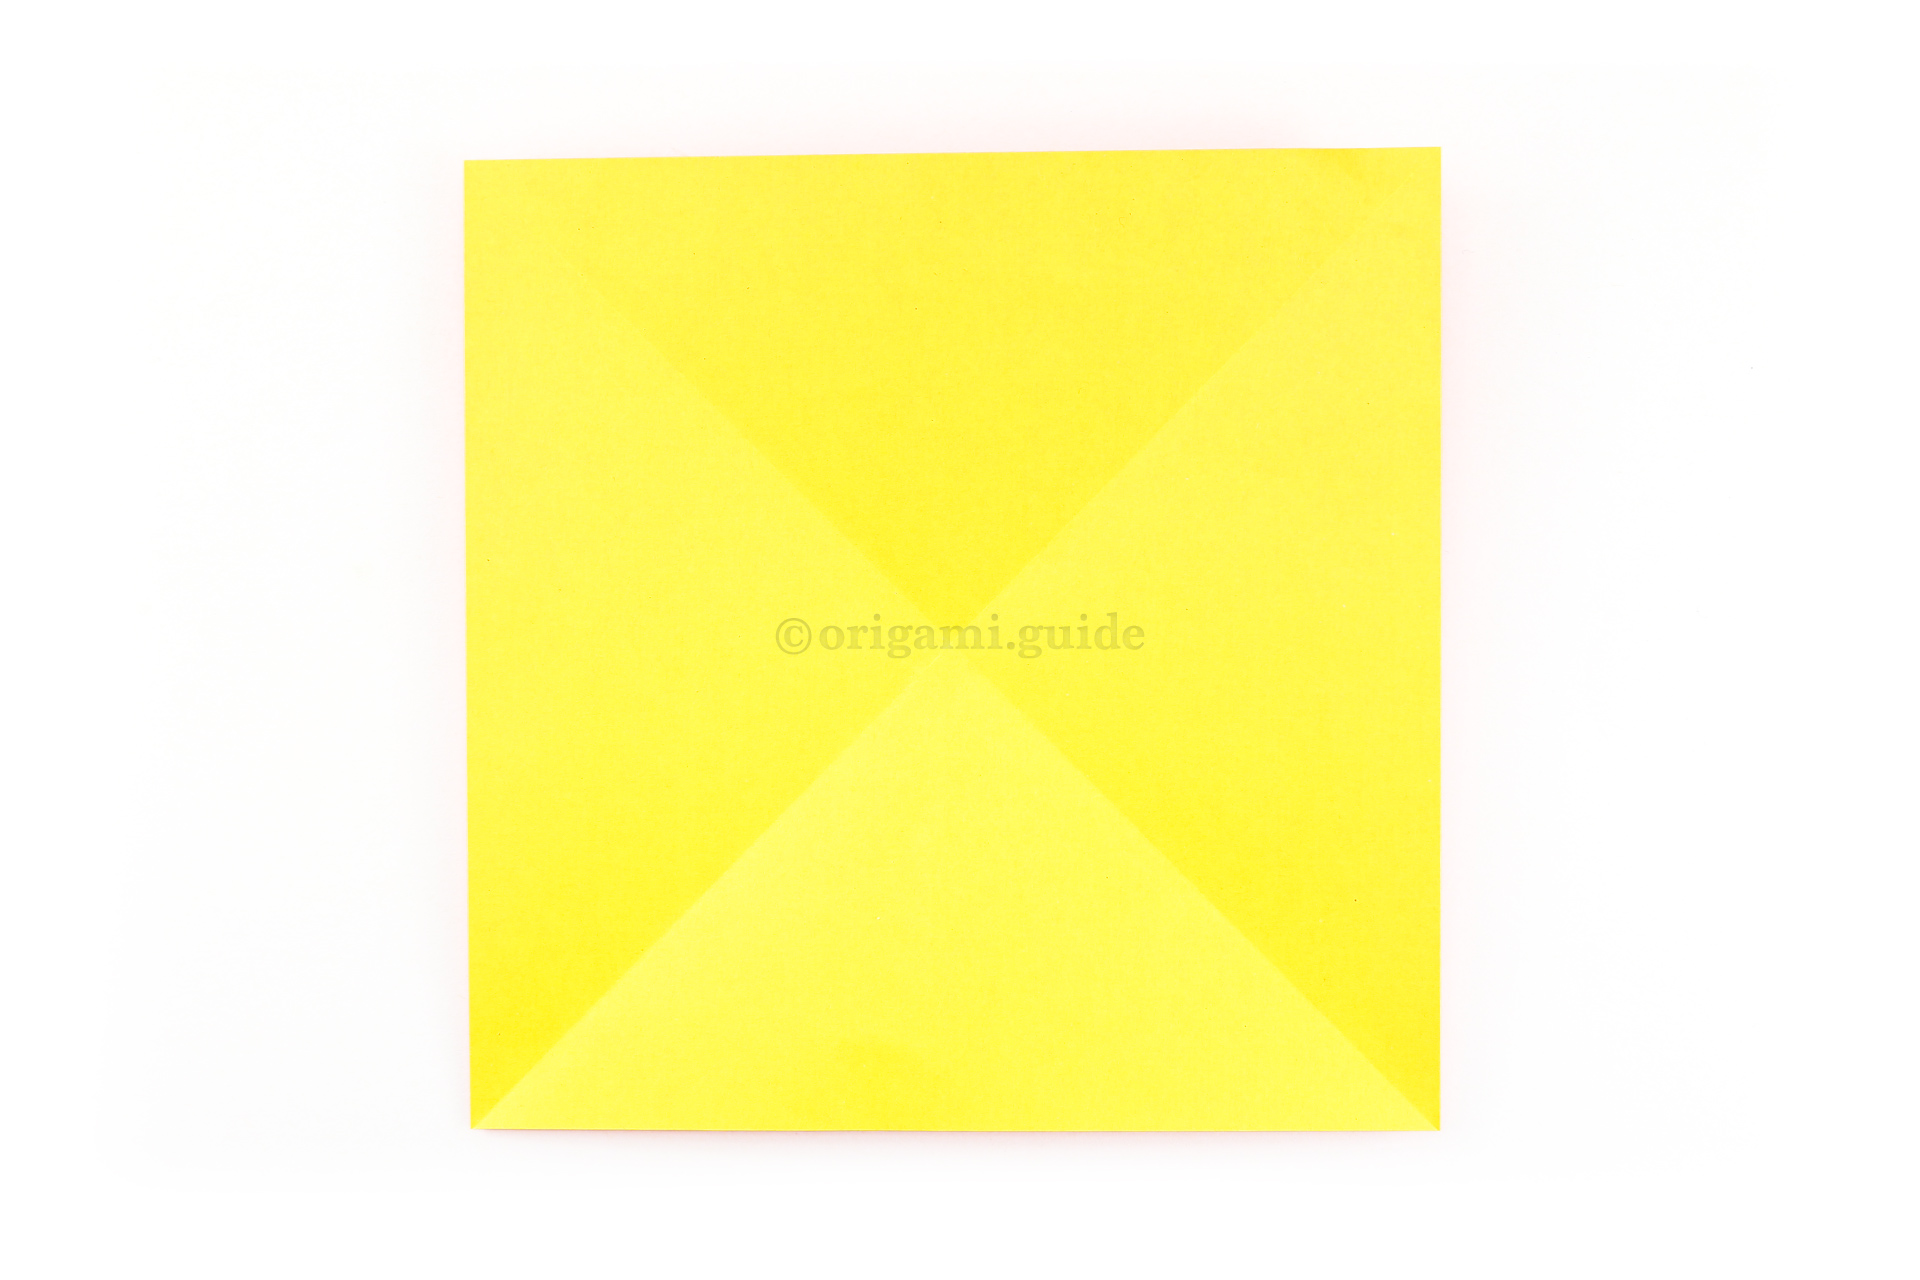
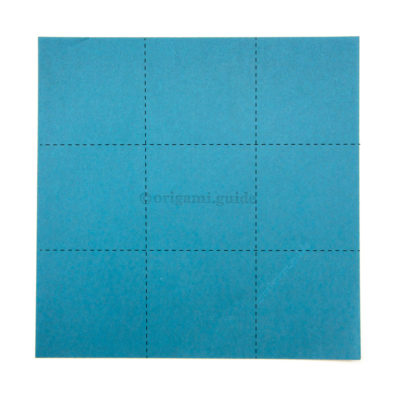
Step 6: Unfold the previous step. You can now see the diagonal X.
-
7

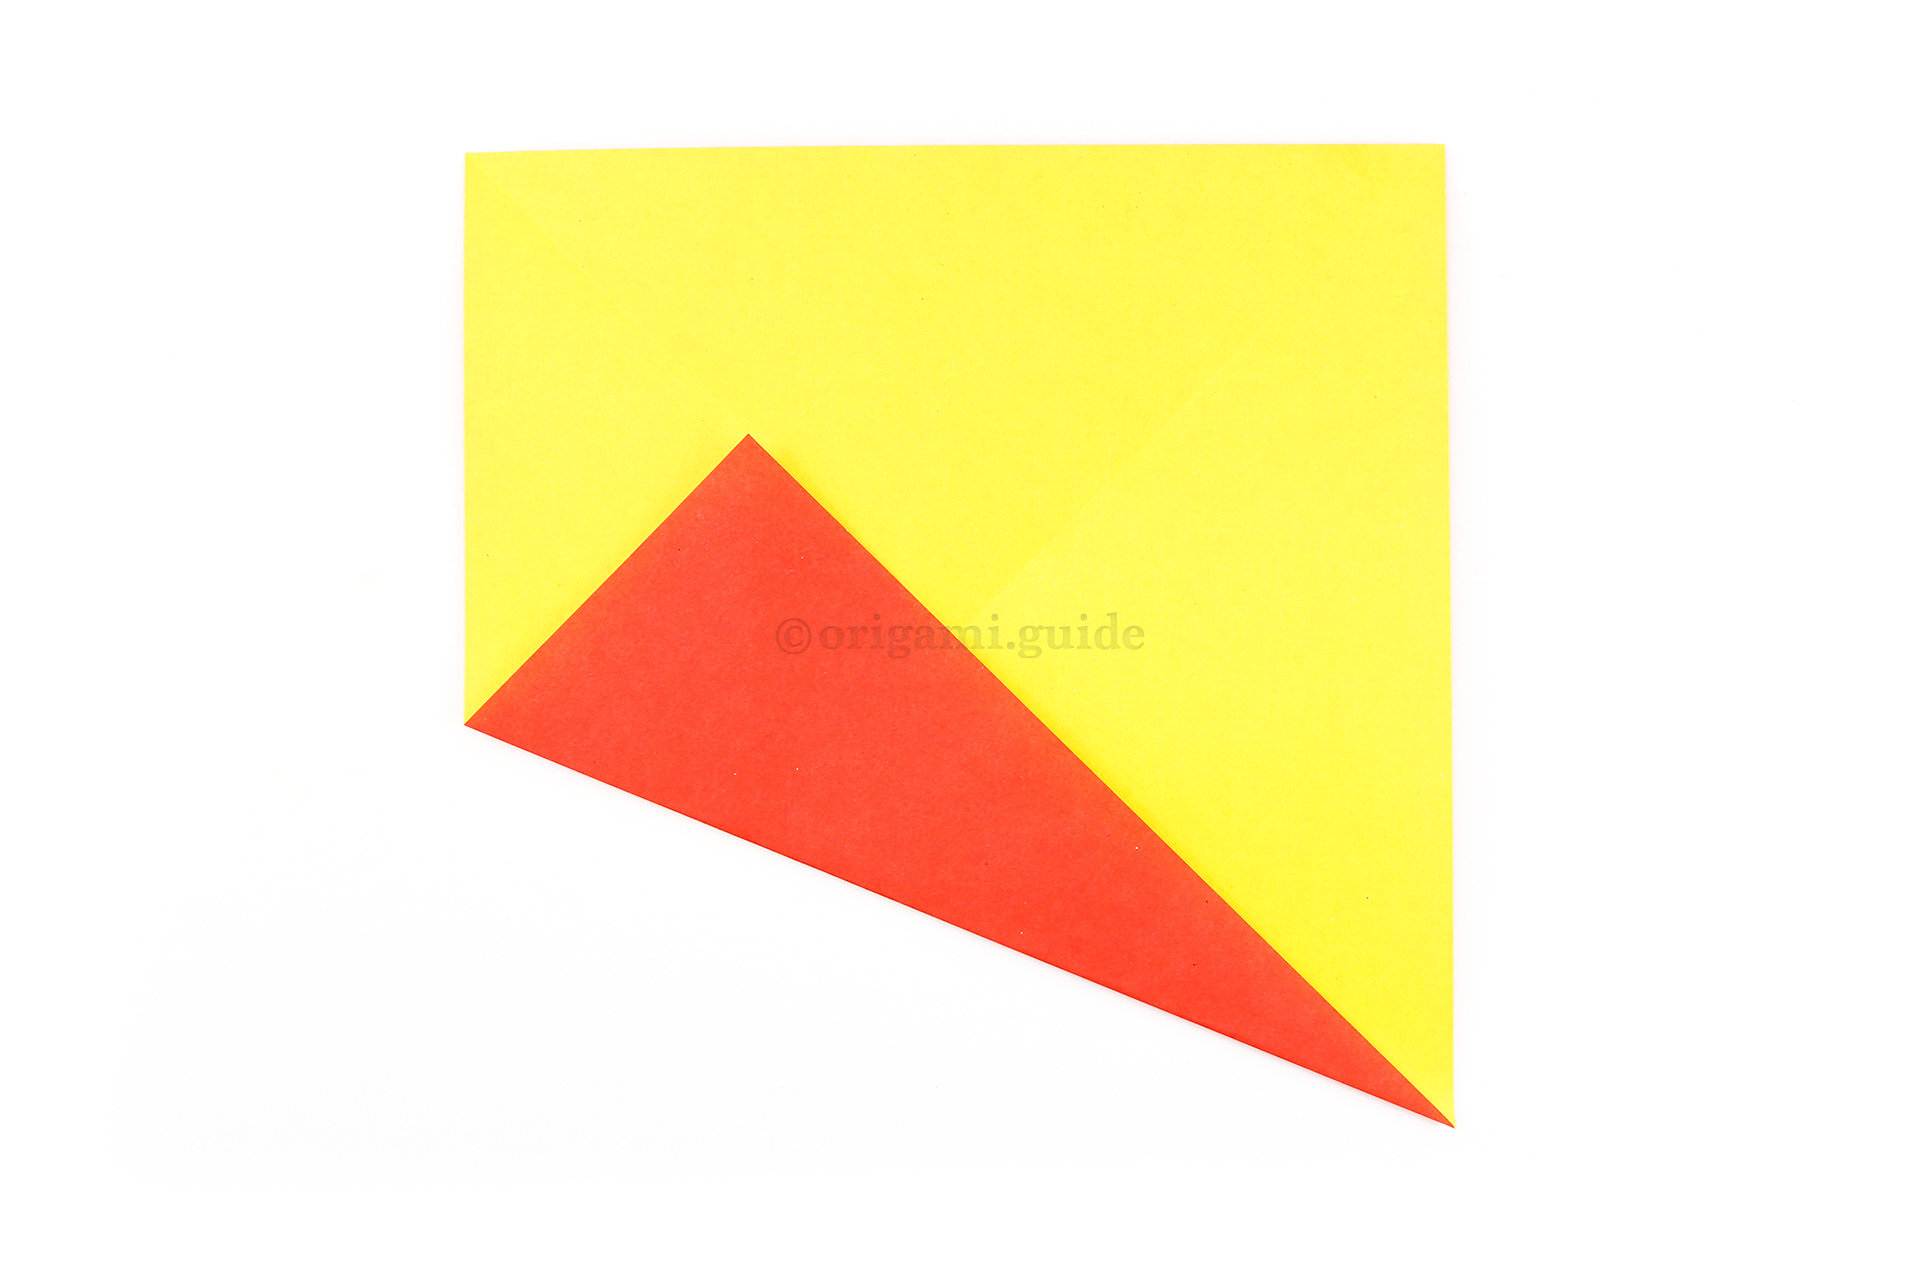
Step 7: Fold the bottom left corner diagonally up to align with the central diagonal crease.
-
8

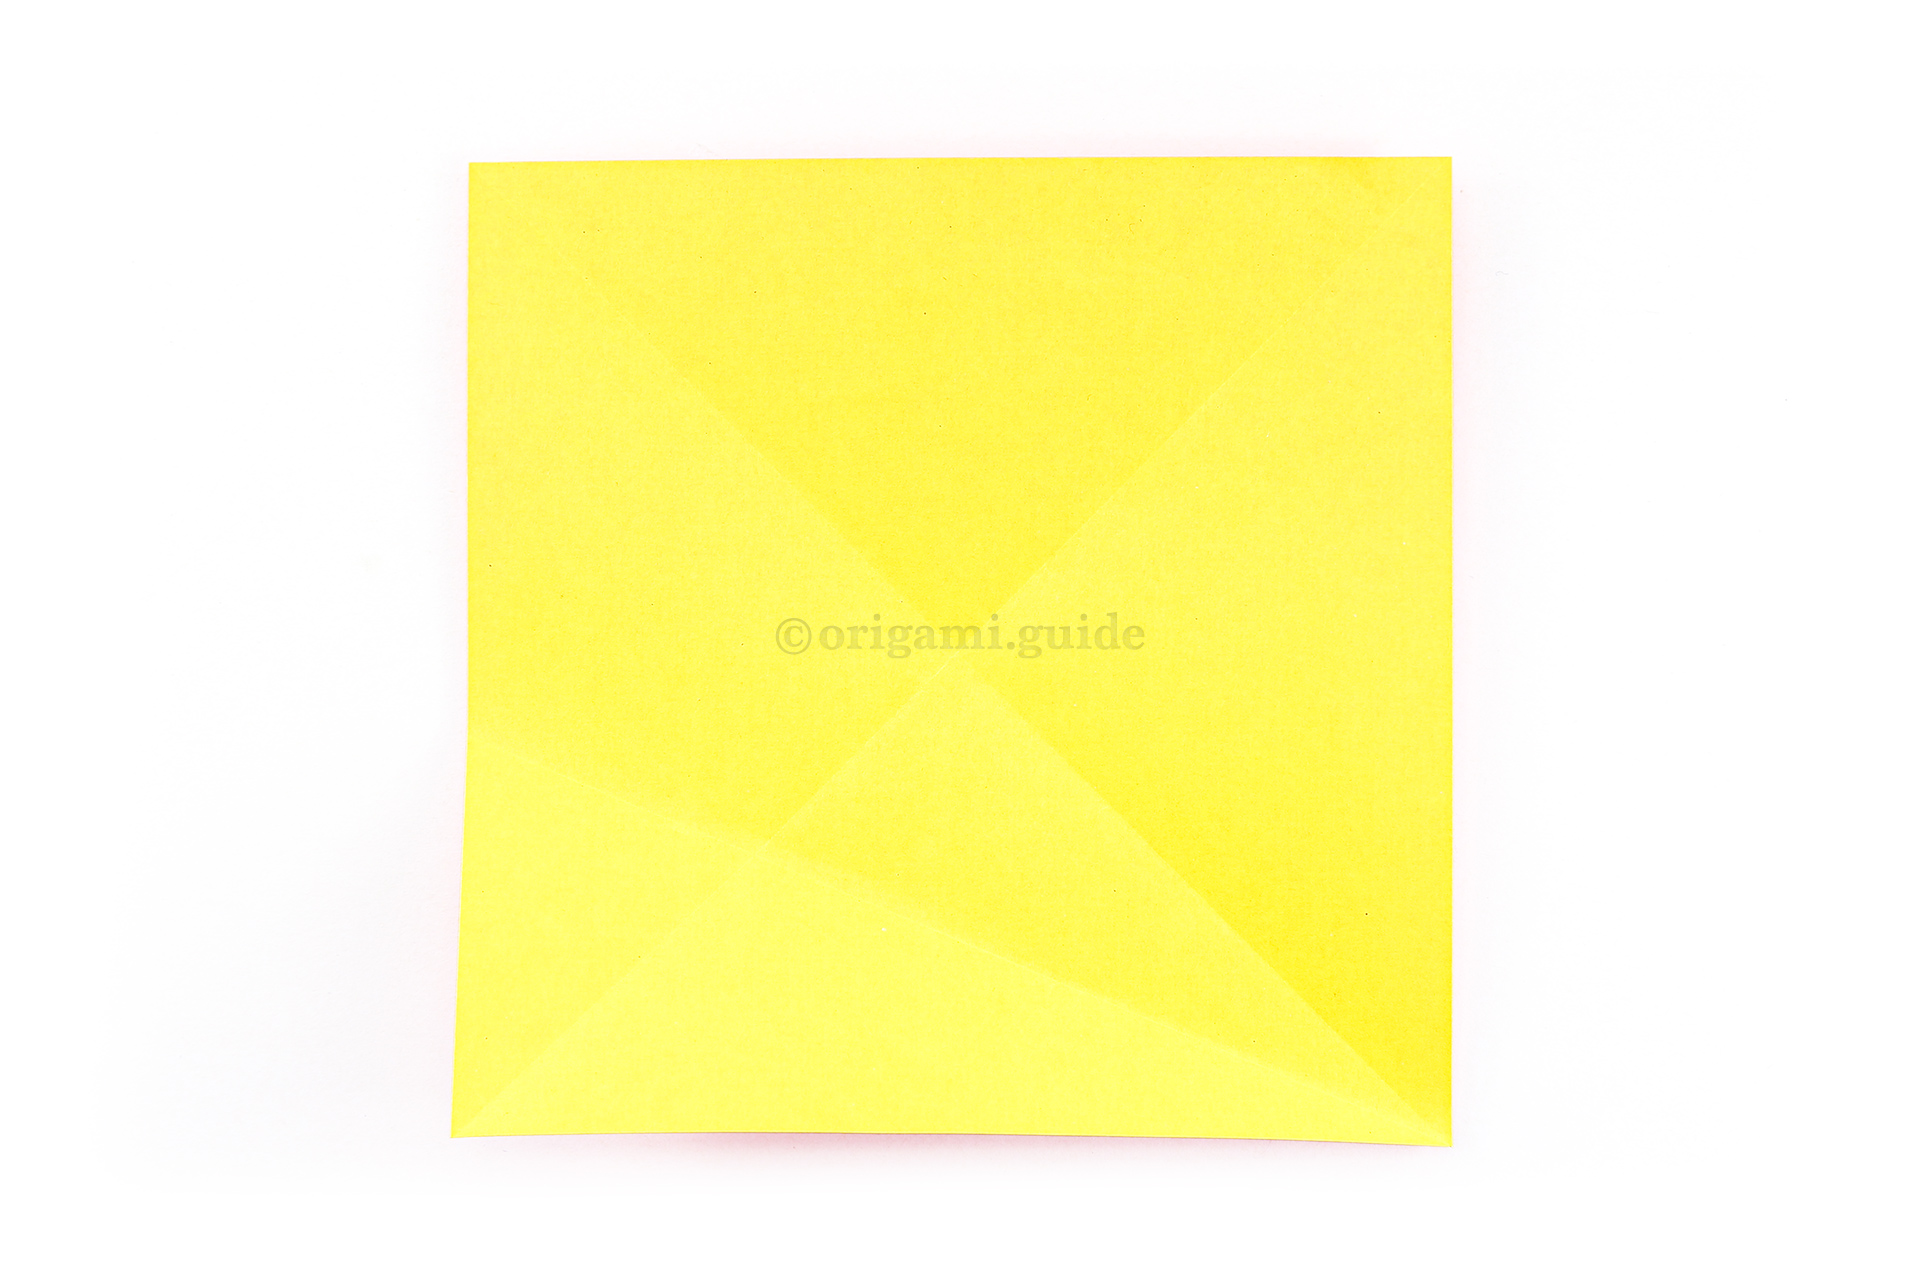
Step 8: Unfold the previous step.
What Origami Flowers To Fold Next?
- « How To Make an Origami Lily Bud Flower Variation

- Nested Origami Camellia Flower Rosette Tutorial »
 View all Origami Flowers Tutorials
Leave A Comment
Did you fold this Origami Camellia Flower? Let us know what you thought.
You can also upload a photo of your result!
