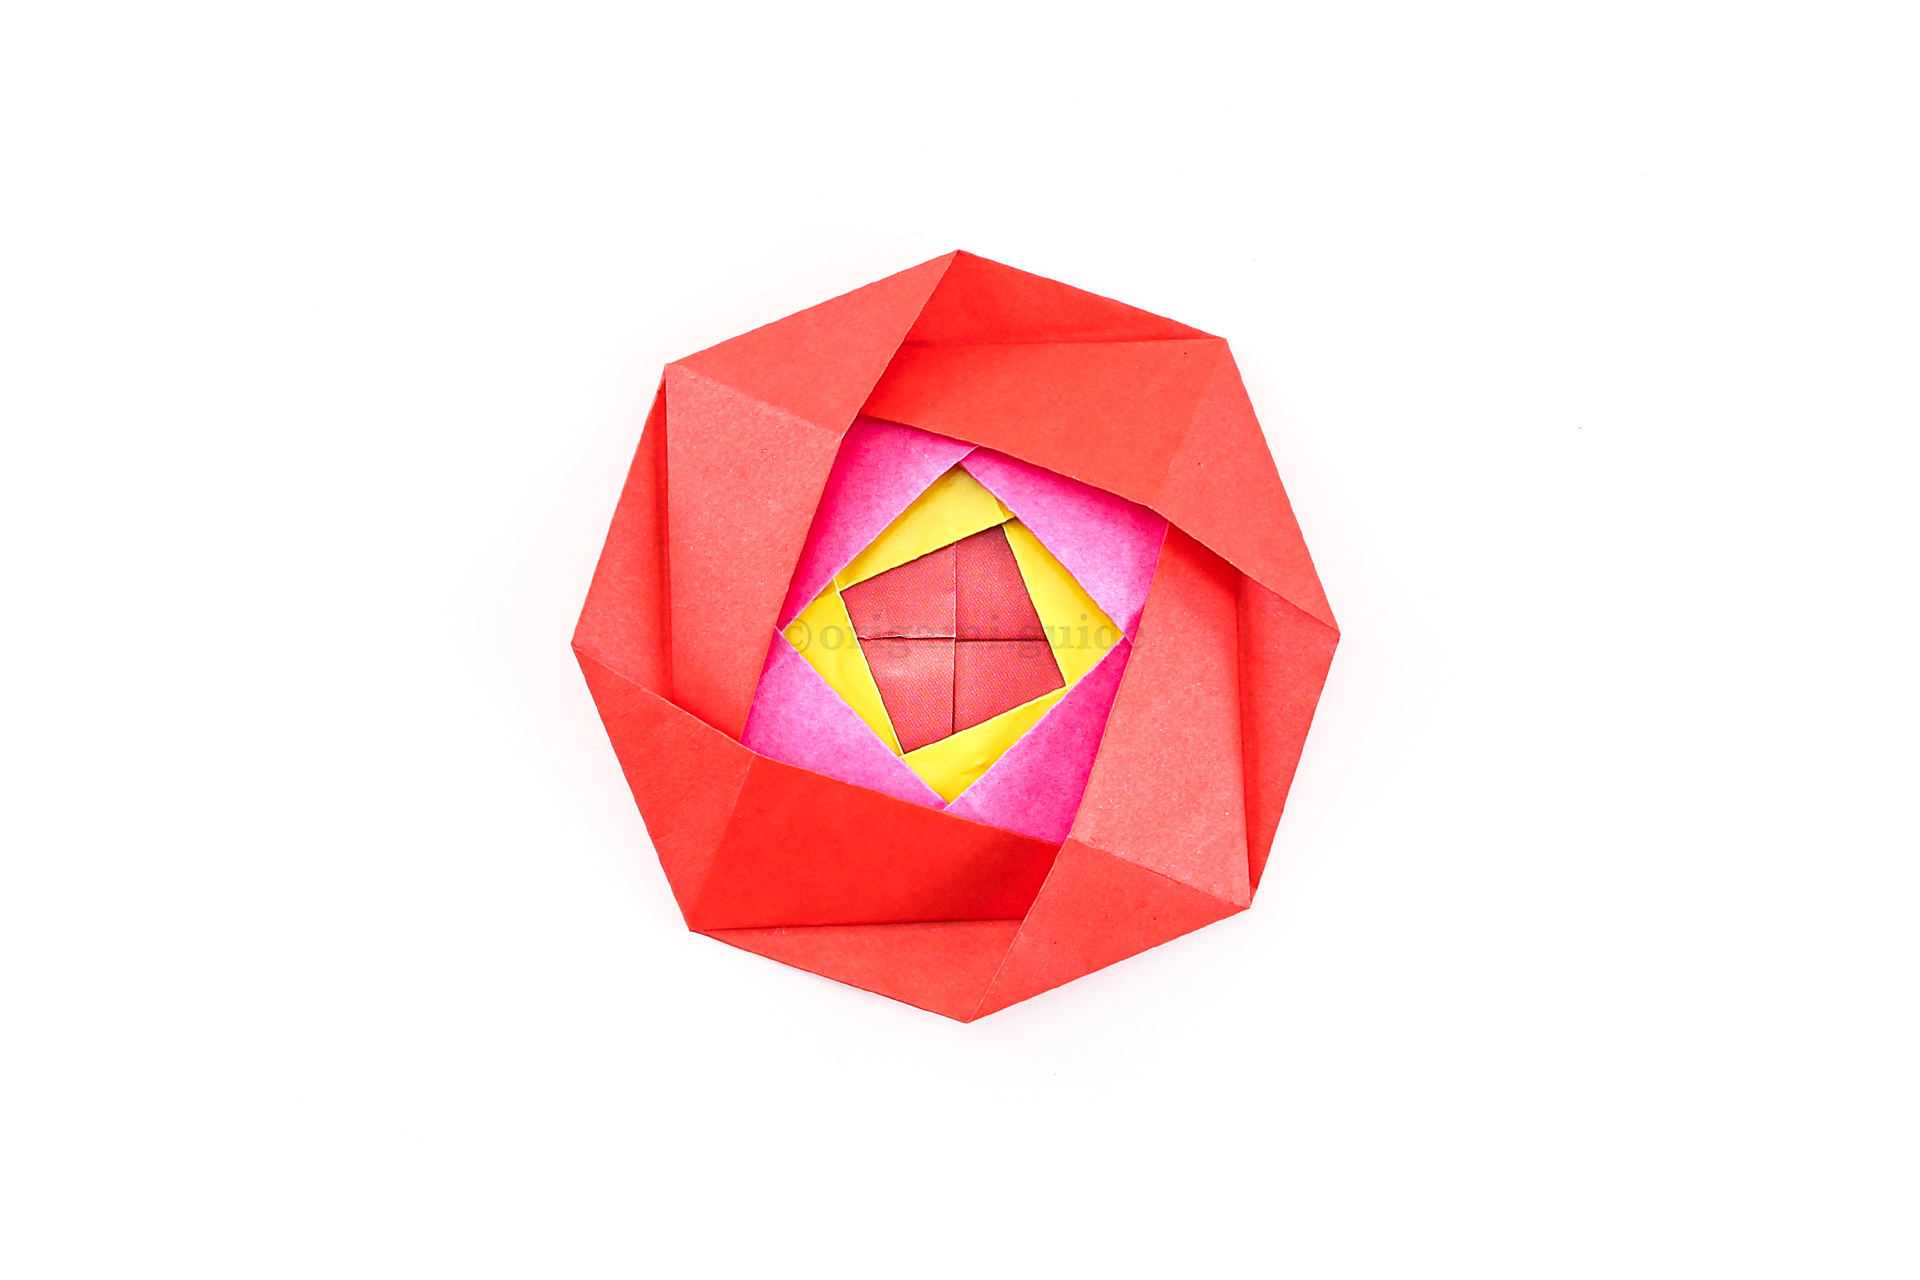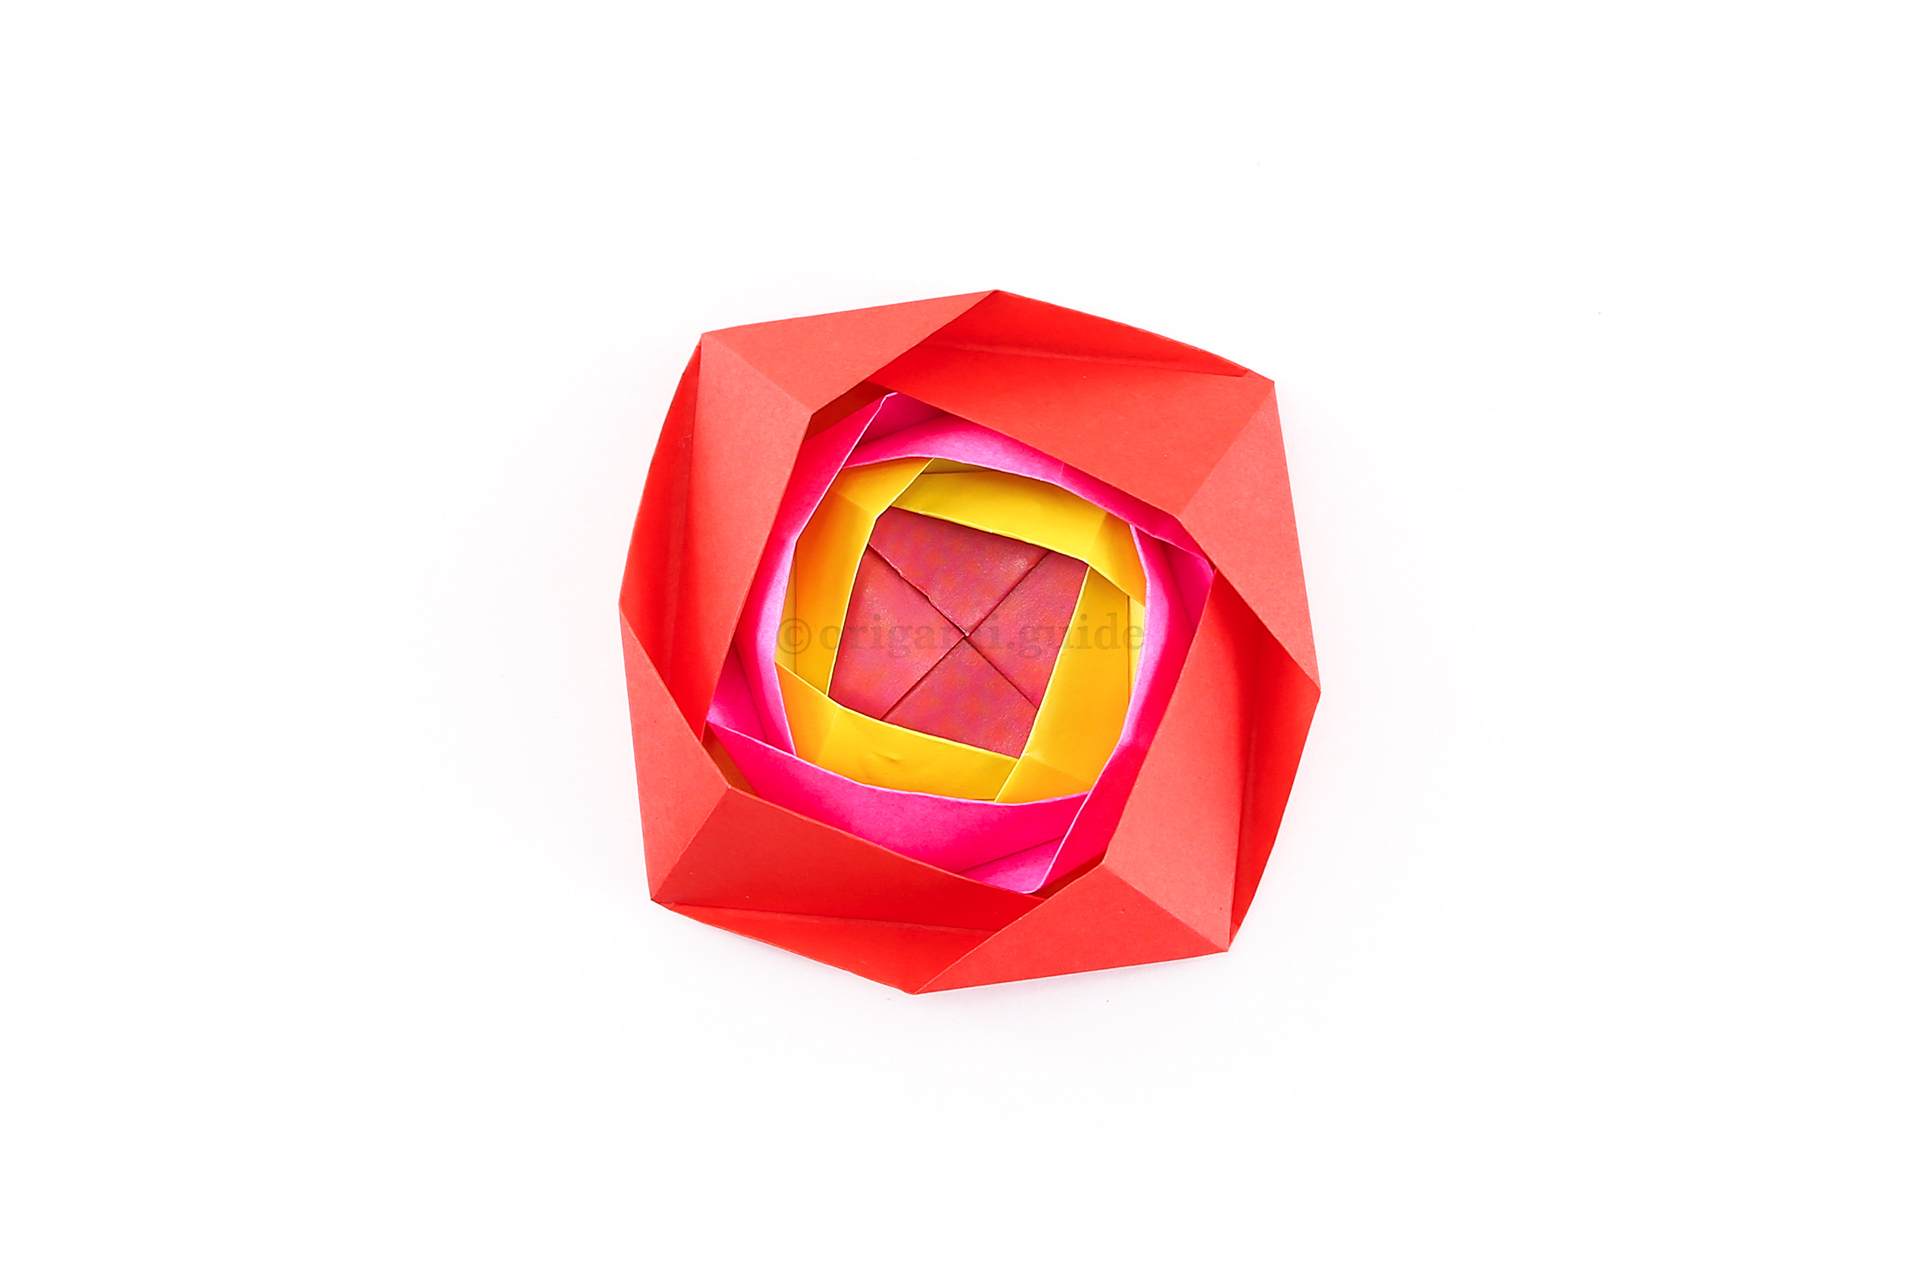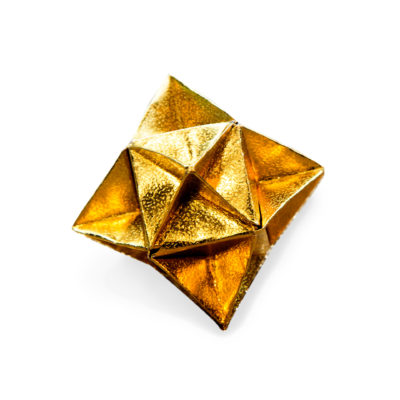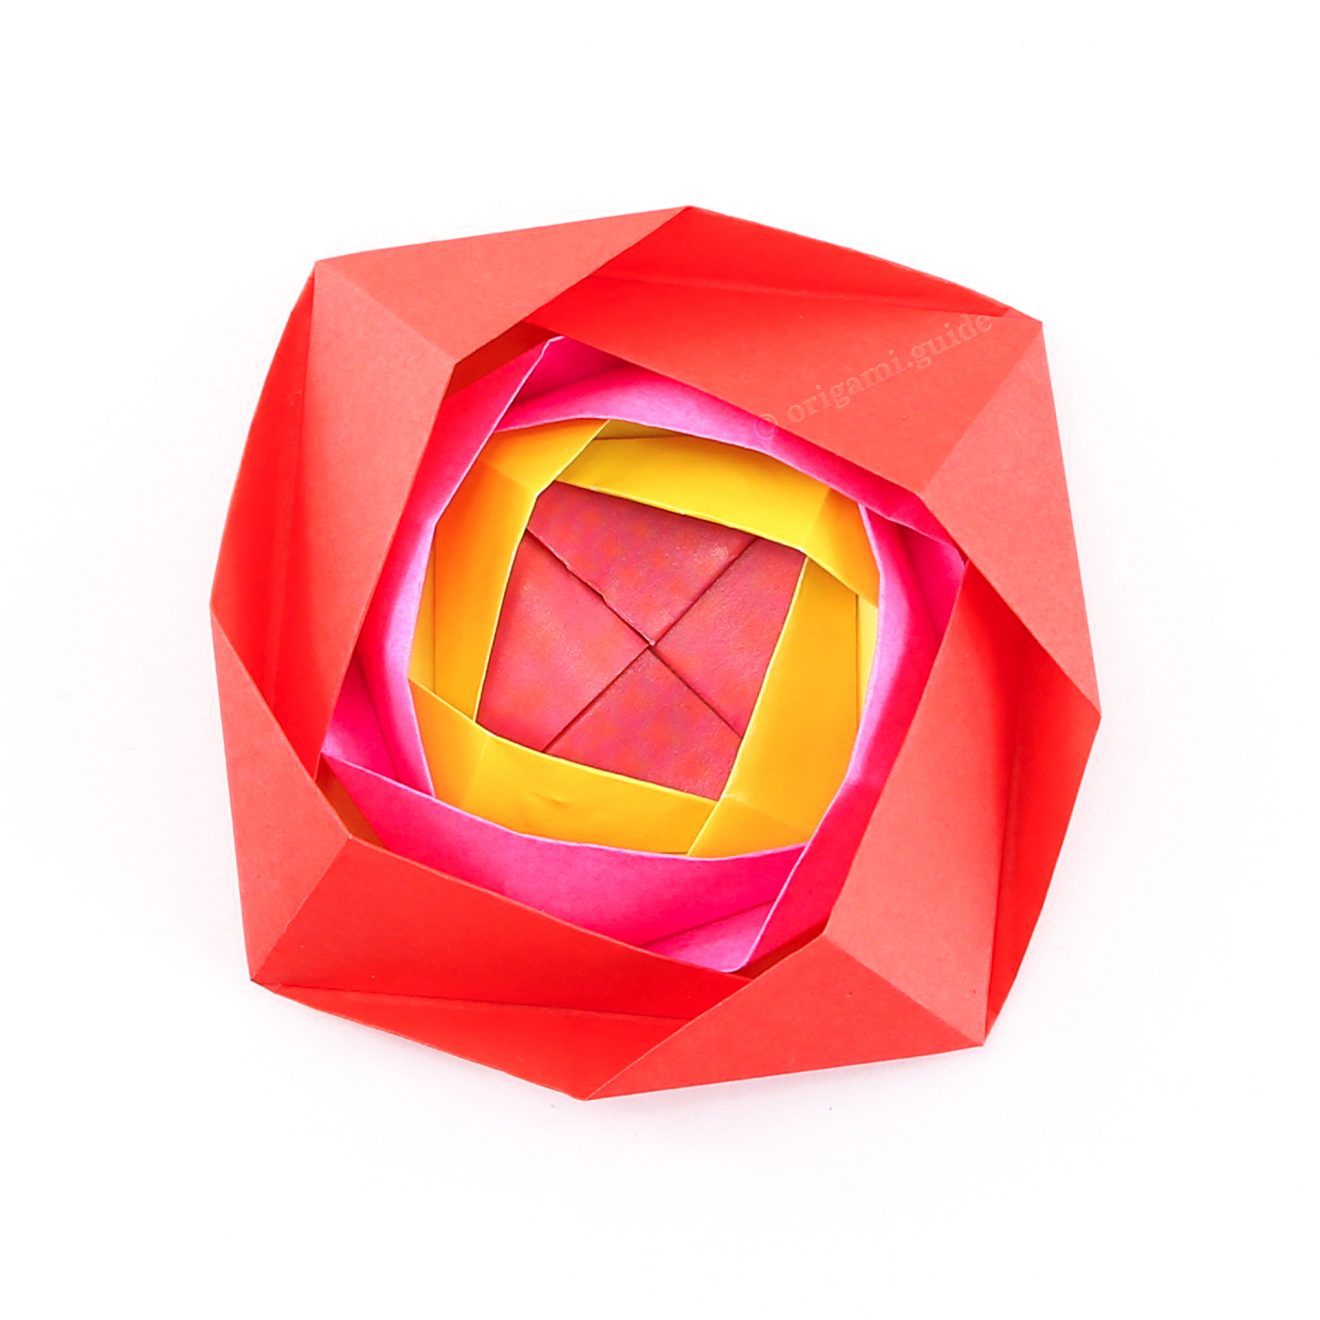
Nested Origami Camellia Flower Rosette
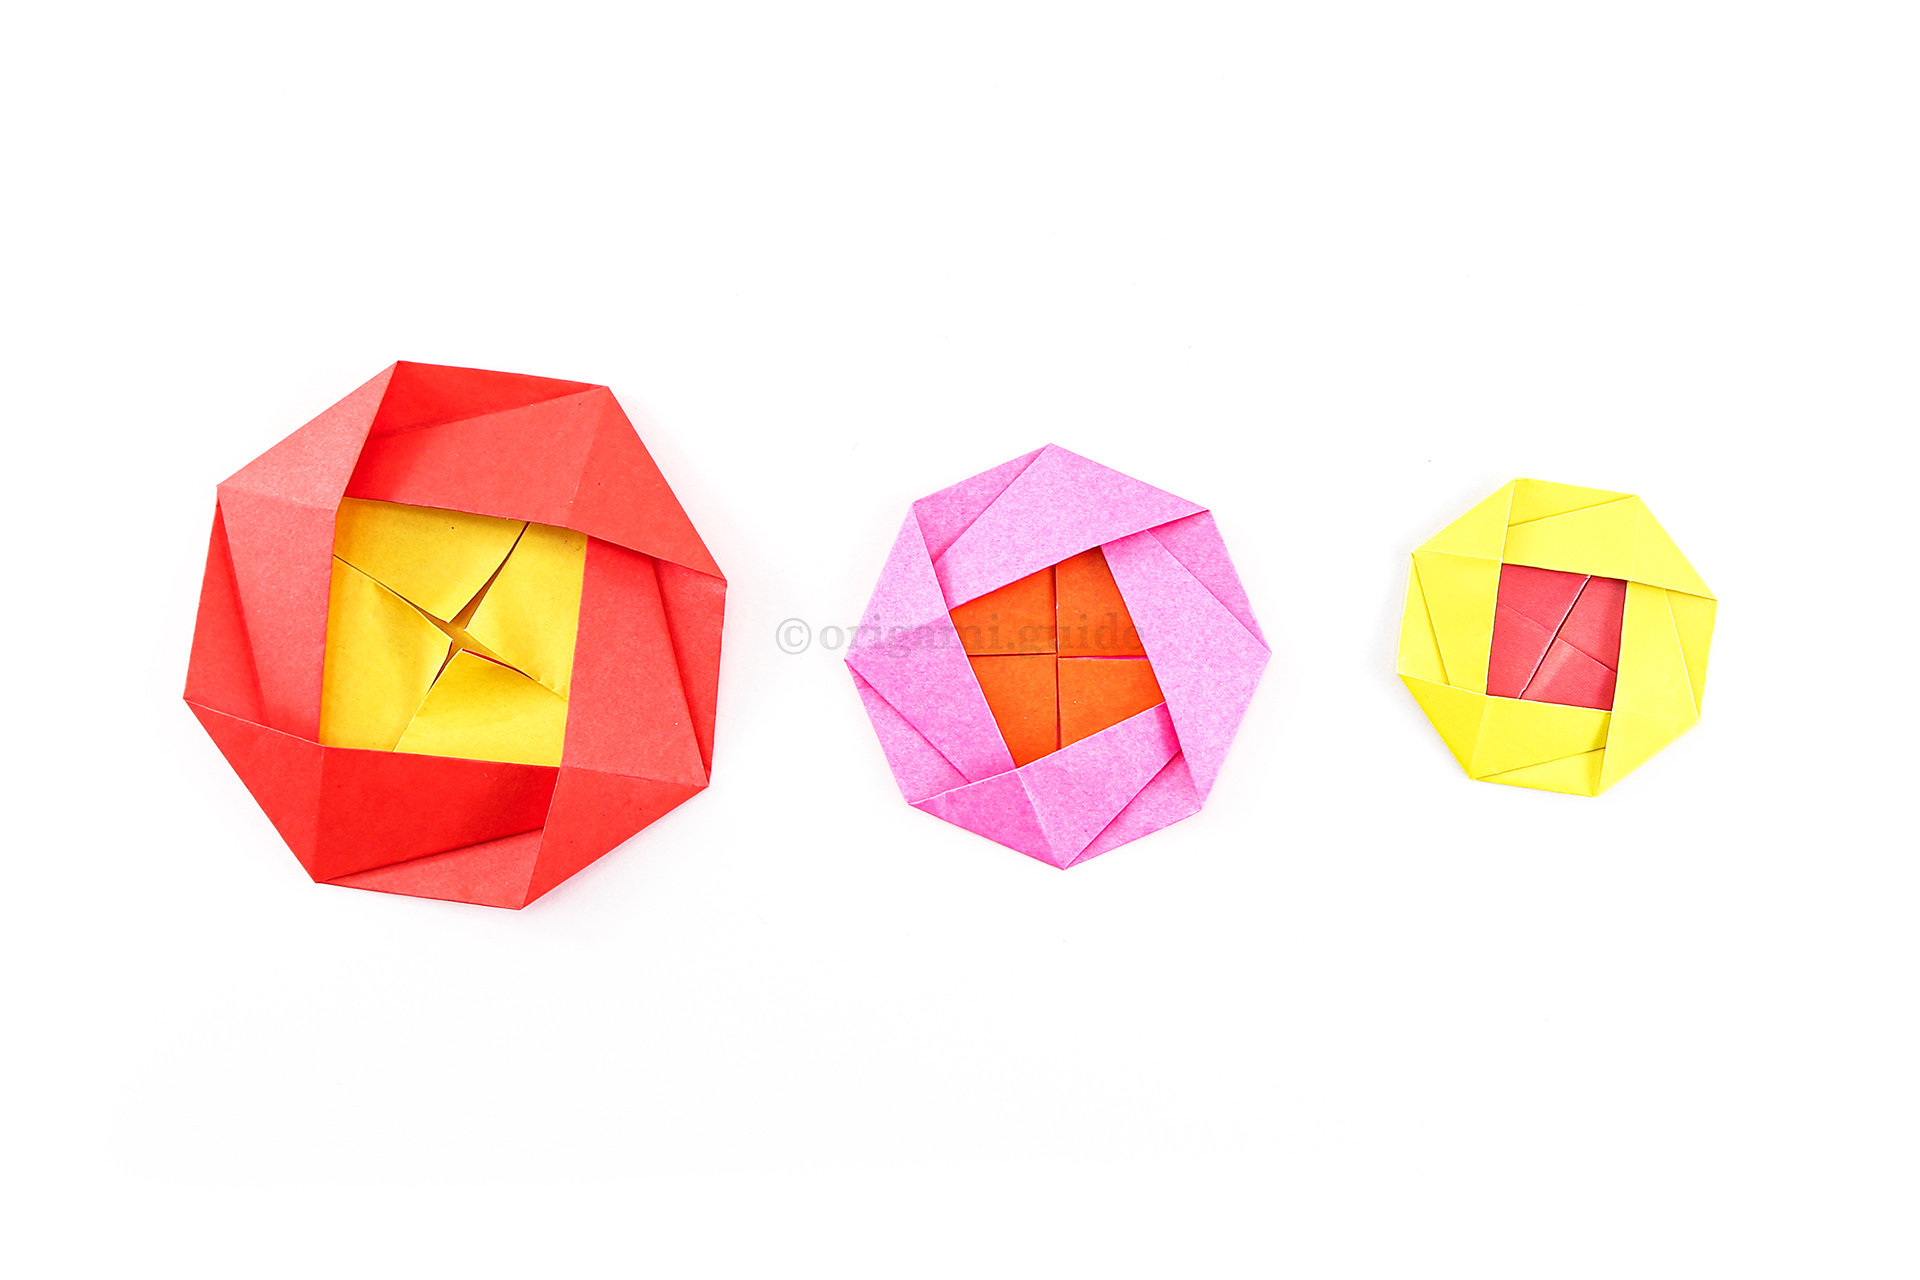
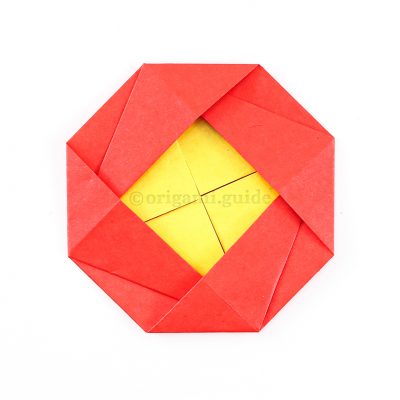
This beautiful nested origami camellia flower is like a pretty layered rose or rosette. All you need are three sheets of square paper to complete this easy to intermediate origami flower.
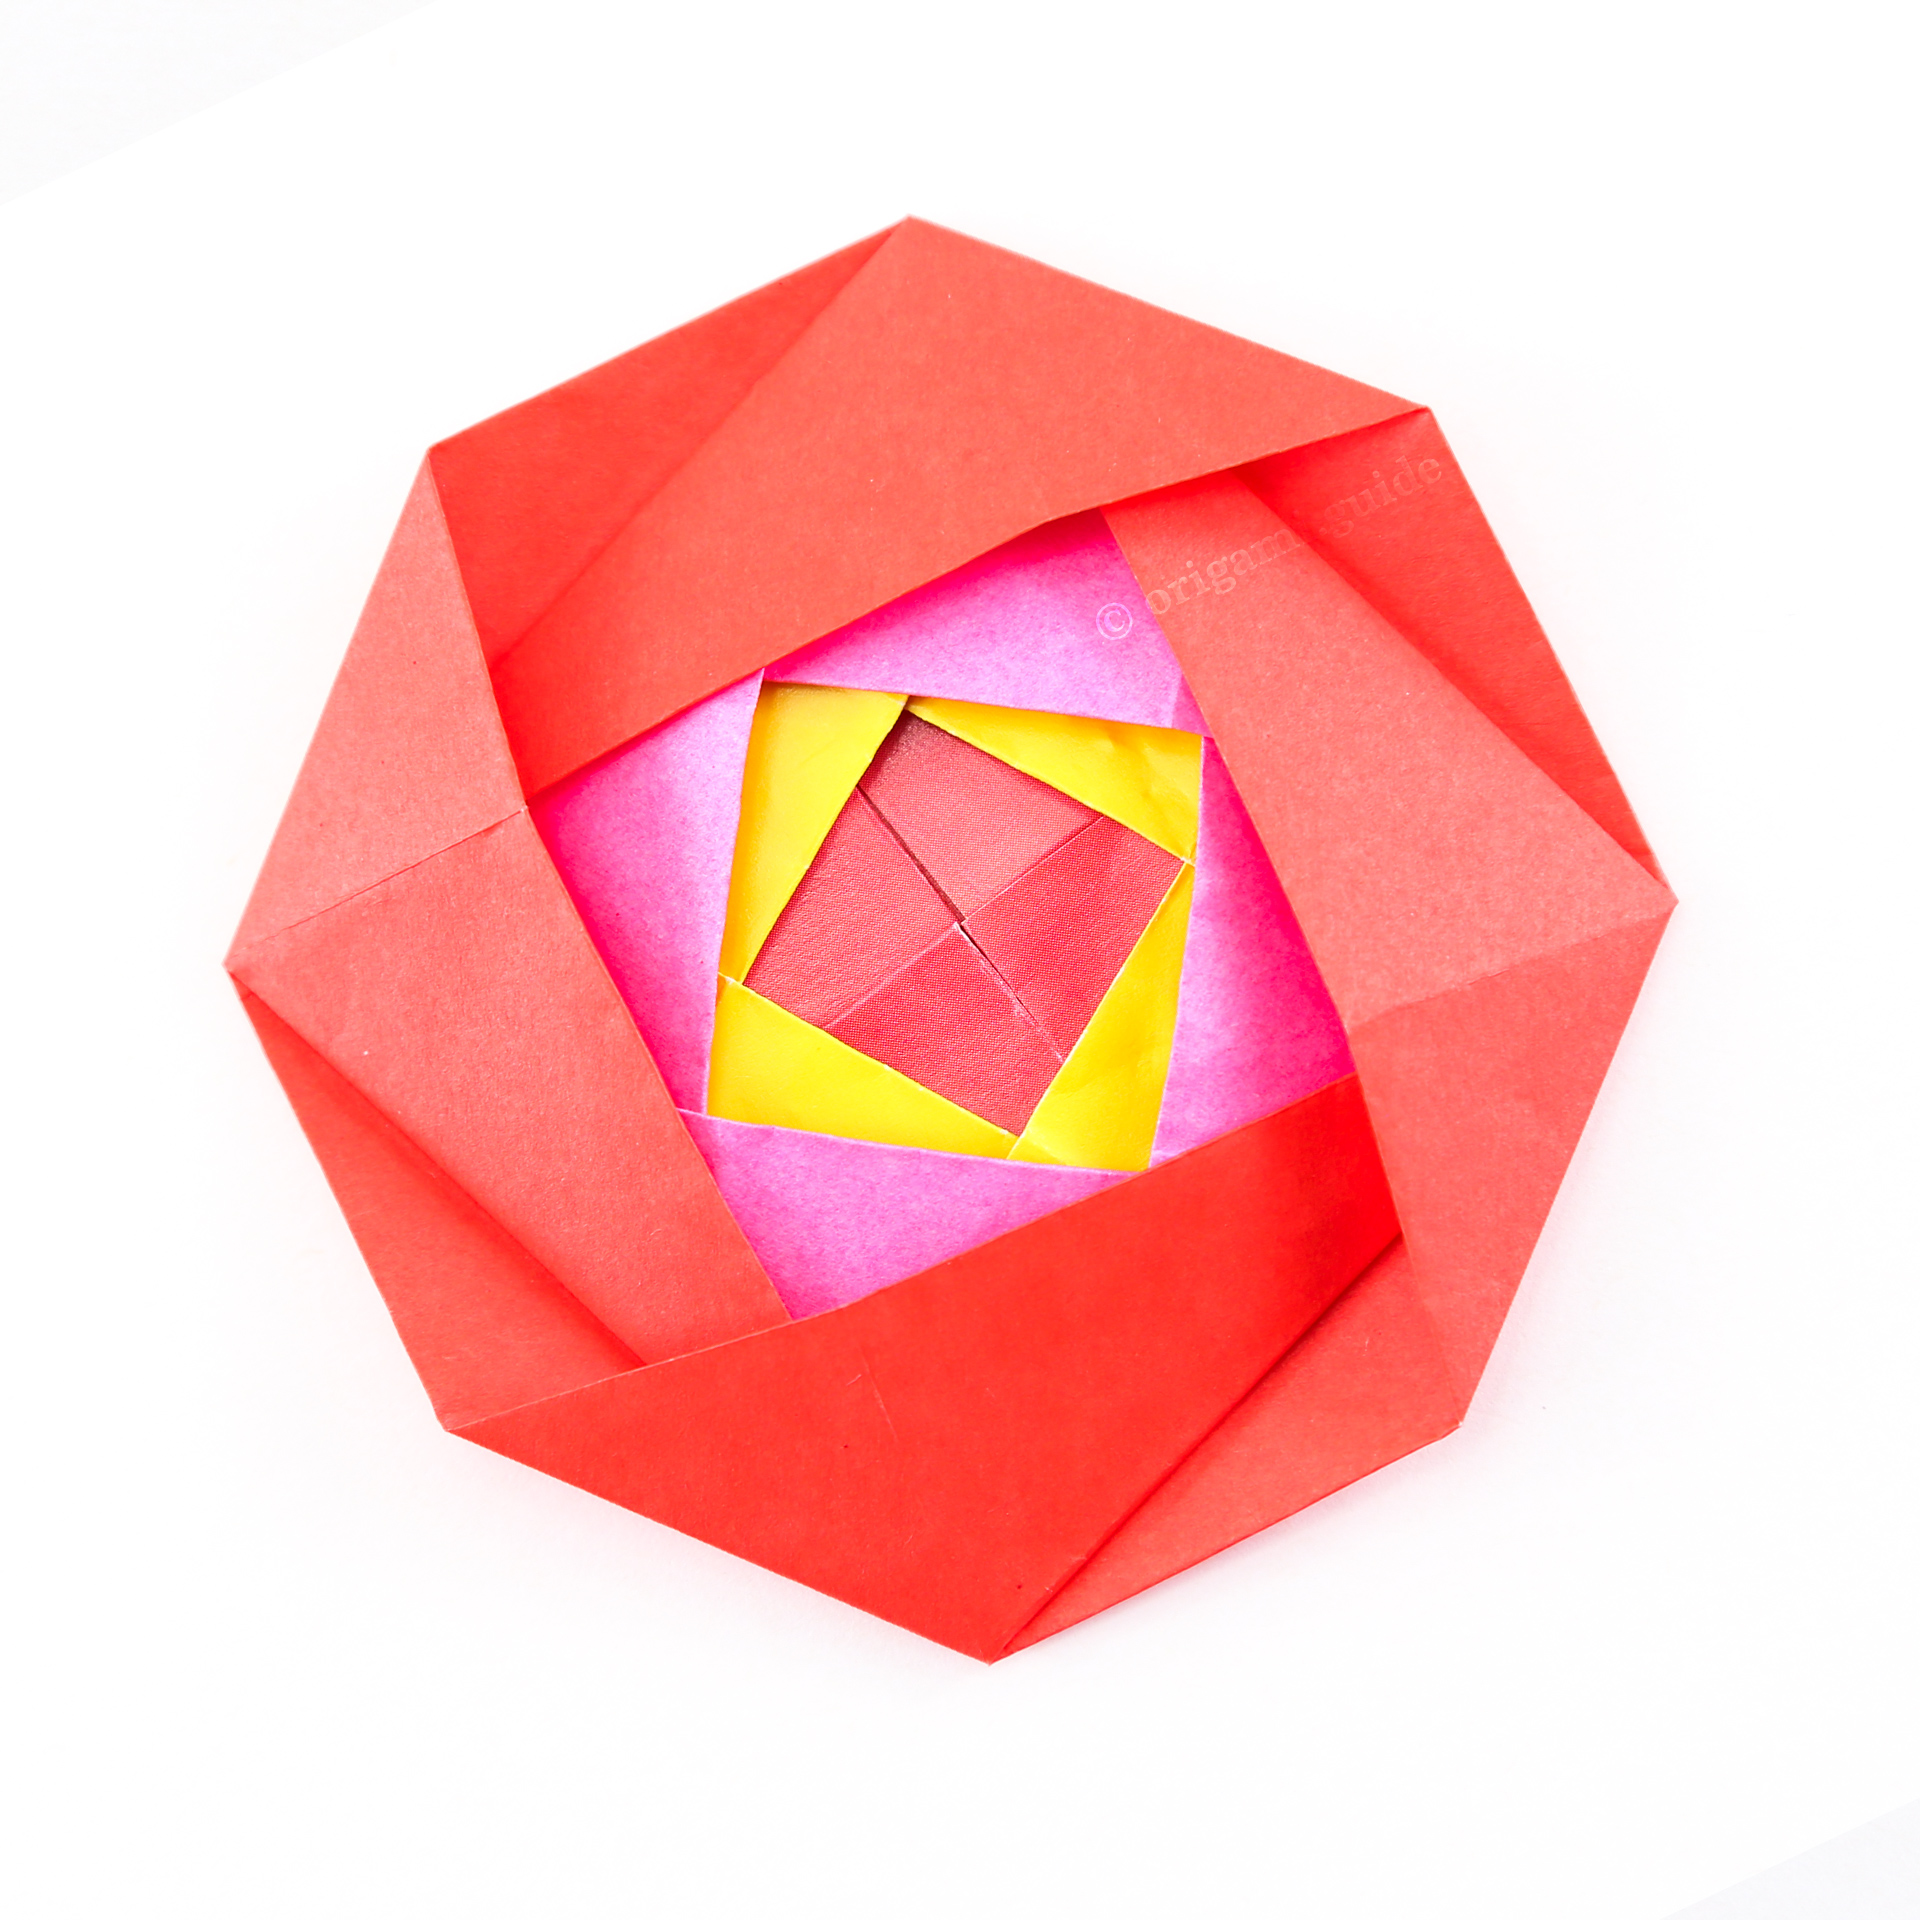
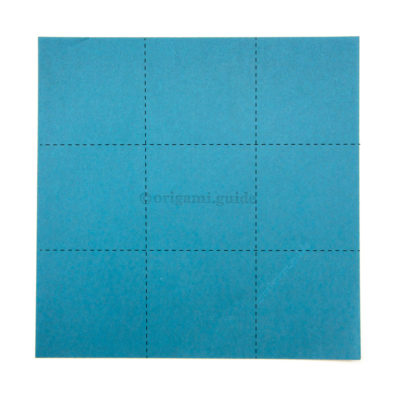
First off, you will need three sheets of square paper.
Here are the sizes we used to achieve our nested origami camellia flower:
Largest sheet: 15 x 15 cm / 6 x 6 inches.
Medium sheet: 11 x 11 cm / 4.3 x 4.3 inches.
Smallest sheet: 8.5 x 8.5 cm / 3.4 x 3.4 inches.
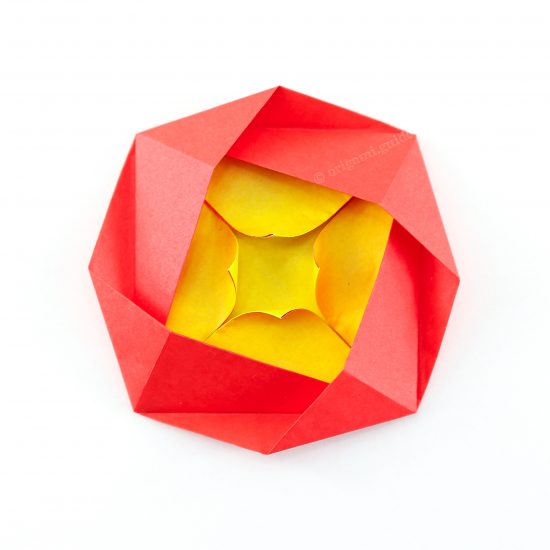
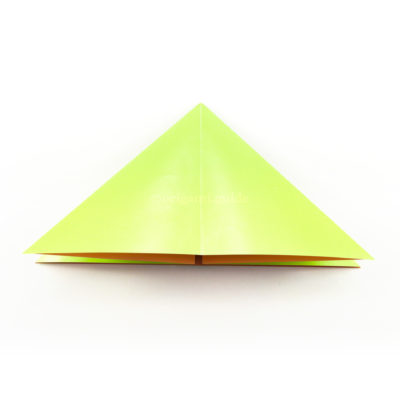
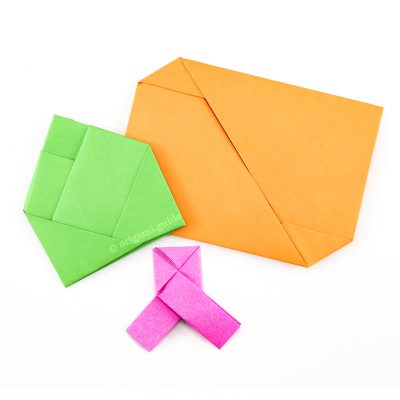
You will need to make three Origami Camellia Flowers, please click here to view the tutorial for the flower. So go and make those and then come back here.
You could make even more layers to this flower. Each larger sheet needs to be multiplied by 1.3. For example, 15 x 1.3 = 19.5, so the next larger sheet would be 19.5 x 19.5 cm.
Nested Origami Camellia Flower Rosette Instructions
Scroll down to follow the photo tutorial for the Nested Origami Camellia Flower Rosette.
Made this origami? Leave a comment & submit your photo on the last page here.
-
1

Step 1: You will need to make three Origami Camellia Flowers, please click here to view the tutorial for the flower. So go and make those and then come back here.
-
2

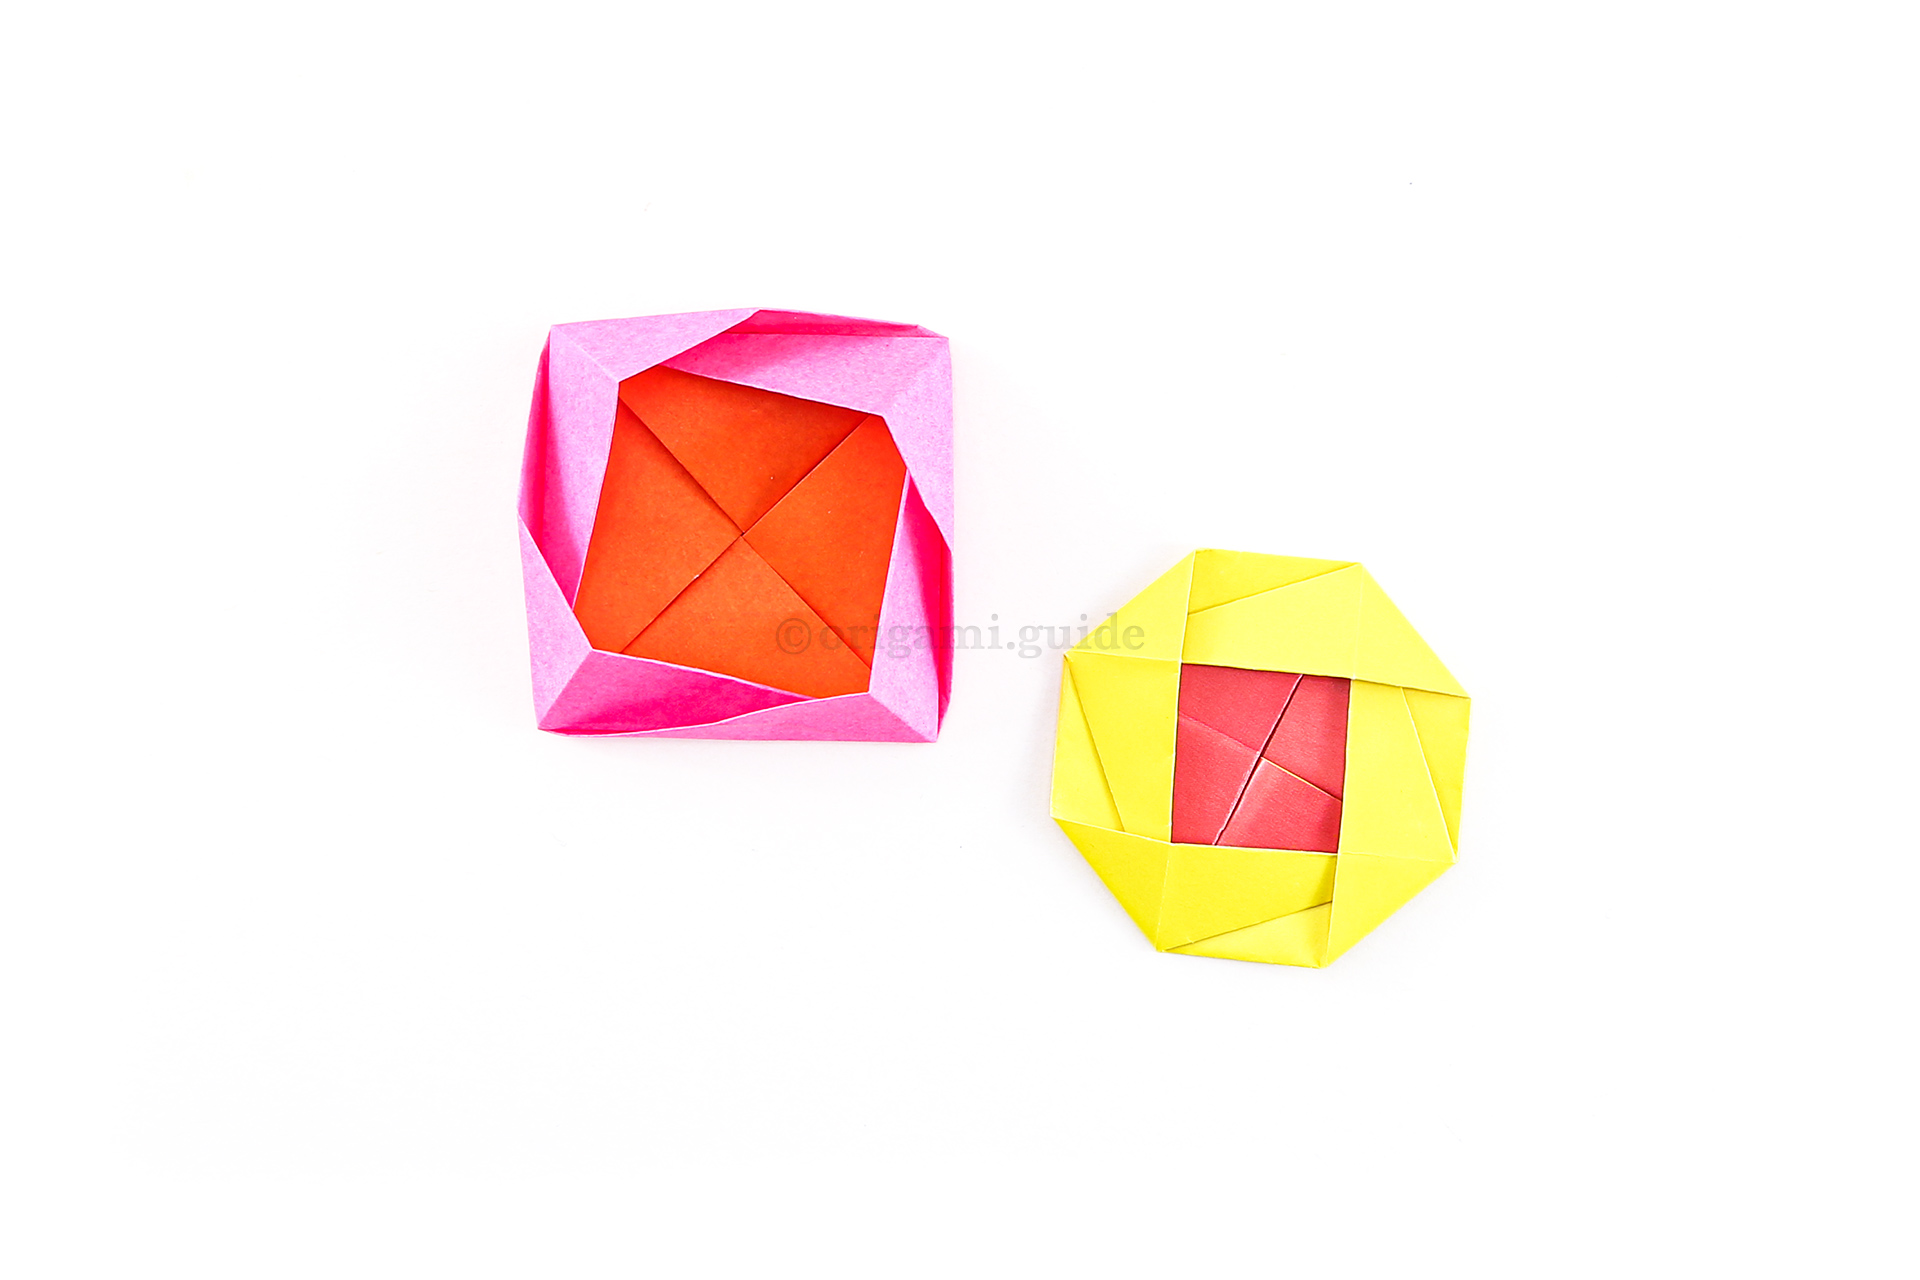
Step 2: Take the medium flower, push the "petal" part of the flower inwards, making them pop-up a bit.
-
3

Step 3: Insert the small flower into the medium flower. You can rotate the small flower until it's in your preferred place. Next flatten the outer flower.
-
4

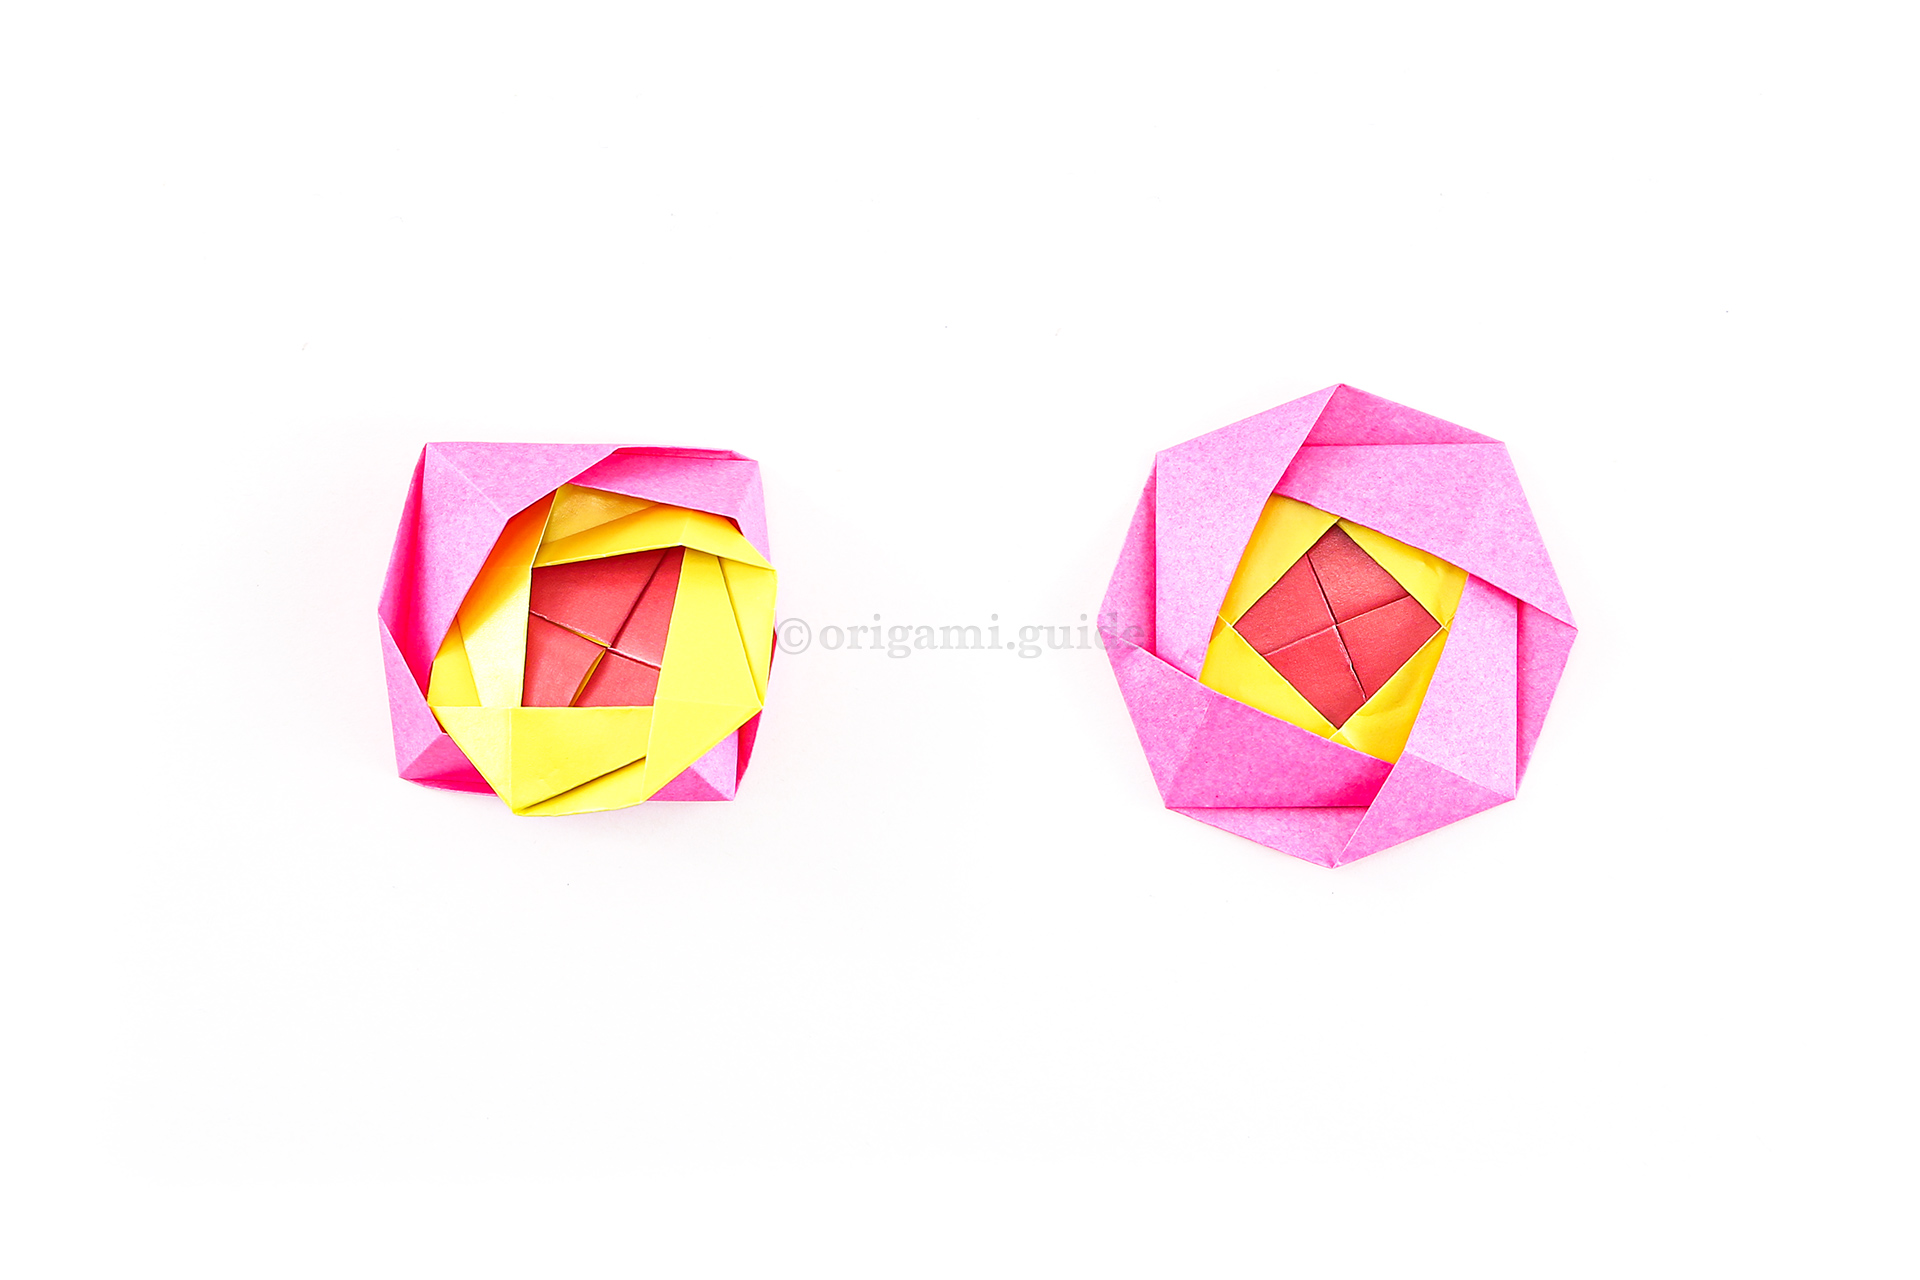
Step 4: Take the large flower and pop-up the petals.
-
5

Step 5: Insert the medium flower into the larger flower. Once it's in position you can flatten the whole flower.
-
6

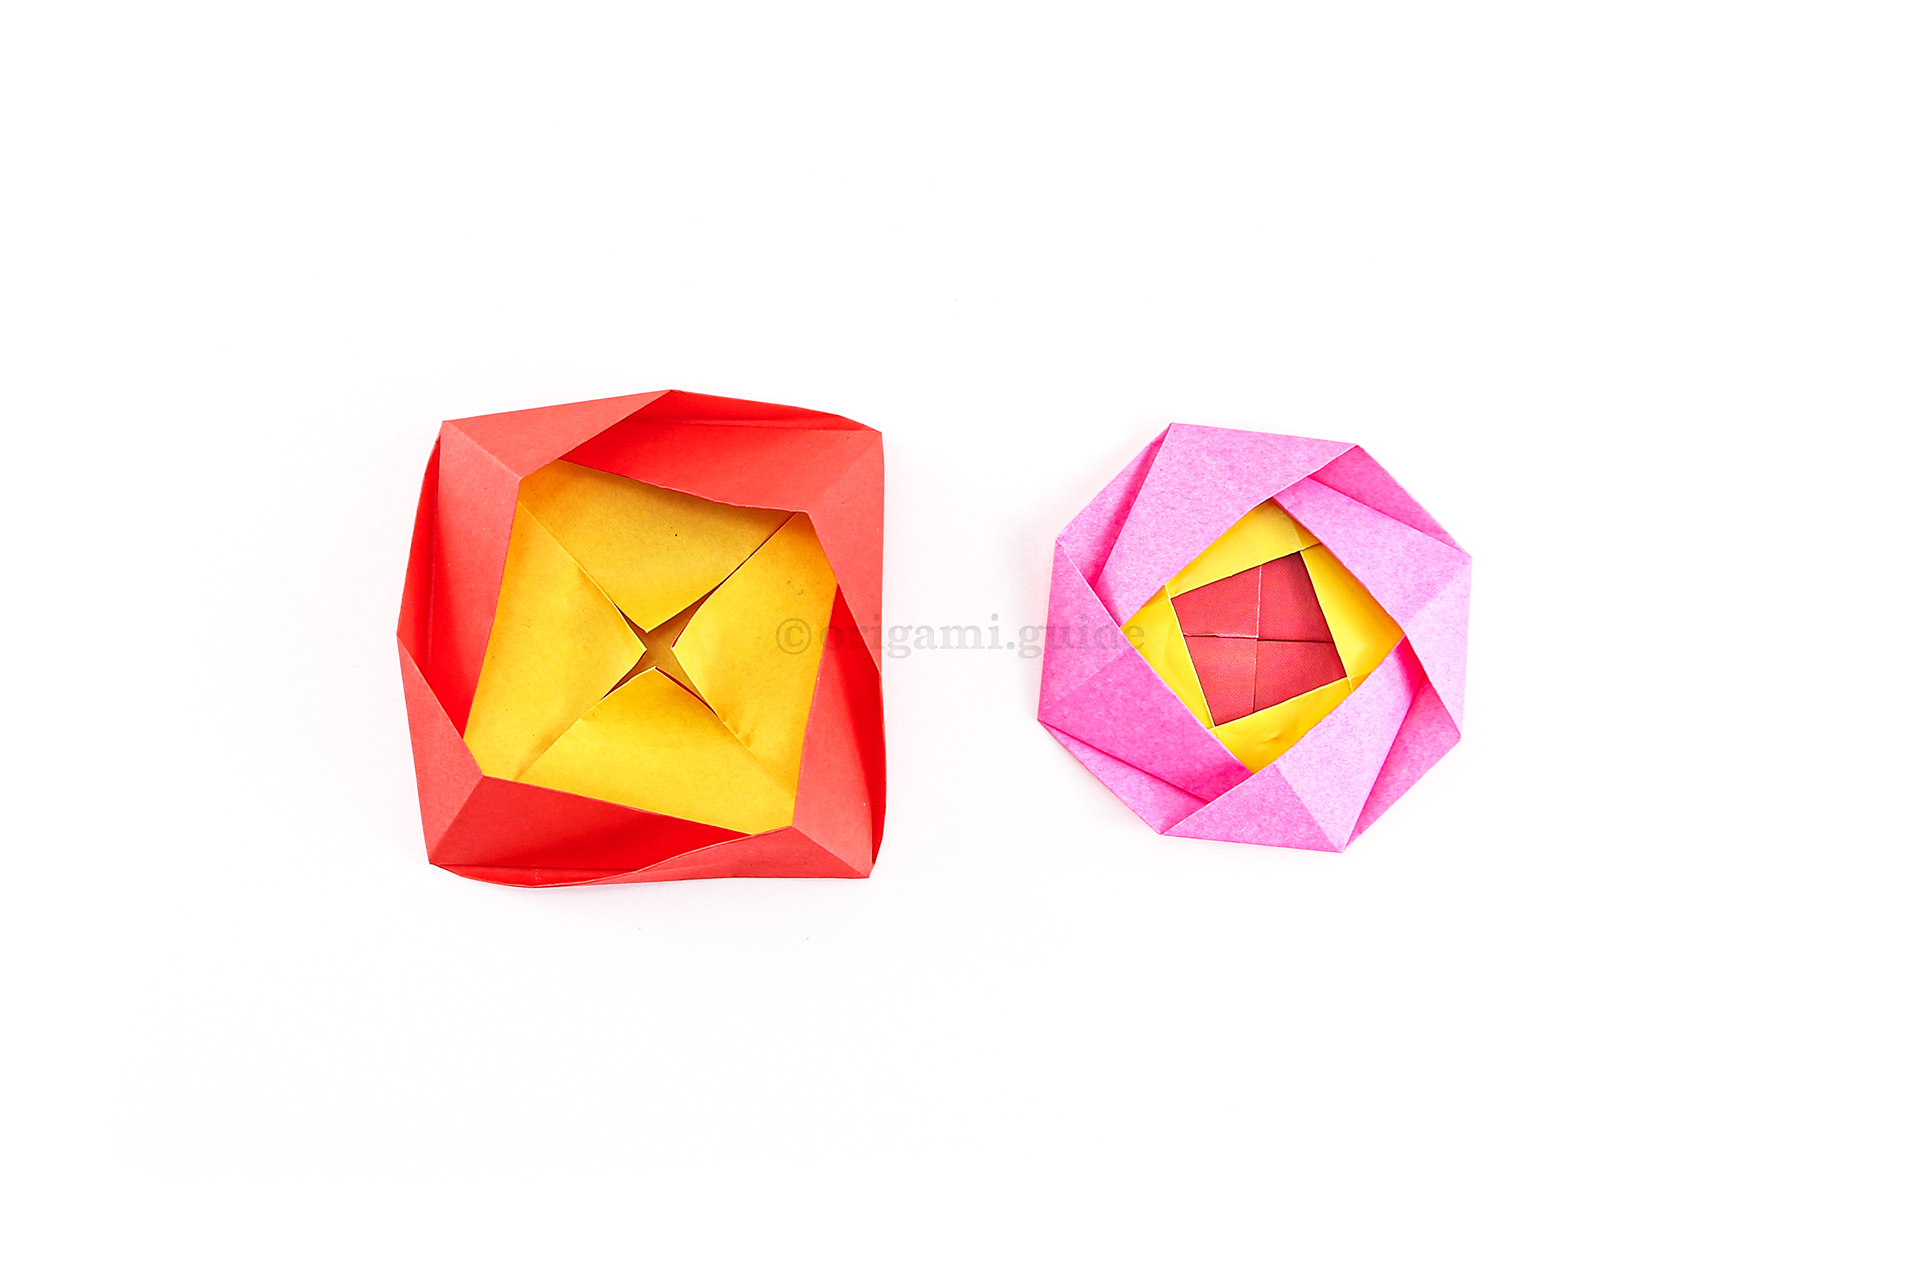
Step 6: To make it look three-dimensional, pop-out all three petal areas of the flower.
Your Nested Origami Camellia Flower Rosette is Complete!
You’ve completed the Nested Origami Camellia Flower Rosette, why not check out our other Origami Flowers, here.
Did you make this origami? How did it go? Leave a comment & submit your photo here.
Related origami: Easy Origami
Intermediate Origami
Traditional Origami
Modular Origami
Origami Flowers
Mothers Day
What Origami Flowers To Fold Next?
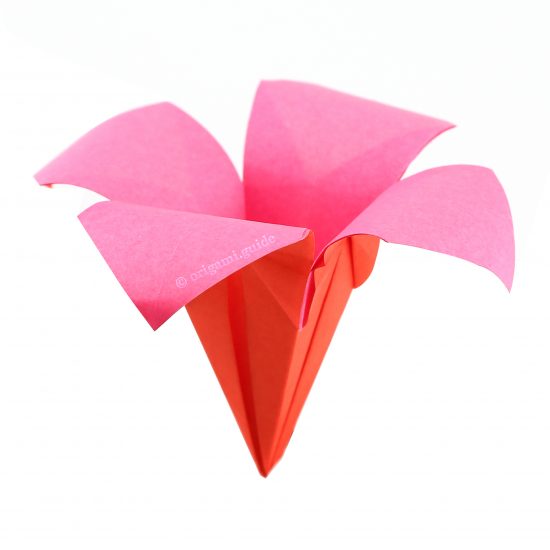
- « How To Make an Origami Camellia Flower

- How To Make An Origami Daylily »
 View all Origami Flowers Tutorials
Leave A Comment
Did you fold this Nested Origami Camellia Flower Rosette? Let us know what you thought.
You can also upload a photo of your result!
