Origami Daylily
Learn how to fold a pretty origami daylily flower. Make a bouquet of traditional origami lilies! These origami flowers only take a few minutes to make.
A name “Daylily” can describe many flowers in the Hemerocallis genus, more than 60,000 varieties! These flowers only last for about one day, hence the name.
You may have noticed these lily flowers look quite similar to the Traditional Origami Lily. The two look quite different when placed together. Why not make both and decide which is your favourite. You can even combine them for a large lily.
Origami Daylily Instructions
Scroll down to follow the photo tutorial for the Origami Daylily.
Made this origami? Leave a comment & submit your photo on the last page here.
-
1
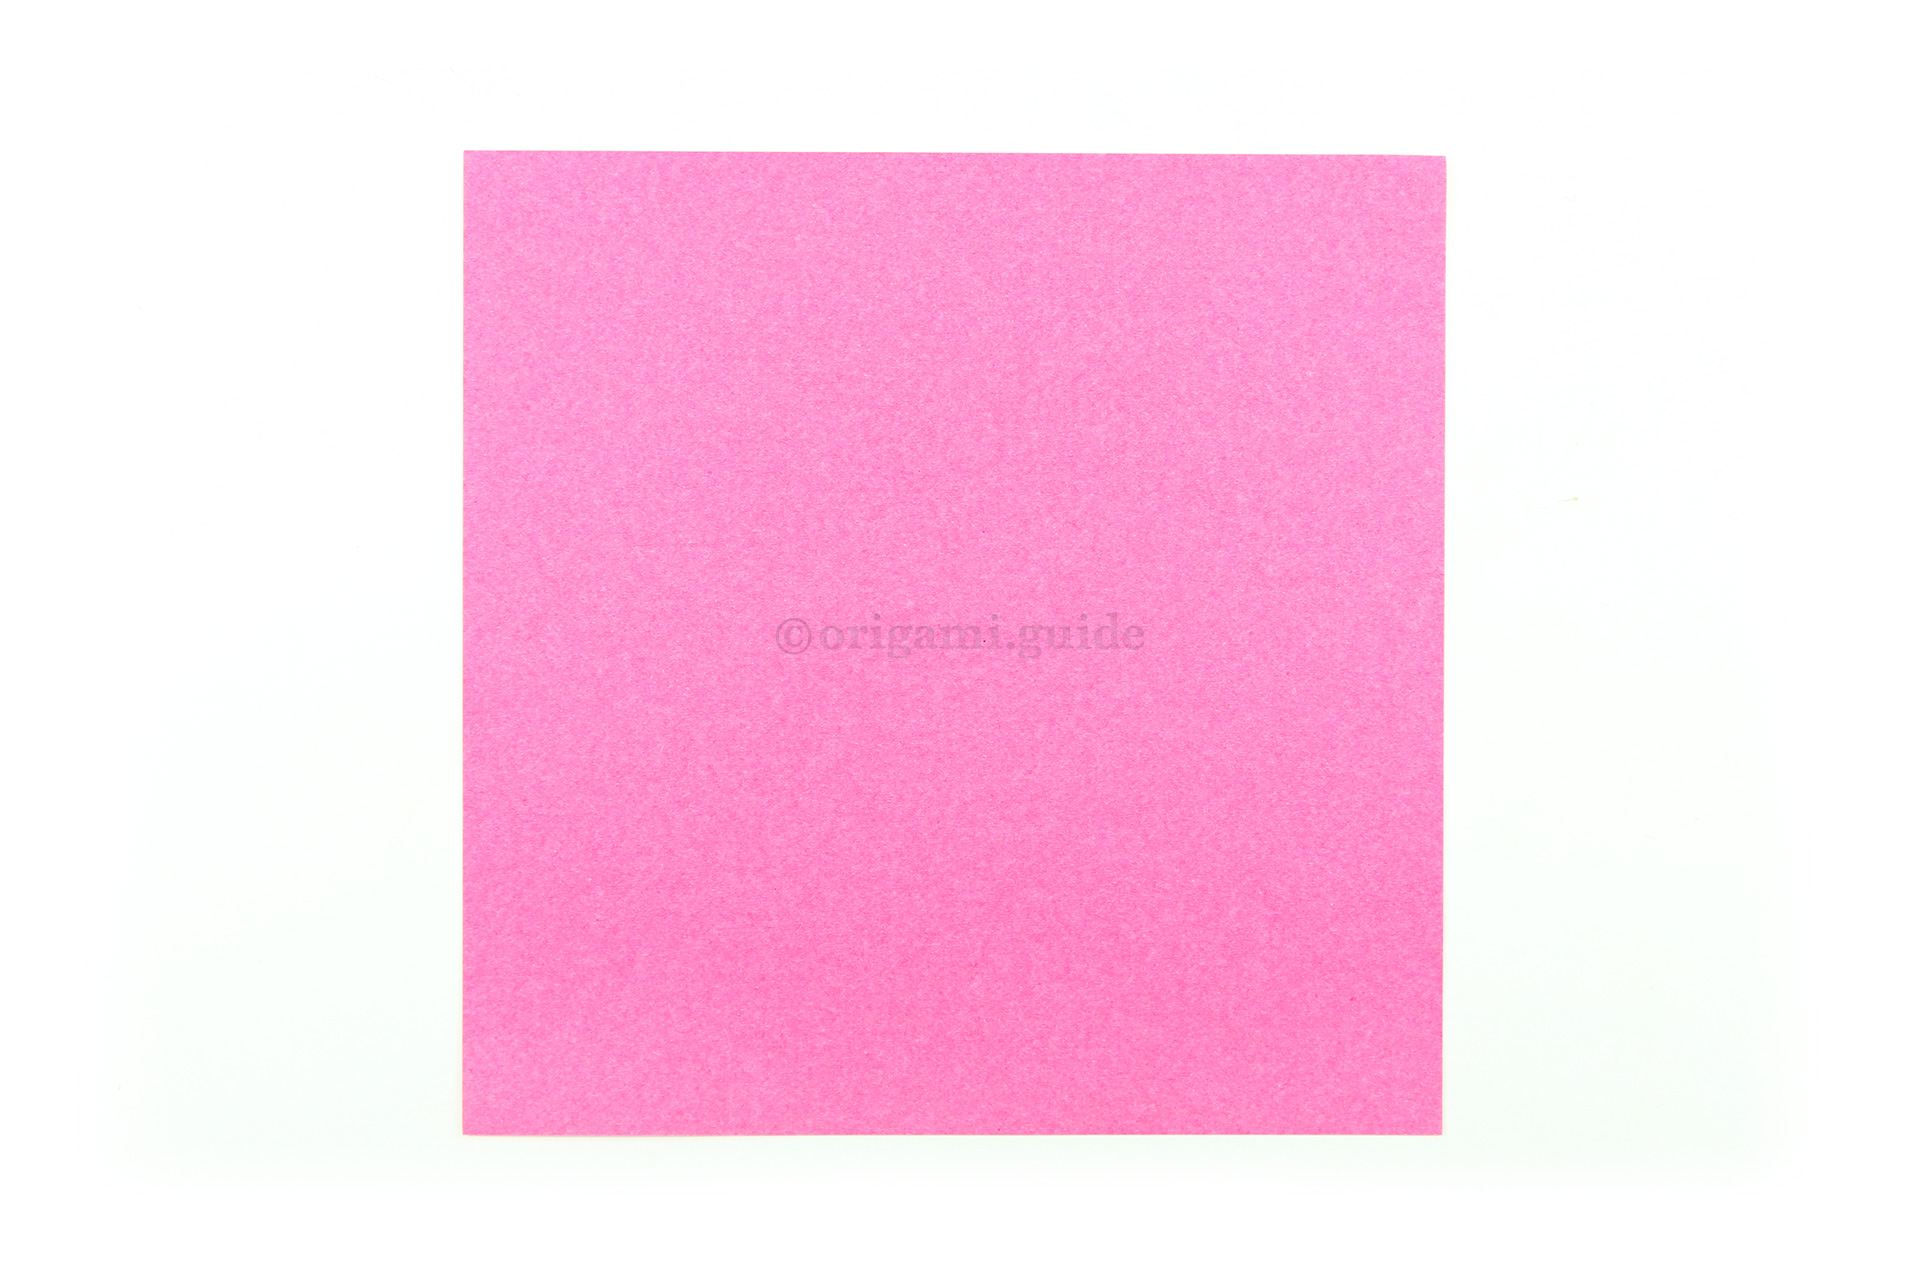
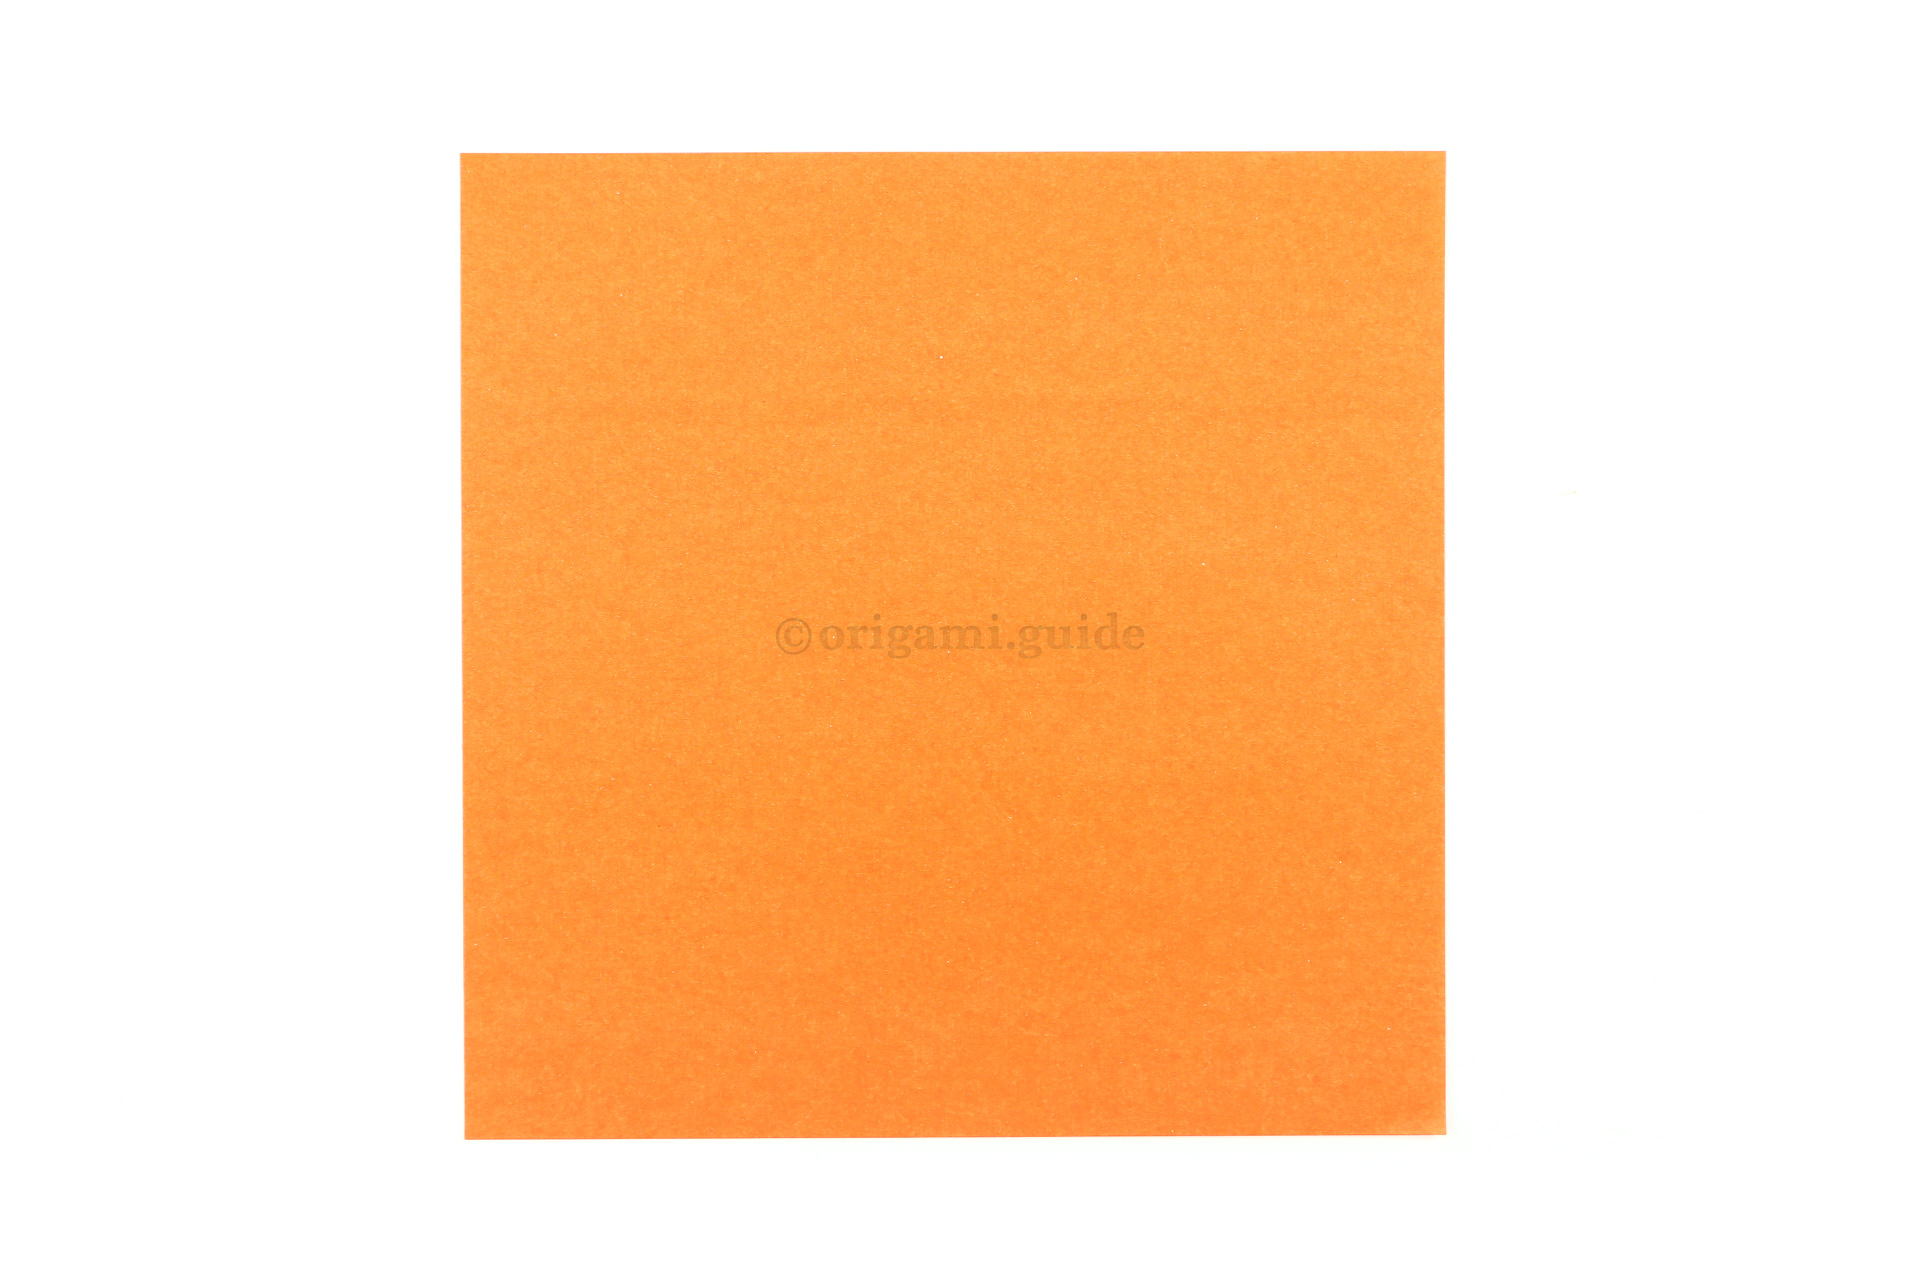
Step 1: This is the front of our origami paper, the inside and top of the petals will end up this colour.
-
2
Step 2: This is the back of the origami paper, the lower part of the lily will end up this colour.
-
3
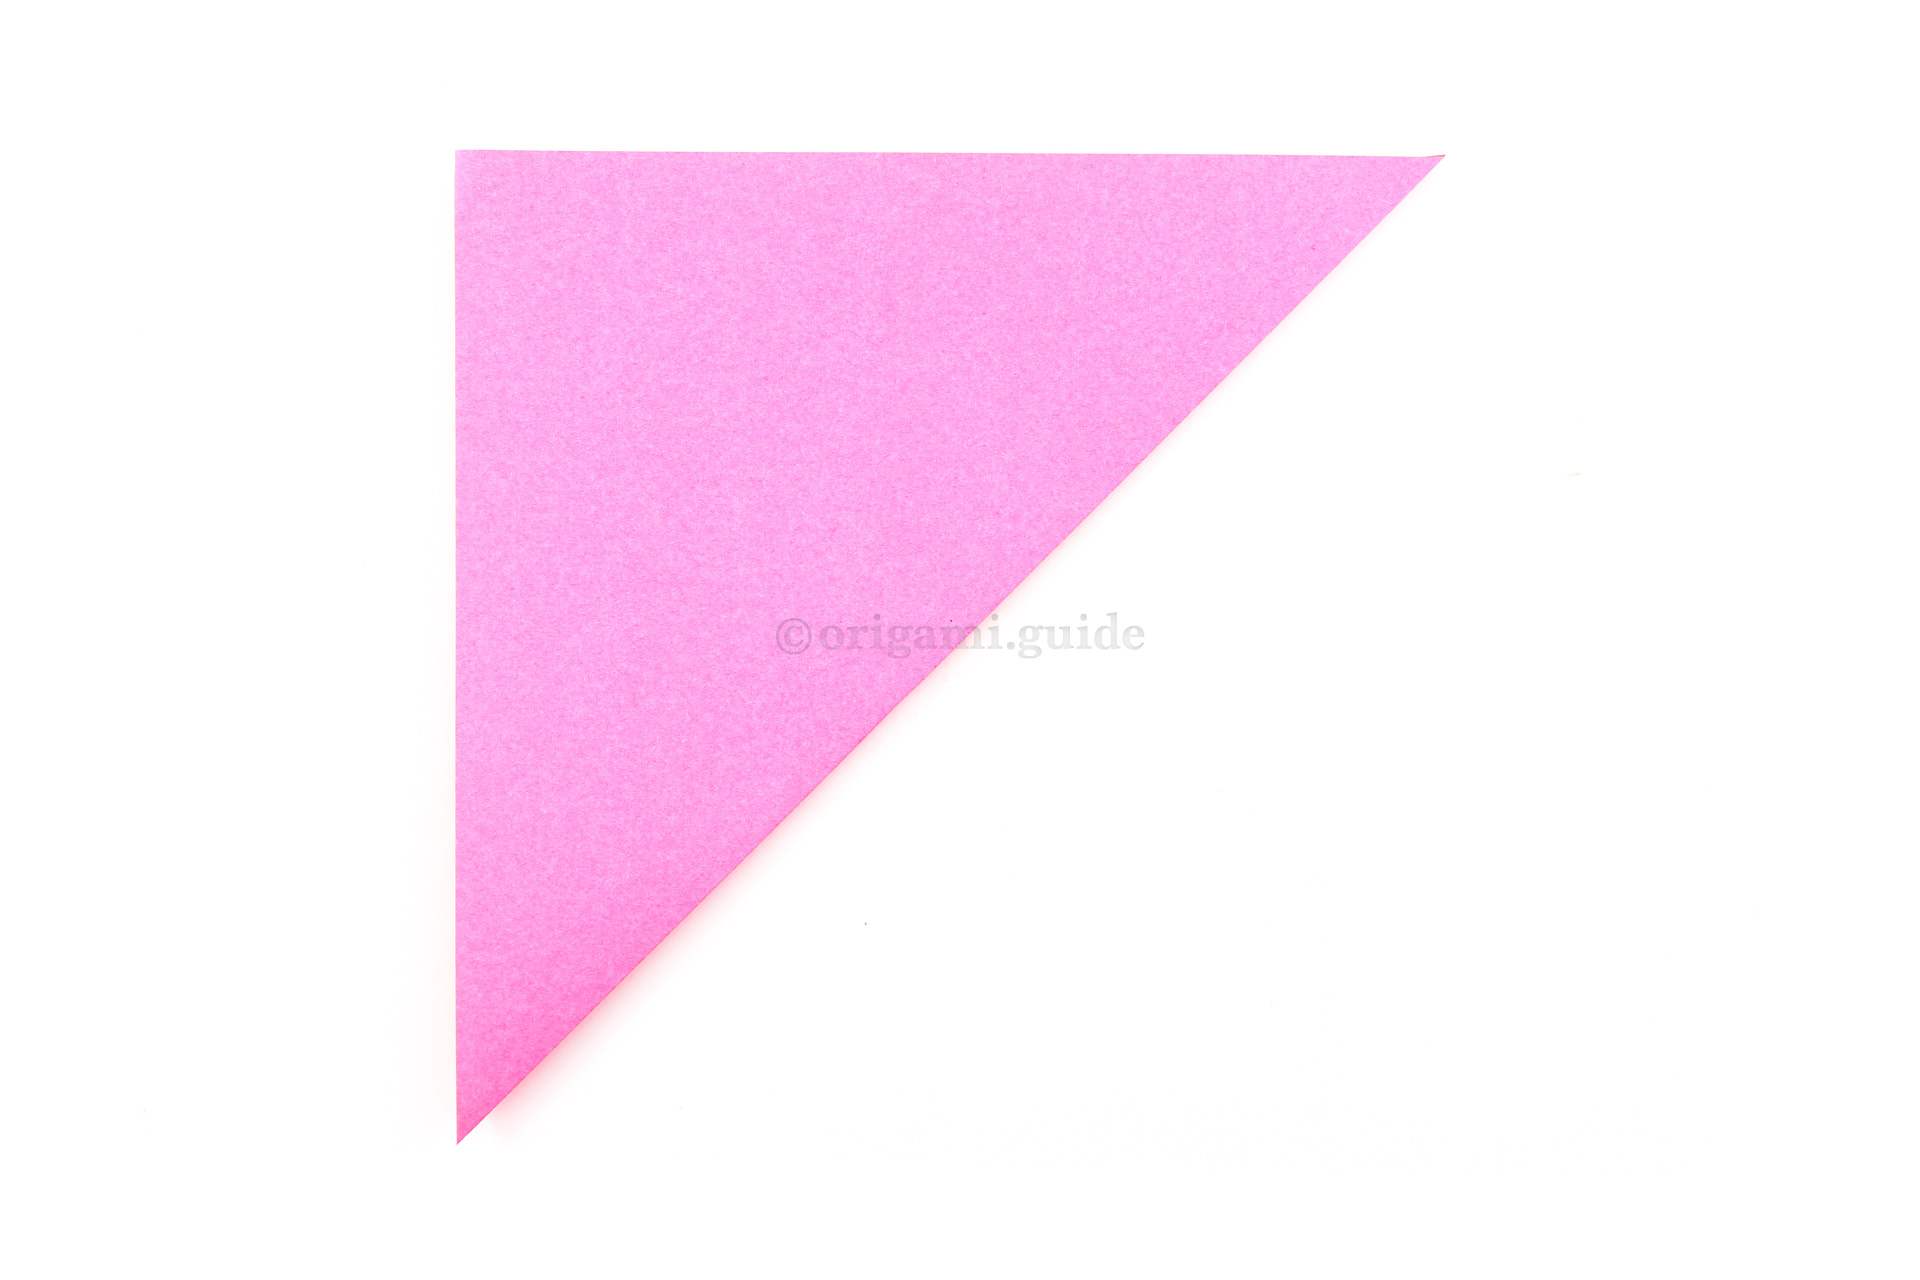
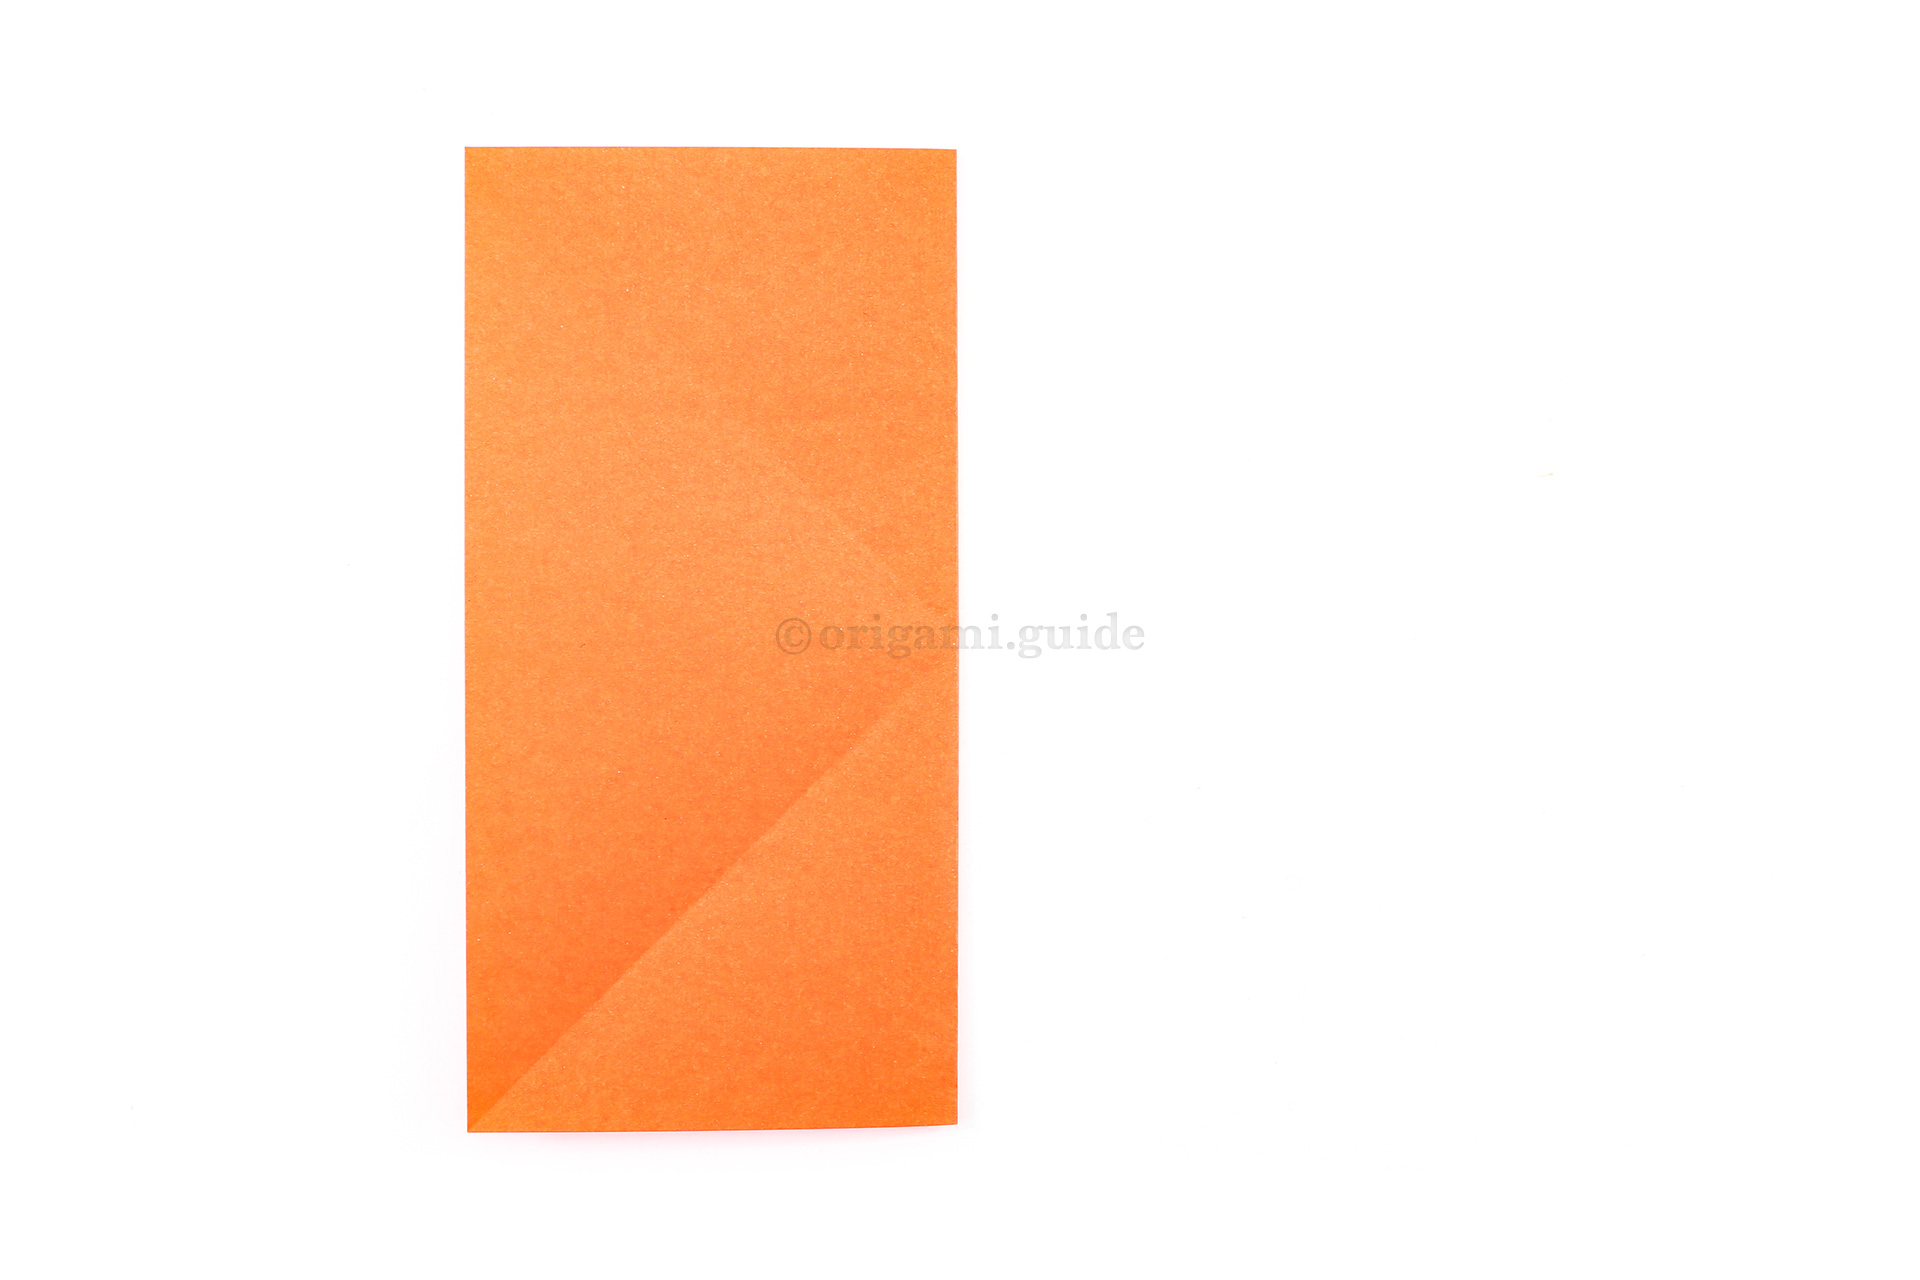
Step 3: Fold the bottom right corner diagonally up to the top left corner.
-
4

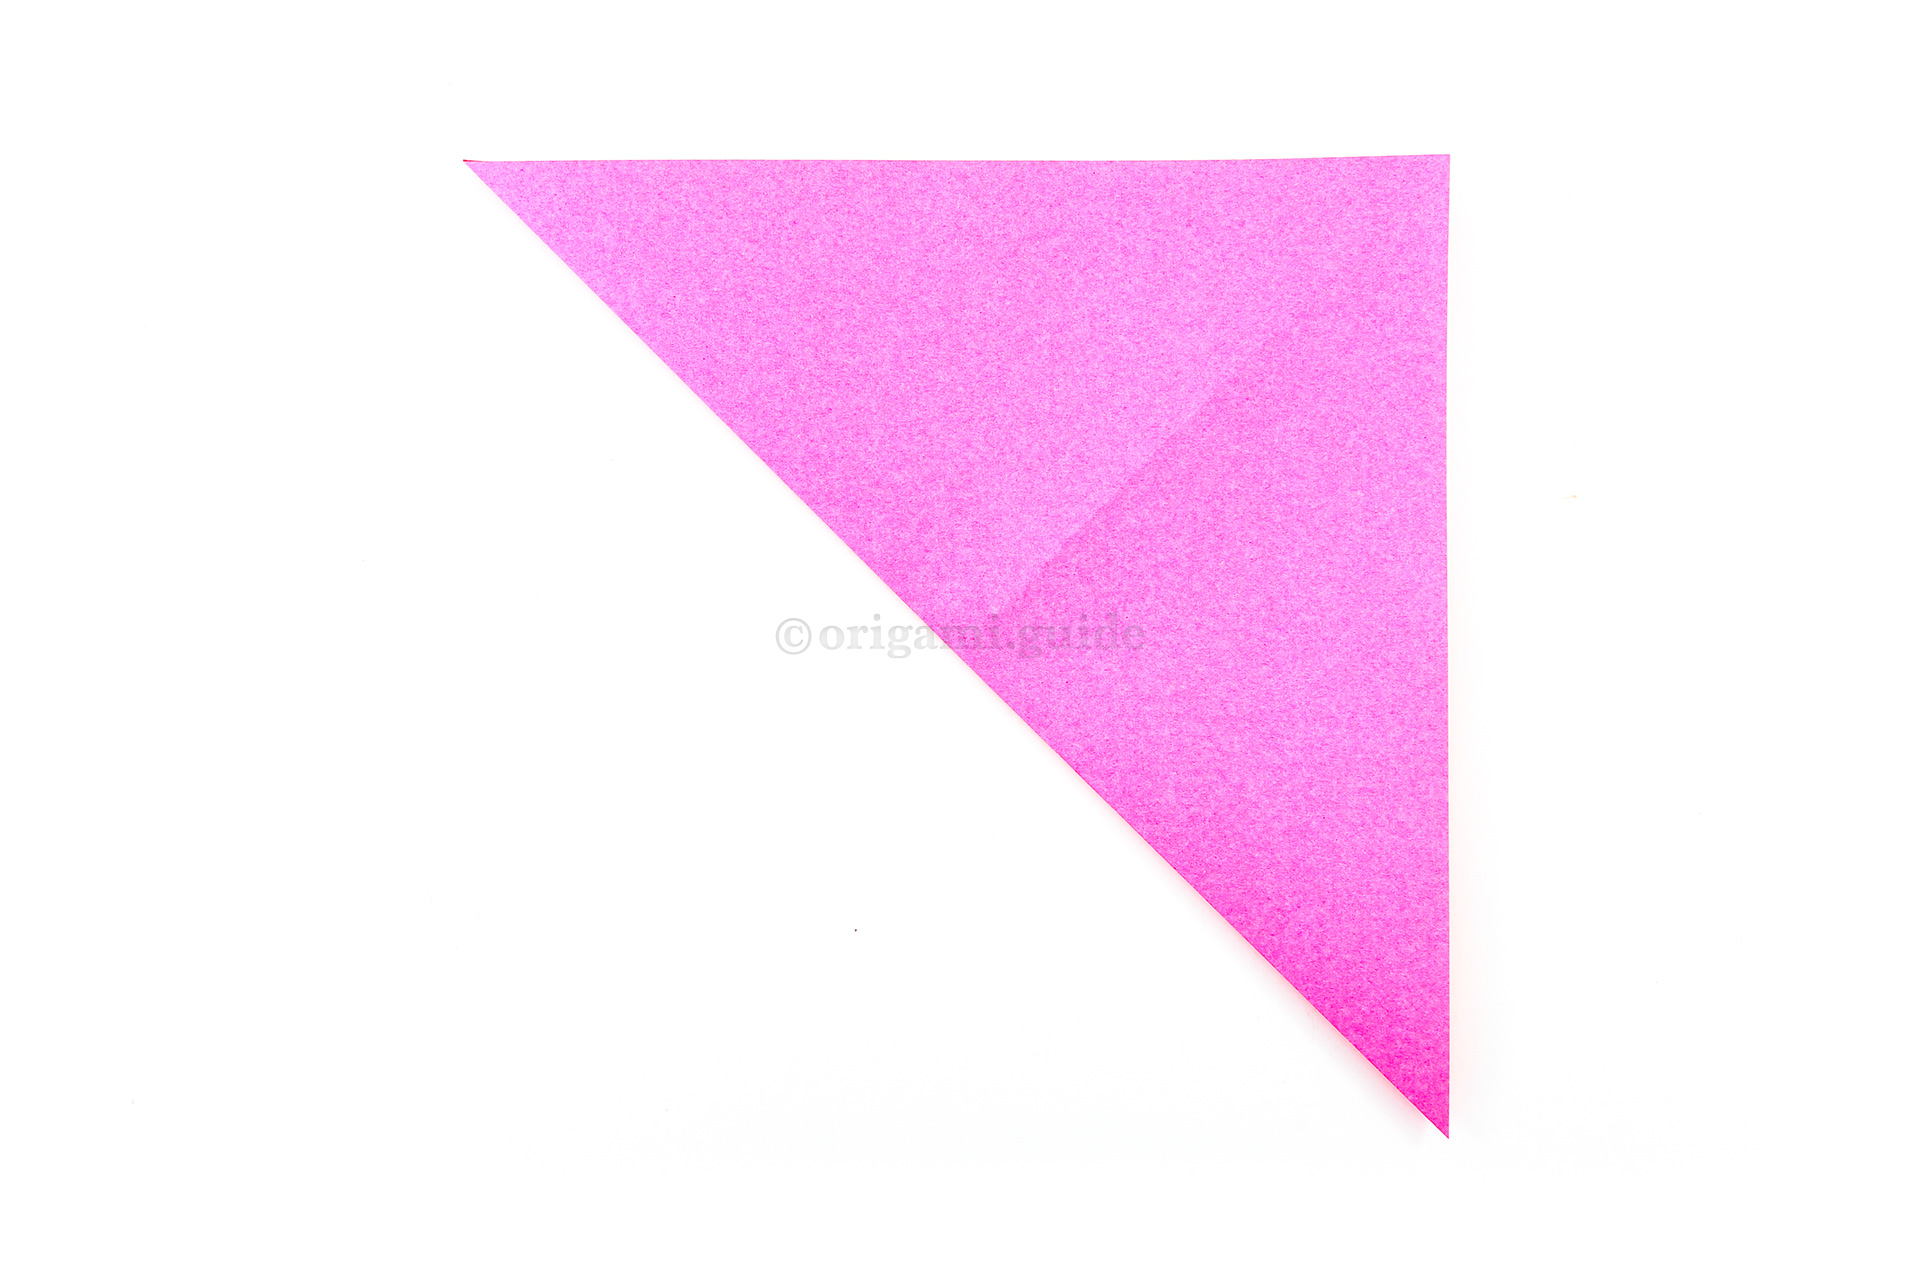
Step 4: Unfold the previous step.
-
5
Step 5: Fold the bottom left corner diagonally up to the top right corner.
-
6
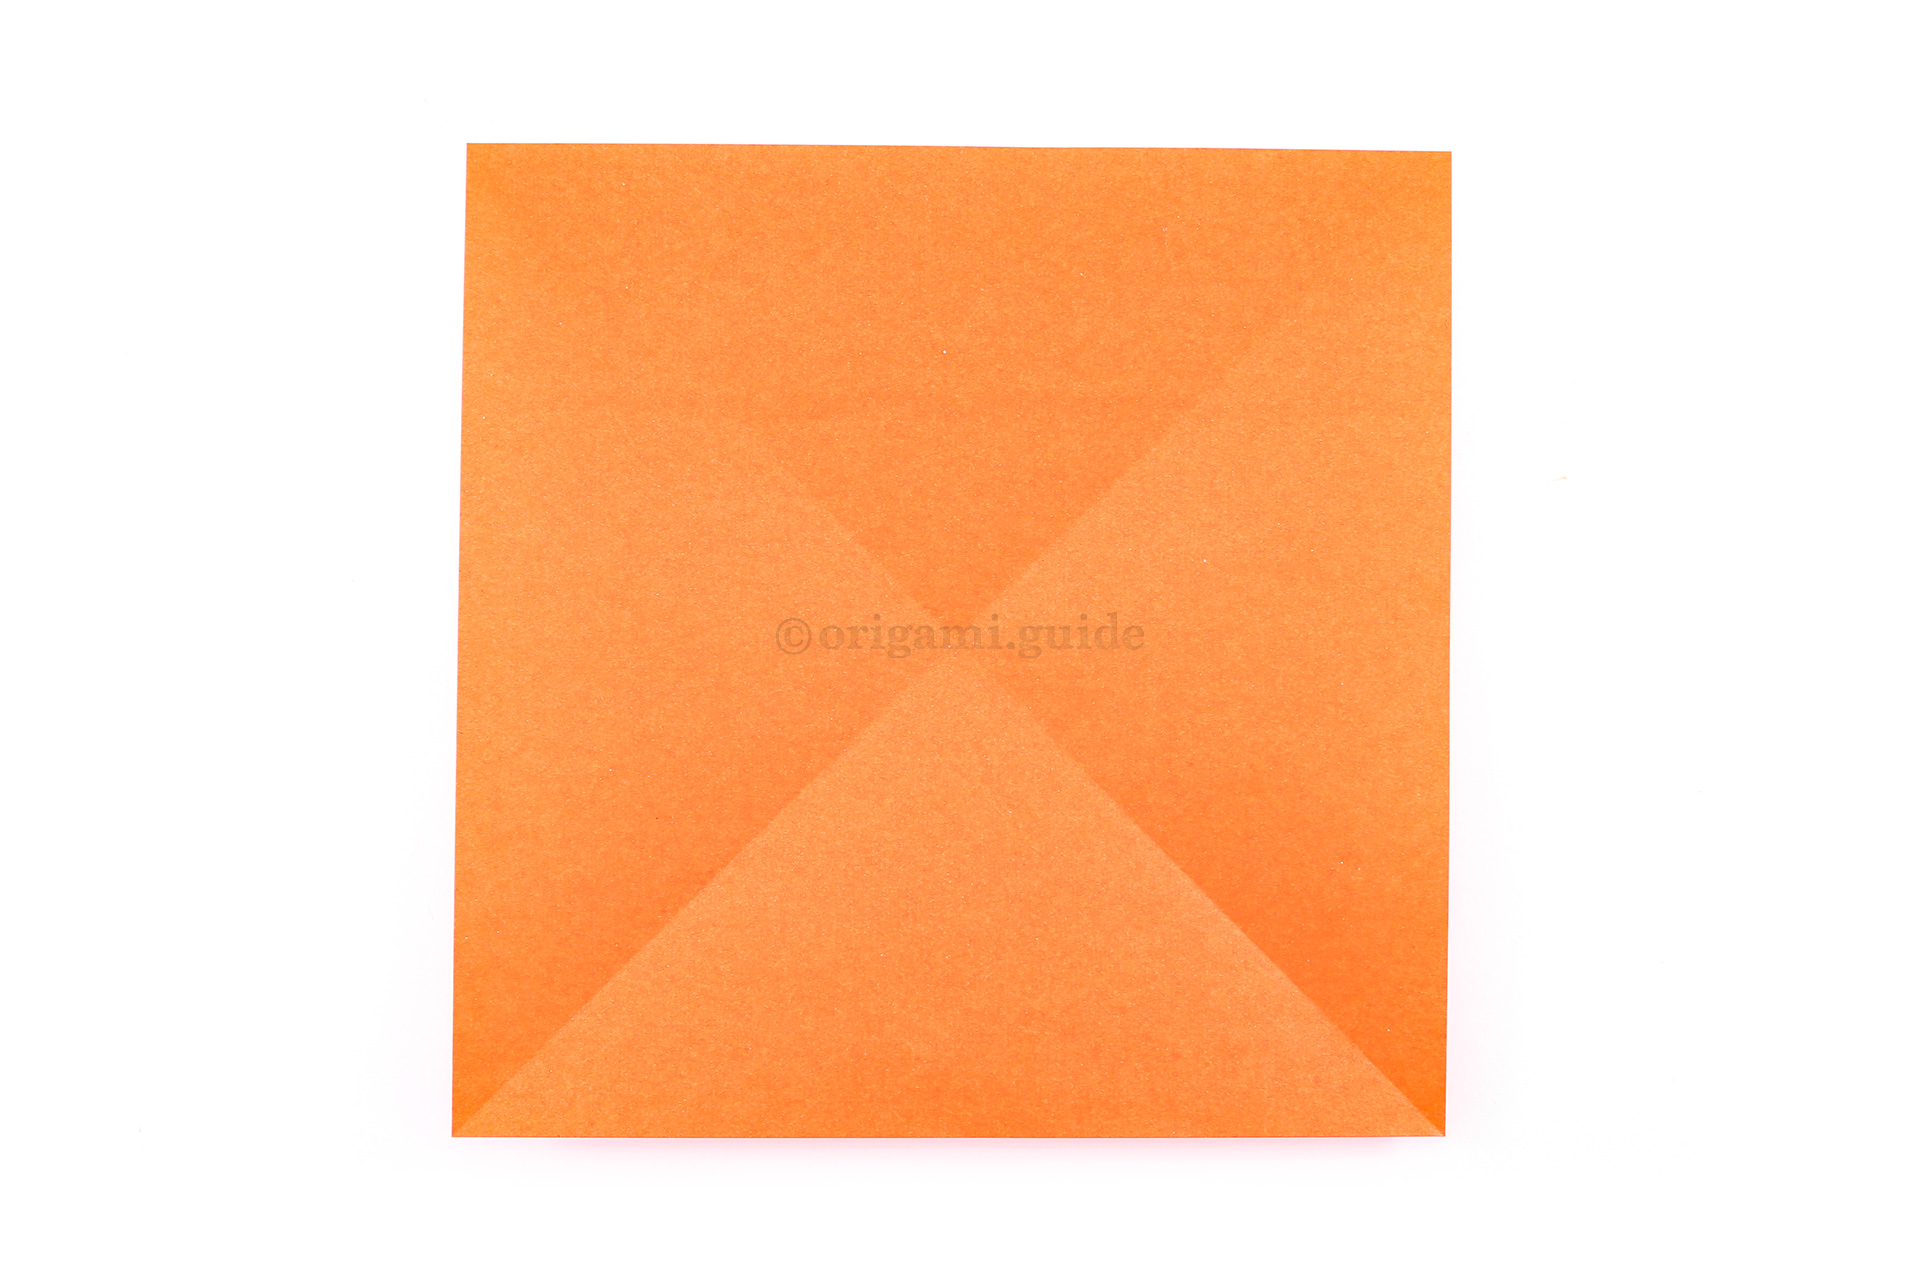
Step 6: Unfold the previous step.
-
7

Step 7: Flip the paper over to the other side.
-
8
Step 8: Fold the right edge over to the left edge.
-
9

Step 9: Unfold the previous step.
What Origami Flowers To Fold Next?
- « Nested Origami Camellia Flower Rosette Tutorial

- How To Fold A Simple Origami Flower »
 View all Origami Flowers Tutorials

Leave A Comment
Did you fold this Origami Daylily? Let us know what you thought.
You can also upload a photo of your result!