Made this origami? Leave a comment & submit your photo here.
-
12
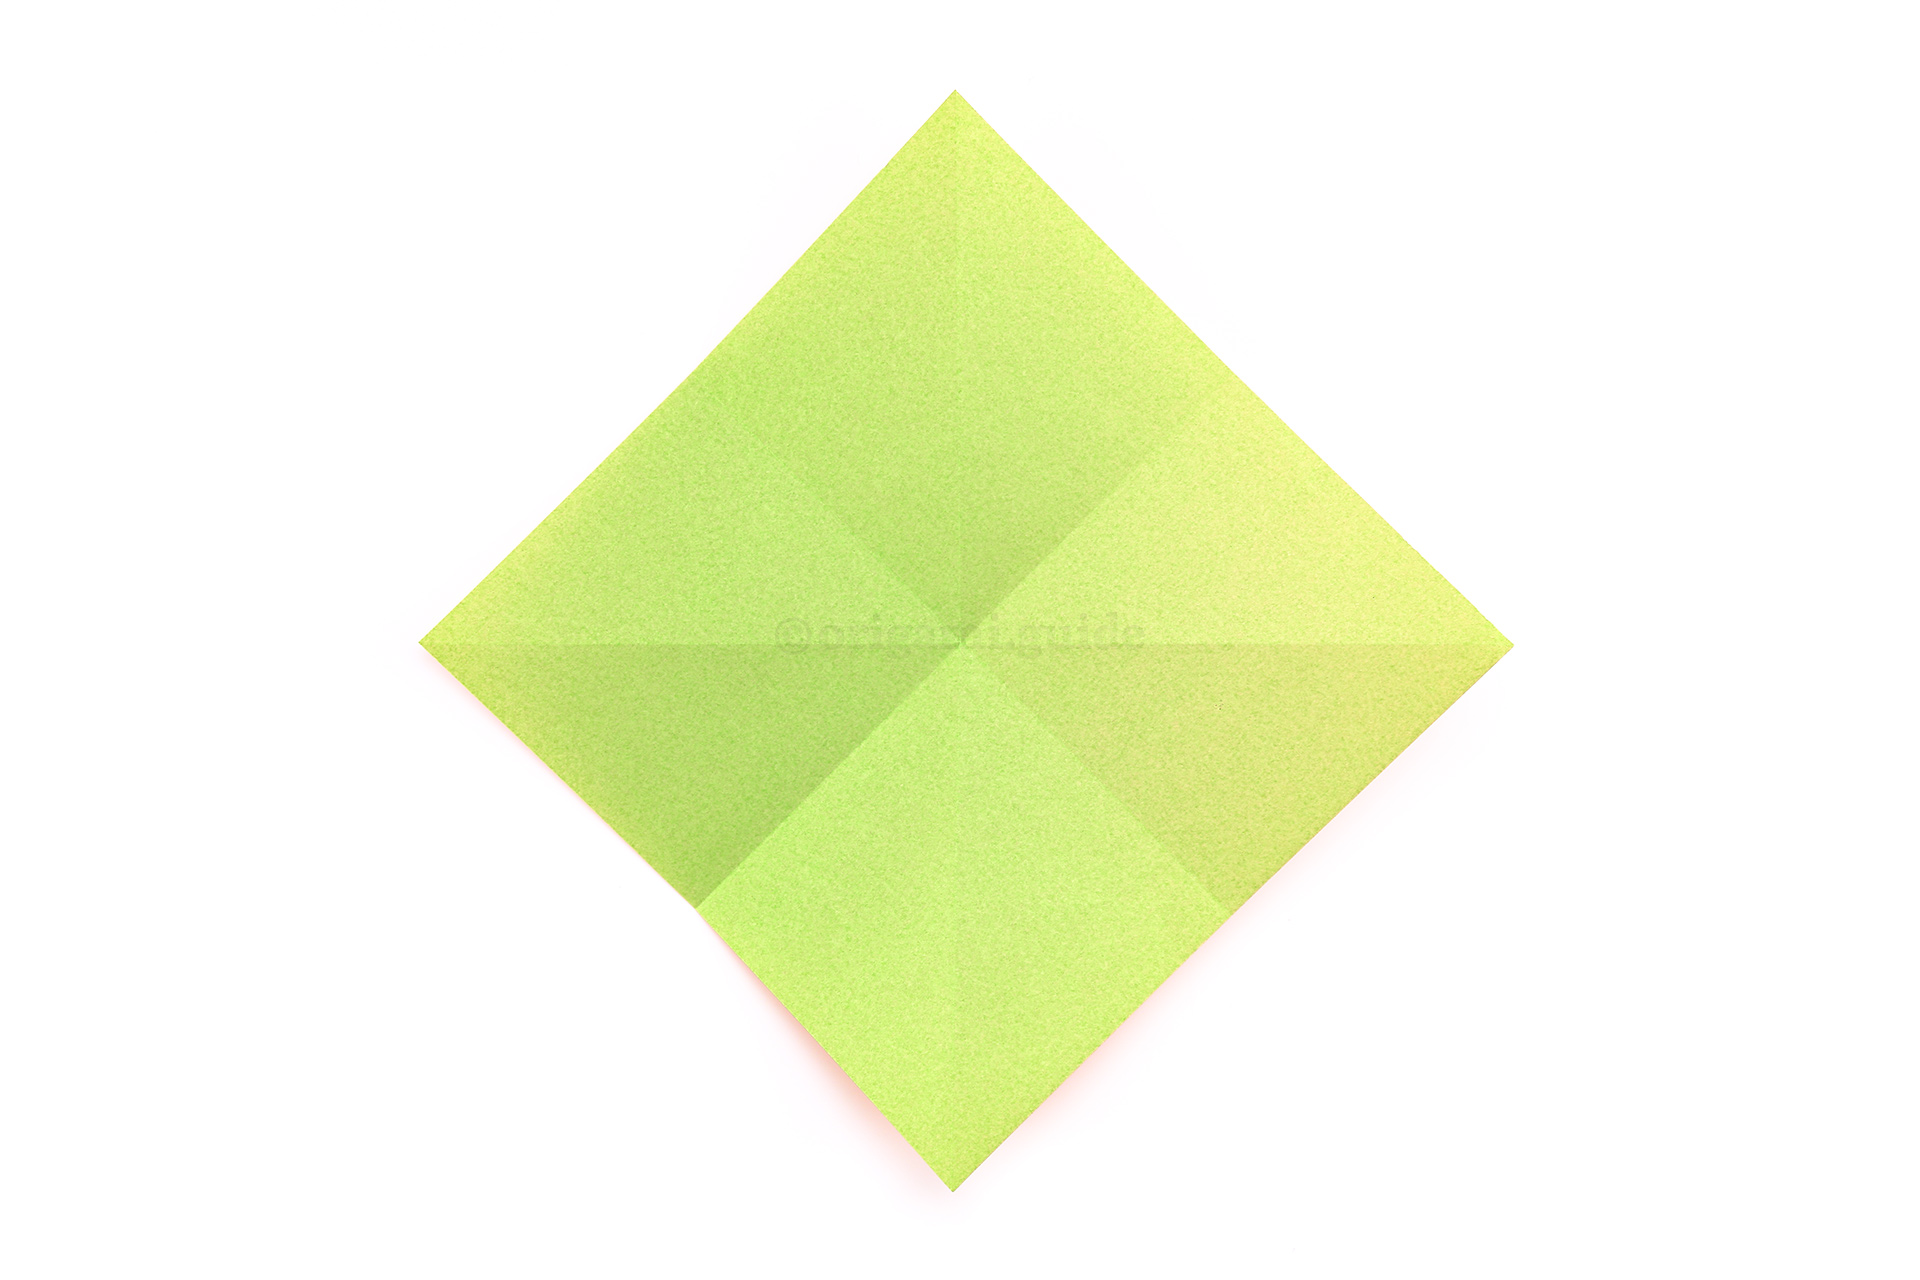
Step 12: Rotate the paper.
-
13
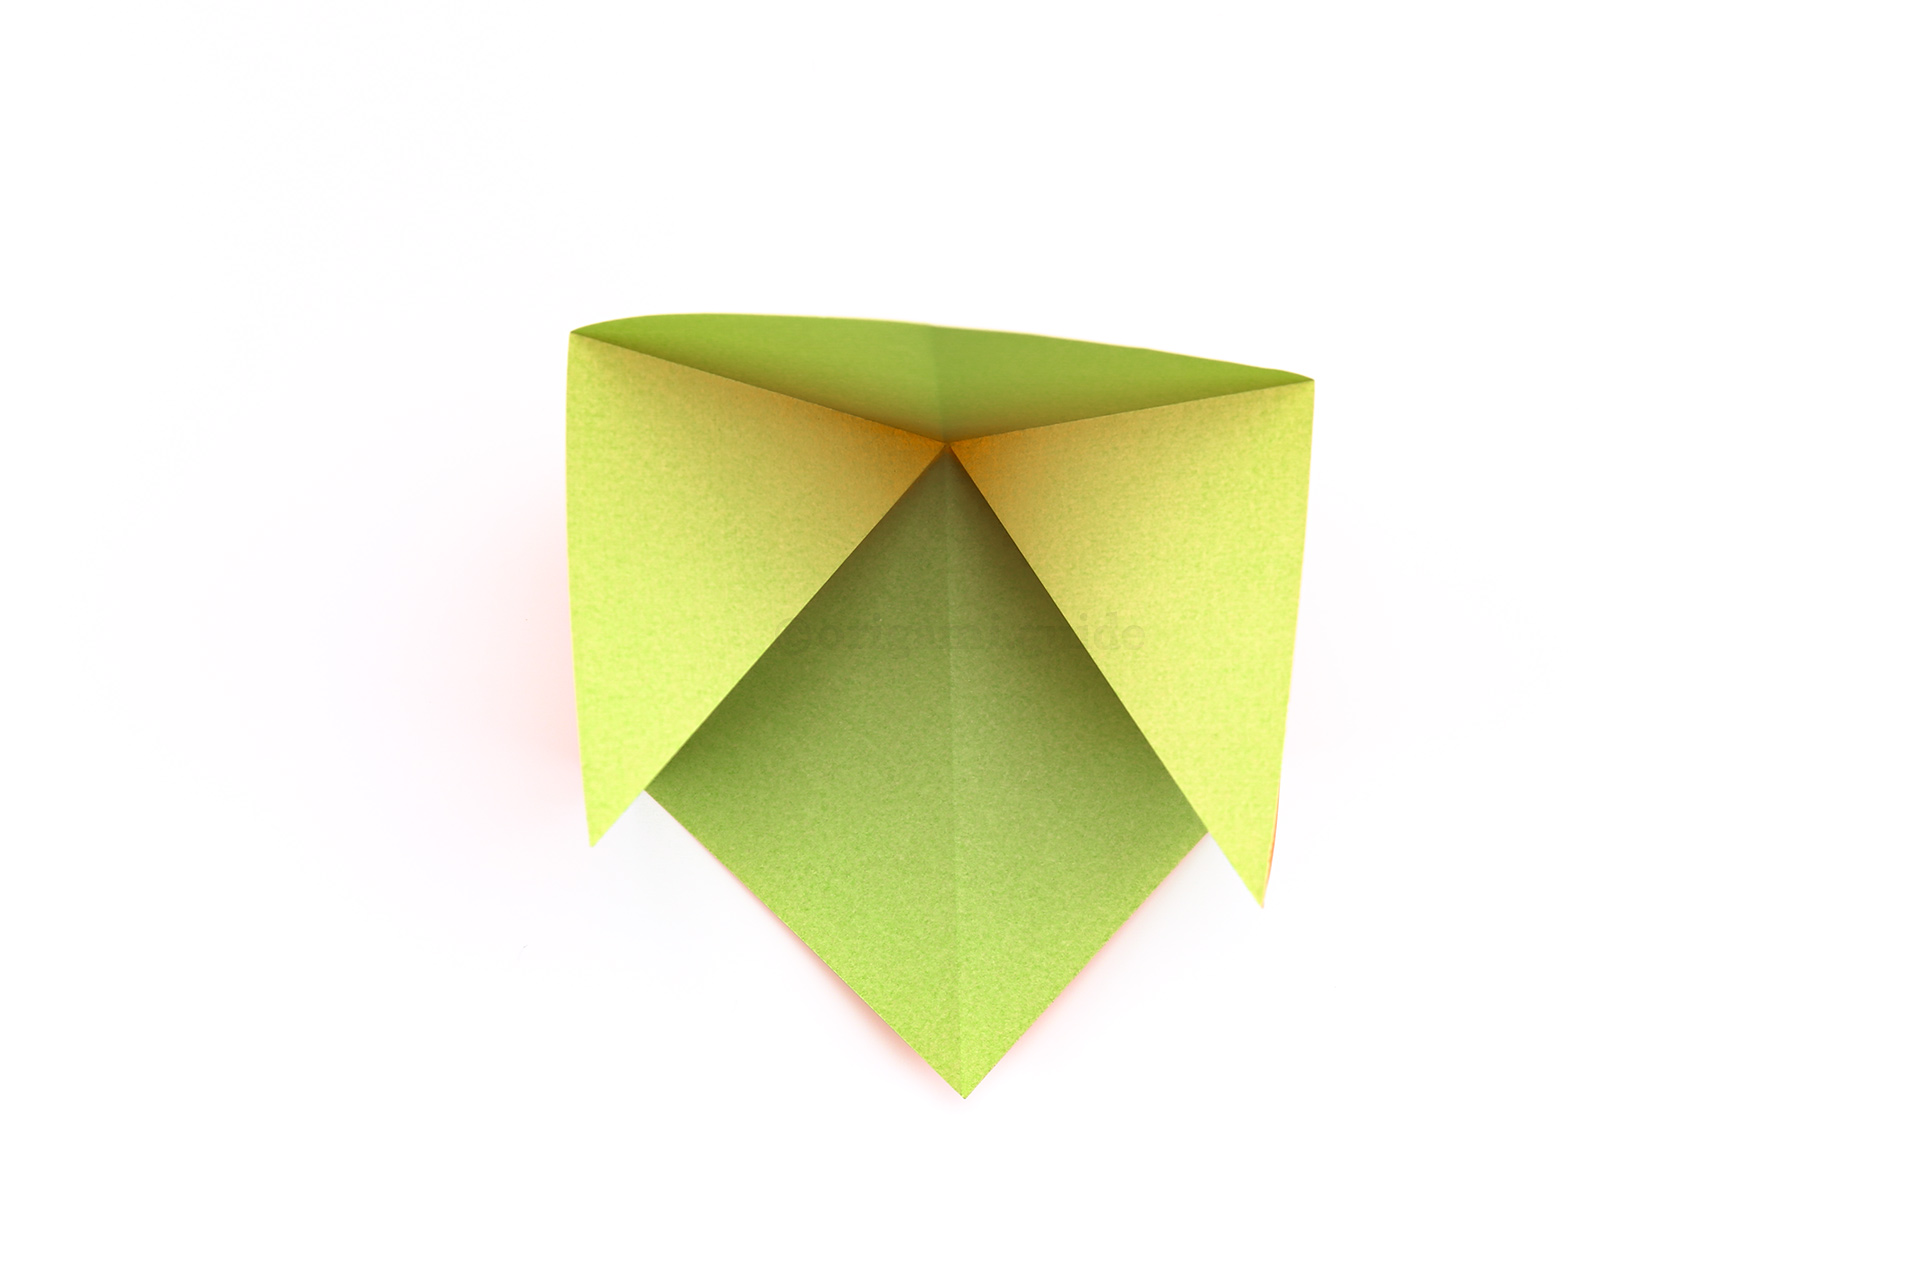
Step 13: Bring the left and right points inwards and down and then bring the top point down.
-
14
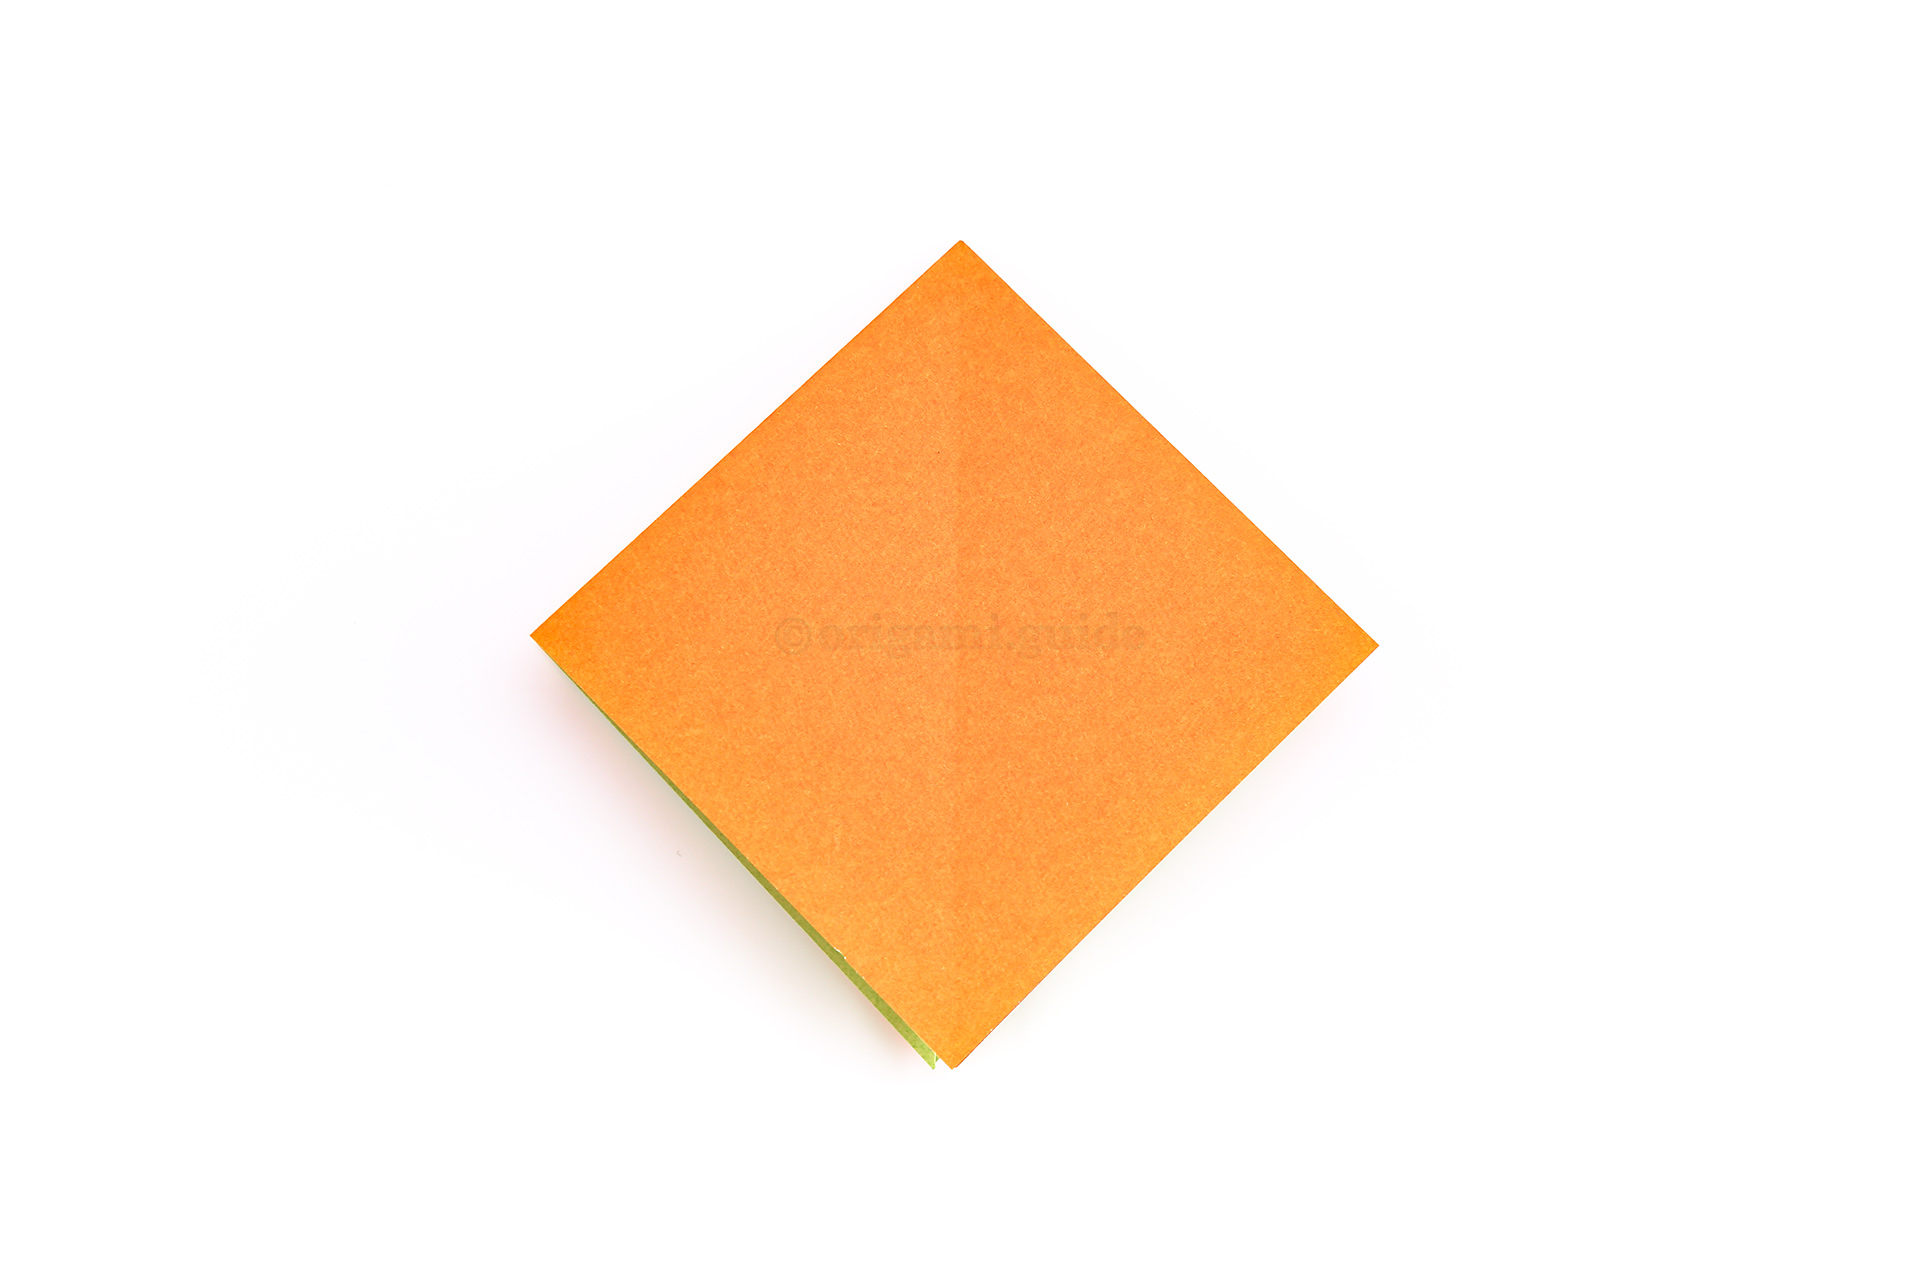
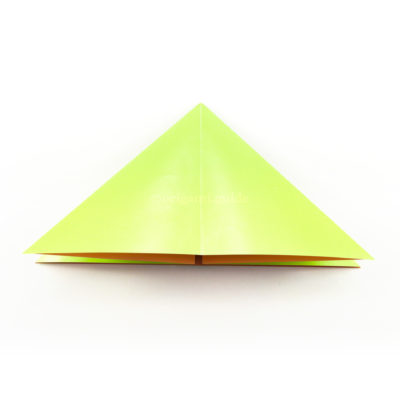
Step 14: Flatten the paper down and this is the completed origami square base.
-
15
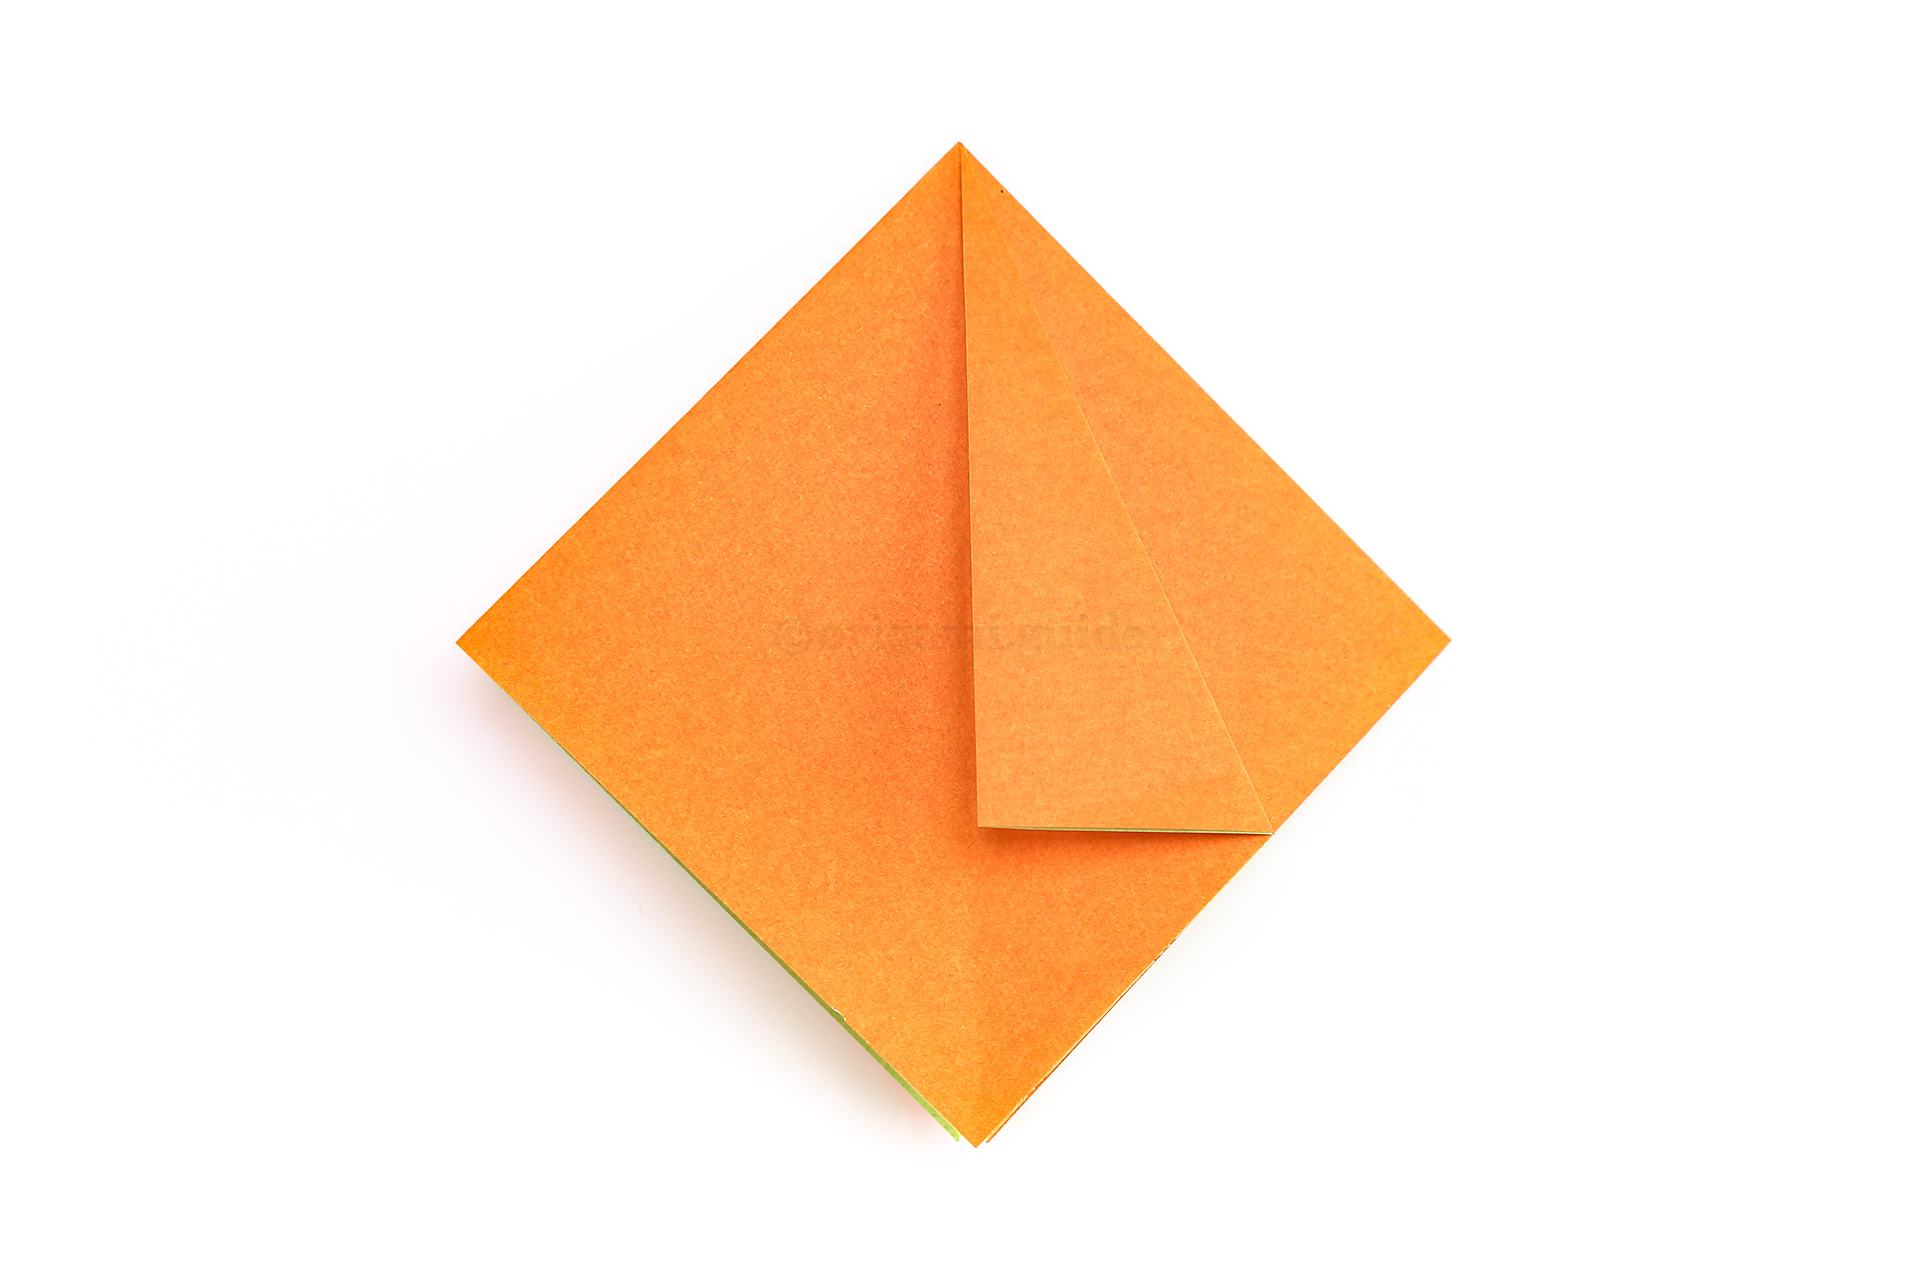
Step 15: Fold the right point to the central crease as shown.
-
16
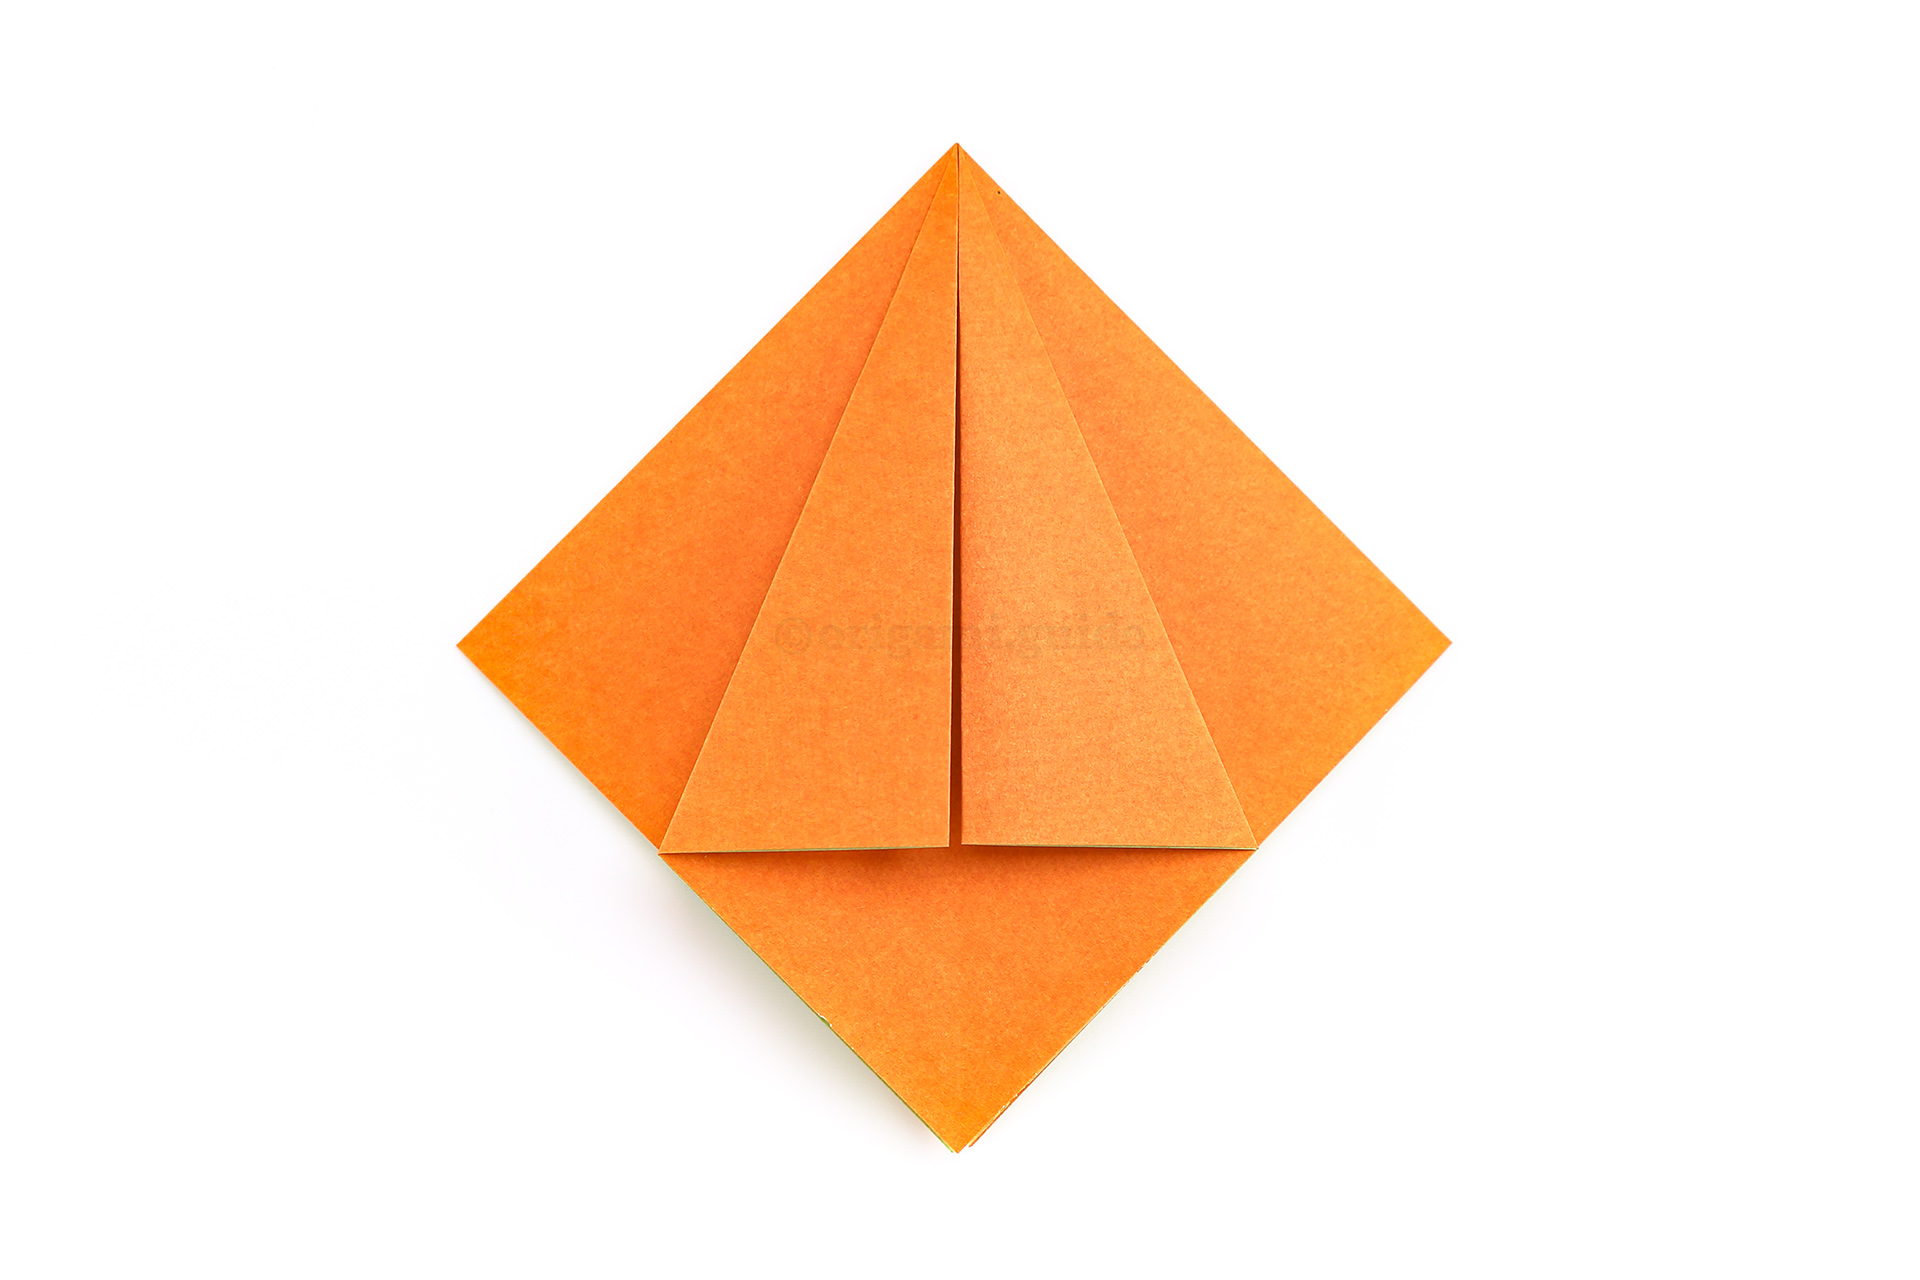
Step 16: Fold the left point to the center crease as well.
-
17
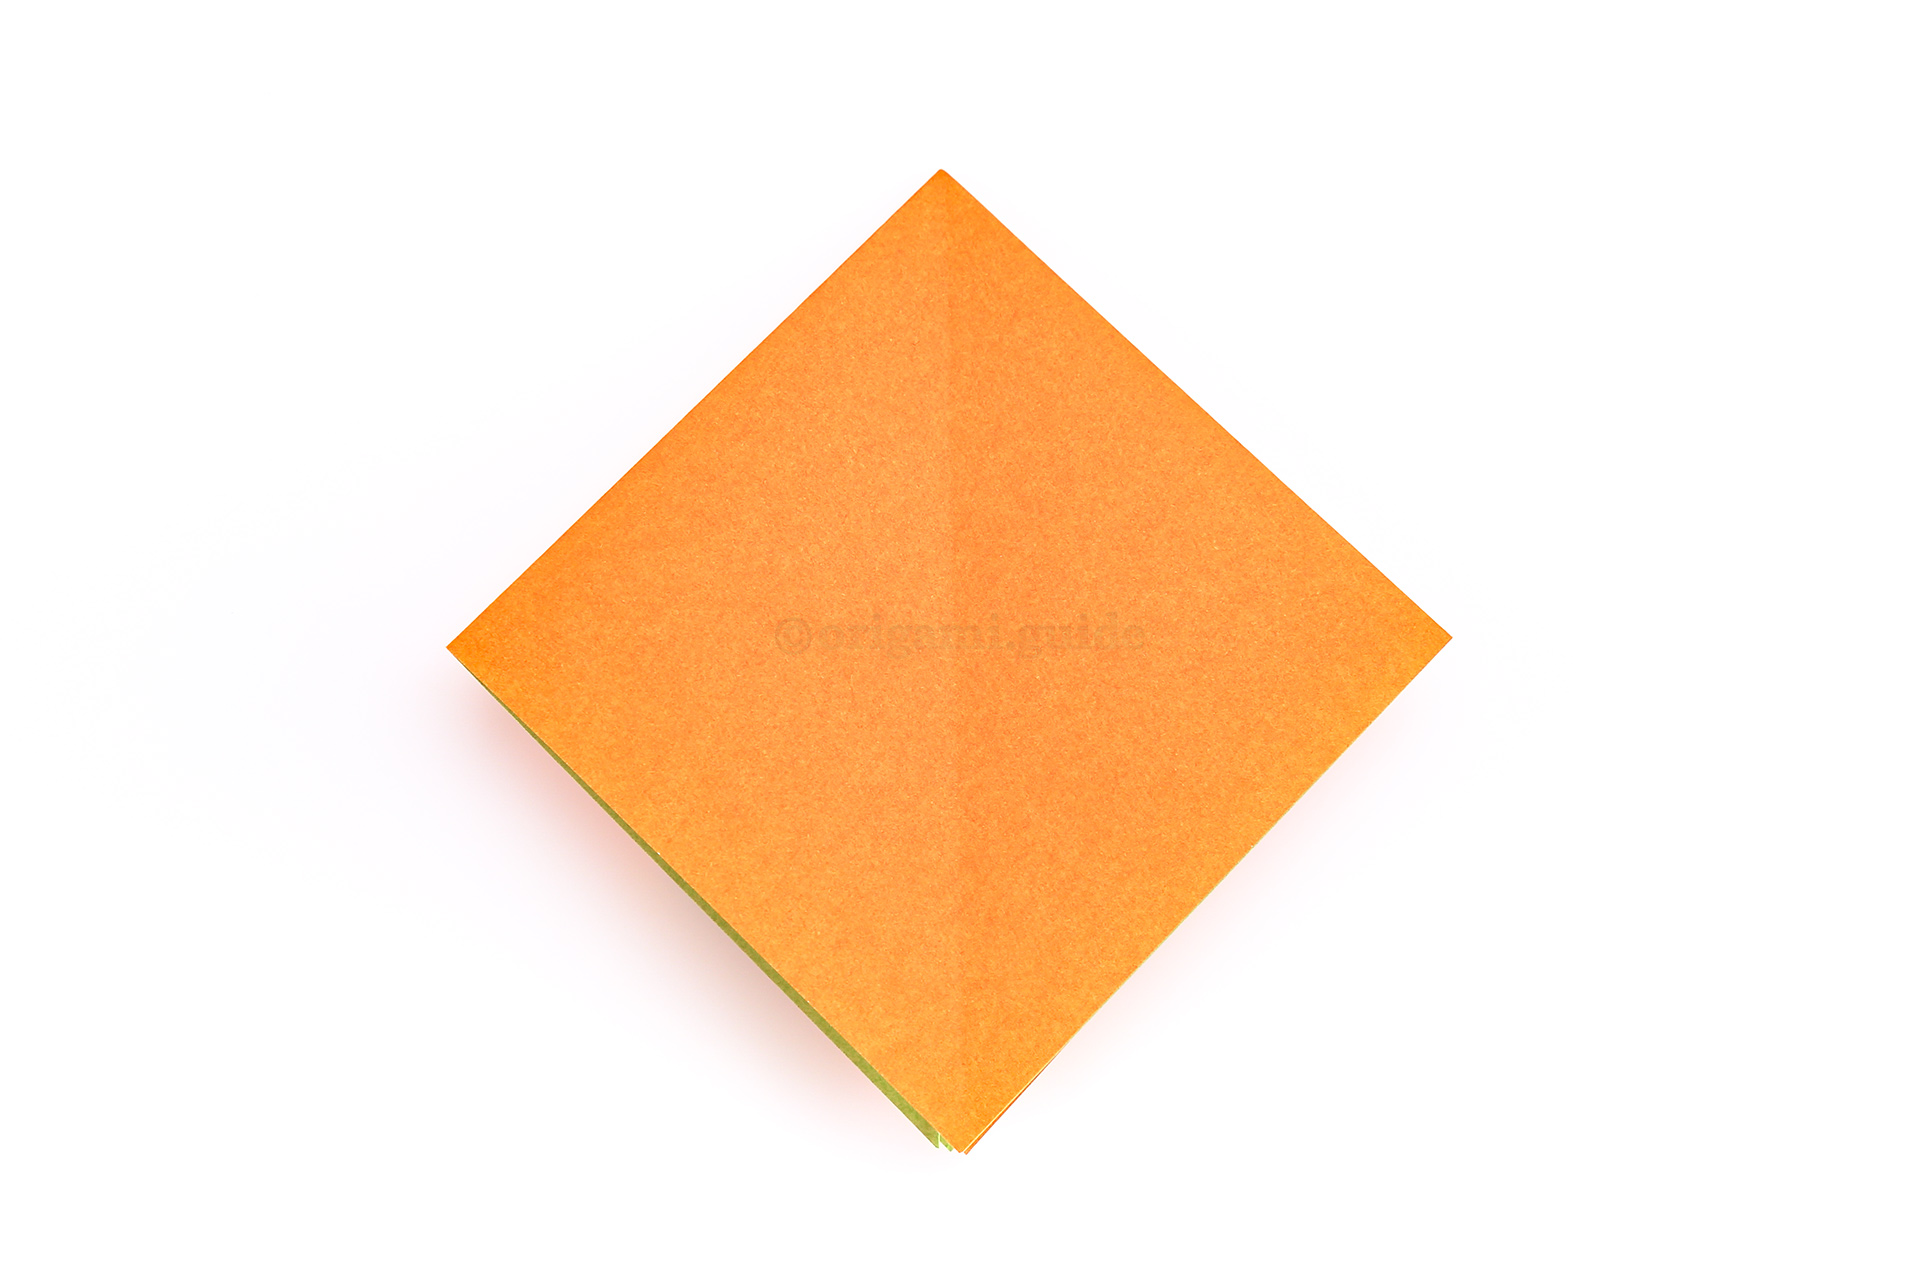
Step 17: Flip the paper over to the other side, keeping the open ends at the bottom.
-
18
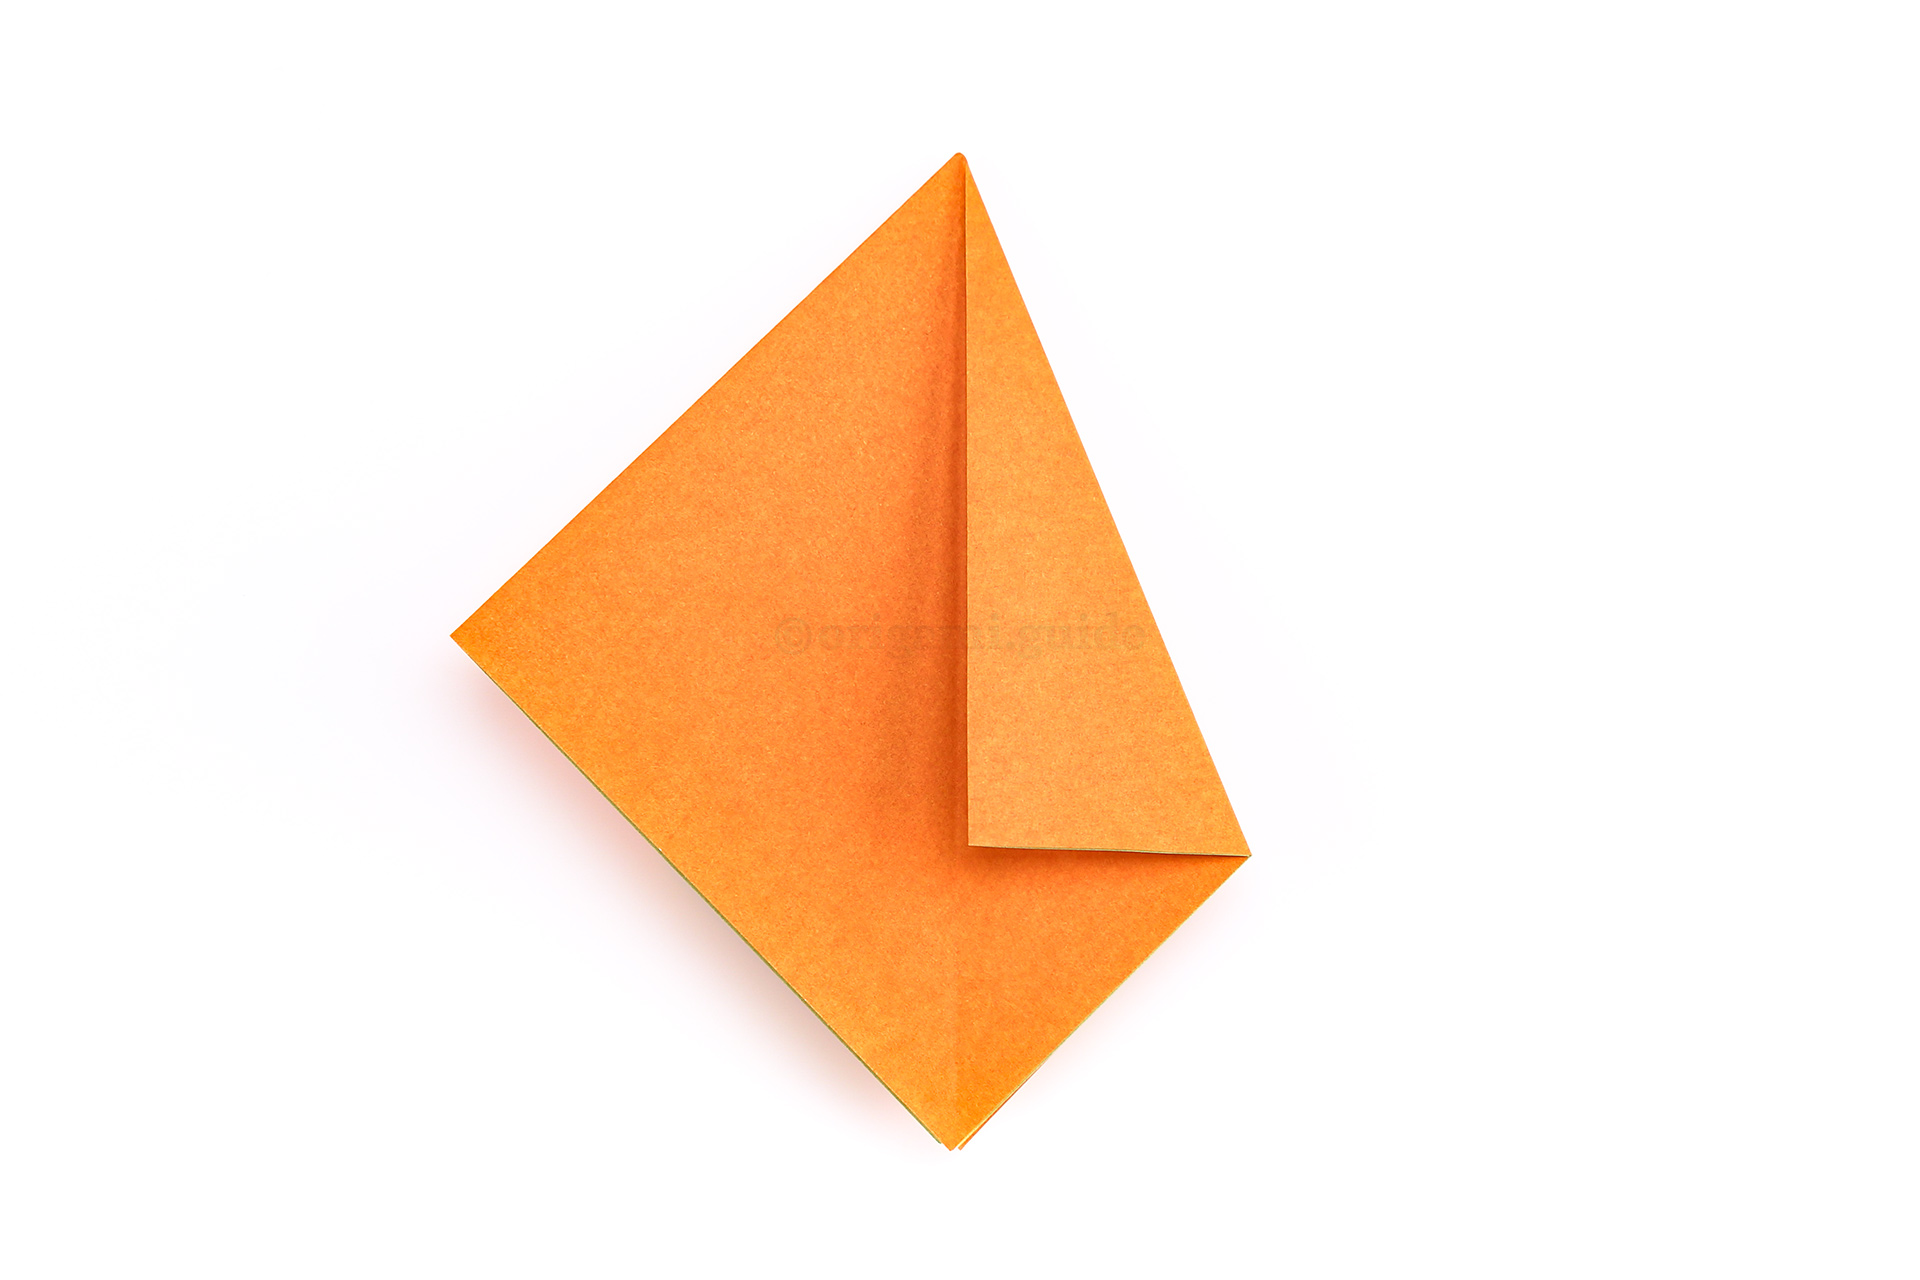
Step 18: Fold the right diagonal edge to the central crease.
-
19
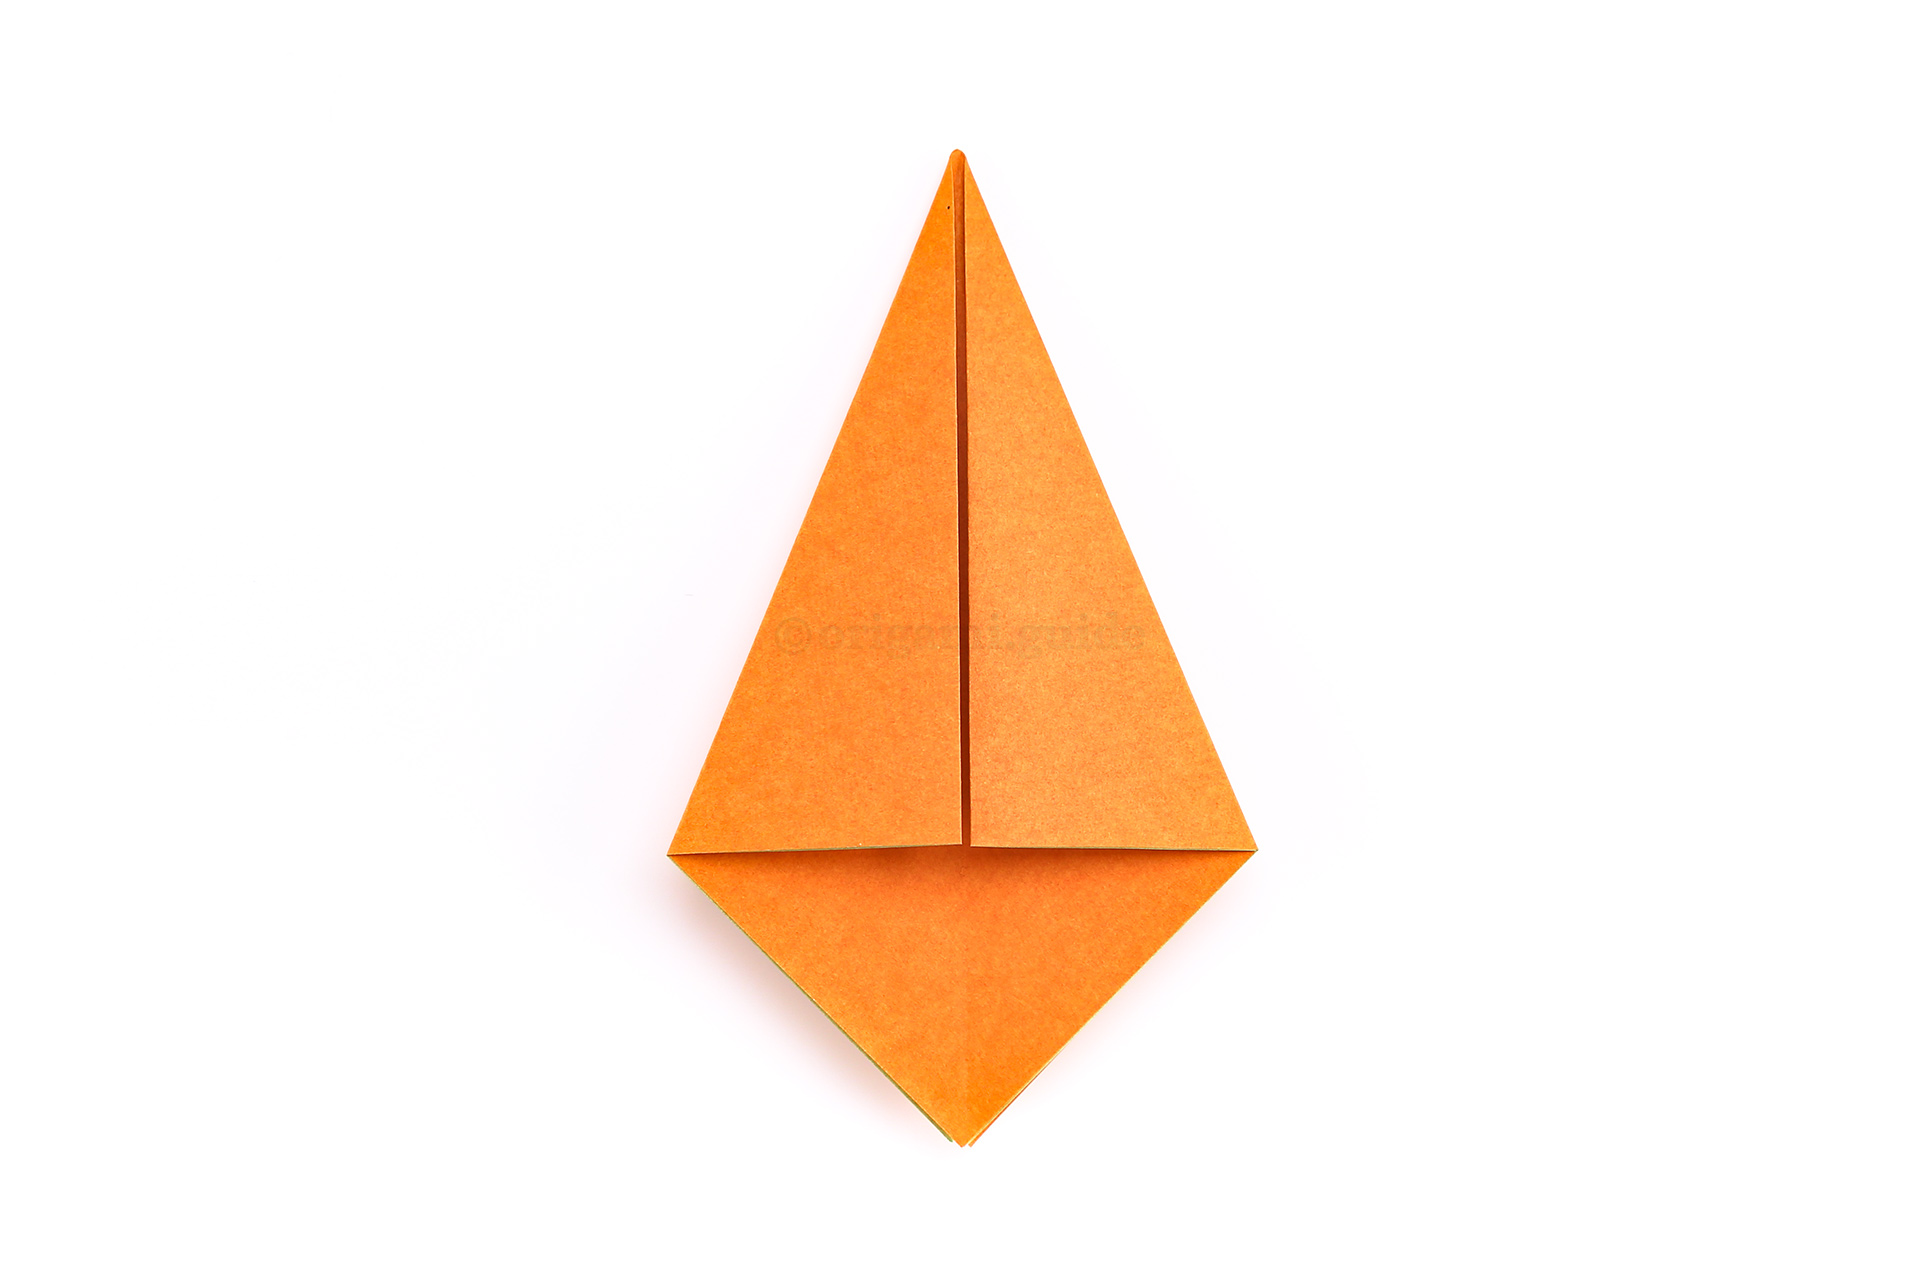
Step 19: And again fold the left diagonal edge to the center.
-
20
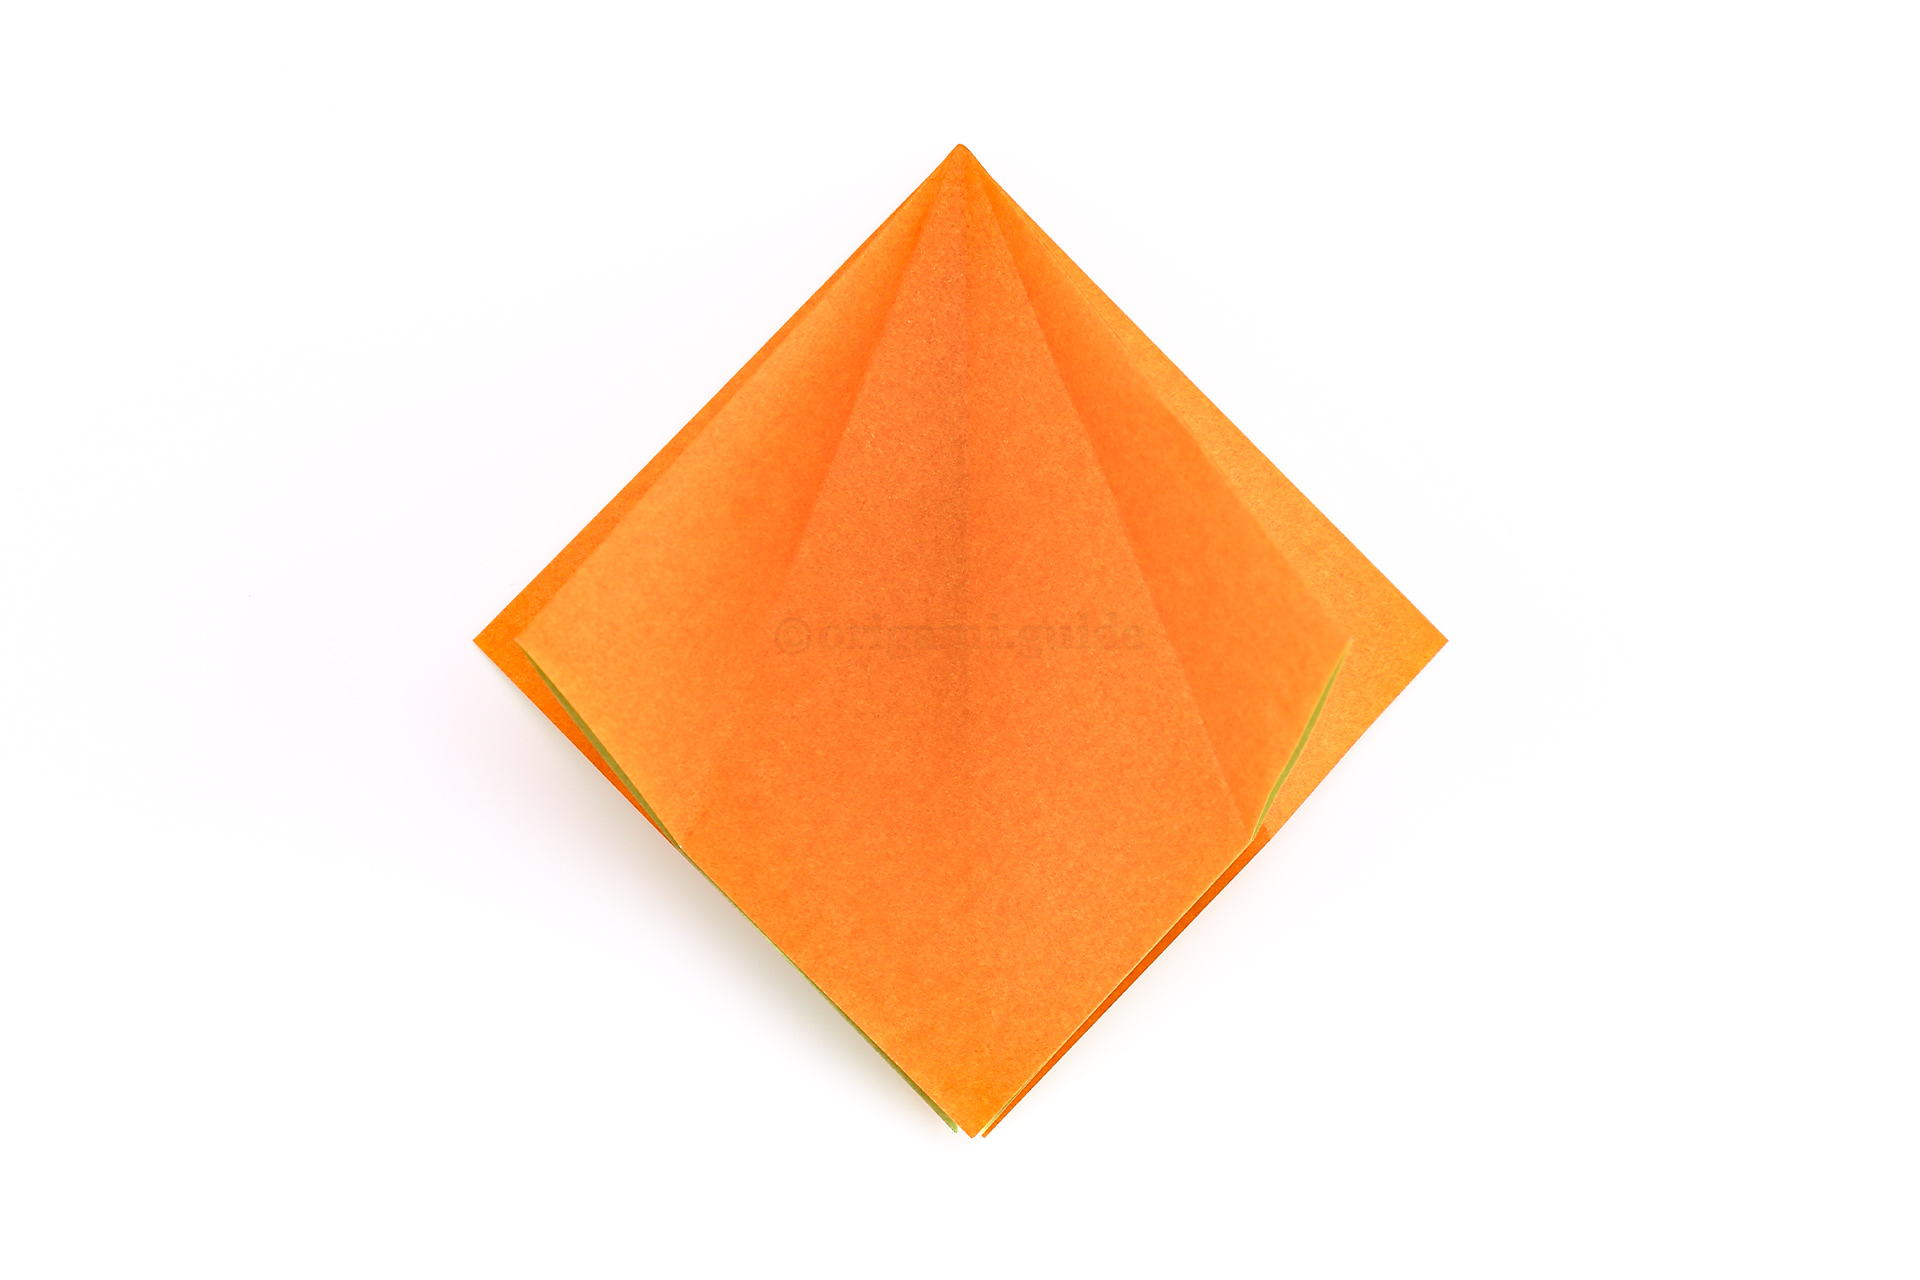
Step 20: Unfold the last four creases, so that you are back at the square base.
-
21
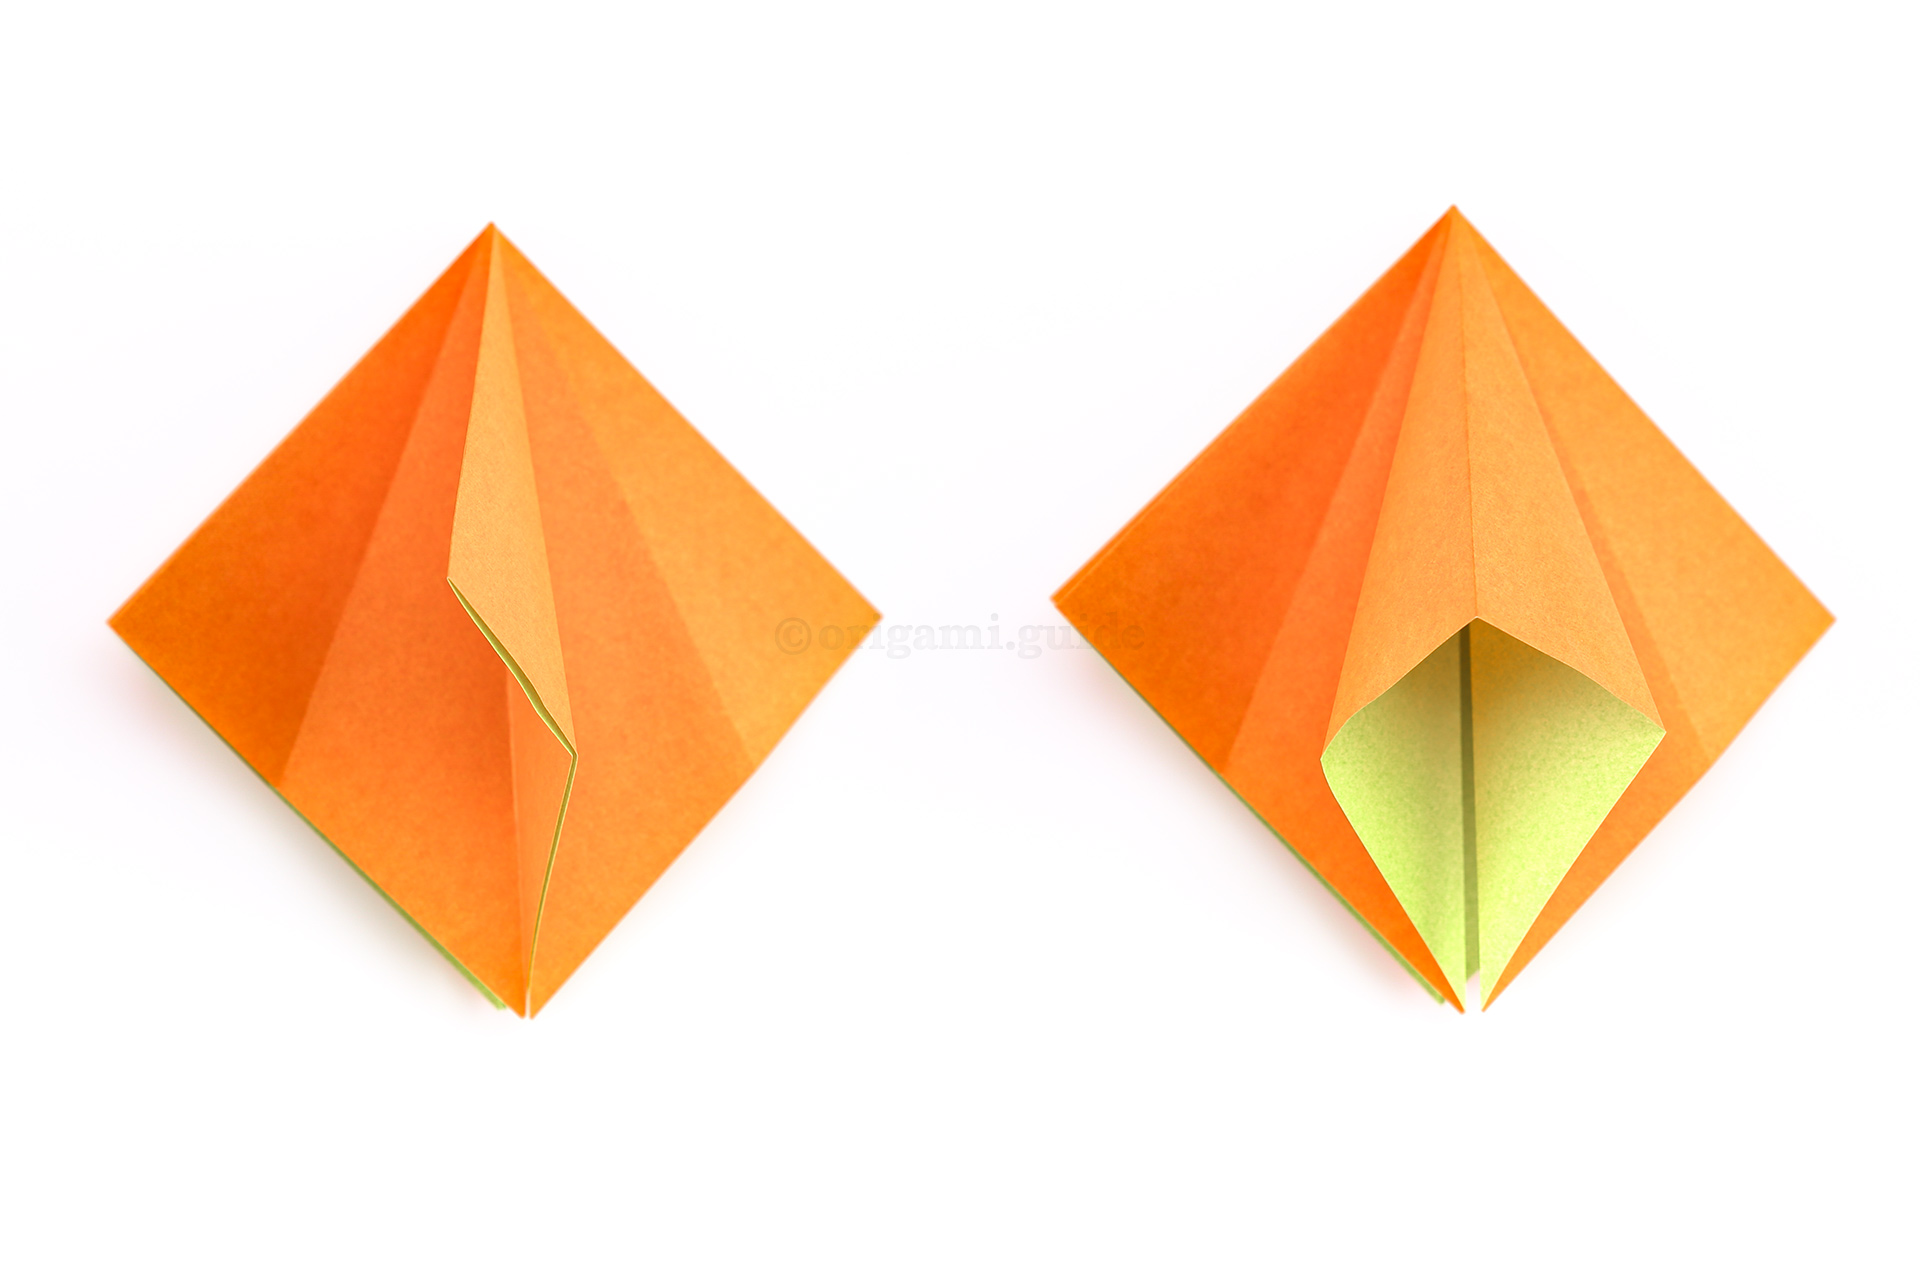
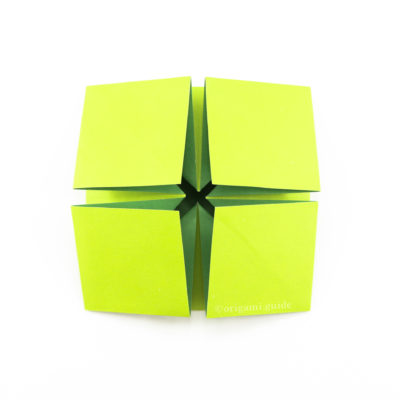
Step 21: We are going to squash fold all of the four flaps, using the creases we just made.
Open one of the flaps, and open it as shown. -
22
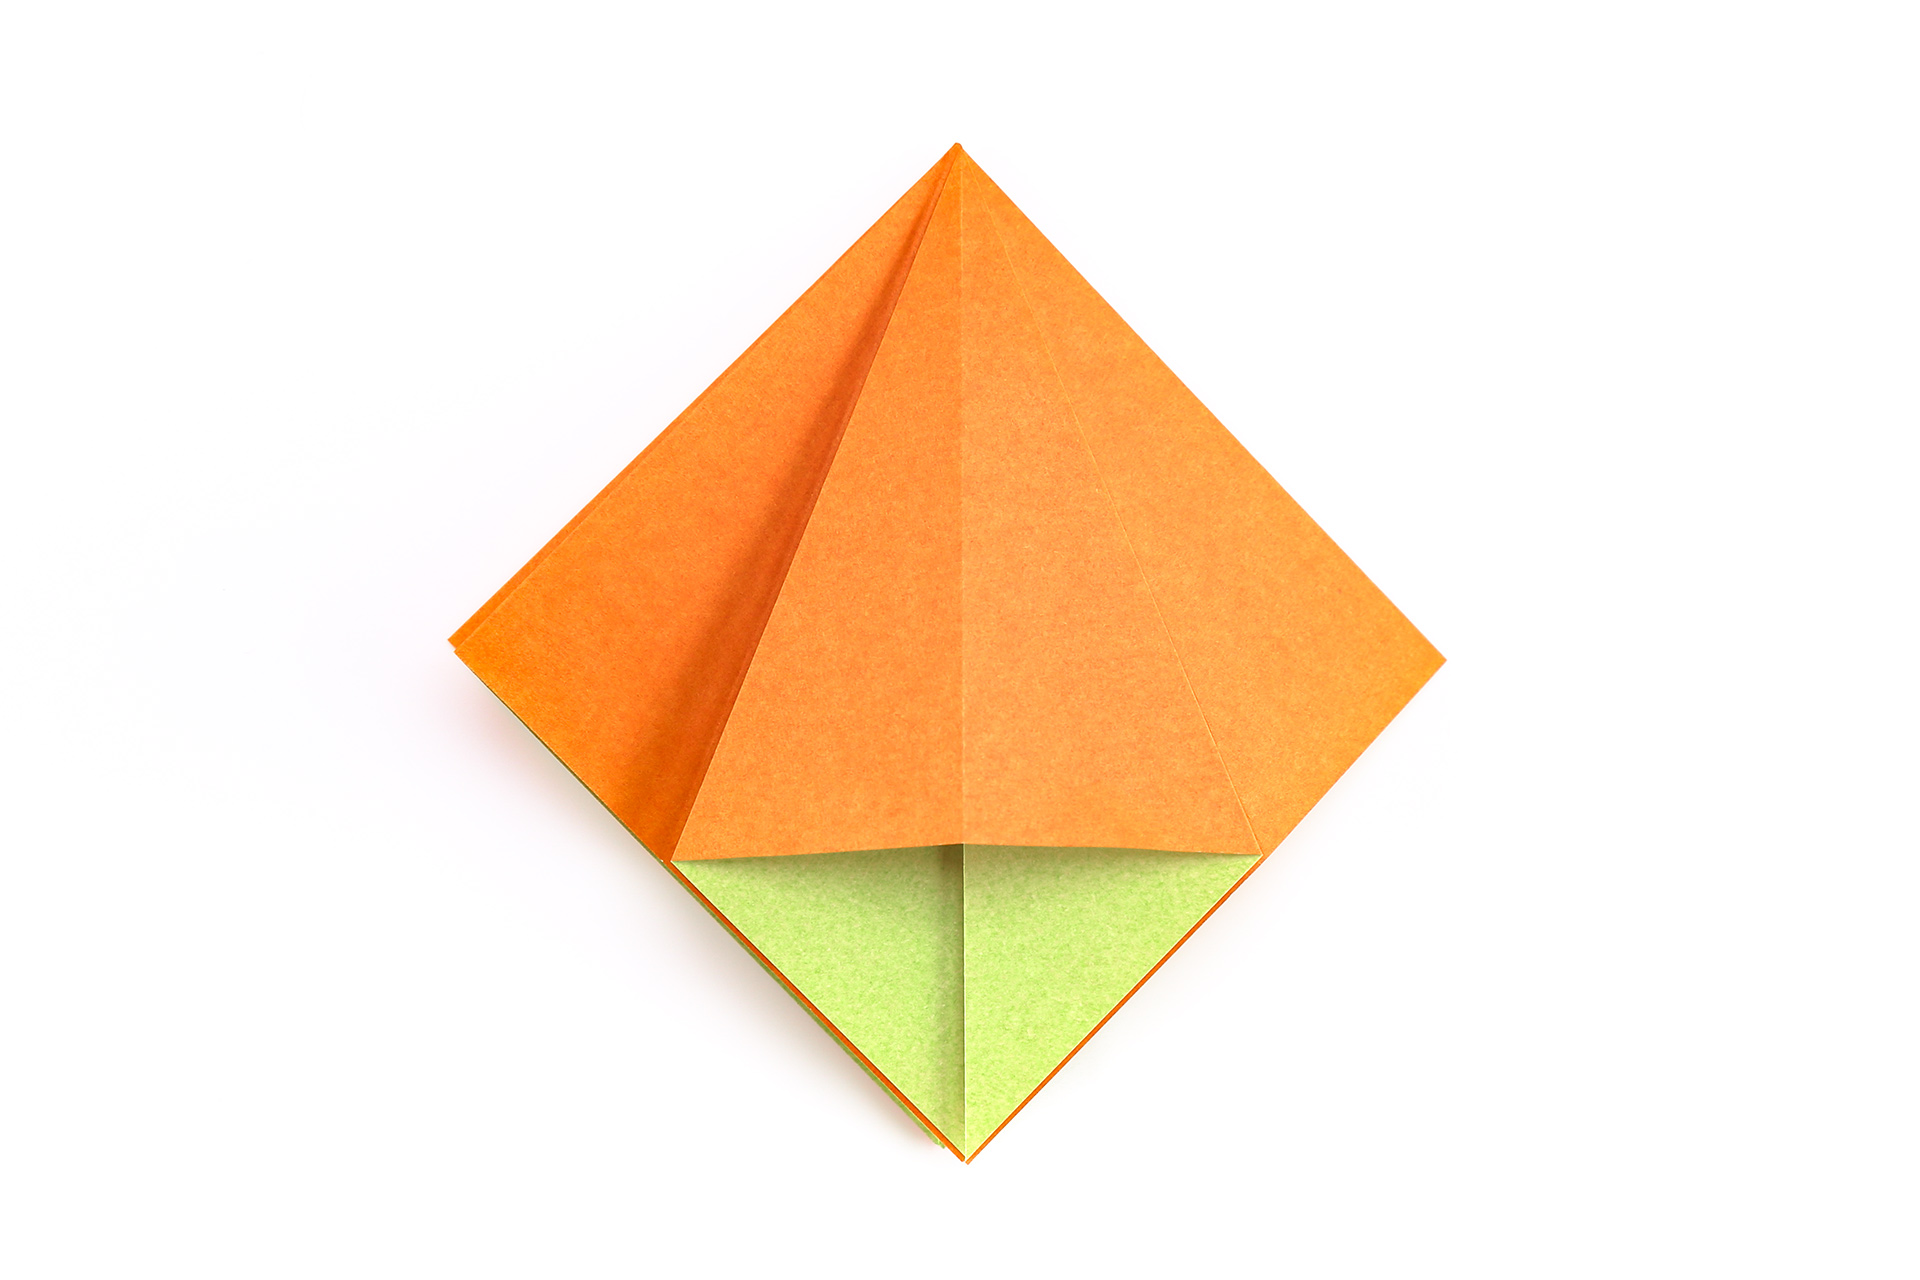
Step 22: Flatten the crease so that it looks like this.
What Halloween Origami To Fold Next?
View all Halloween Origami Tutorials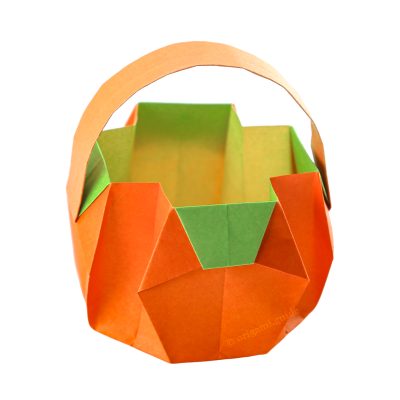





Leave A Comment
Did you fold this Origami Pumpkin Basket? Let us know what you thought.
You can also upload a photo of your result!