Origami Spider
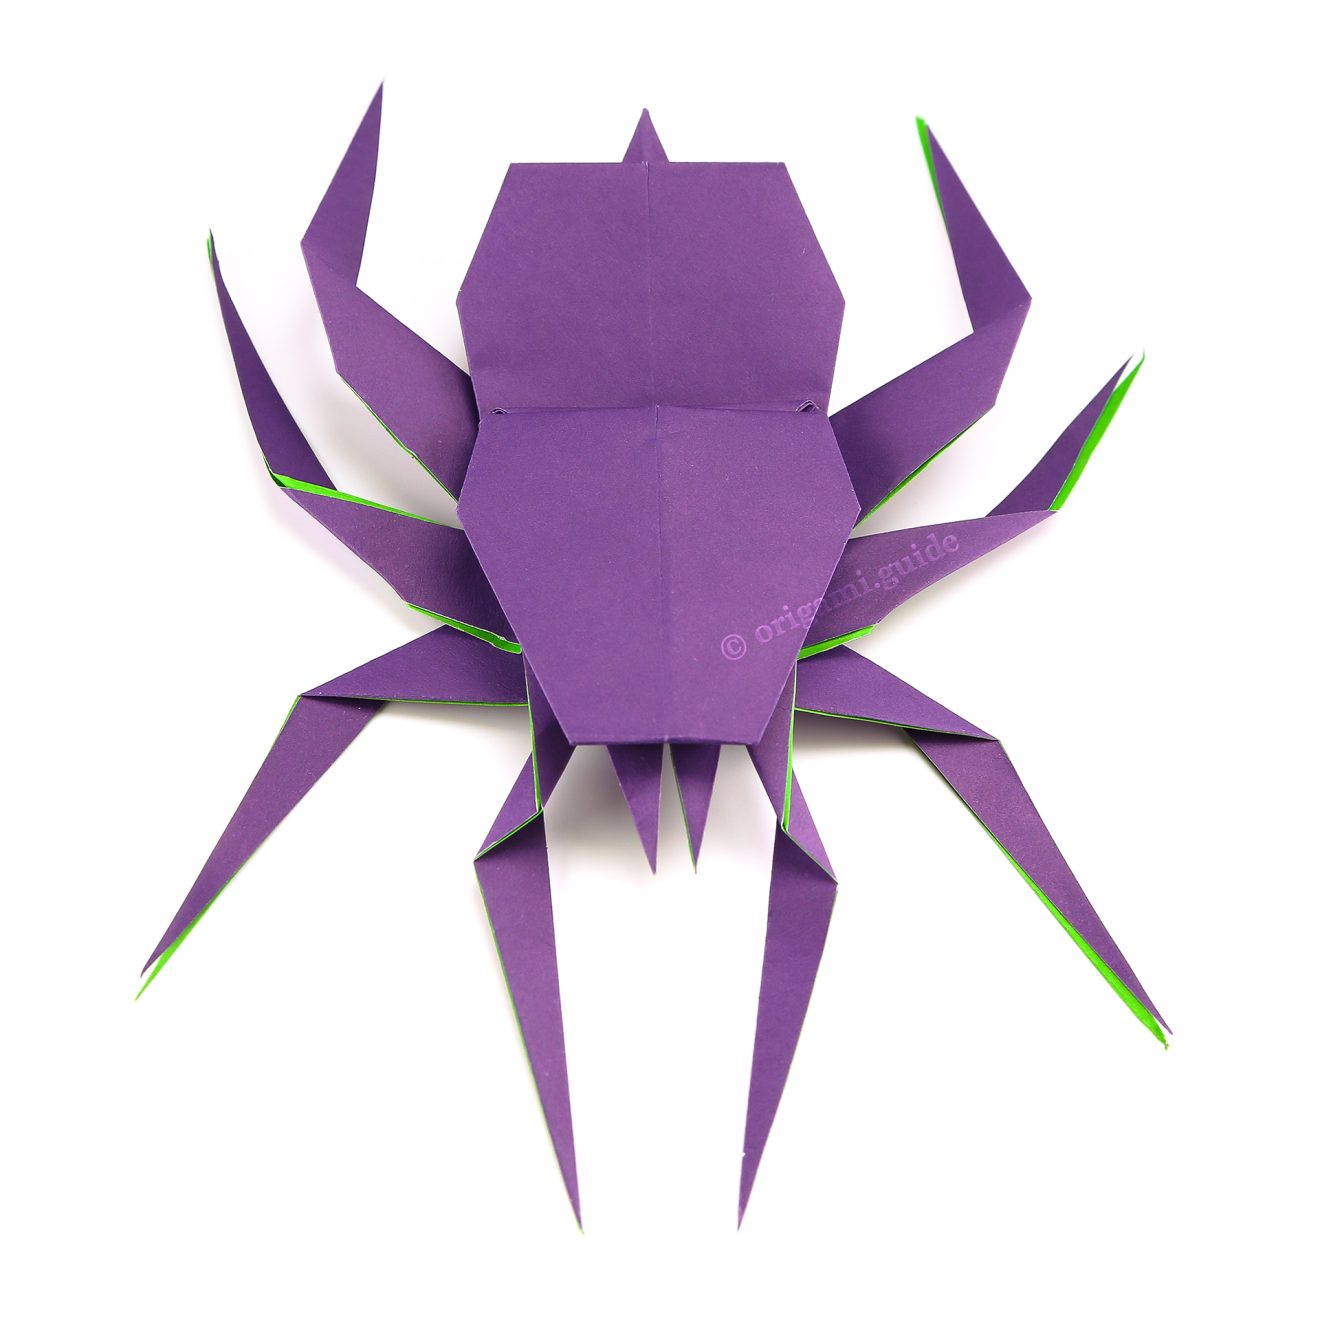
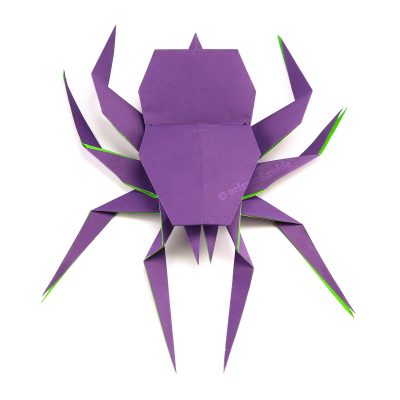
Learn how to fold an origami spider from a single sheet of square paper. Perfect for Halloween crafts!
This eight legged origami spider designed by Fumaiki Shingu is technically “Kirigami” which means that we will be making a couple of simple cuts to allow us to make all 8 spider legs possible.
We also added the option to create the spider’s tail point and some pincers, this origami spider can look pretty realistic and creepy for Halloween!
This origami spider is an intermediate level origami model, therefore young children may need guidance from an adult when making this origami spider.
We recommend using larger paper such as 21 x 21 cm.
Origami Spider Instructions
Scroll down to follow the photo tutorial for the Origami Spider.
Made this origami? Leave a comment & submit your photo here.
-
1
Step 1: This is the back of our origami paper, we will not see this side on the finished spider.
-
2
Step 2: Start with the front side of the paper facing up. Our spider will turn out this colour.
-
3
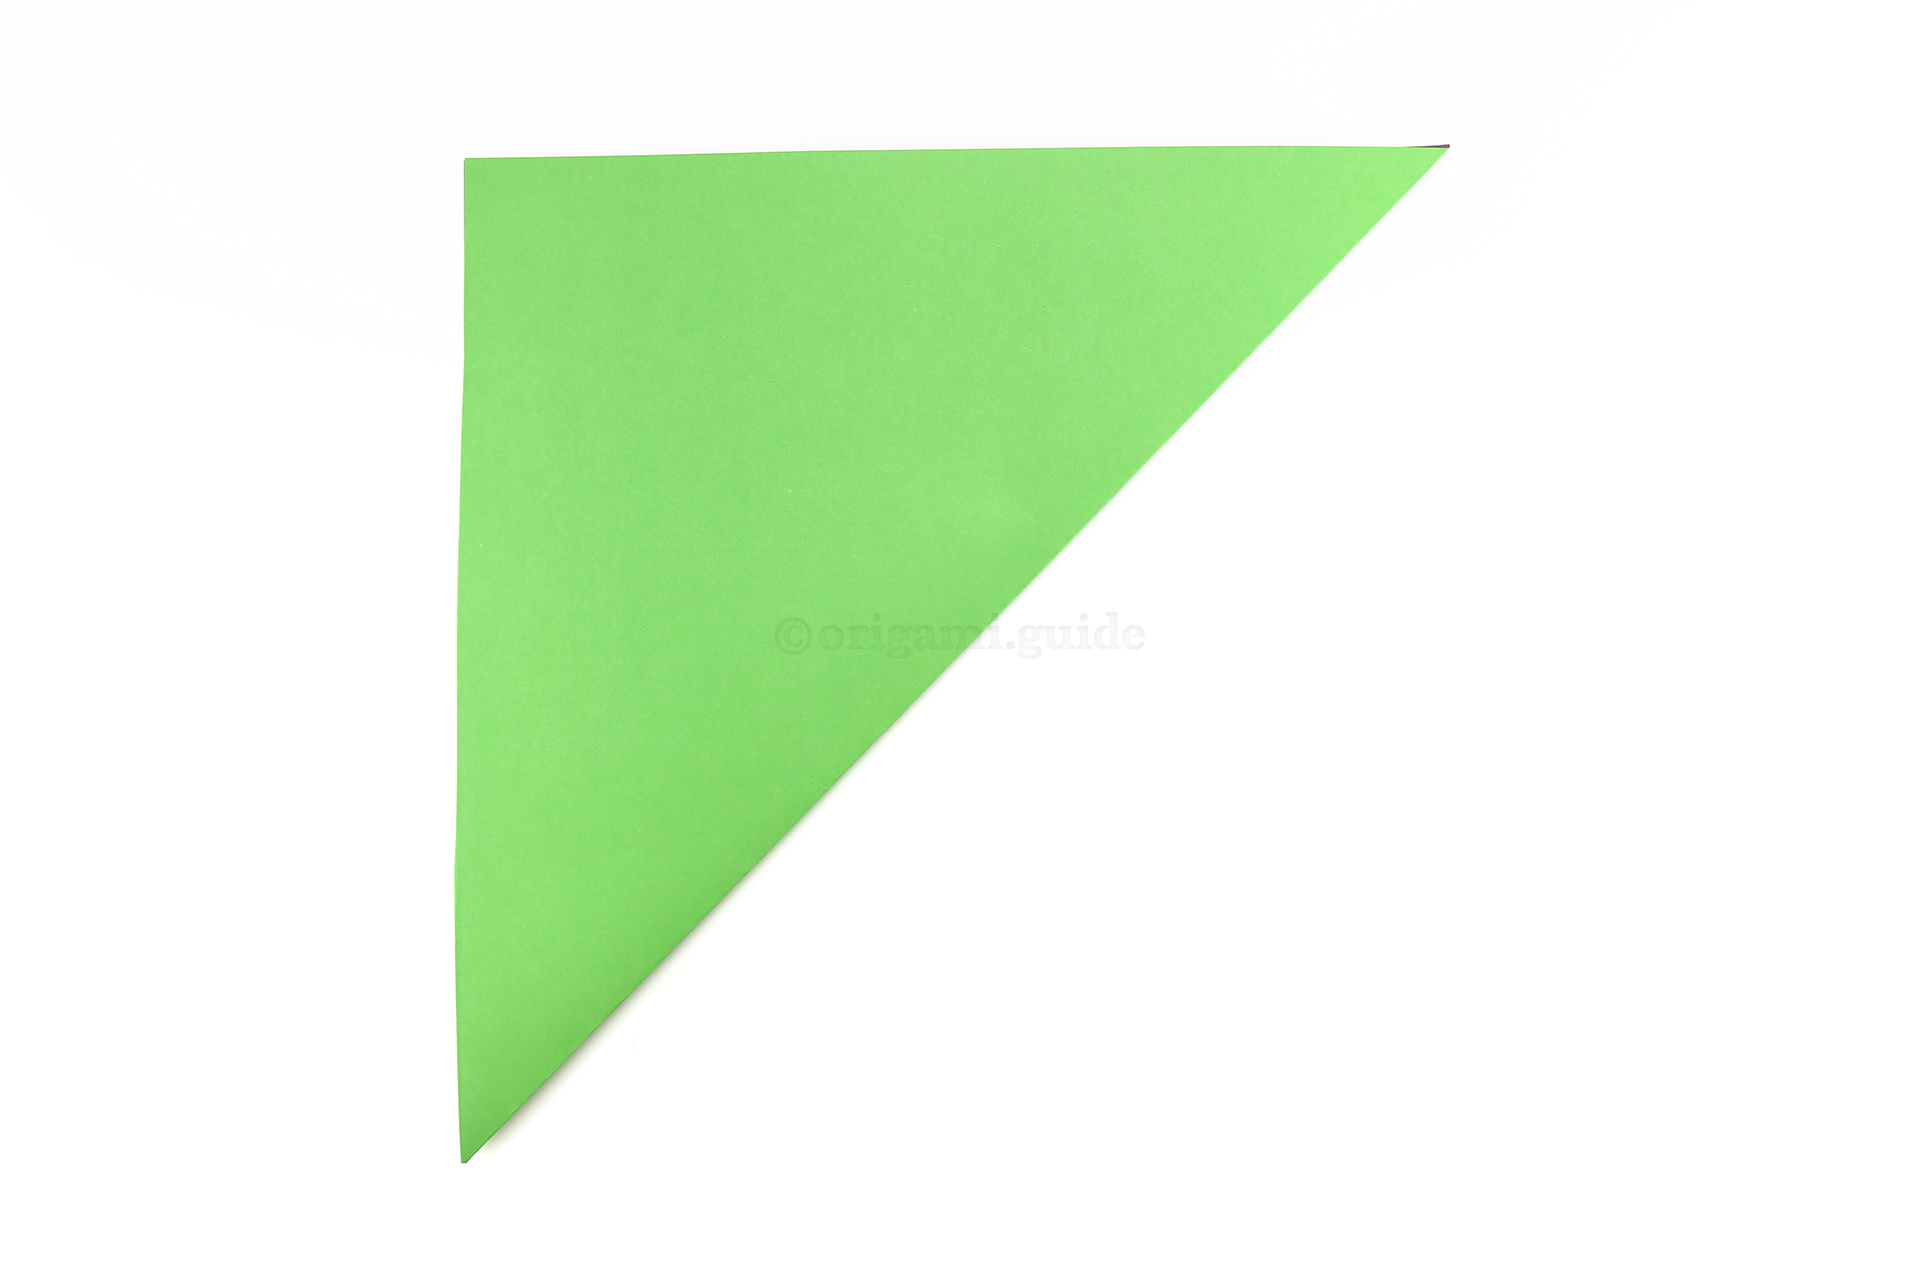
Step 3: Make an origami square base. First fold the bottom right corner diagonally up to the top left corner.
-
4
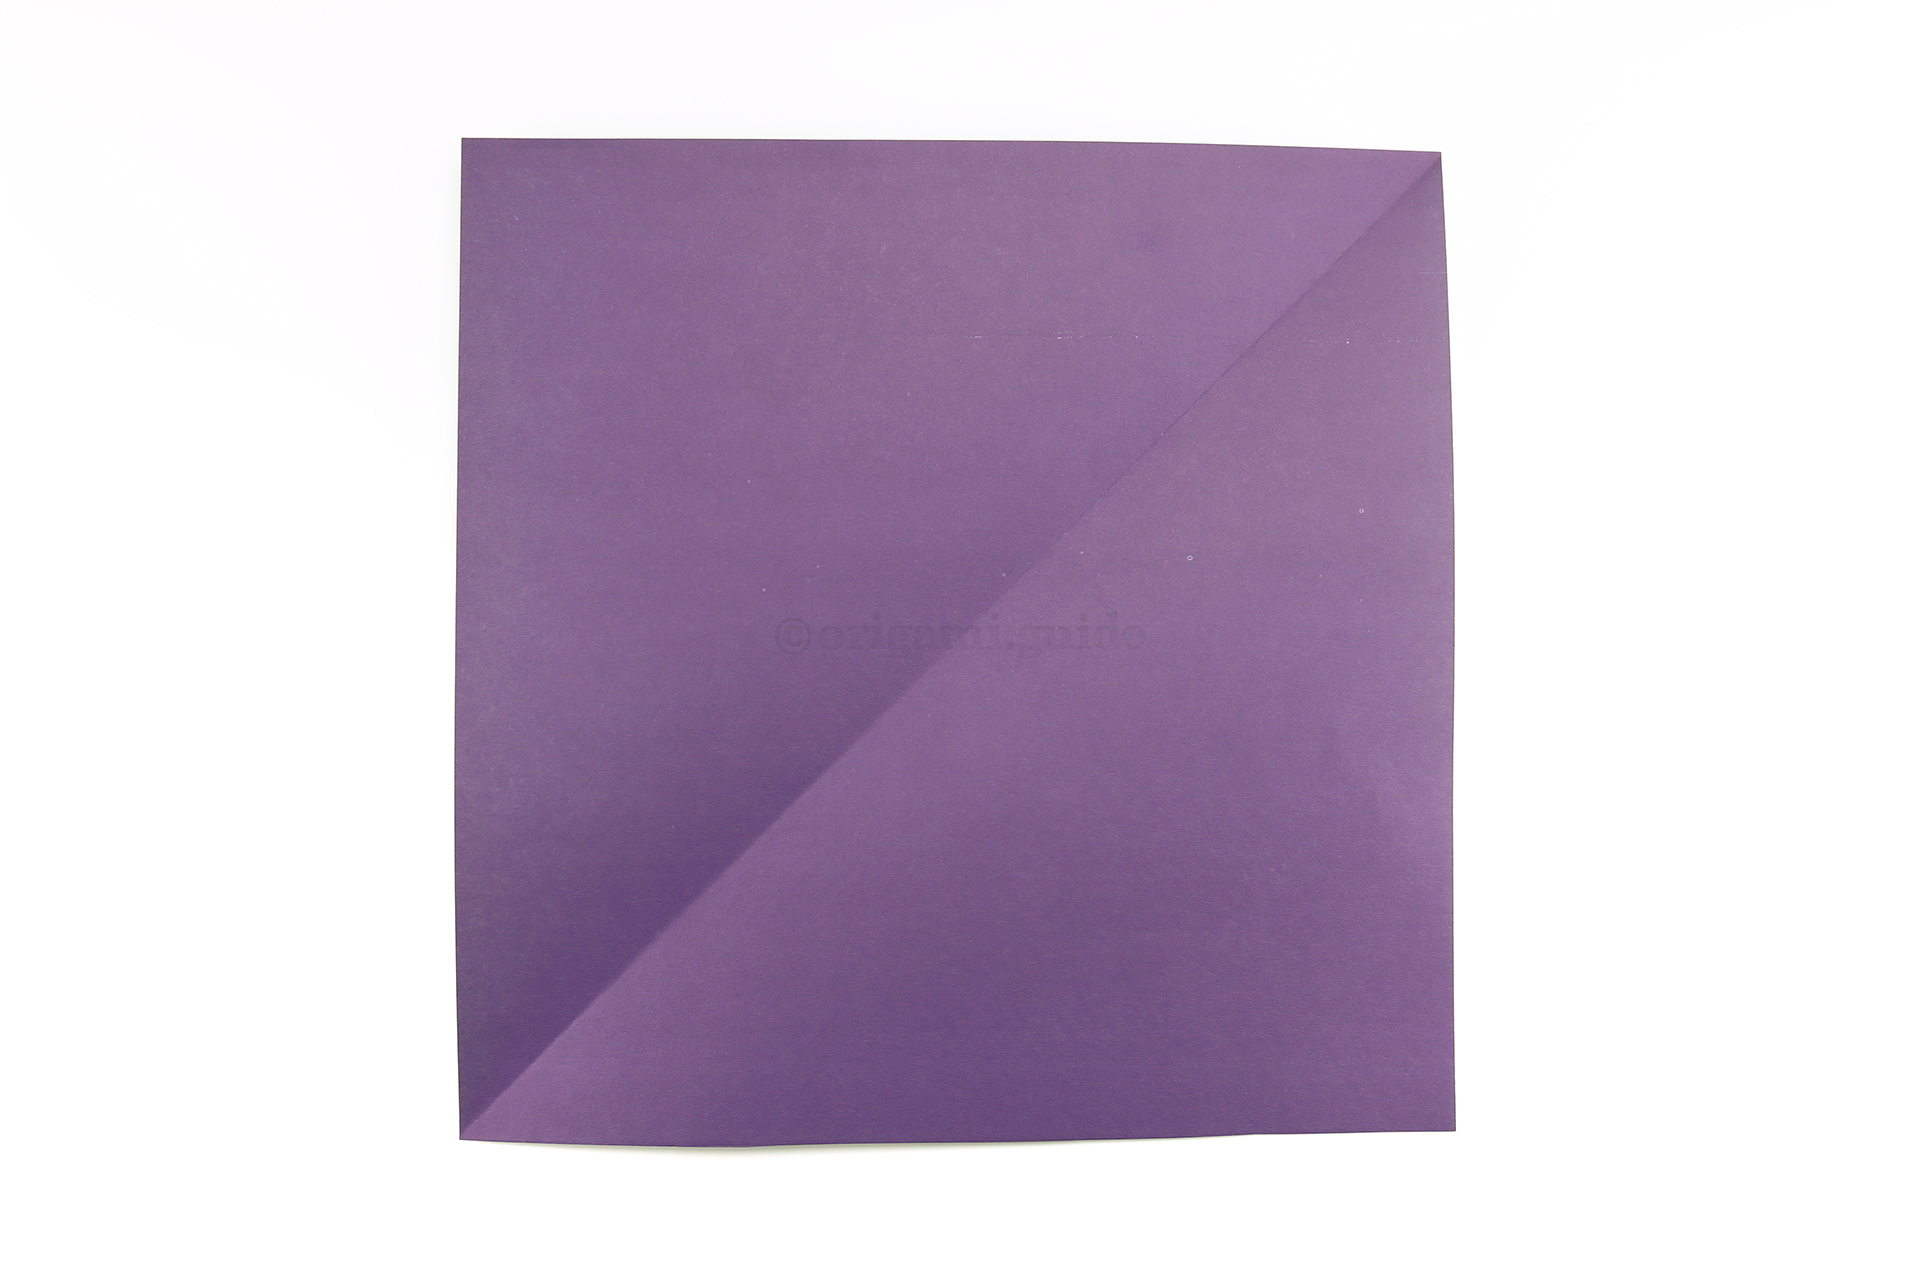
Step 4: Unfold the previous step.
-
5
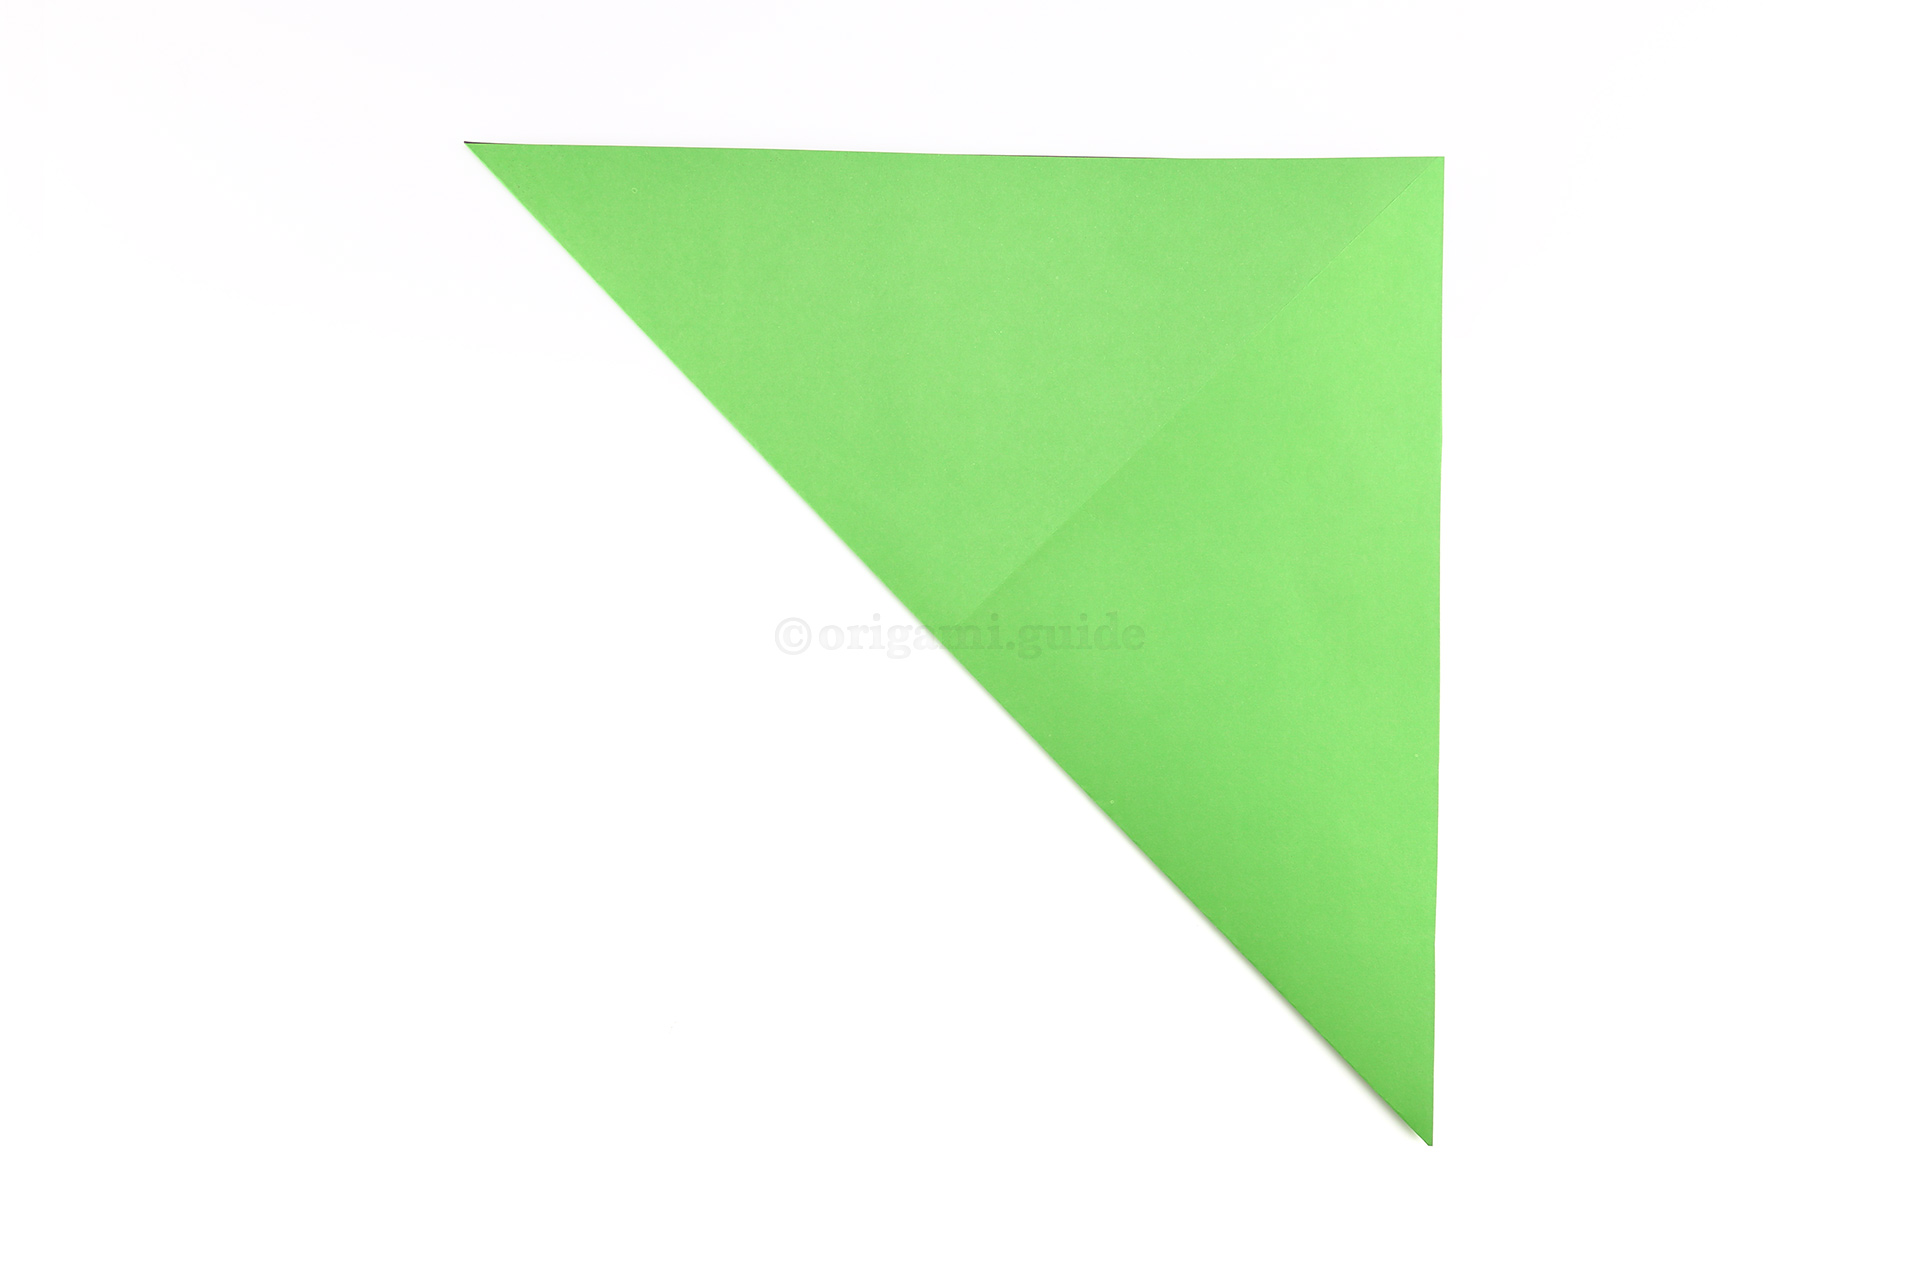
Step 5: Next, fold the bottom left corner diagonally up to the top right corner.
-
6
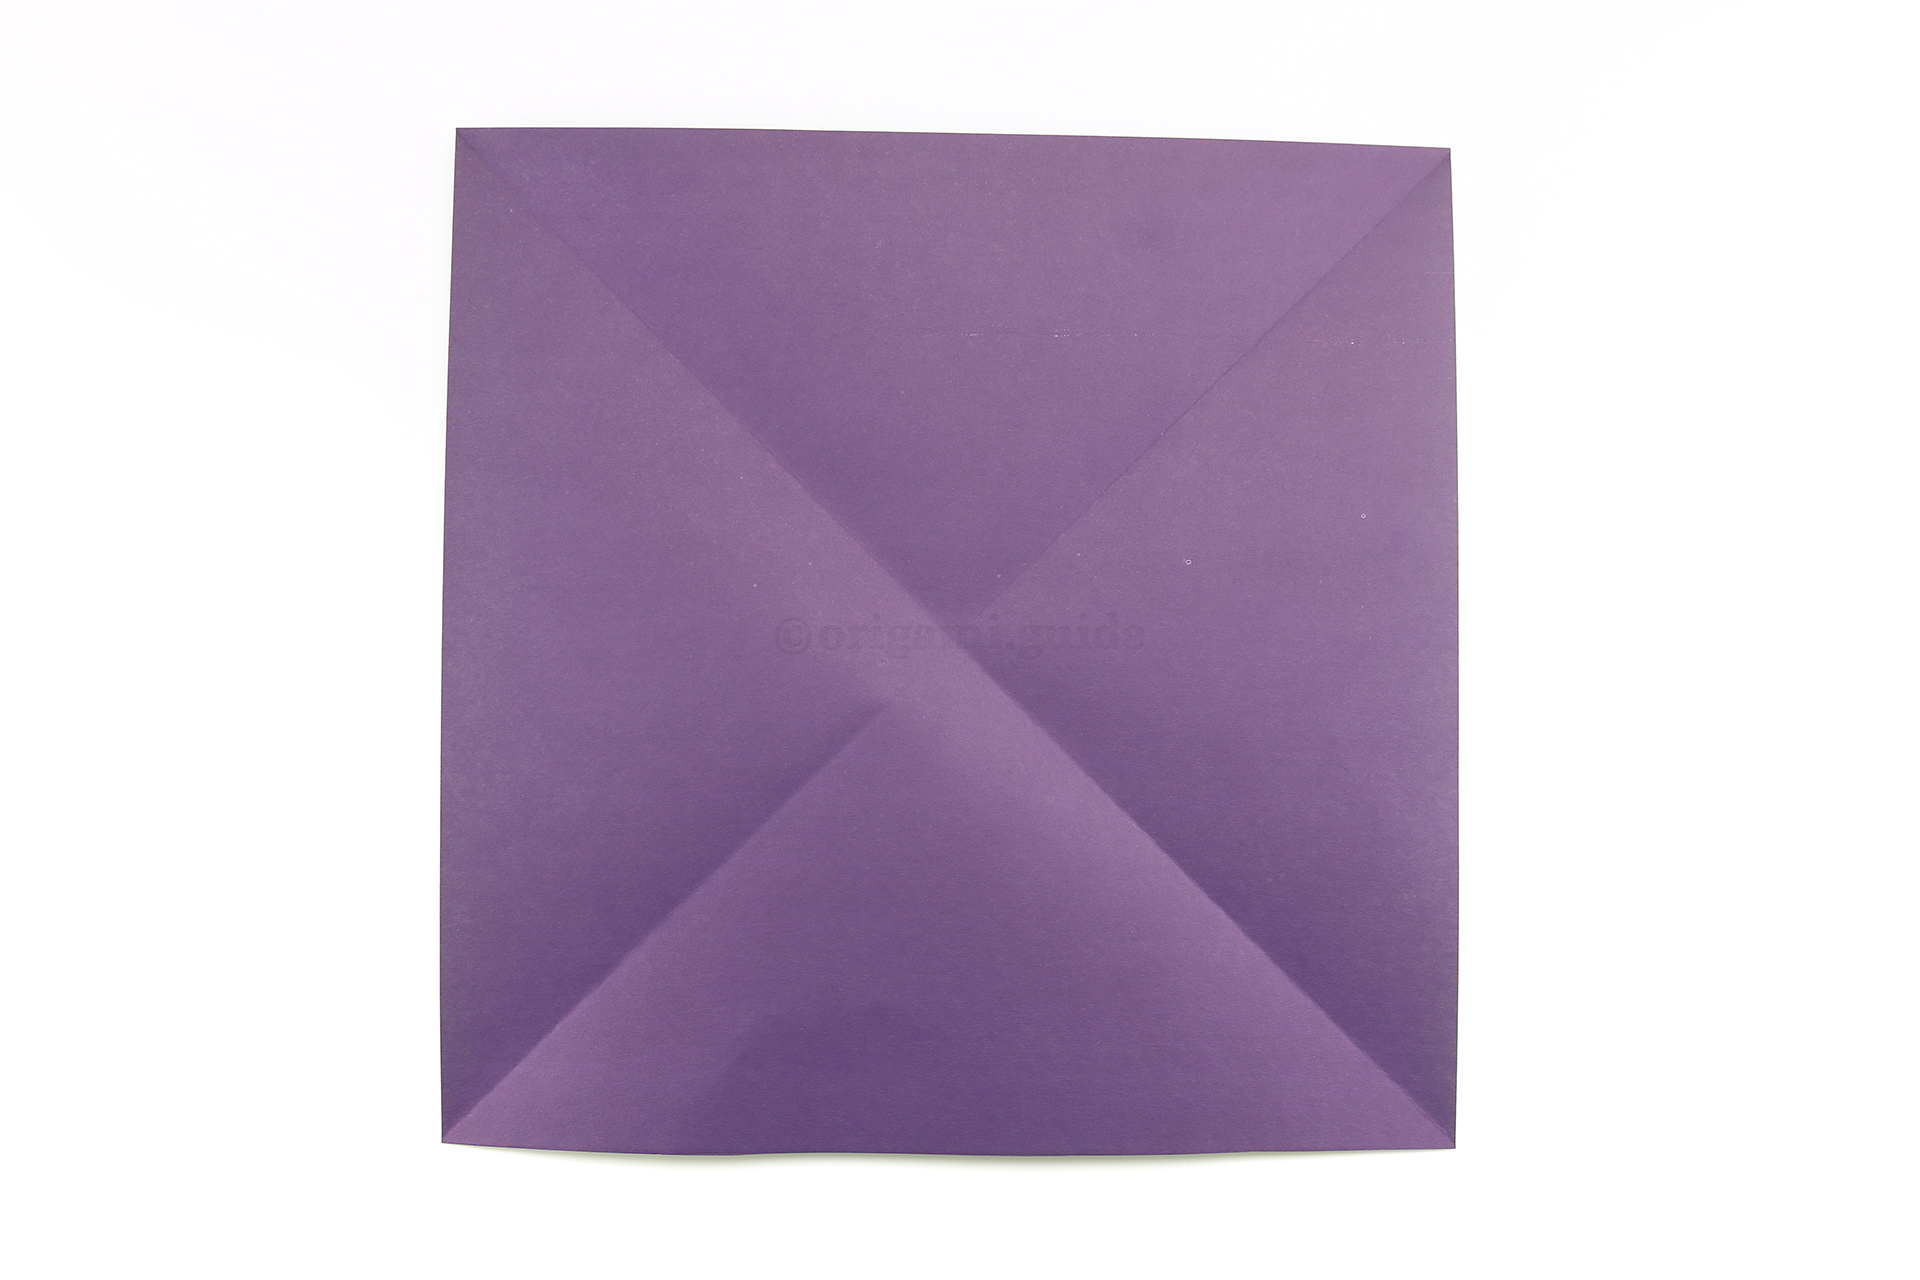
Step 6: Unfold the previous step.
-
7
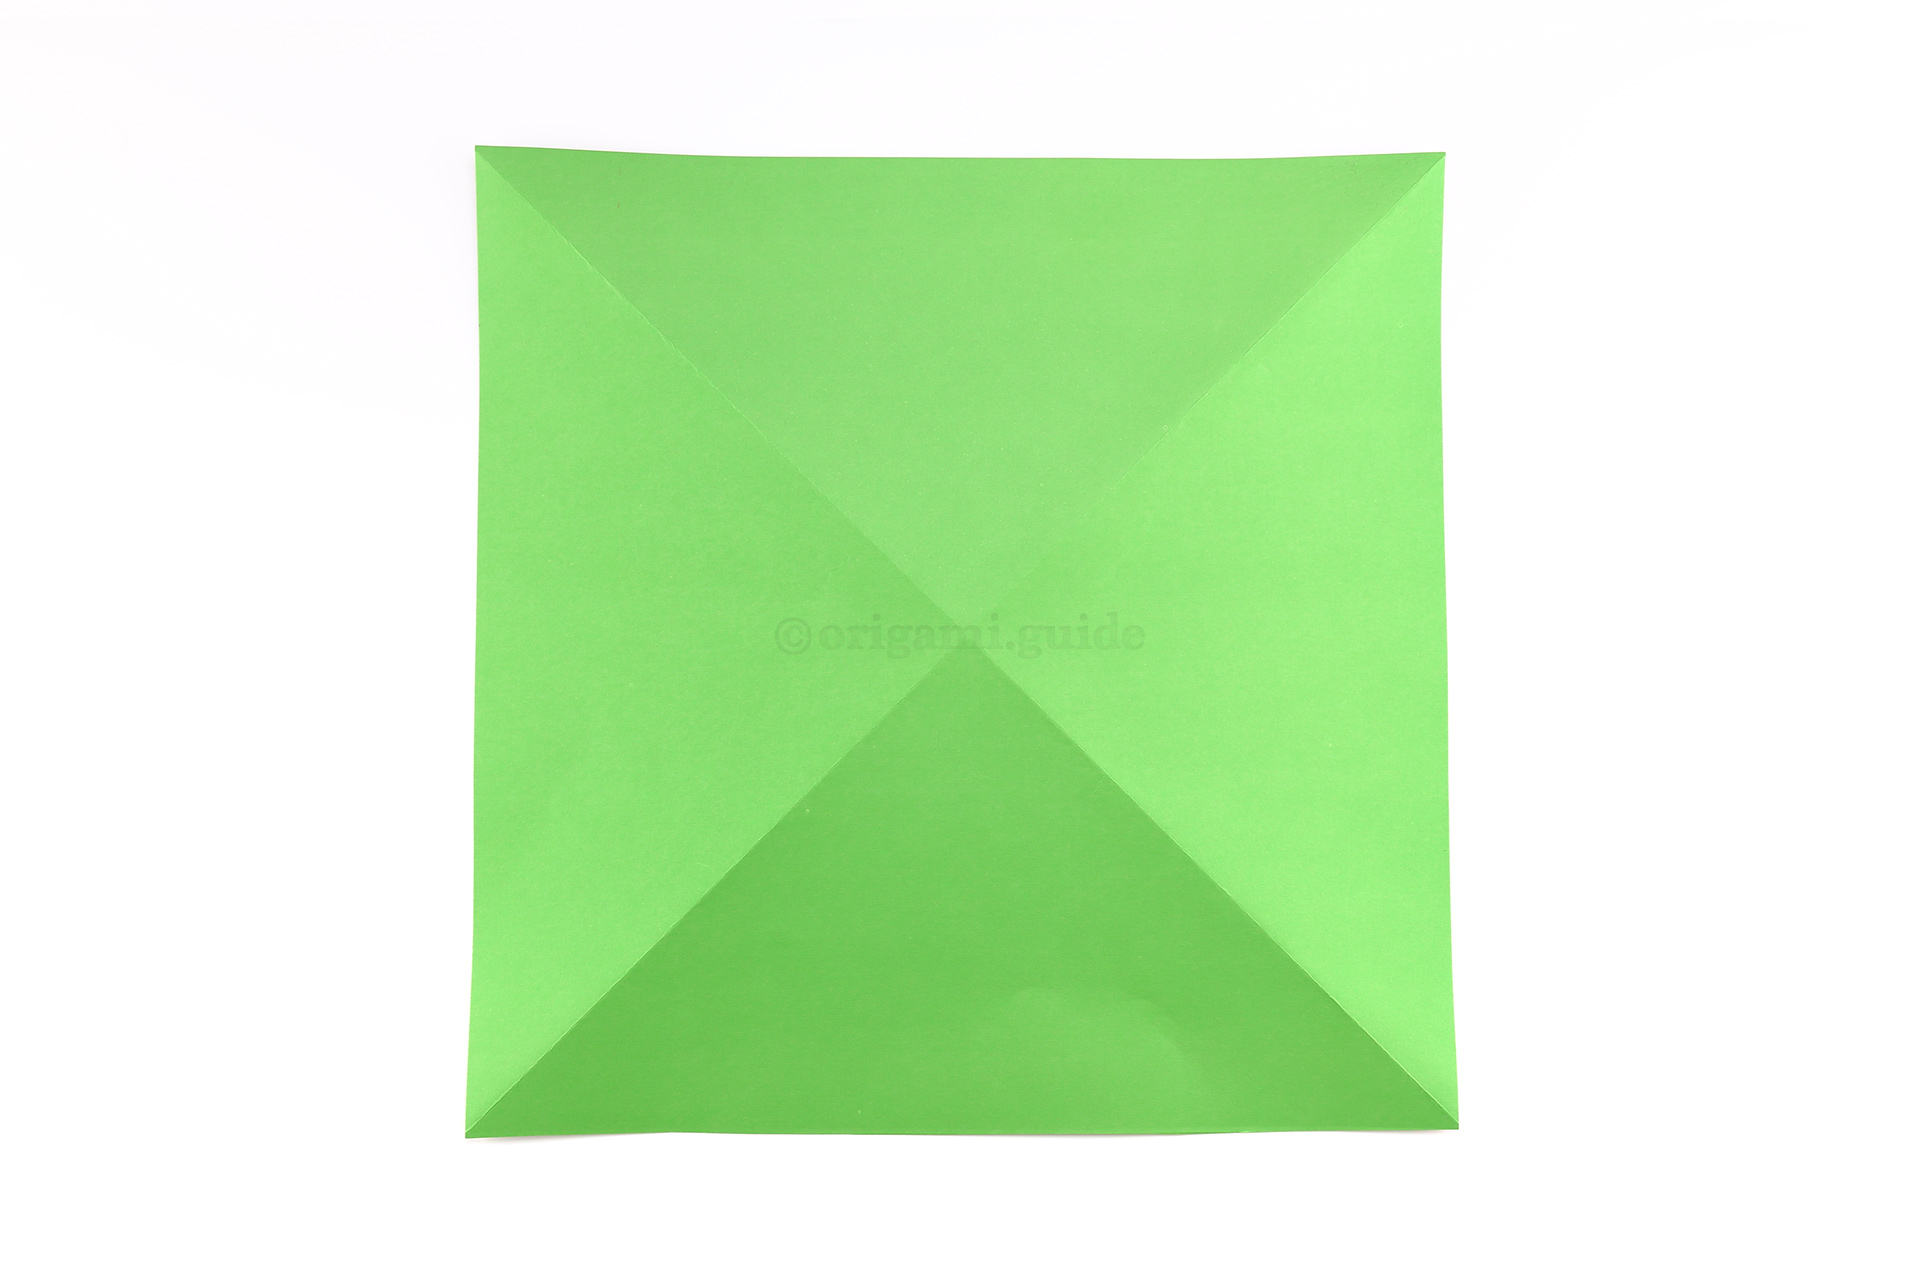
Step 7: Flip the paper over to the other side.
-
8
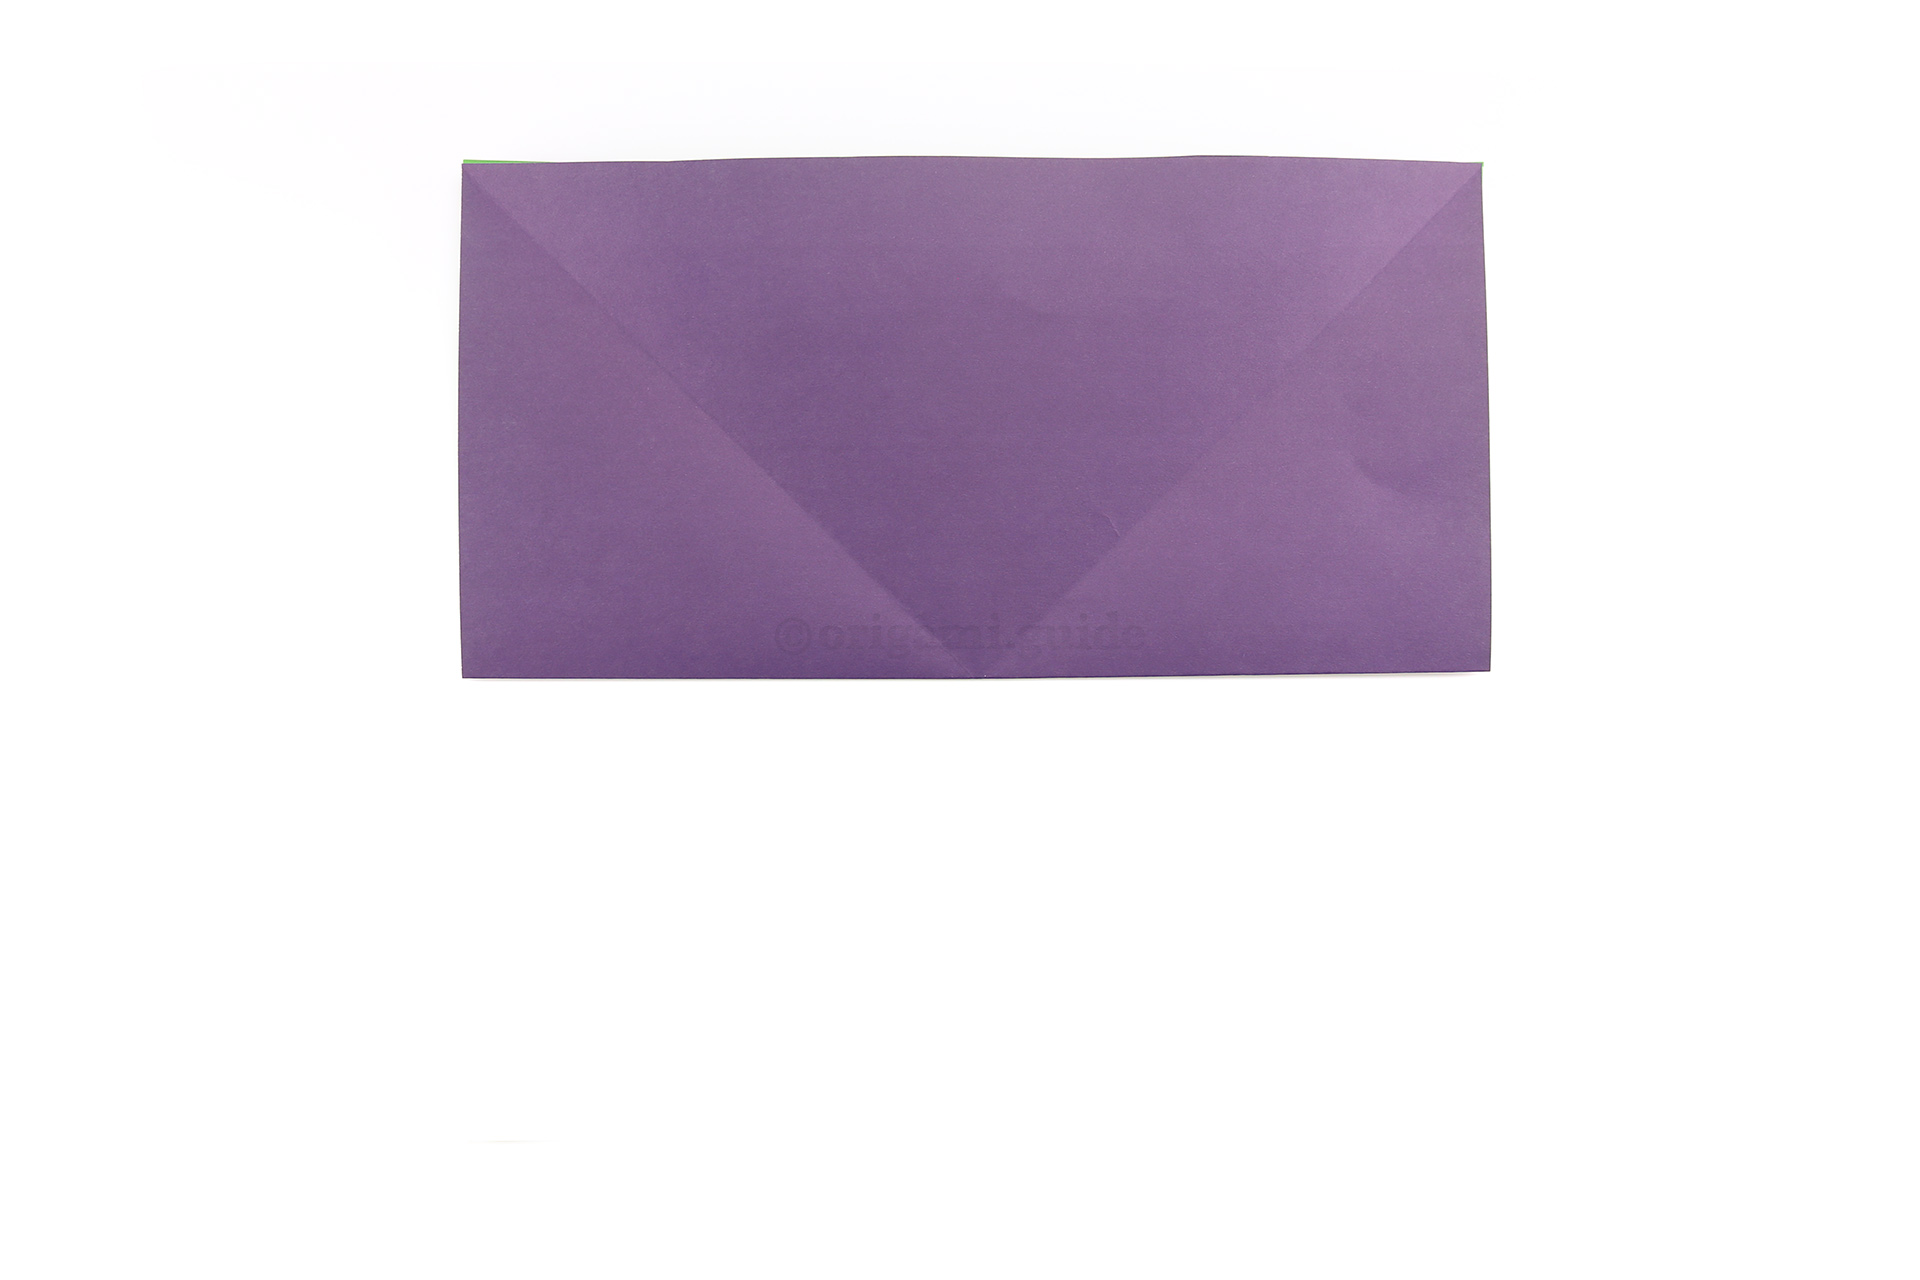
Step 8: Fold the bottom edge up to the top edge.
-
9
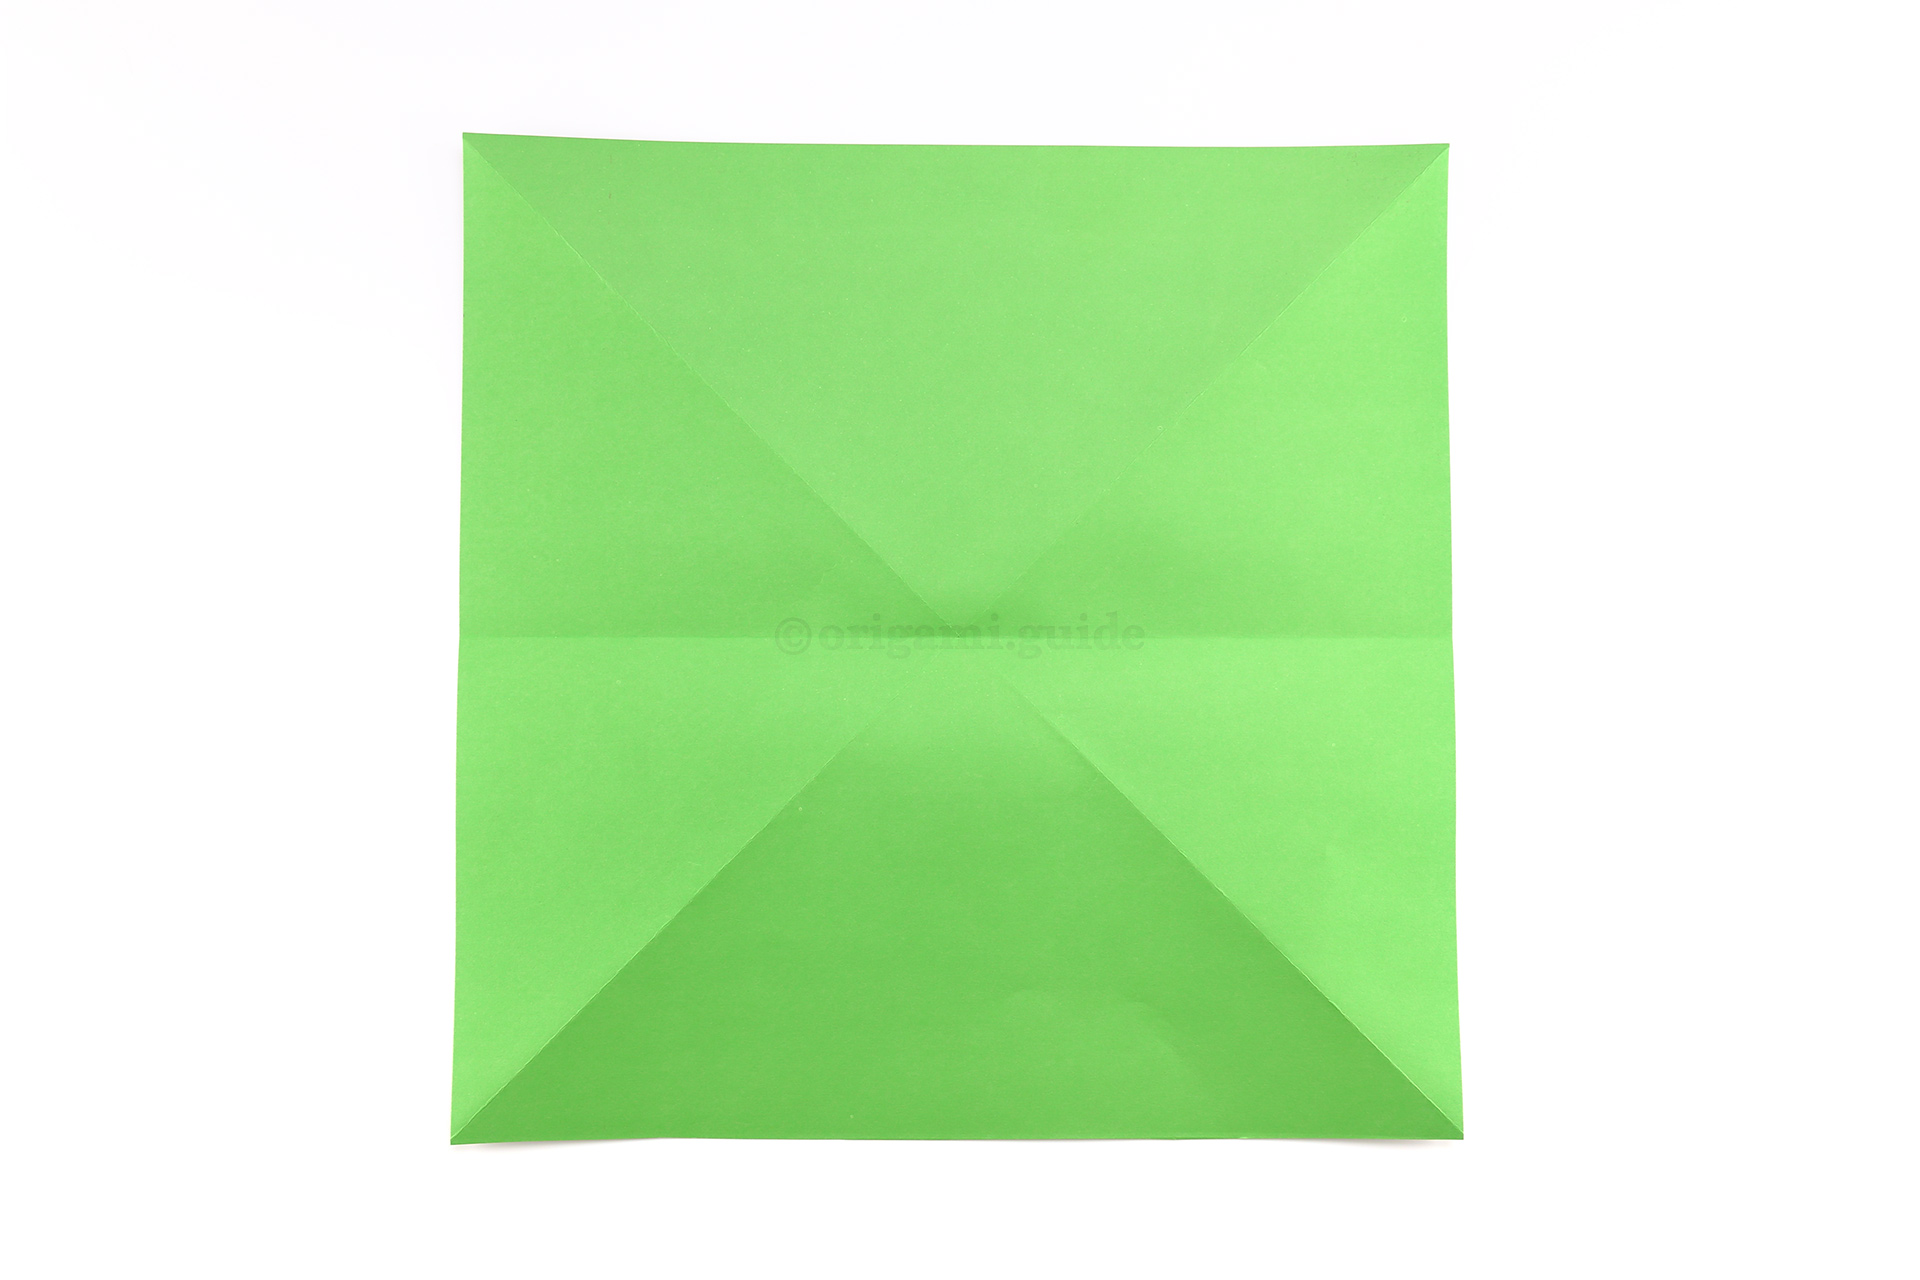
Step 9: Unfold the previous step.
-
10
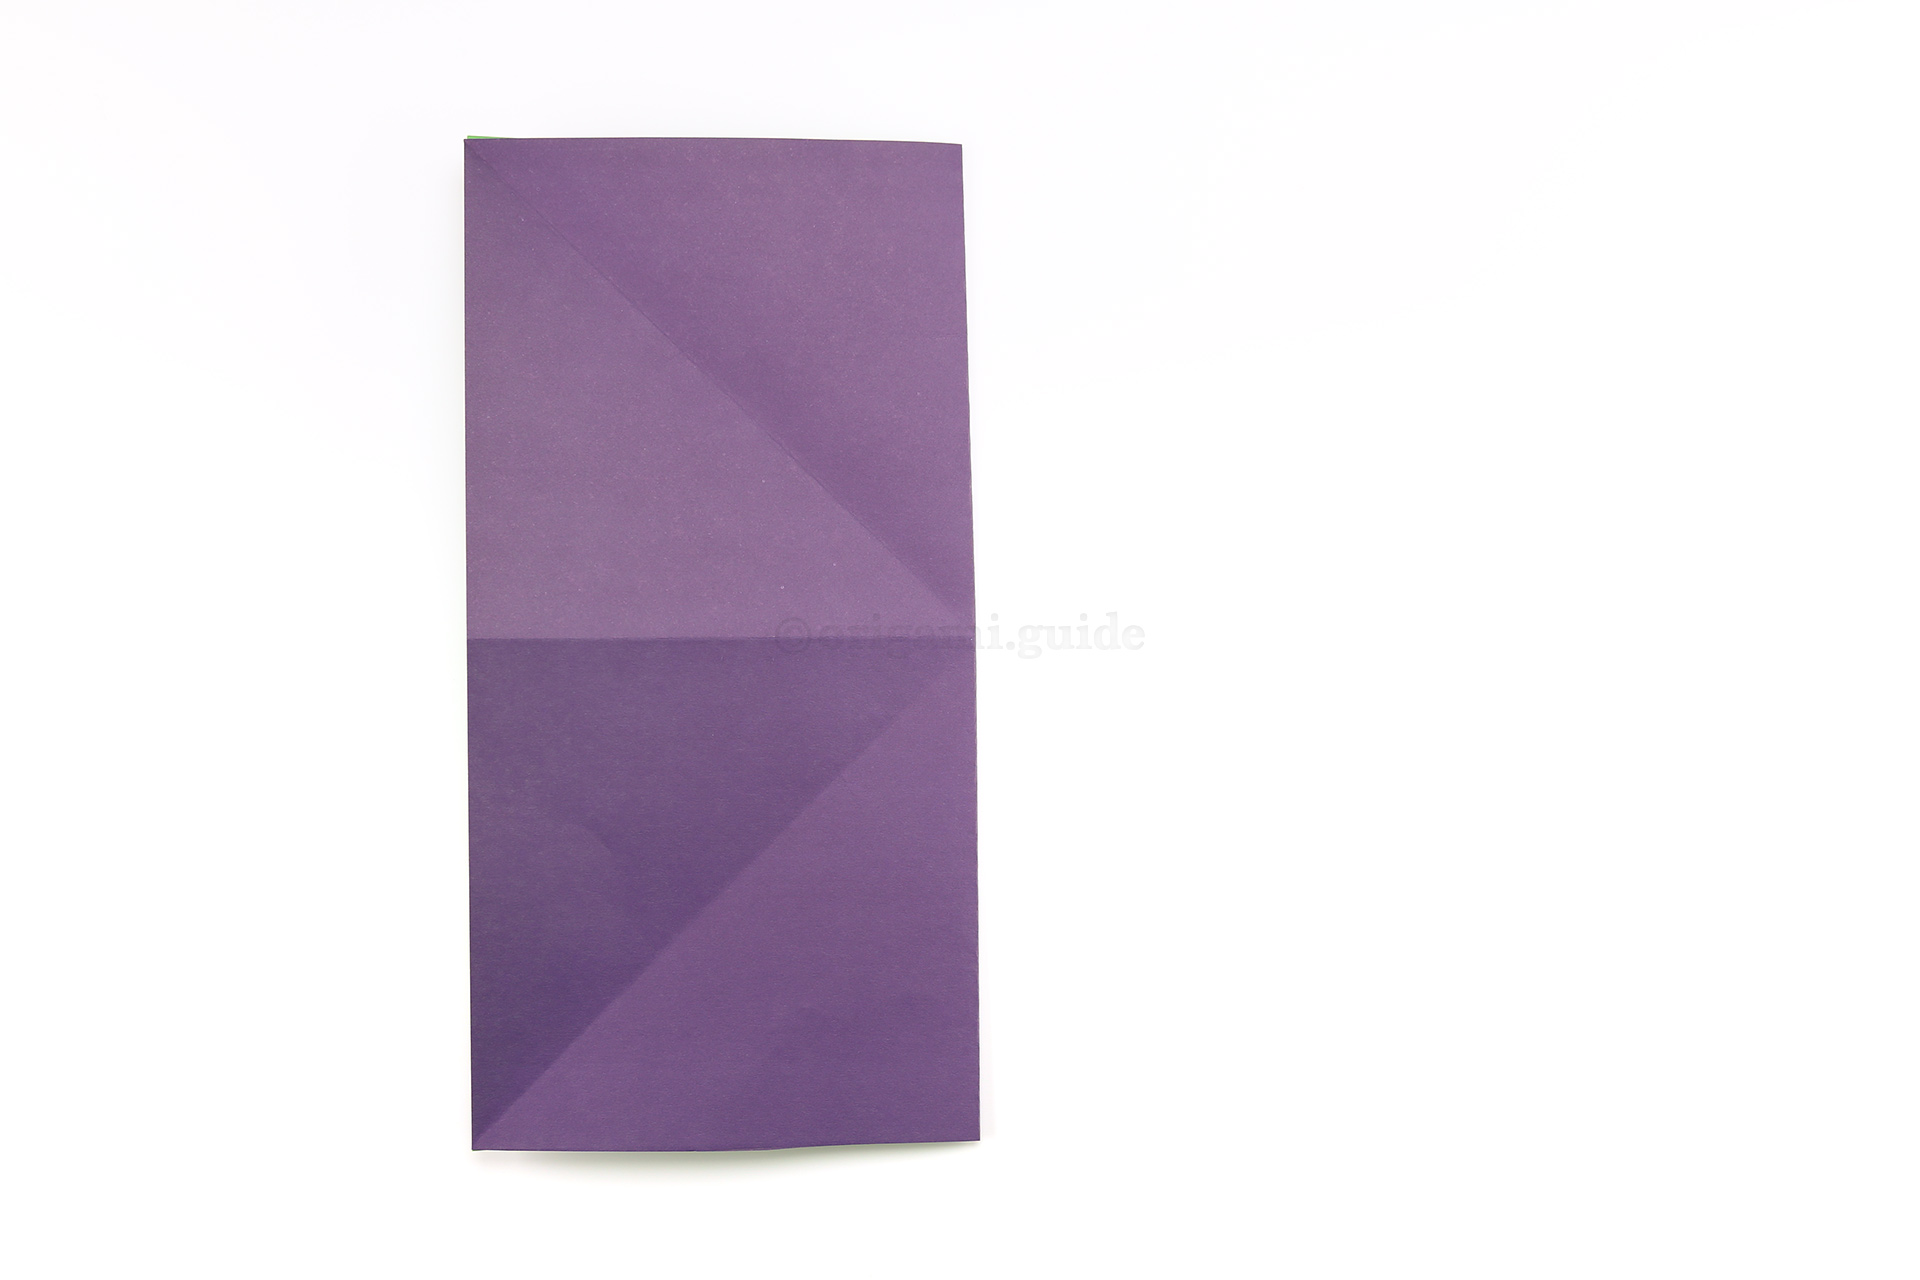
Step 10: Next, fold the right edge over to the left edge.
-
11
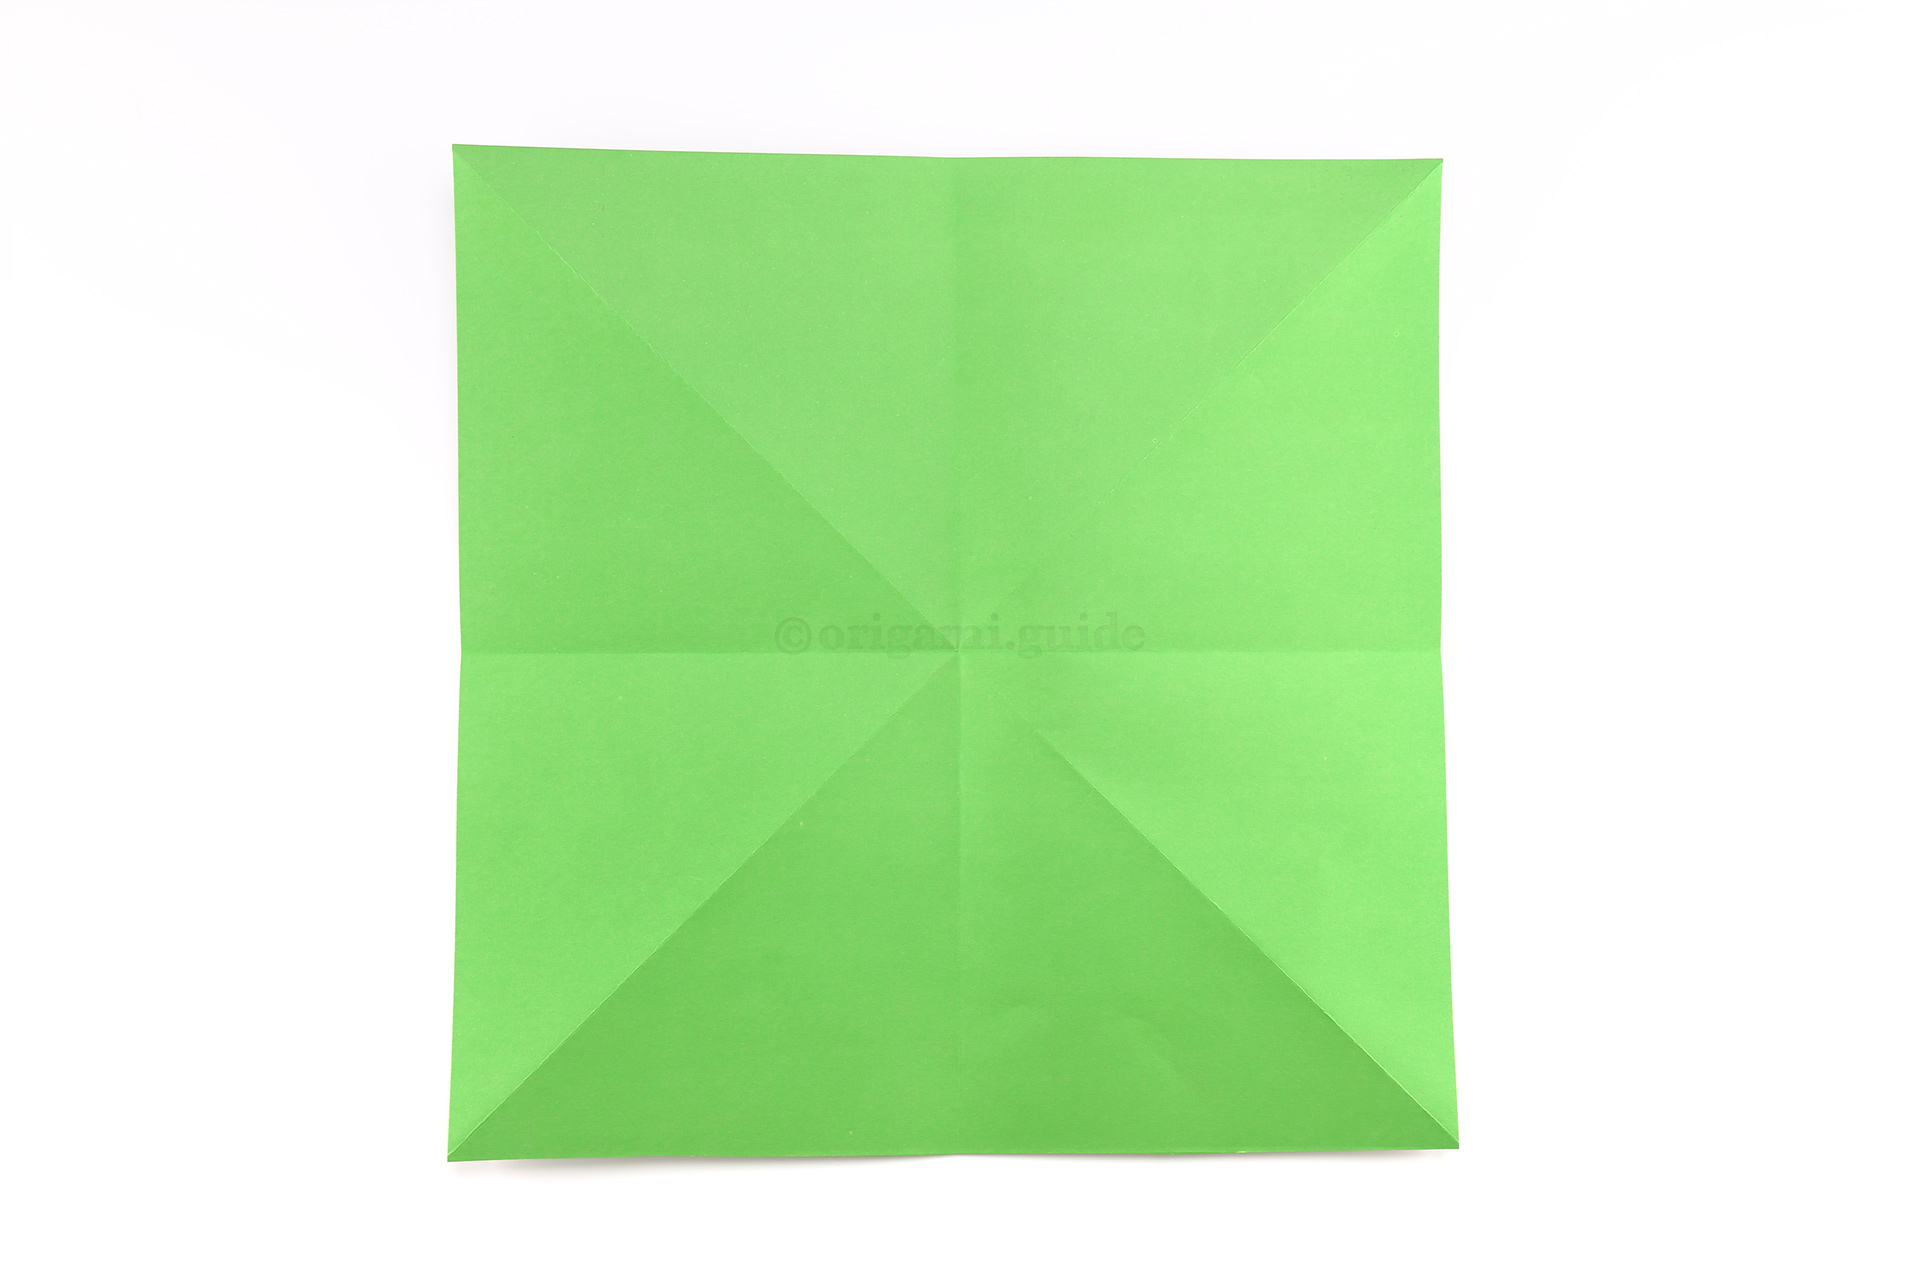
Step 11: Unfold the previous step.
-
12
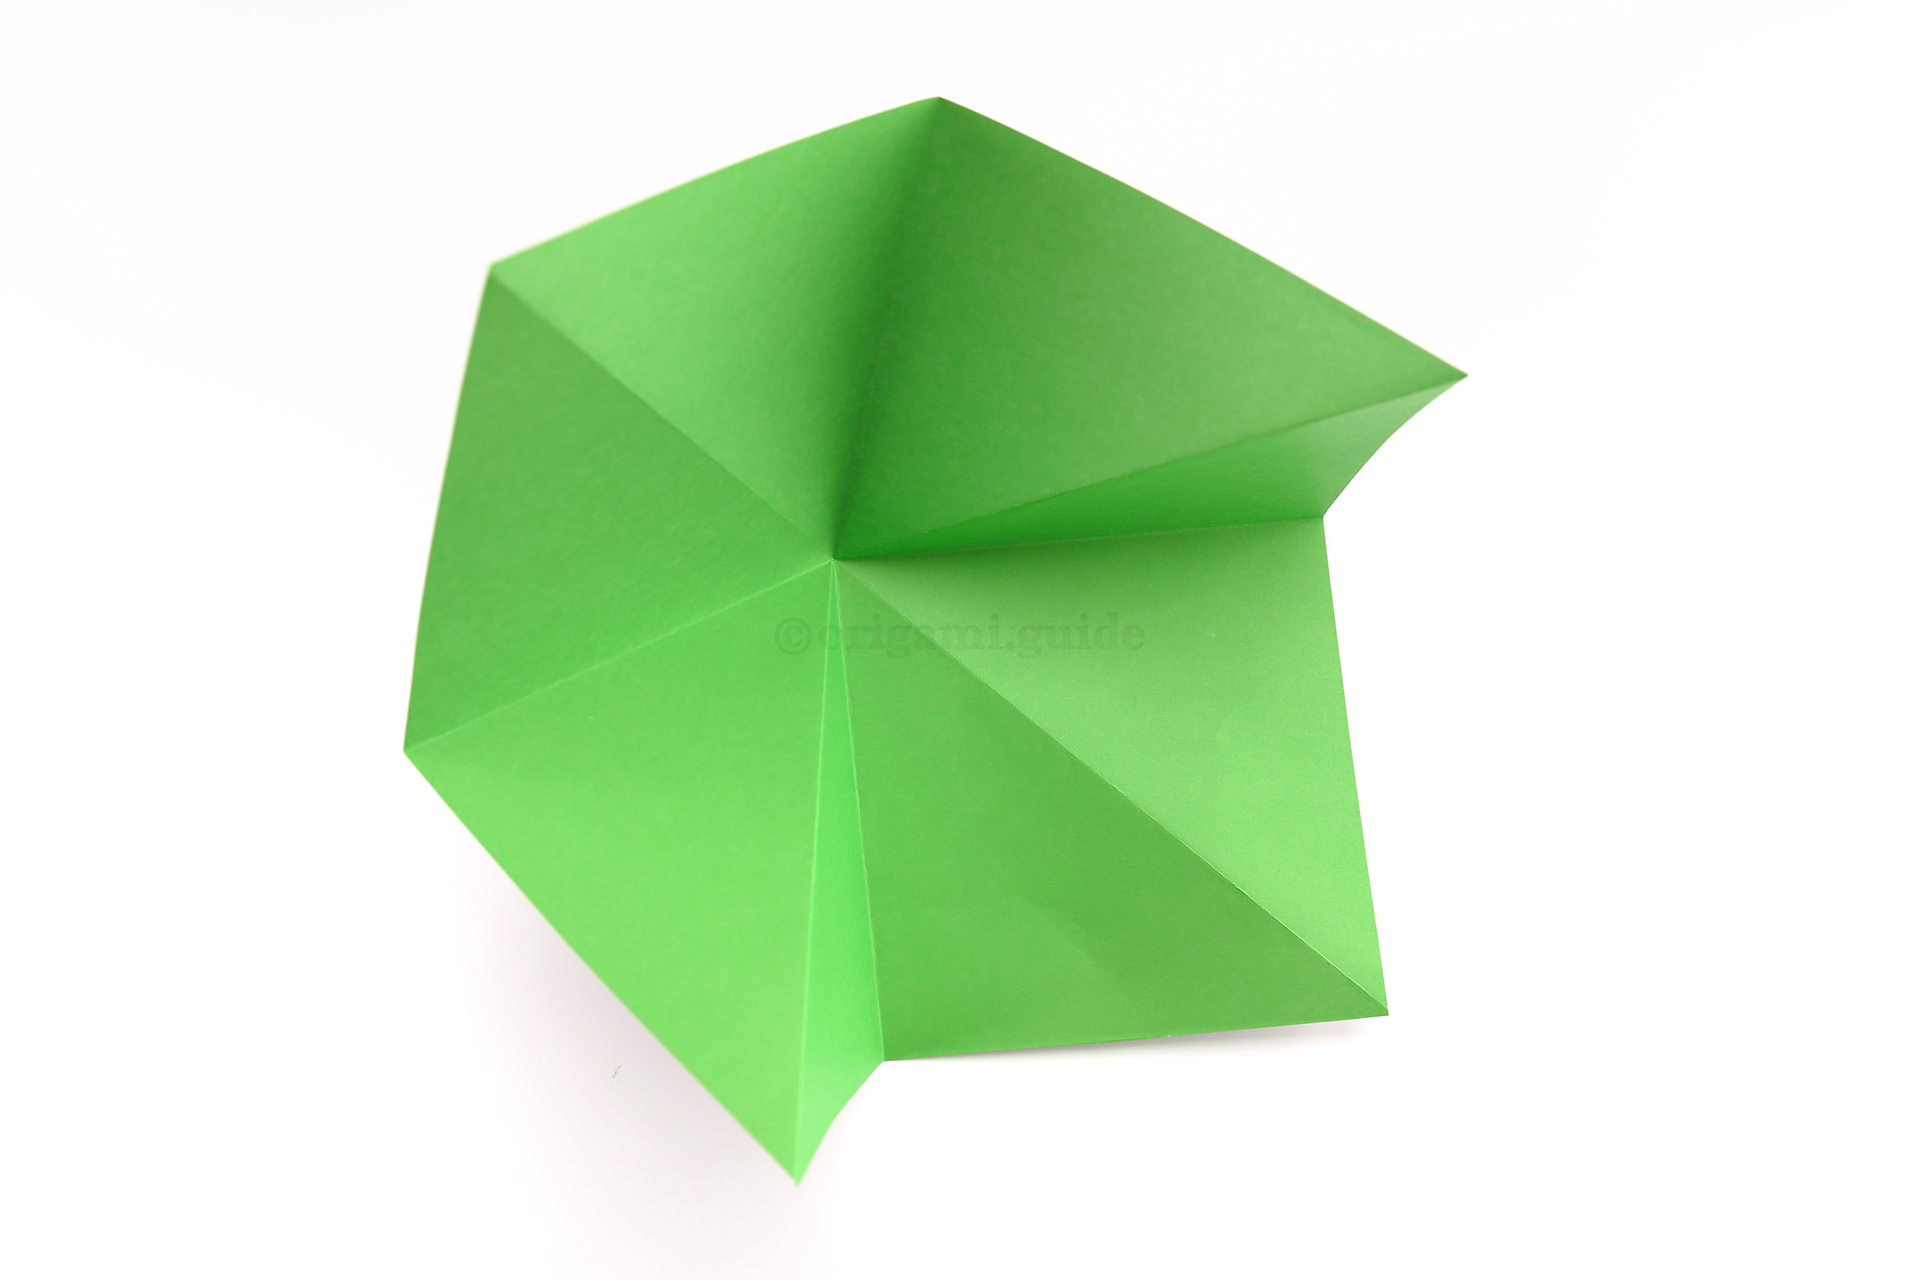
Step 12: Begin folding the corners of the paper inwards.
-
13
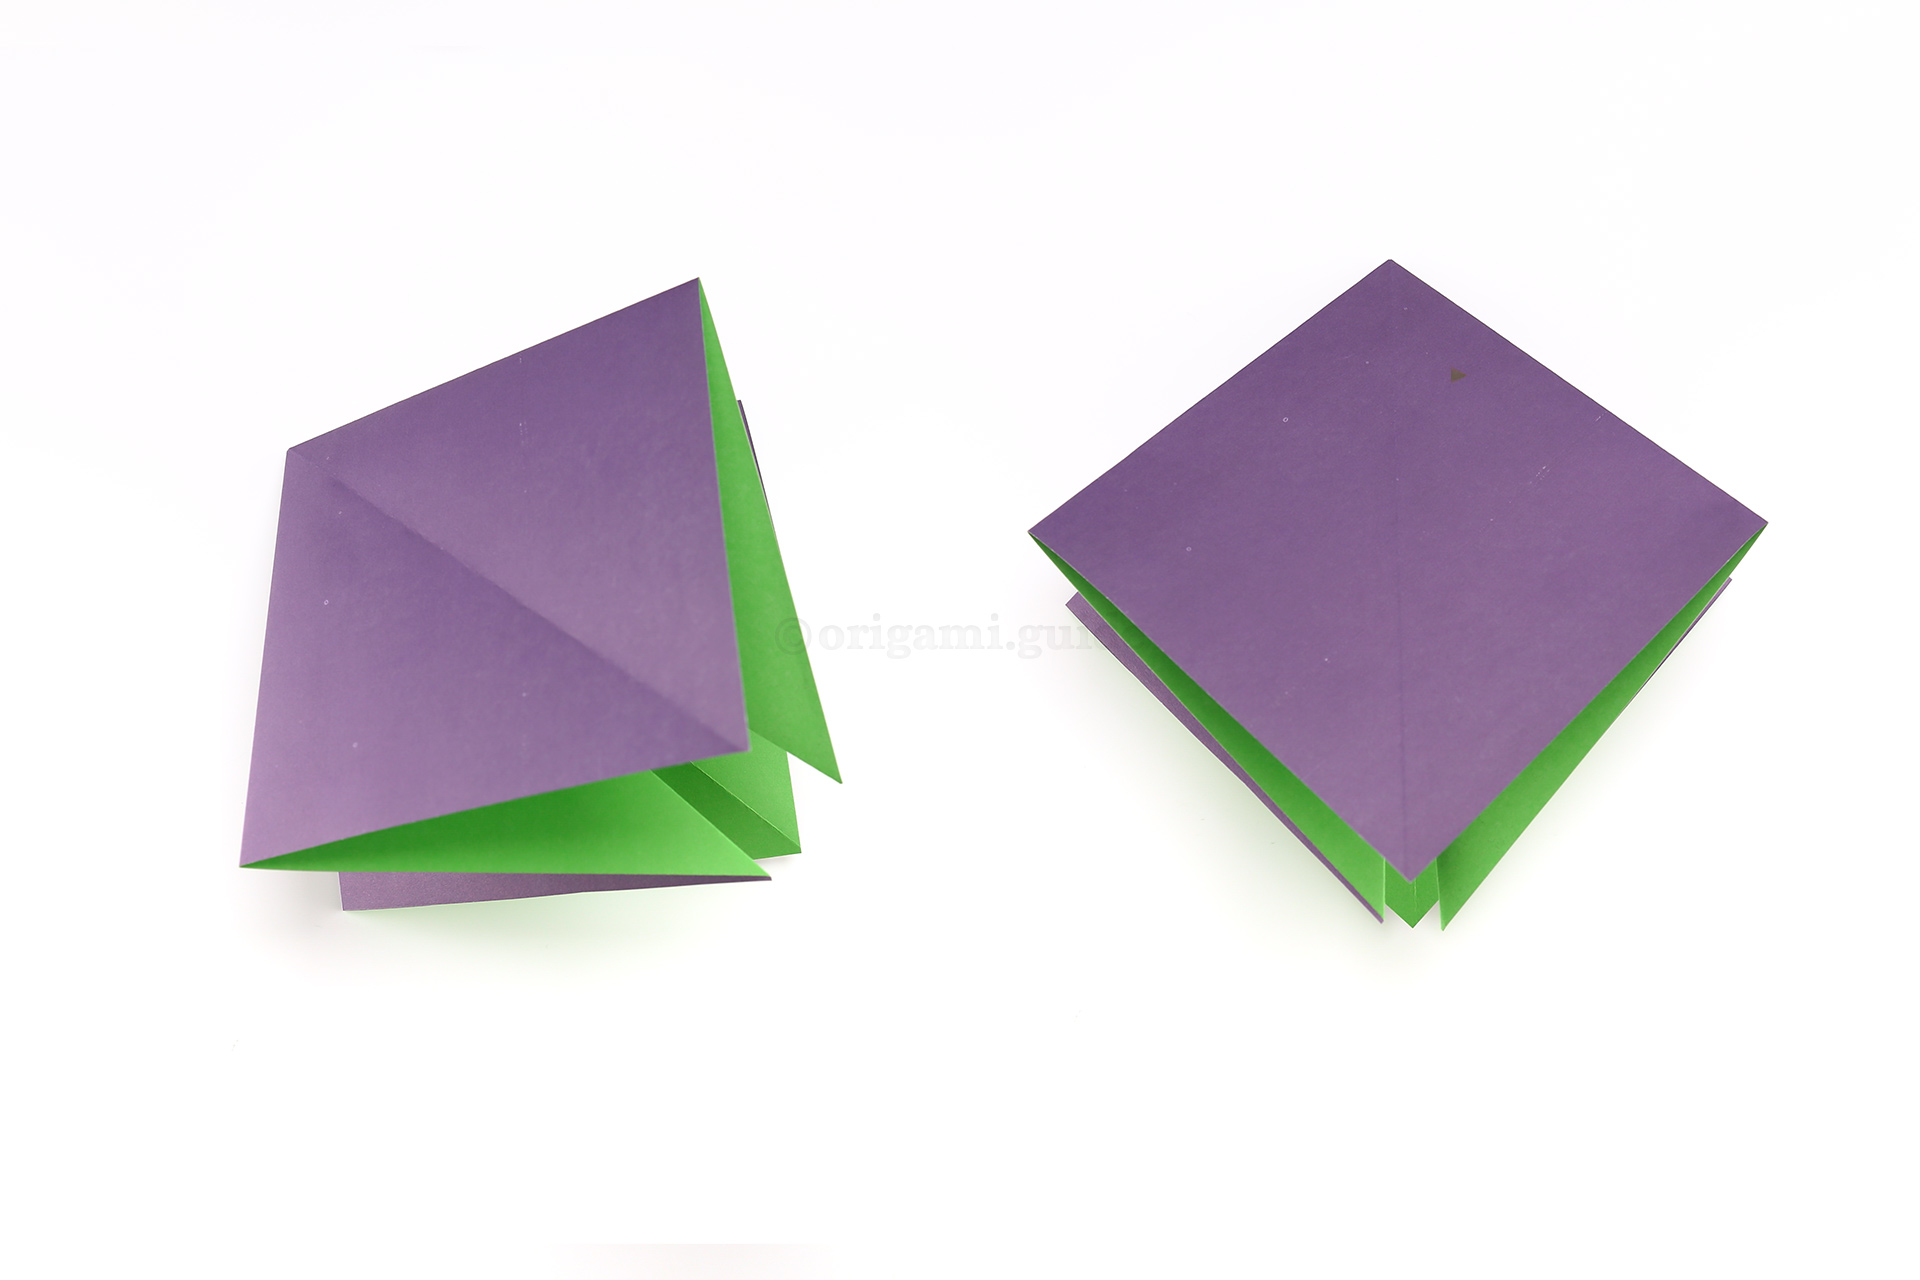
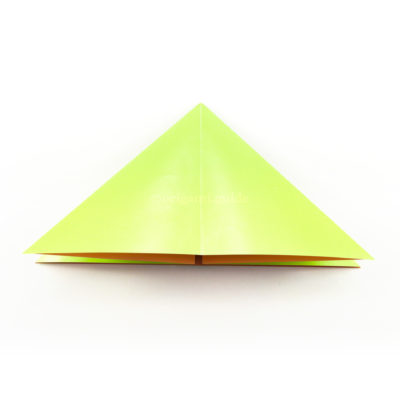
Step 13: Continue to fold the paper into a square shape as shown, and then rotate the paper into a diamond position with the open end at the bottom.
-
14
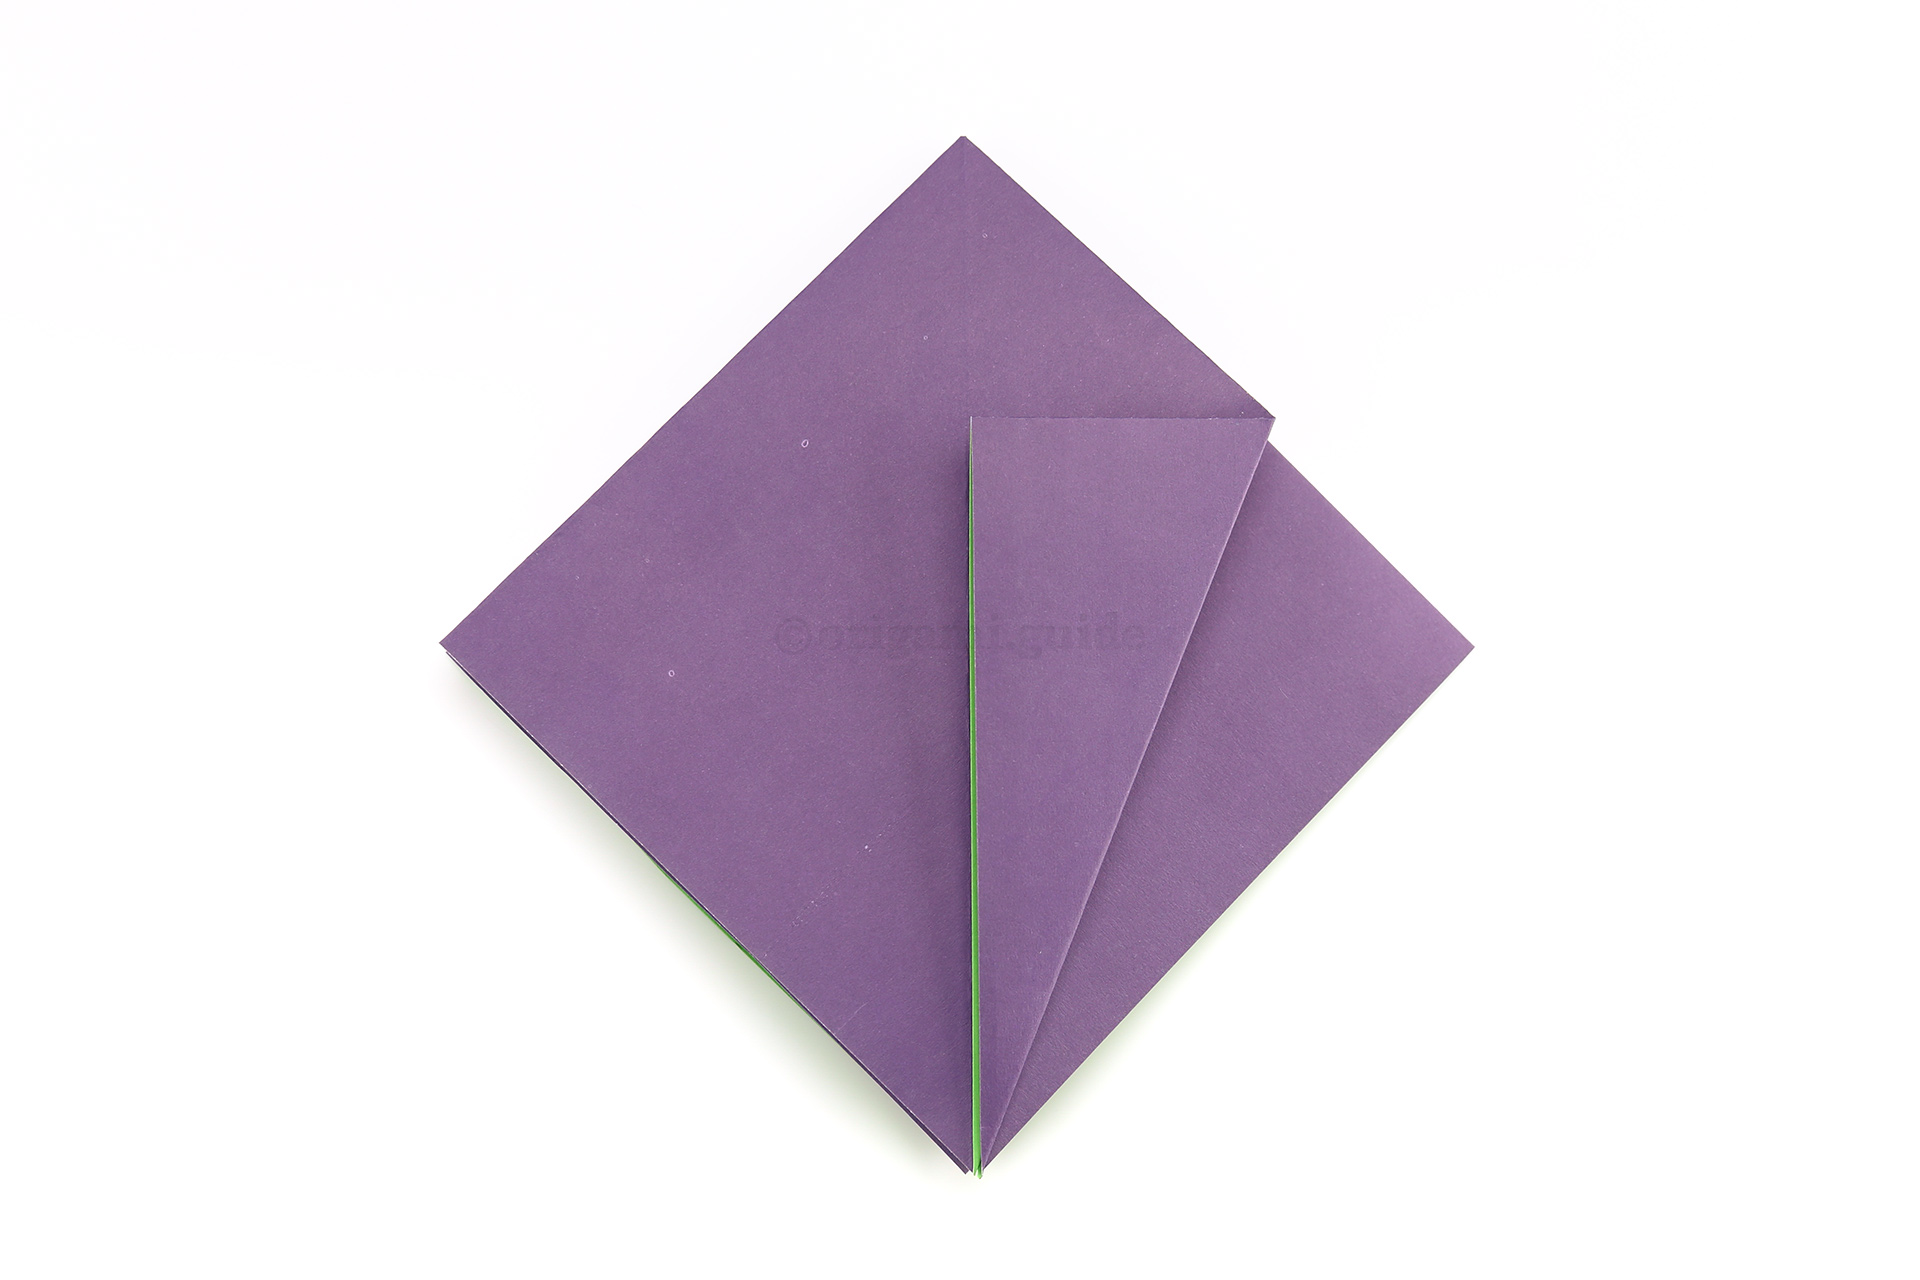
Step 14: Fold the lower right diagonal edge to the central crease.
-
15
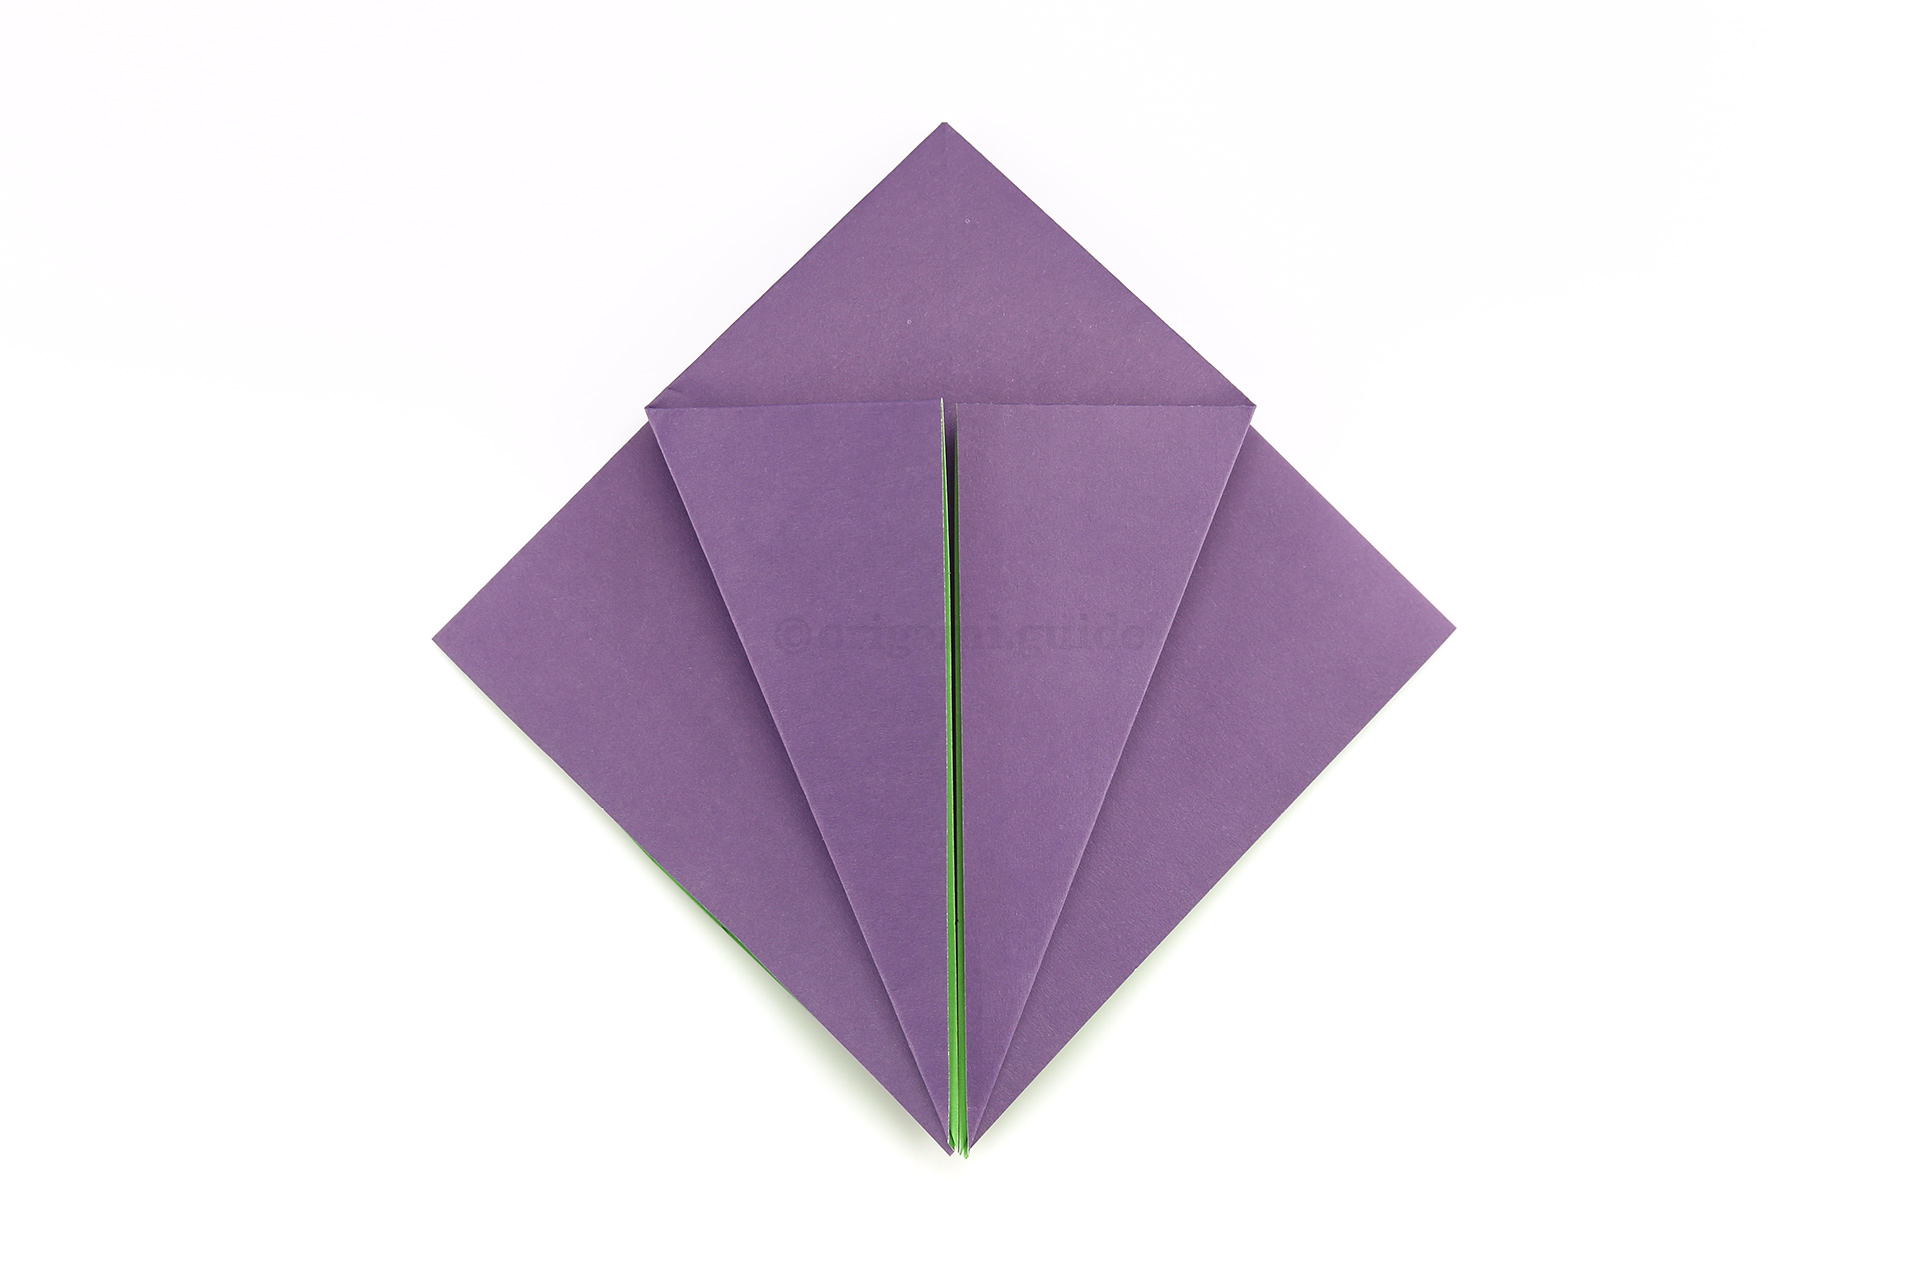
Step 15: Fold the lower left diagonal edge to the central crease.
-
16
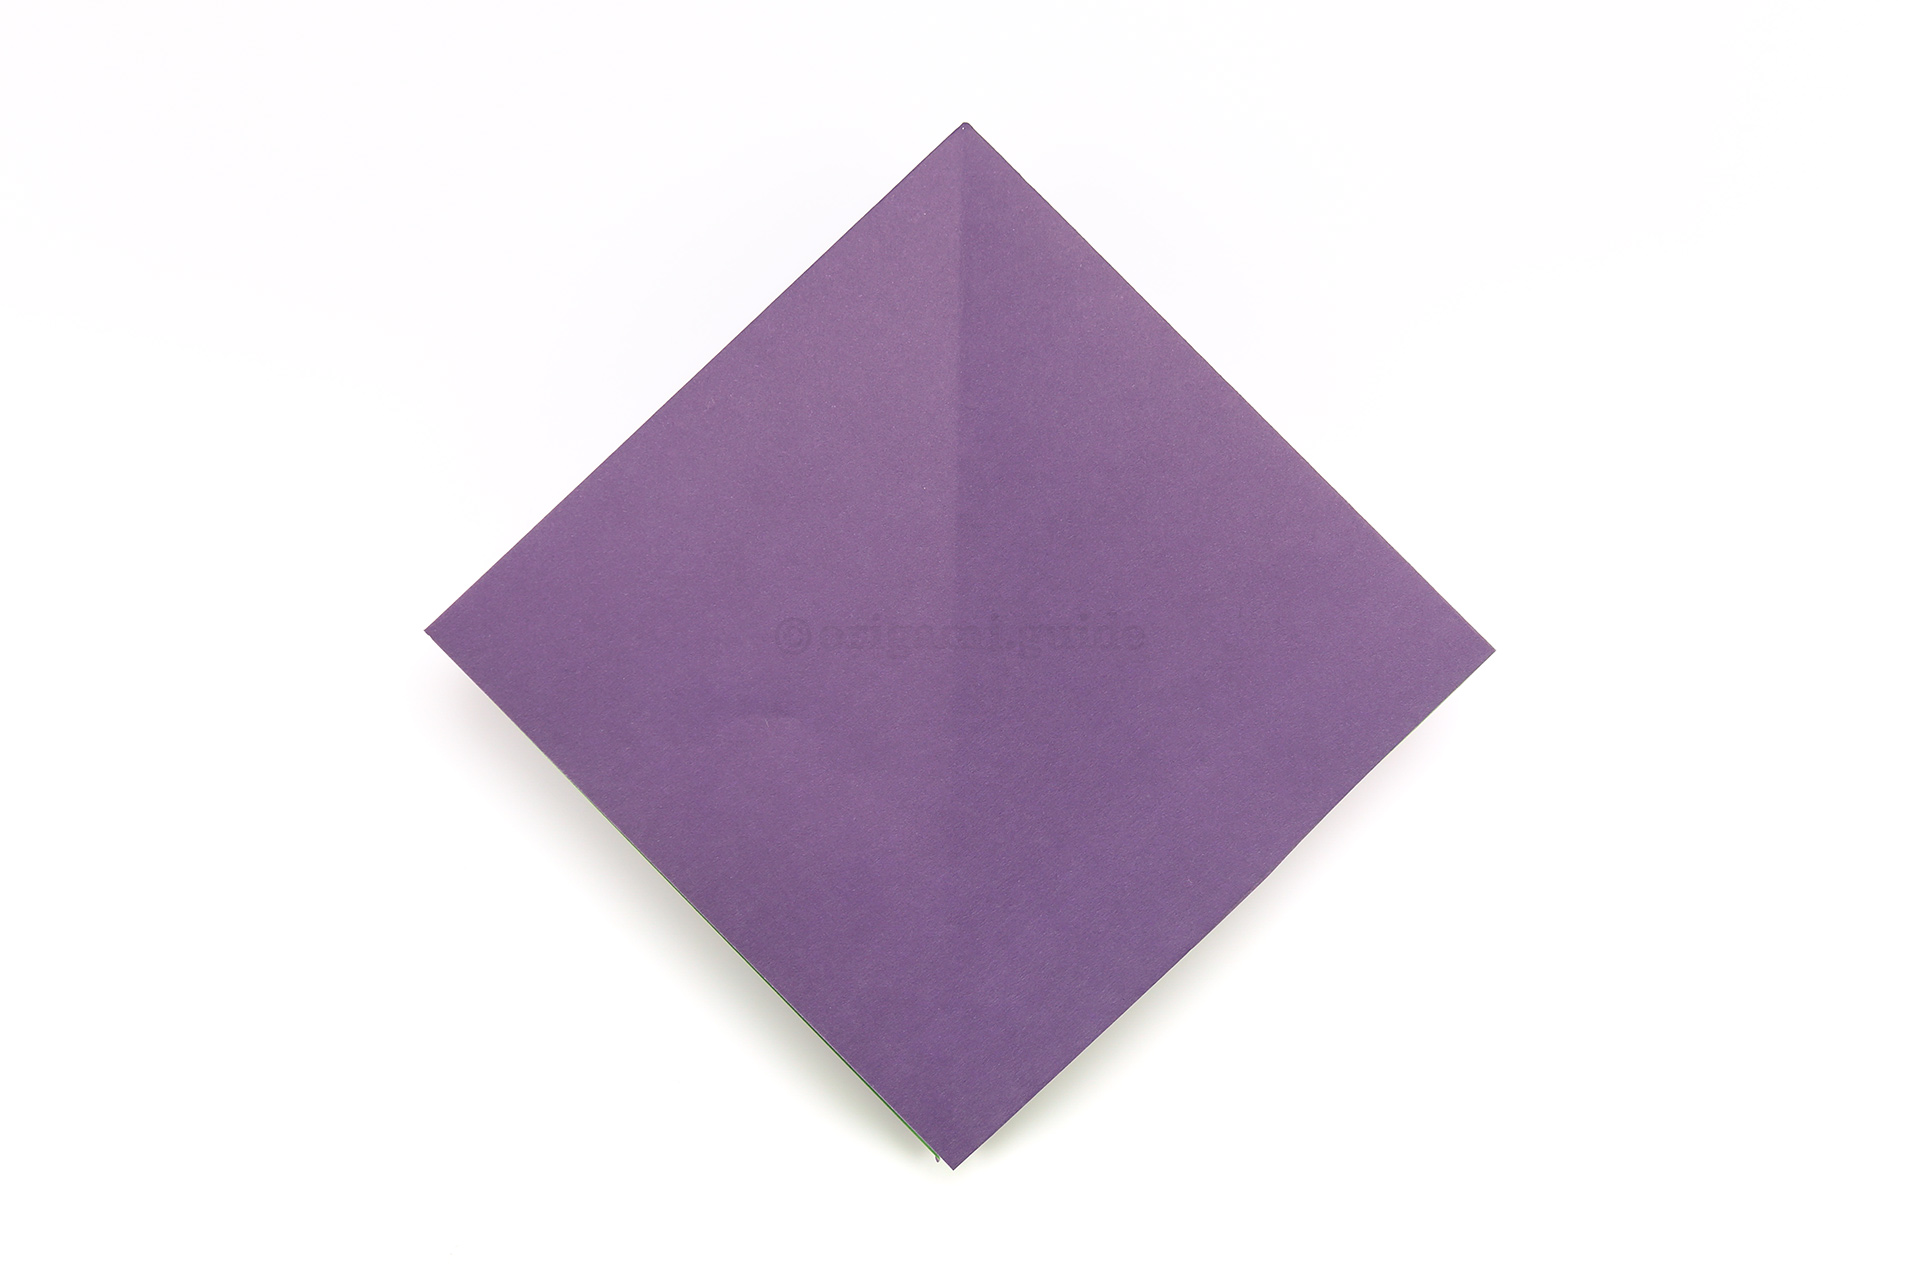
Step 16: Flip the paper over to the other side, from left to right.
-
17
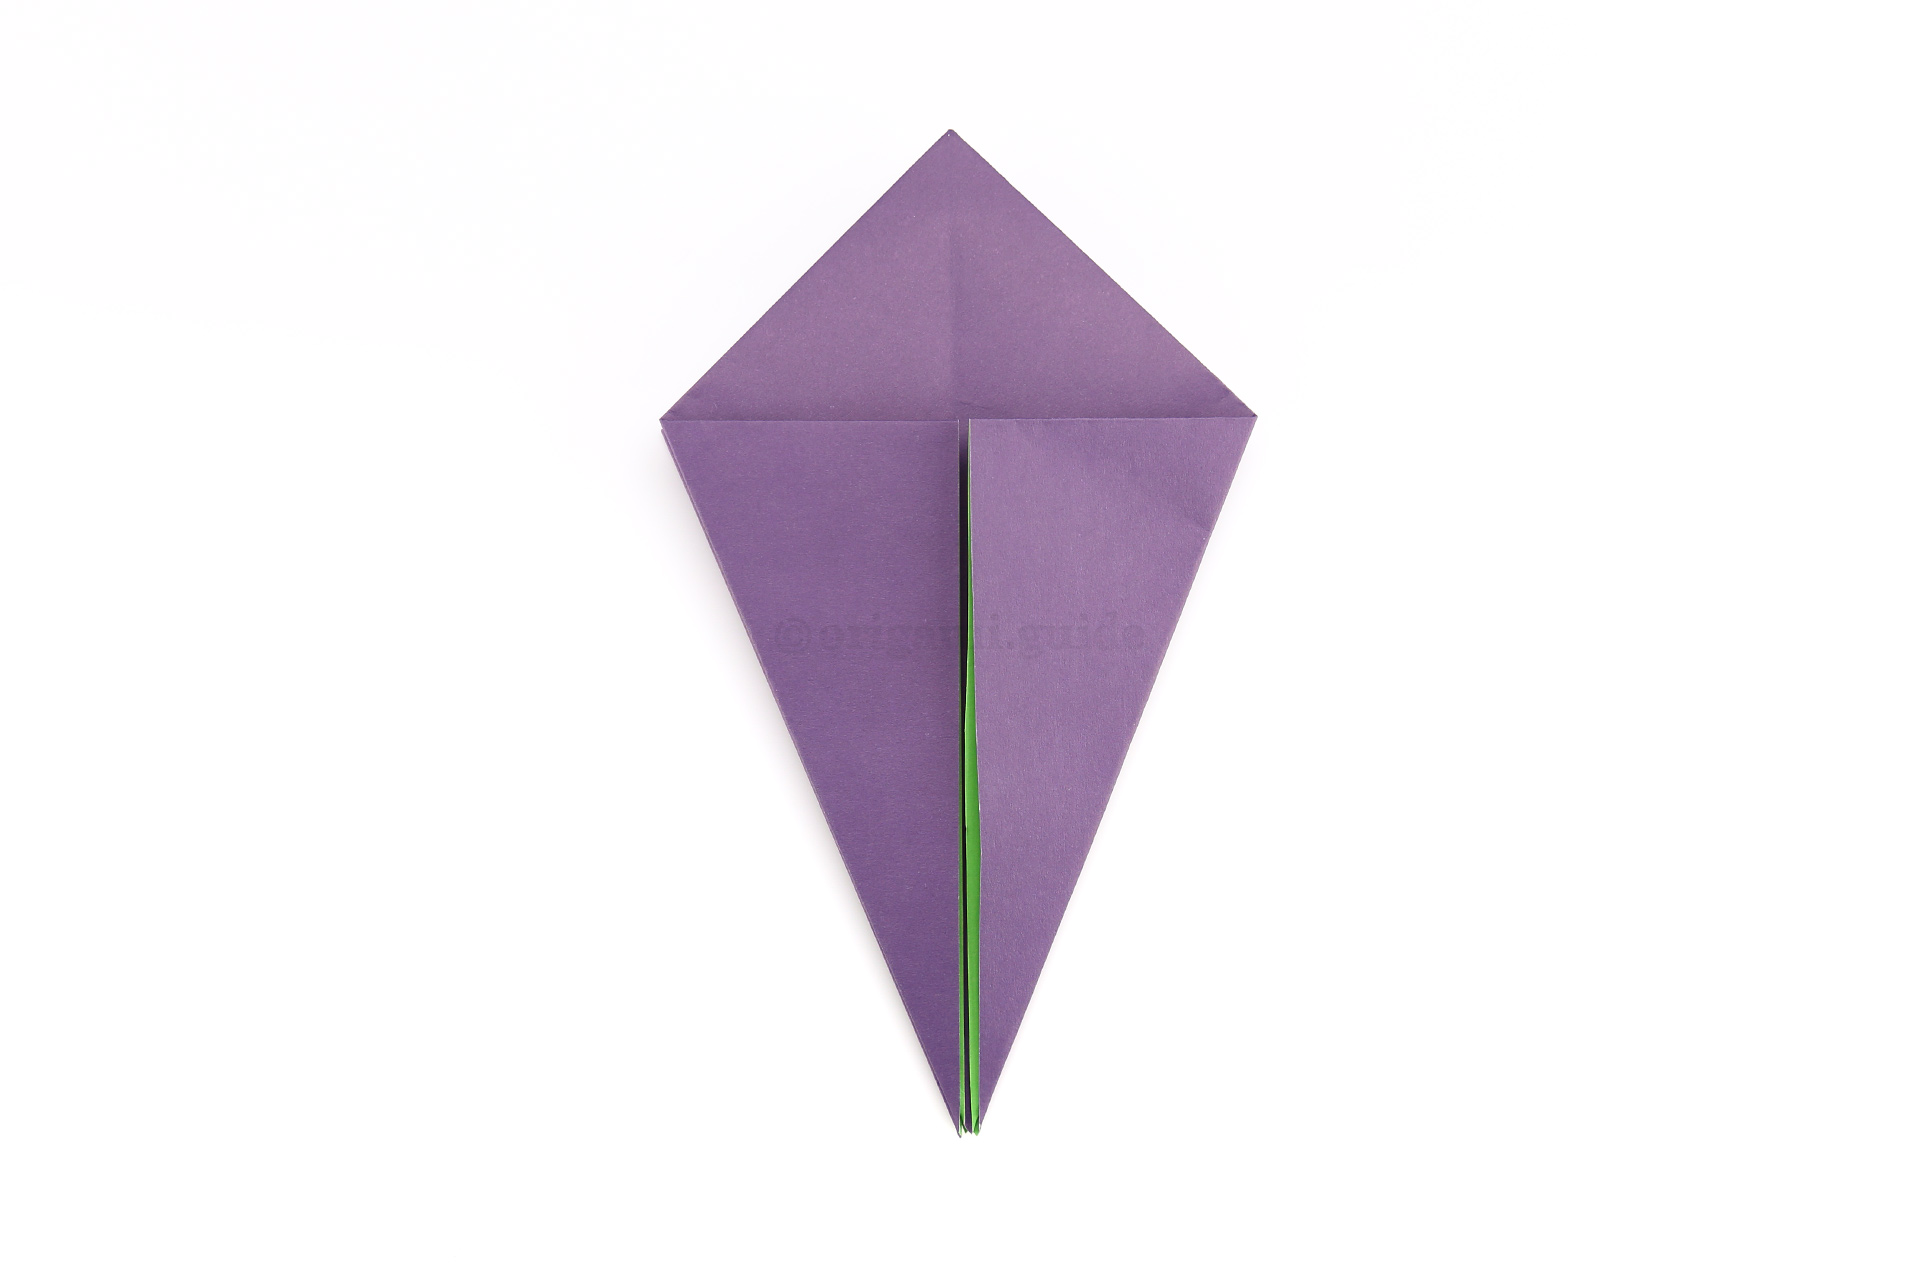
Step 17: Fold the lower left and right diagonal edges to the central crease the same as you did on the other side.
-
18
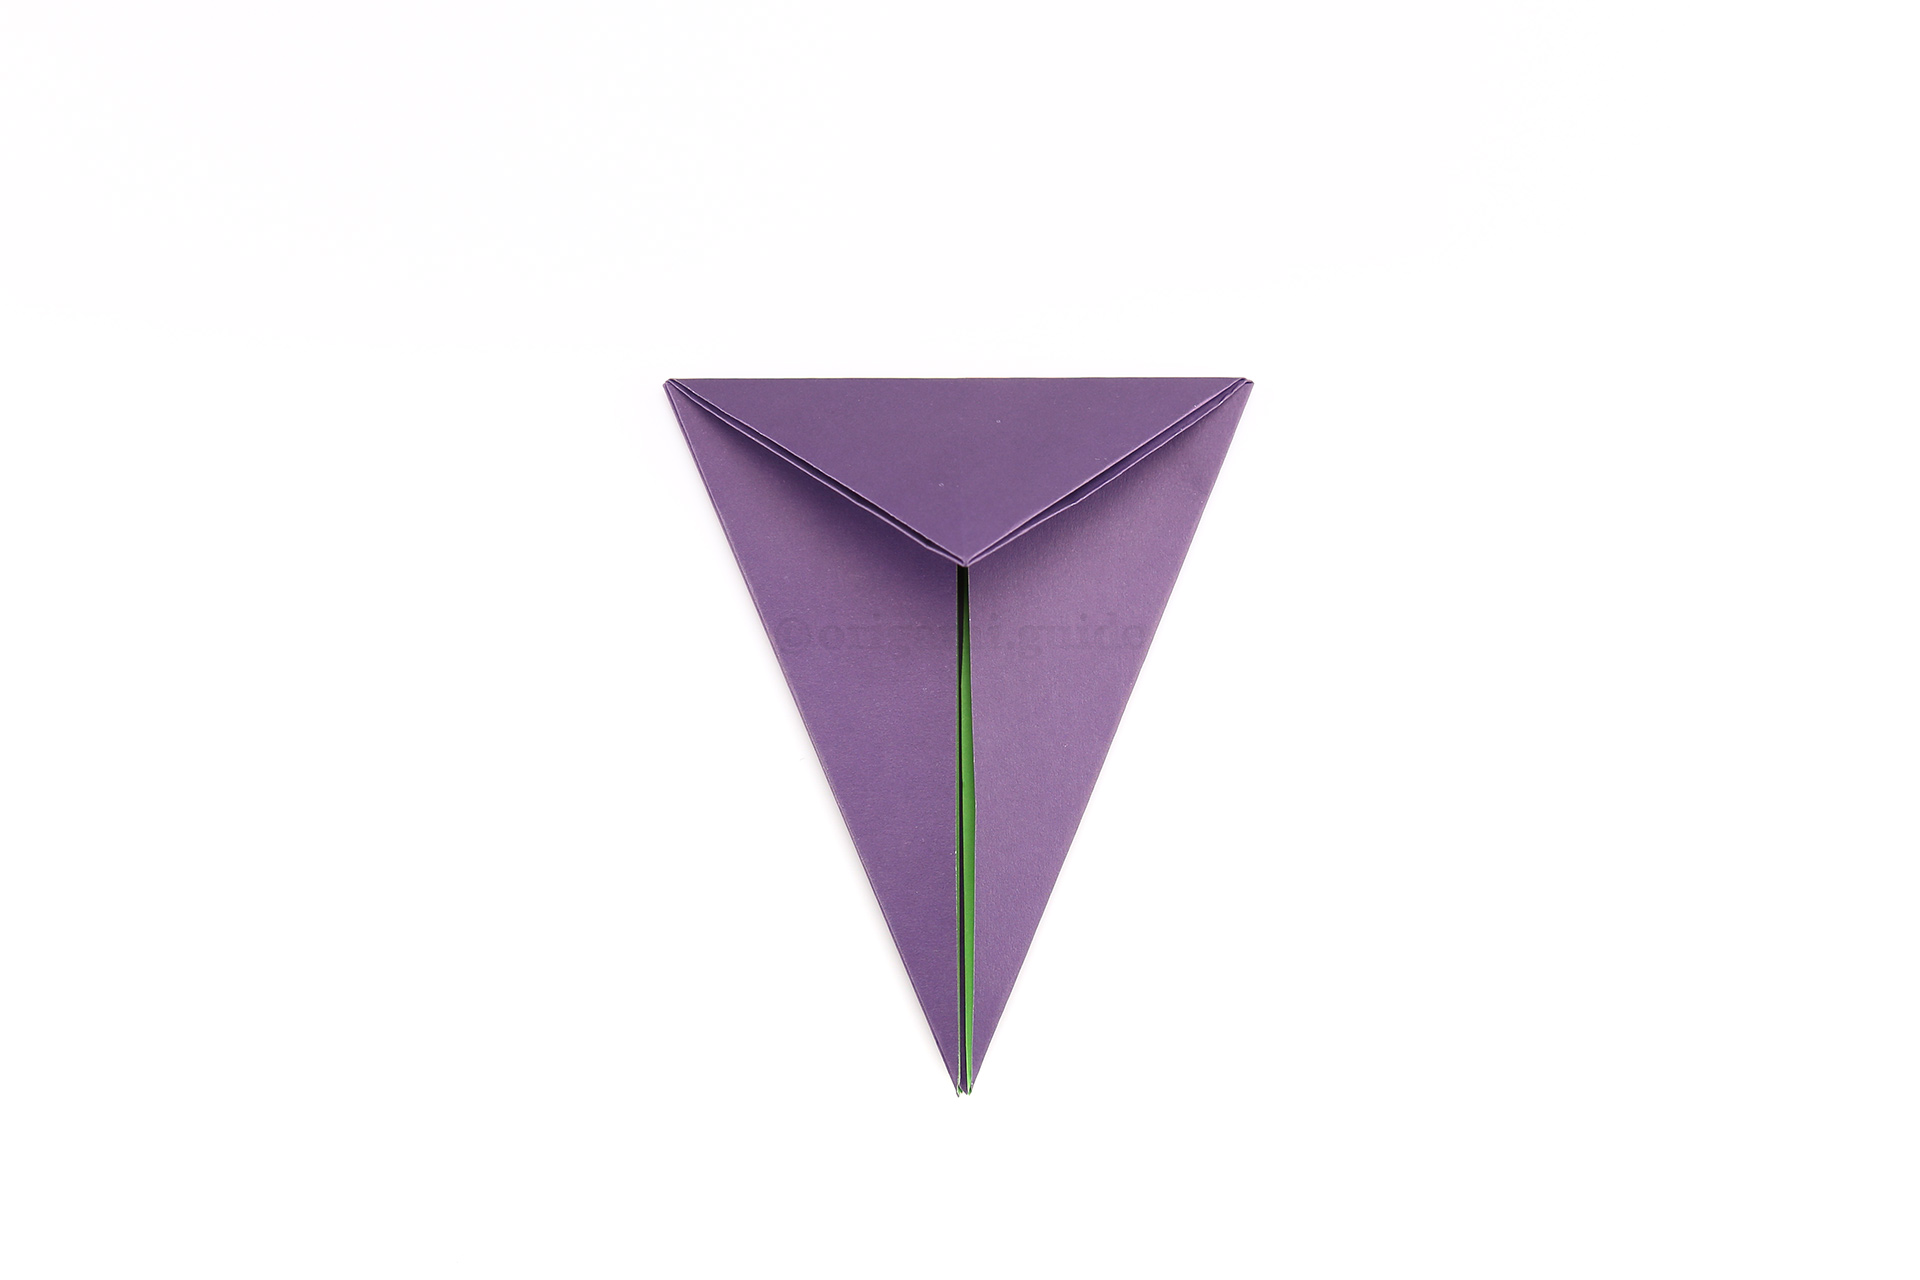
Step 18: Fold the top point down.
-
19
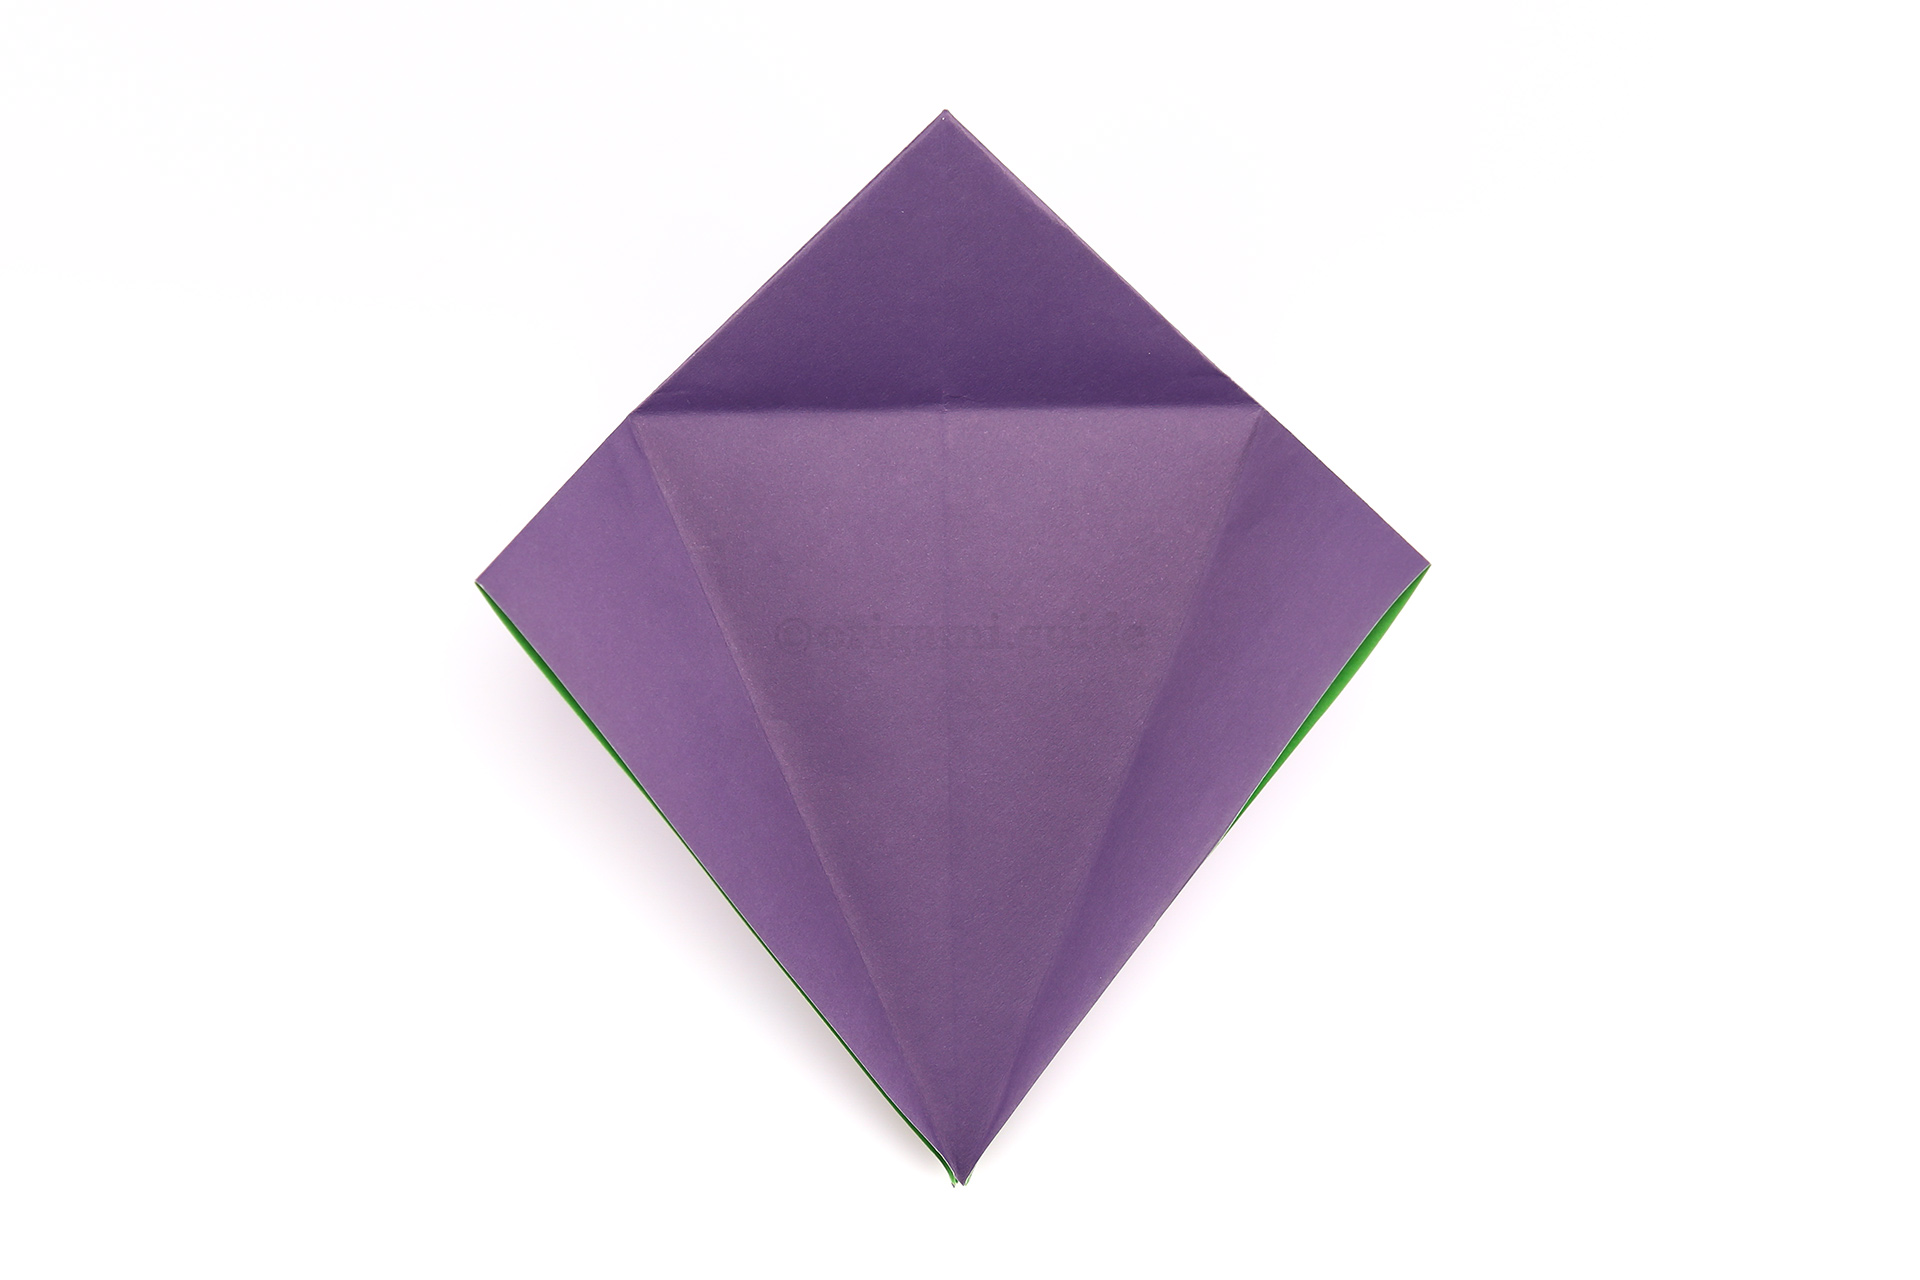
Step 19: Unfold the top point back up and unfold the left and right flaps.
-
20
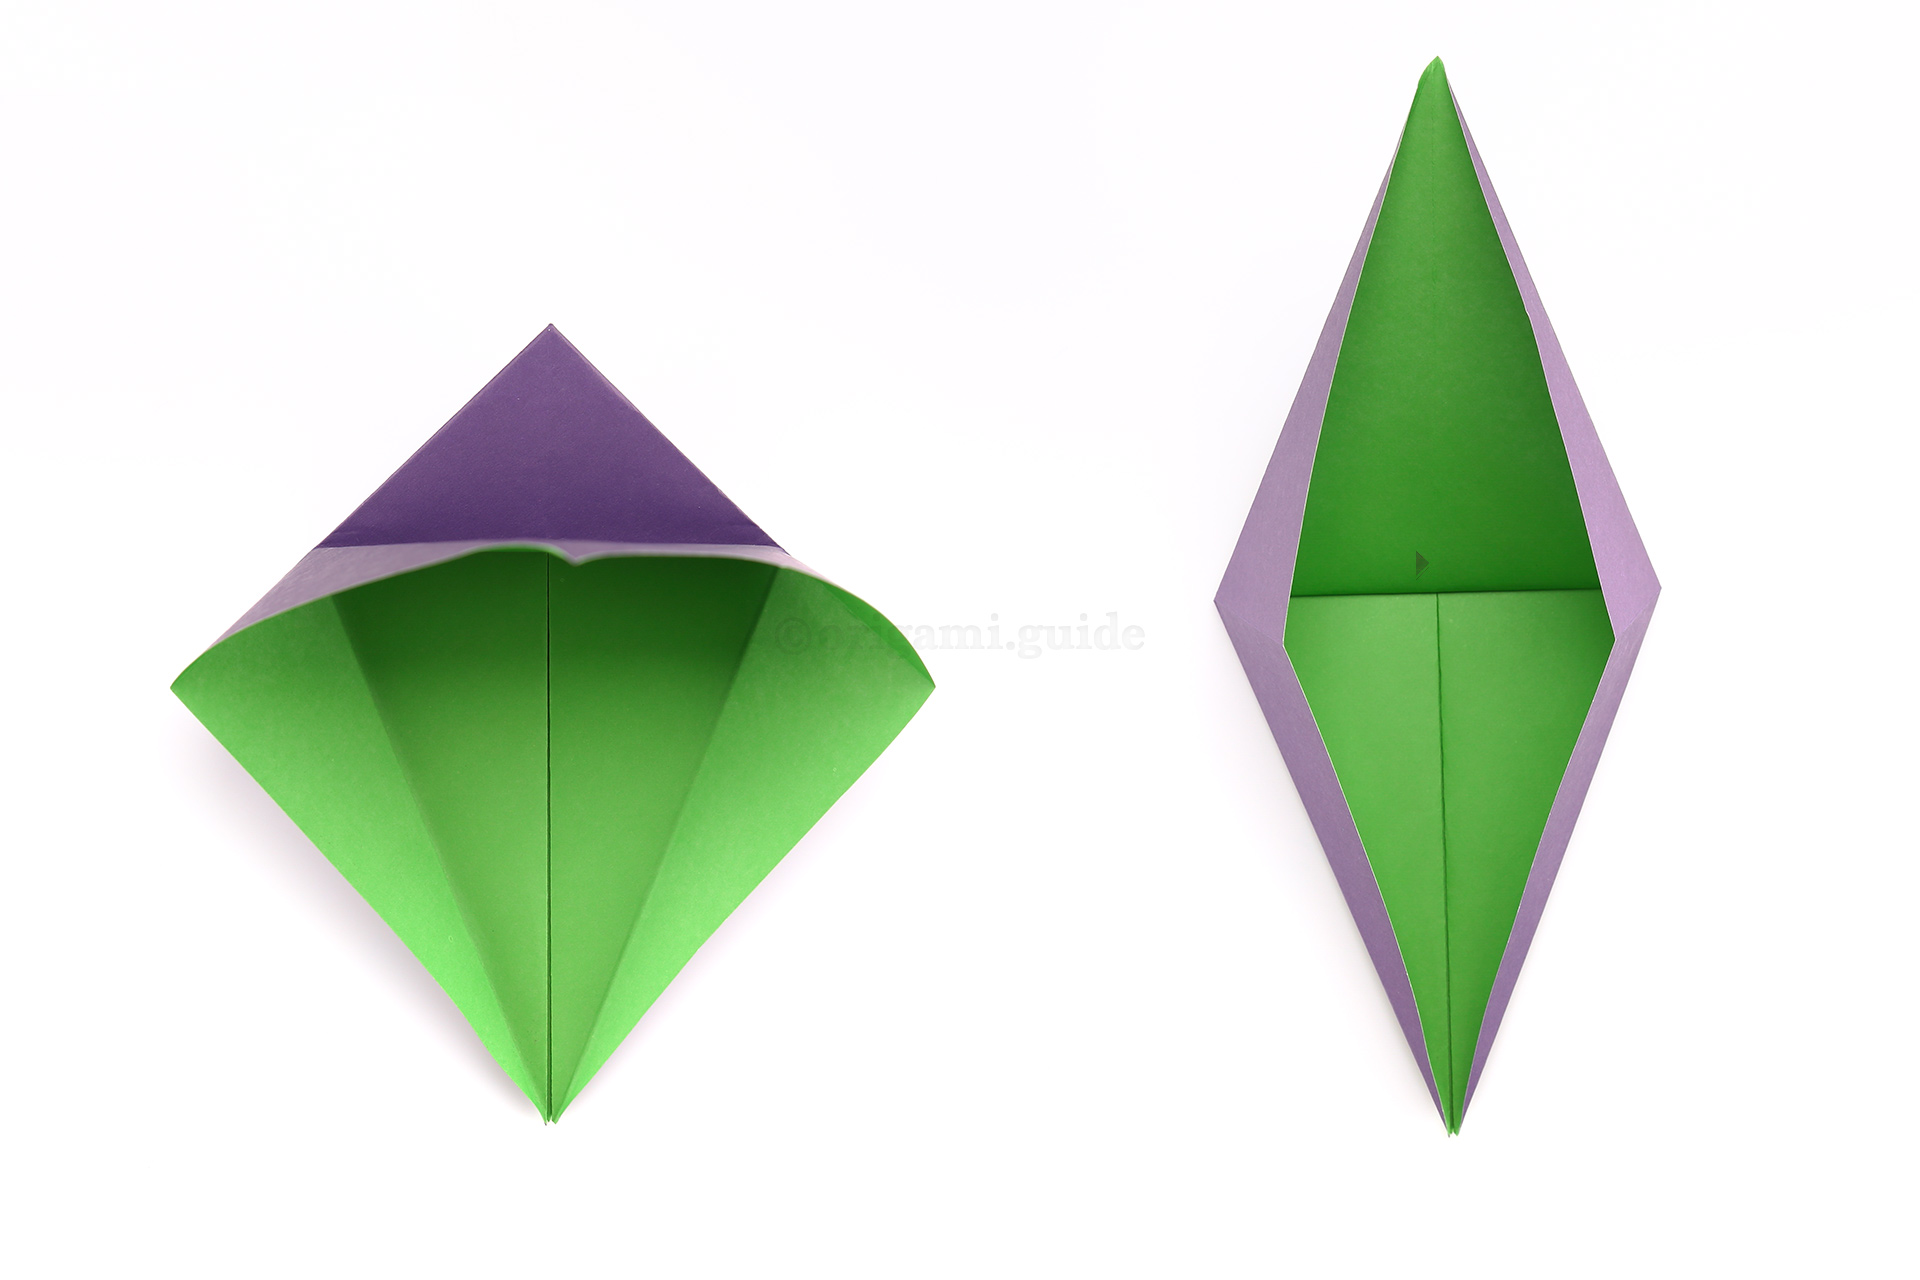
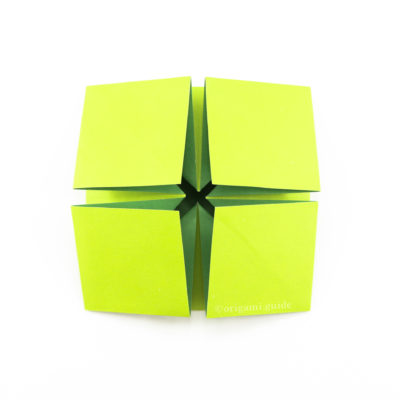
Step 20: Open up the bottom flap from the top crease as shown, just like a bird opening its beak and flatten the paper upwards.
-
21
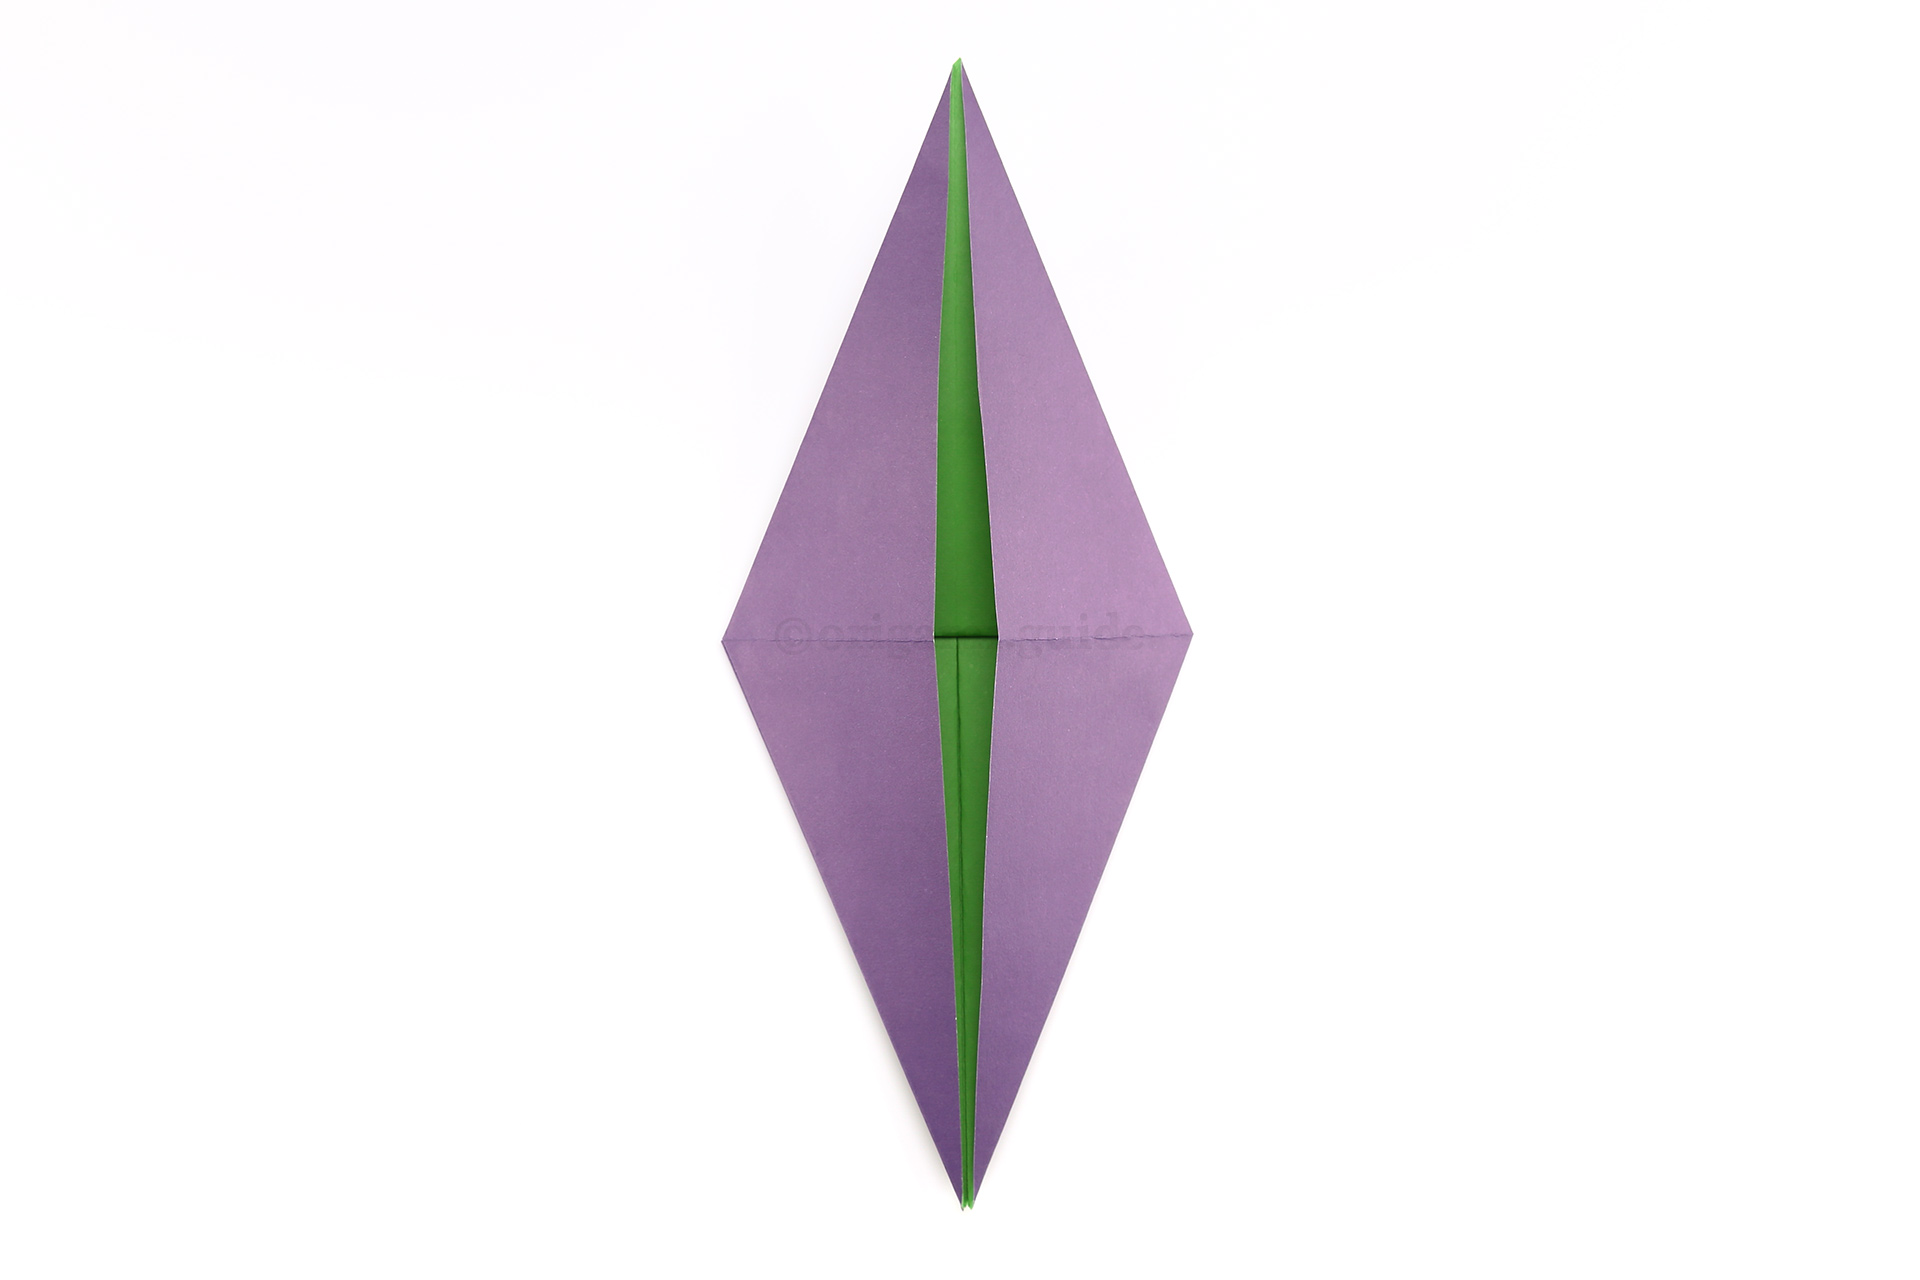
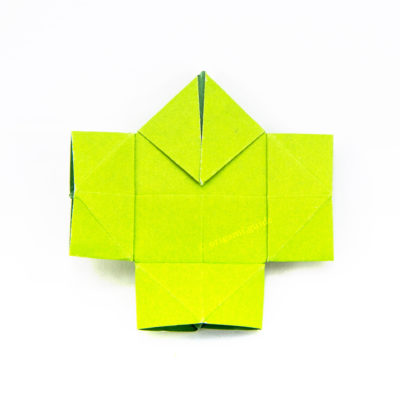
Step 21: Your paper should look like this.
What Halloween Origami To Fold Next?
View all Halloween Origami Tutorials



Leave A Comment
Did you fold this Origami Spider? Let us know what you thought.
You can also upload a photo of your result!