Made this origami? Leave a comment & submit your photo here.
-
34
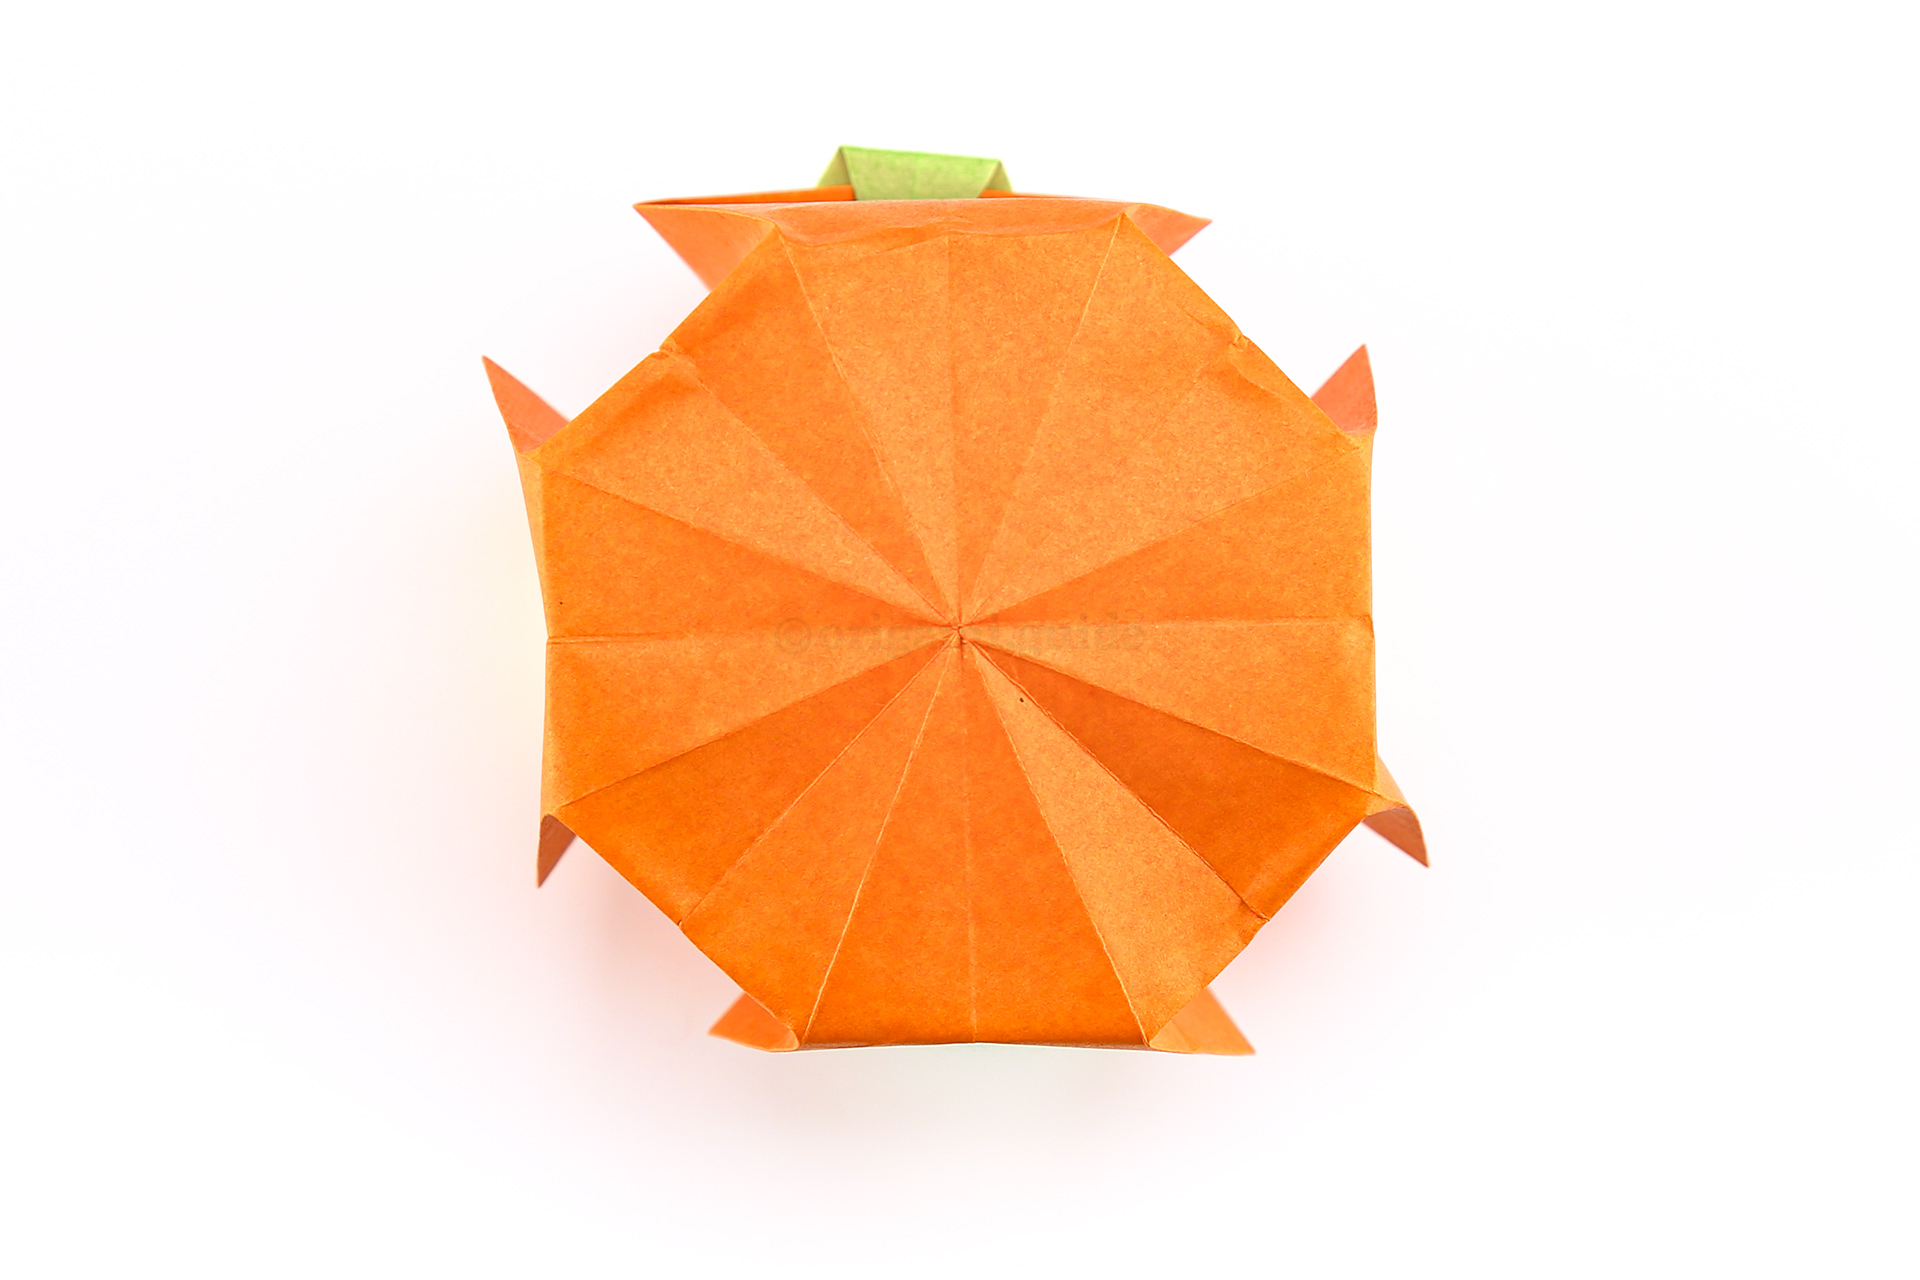
Step 34: Continue to straighten out the base, and slot any flaps back into place.
-
35
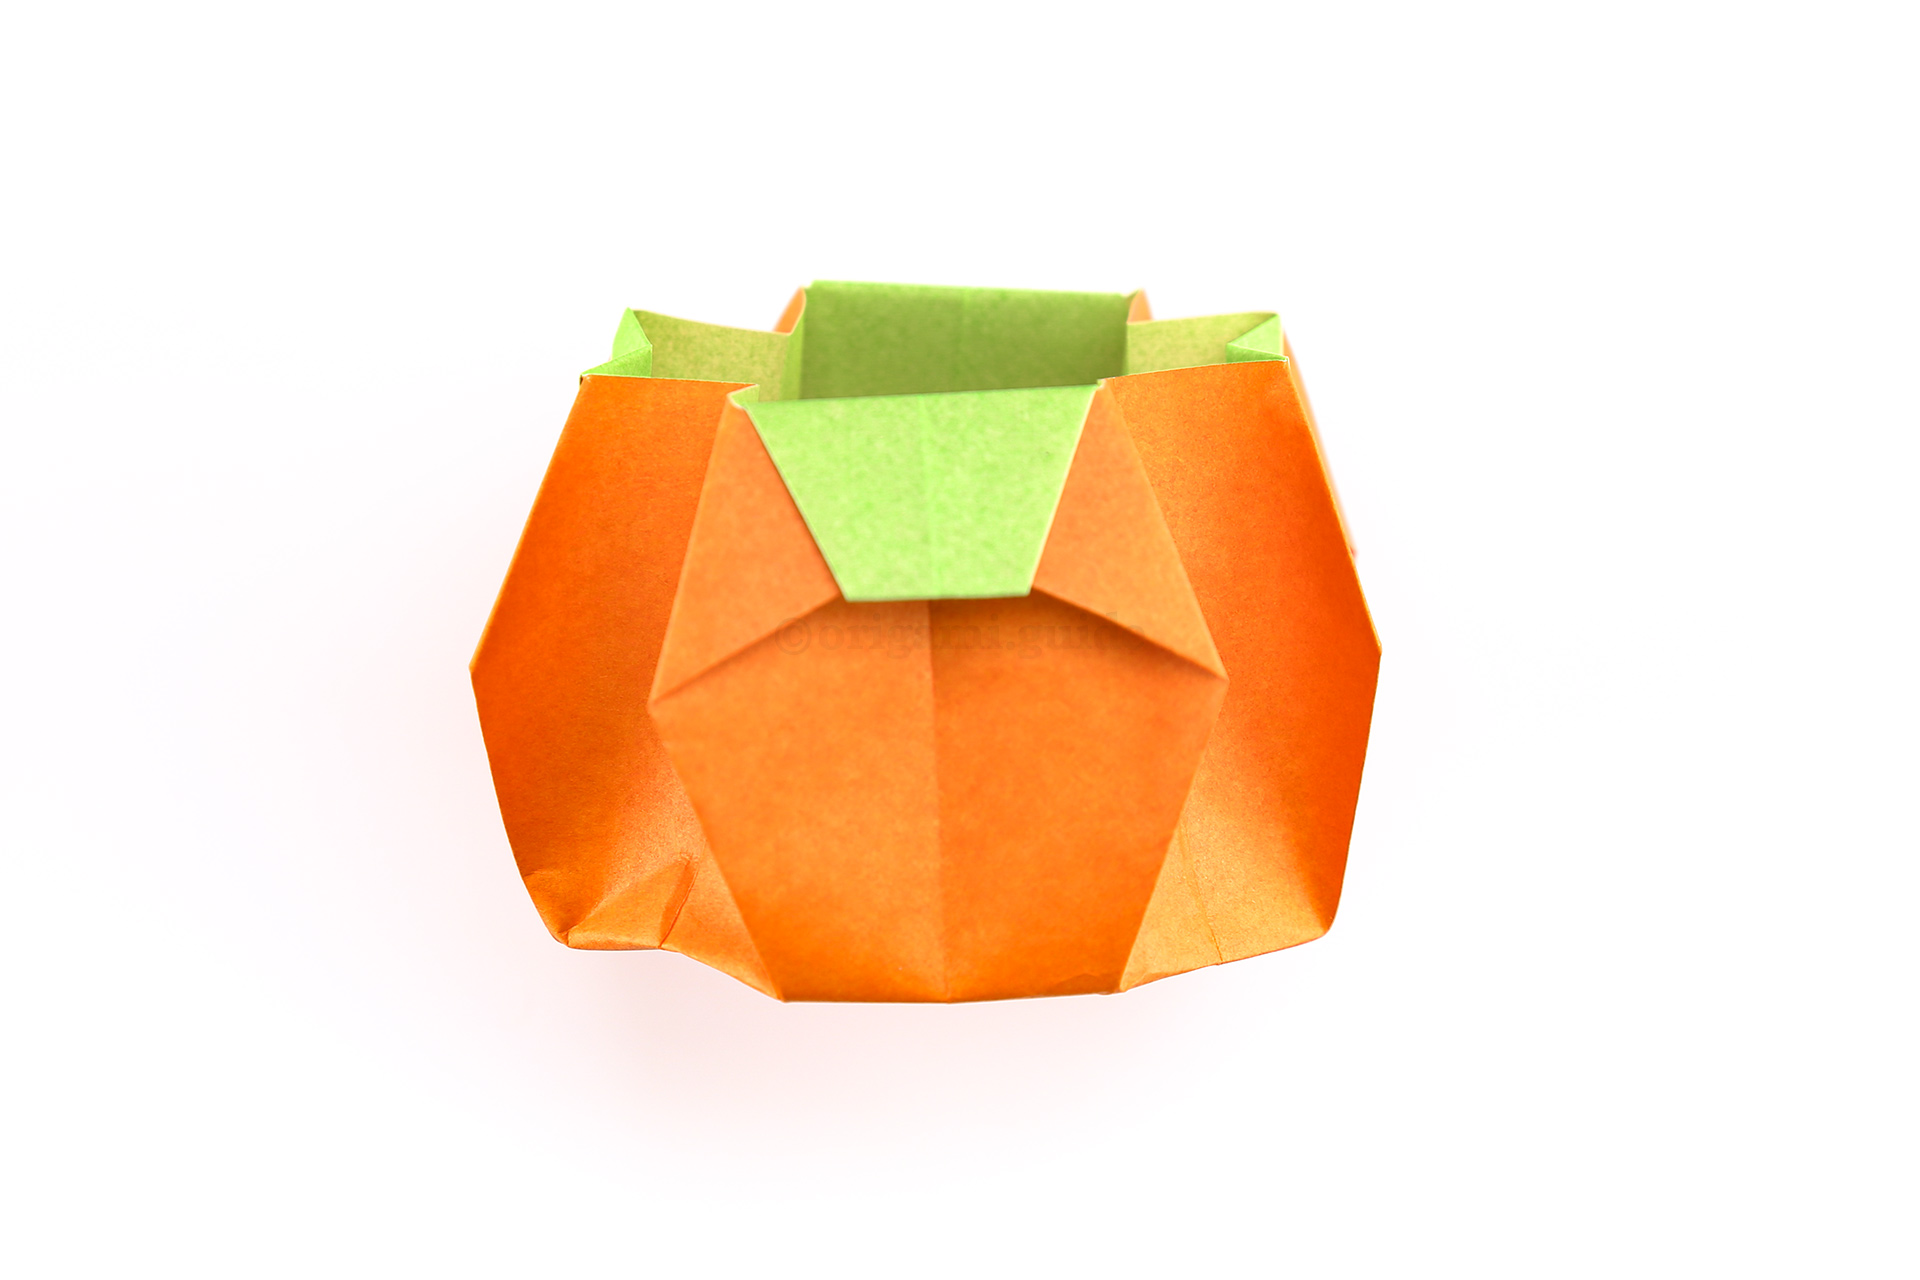
Step 35: Here is your opportunity to draw a face on your origami pumpkin basket.
-
36
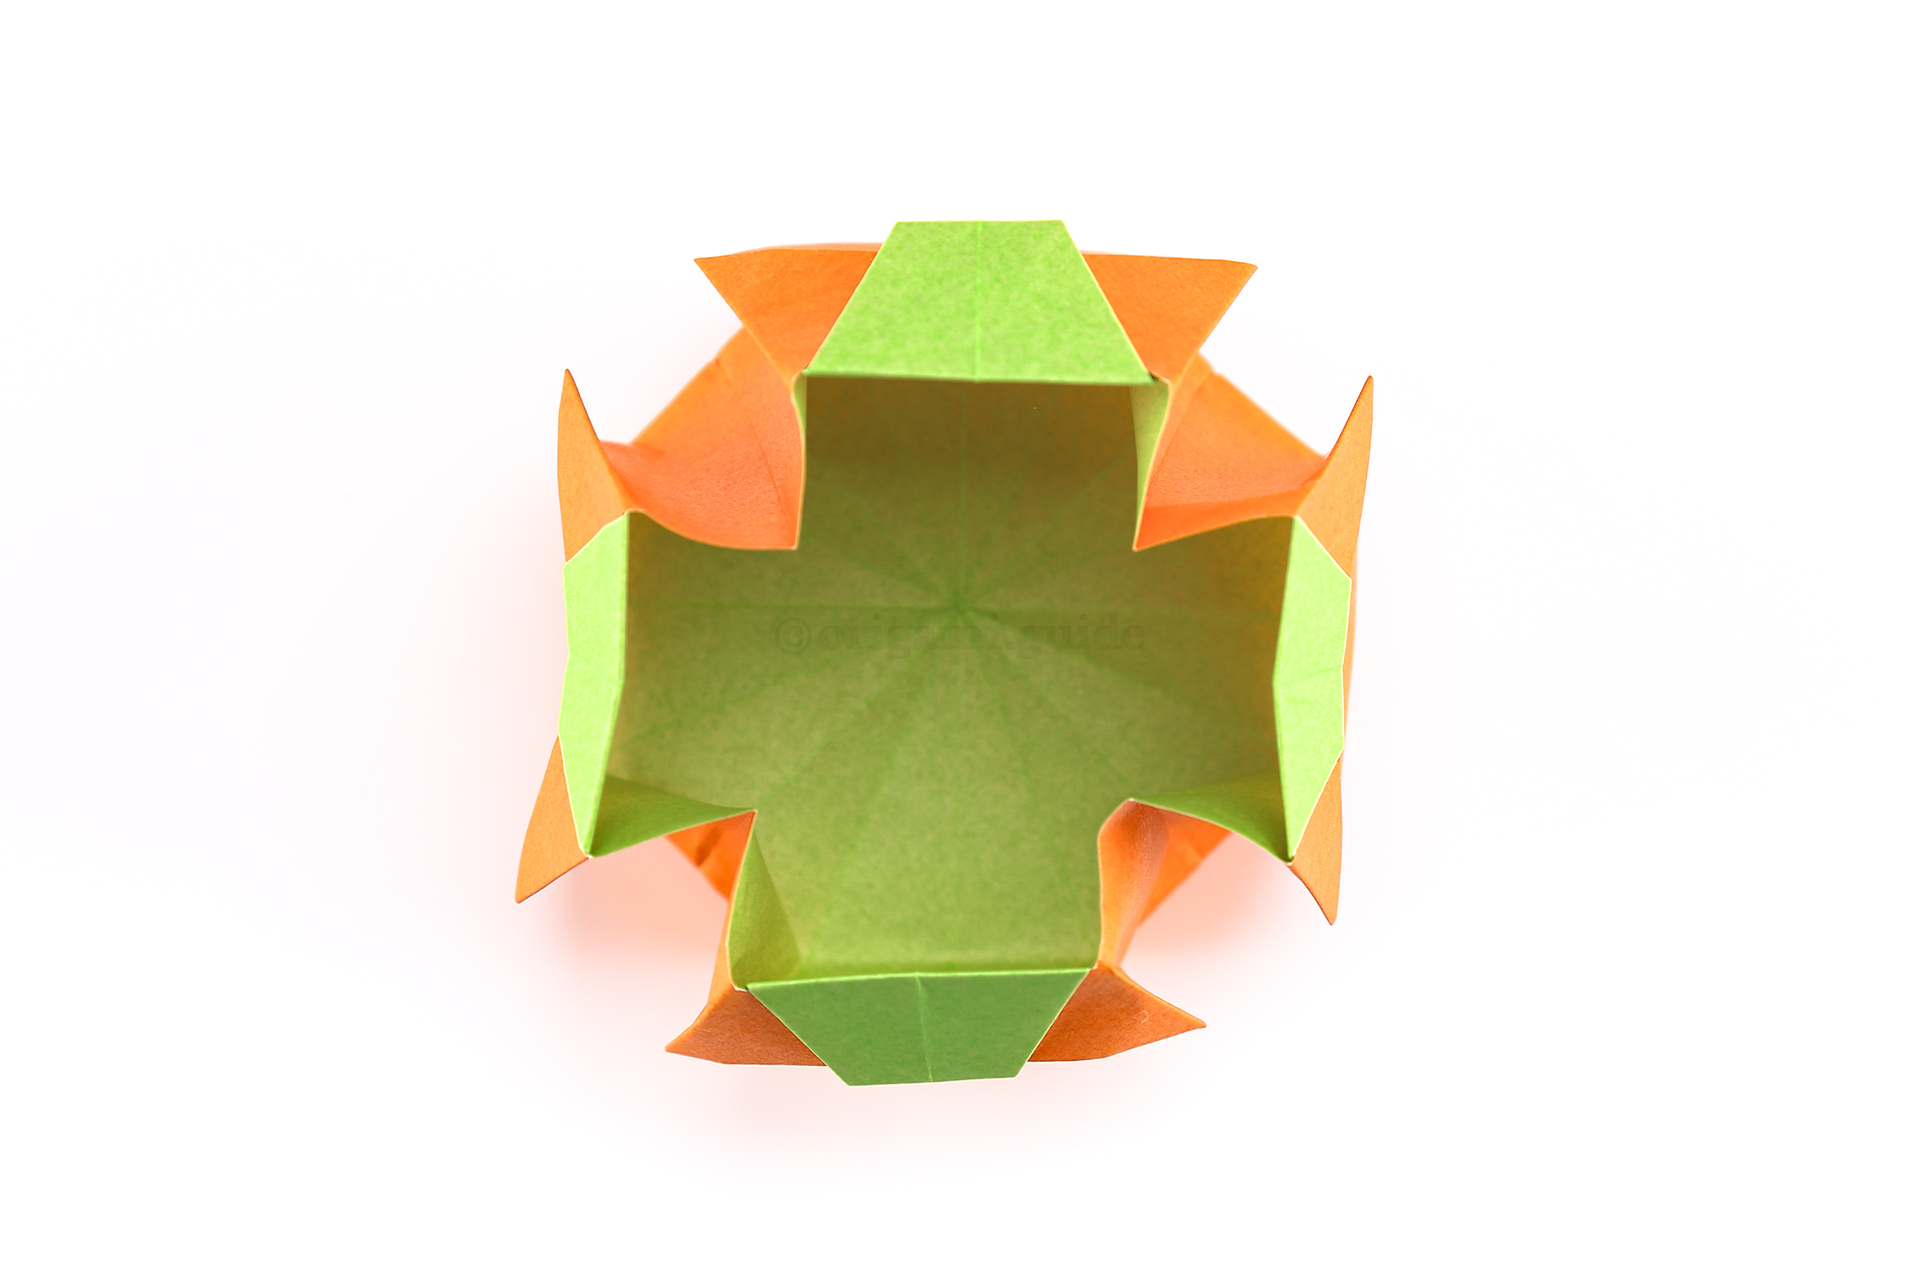
Step 36: Try to shape the basket so that this is the shape you see from the top.
-
37
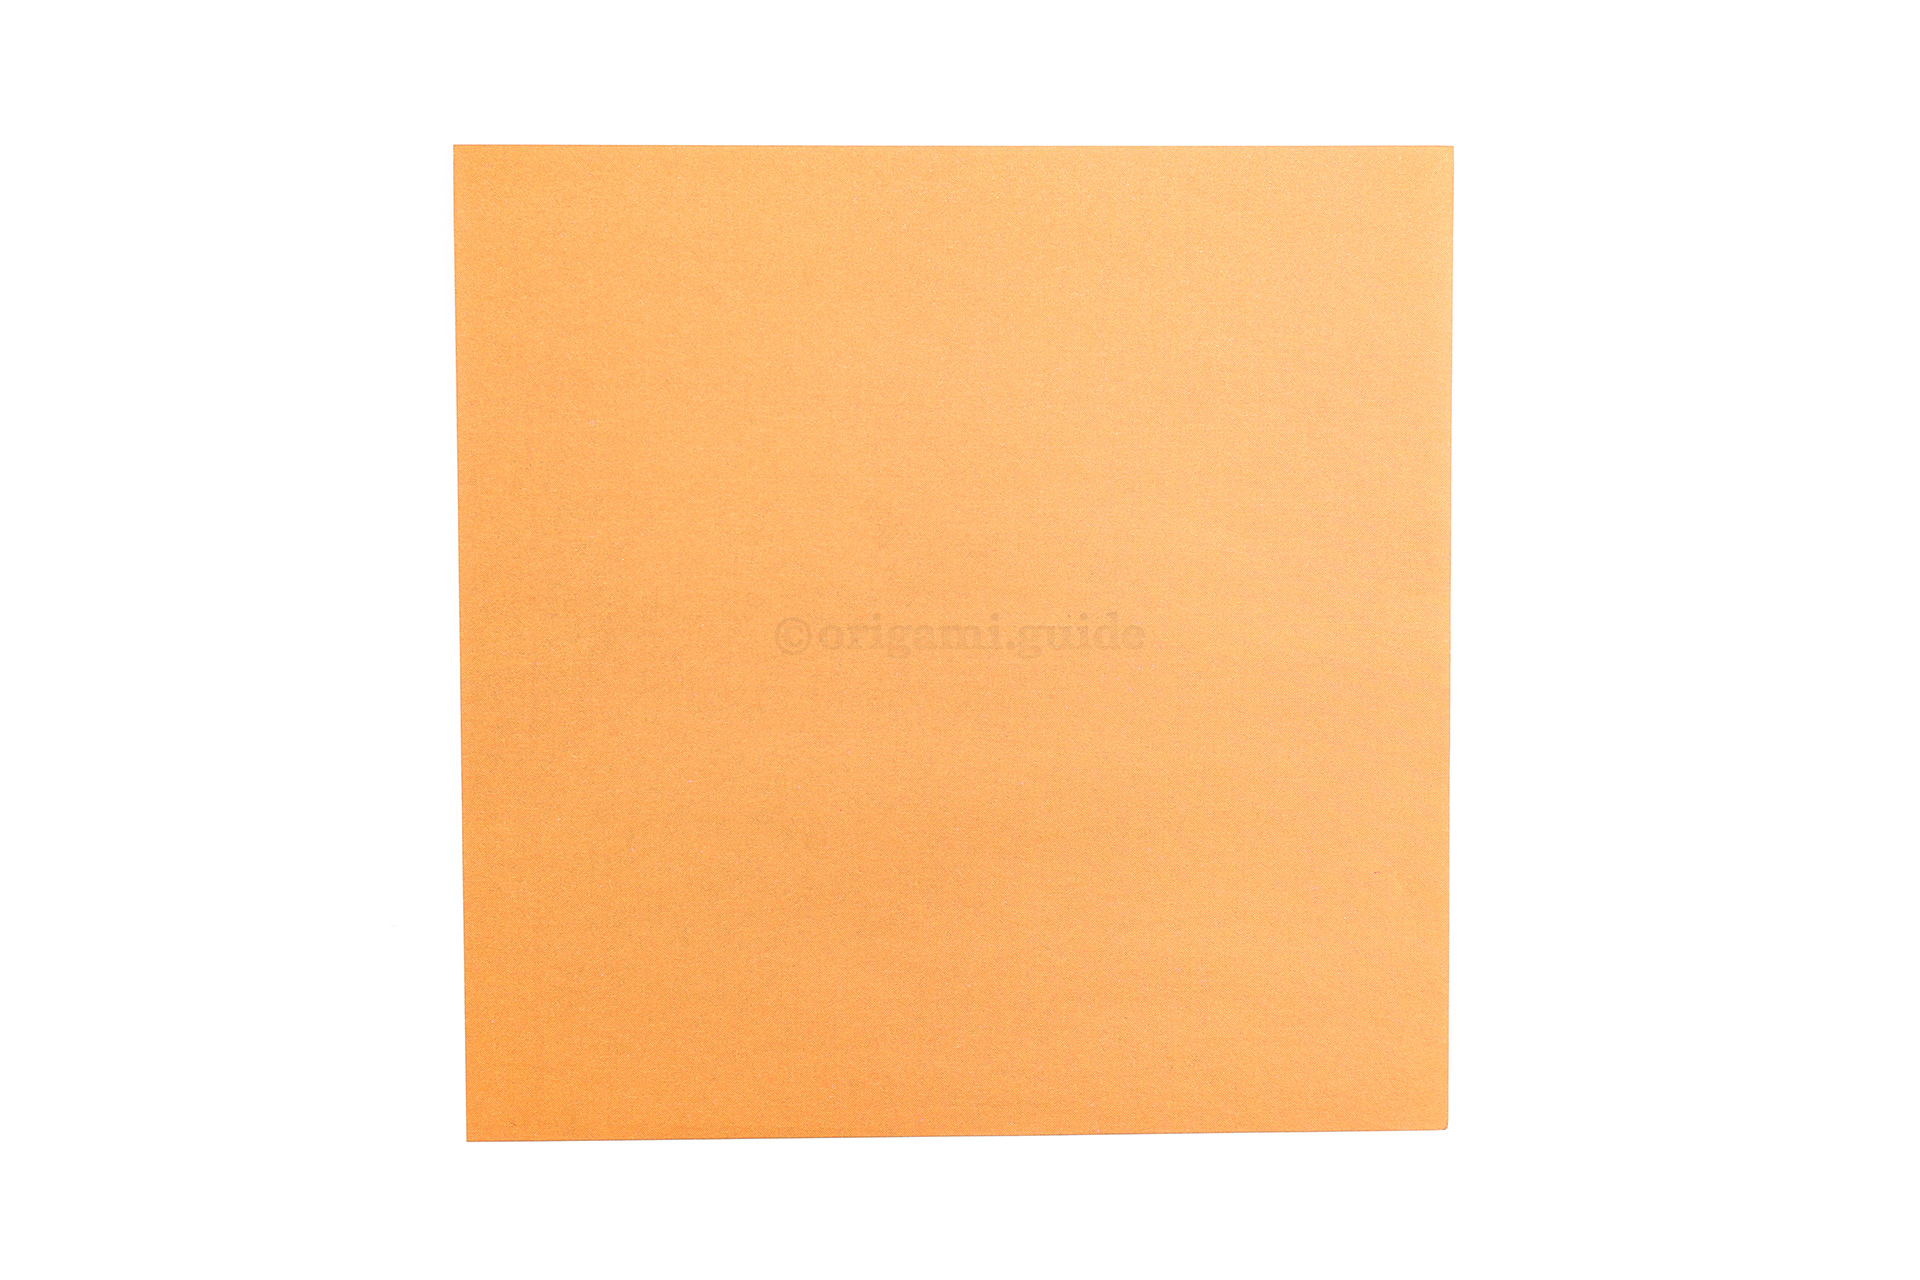
Step 37: It's time to make a handle, start with a sheet of paper that's the same size as you used for the basket.
-
38
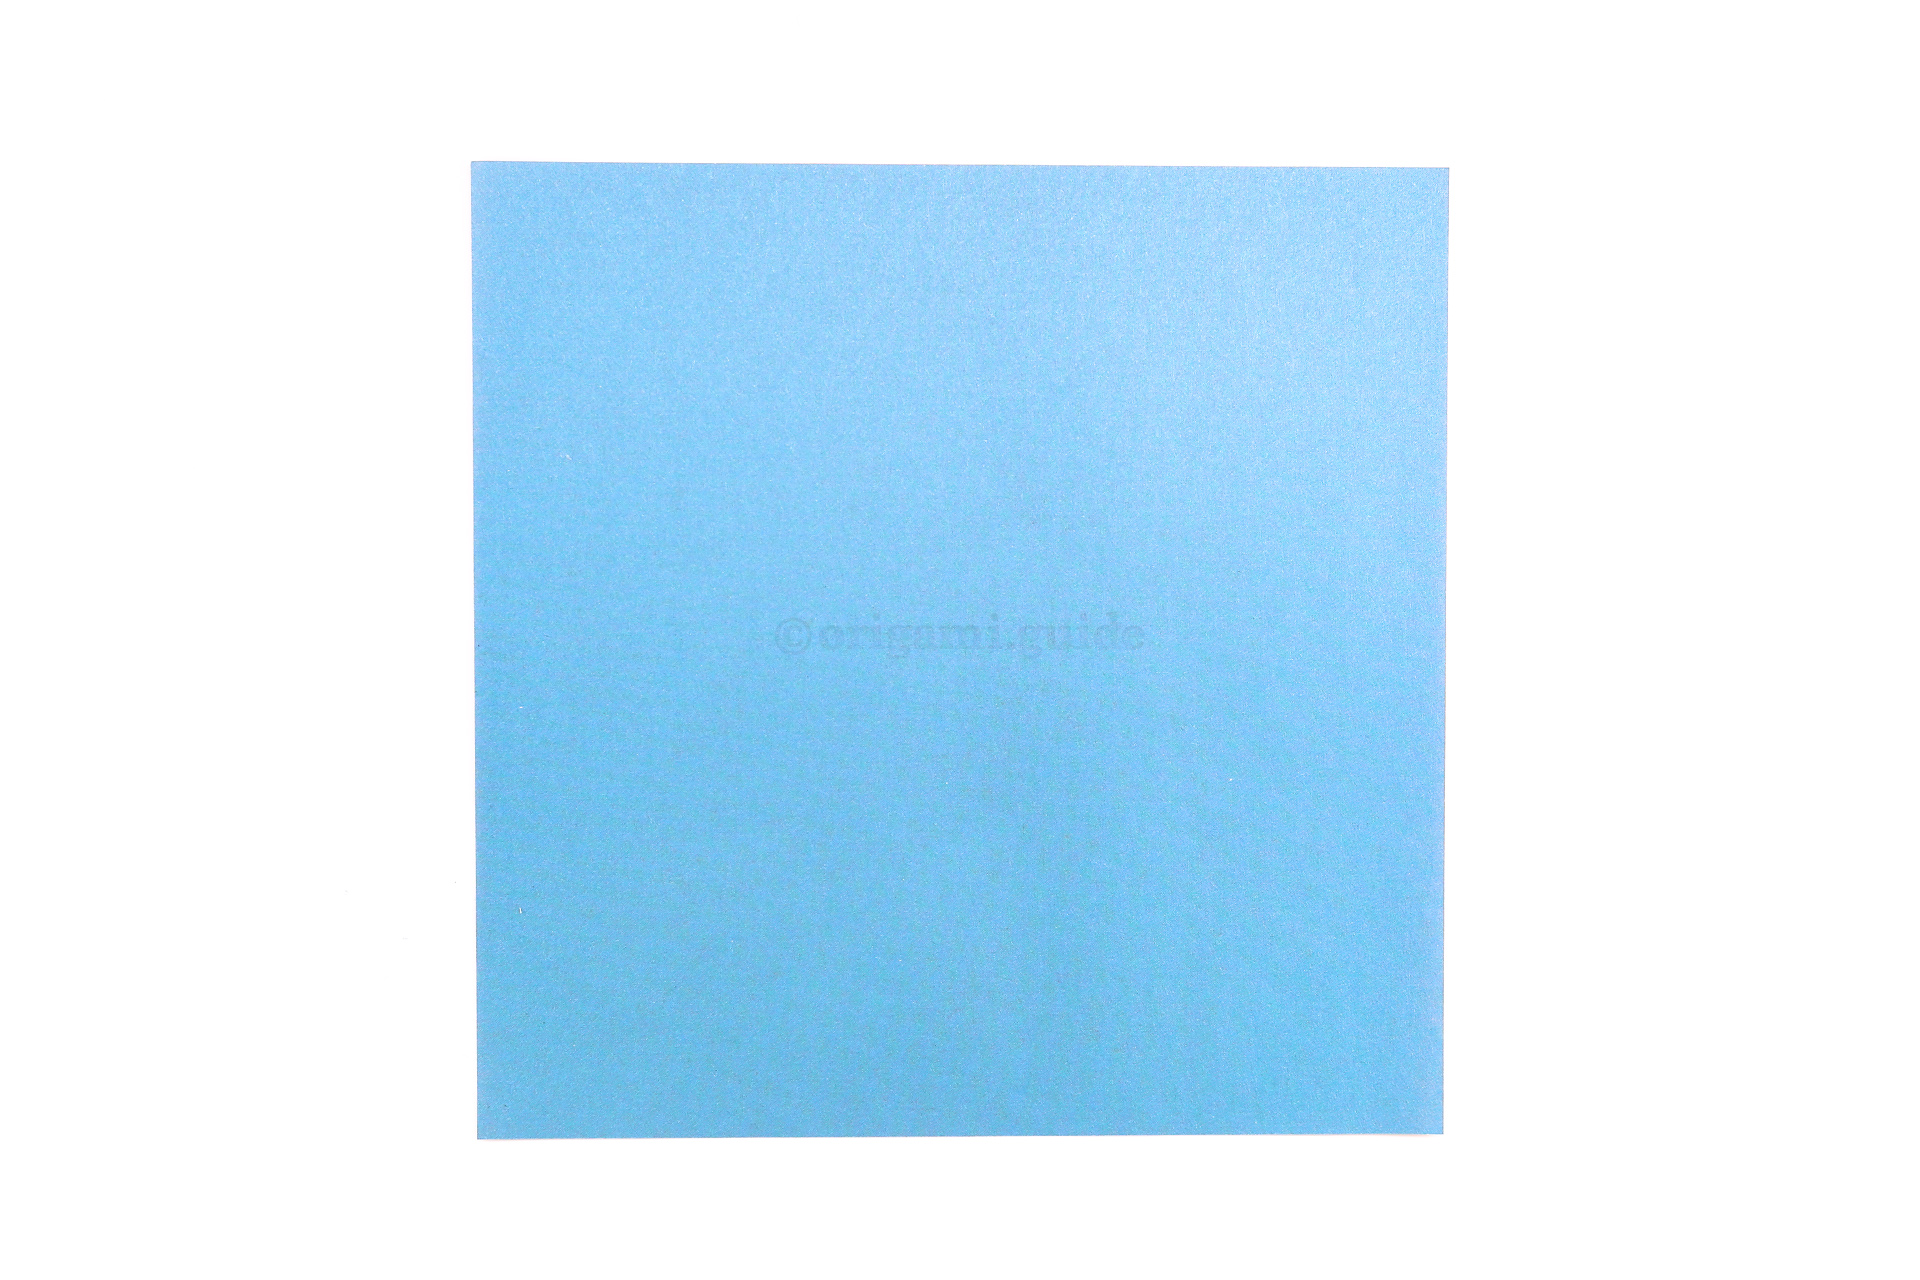
Step 38: We wanted the handle to be the orange colour, so we've flipped it to the back.
-
39
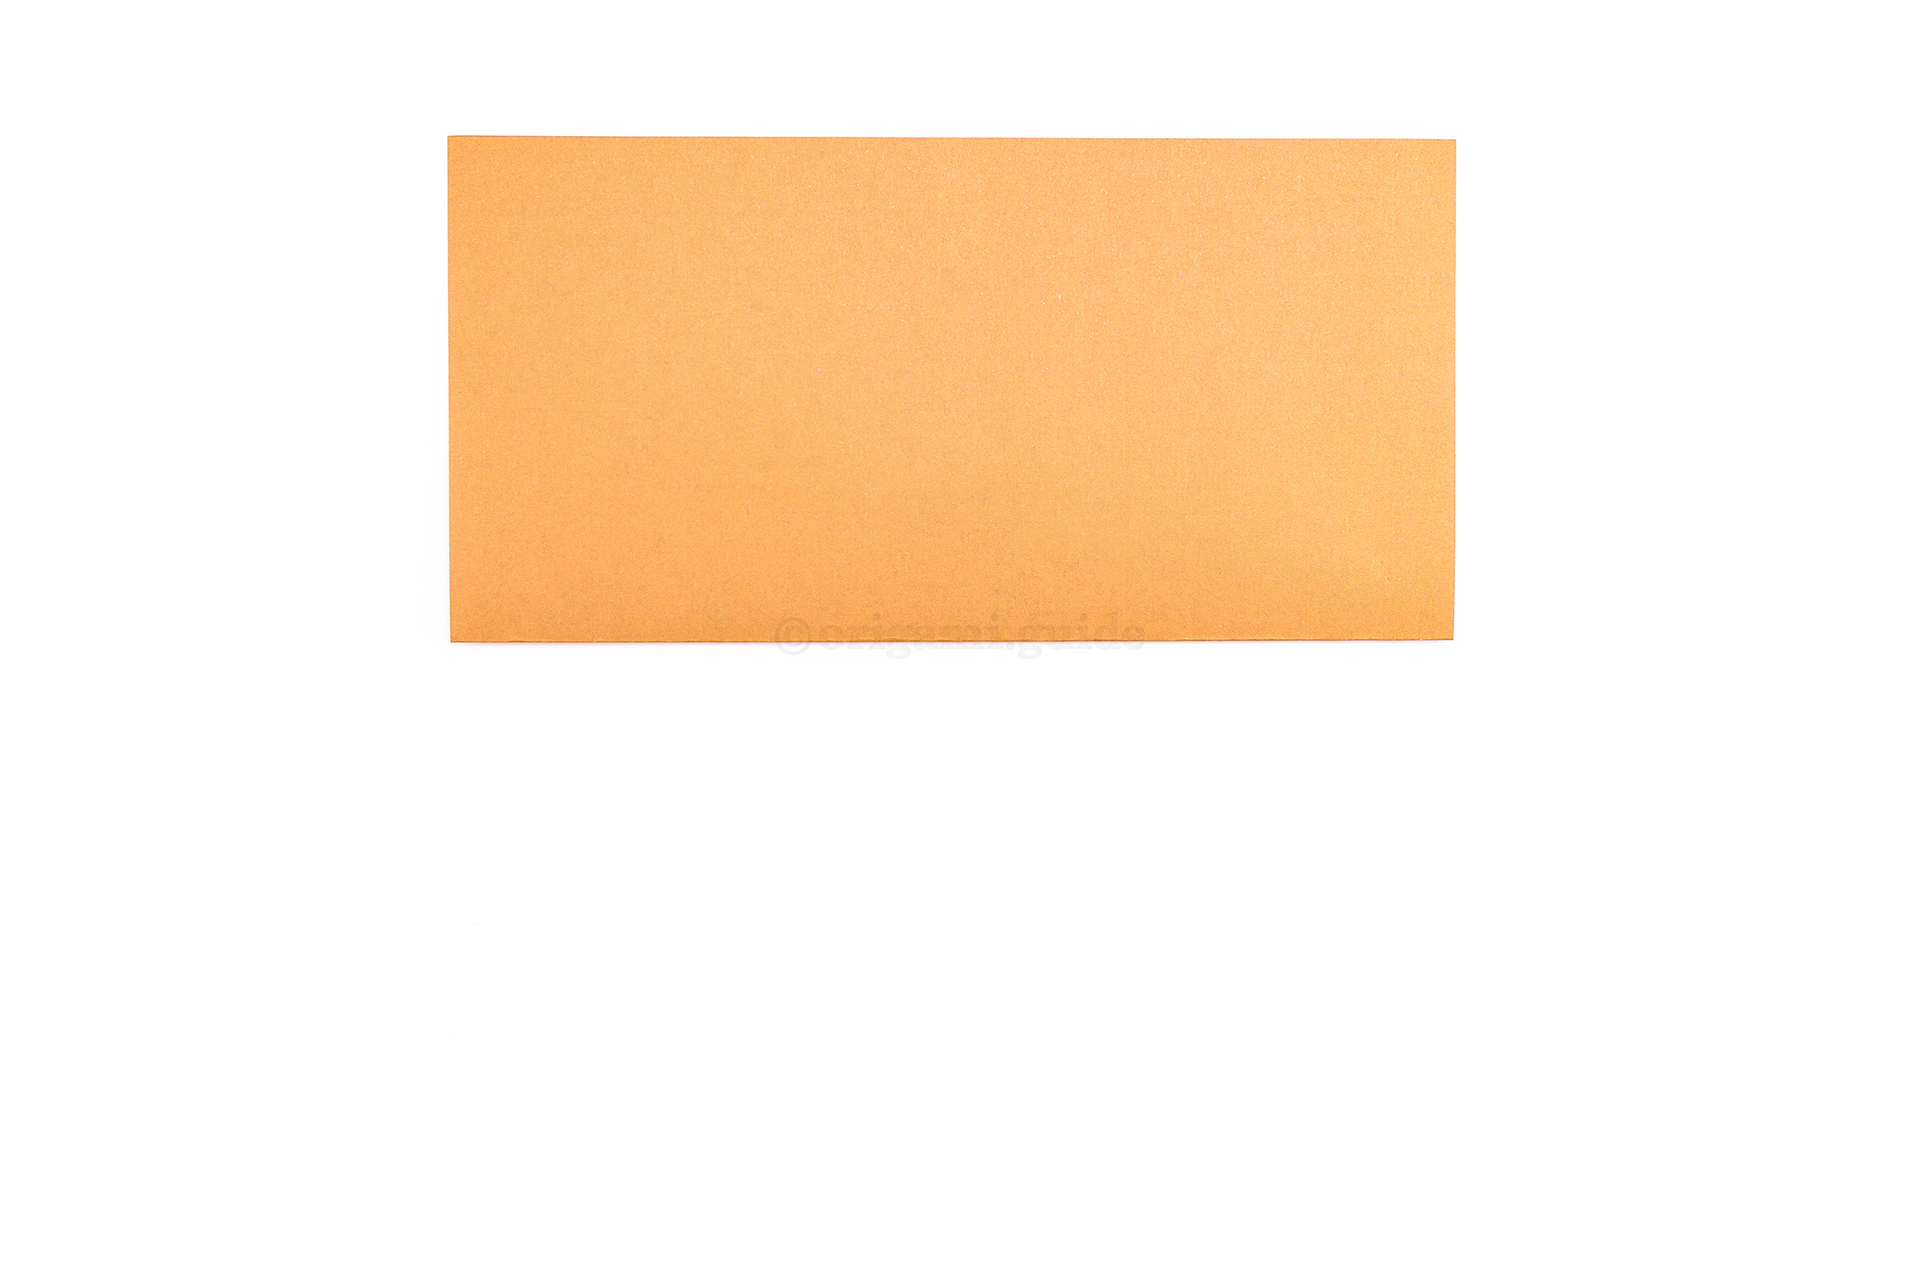
Step 39: Fold the paper in half.
-
40
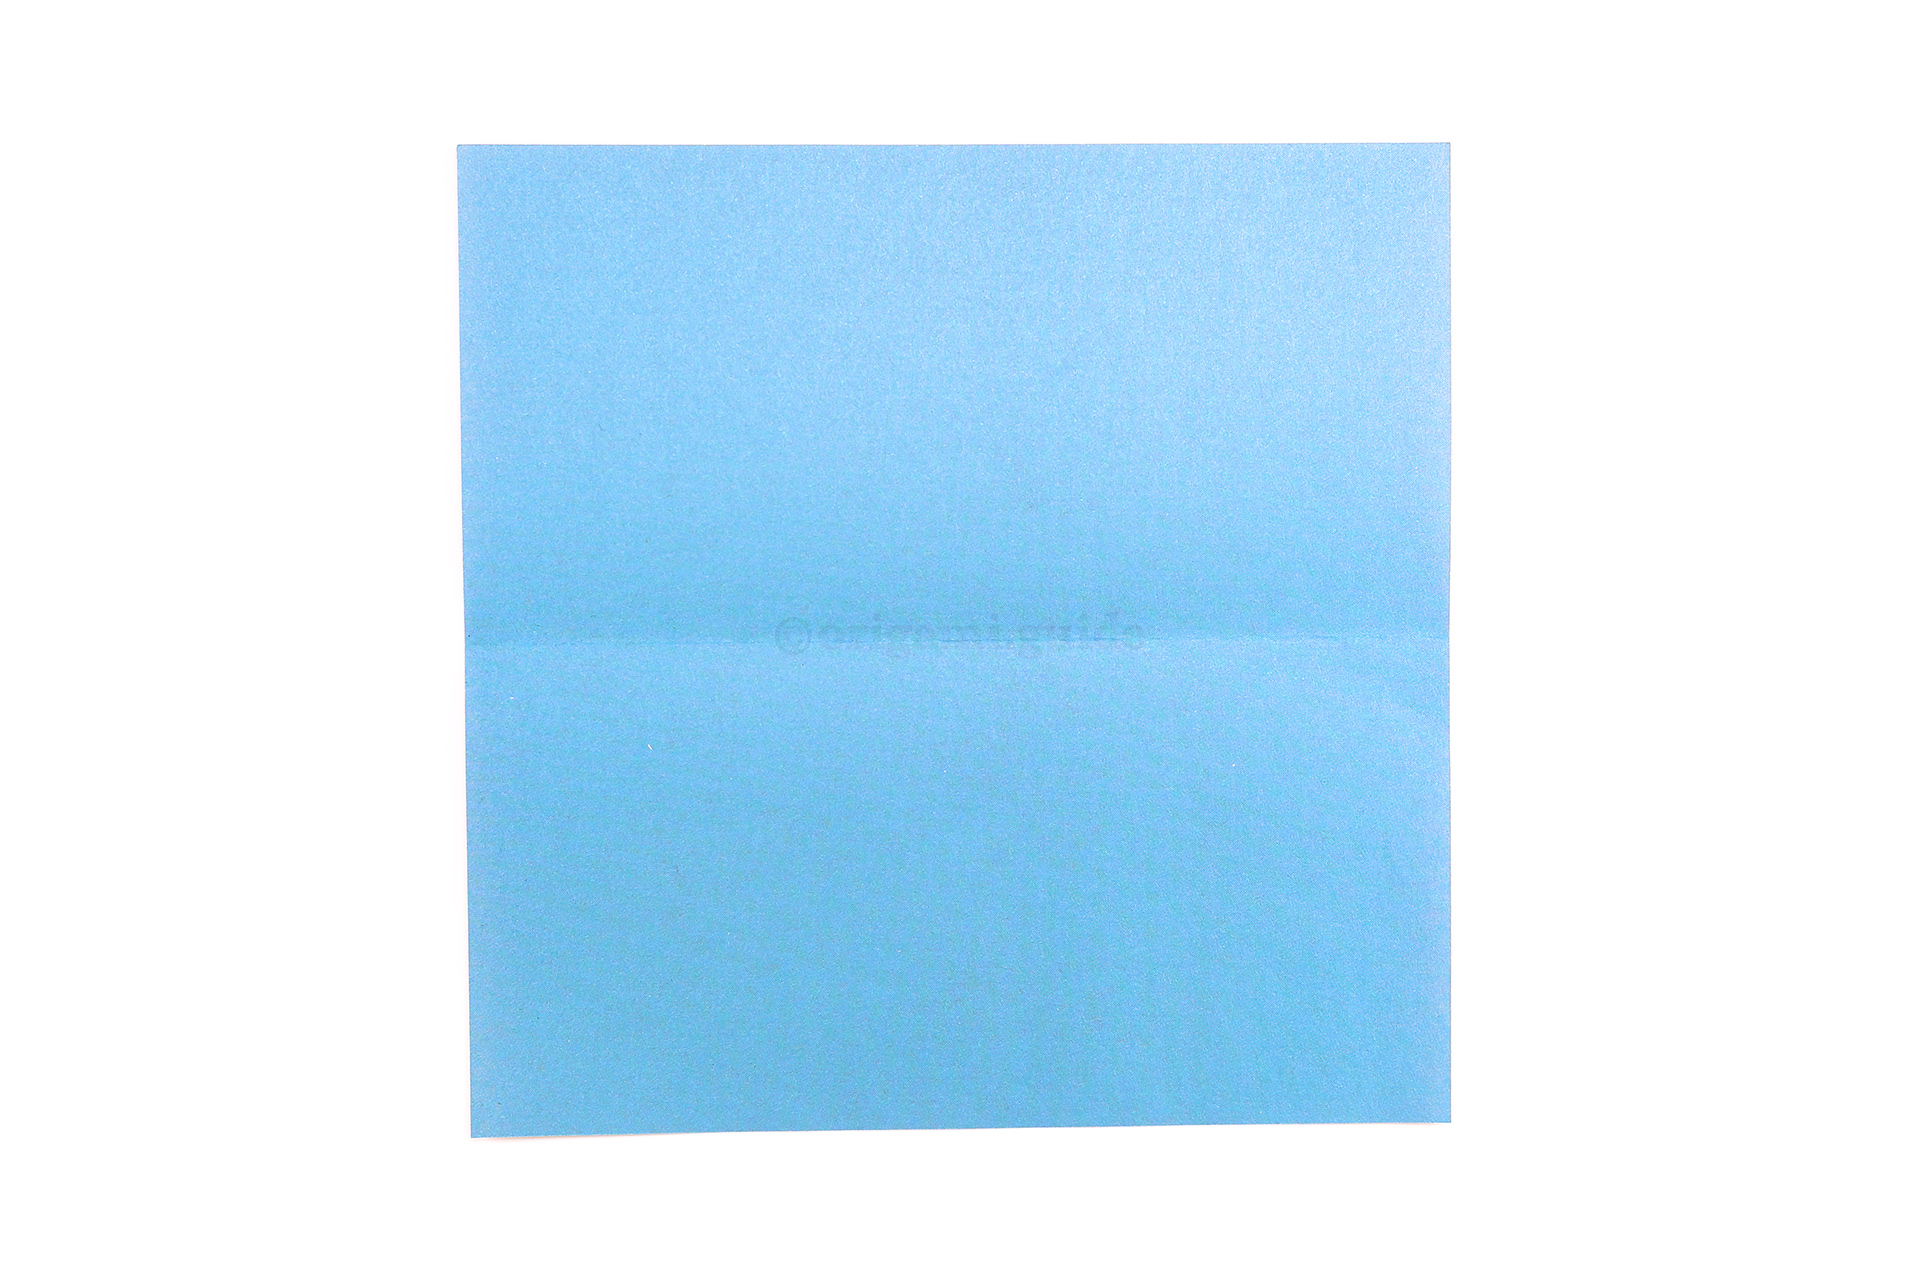
Step 40: Unfold.
-
41
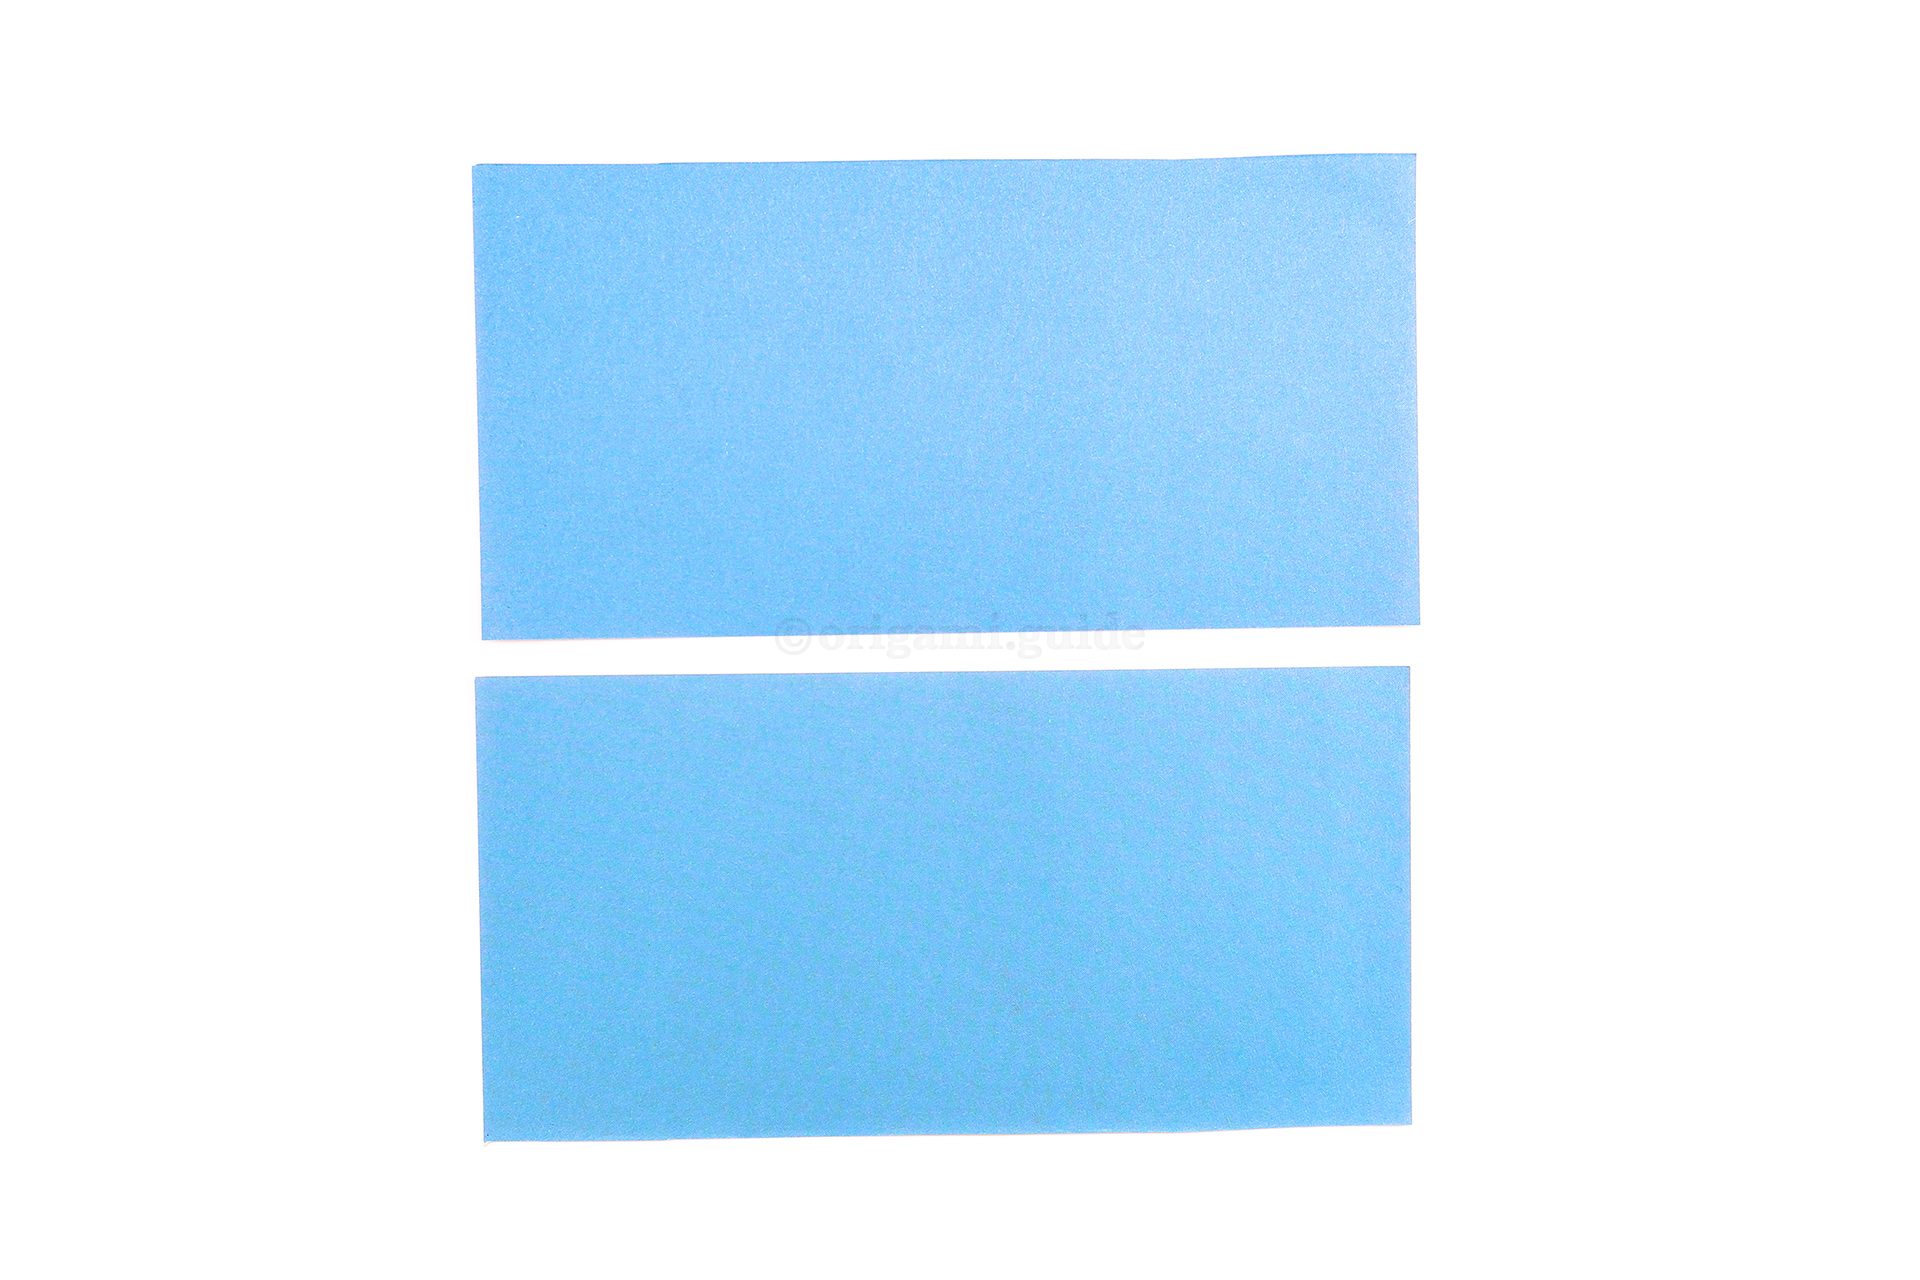
Step 41: Cut along the crease. You now have enough paper to make two handles.
-
42
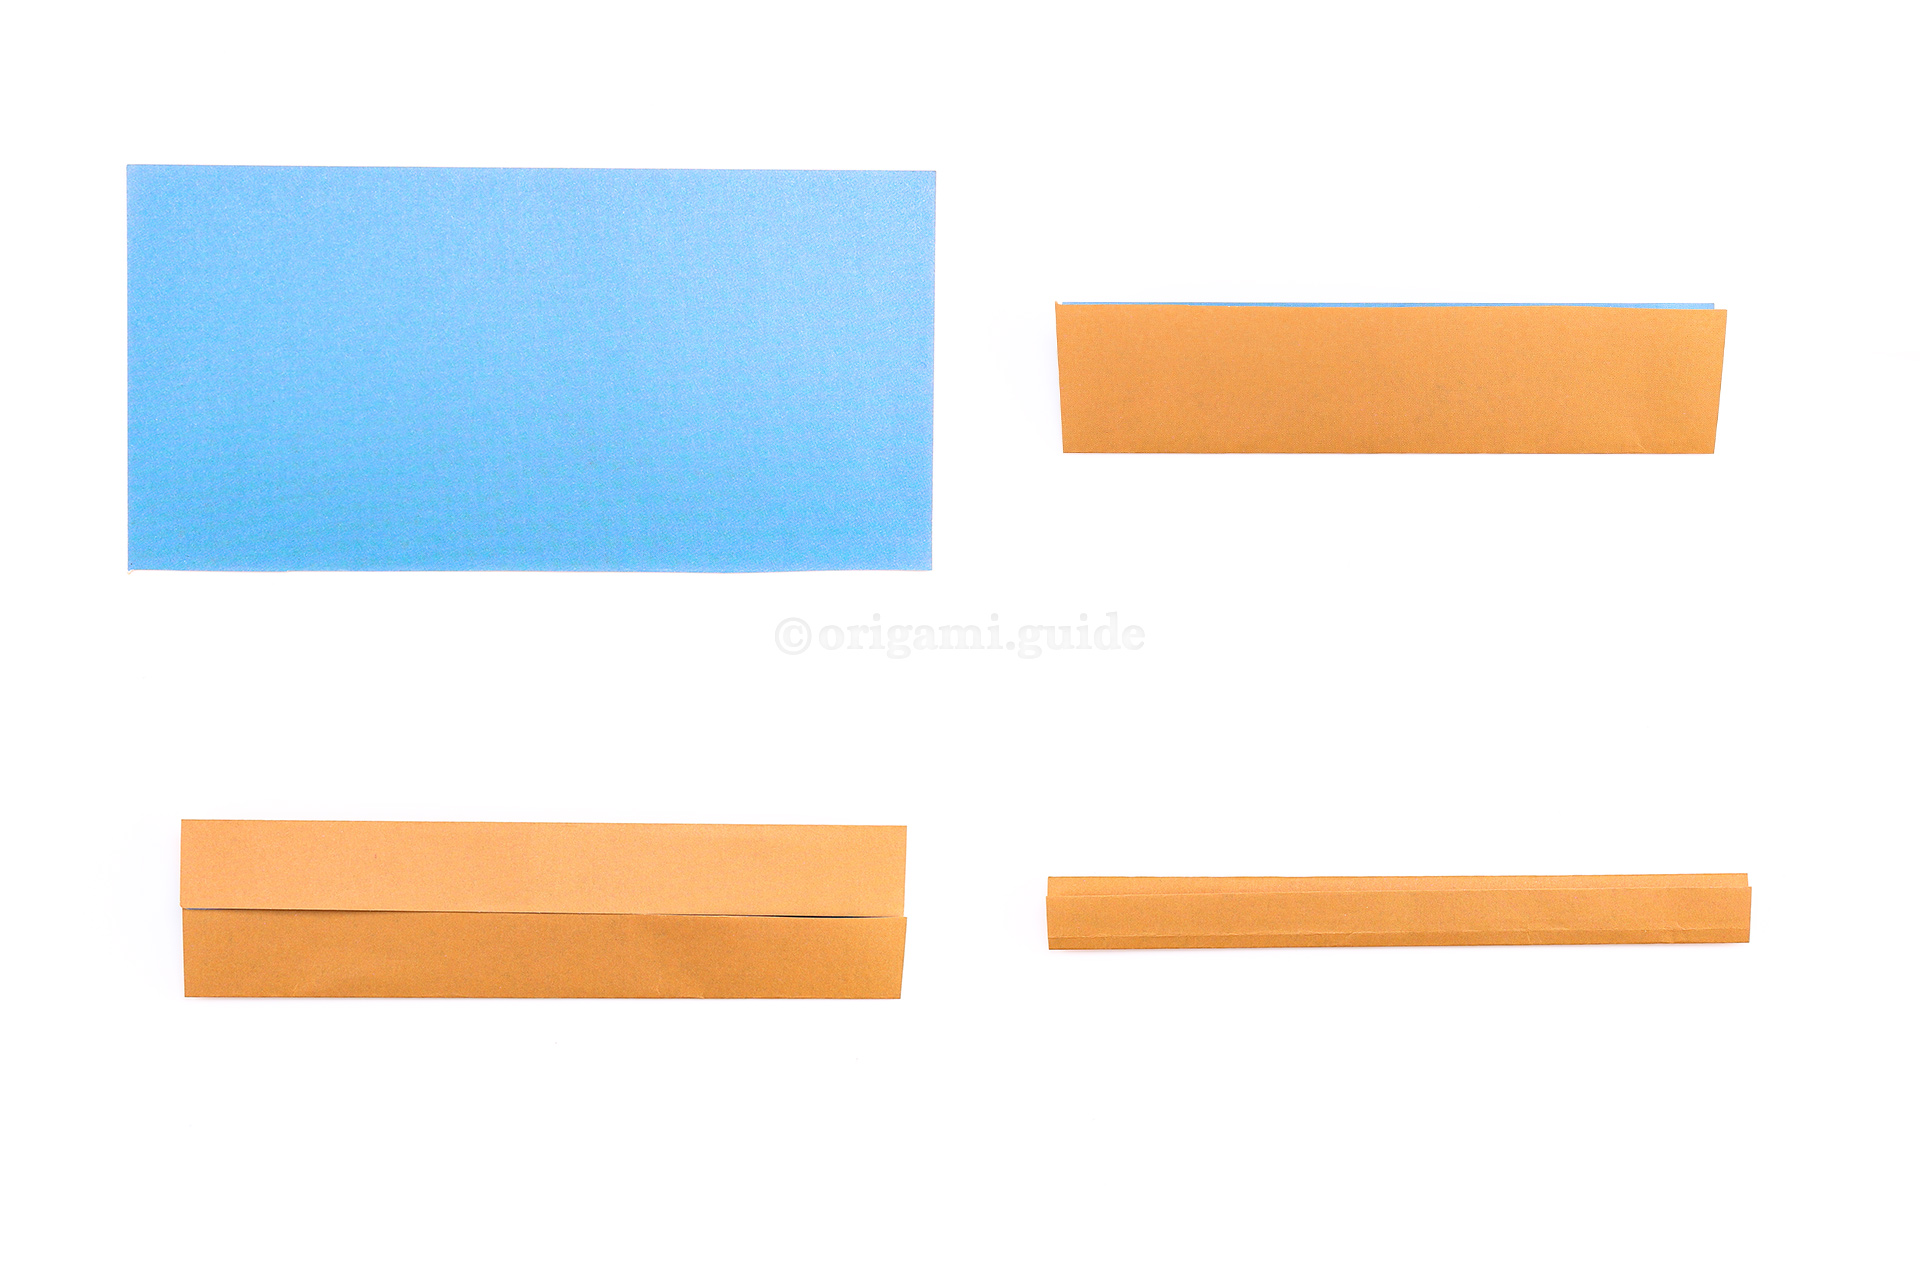
Step 42: Simply fold the top and bottom edges of the paper to the middle, and then fold them in again.
You can adjust the width of the handle by folding it inwards more or less. -
43
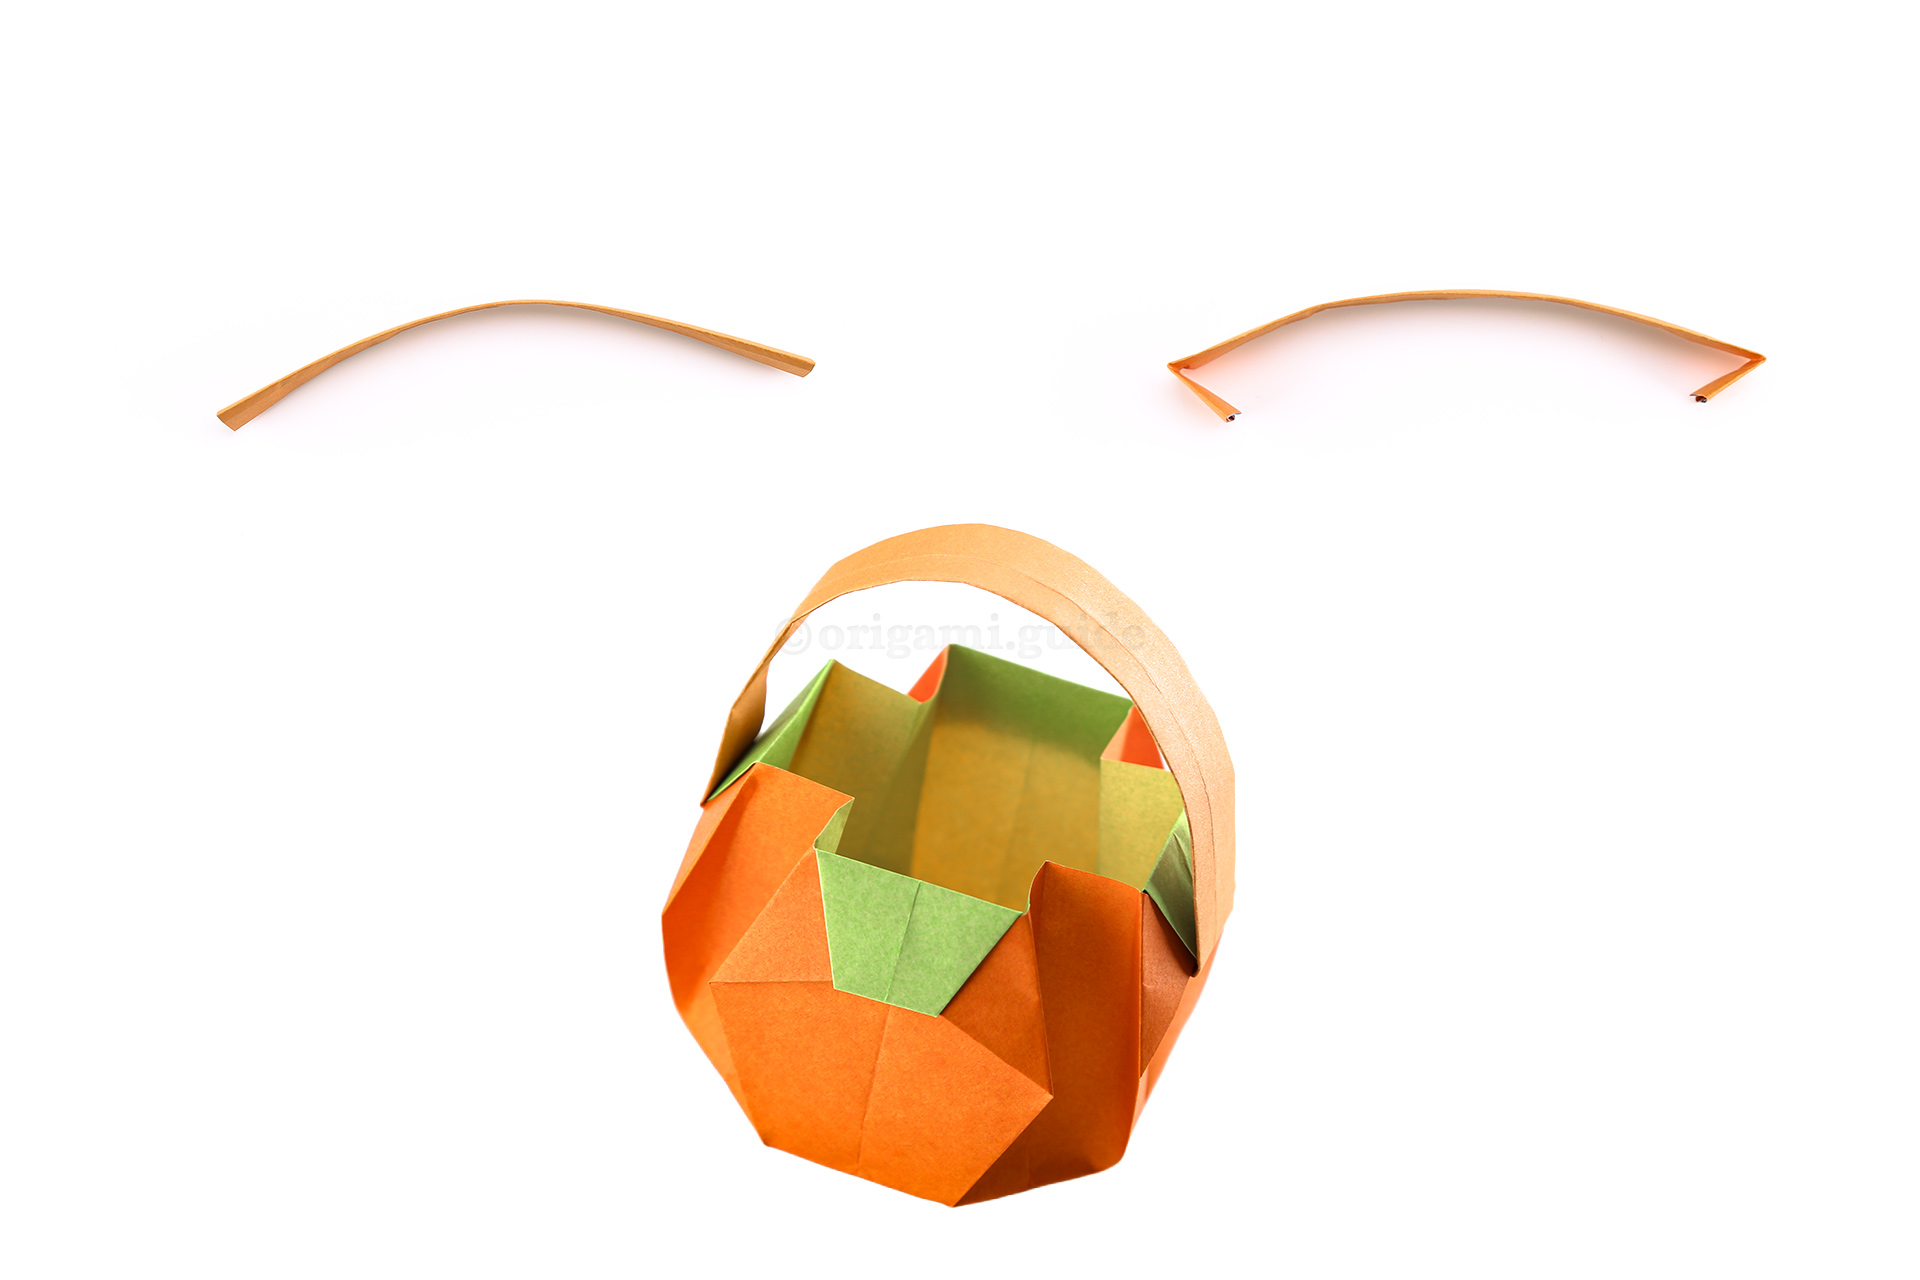
Step 43: Now you can curve the paper handle, and fold over the ends to create two hooks.
Use some glue on the ends and slot them into two opposite flaps on the origami pumpkin. -
44
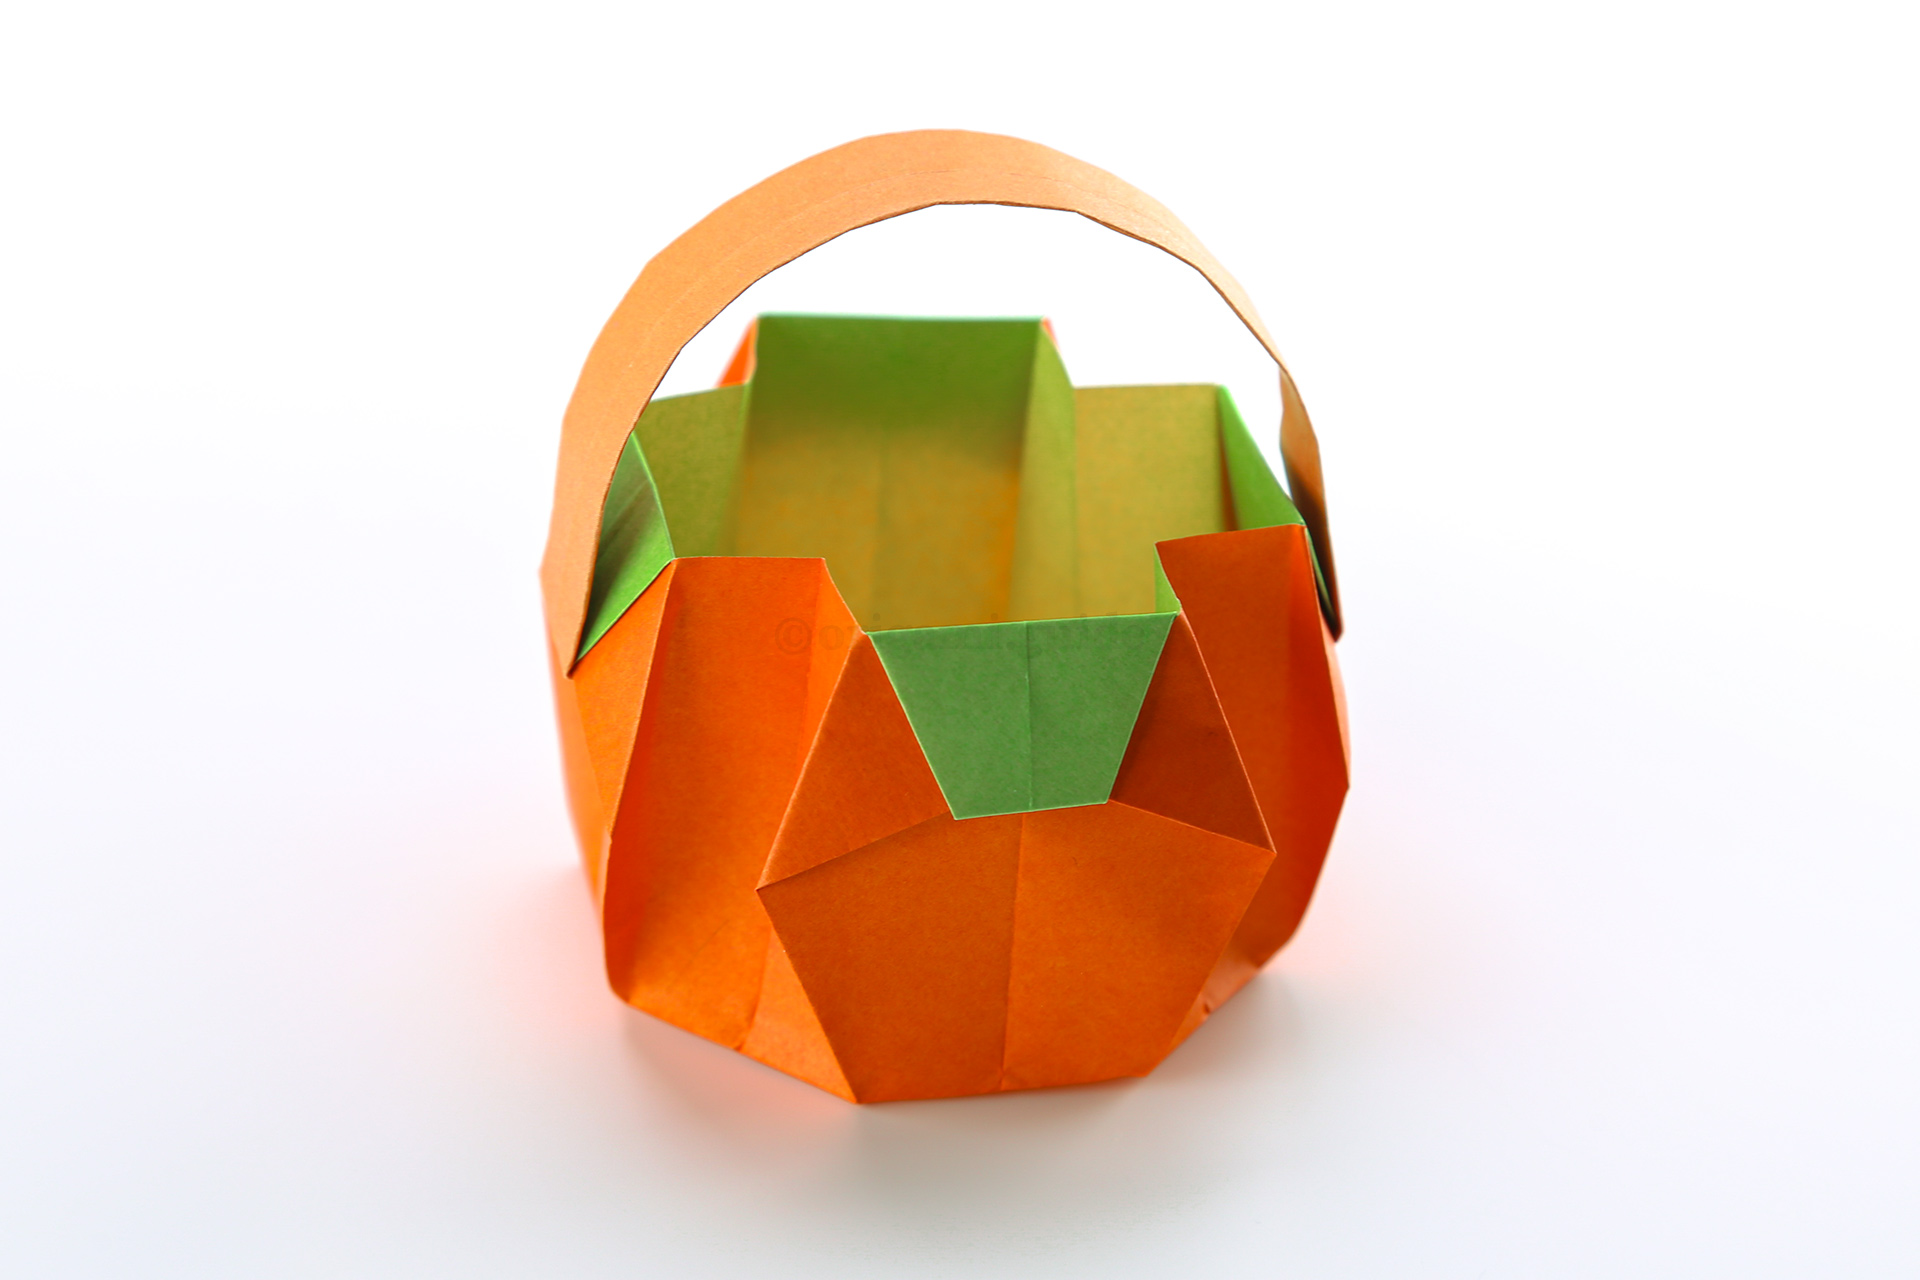
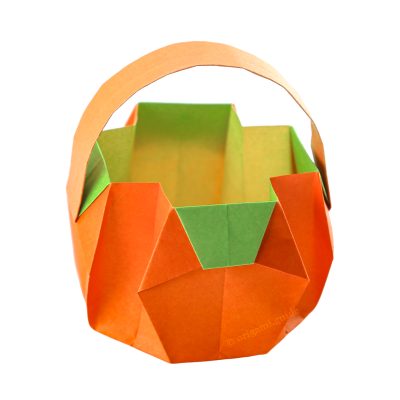
Step 44: The origami pumpkin basket is complete.
Your Origami Pumpkin Basket is Complete!
You’ve completed the Origami Pumpkin Basket, why not check out our other Halloween Origami here.
Did you make this origami? How did it go? Leave a comment & submit your photo here.
Related origami: Intermediate Origami,
Origami Boxes,
Origami Food,
Halloween,
What Halloween Origami To Fold Next?
View all Halloween Origami Tutorials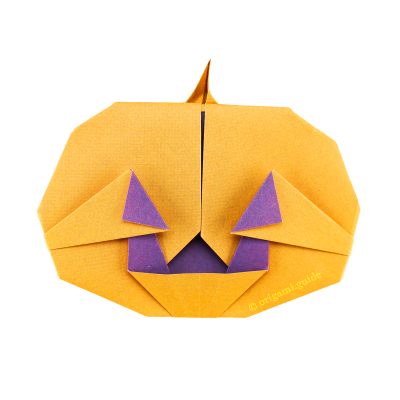
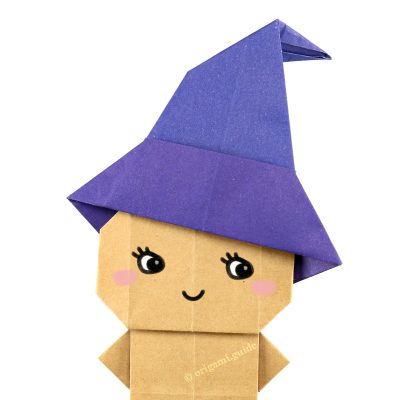
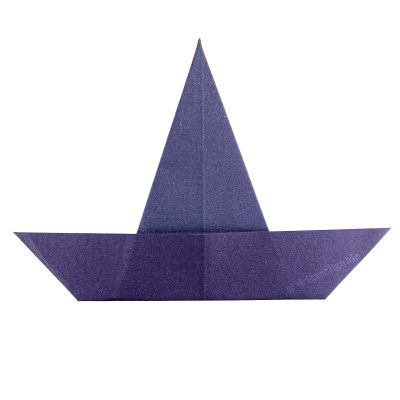
Leave A Comment
Did you fold this Origami Pumpkin Basket? Let us know what you thought.
You can also upload a photo of your result!