Origami Box Divider
- Like
- Digg
- Tumblr
- VKontakte
- Buffer
- Love This
- Odnoklassniki
- Meneame
- Blogger
- Amazon
- Yahoo Mail
- Gmail
- AOL
- Newsvine
- HackerNews
- Evernote
- MySpace
- Mail.ru
- Viadeo
- Line
- Comments
- SMS
- Viber
- Telegram
- Subscribe
- Skype
- Facebook Messenger
- Kakao
- LiveJournal
- Yammer
- Edgar
- Fintel
- Mix
- Instapaper
- Copy Link
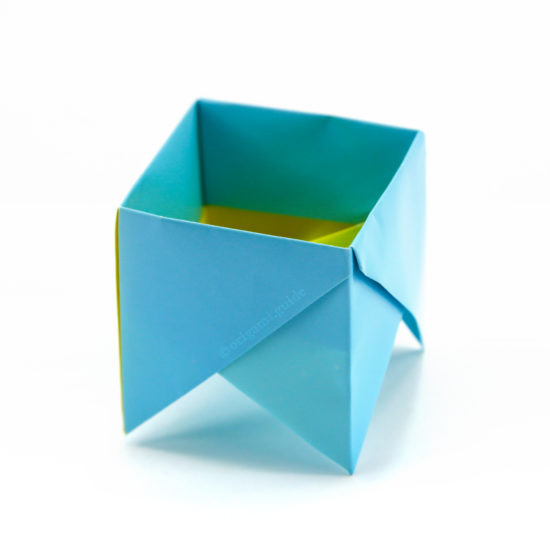
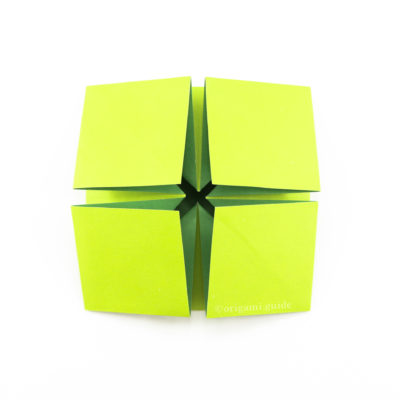
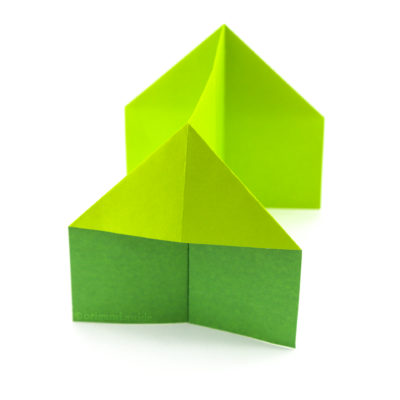
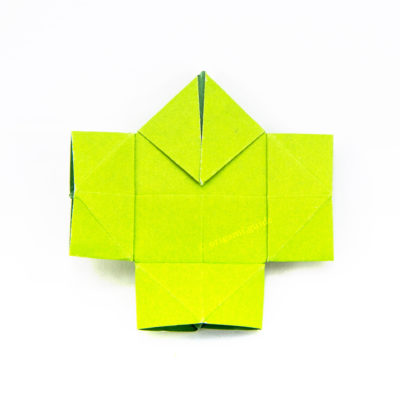
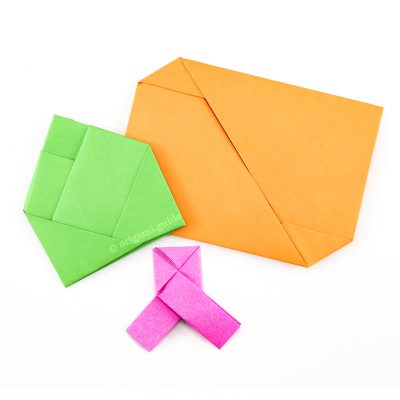
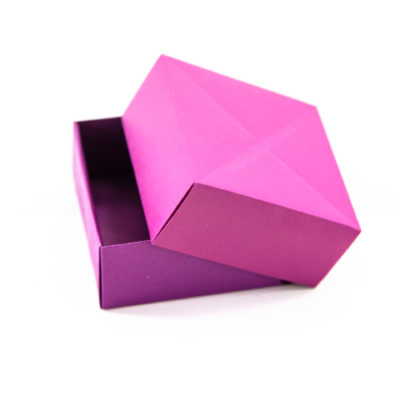
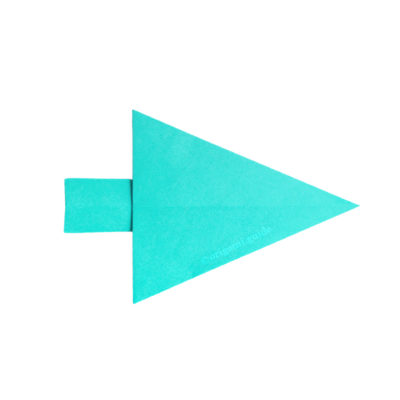
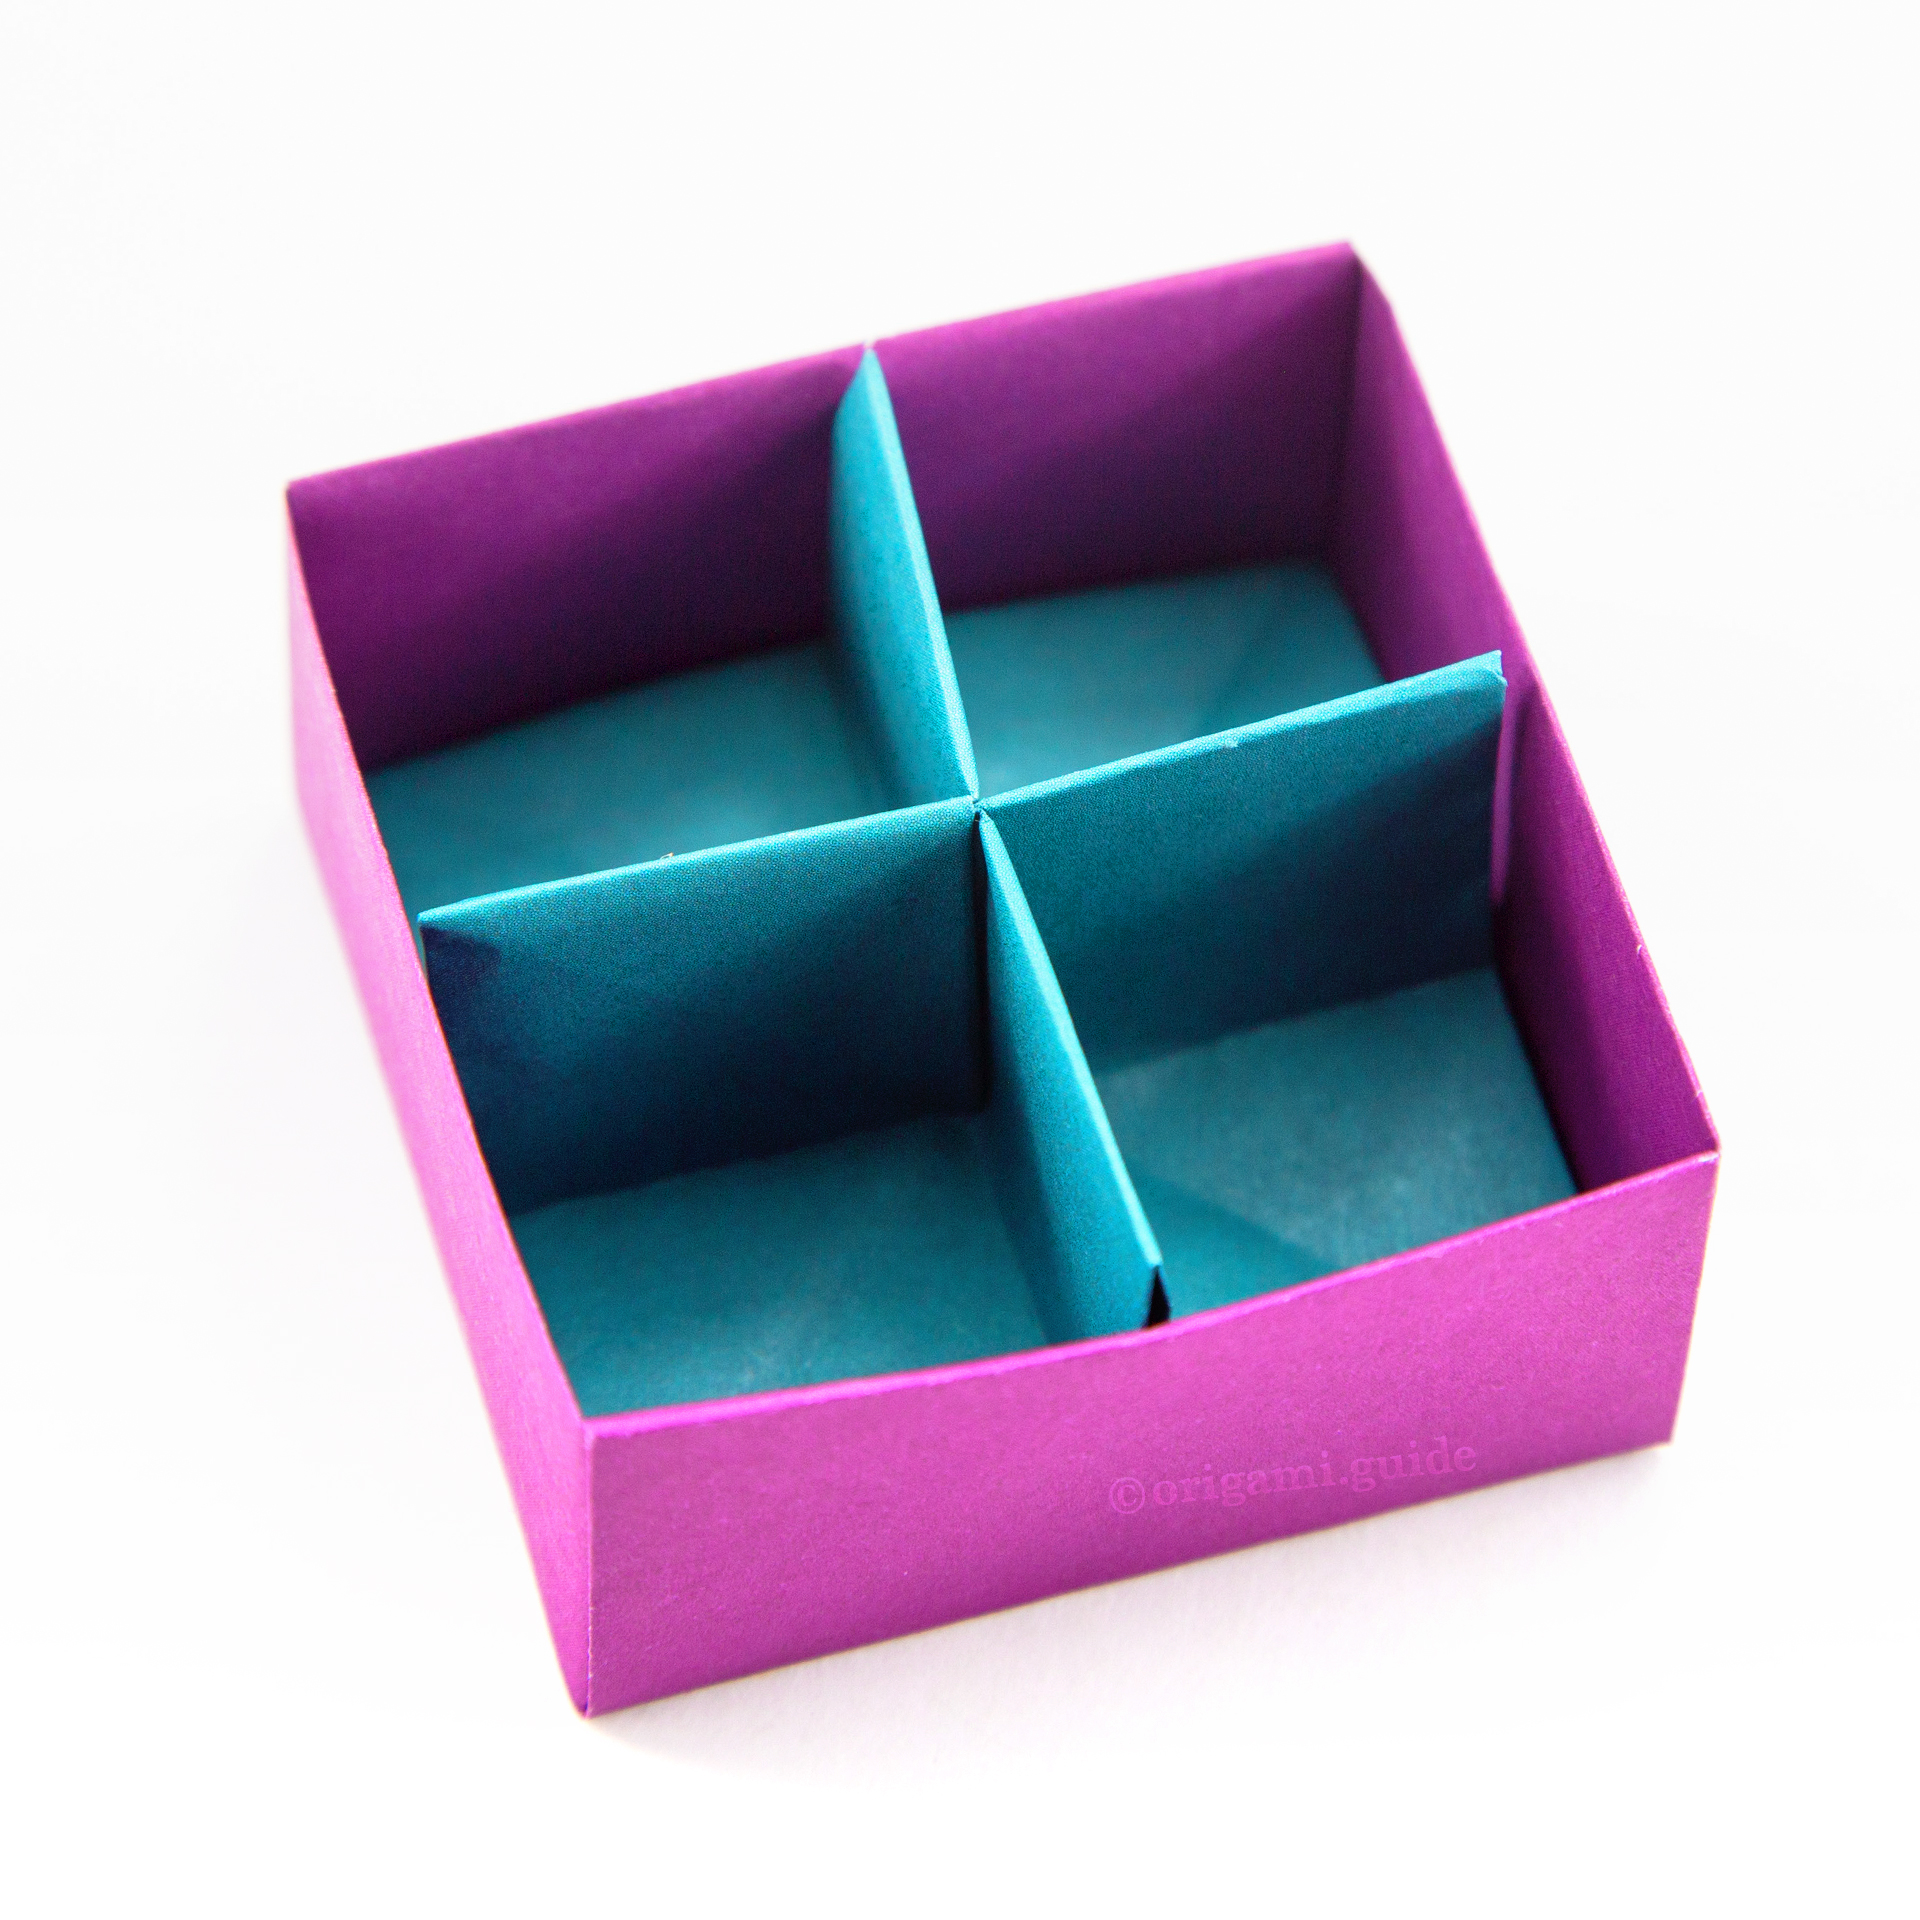
Learn how to make a useful origami divider to fit a regular origami masu box. Designed by Paolo Bascetta, this origami box divider is the perfect solution to keep items separated in your gift box.
Many people think this model is traditional, however it was designed by Paolo Bascetta in about 1980.
This box divider is pretty simple to make. Start with the same sized paper you used for the masu box. If your paper was super thick, you may want to use slightly smaller paper.
-
1

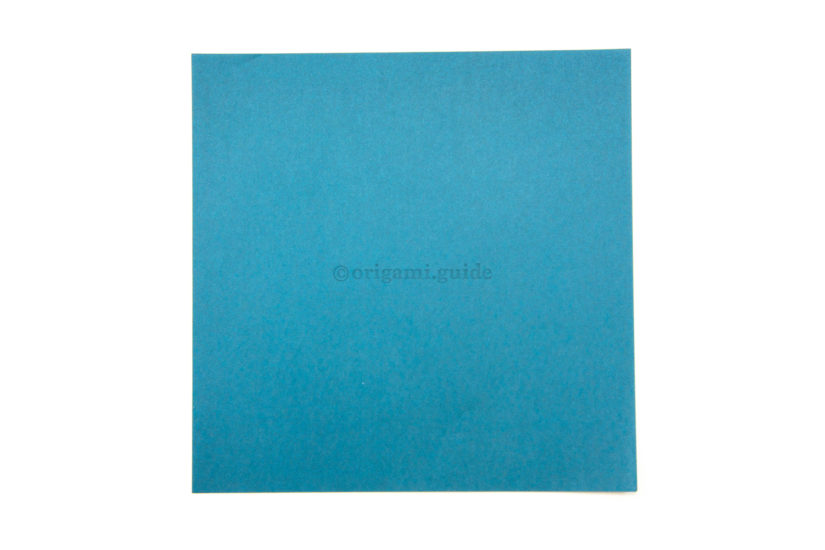
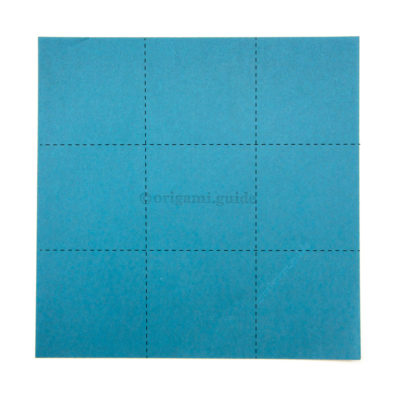
1. This the front of the paper, your divider will end up being this color.
-
2

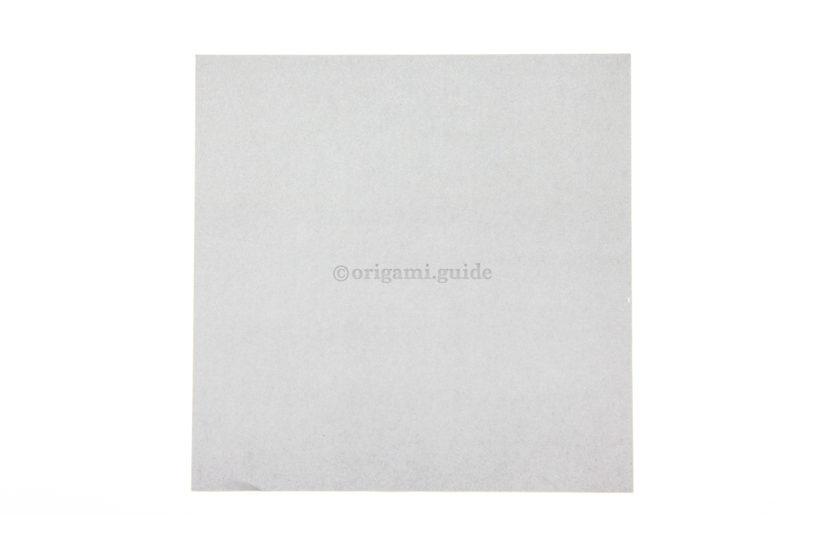
2. This is the back of the paper, usually white.
-
3

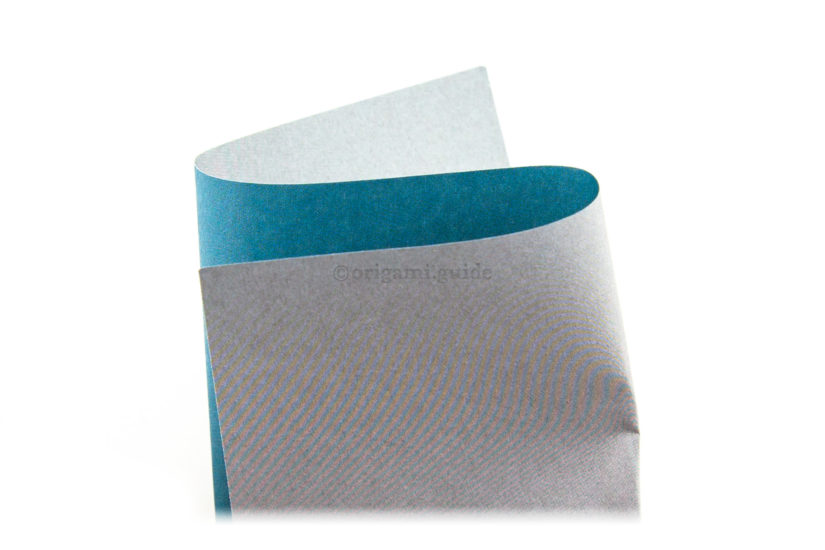
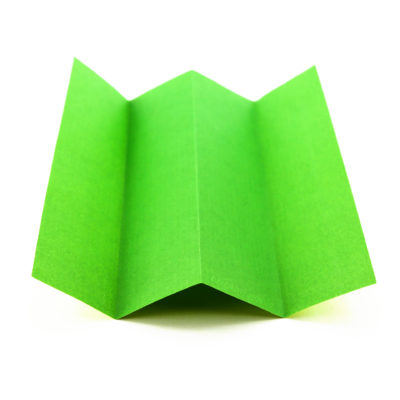
3. You will need to divide the paper into thirds. This is the 'S' method, pick up the paper and make it an S shape, until the paper becomes equally divided into thirds.
-
4

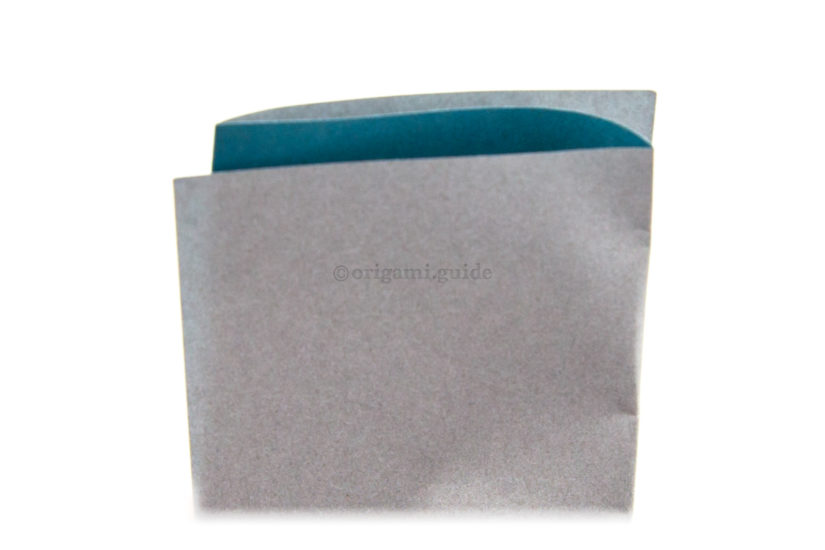
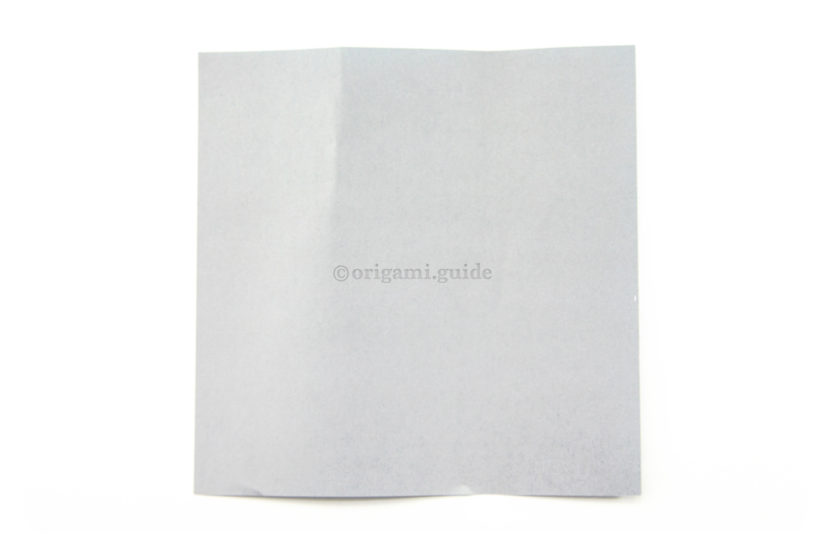
4. Once it's in three equal sections, make a crease on both edges. Alternatively, get a ruler and measure thirds along the top edge of the paper with pencil.
-
5

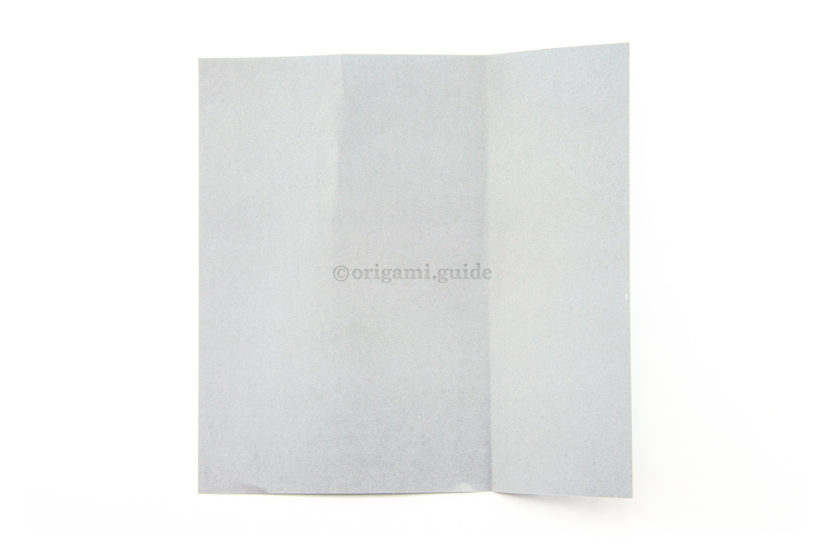
5. Place the paper back down on the table. You can see the thirds marked on the top edge.
-
6

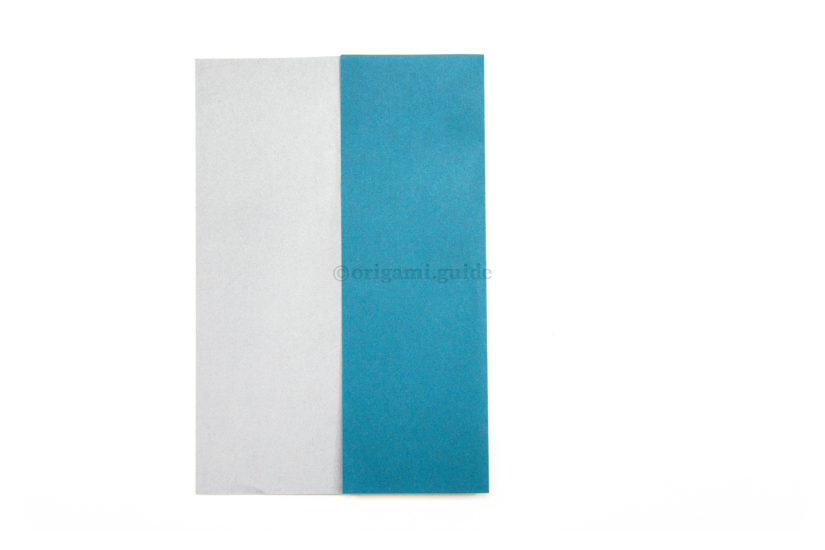
6. Fold the right edge over to the mark on the top left.
-
7

7. Unfold the previous step.
-
8

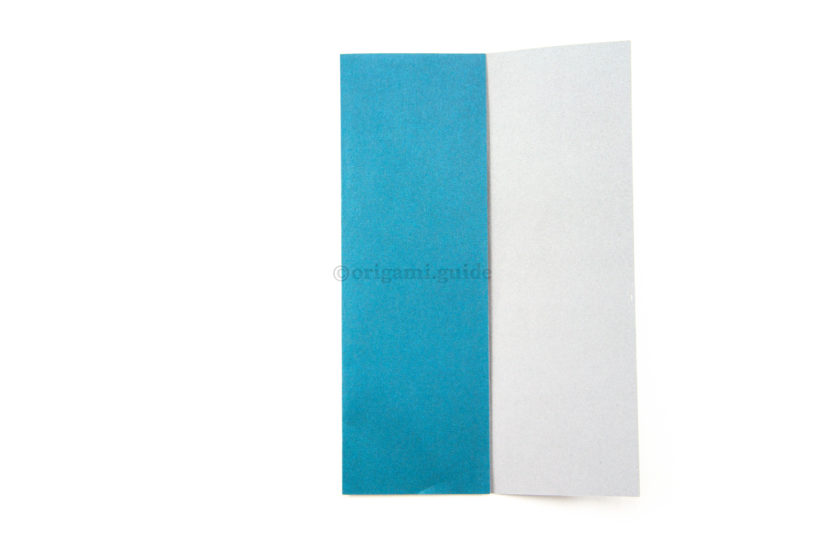
8. Fold the left edge over to the crease you made in the previous step.
What Origami Boxes To Fold Next?
- « How To Make An Origami Fancy Box

- How To Make An Easy Origami Packaging Box »
 View all Origami Boxes Tutorials
Leave A Comment
Did you fold this Origami Box Divider? Let us know what you thought.
You can also upload a photo of your result!
