Easy Origami Witches Hat
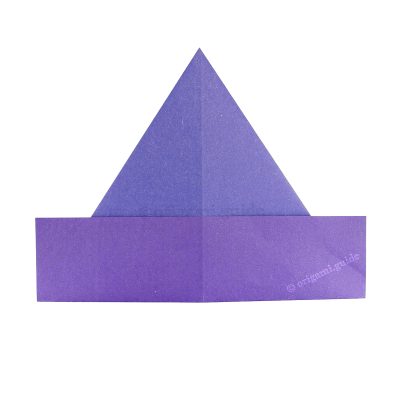
Learn how to make a super simple origami witches hat. Using one sheet of square paper, you’ll have a pointy Halloween hat perfect for paper craft and card making.
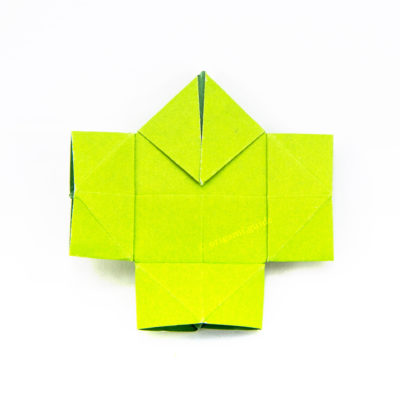
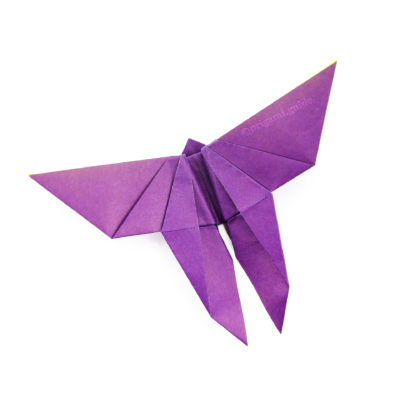
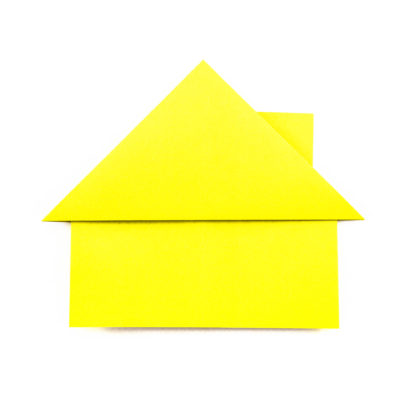
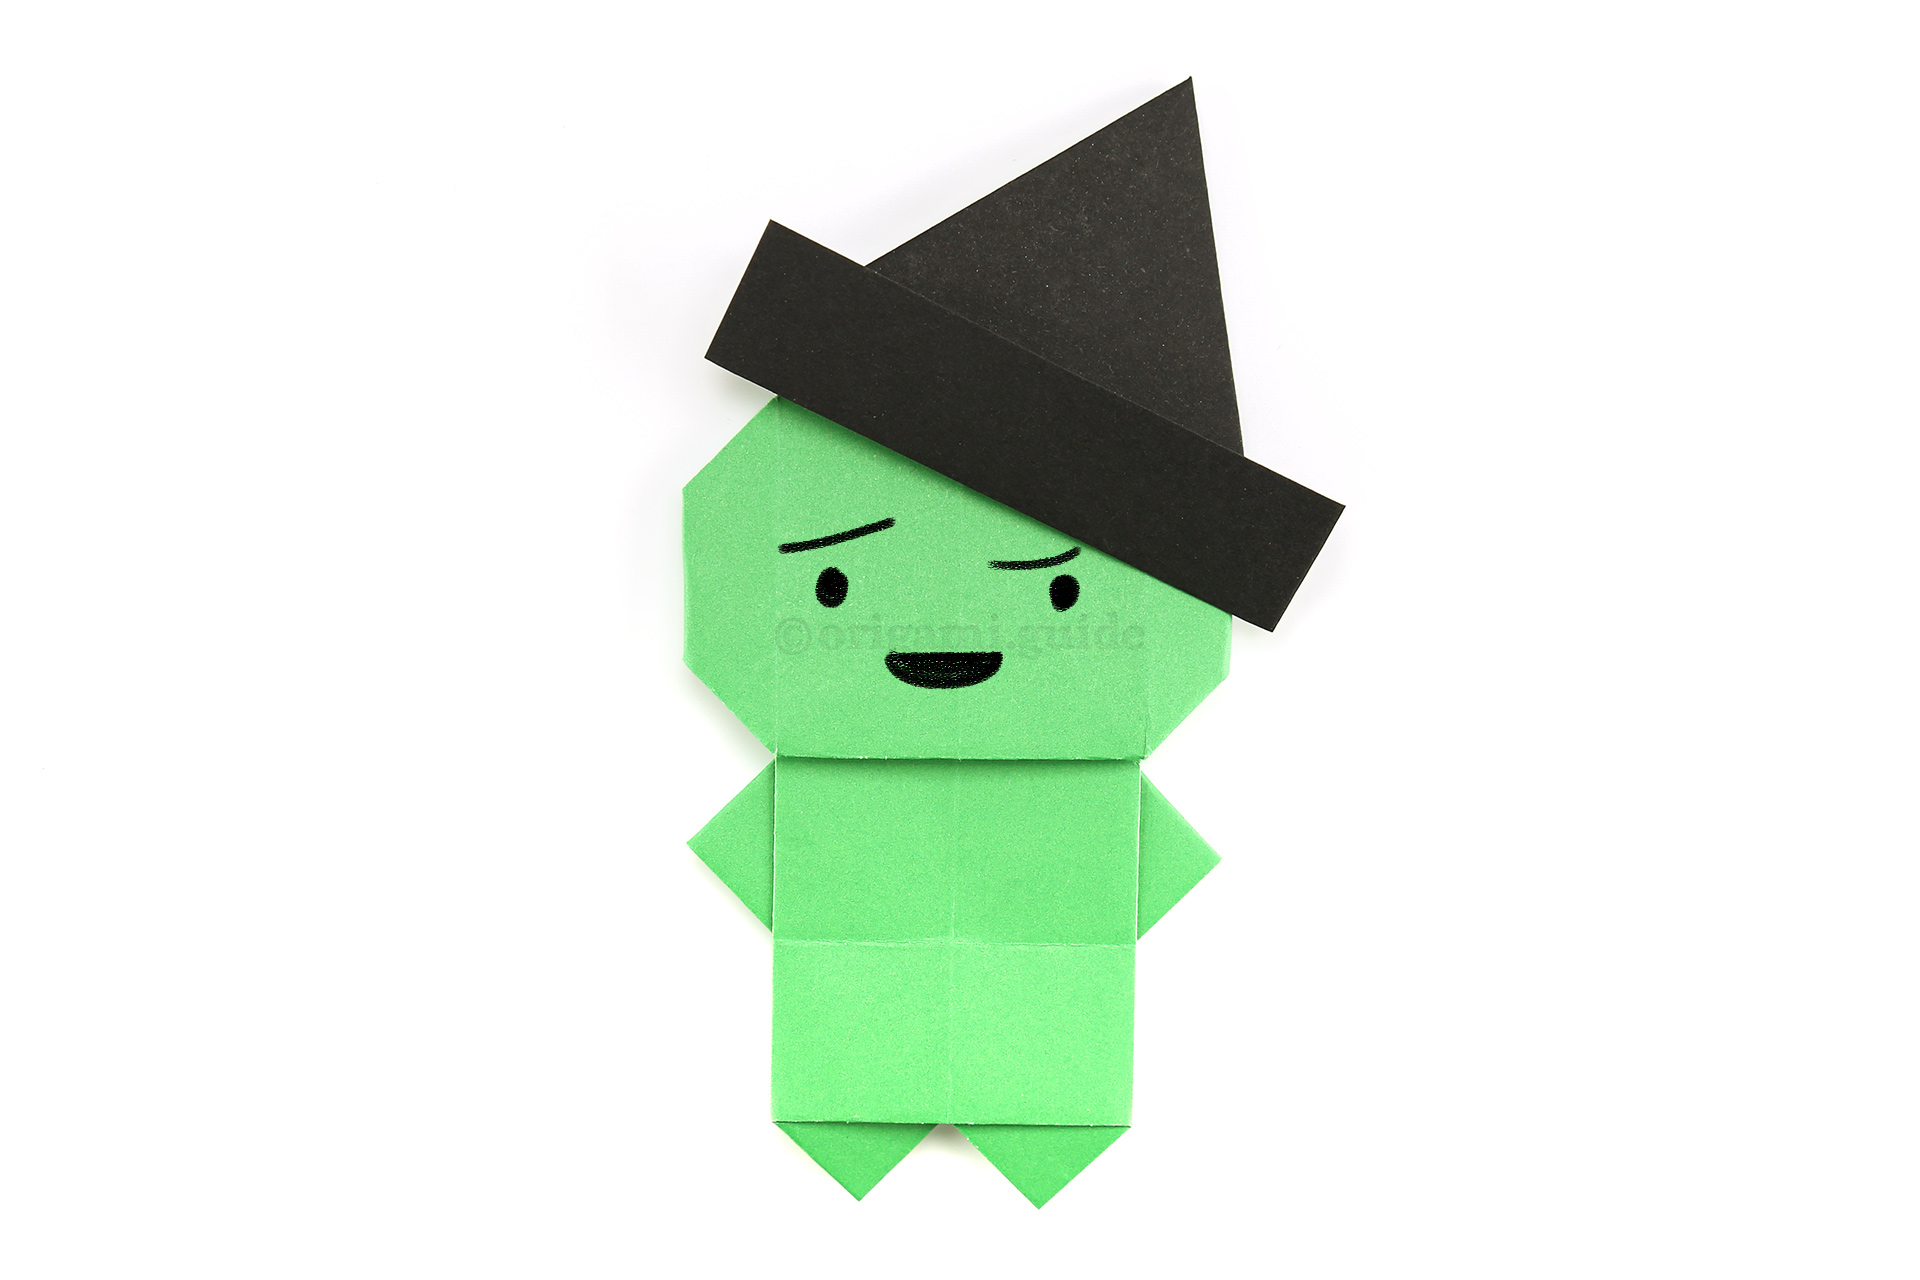
In just a few simple folds this easy origami tutorial will teach you how to quickly fold a flat origami witches hat. This 2D origami hat is perfect to pop on top of the cute origami figure pictured below. Click here for that tutorial.
We used basic 15 x 15cm origami paper for the tutorial, but a smaller size may be better, it will be super easy to trial some different sizes.
Easy Origami Witches Hat Instructions
Scroll down to follow the photo tutorial for the Easy Origami Witches Hat.
Made this origami? Leave a comment & submit your photo here.
-
1
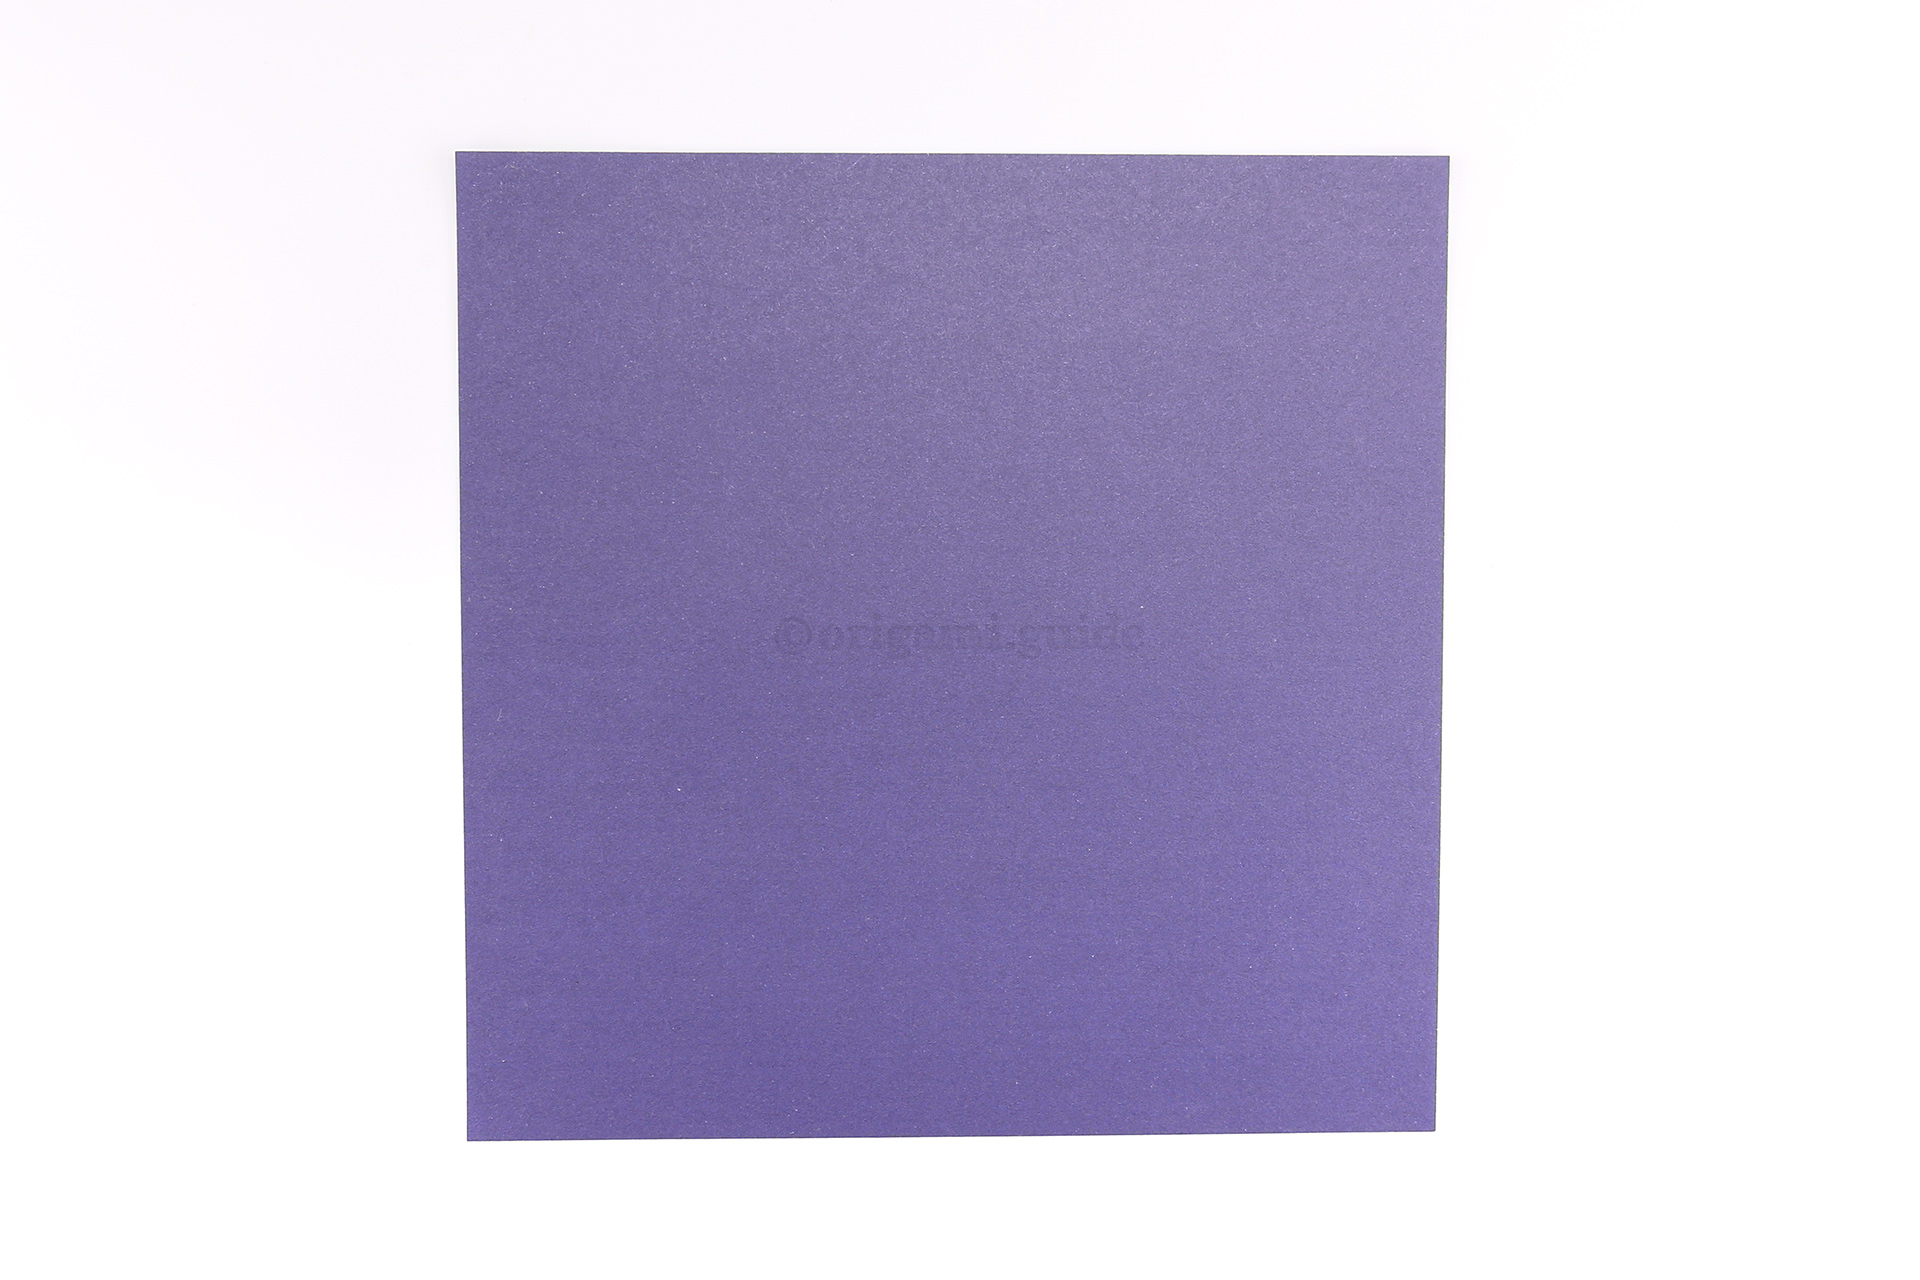
Step 1: It would be best to use dark coloured paper (dark colour on each side).
-
2
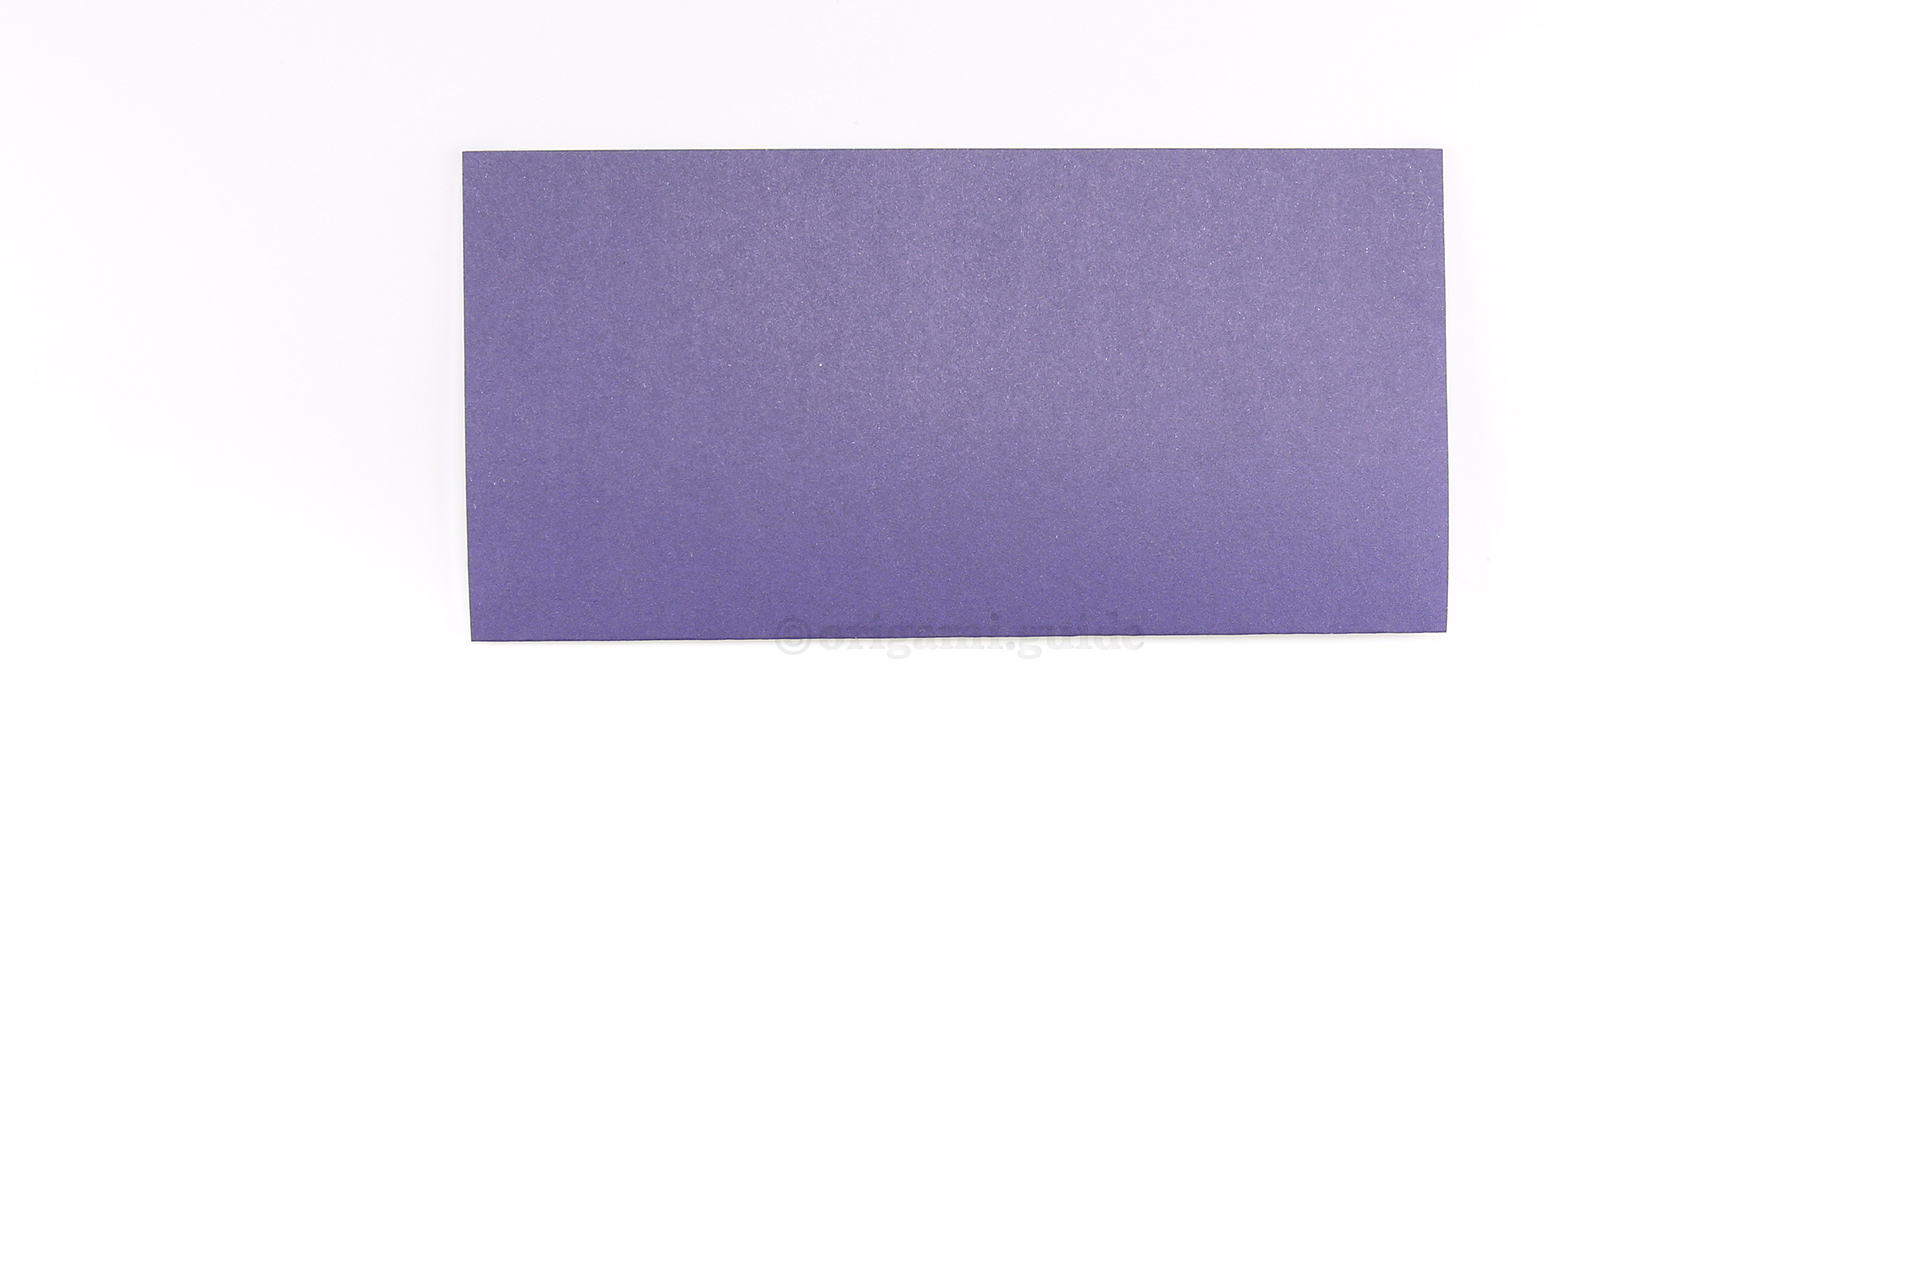
Step 2: Fold the bottom edge up to the top edge.
-
3
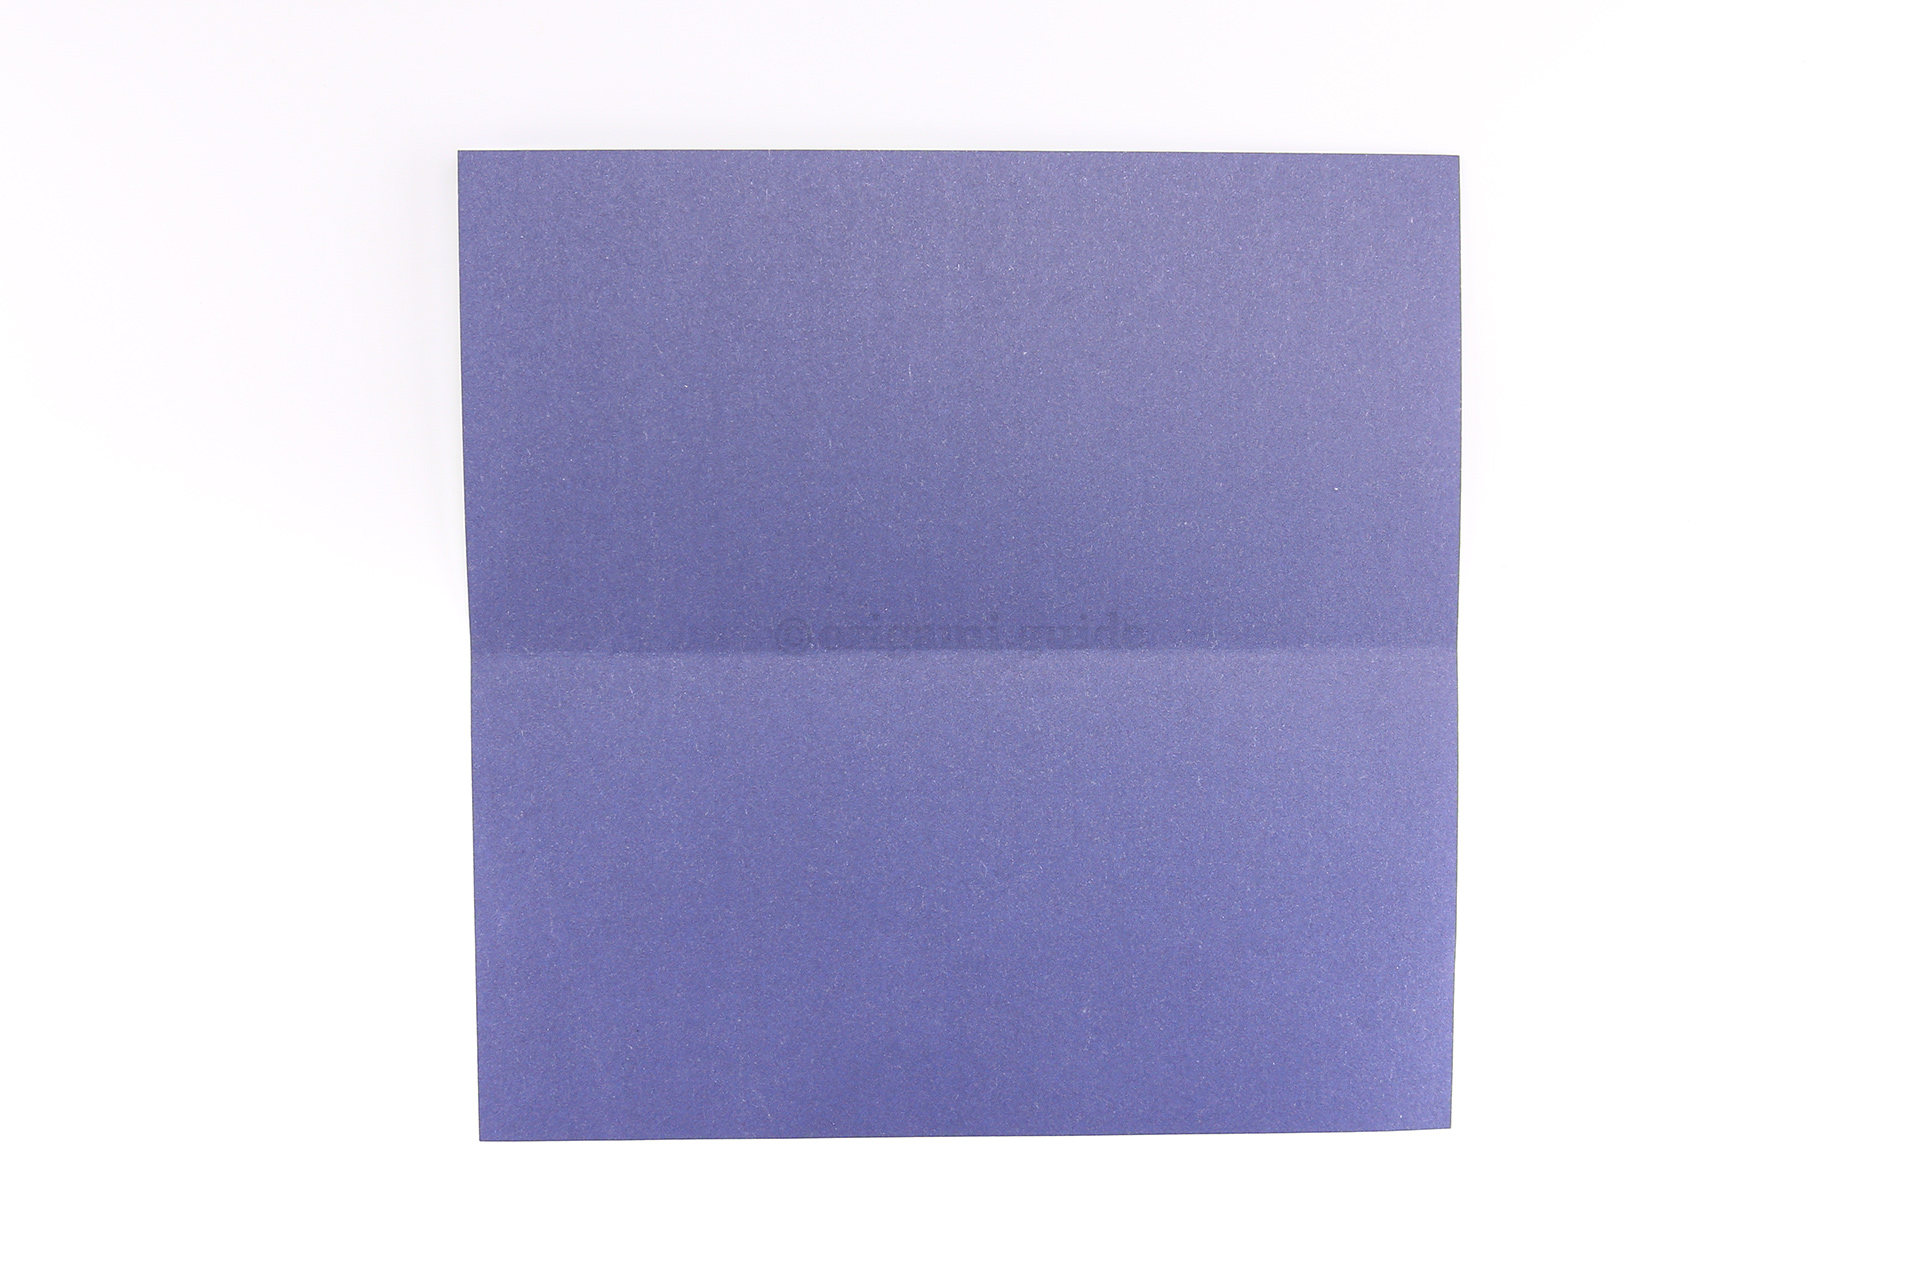
Step 3: Unfold.
-
4
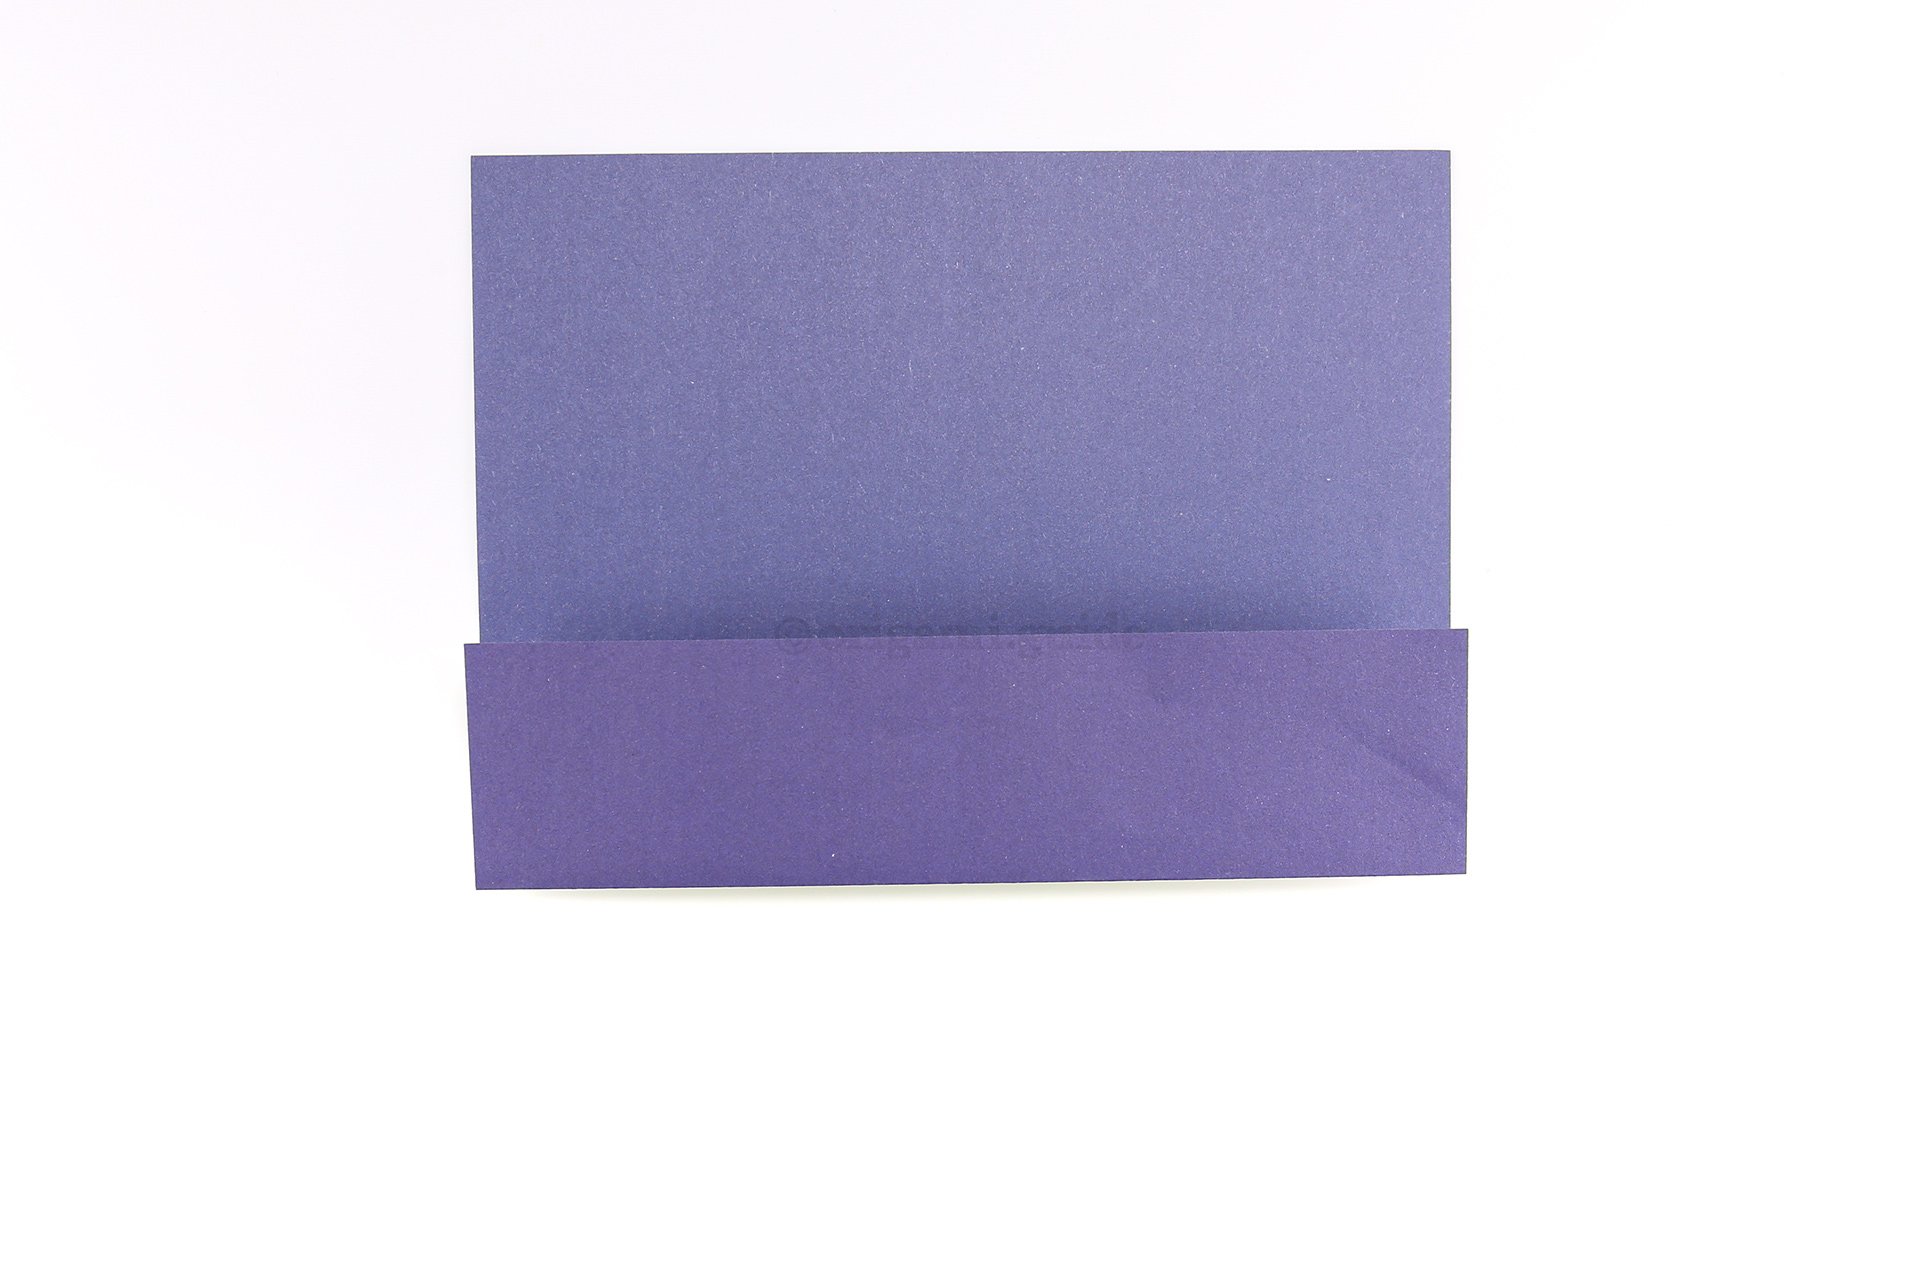
Step 4: Fold the bottom edge up to the crease you just made.
-
5
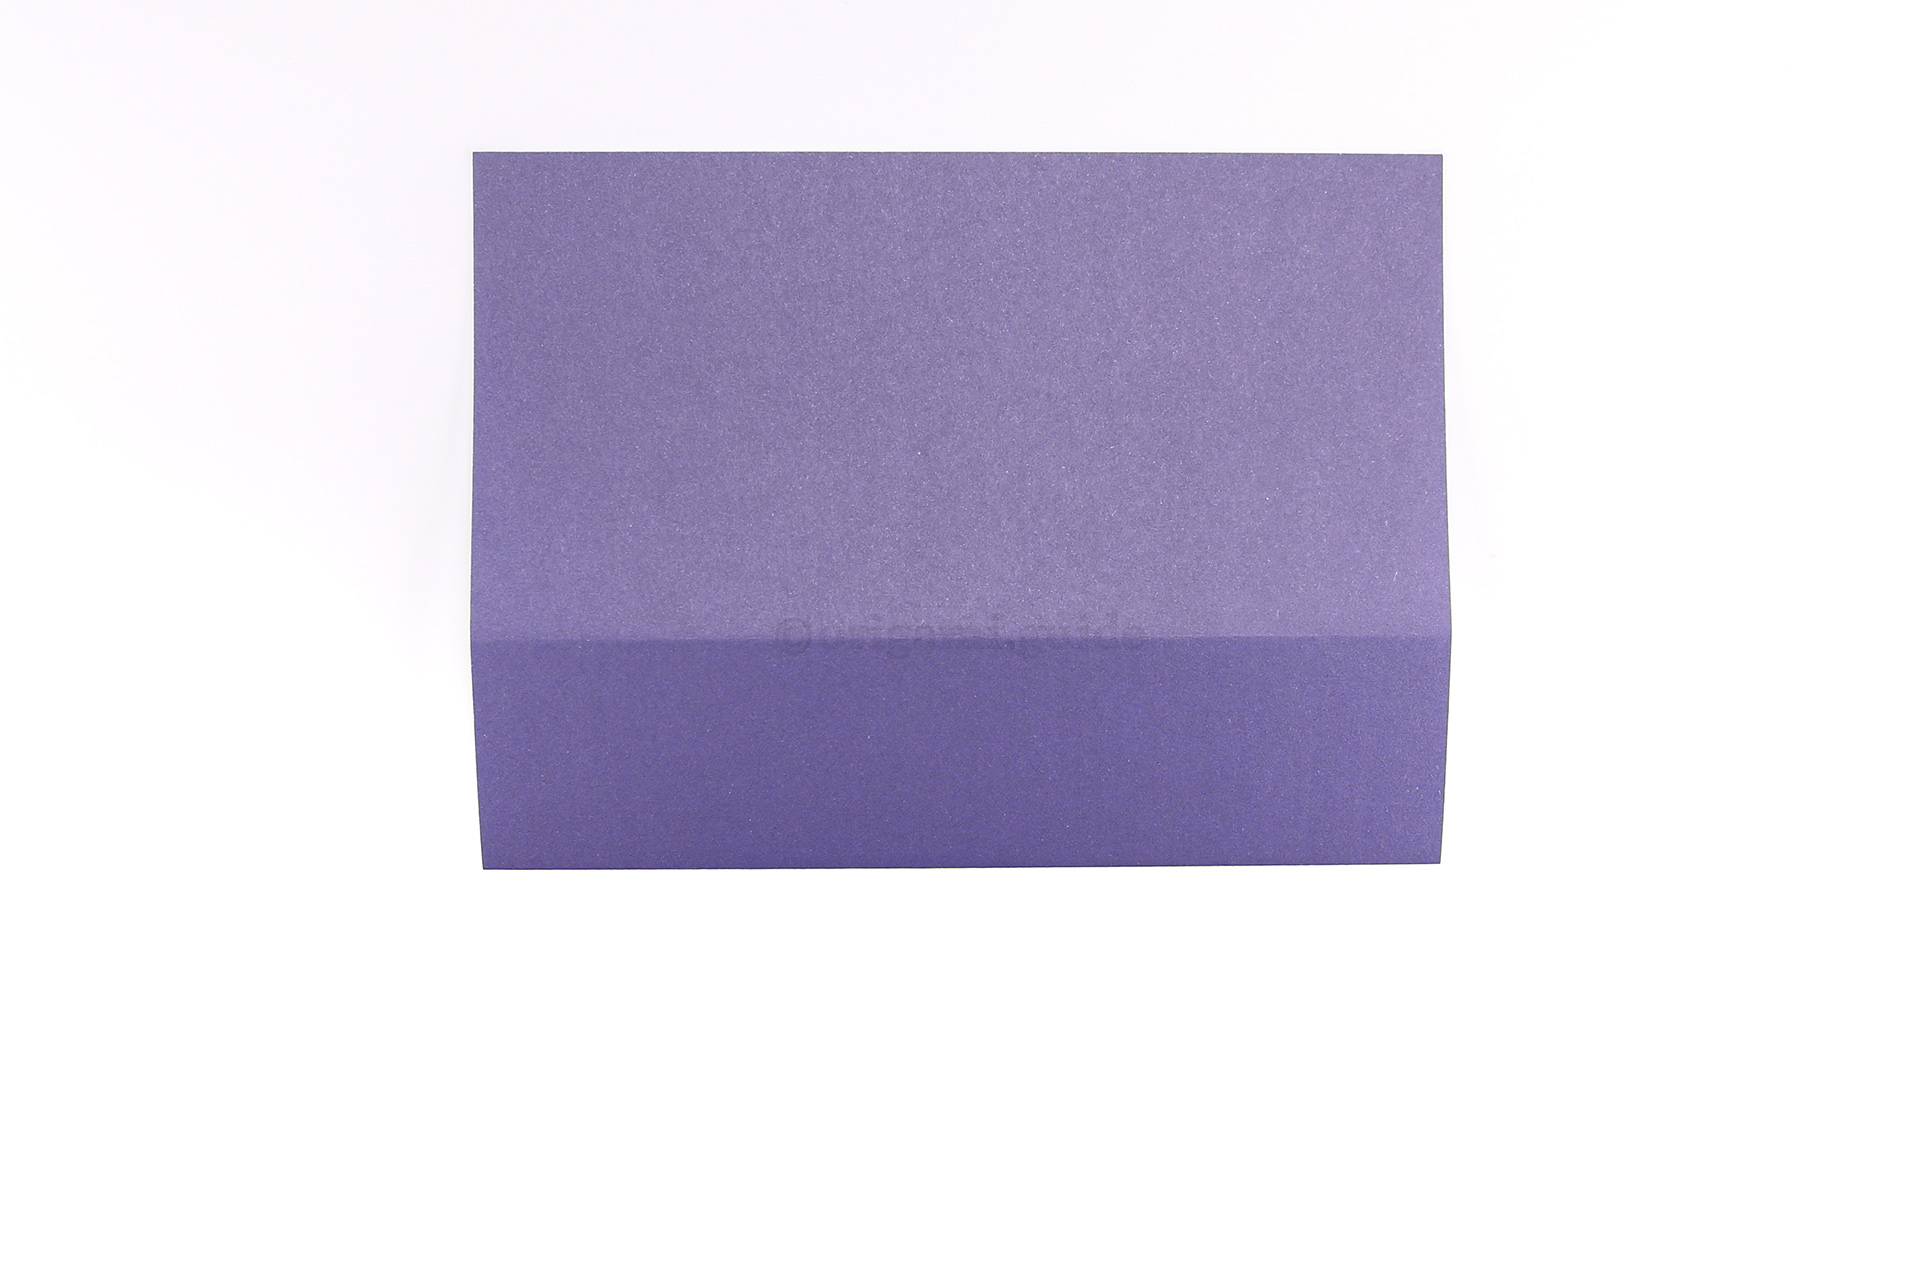
Step 5: Flip the paper over to the other side.
-
6
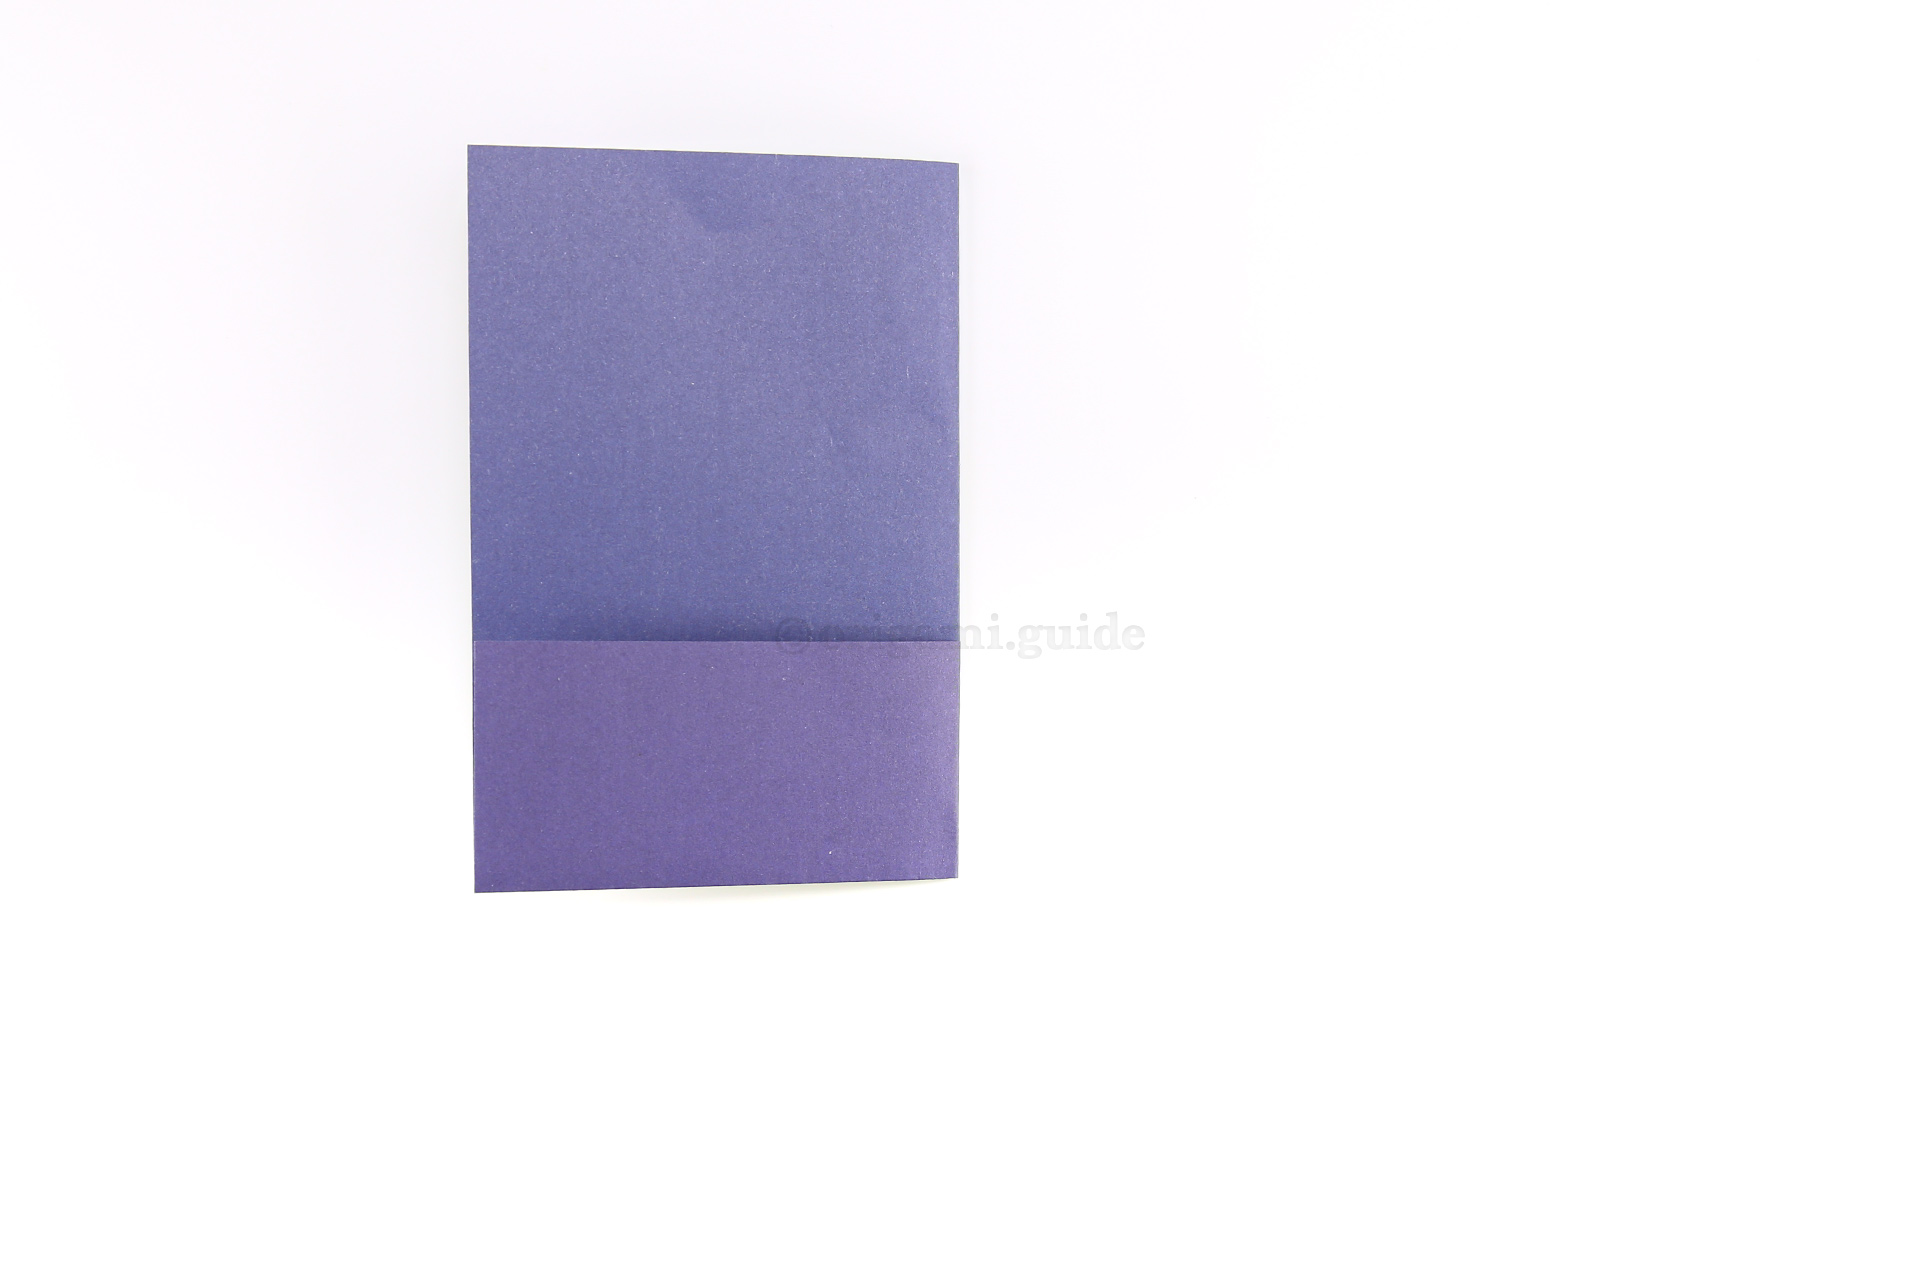
Step 6: Fold the right edge over to the left edge.
-
7
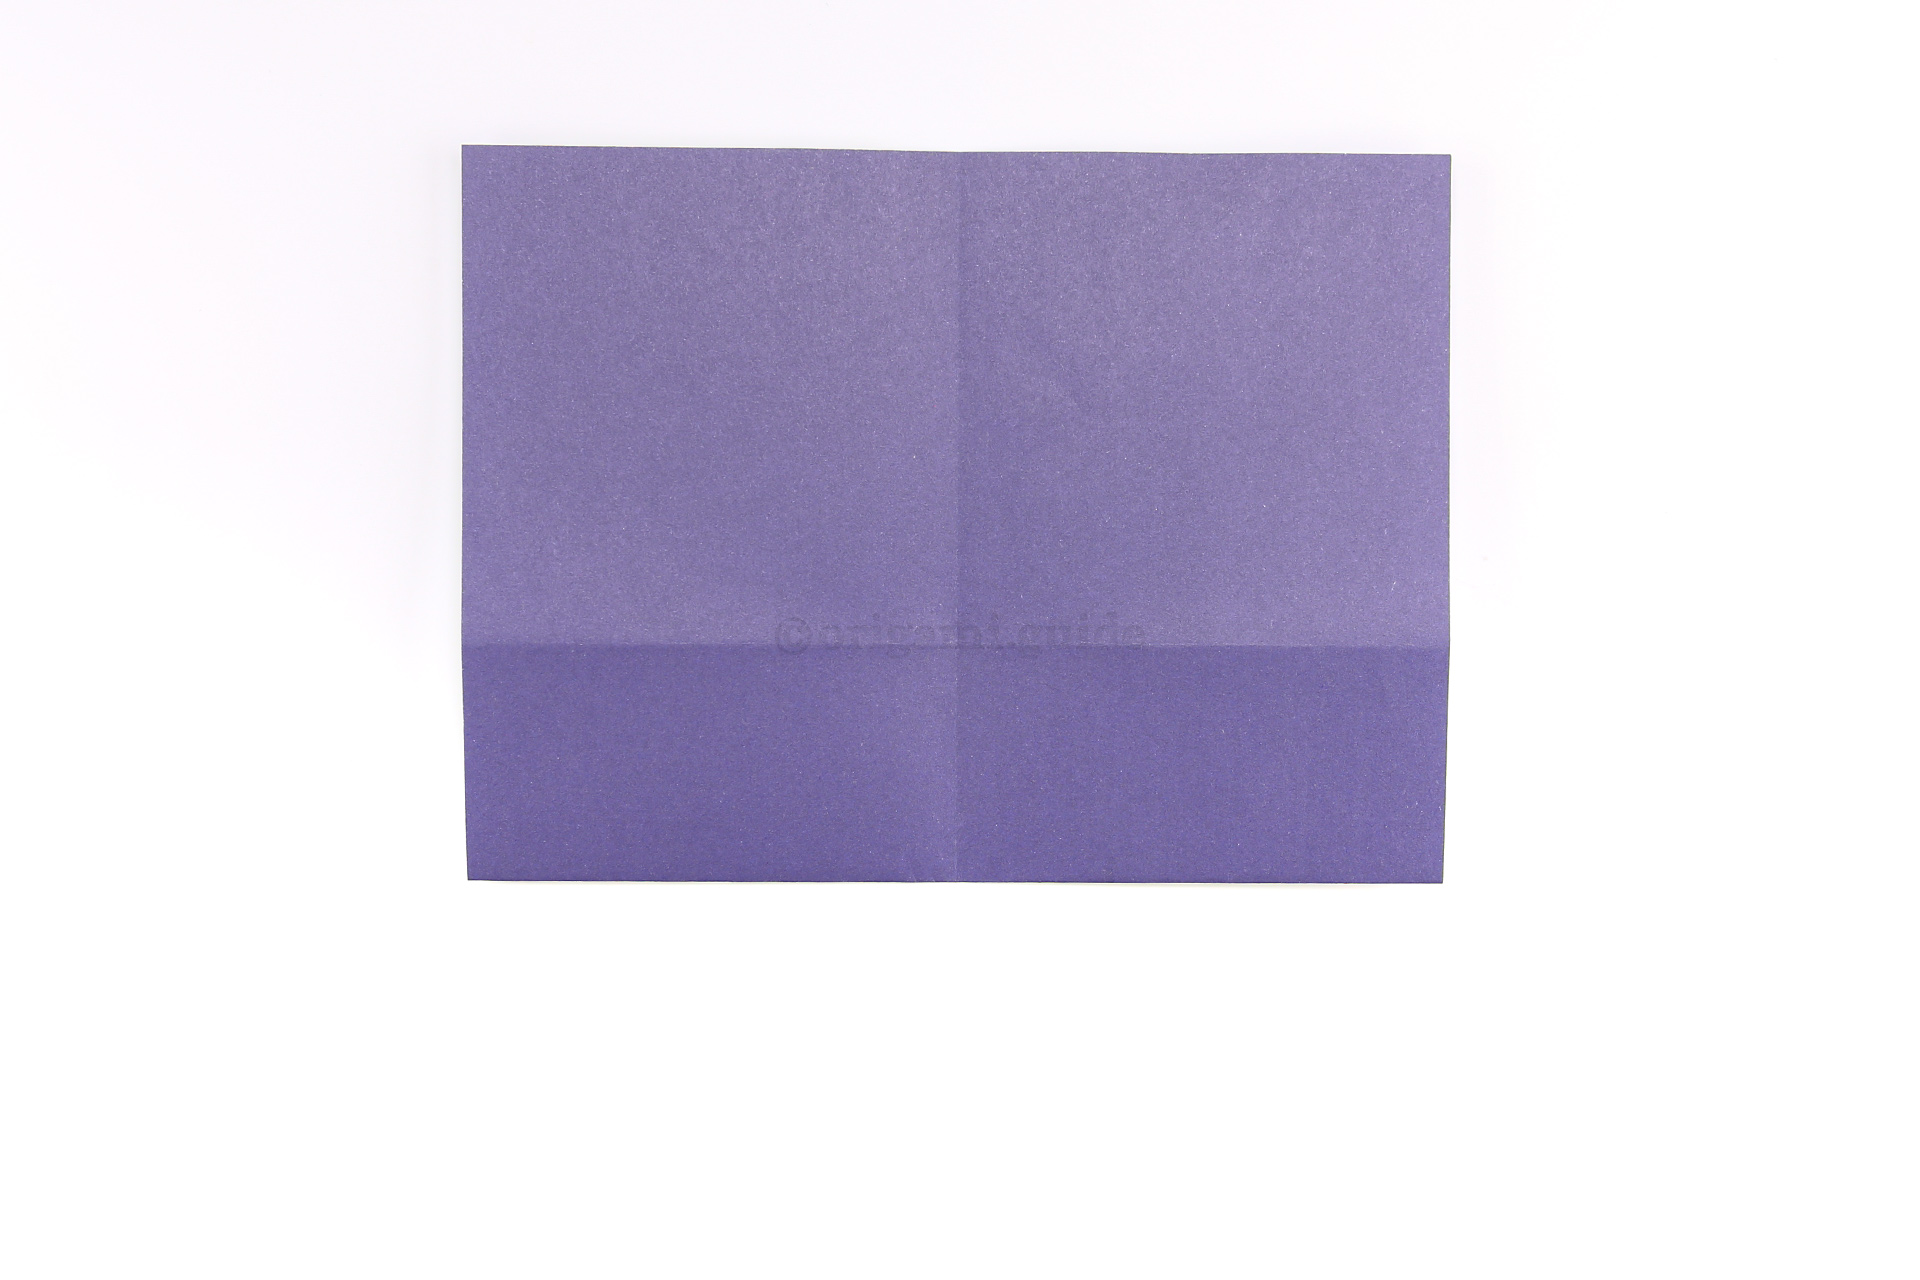
Step 7: Unfold the previous step.
-
8
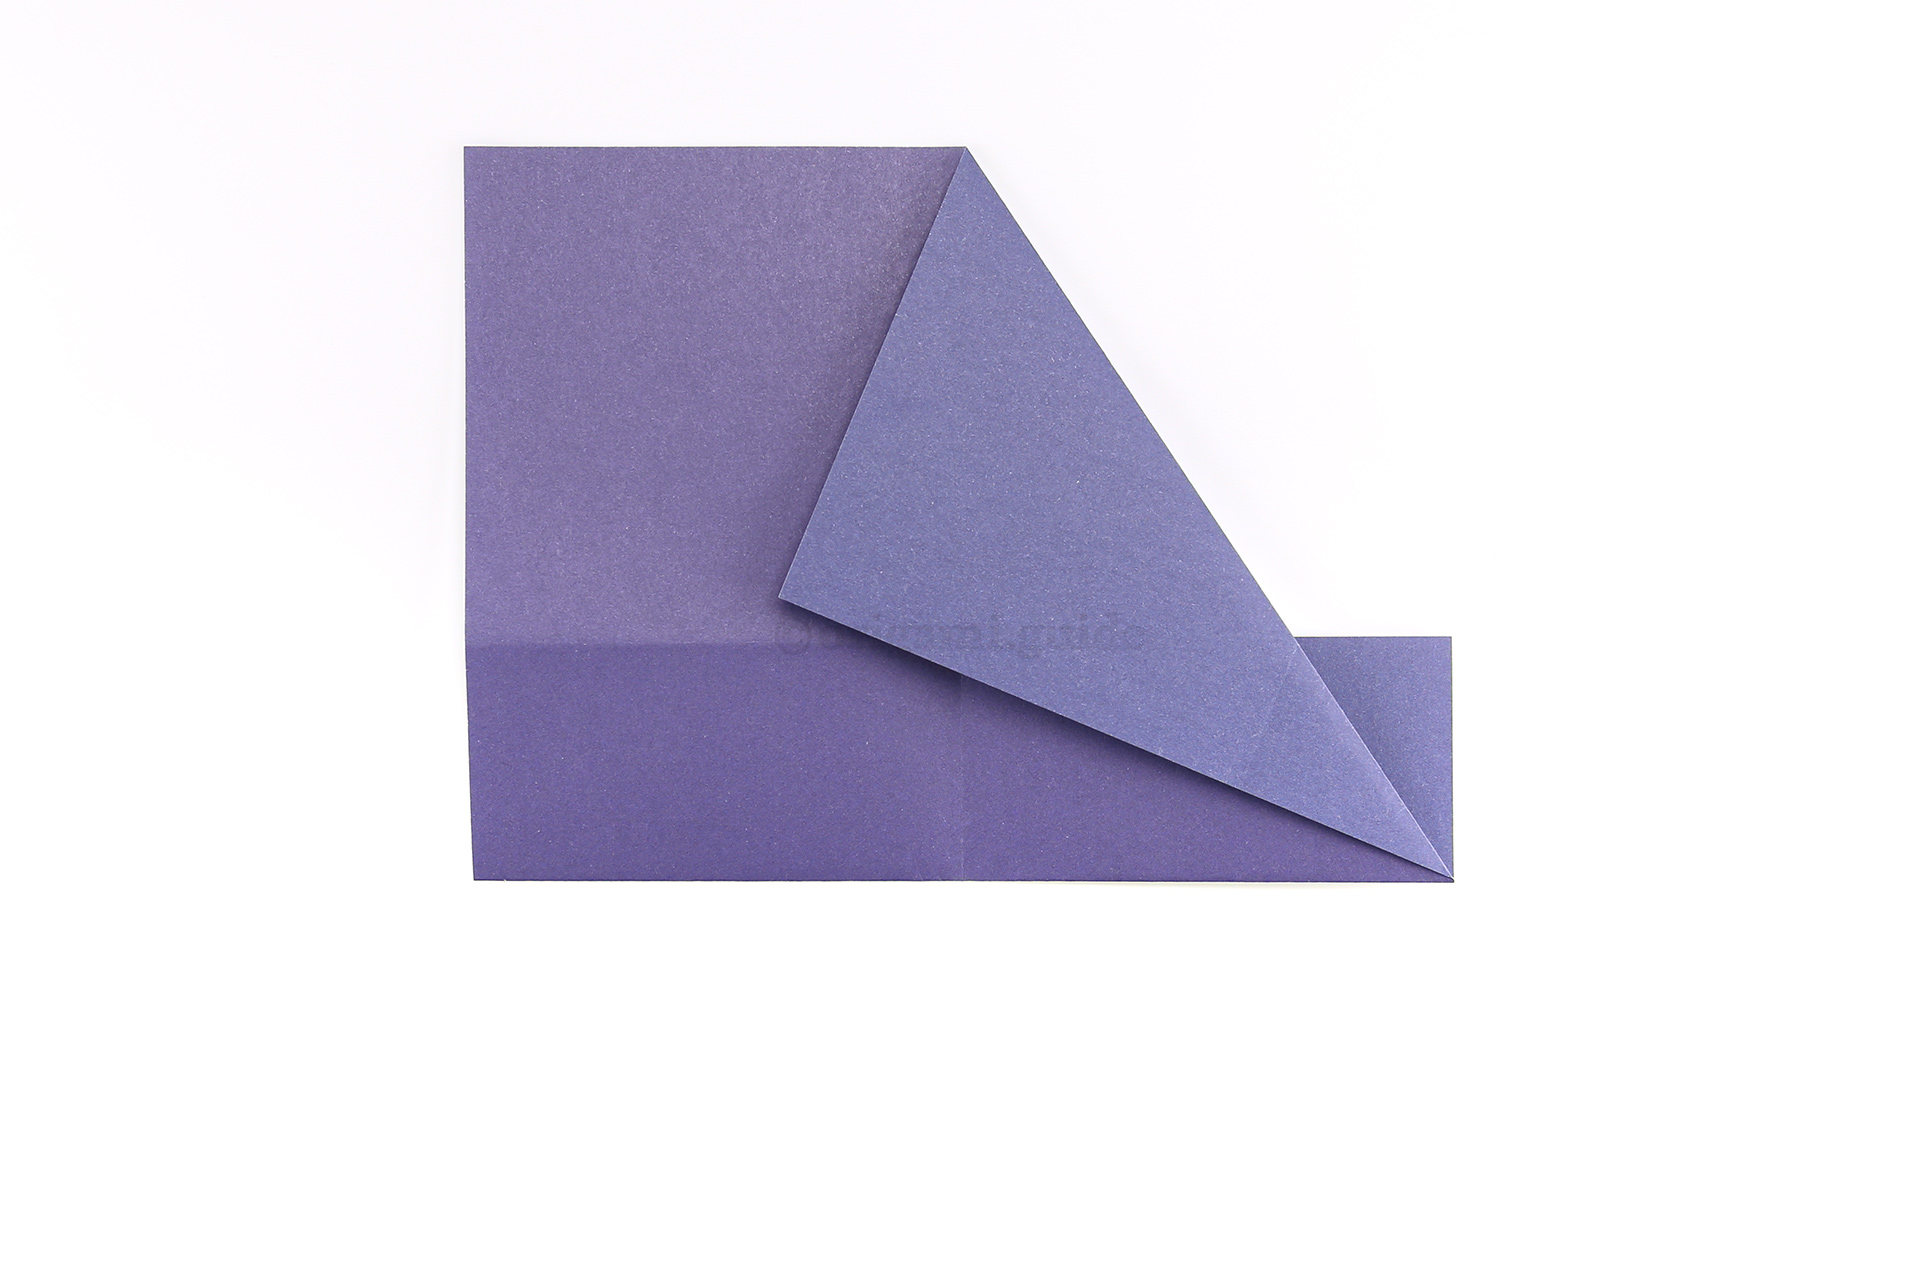
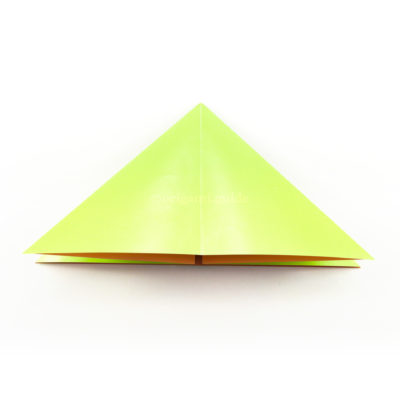
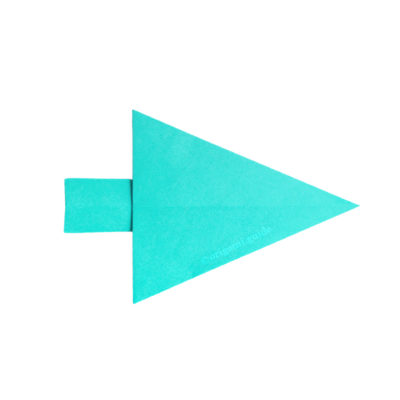
Step 8: Take the top right corner and fold it diagonally down to the left, using the central crease as a guide.
-
9
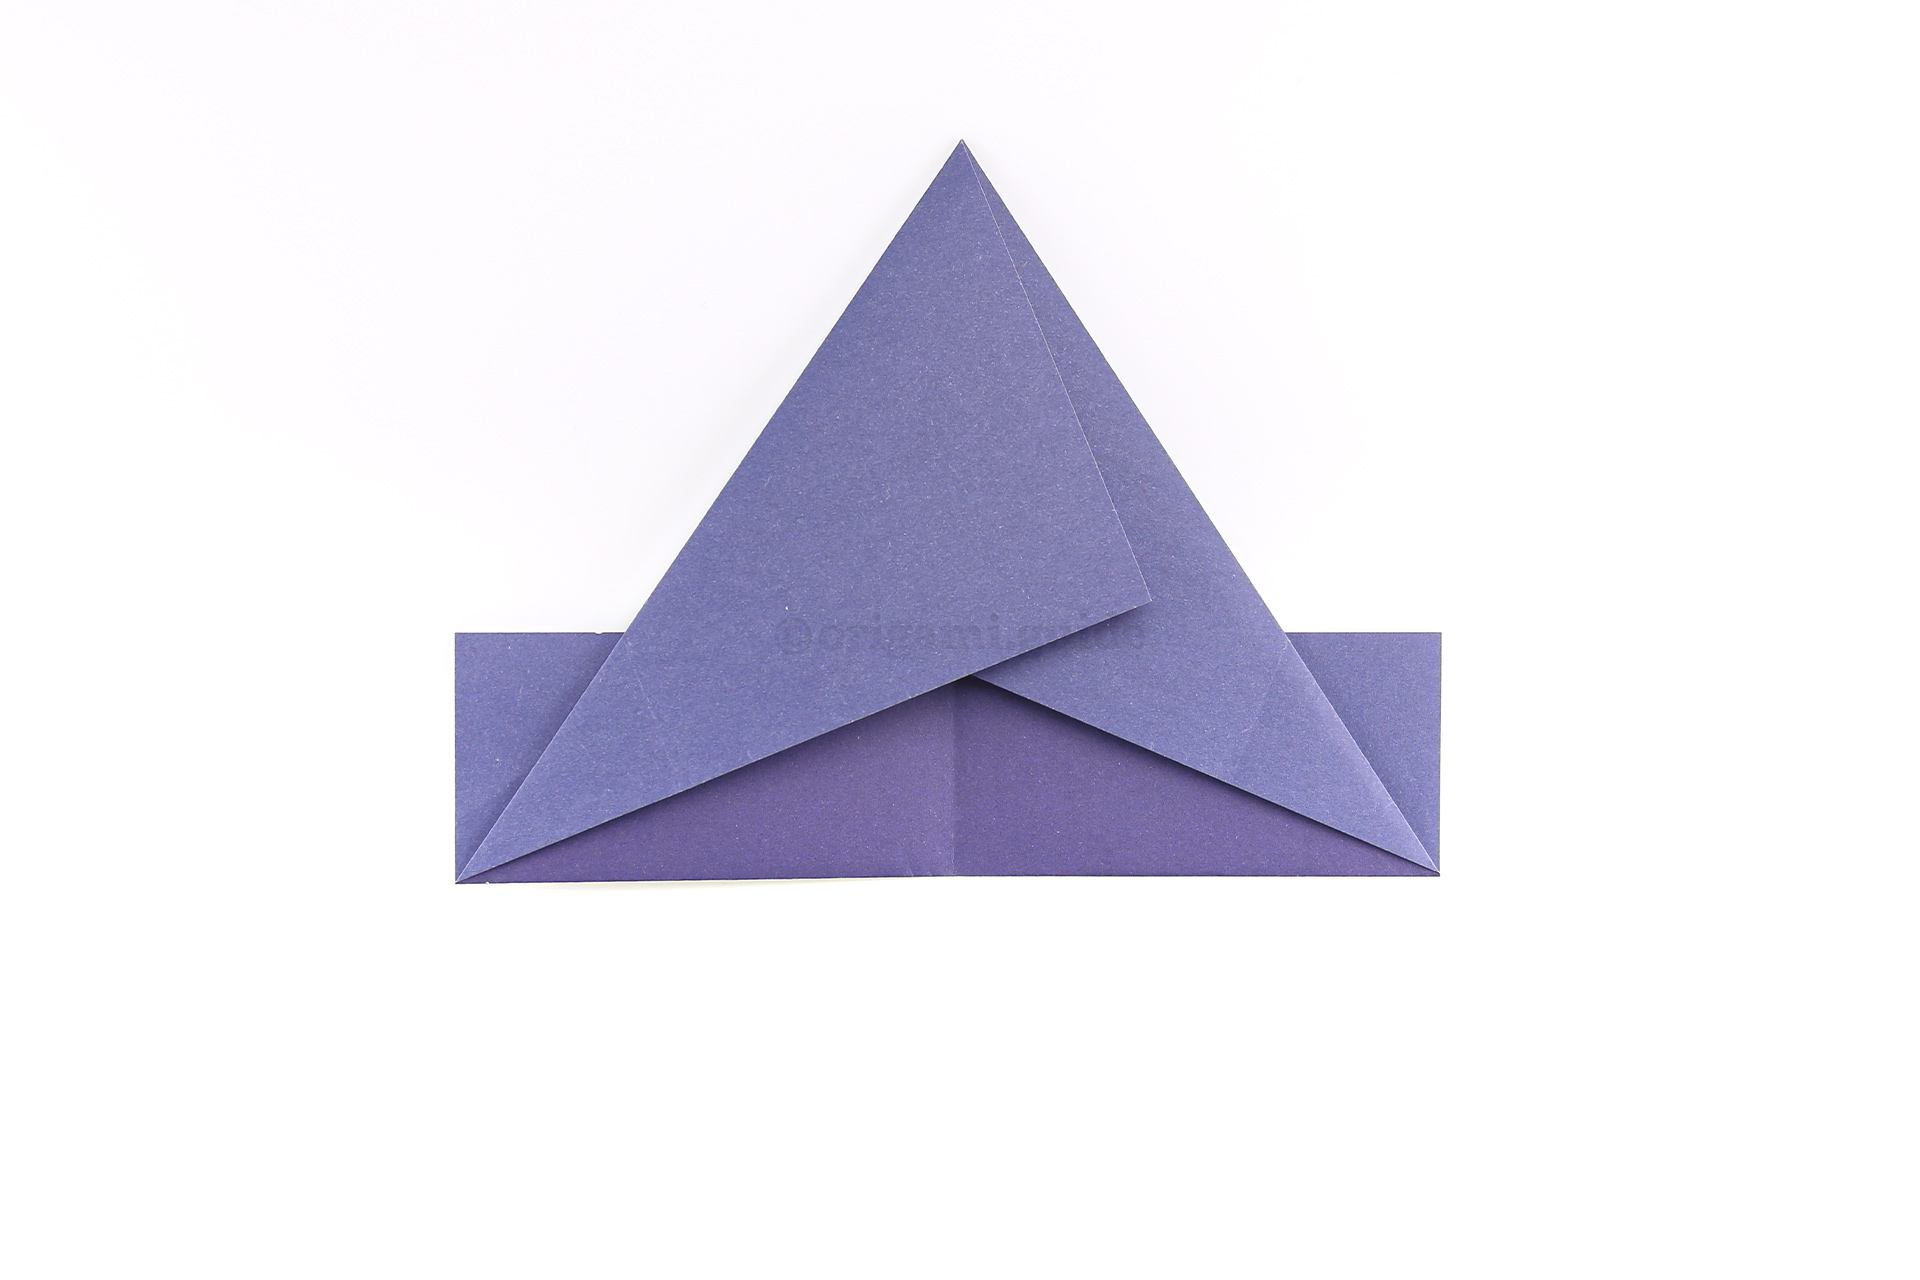
Step 9: Finally, fold the left corner diagonally to match.
-
10
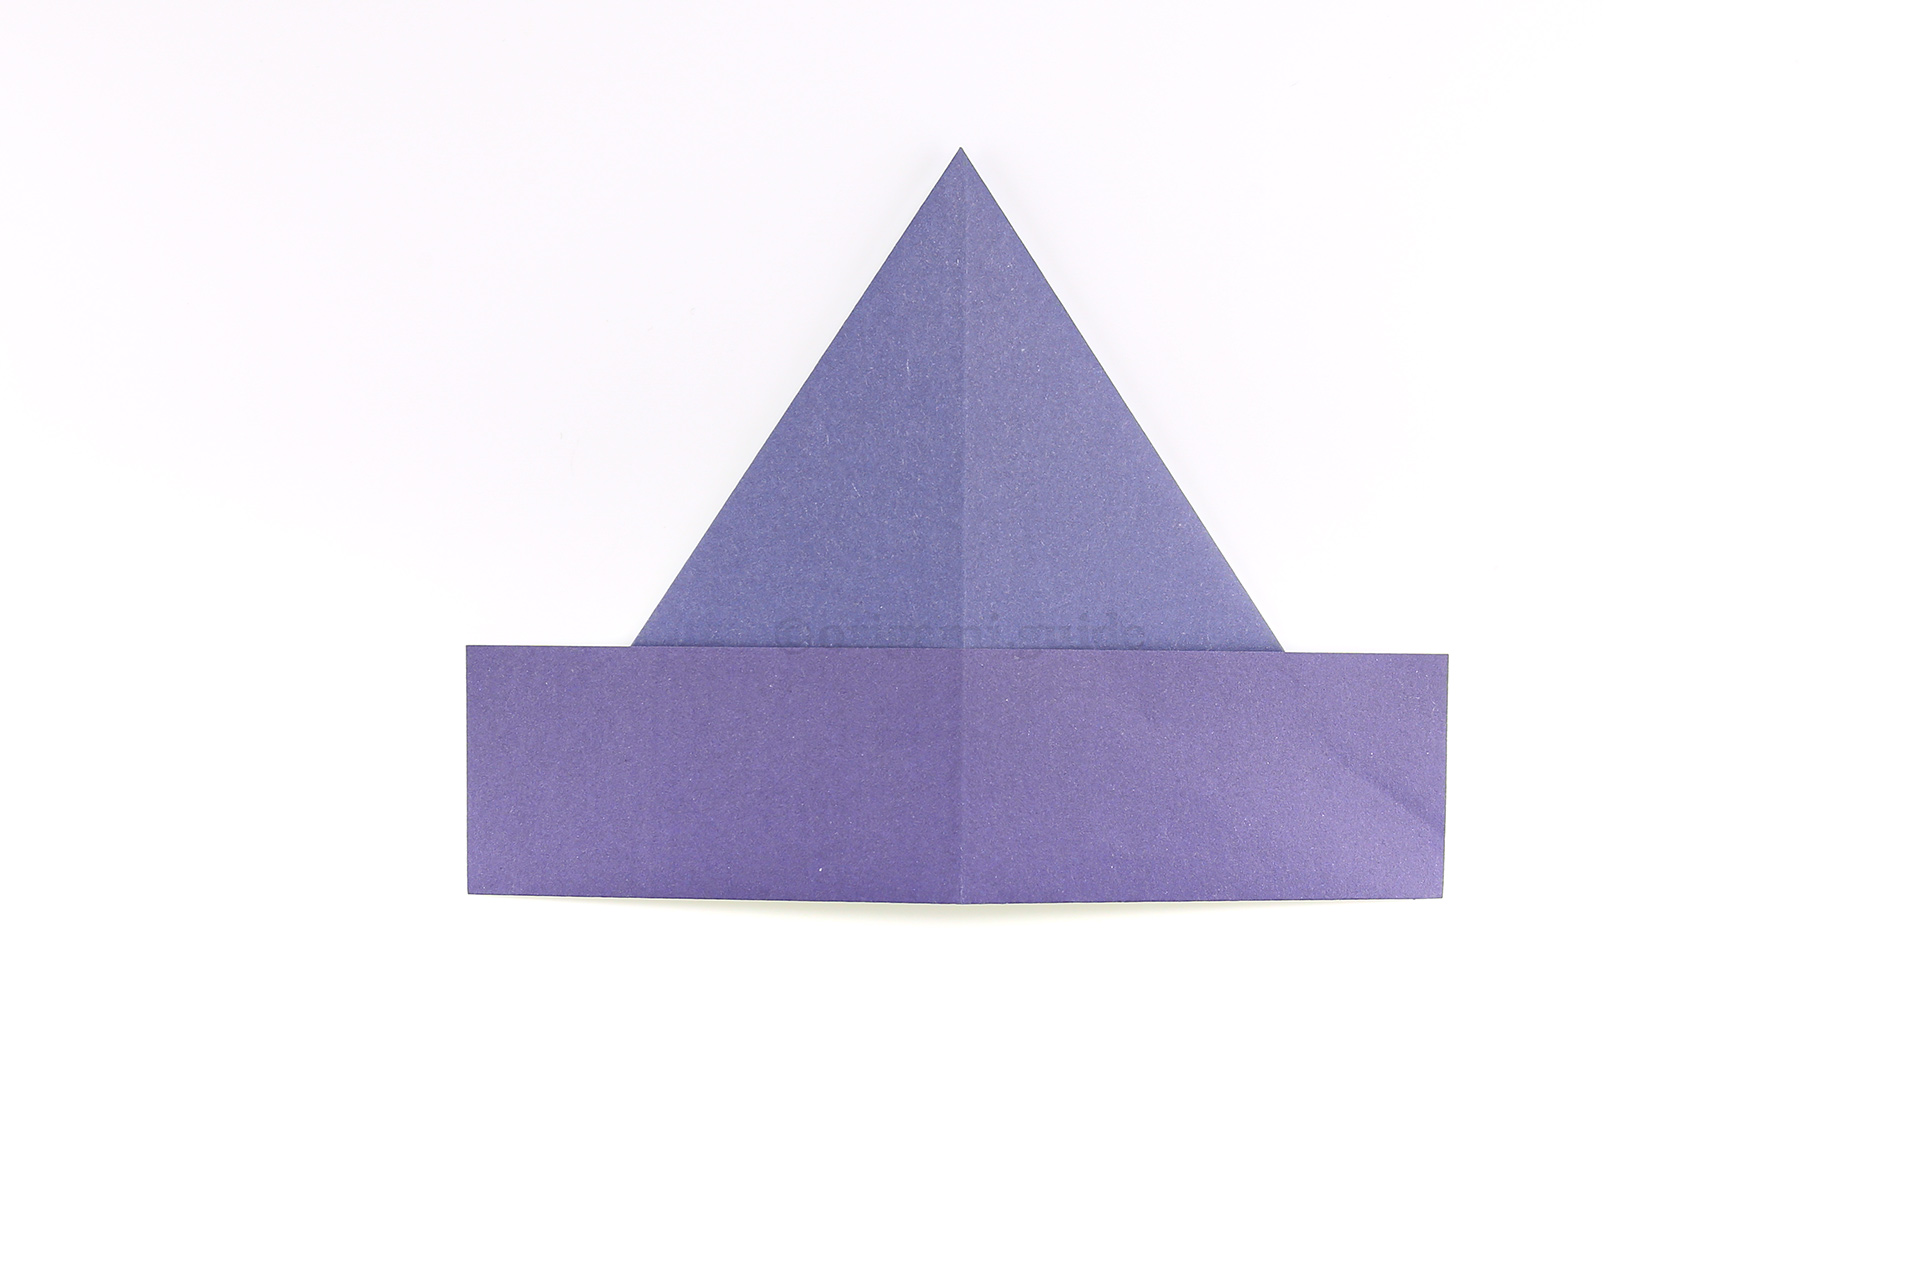
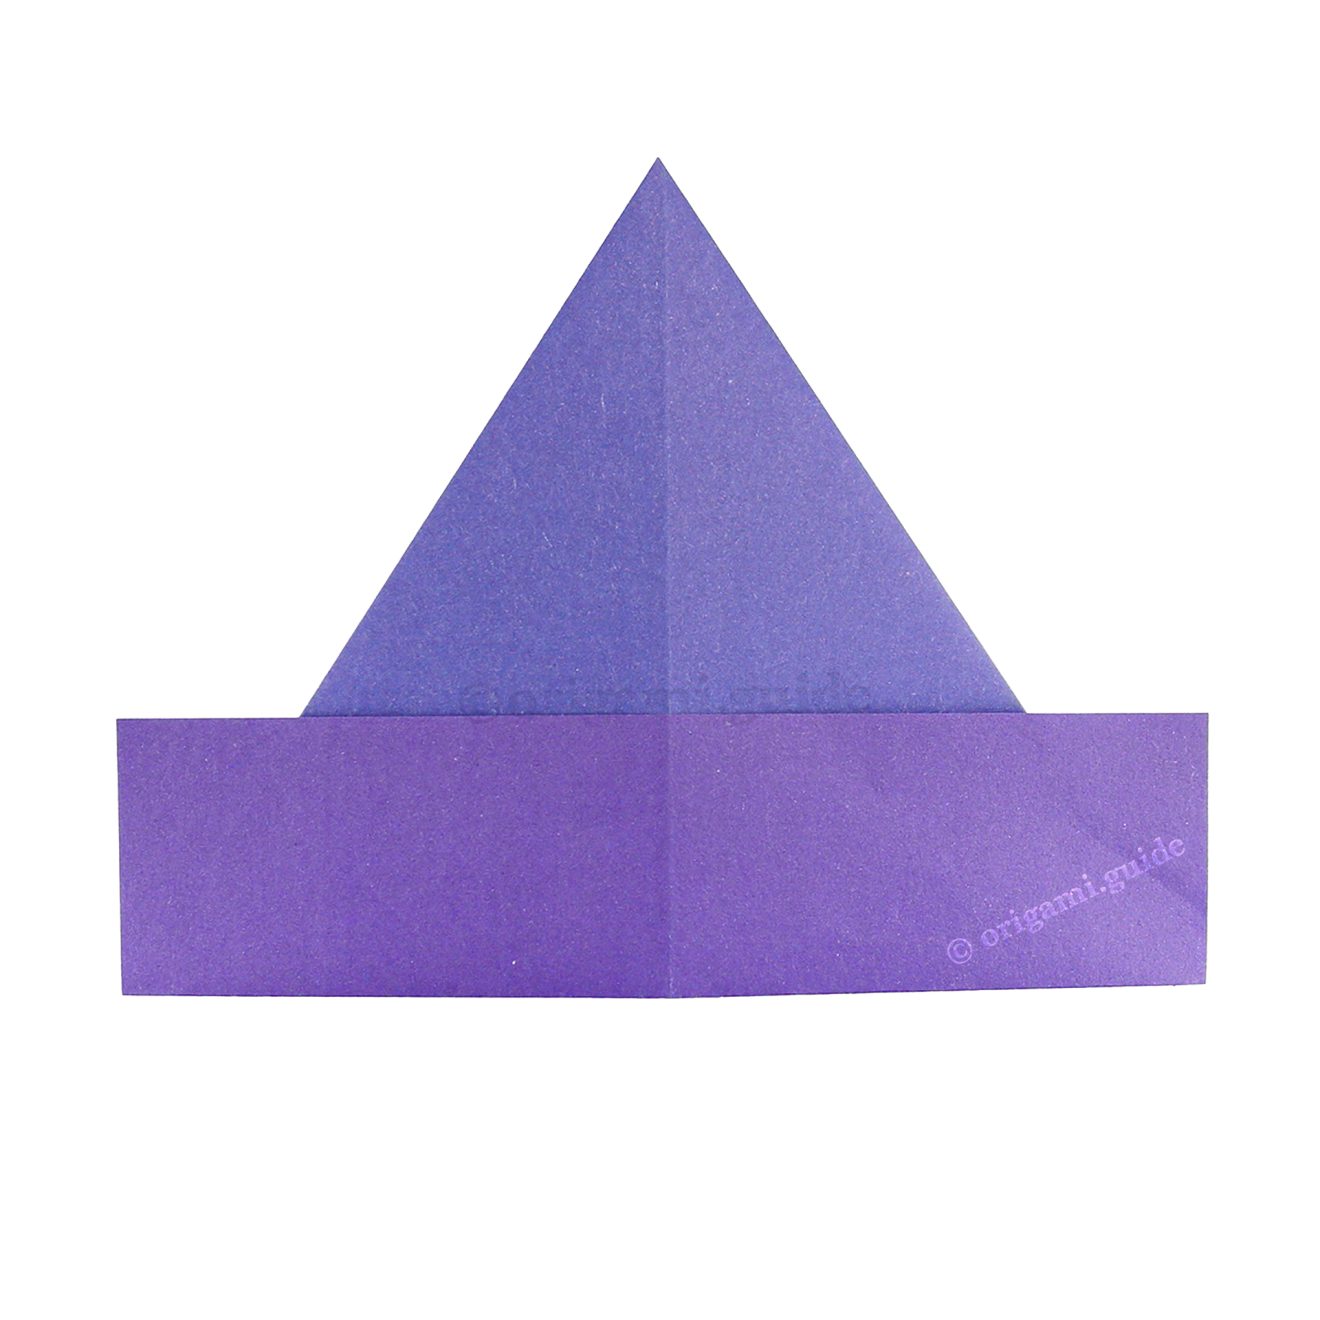
Step 10: Flip the origami witches hat over to the other side, and it's complete!
Your Easy Origami Witches Hat is Complete!
You’ve completed the Easy Origami Witches Hat, why not check out our other Halloween Origami here.
Did you make this origami? How did it go? Leave a comment & submit your photo here.
Related origami: Easy Origami,
Origami Clothes,
Halloween,
What Halloween Origami To Fold Next?
View all Halloween Origami Tutorials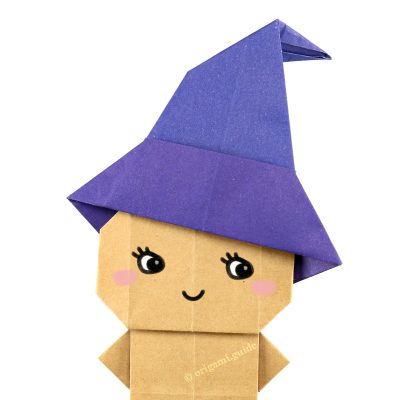

Leave A Comment
Did you fold this Easy Origami Witches Hat? Let us know what you thought.
You can also upload a photo of your result!