Made this origami? Leave a comment & submit your photo here.
-
23
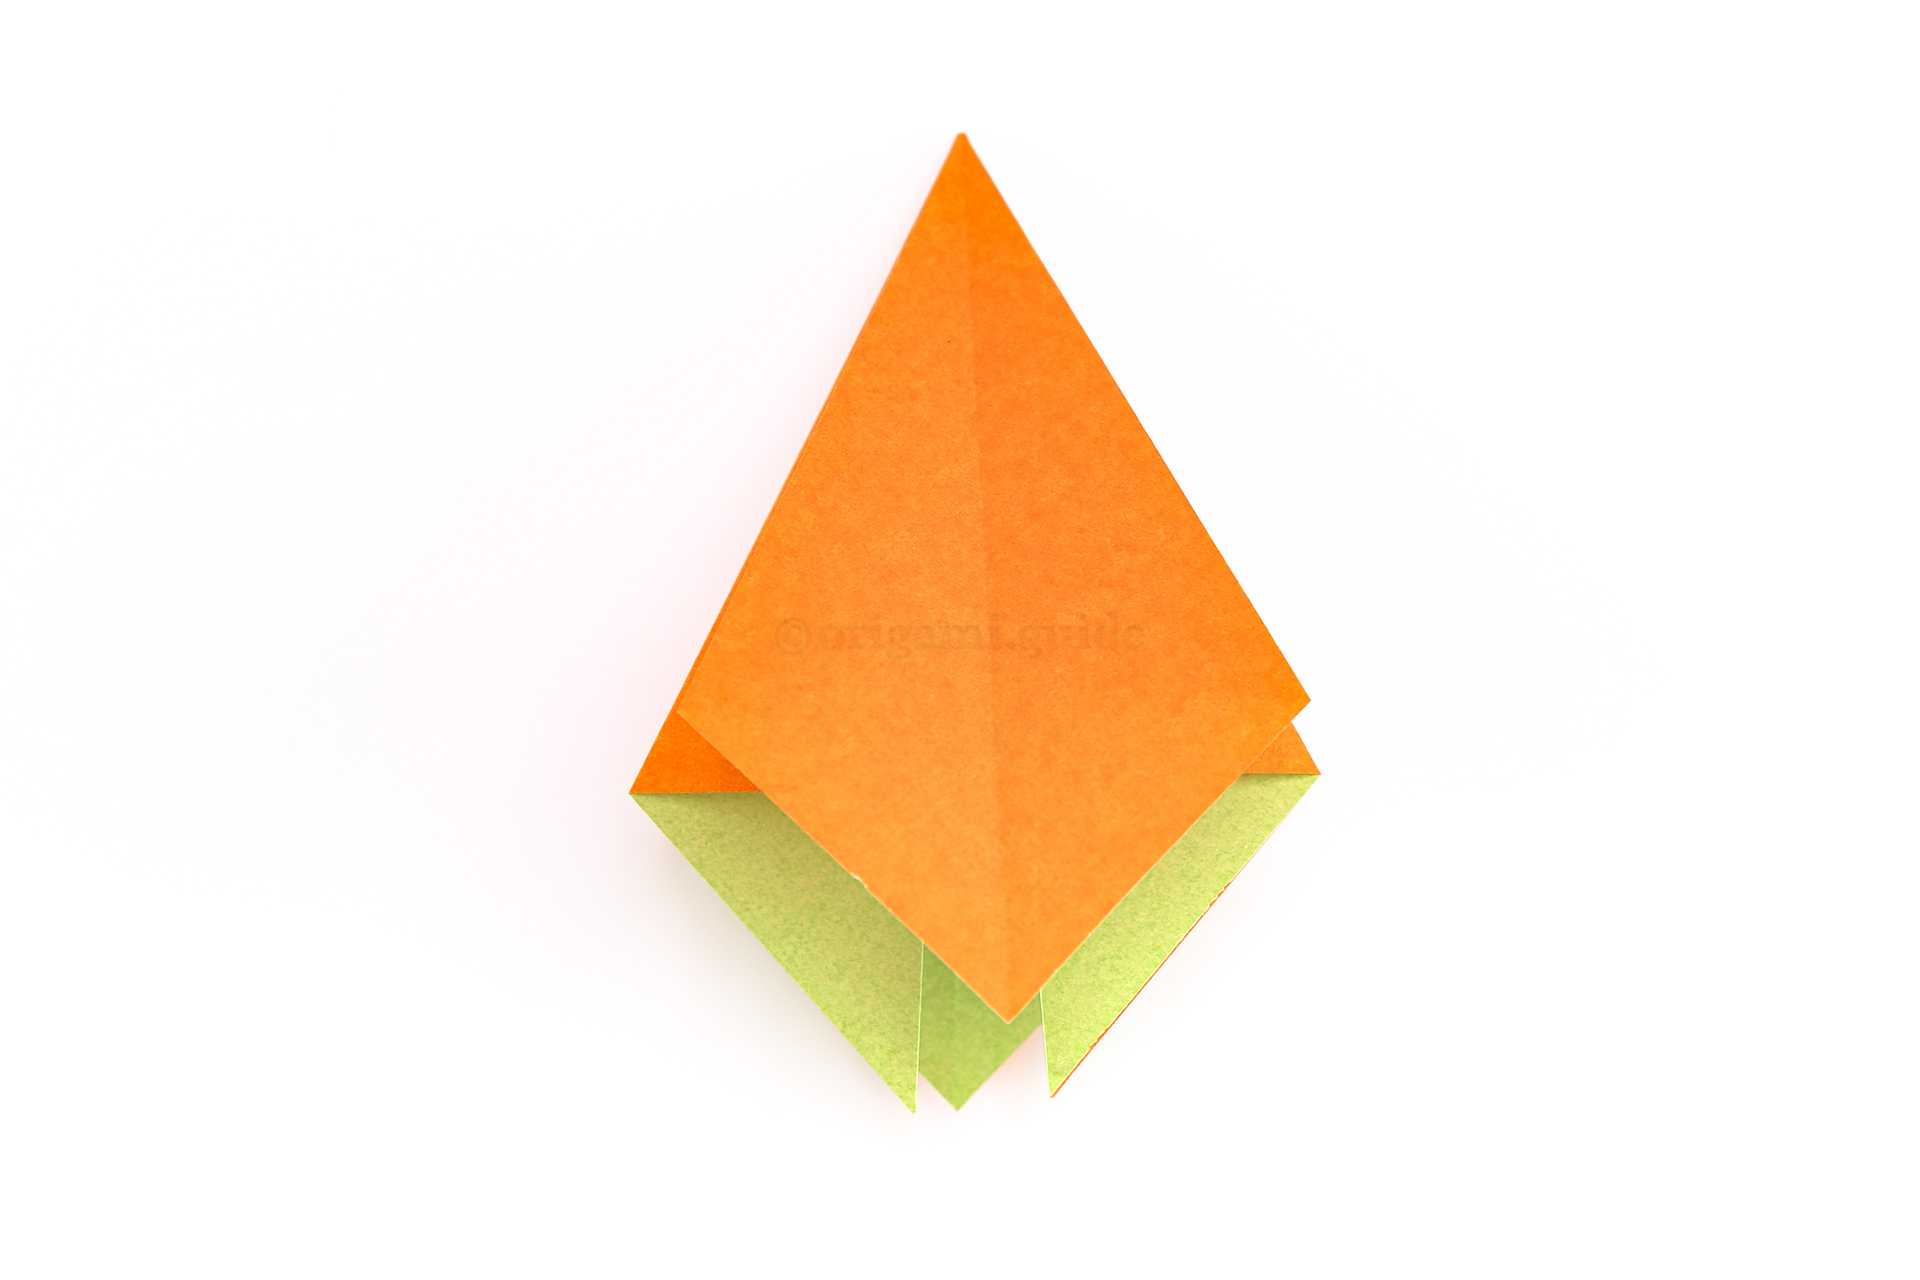
Step 23: Flip the paper over and repeat the squash fold on the remaining three sections.
Position the paper so that you are looking at a plain side as shown. -
24
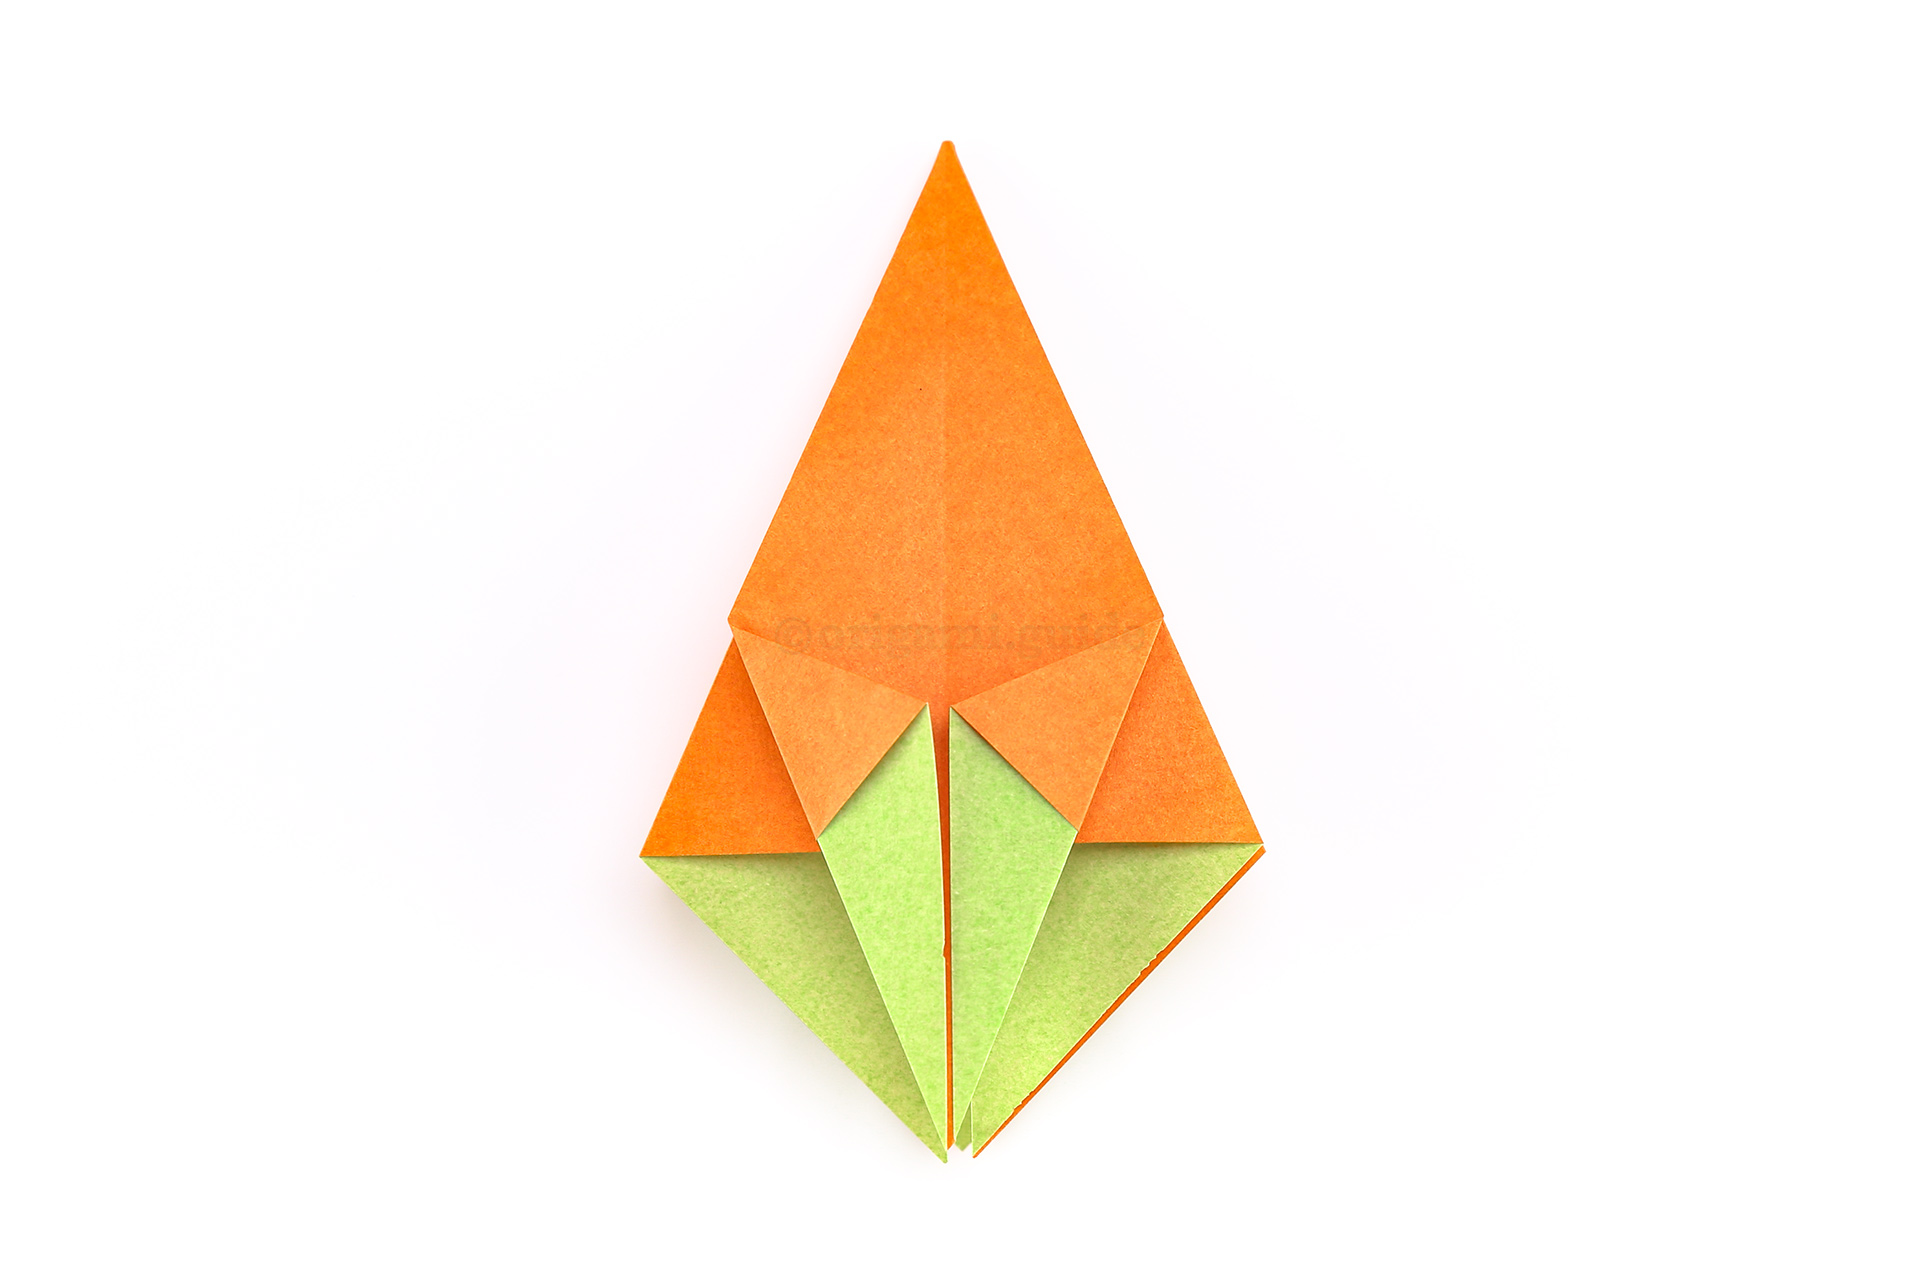
Step 24: Focusing on the front-most flap, fold the left and right diagonal edges of it to the middle crease.
-
25
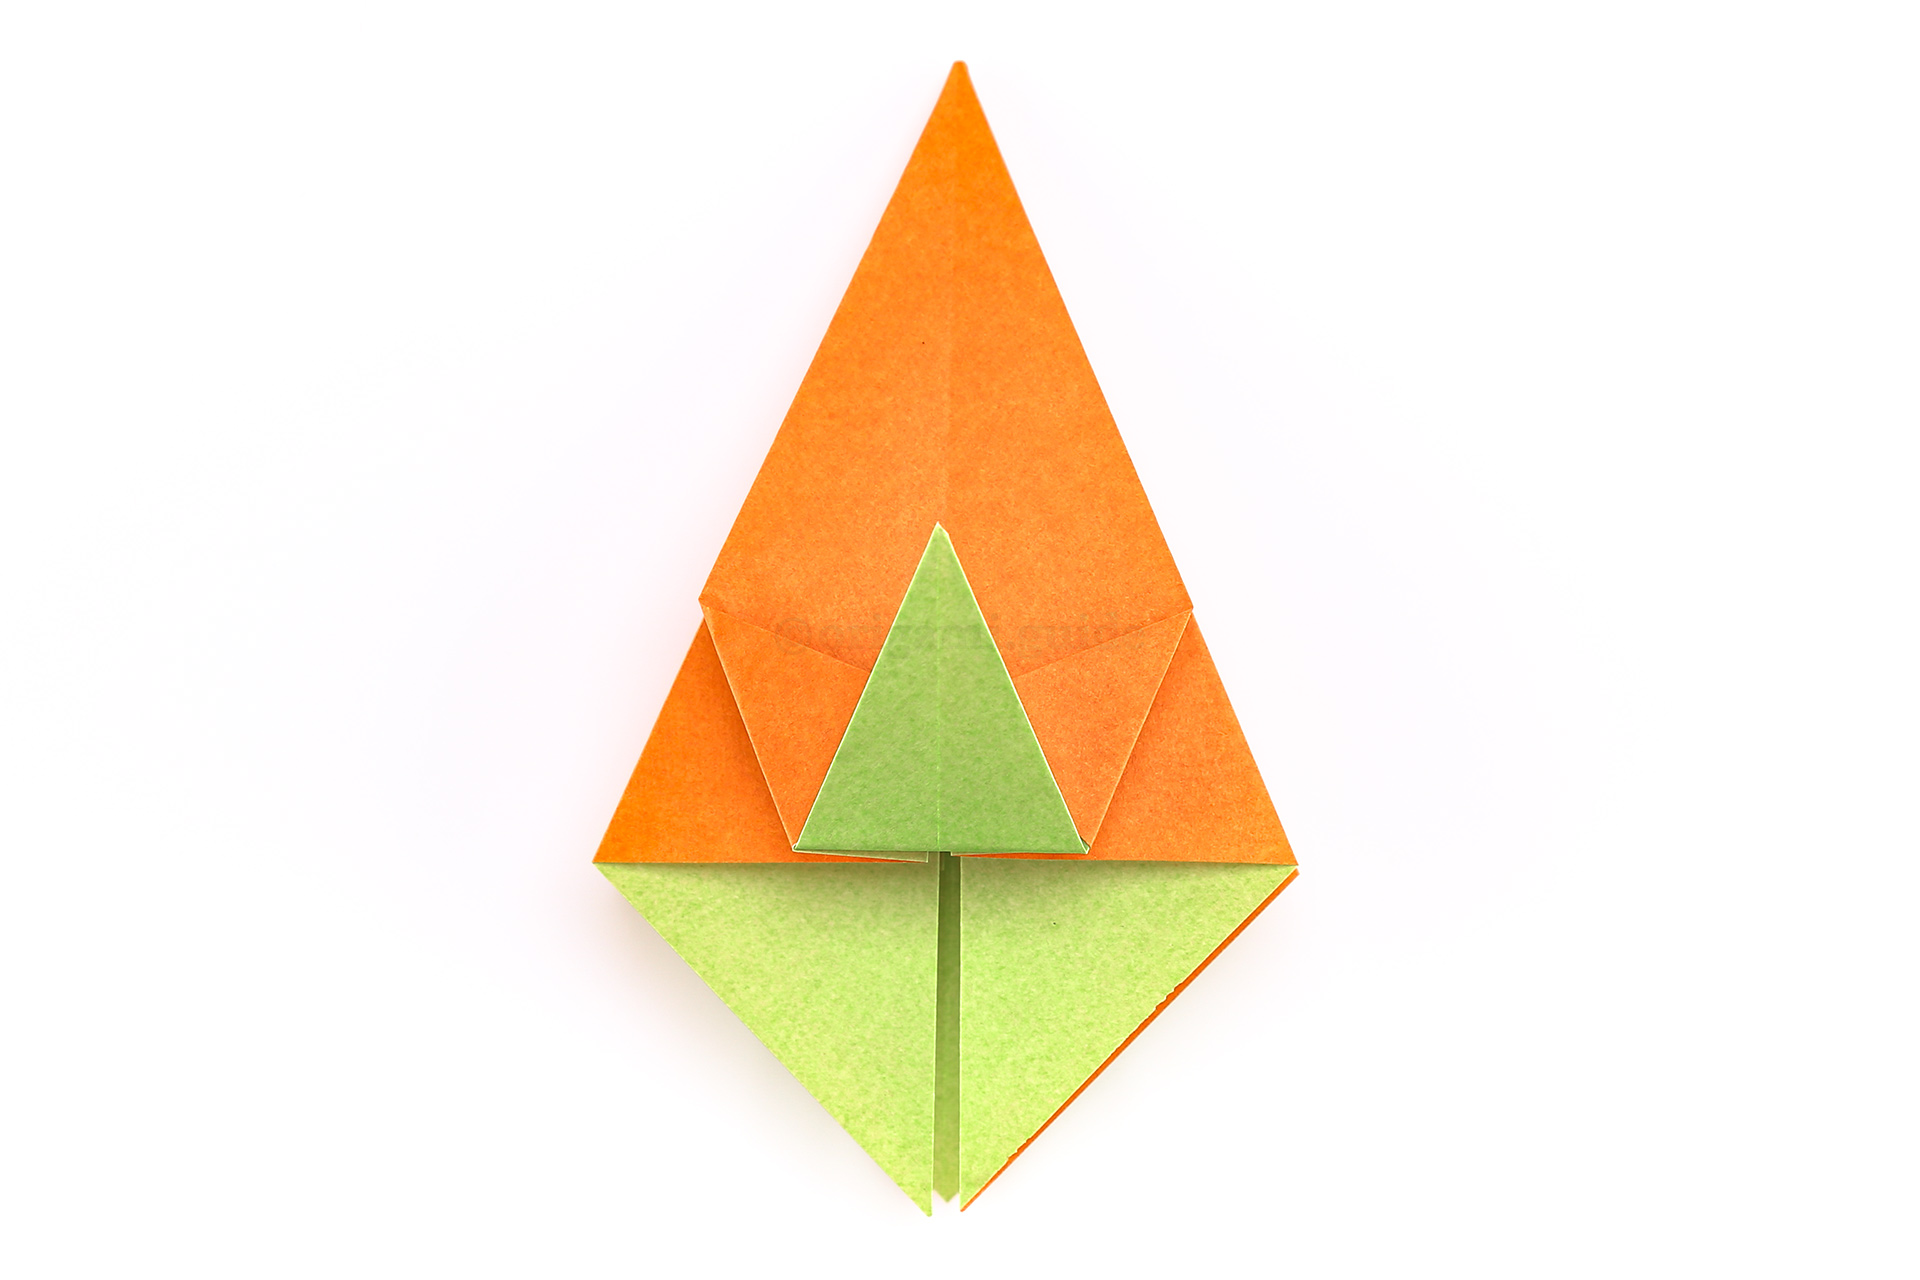
Step 25: Next, fold the lower point up like this.
-
26
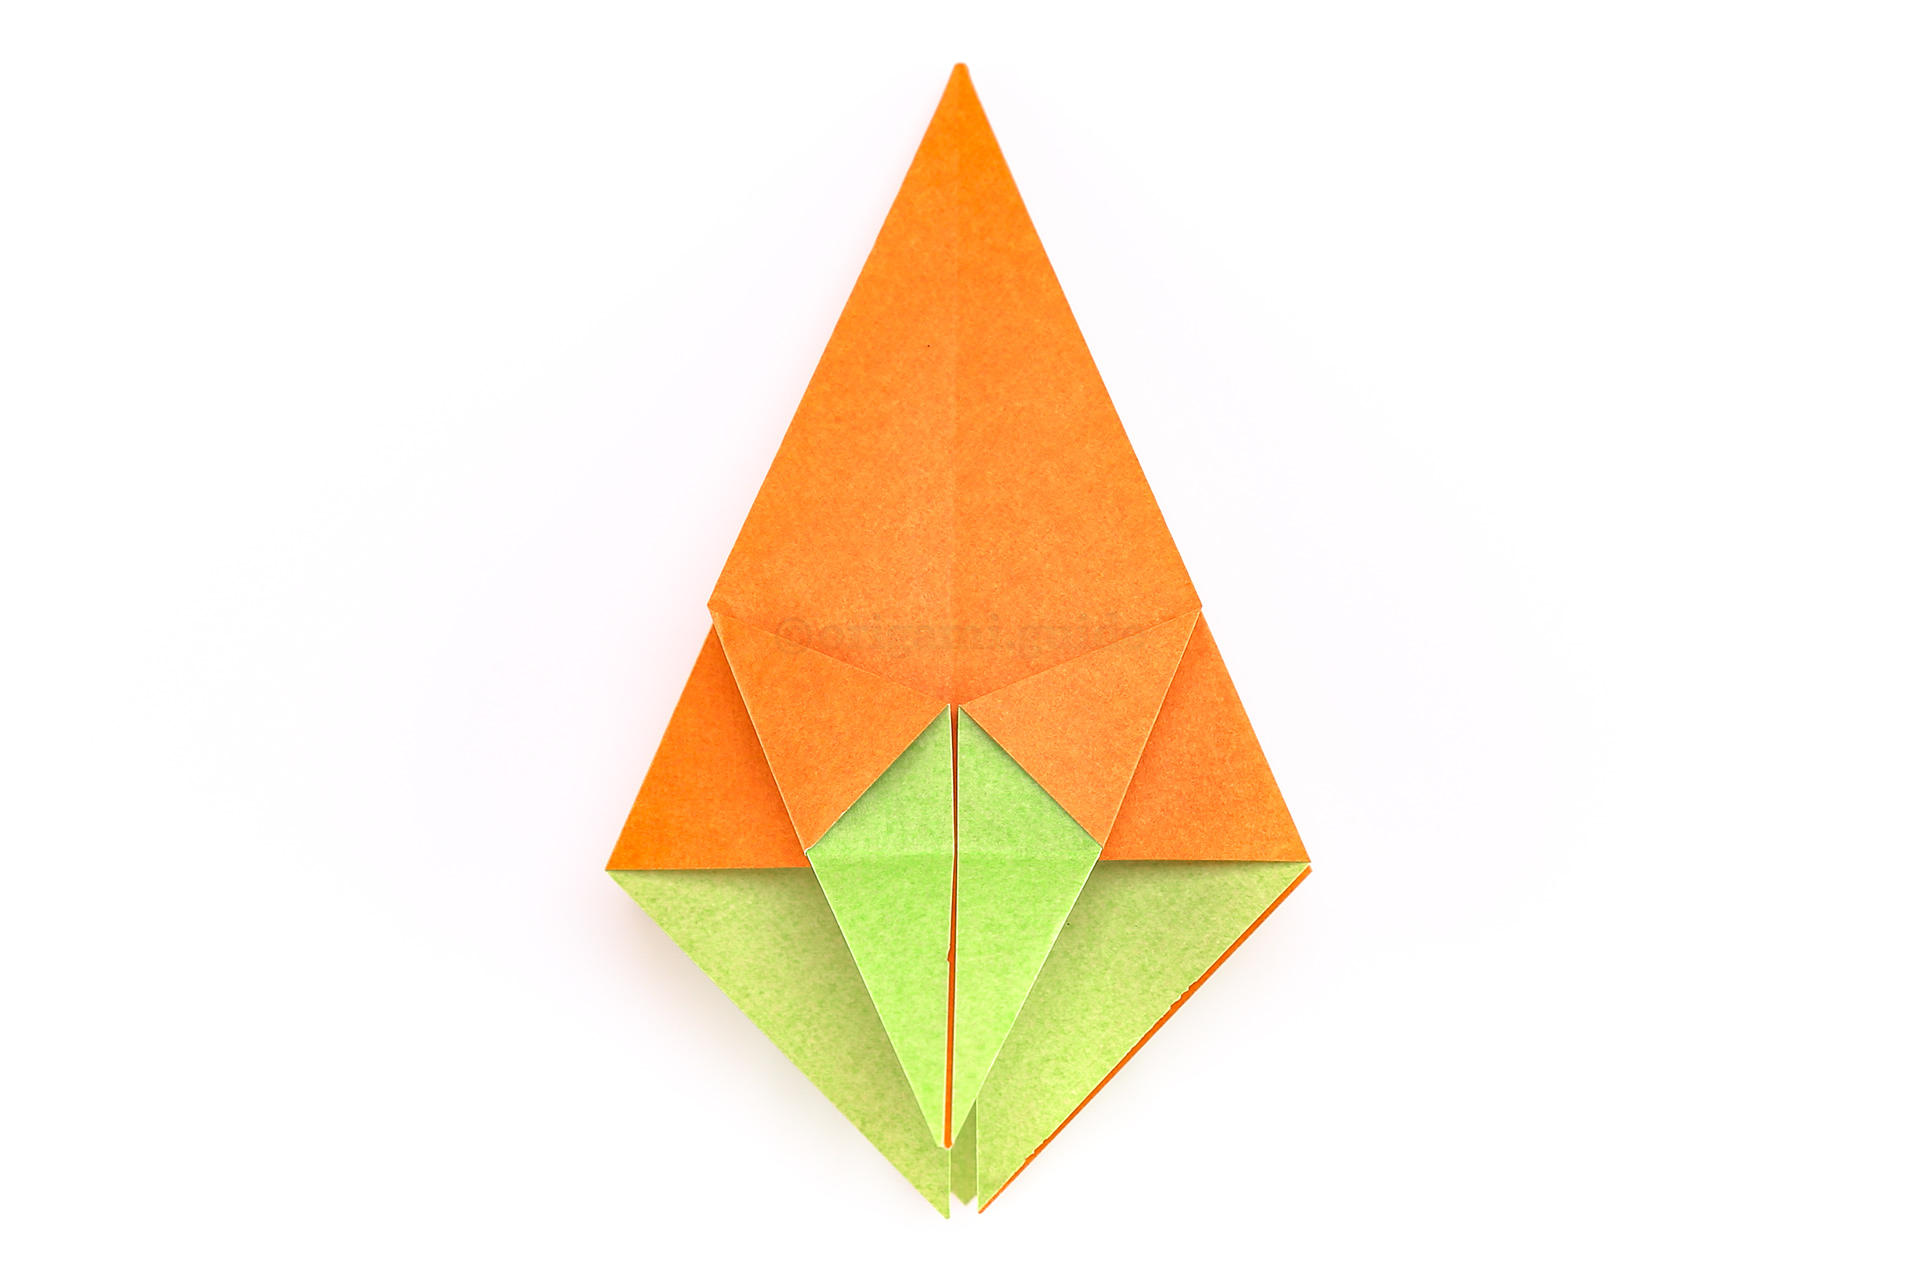
Step 26: Unfold the previous step.
-
27
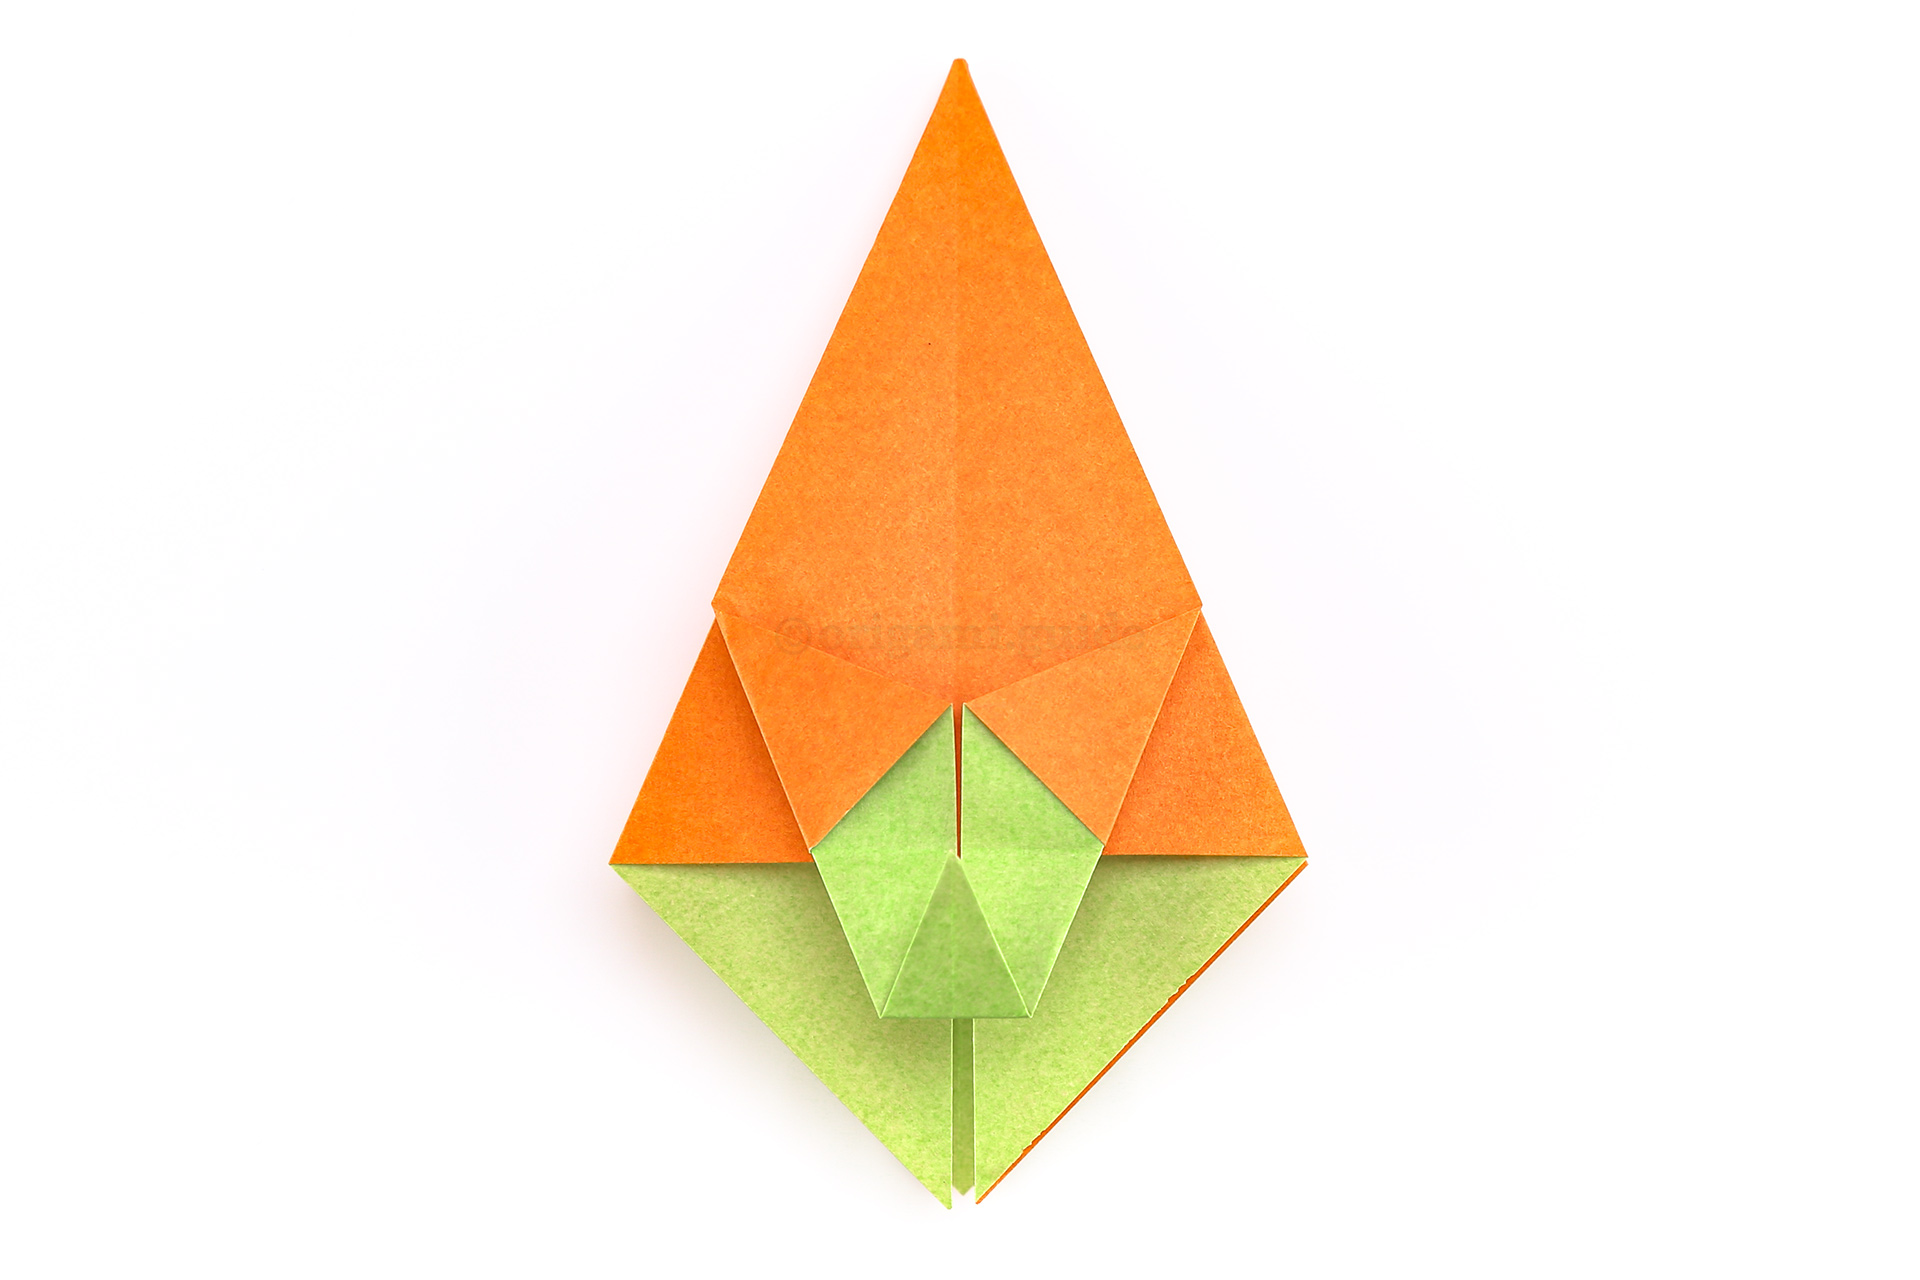
Step 27: Fold the lower point up to meet the crease you just made.
-
28
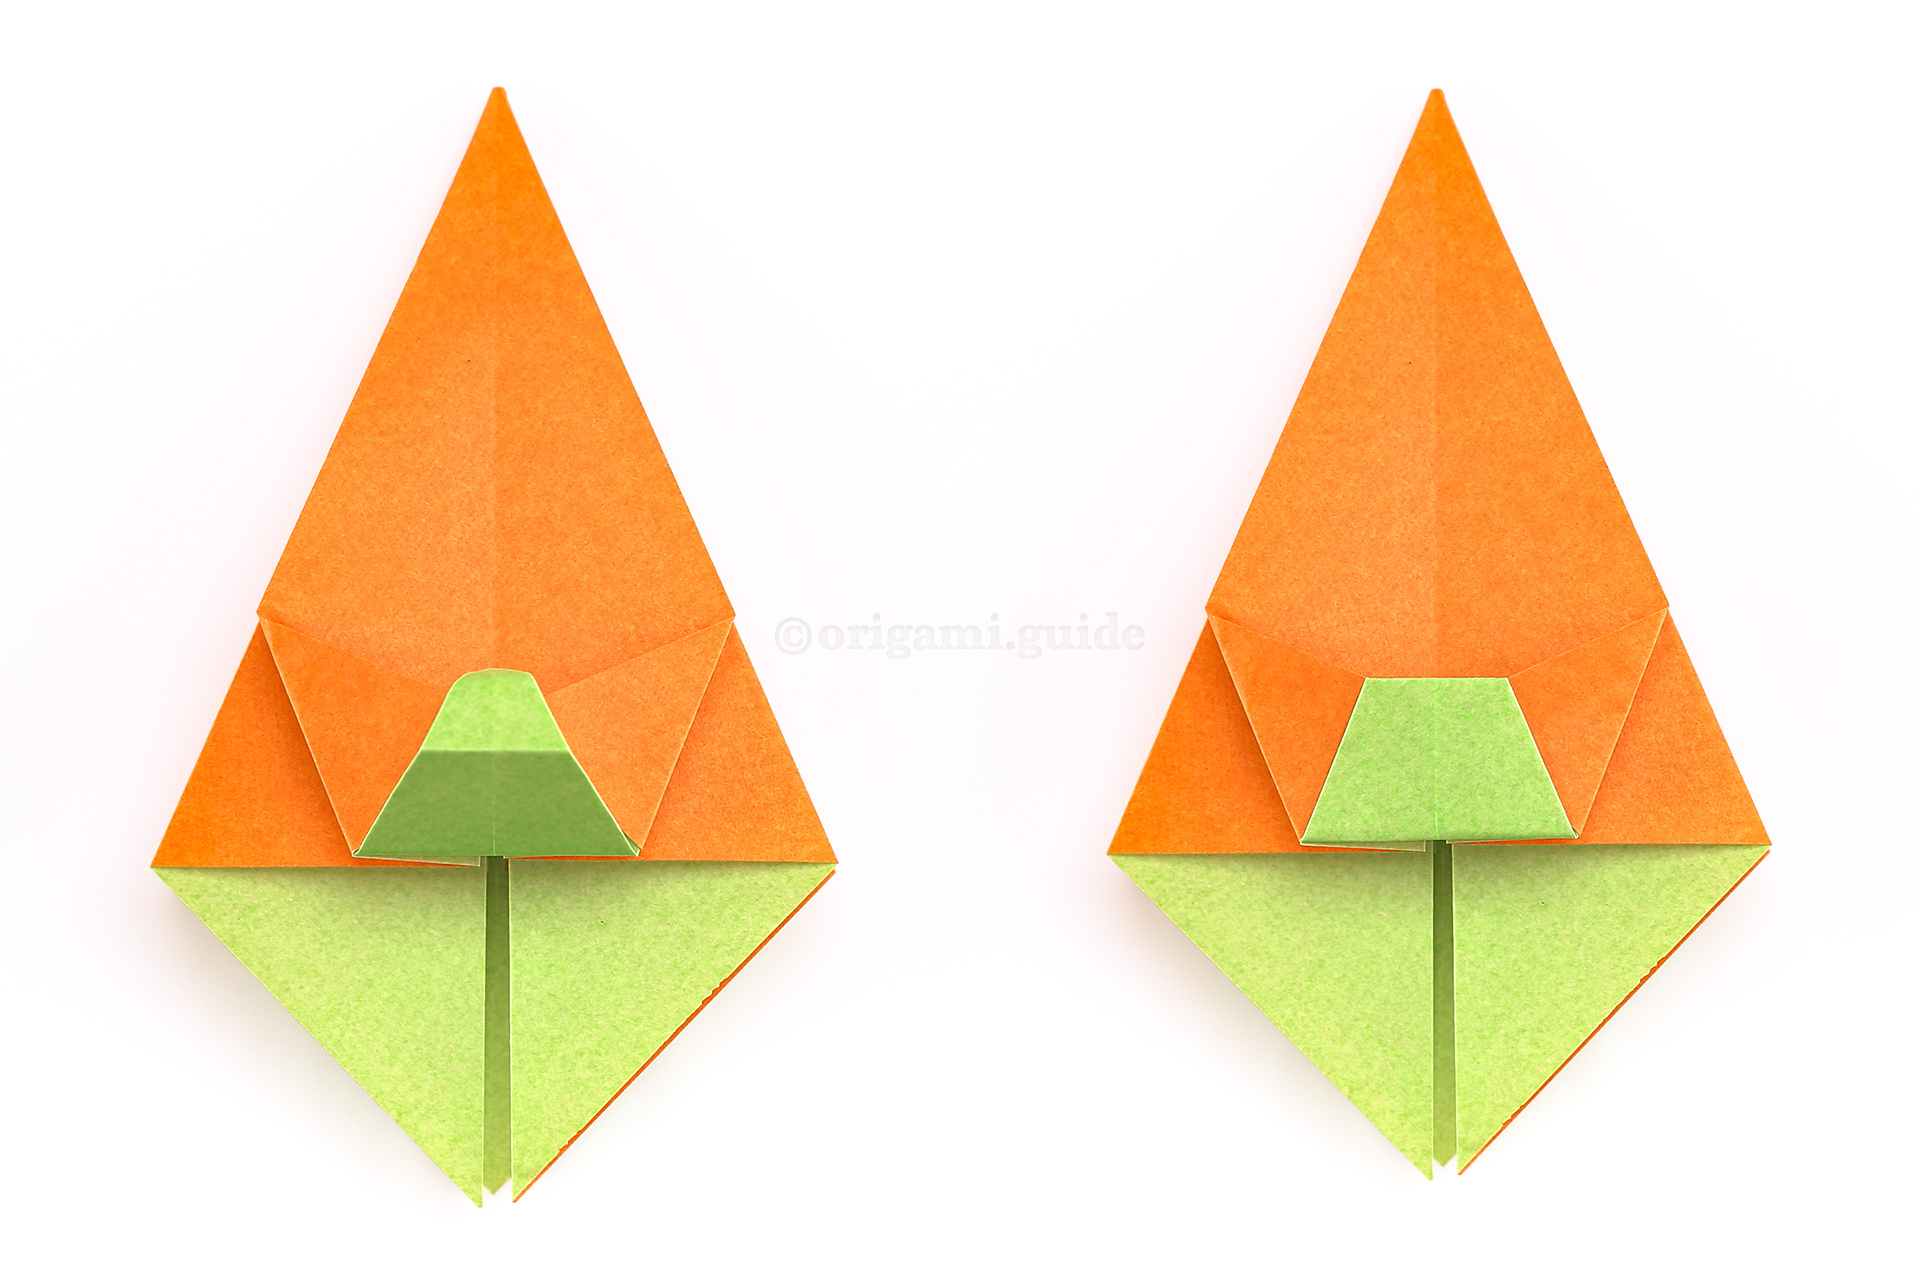
Step 28: Now, fold the pont back up and tuck the point under the triangular flaps.
-
29
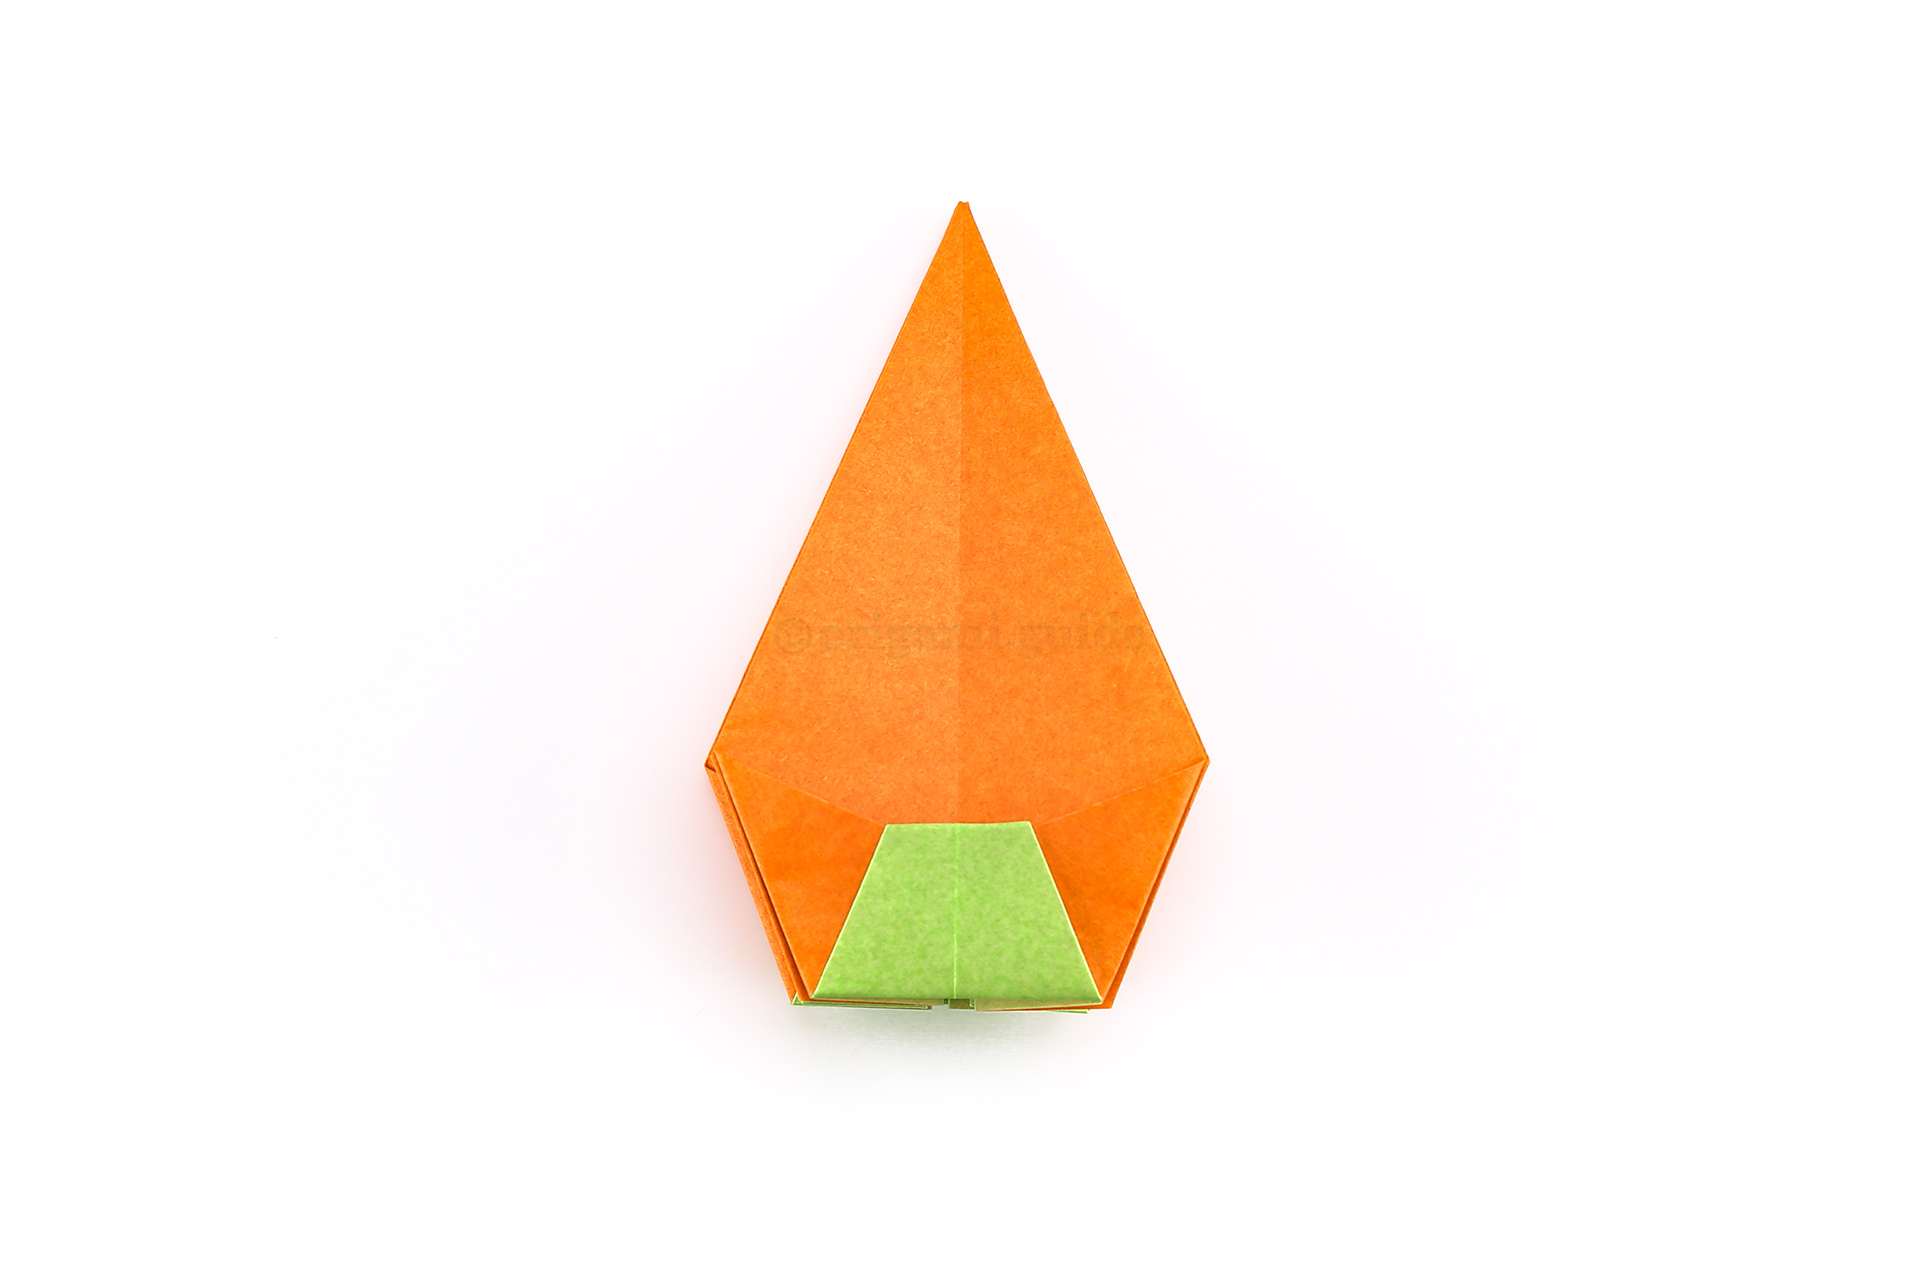
Step 29: Repeat this process on the other three "sides".
-
30
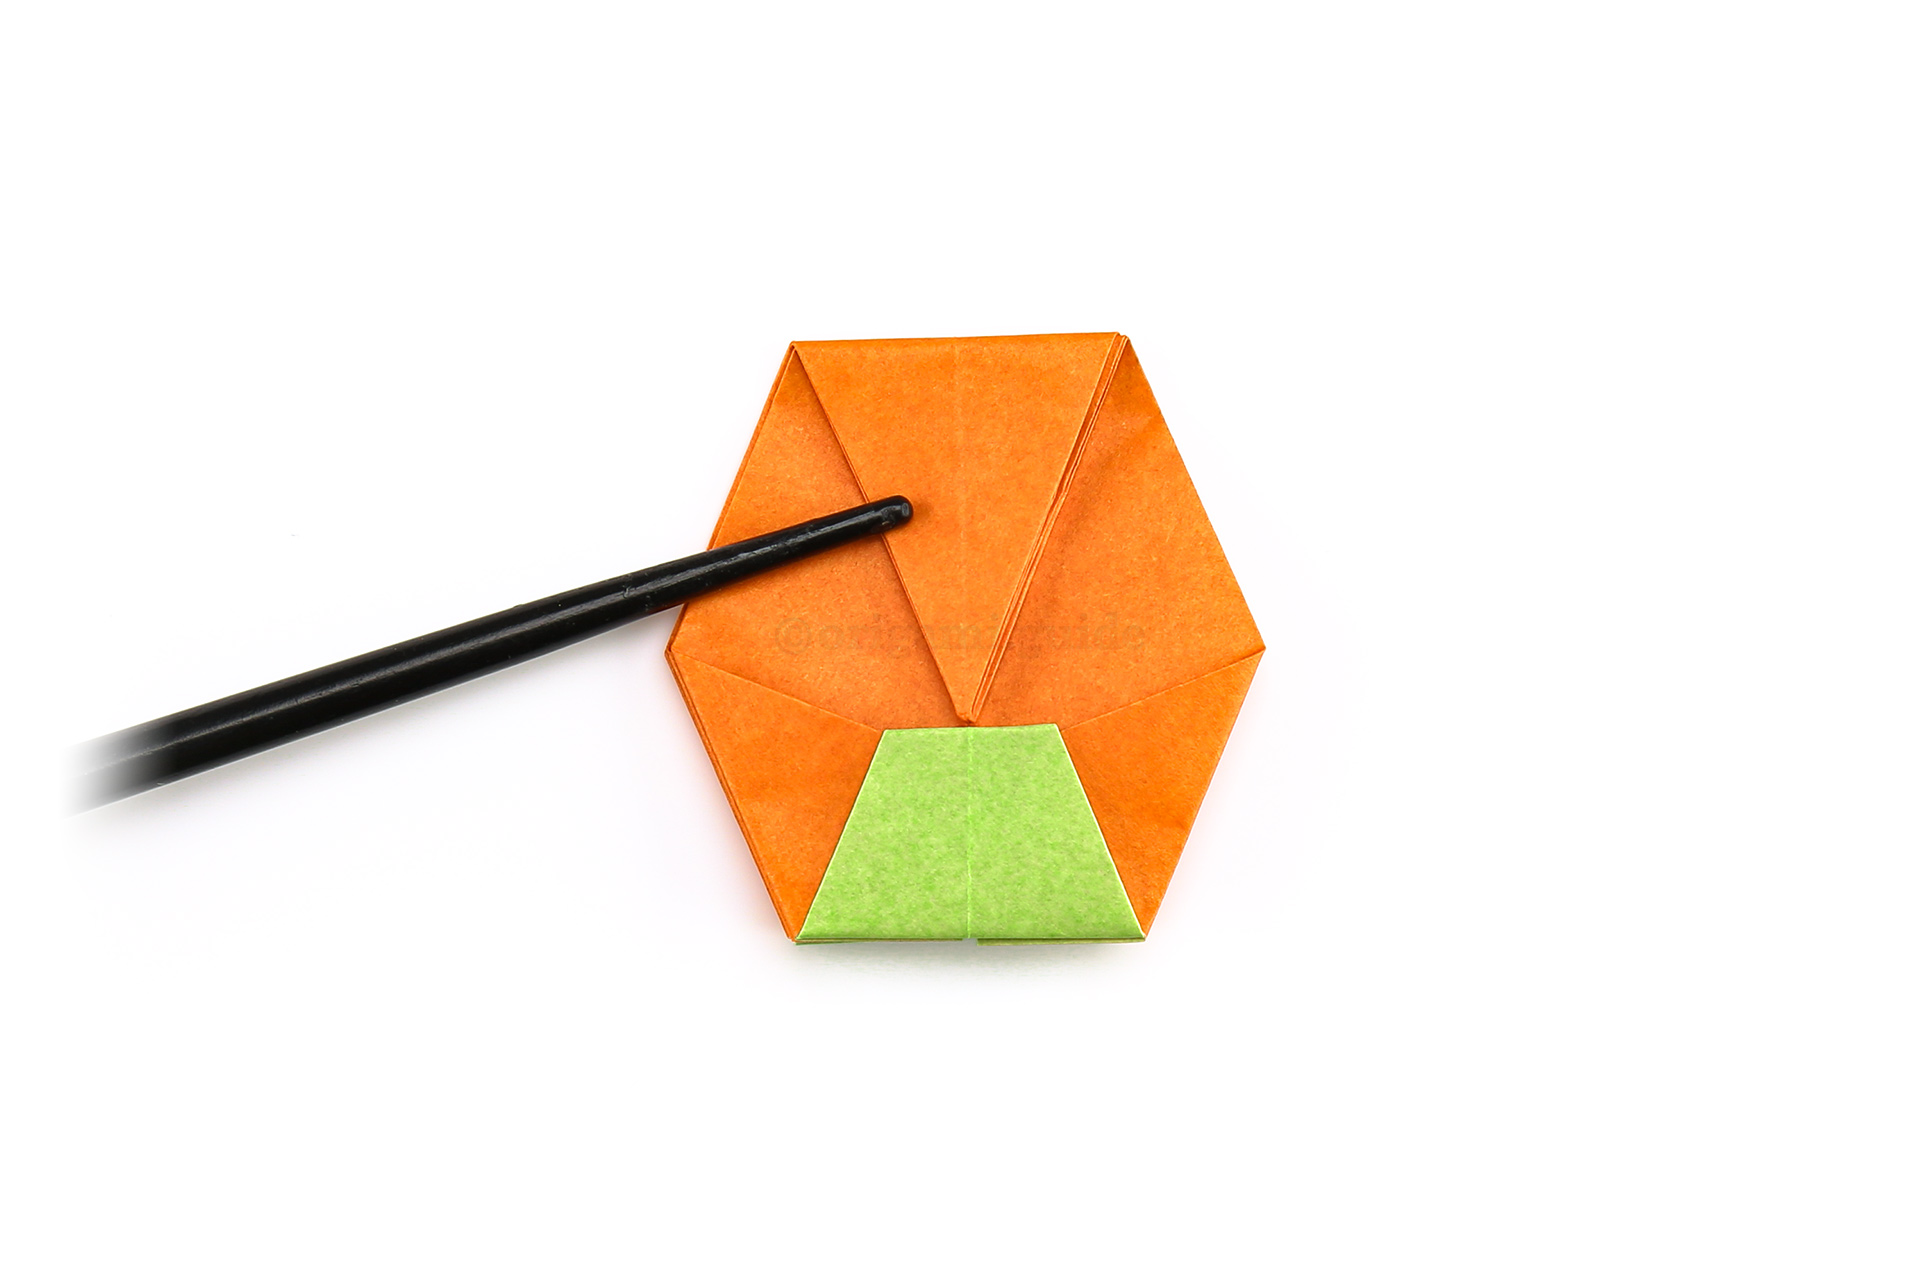
Step 30: Create a crease by folding the top point down to the top of the lower flap.
-
31
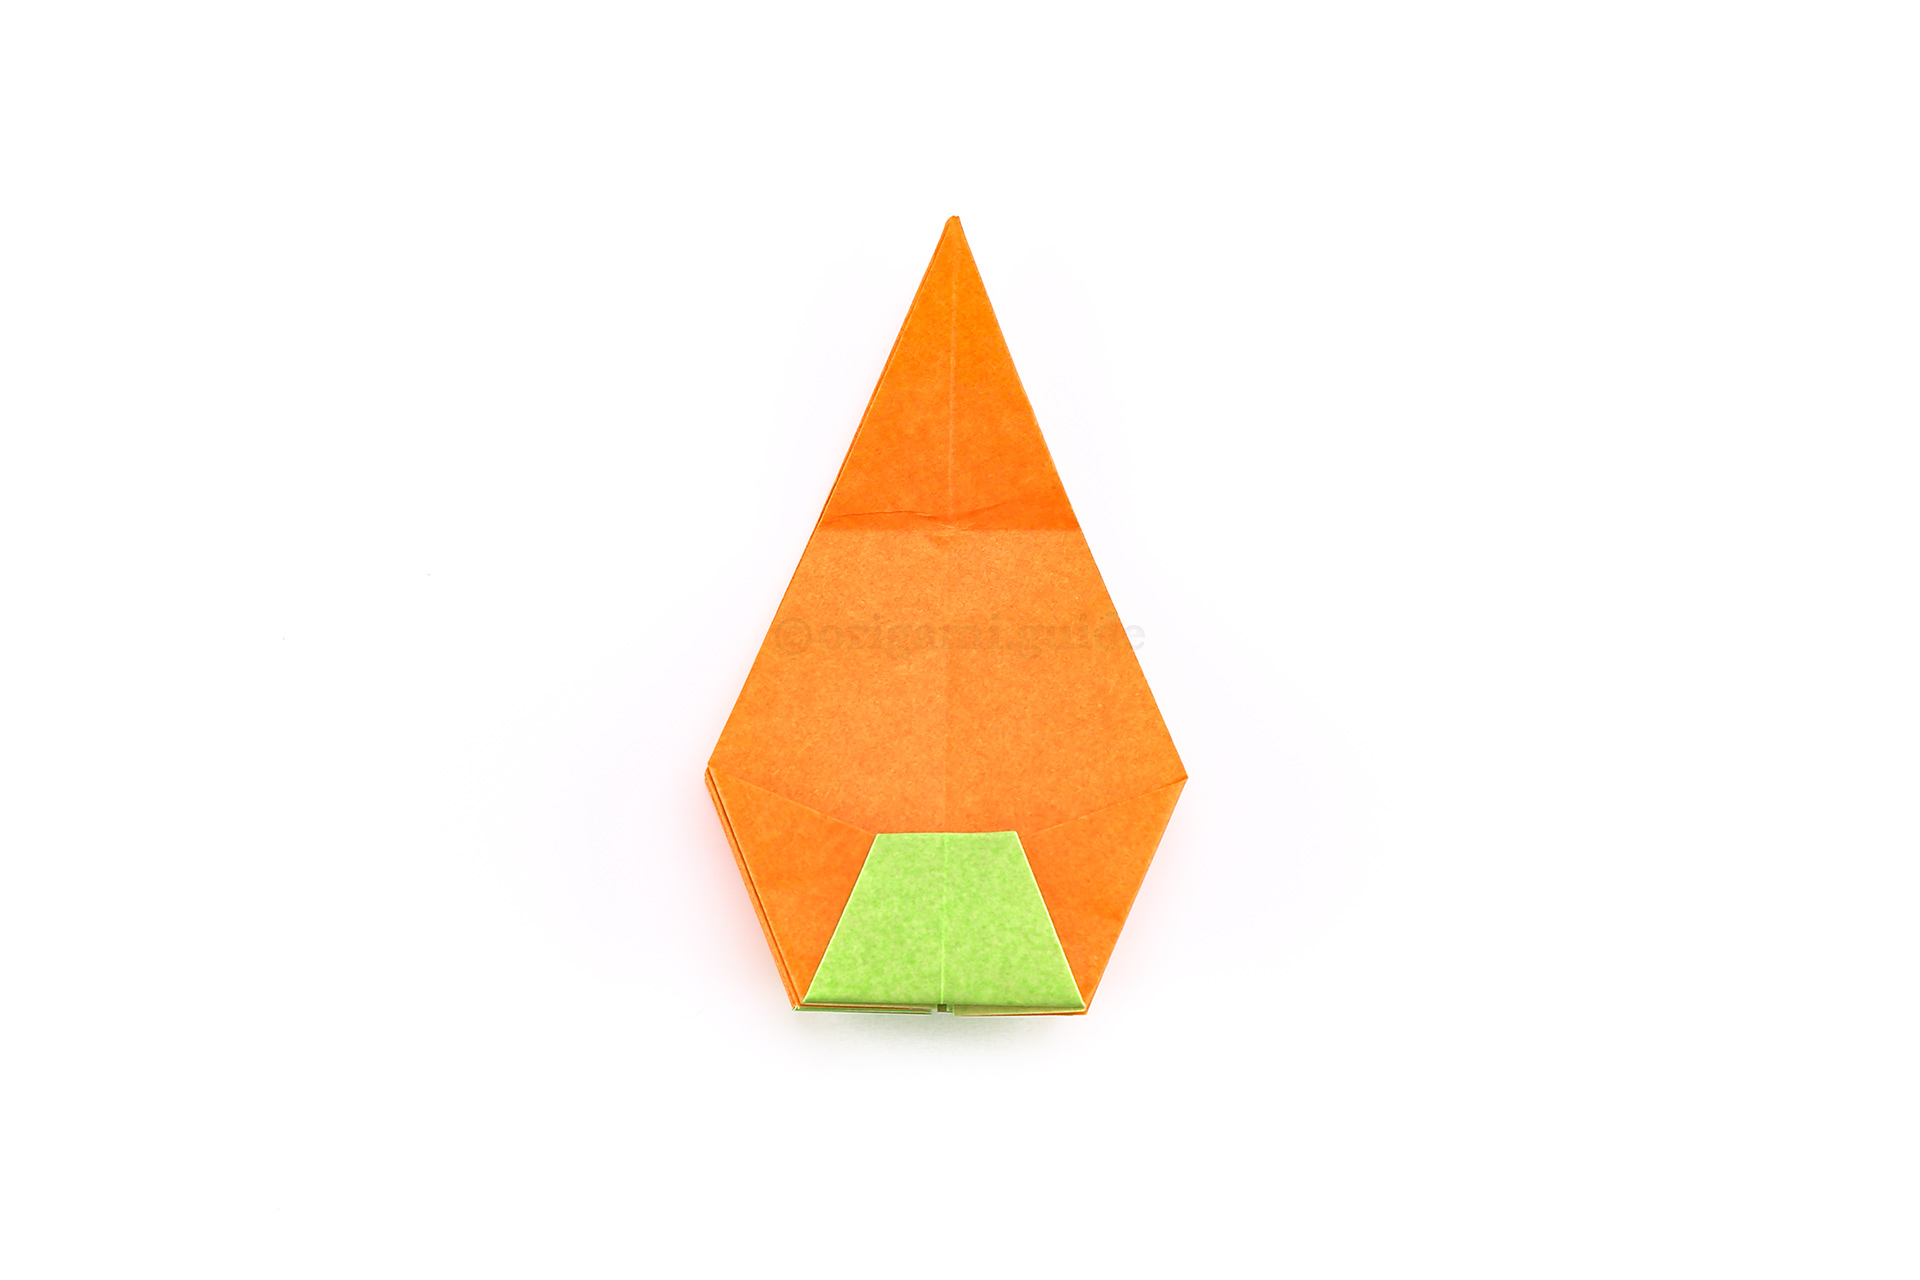
Step 31: Unfold the point back up.
-
32
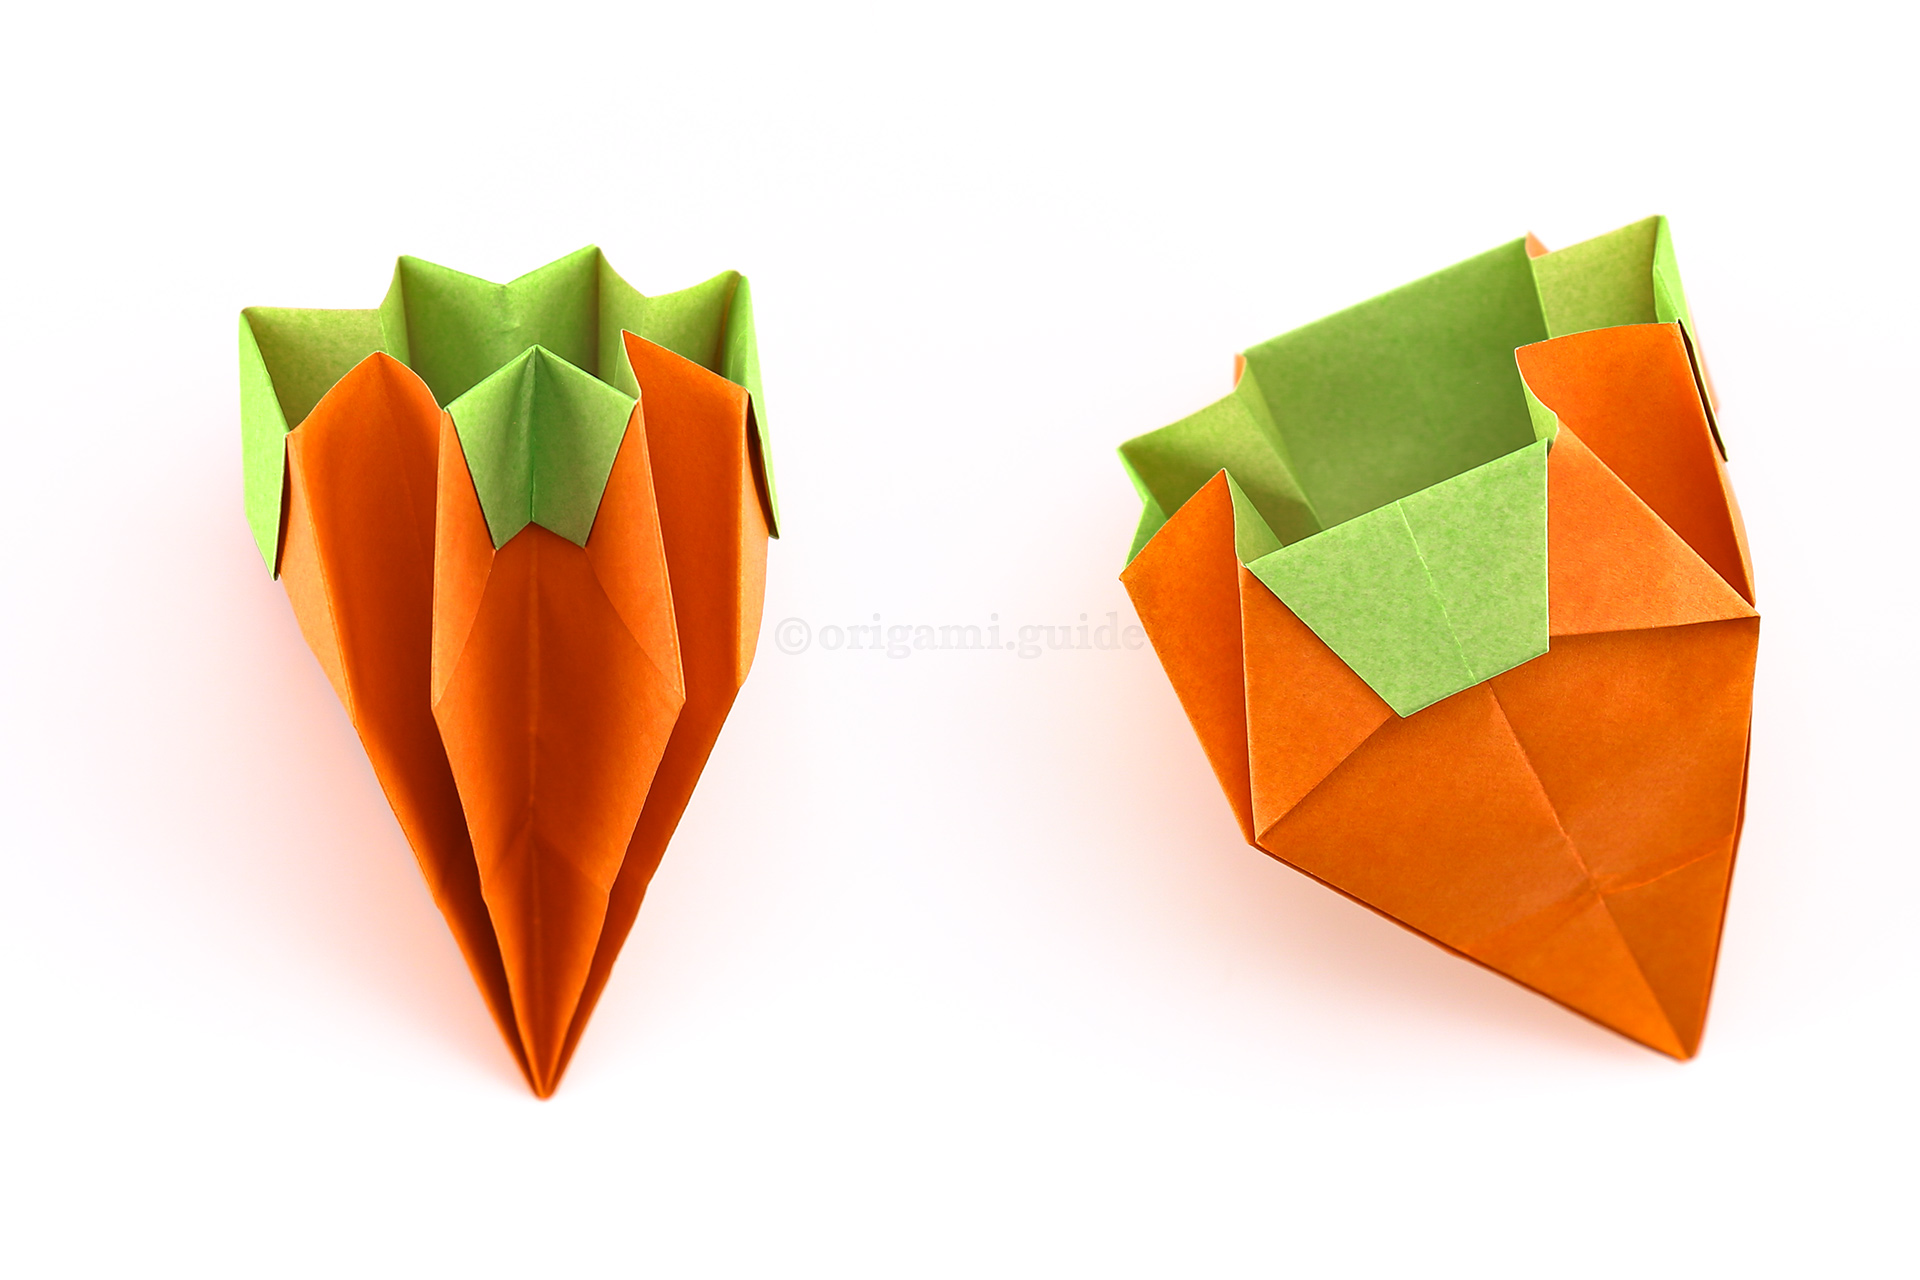
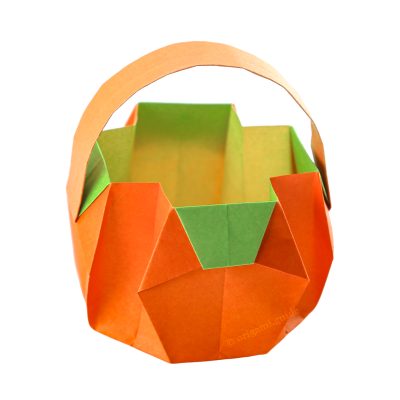
Step 32: It's time to open out the pumpkin basket.
Pick up the paper and carefully open out the inside of the basket. Don't worry if the flaps become undone, it's easy to pop them back. -
33
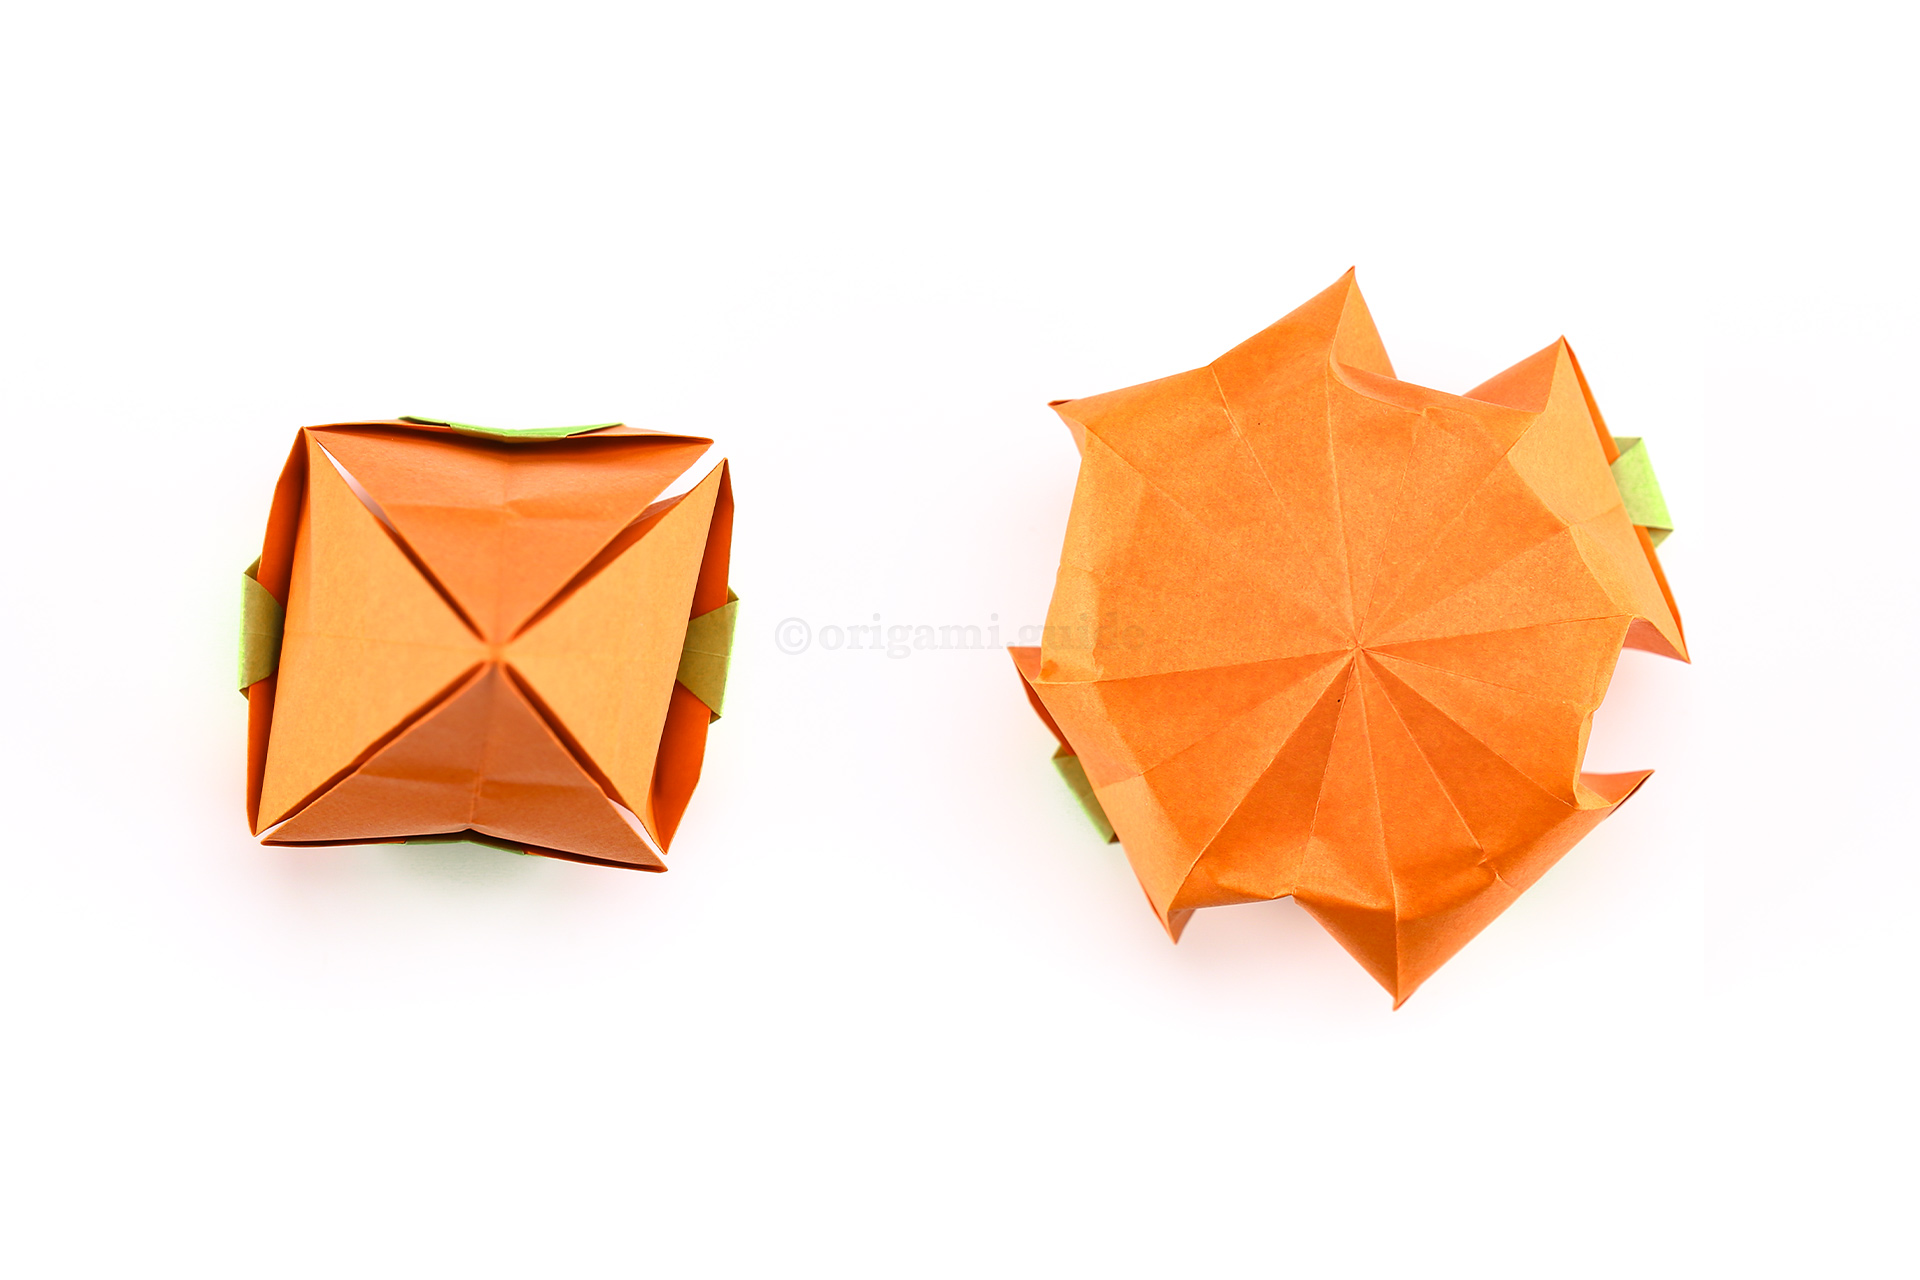
Step 33: This is the view from the top, you can see that the goal is to open the basket out and use the 8 sided octagonal shape as the base. The octagonal shape was created in step 30.
What Halloween Origami To Fold Next?
View all Halloween Origami Tutorials
Leave A Comment
Did you fold this Origami Pumpkin Basket? Let us know what you thought.
You can also upload a photo of your result!