Made this origami? Leave a comment & submit your photo here.
-
25
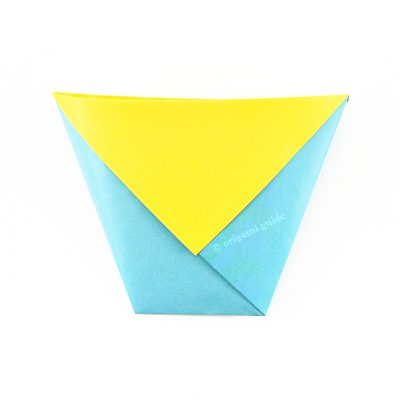
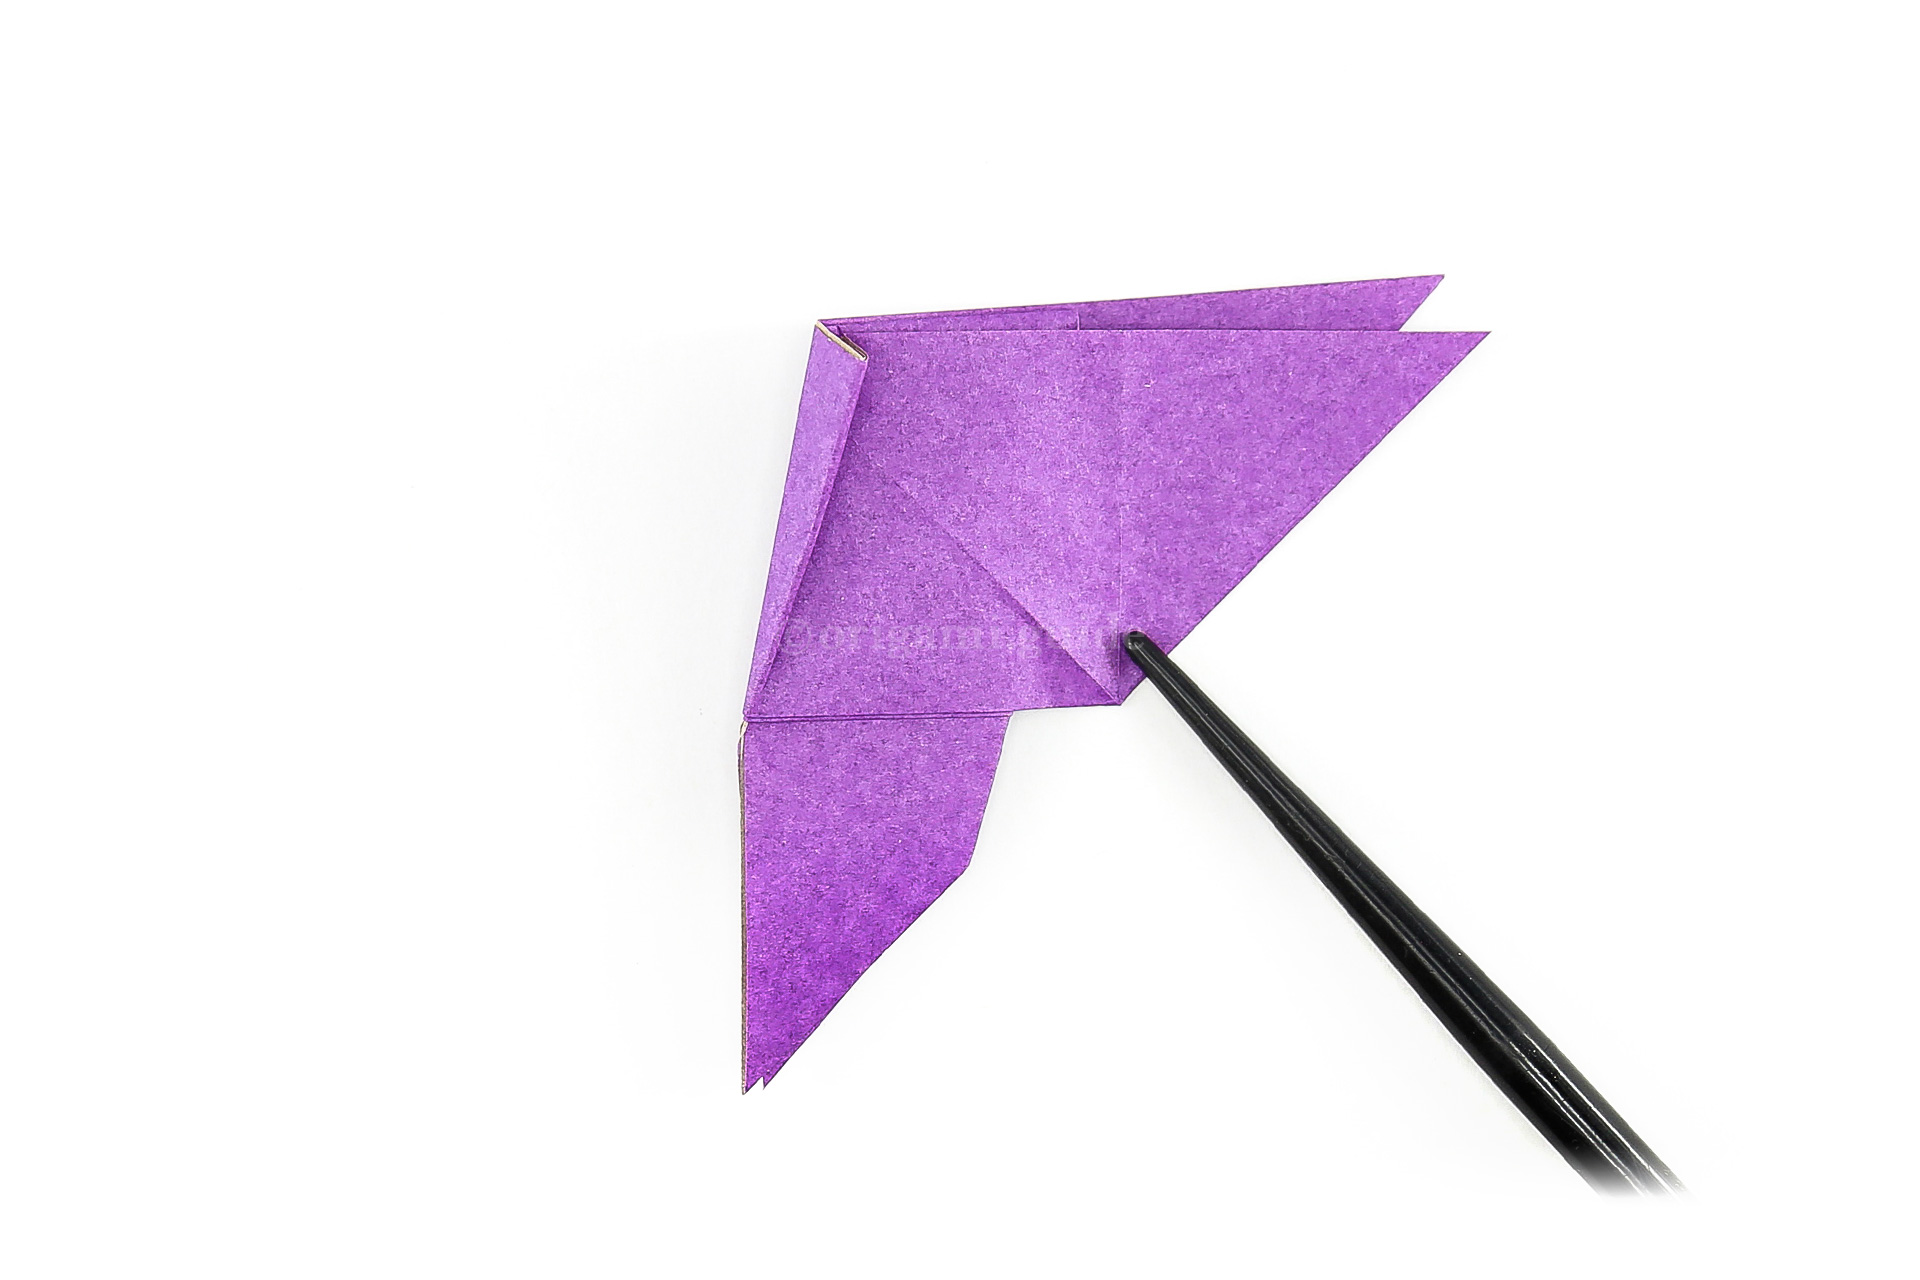
Step 25: Next fold the outer diagonal edges of the lower flaps in a little bit as shown.
-
26
Step 26: Fold the left section over to the right.
-
27
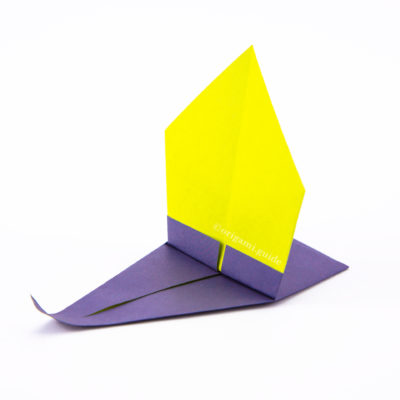
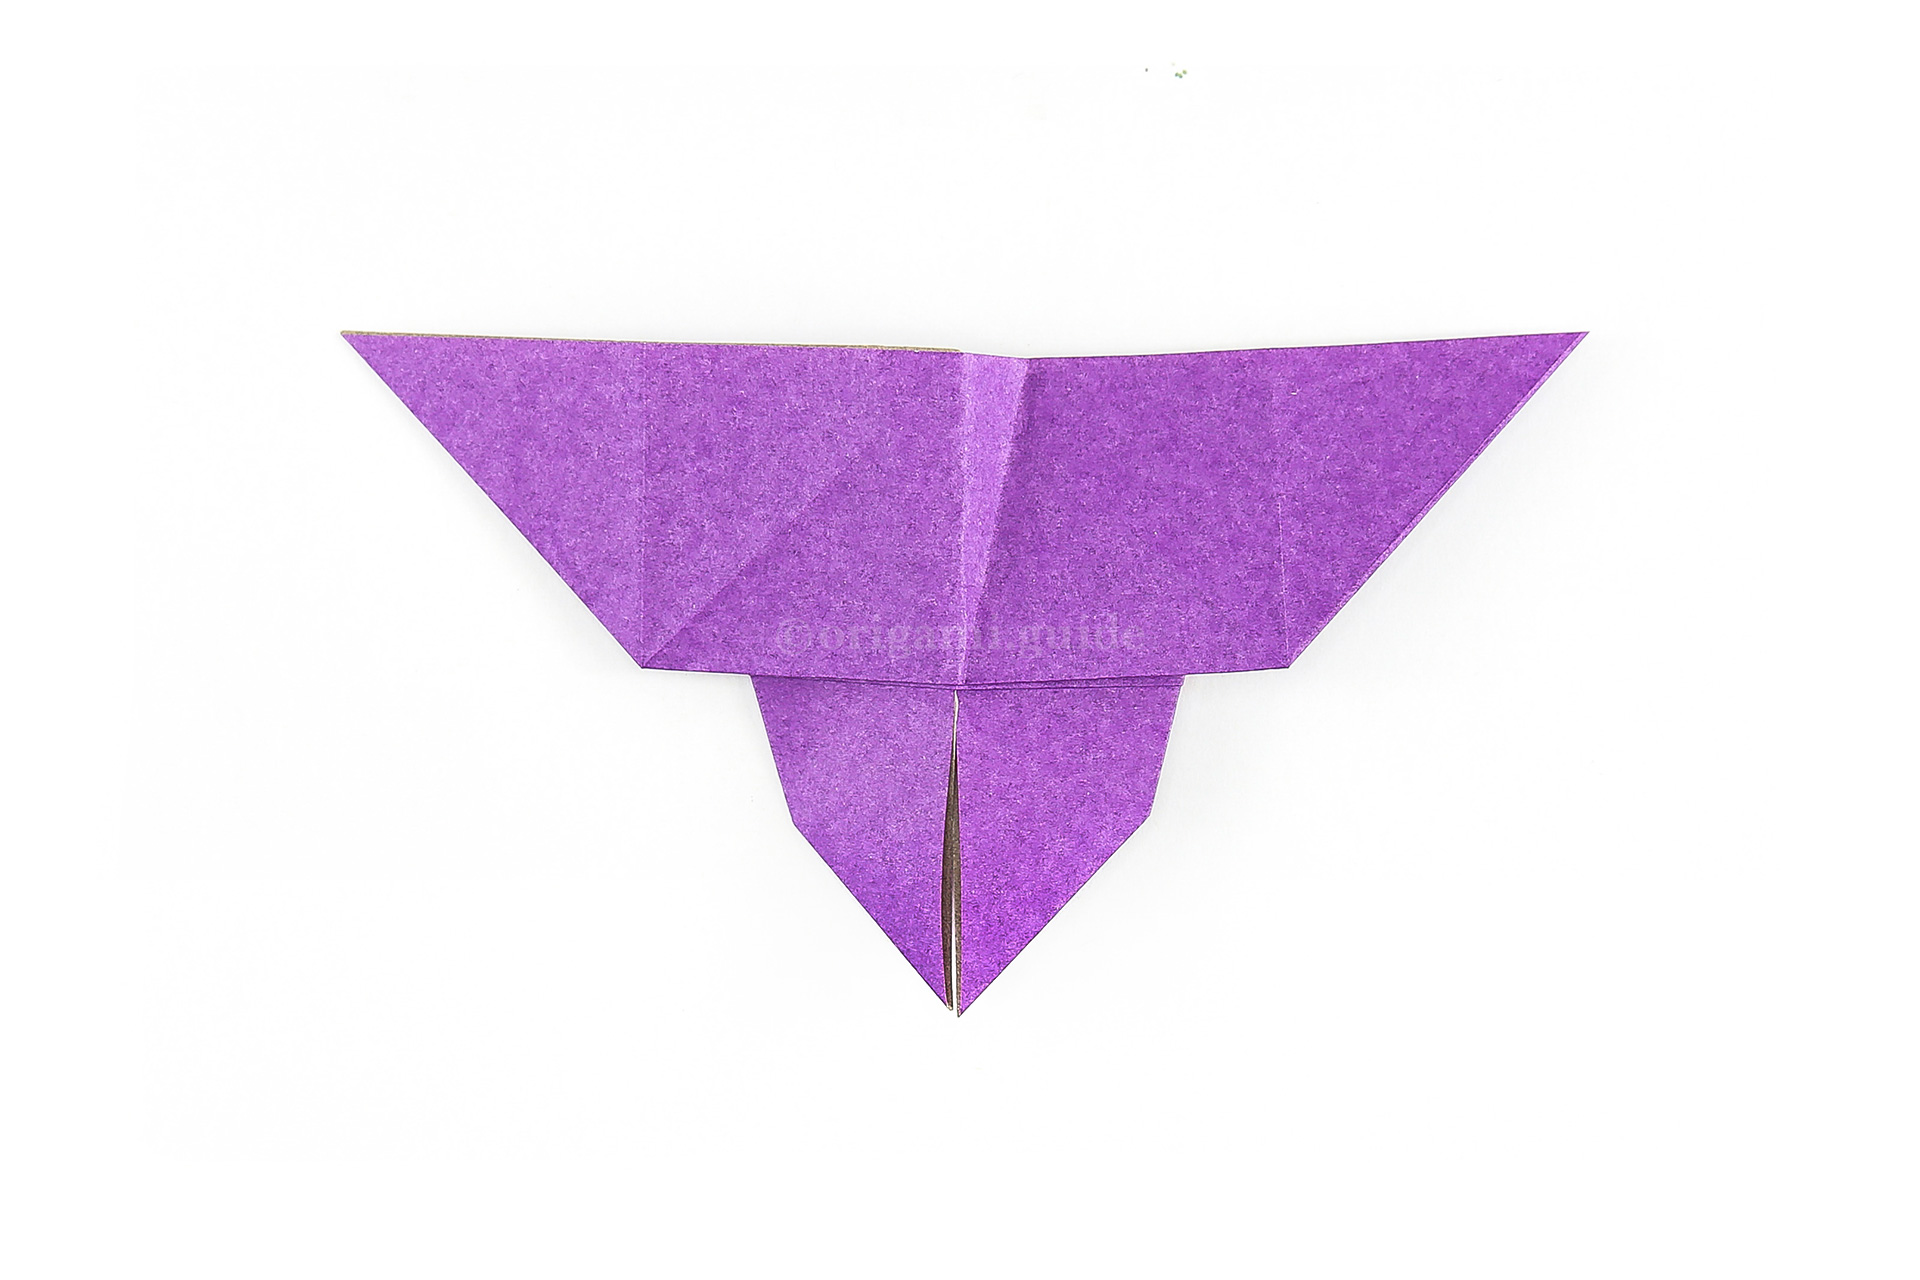
Step 27: To create the "body" of the butterfly, make a diagonal crease on the left edge.
-
28
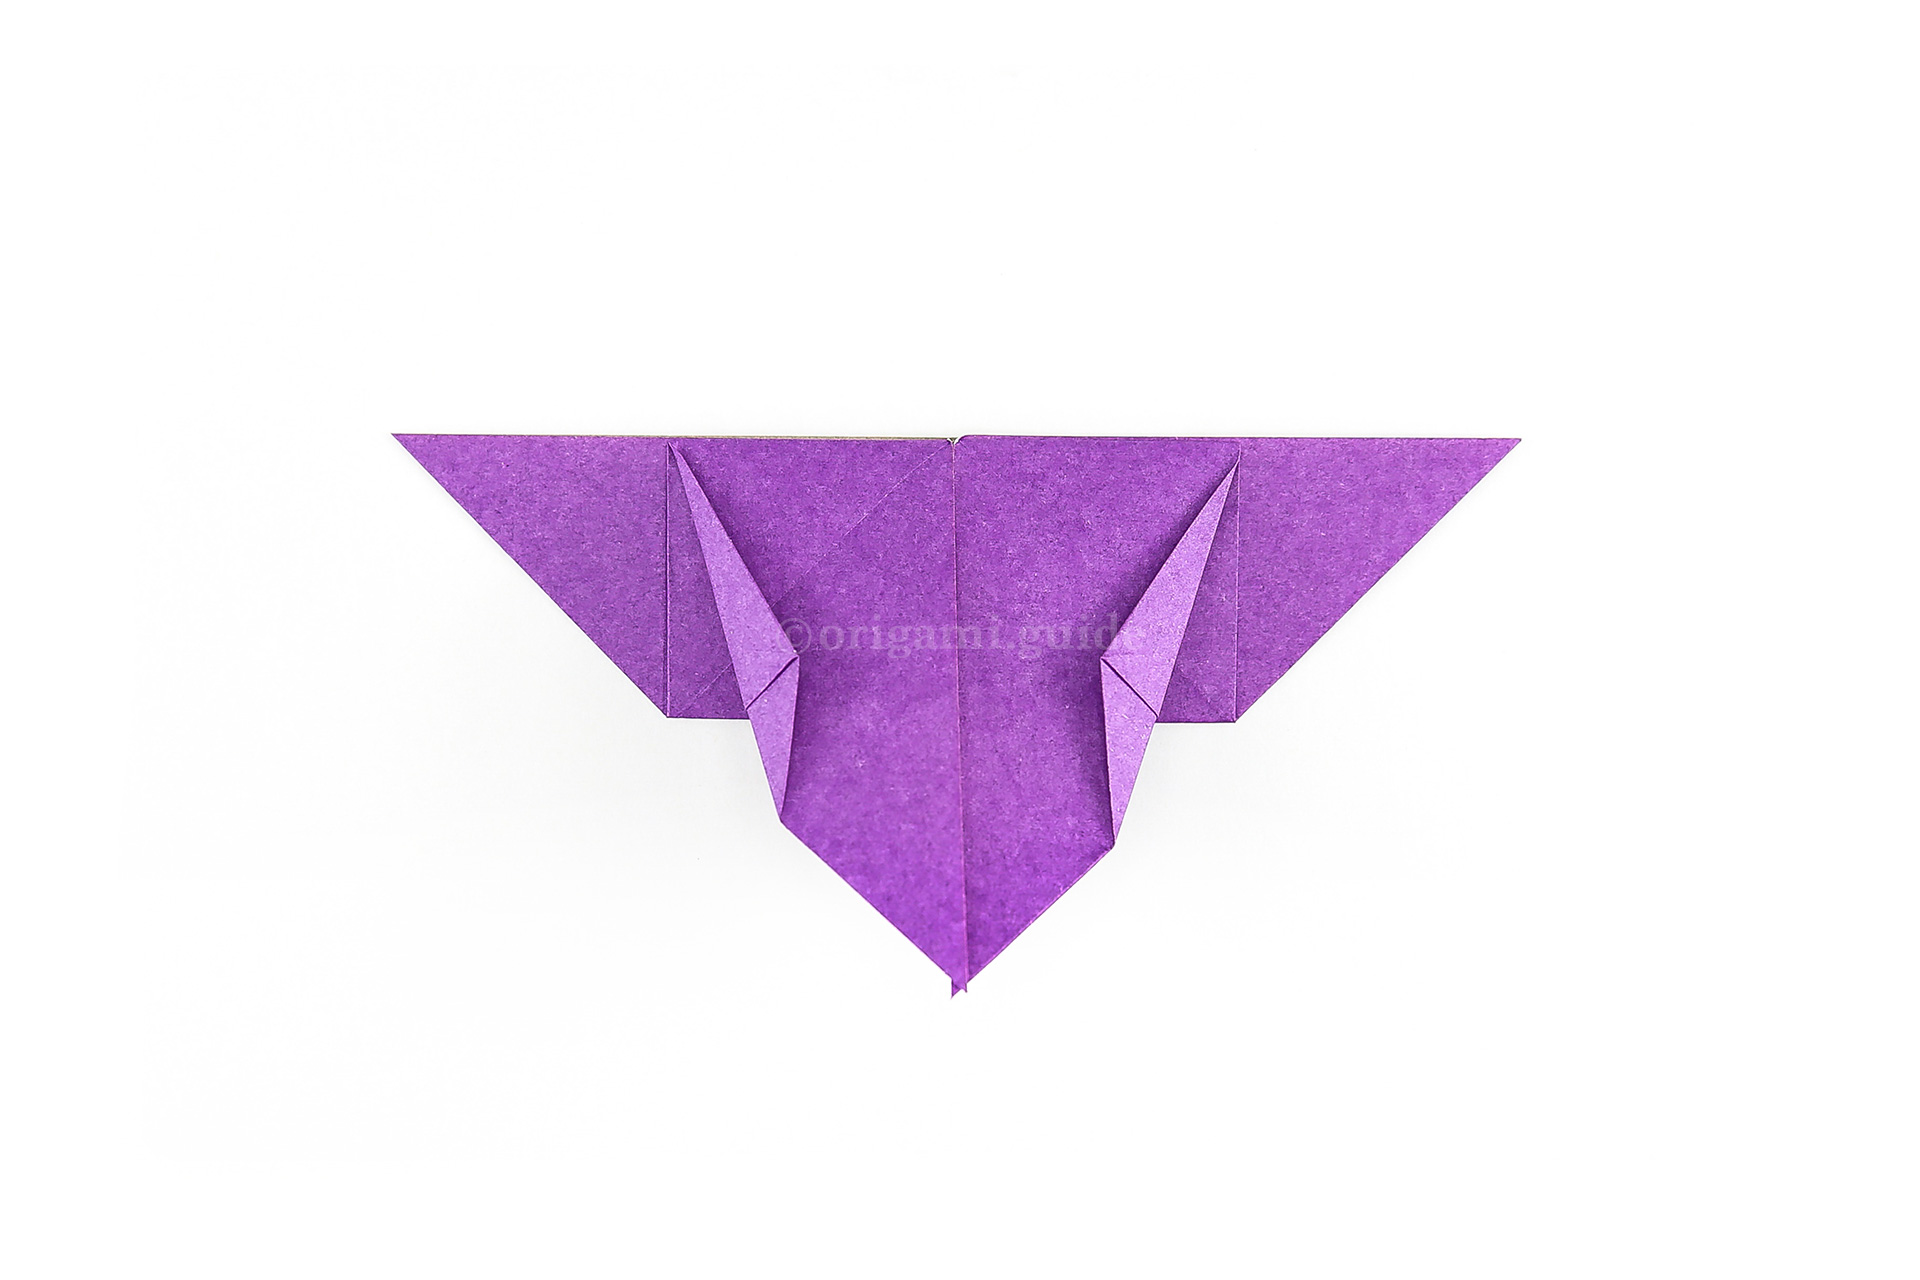
Step 28: Unfold the previous 2 steps and flip the paper over to the front of the butterfly.
-
29
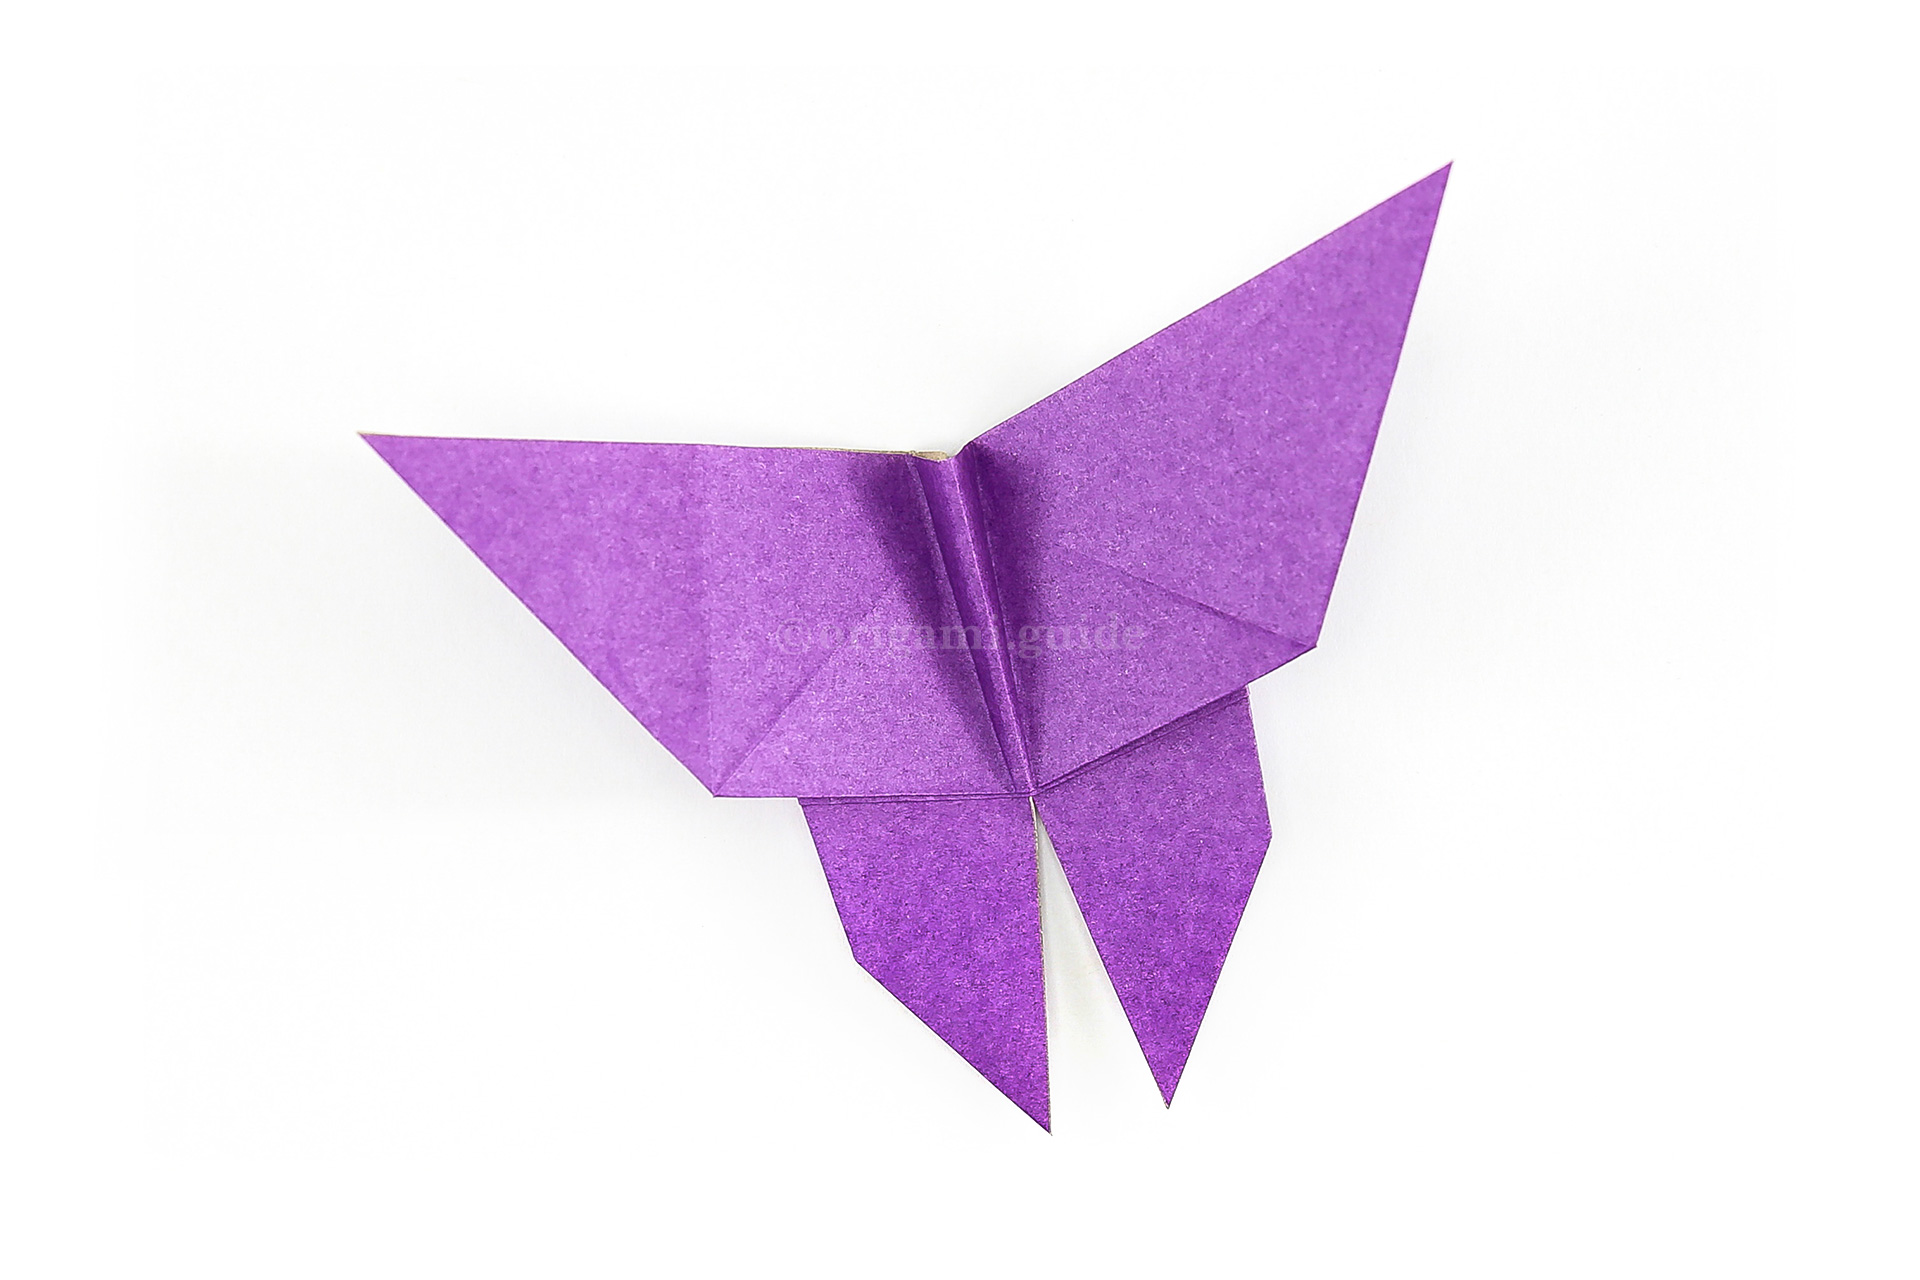
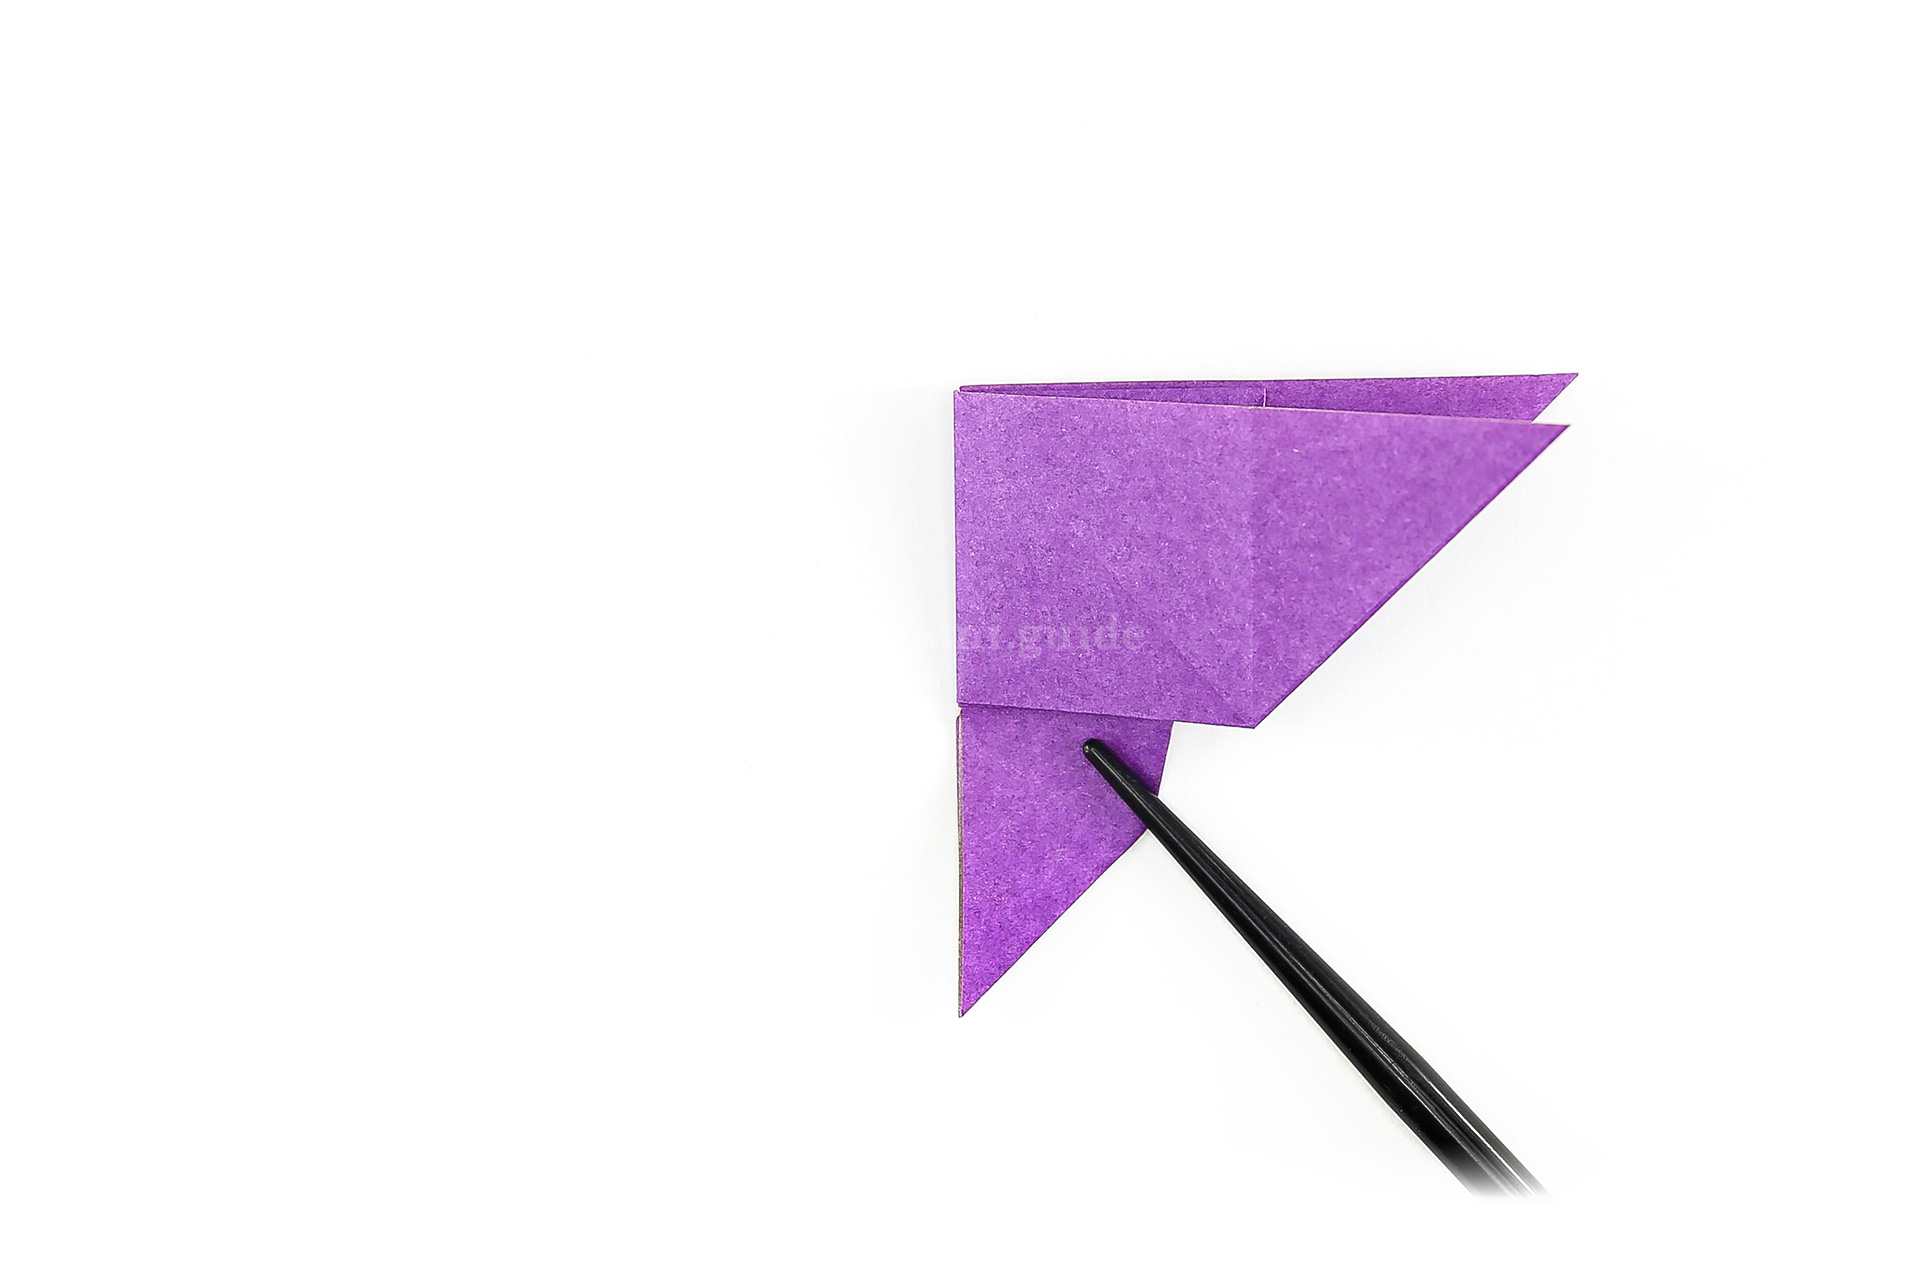
Step 29: Reverse the left crease you made in step 27 and shape the wings into the desired position.
Your Traditional Origami Butterfly is Complete!
You’ve completed the Traditional Origami Butterfly, why not check out our other Origami Butterflies, here.
Did you make this origami? How did it go? Leave a comment & submit your photo here.
Related origami: Easy Origami
Traditional Origami
Origami Butterflies
Mothers Day
What Origami Butterflies To Fold Next?
- « How To Make An Origami Butterfly

- How To Make An Origami Flapping Butterfly »
 View all Origami Butterflies Tutorials
Leave A Comment
Did you fold this Traditional Origami Butterfly? Let us know what you thought.
You can also upload a photo of your result!