Traditional Origami Butterfly
- Like
- Digg
- Del
- Tumblr
- VKontakte
- Buffer
- Love This
- Odnoklassniki
- Meneame
- Blogger
- Amazon
- Yahoo Mail
- Gmail
- AOL
- Newsvine
- HackerNews
- Evernote
- MySpace
- Mail.ru
- Viadeo
- Line
- Comments
- Yummly
- SMS
- Viber
- Telegram
- Subscribe
- Skype
- Facebook Messenger
- Kakao
- LiveJournal
- Yammer
- Edgar
- Fintel
- Mix
- Instapaper
- Copy Link
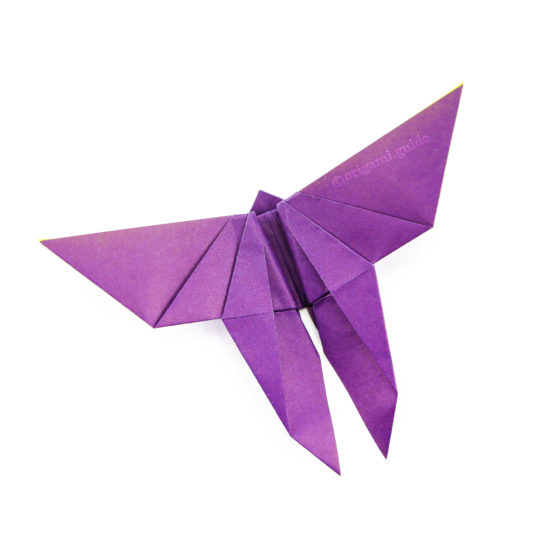
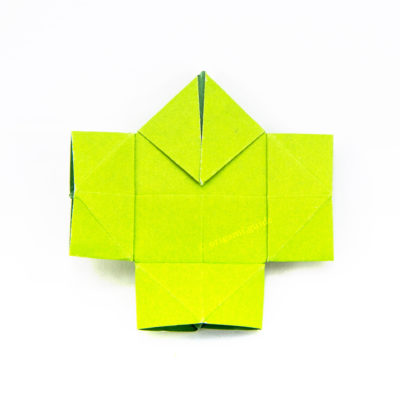
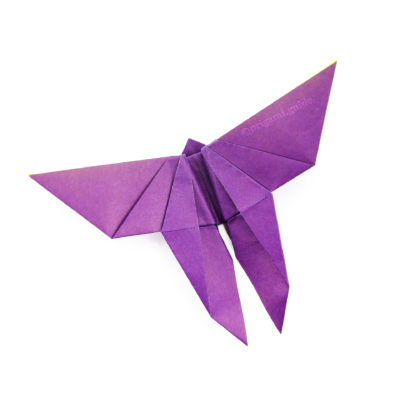
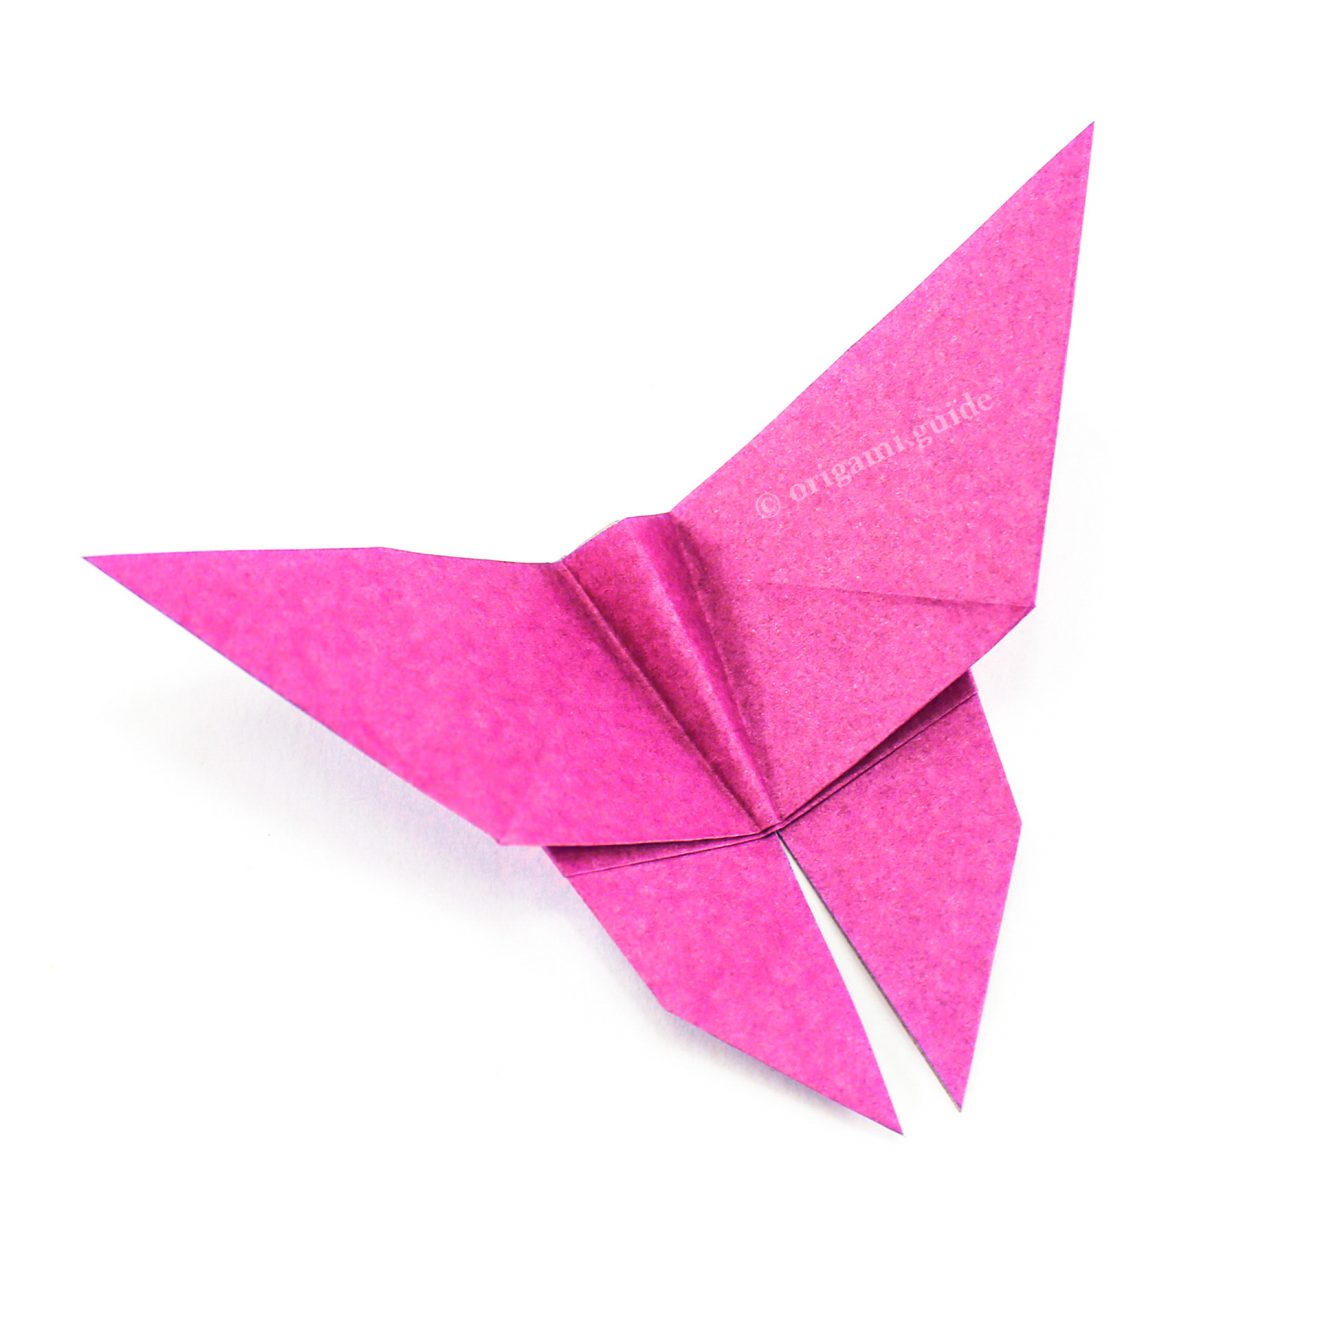
The traditional origami butterfly only takes a few minutes and kids will love to make these pretty paper butterflies on a rainy day.
This origami butterfly has a similar shape to the origami butterfly by Akira Yoshizawa.
Why not try making a few origami butterflies in different colors to display on your wall?
Traditional Origami Butterfly Instructions
Scroll down to follow the photo tutorial for the Traditional Origami Butterfly.
Made this origami? Leave a comment & submit your photo on the last page here.
-
1

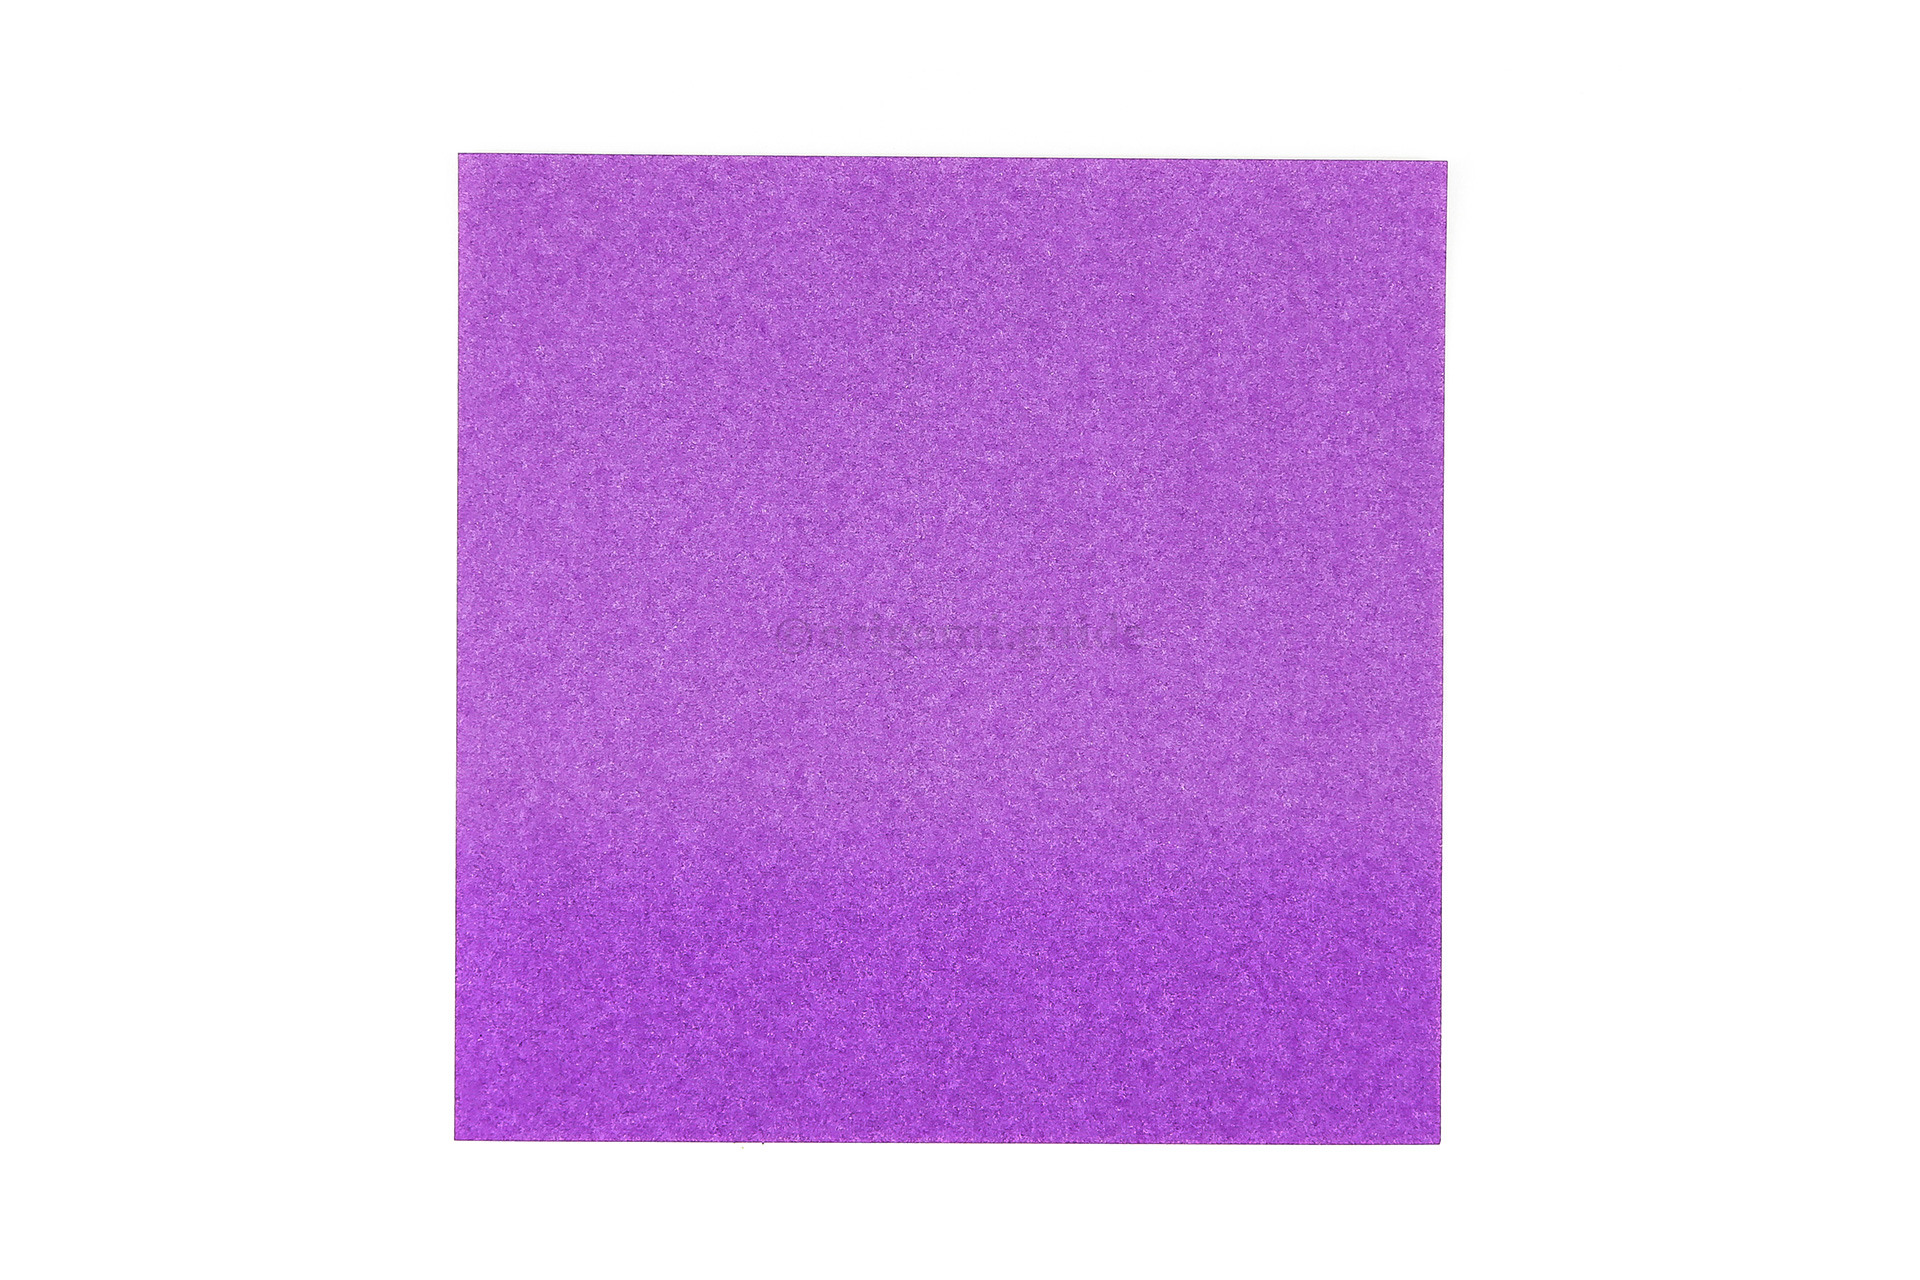
Step 1: This is the front of our origami paper, the origami butterfly will end up being this color.
-
2

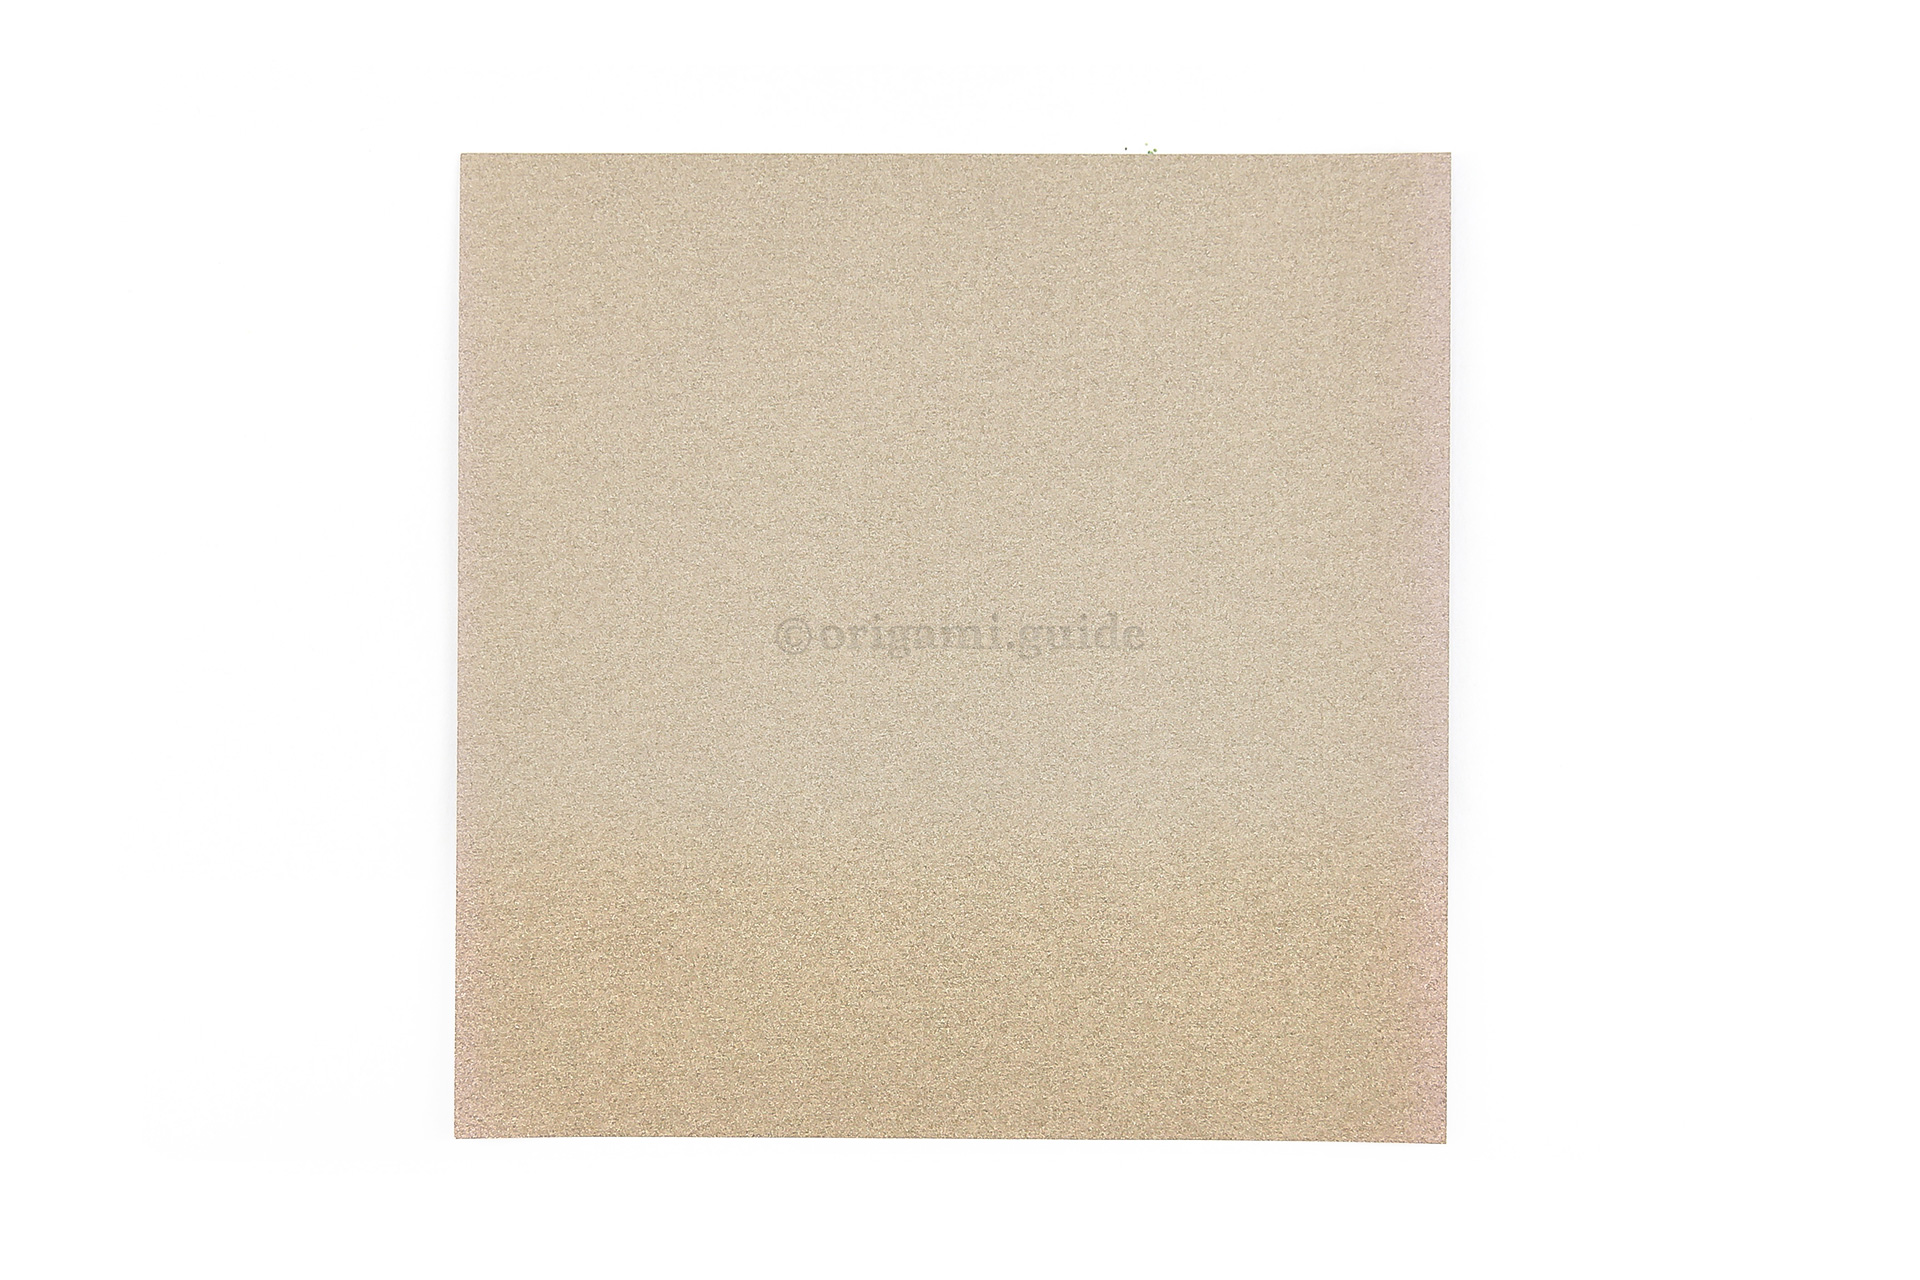
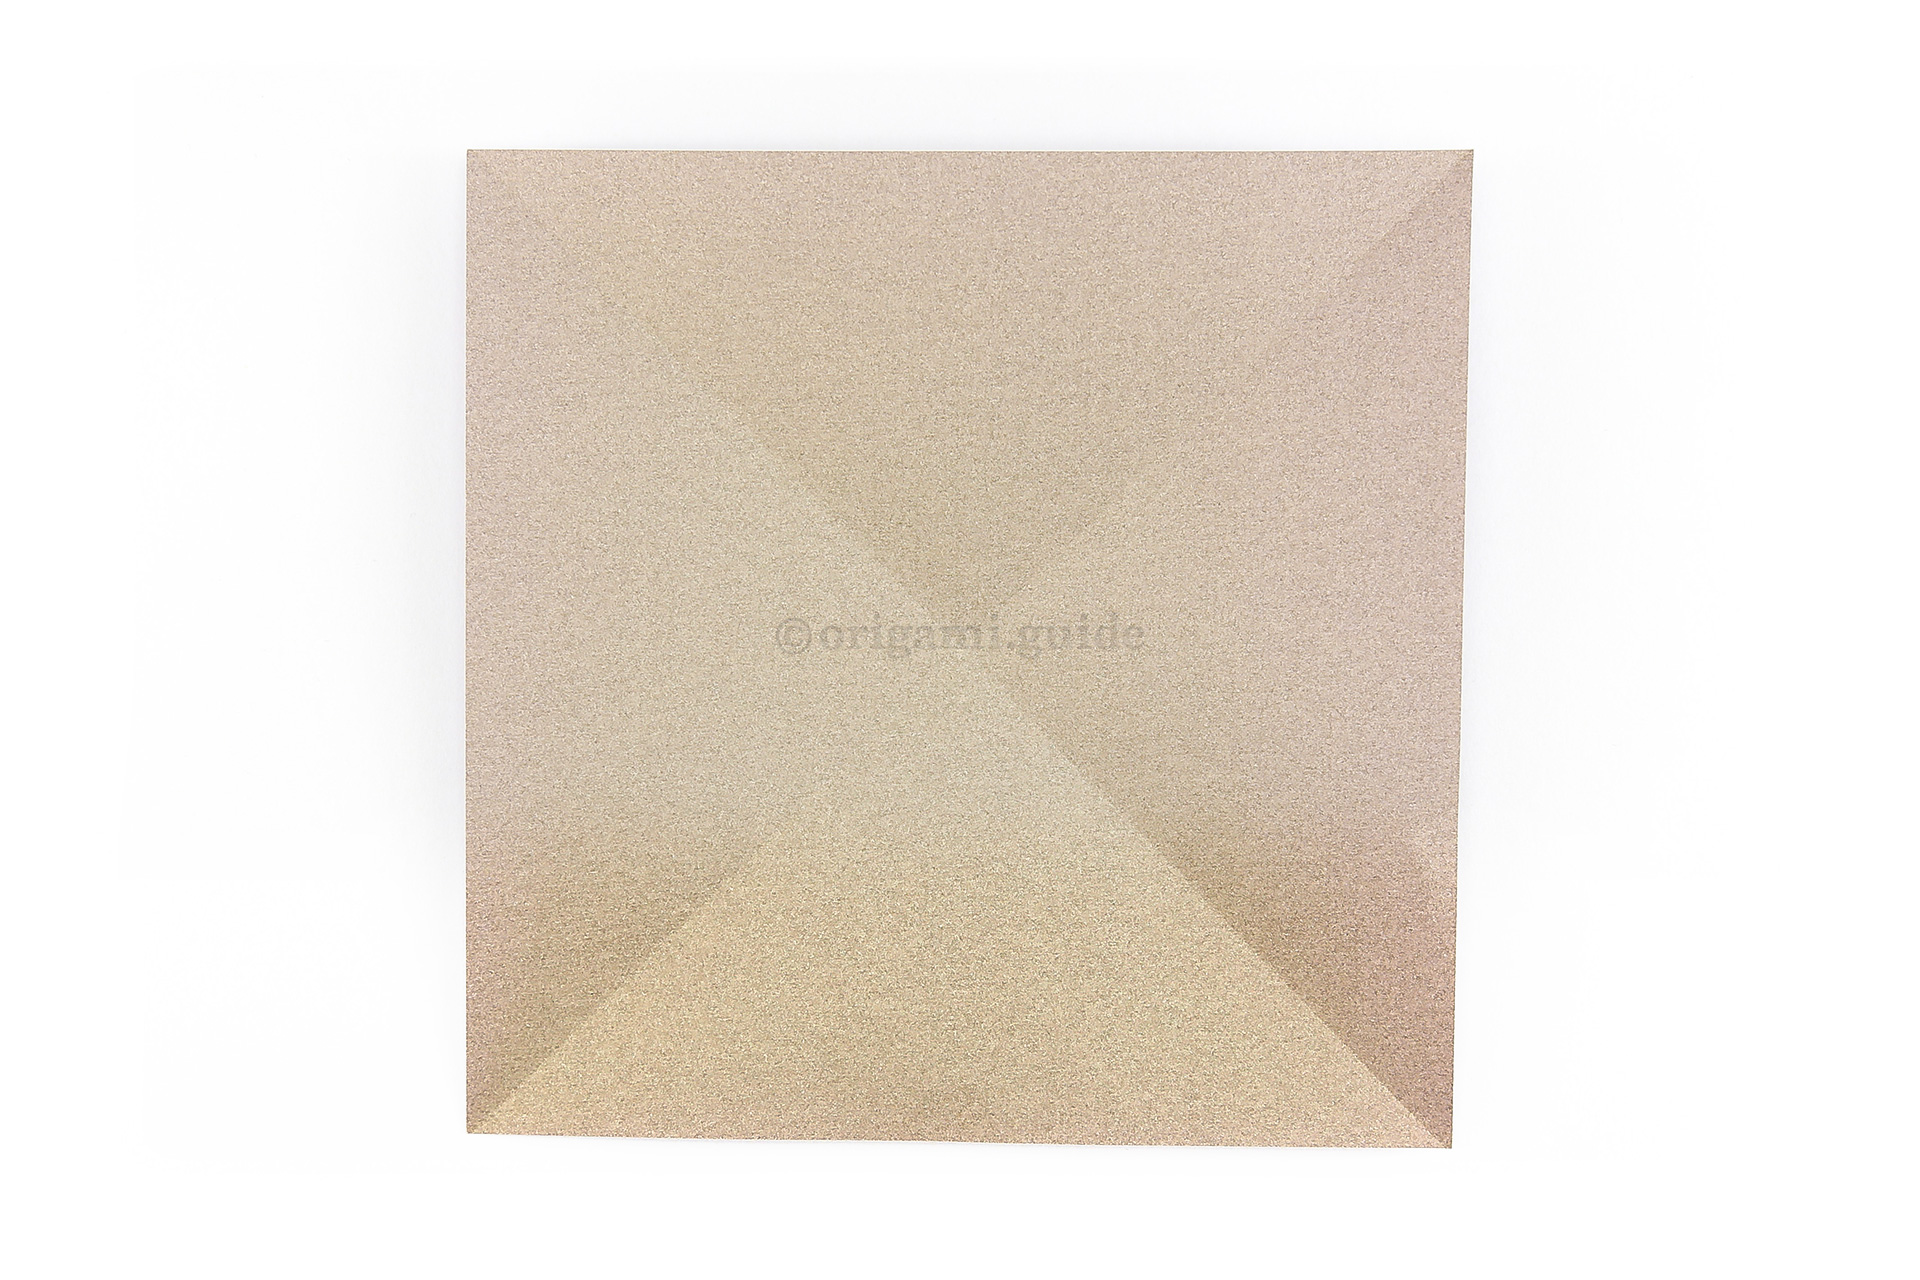
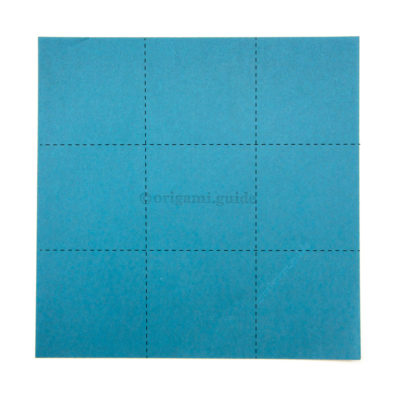
Step 2: This is the back of the origami paper, start this side up.
-
3

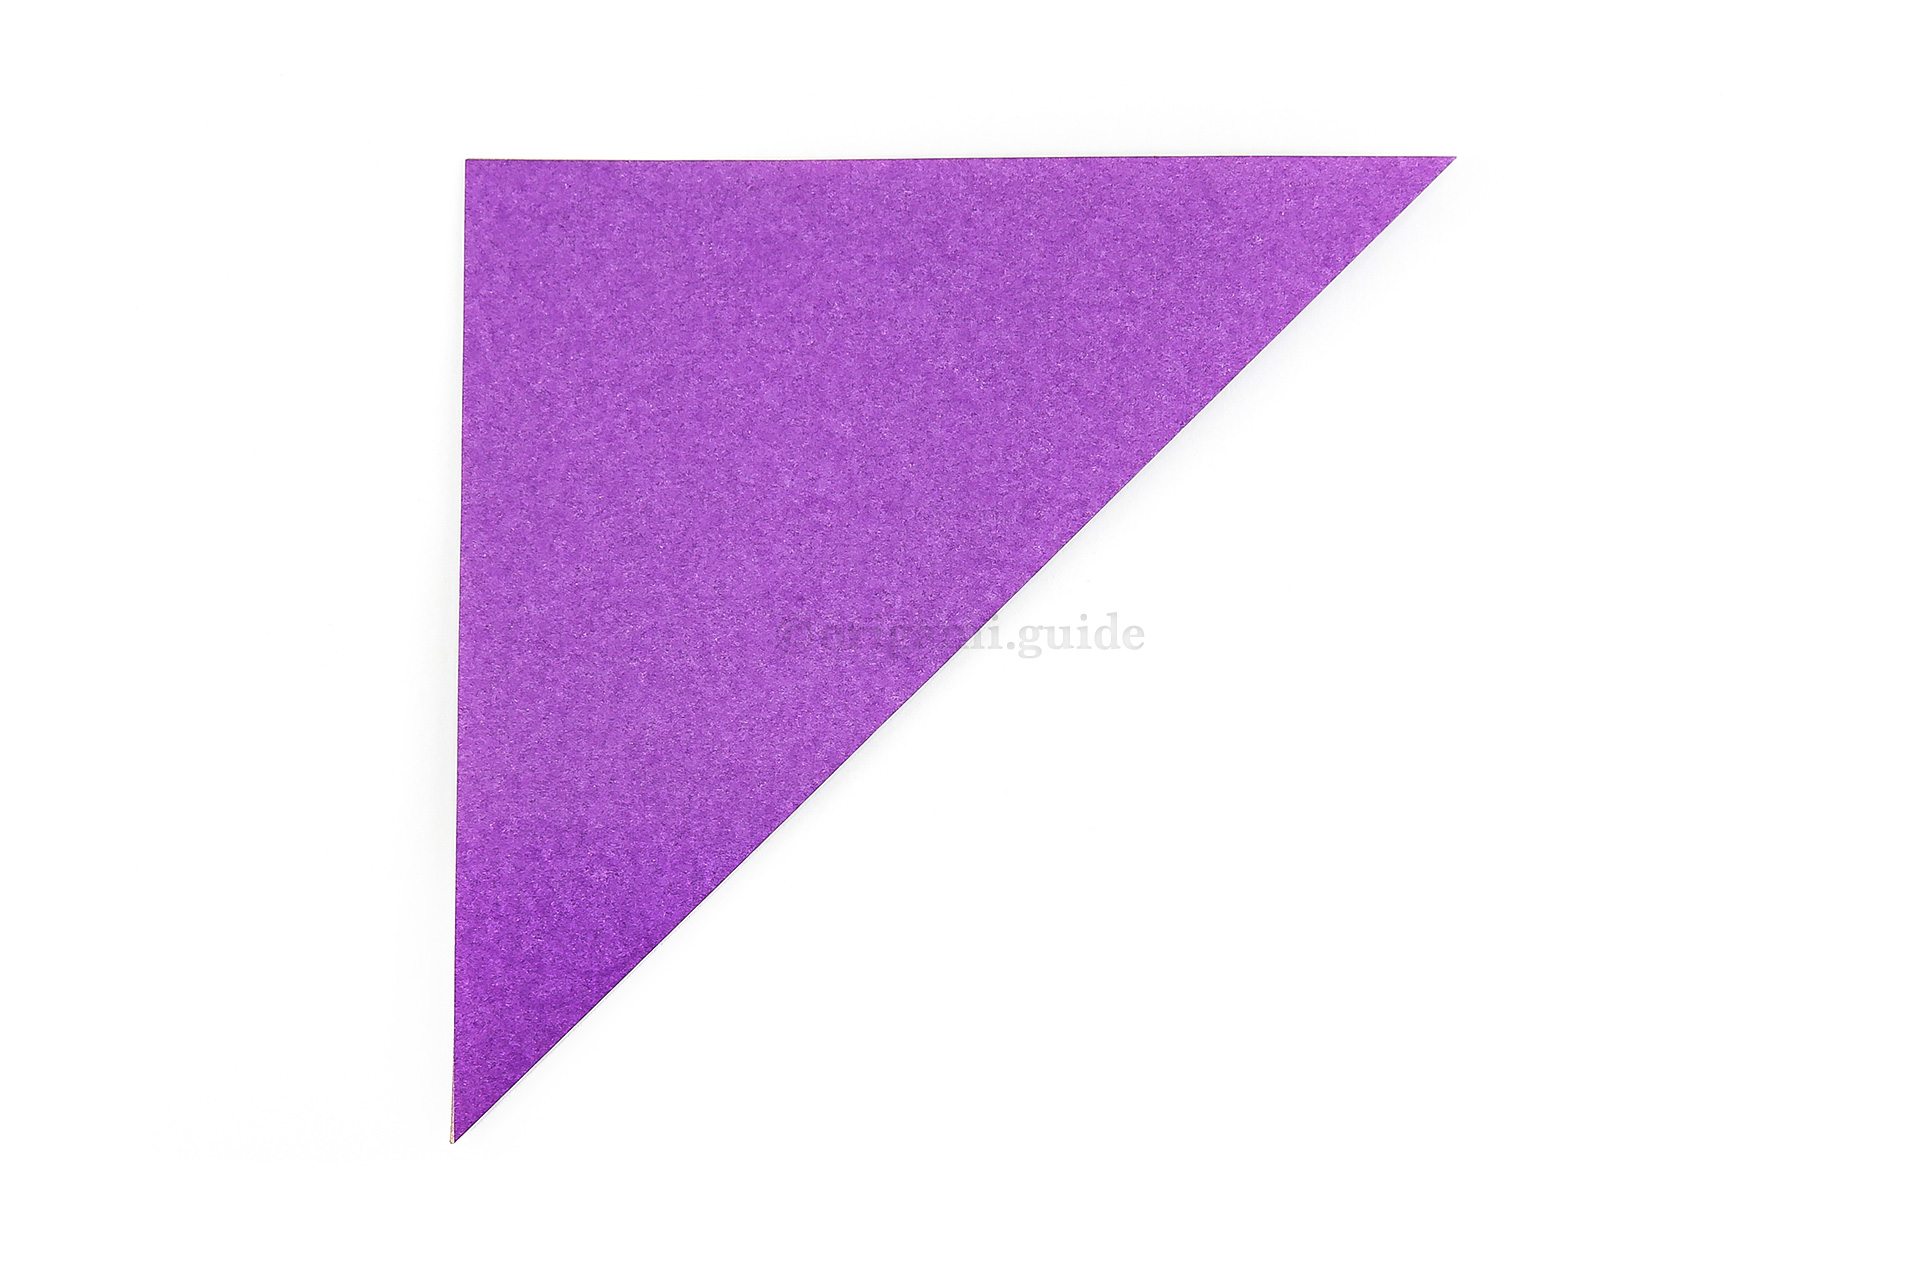
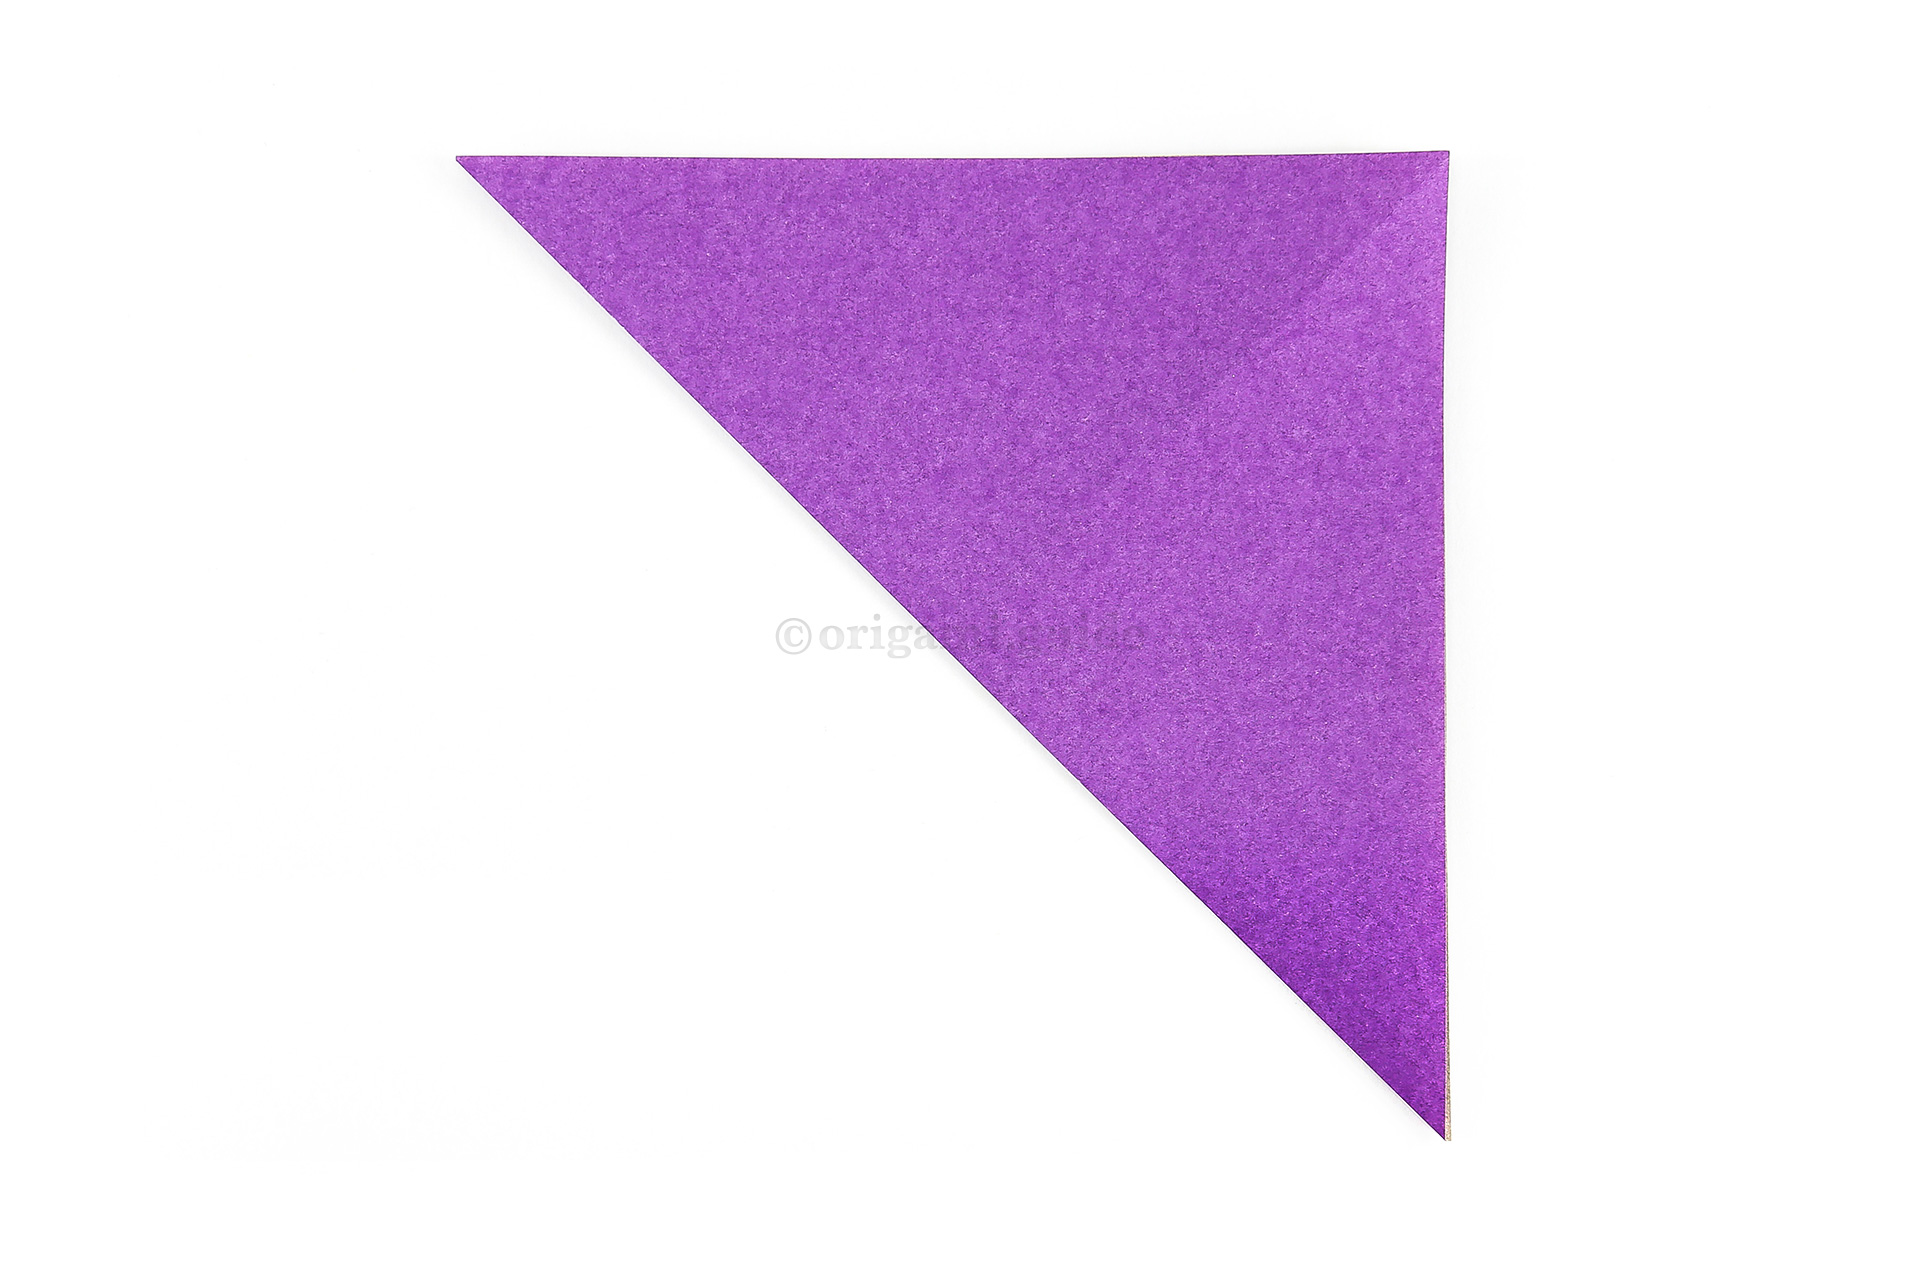
Step 3: Fold the bottom right corner diagonally up to the top left corner.
-
4

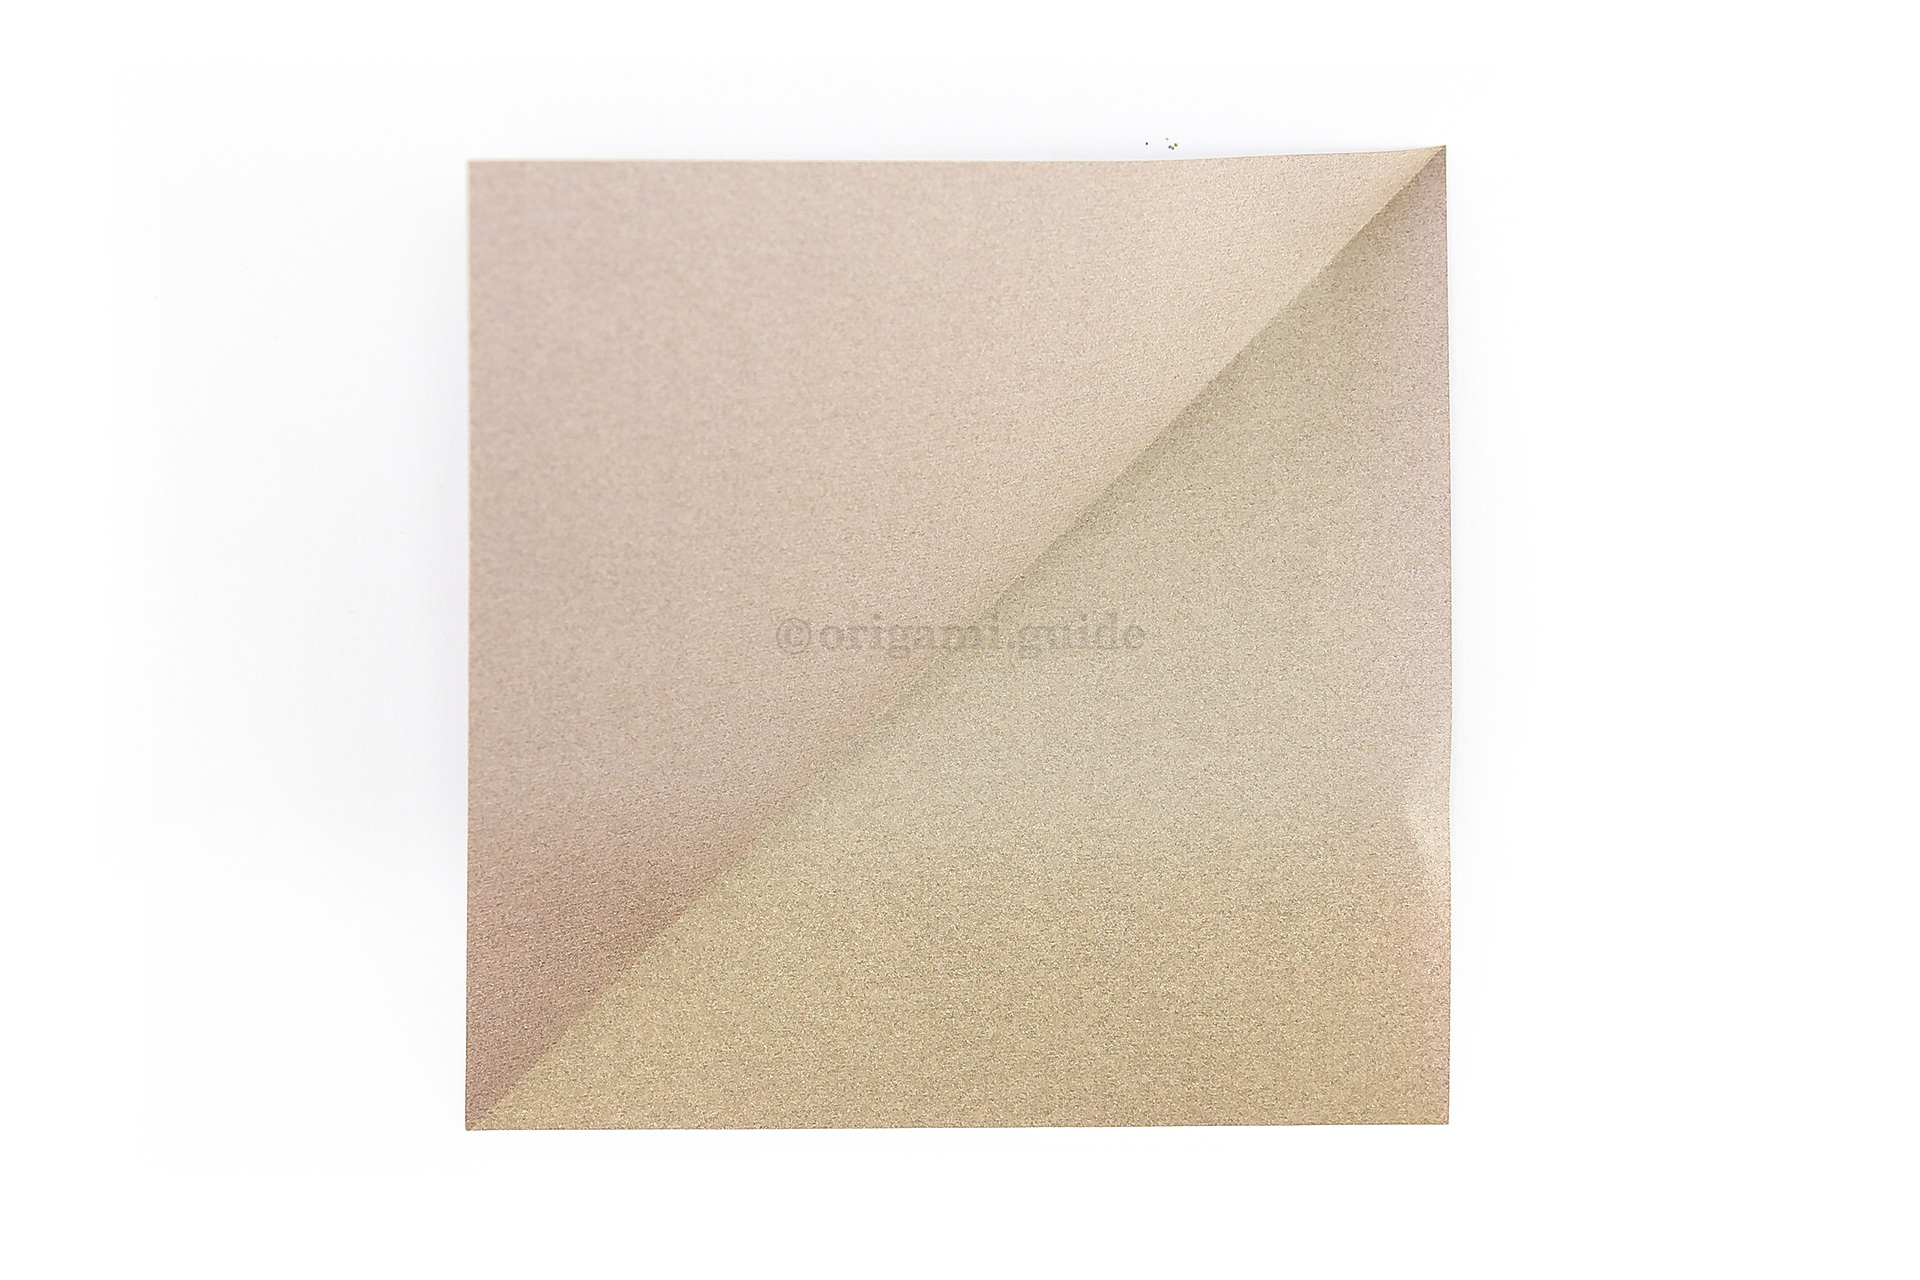
Step 4: Unfold the previous step.
-
5

Step 5: Fold the bottom left corner diagonally up to the top right corner.
-
6

Step 6: Unfold the previous step.
-
7

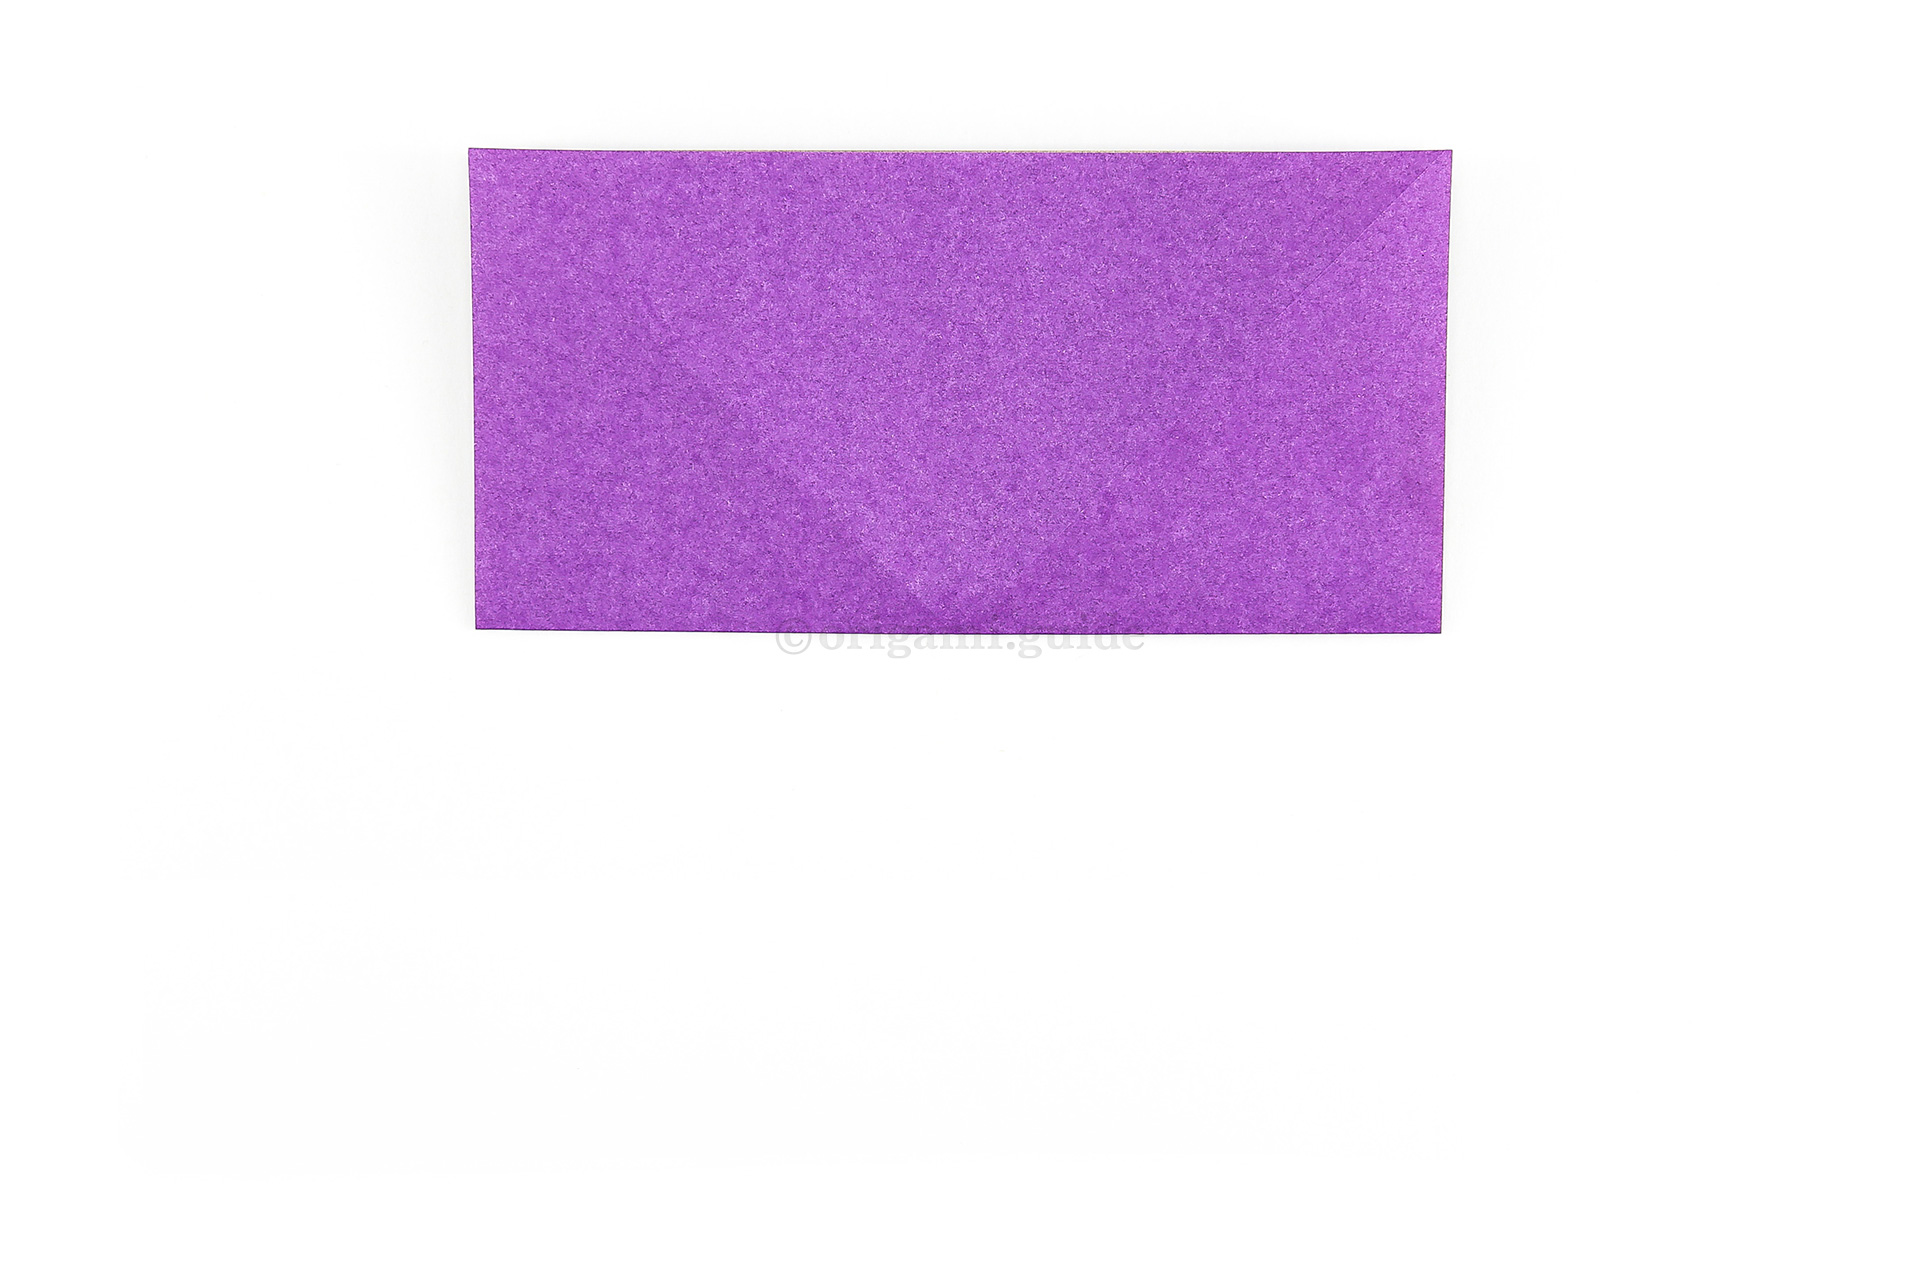
Step 7: Fold the bottom edge up to the top edge.
-
8

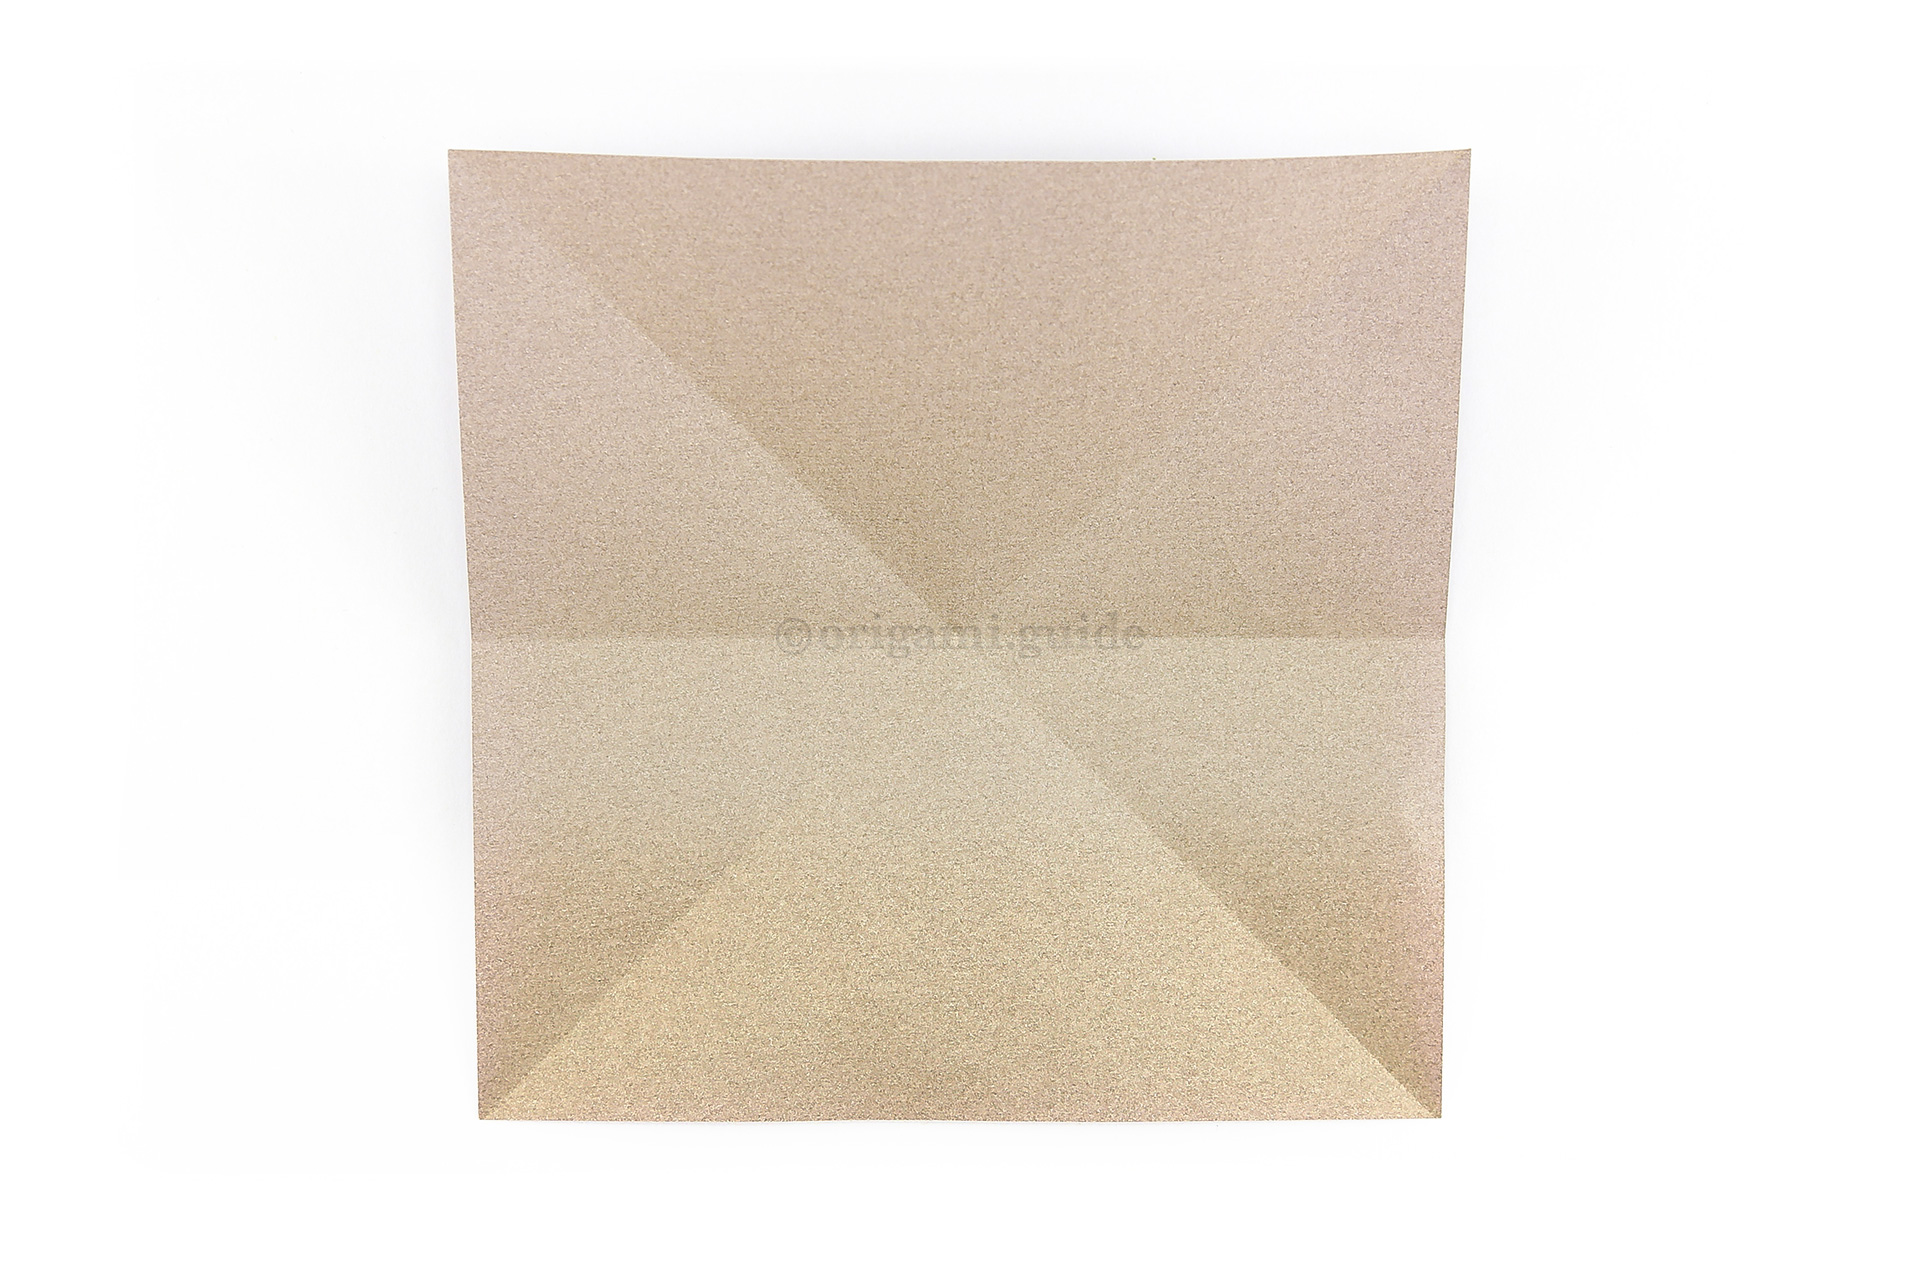
Step 8: Unfold the previous step.
What Origami Butterflies To Fold Next?
- « How To Make An Origami Butterfly

- How To Make An Origami Flapping Butterfly »
 View all Origami Butterflies Tutorials
Leave A Comment
Did you fold this Traditional Origami Butterfly? Let us know what you thought.
You can also upload a photo of your result!
