Made this origami? Leave a comment & submit your photo here.
-
12
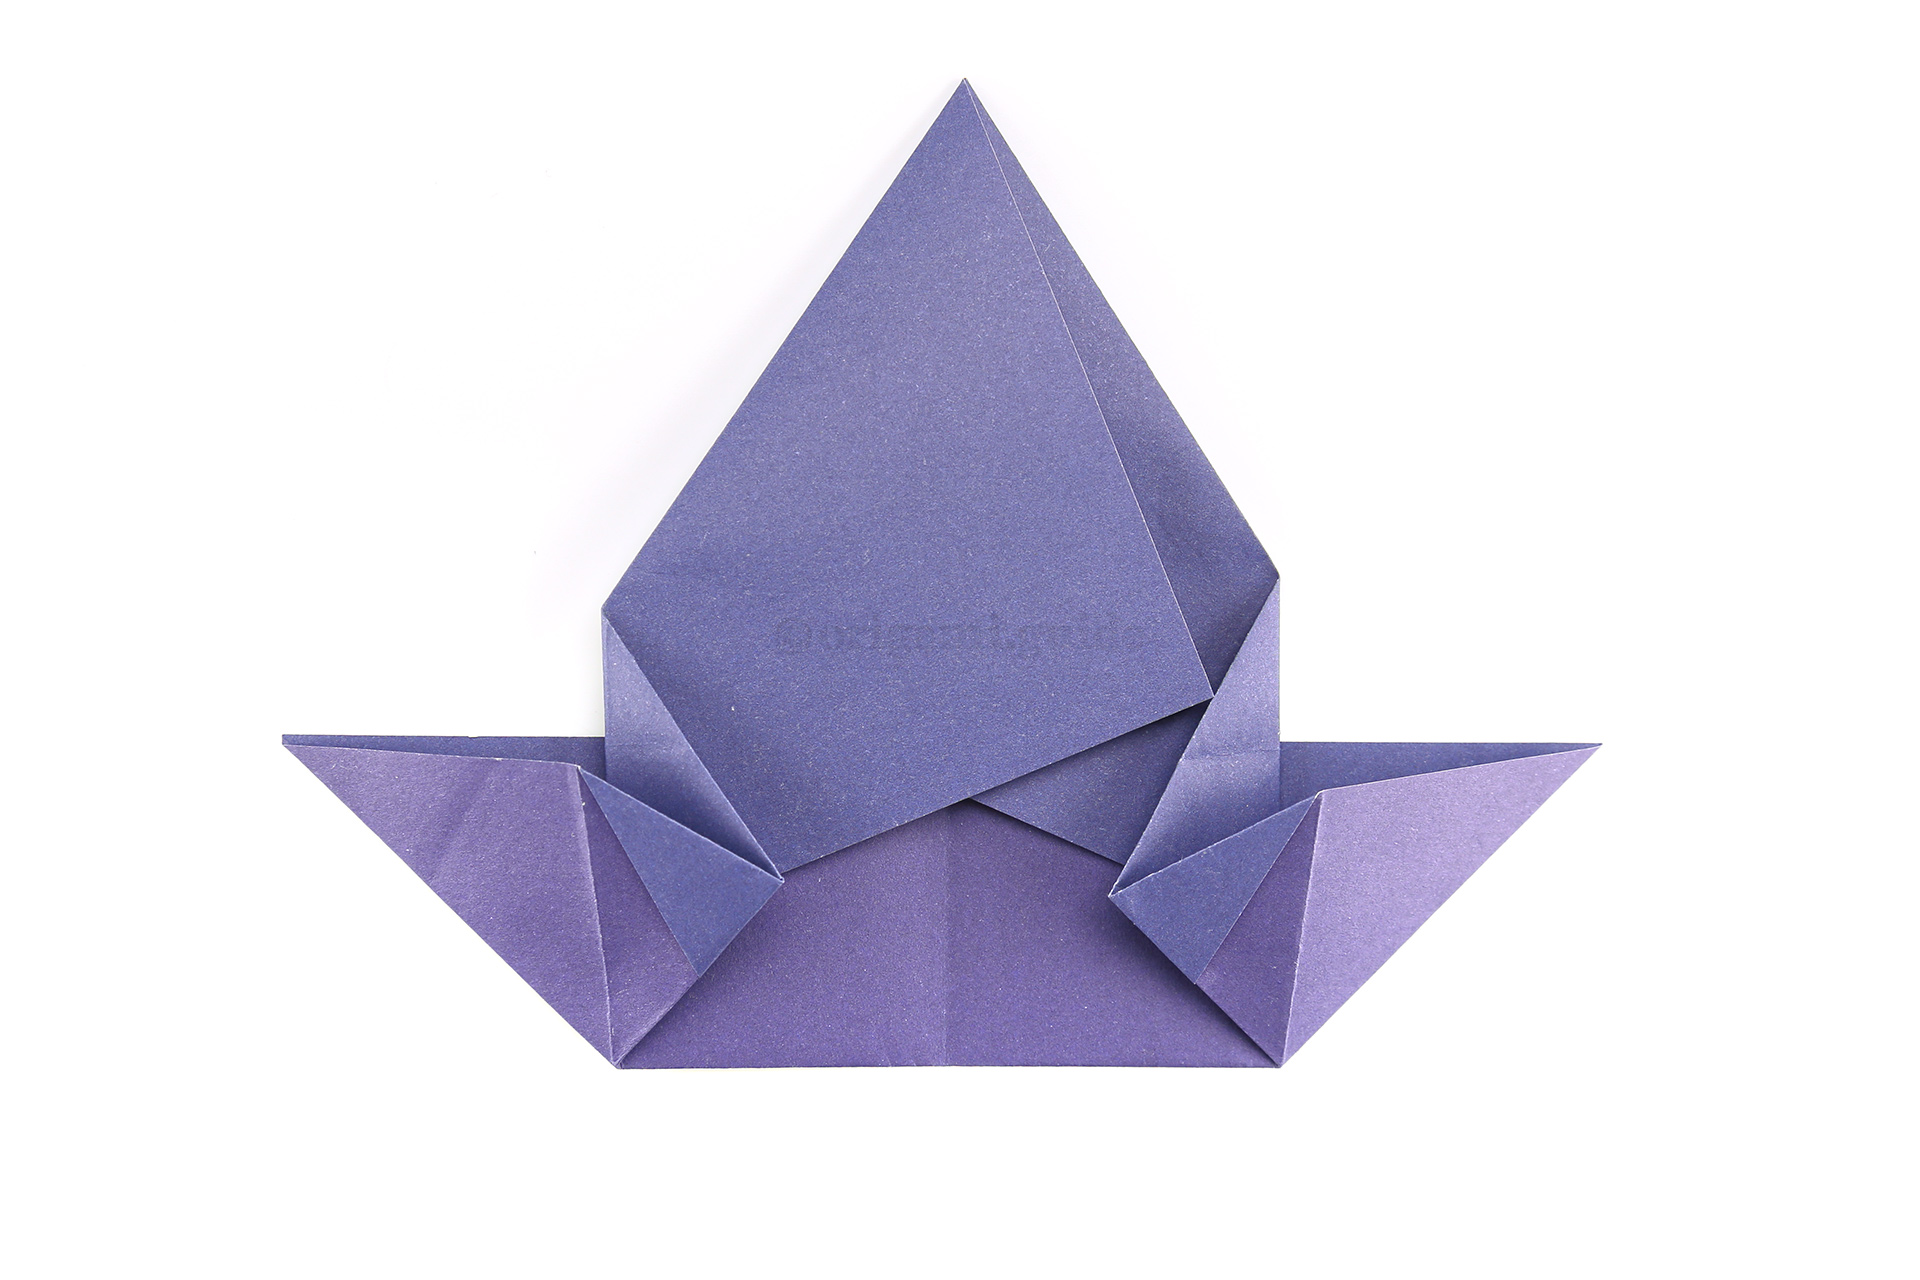
Step 12: Repeat on the left.
-
13

Step 13: Fold the right diagonal edge of the hat inward, hold on to the lower part of the paper so that it stays in place.
-
14

Step 14: Repeat on the left side.
-
15

Step 15: Fold the lower edge up a little bit.
-
16
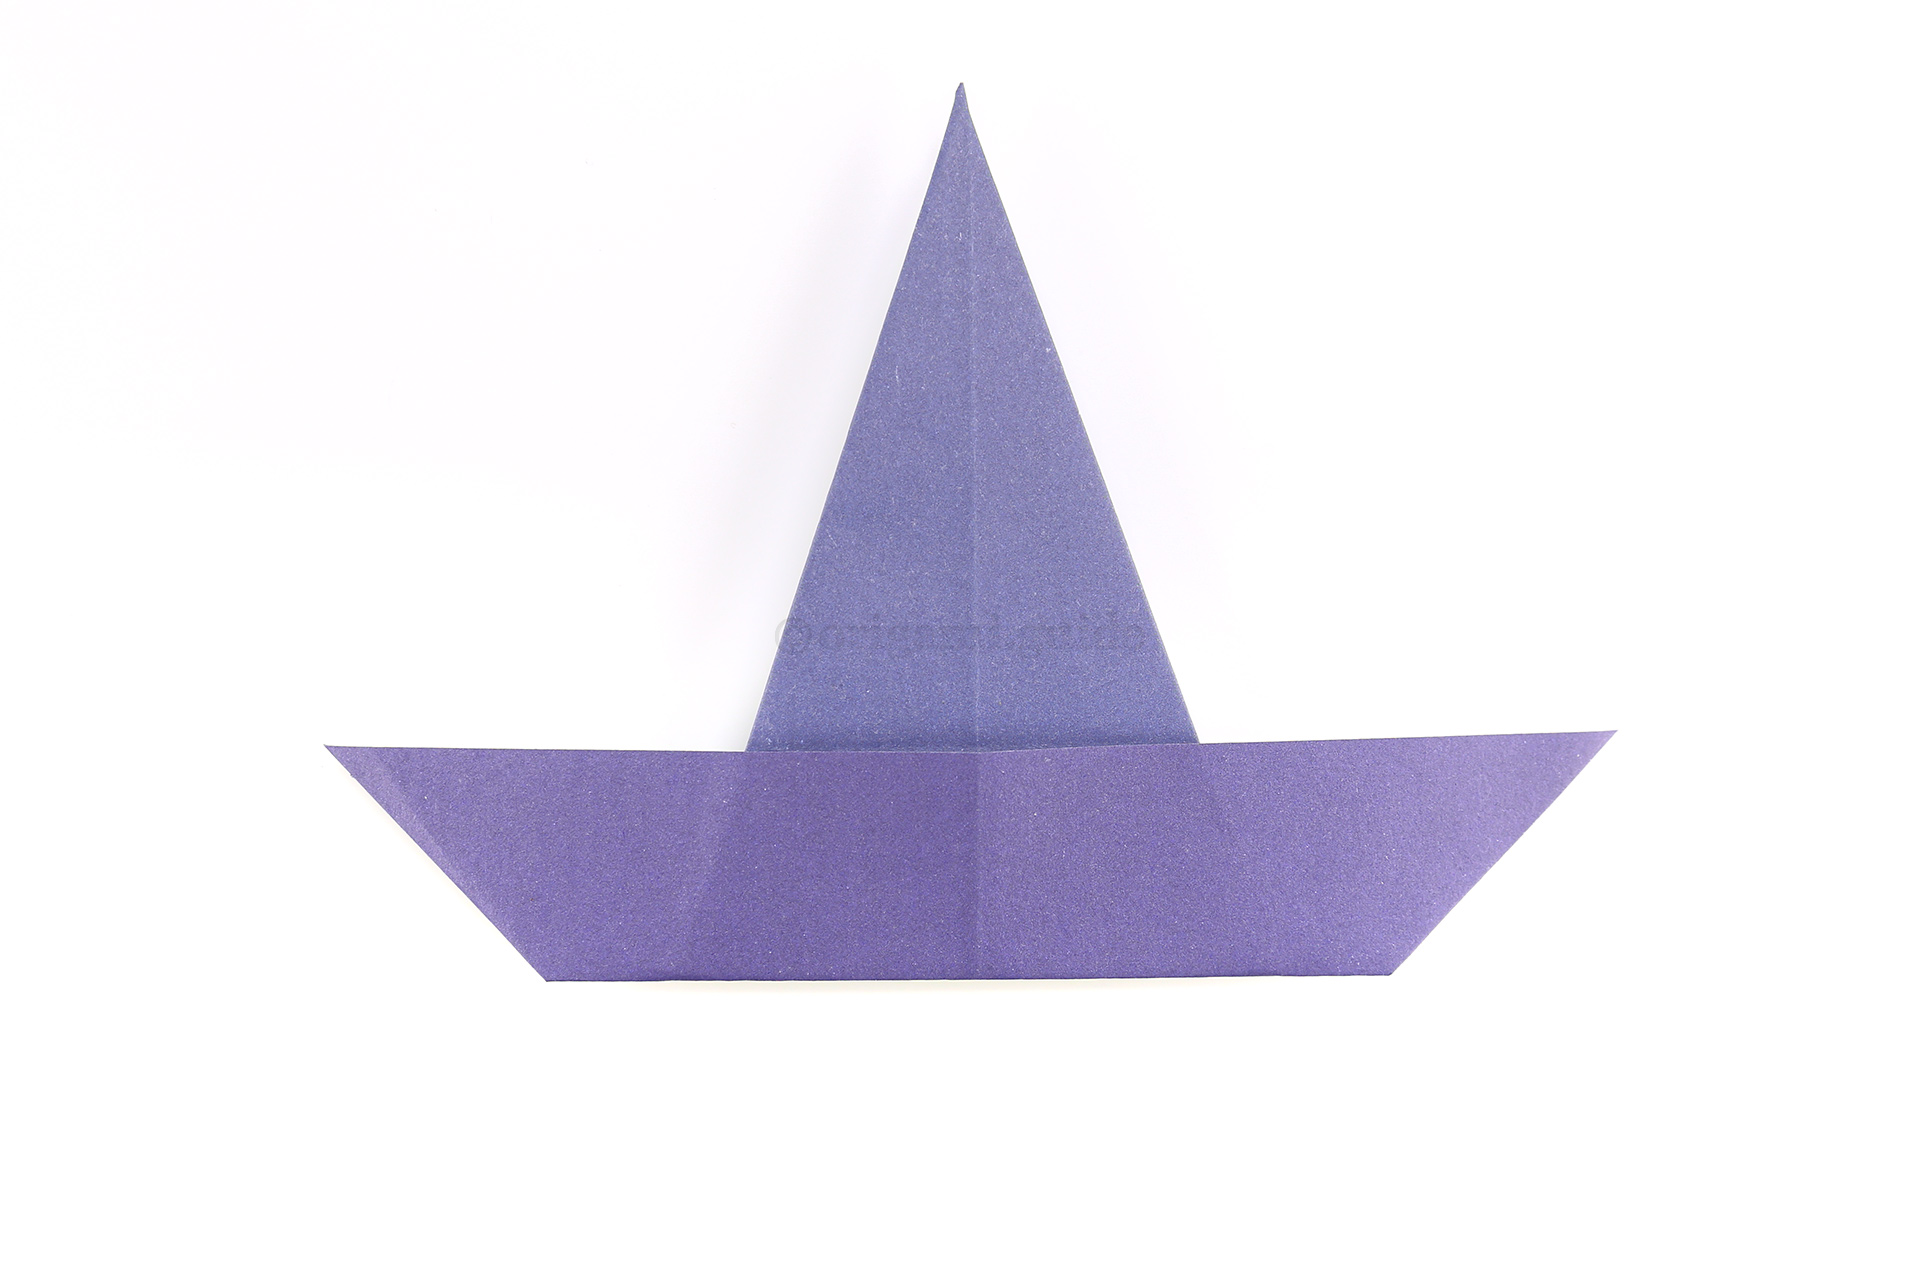
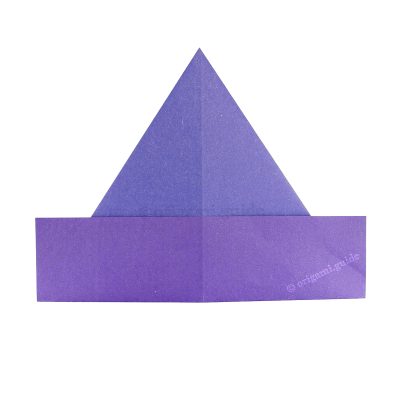
Step 16: Here is how the origami witch hat is looking now.
-
17
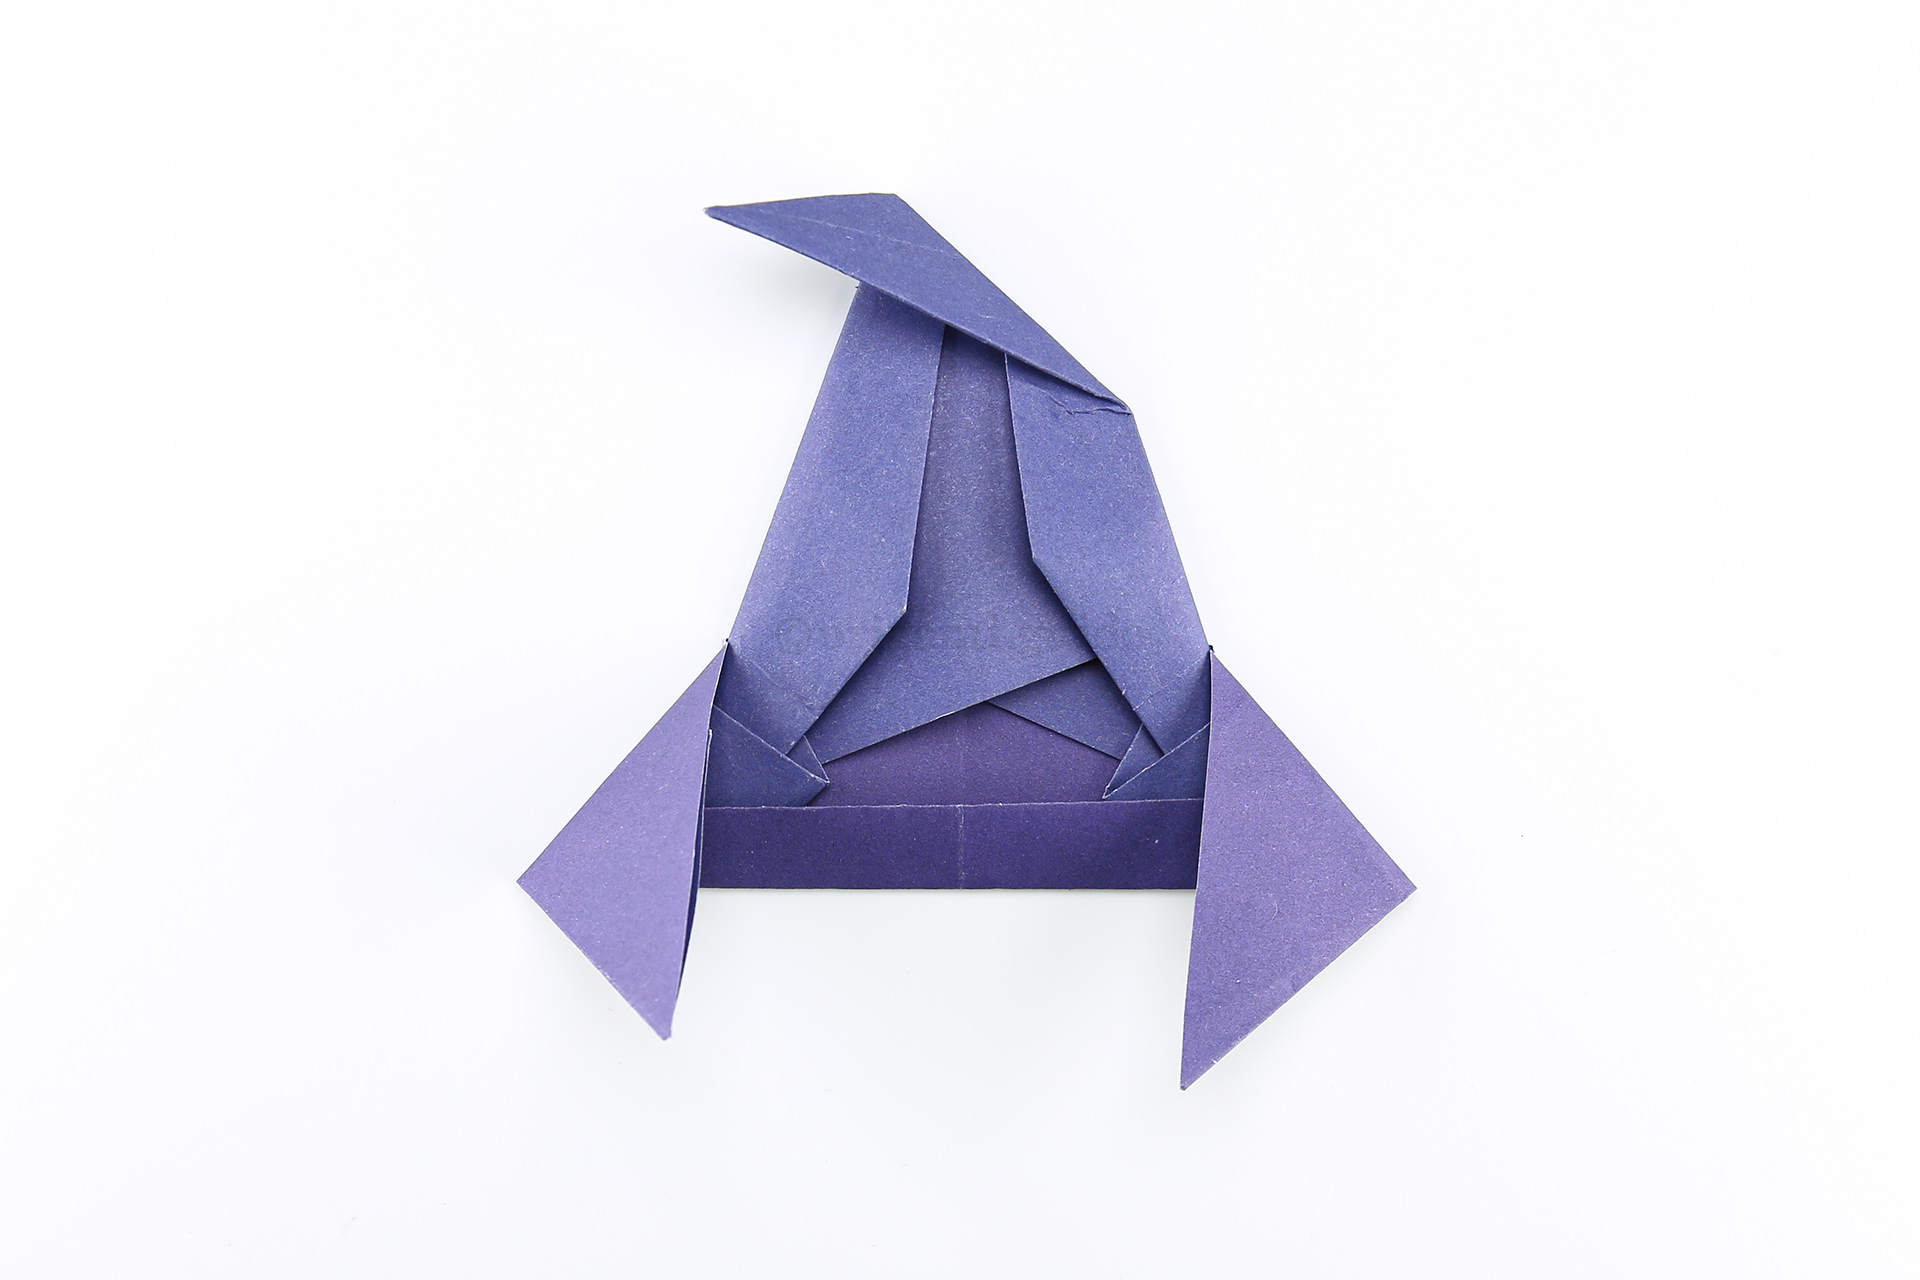
Step 17: To make this wearable for origami dolls etc, fold the left and right points of the rim down as shown, and fold the top point of the hat over too.
-
18
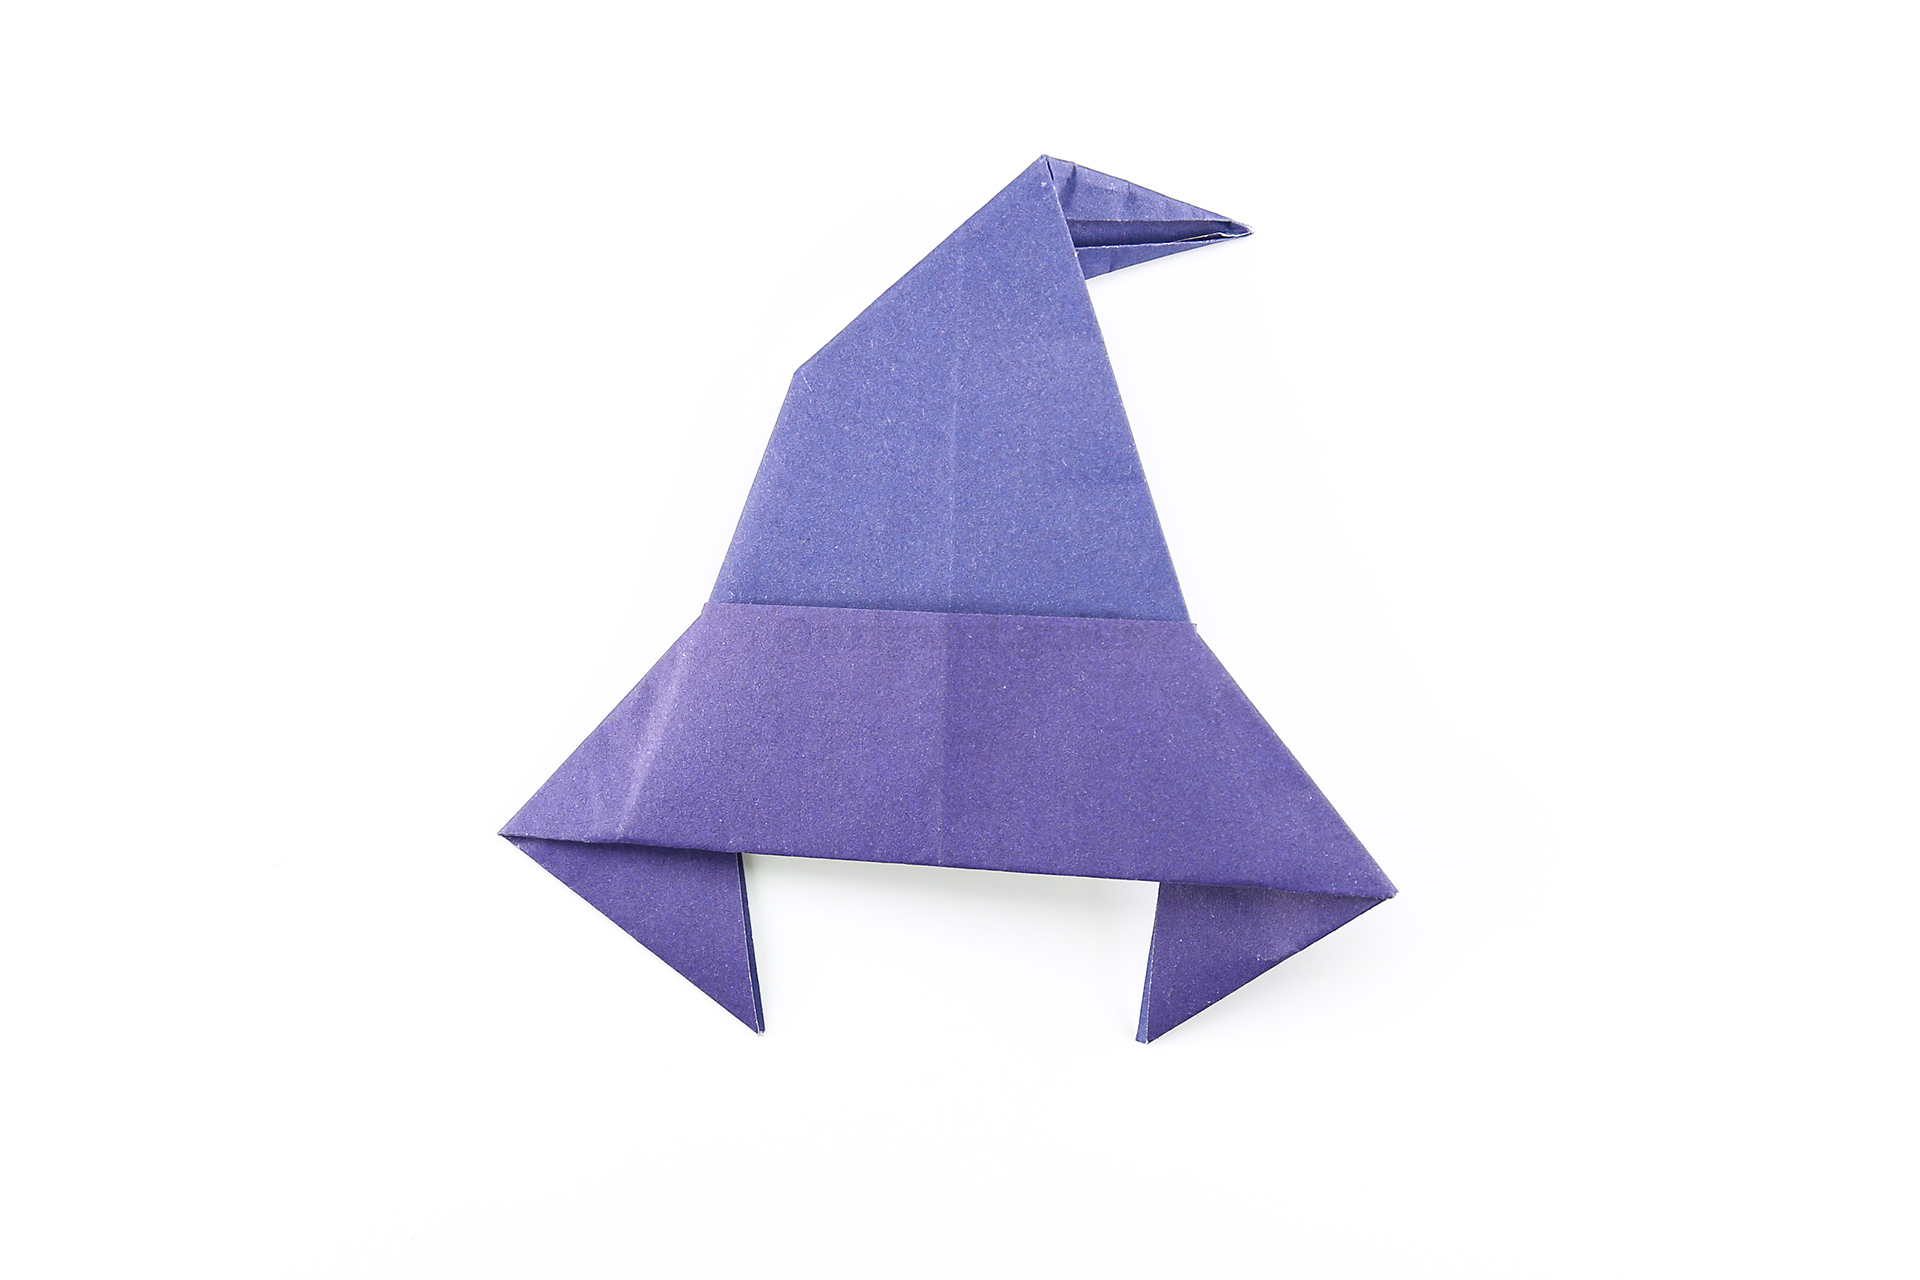
Step 18: You can now pop this hat onto various origami models.
-
19
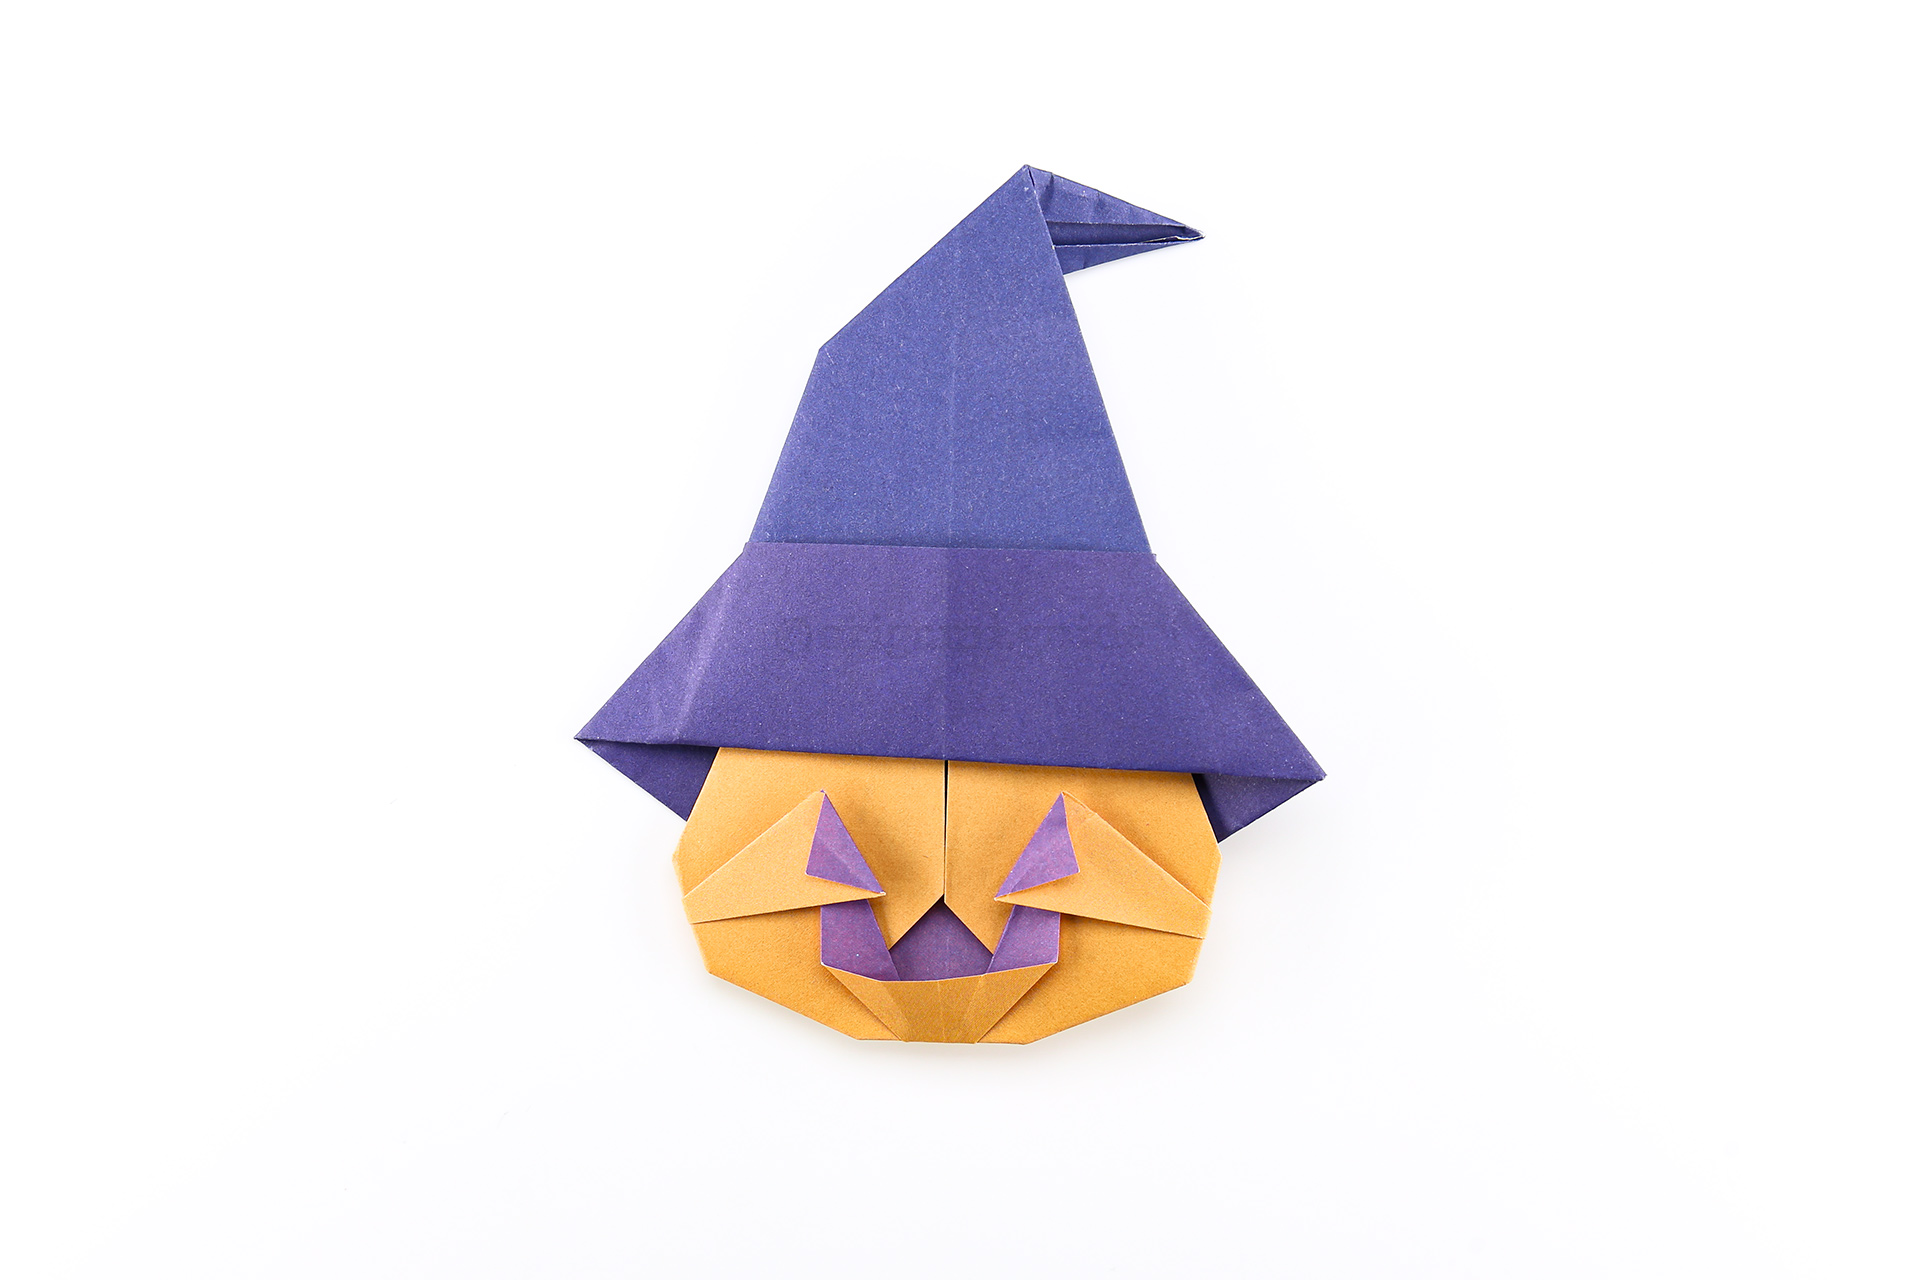
Step 19: Here it is, on top of an origami pumpkin.
-
20
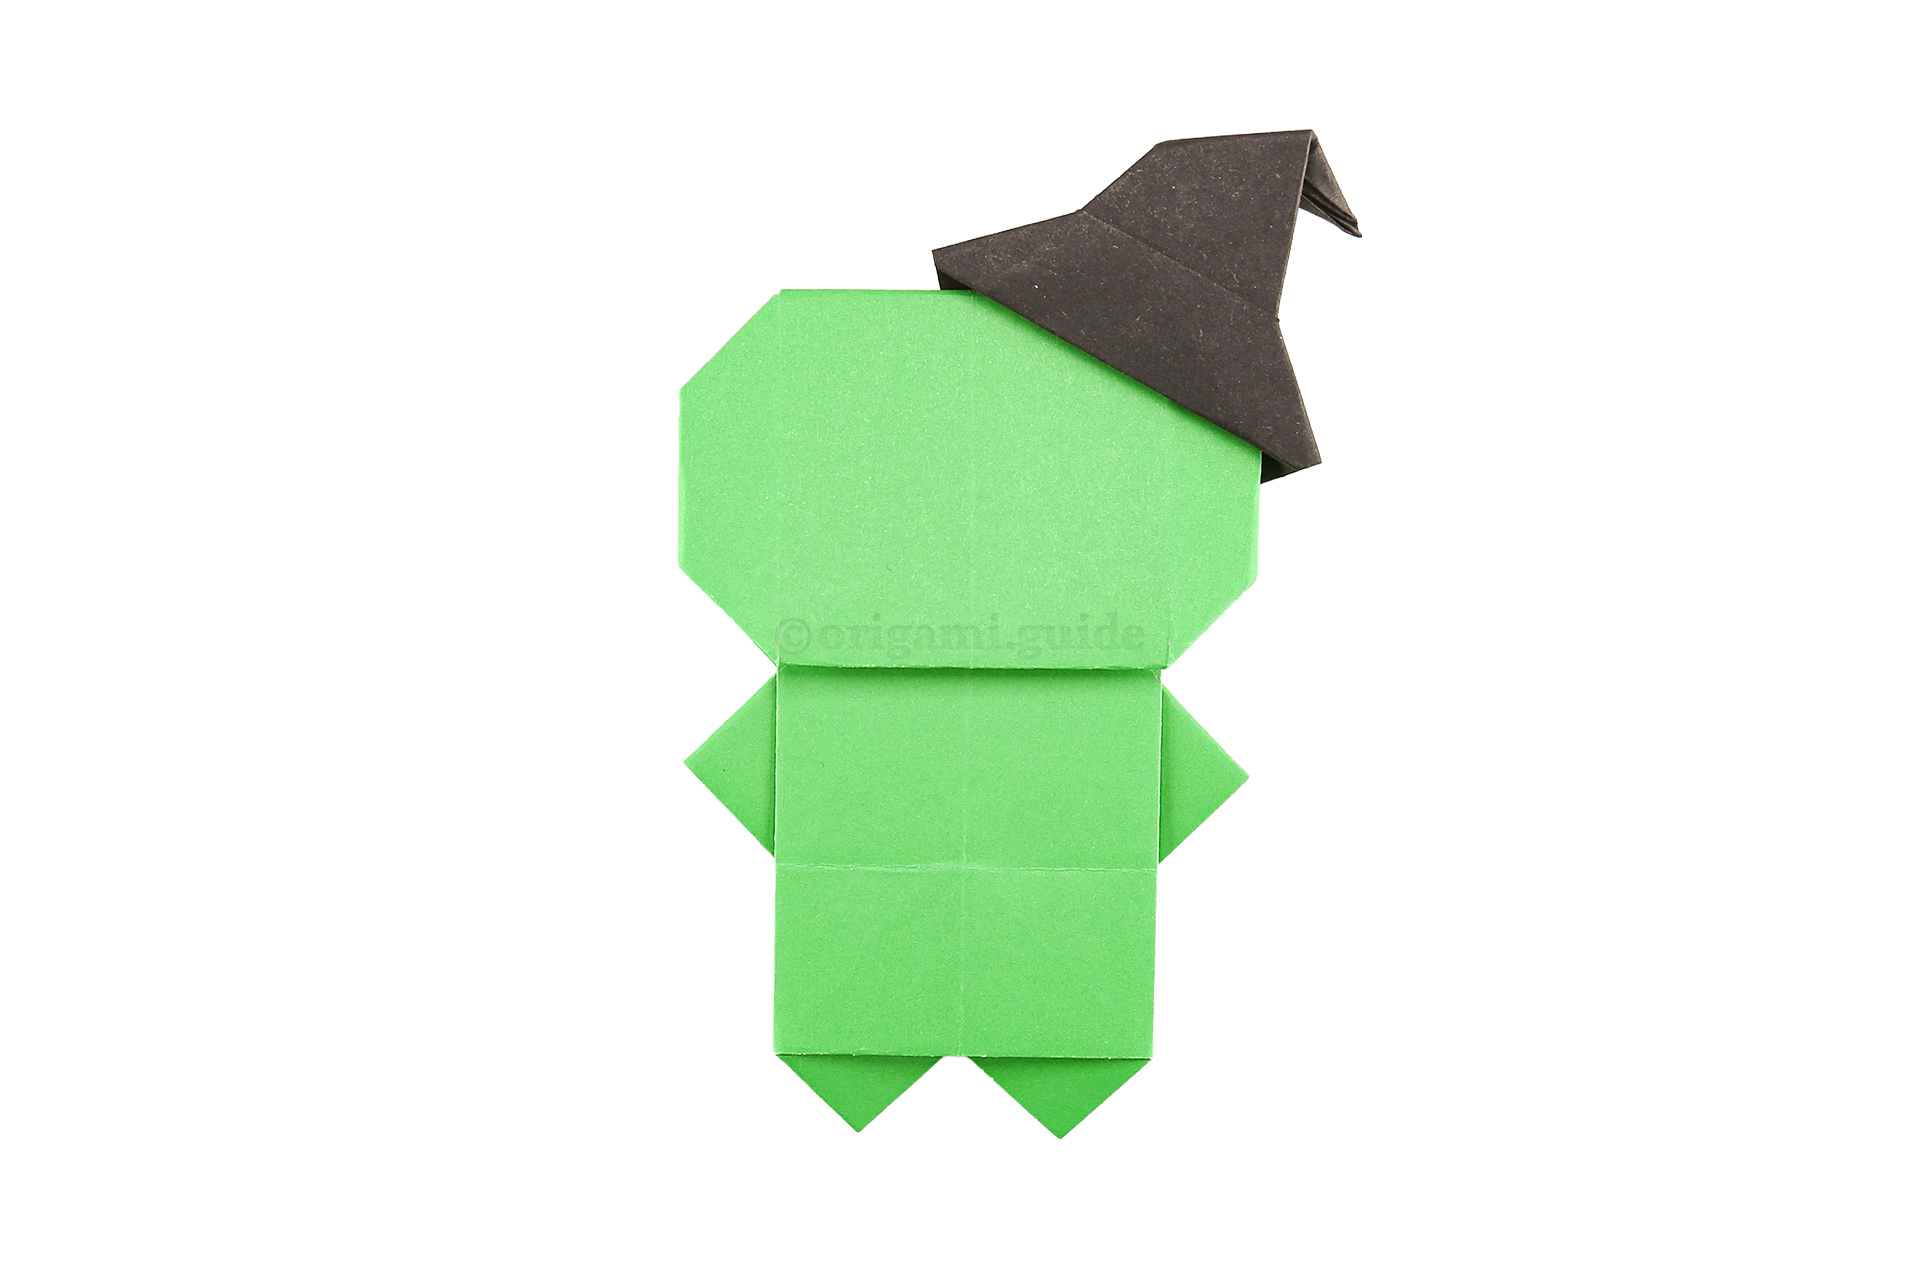
Step 20: We made a small one for our little green person.
Your Pointy Origami Witch Hat is Complete!
You’ve completed the Pointy Origami Witch Hat, why not check out our other Halloween Origami here.
Did you make this origami? How did it go? Leave a comment & submit your photo here.
Related origami: Easy Origami,
Intermediate Origami,
Origami Clothes,
Halloween,
What Halloween Origami To Fold Next?
View all Halloween Origami Tutorials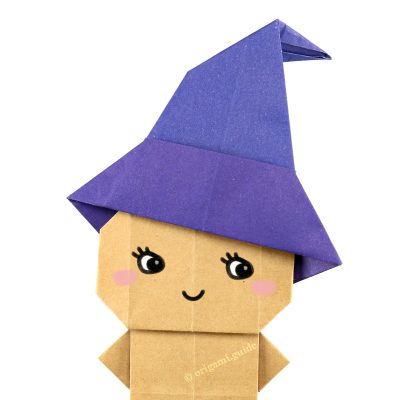

Leave A Comment
Did you fold this Pointy Origami Witch Hat? Let us know what you thought.
You can also upload a photo of your result!