Made this origami? Leave a comment & submit your photo here.
-
41
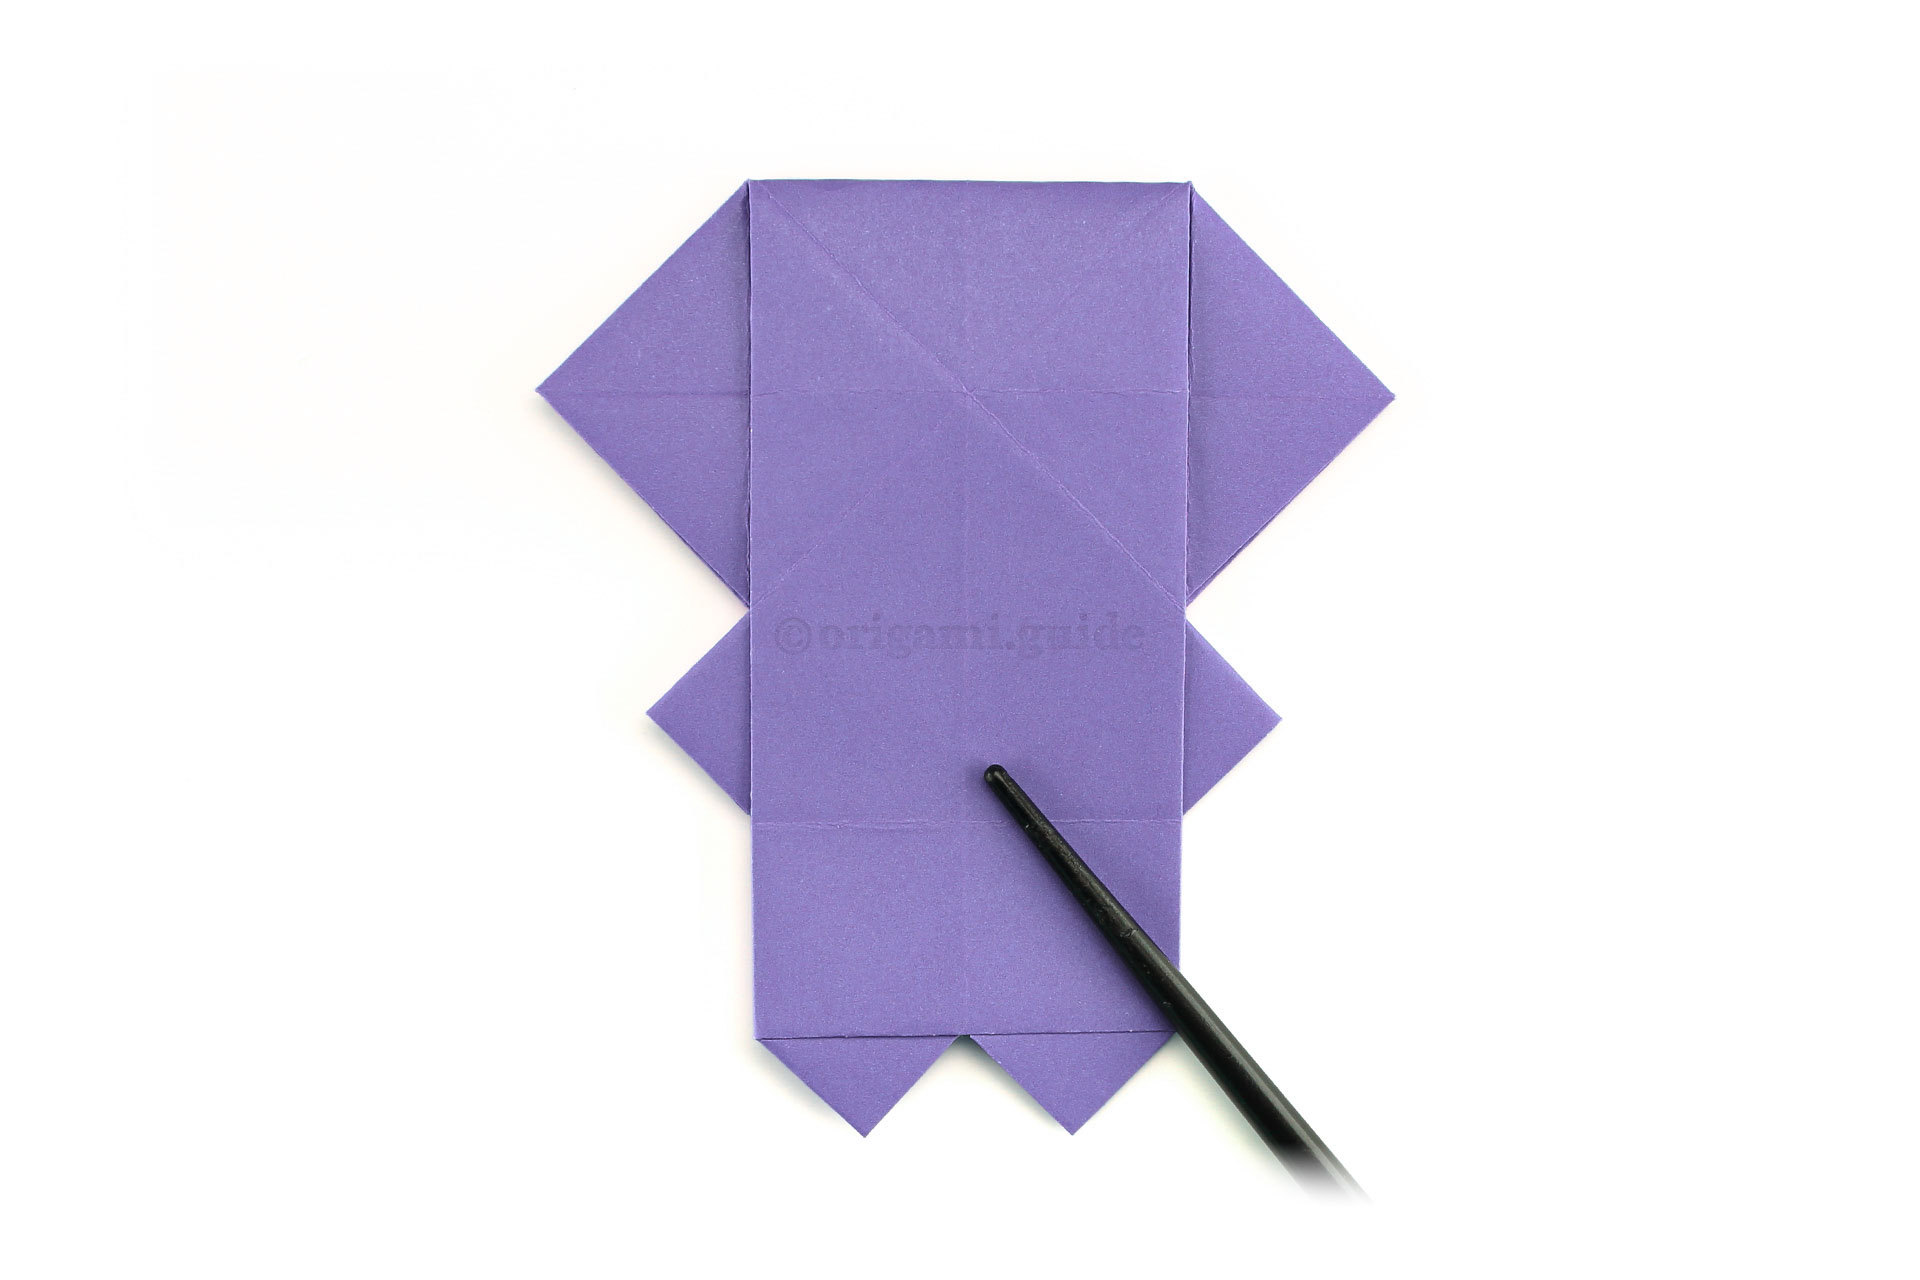
Step 41: Flip the paper over to the other side.
-
42
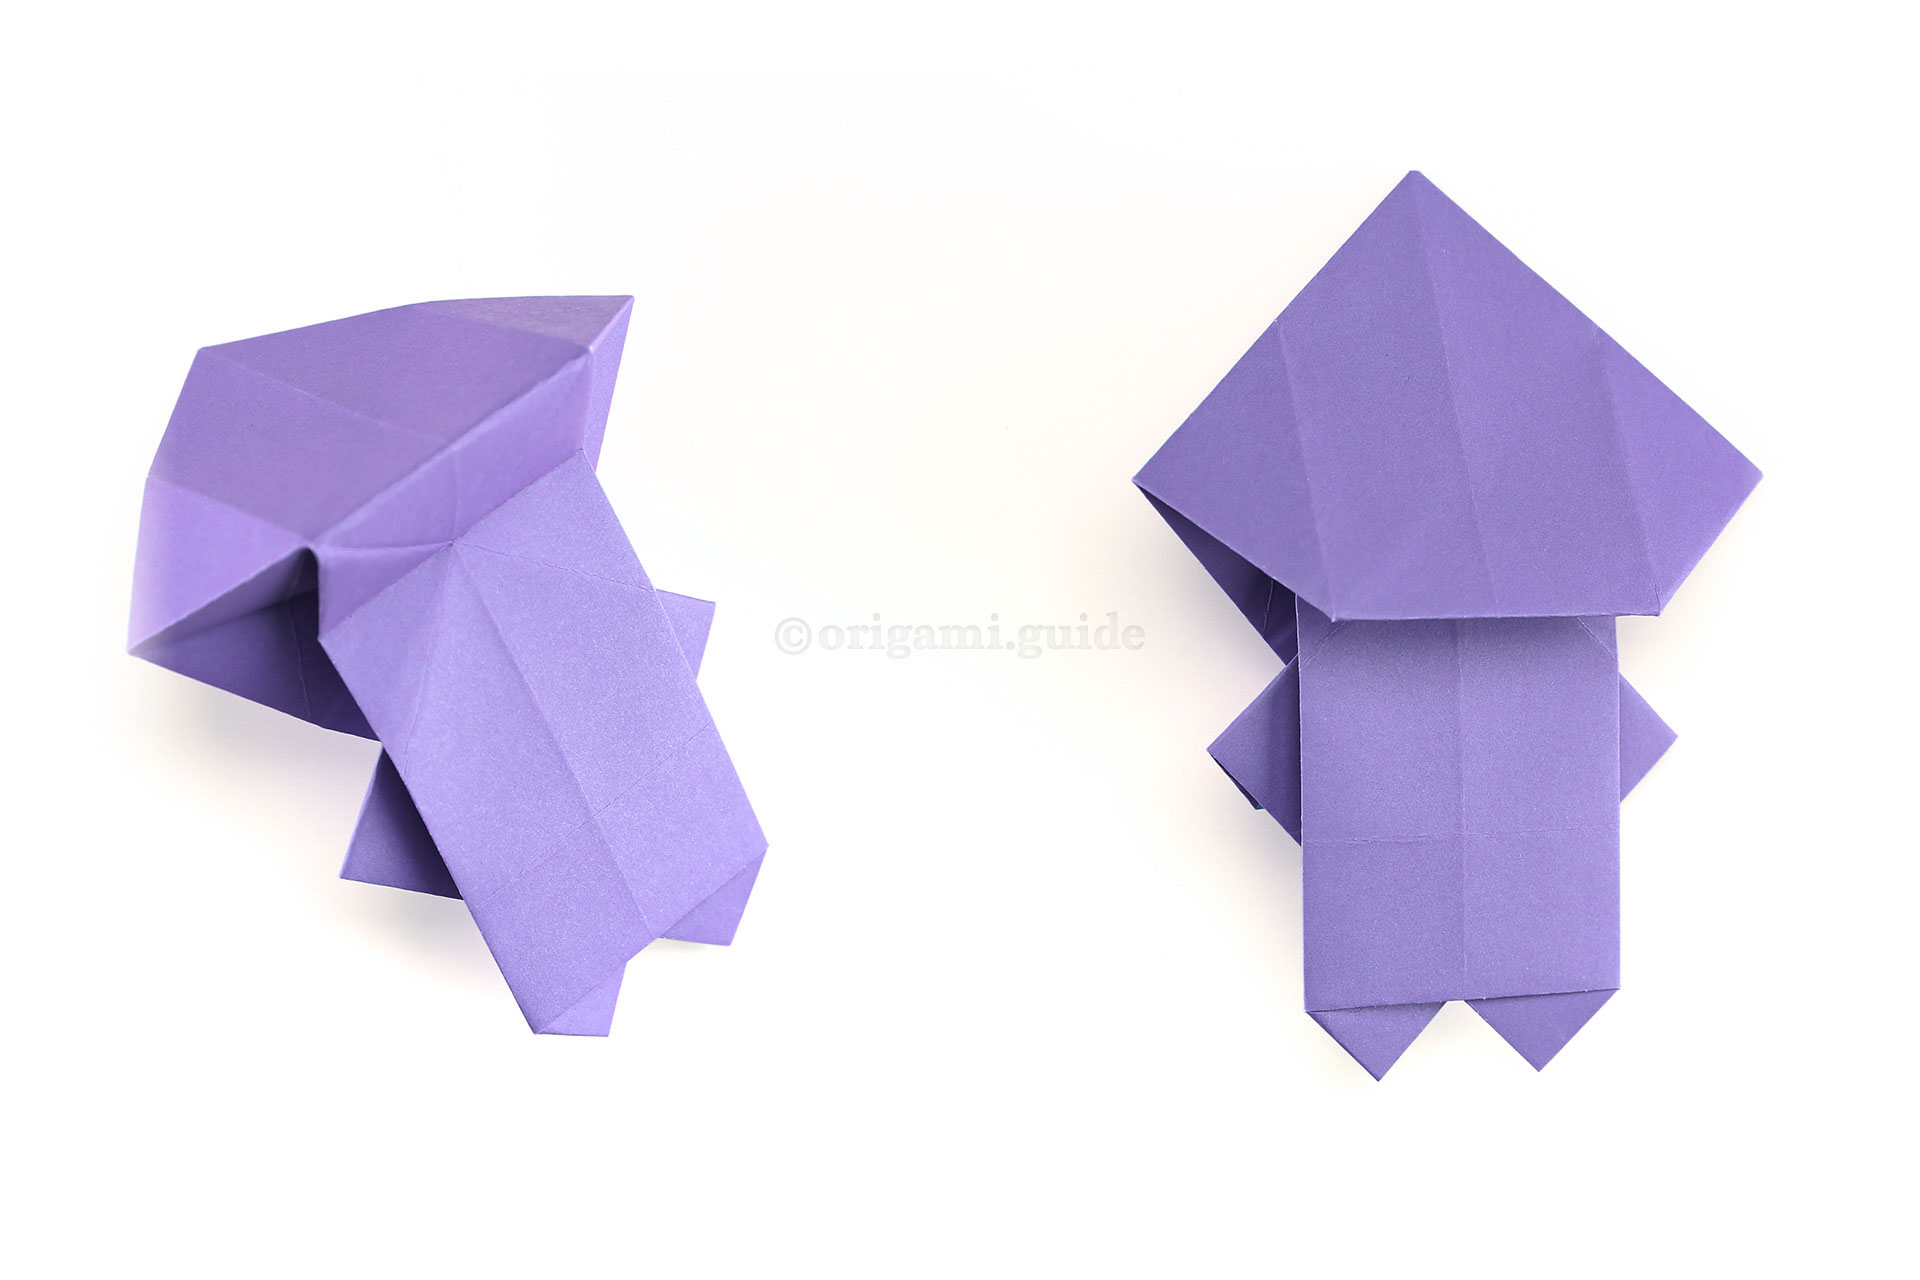
Step 42: Fold the top section down whilst bringing the flap up from behind.
-
43
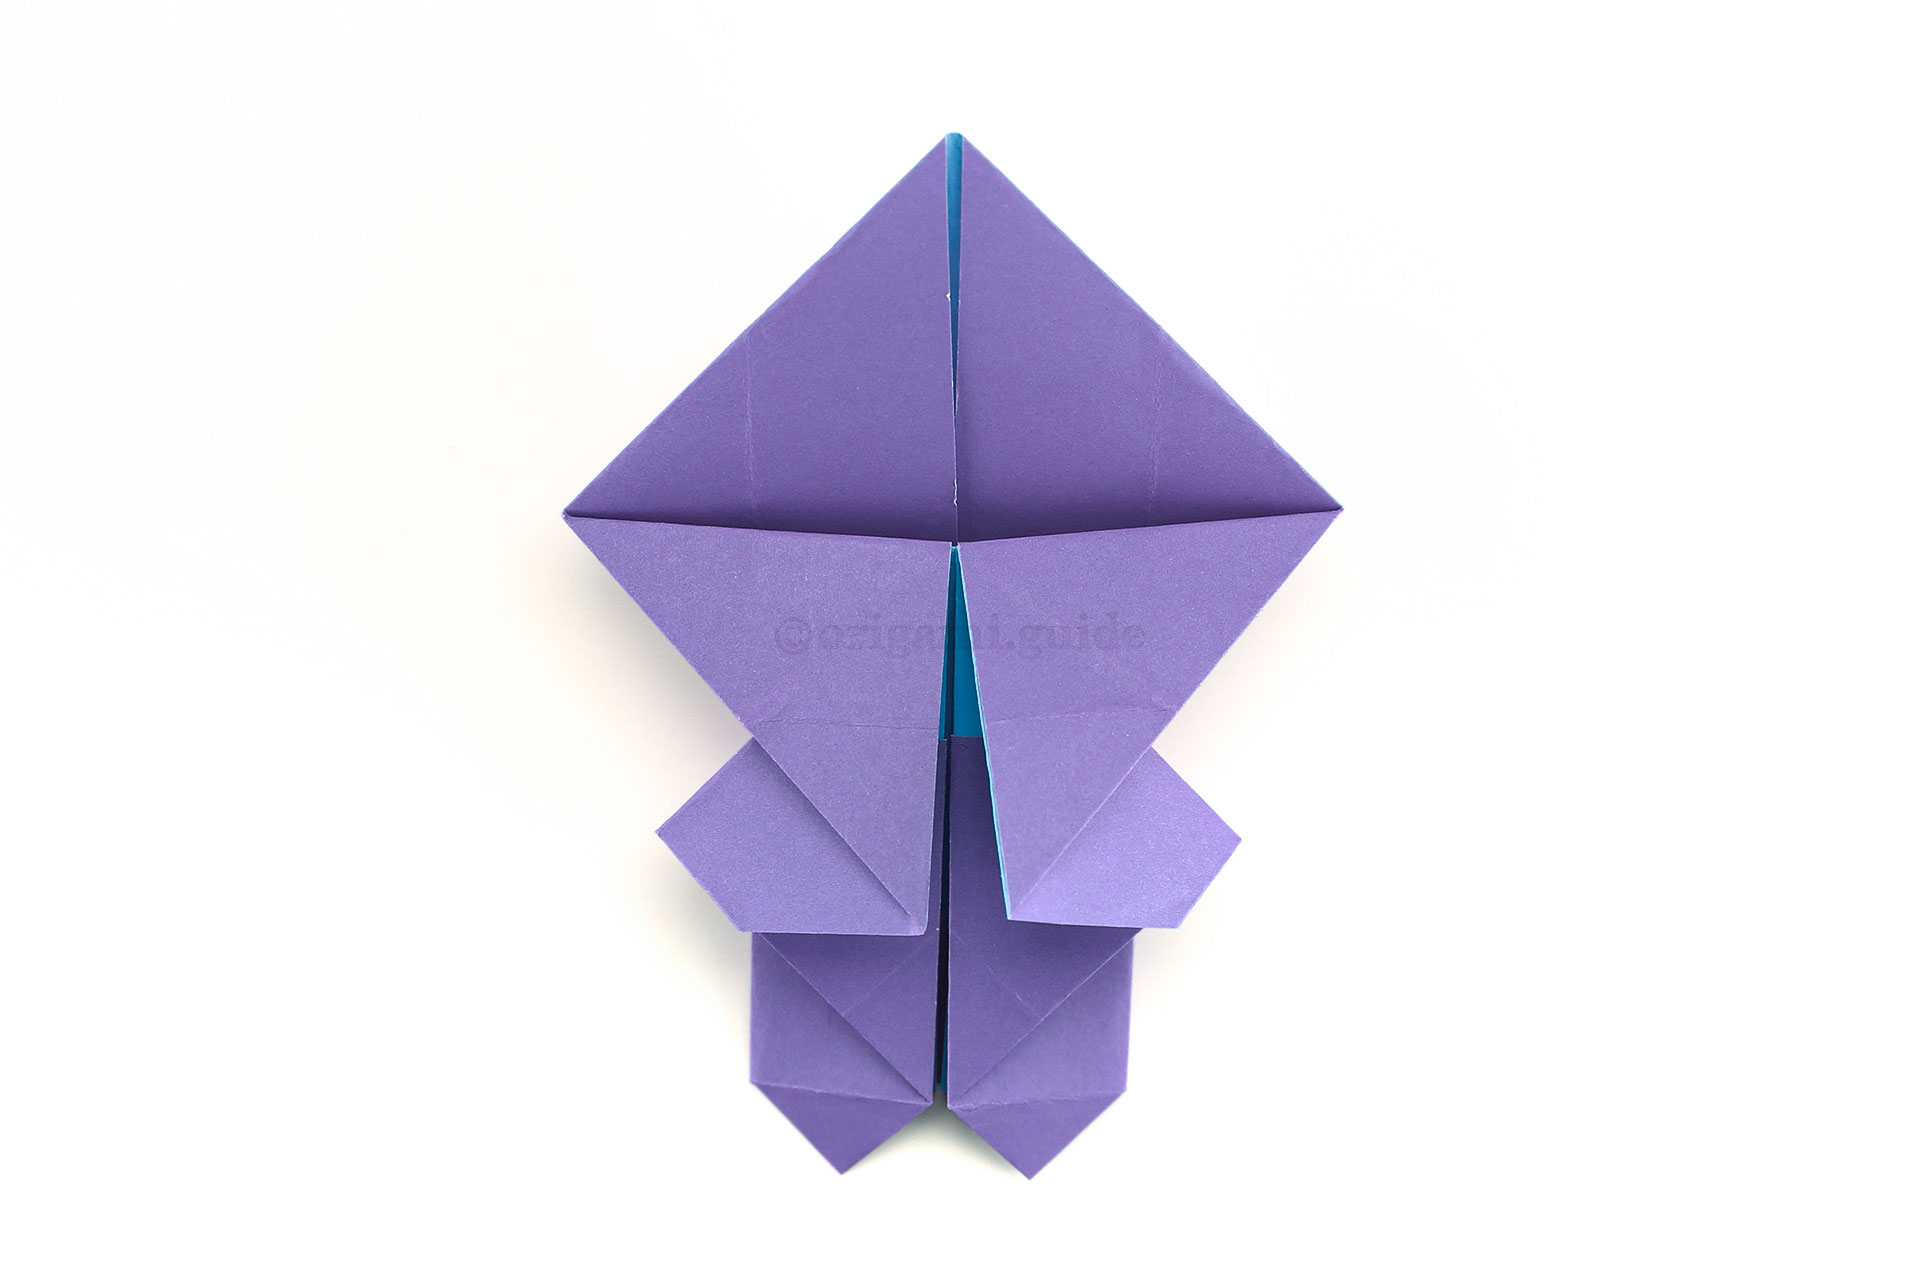
Step 43: Let's finish up the back.
-
44
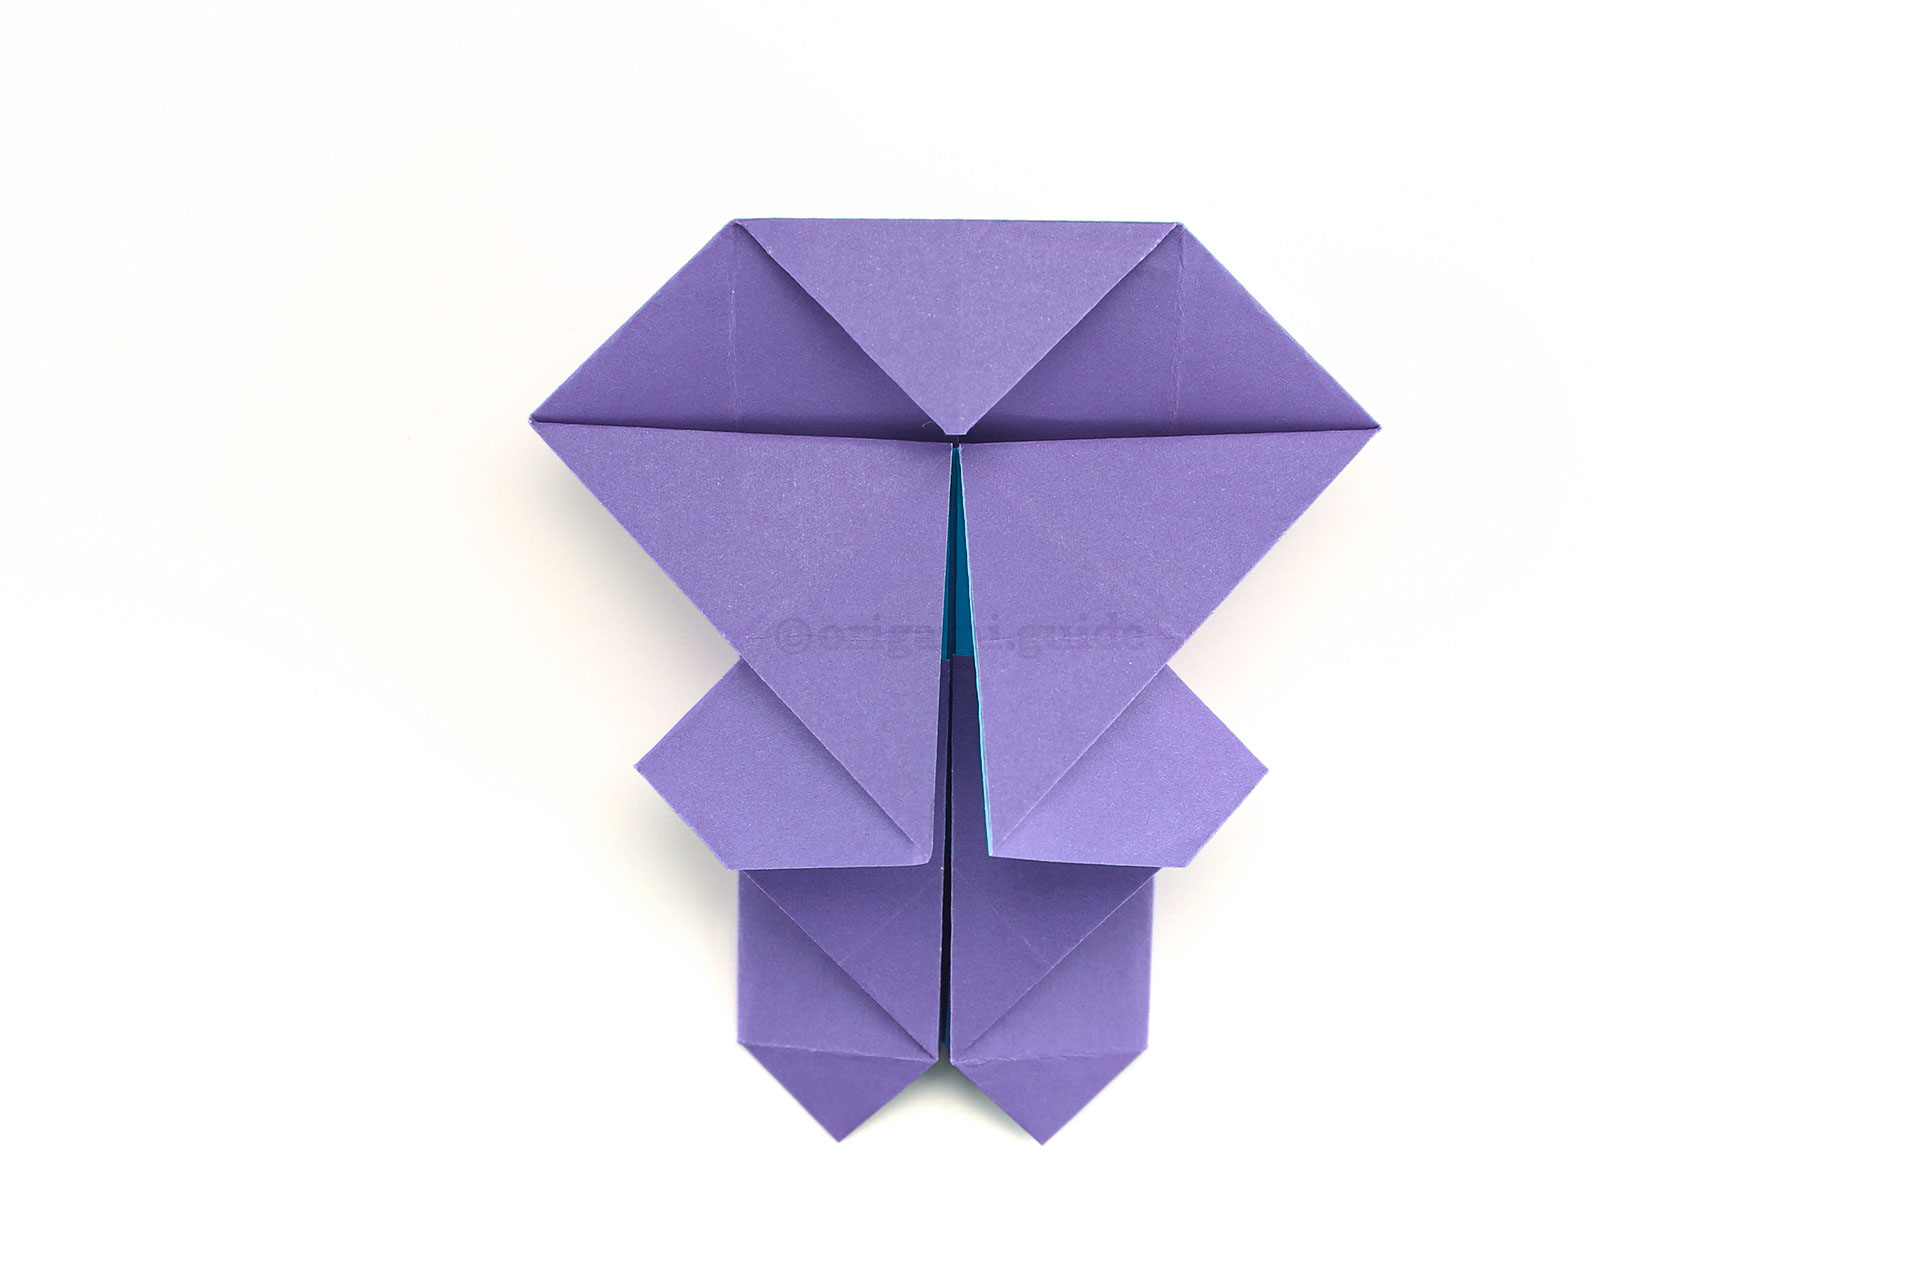
Step 44: Fold the top point down.
-
45
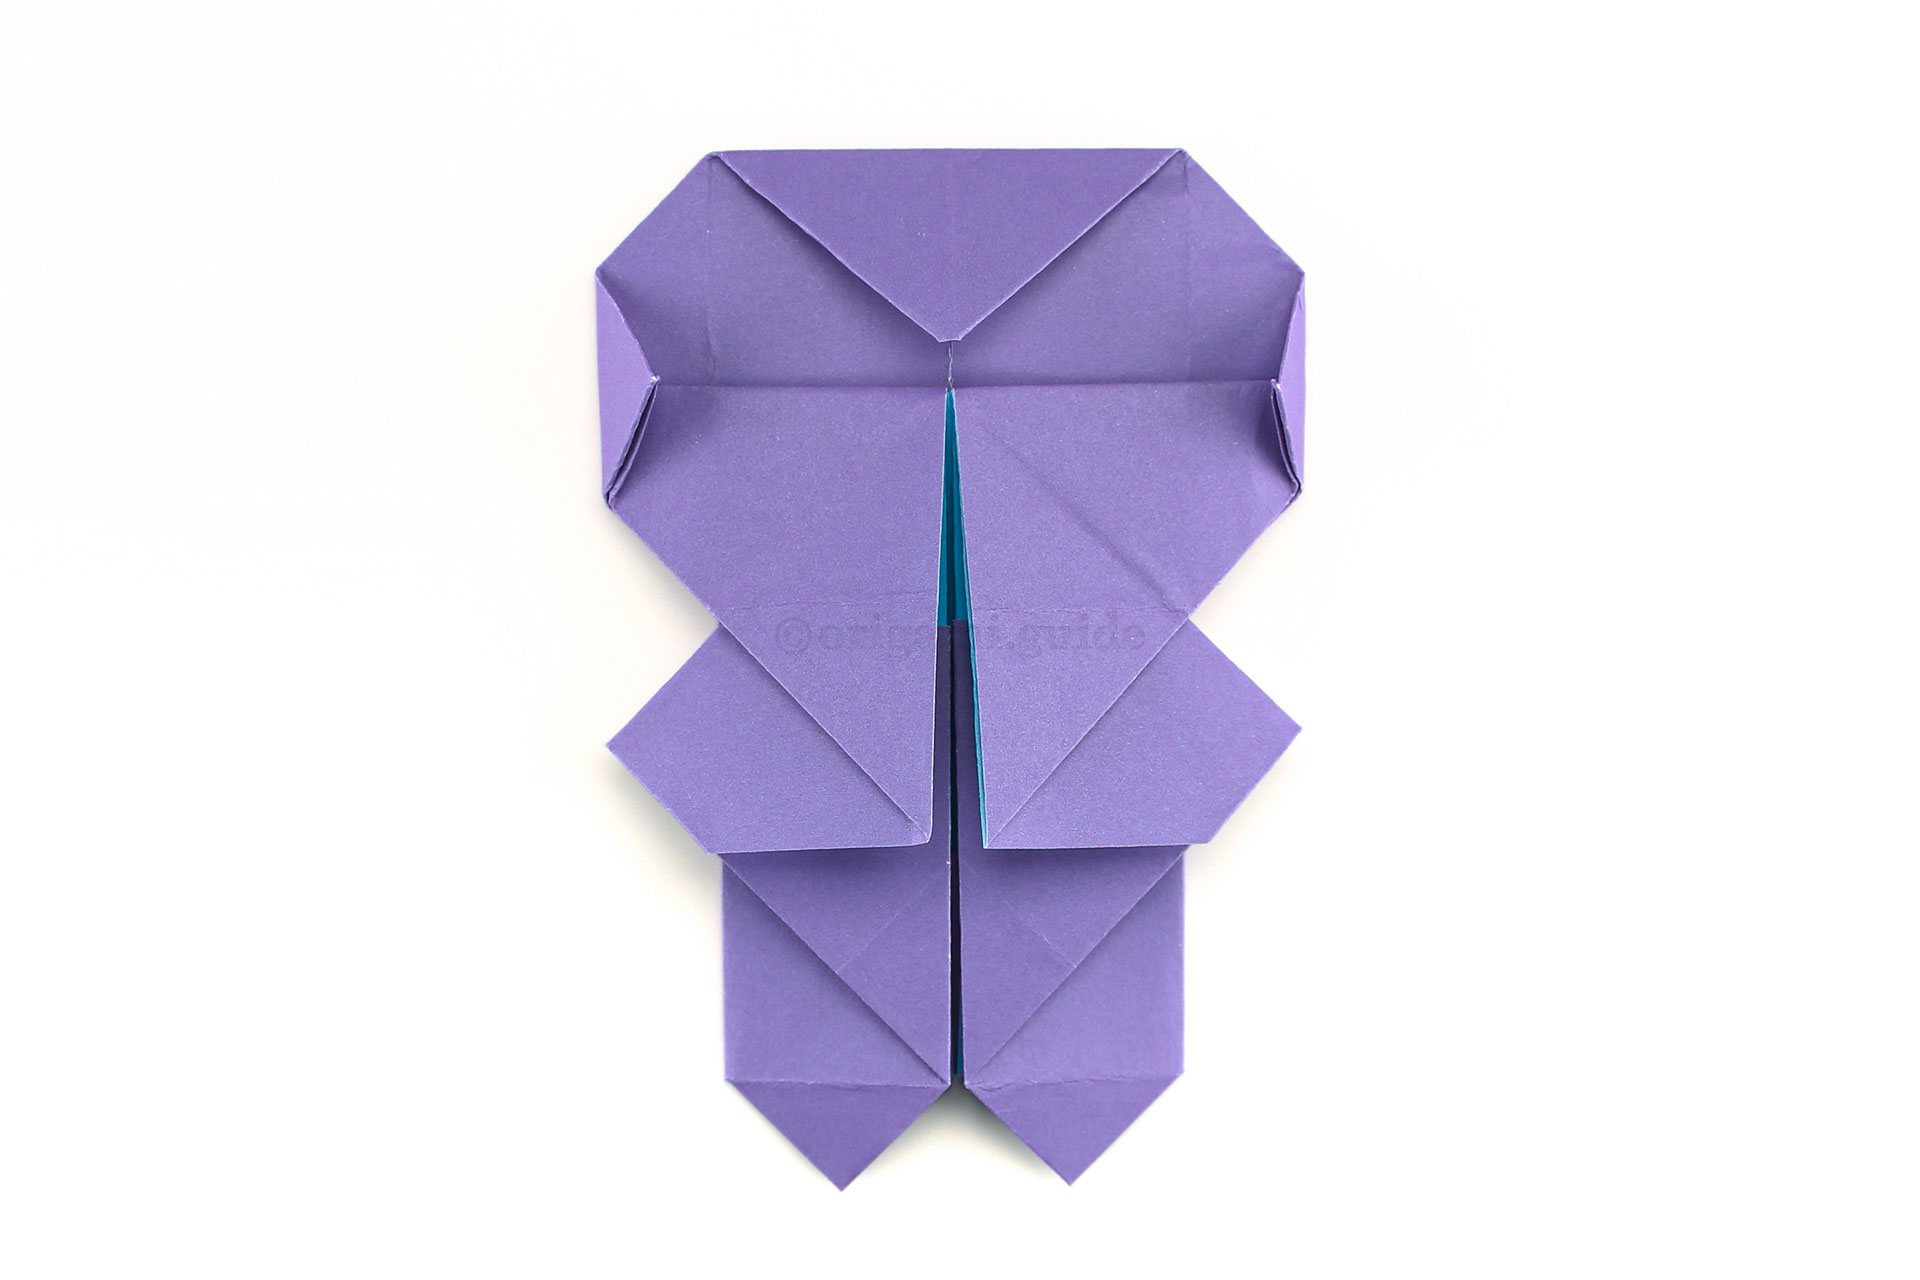
Step 45: Fold the left and right points a little, to create a more rounded head shape.
-
46
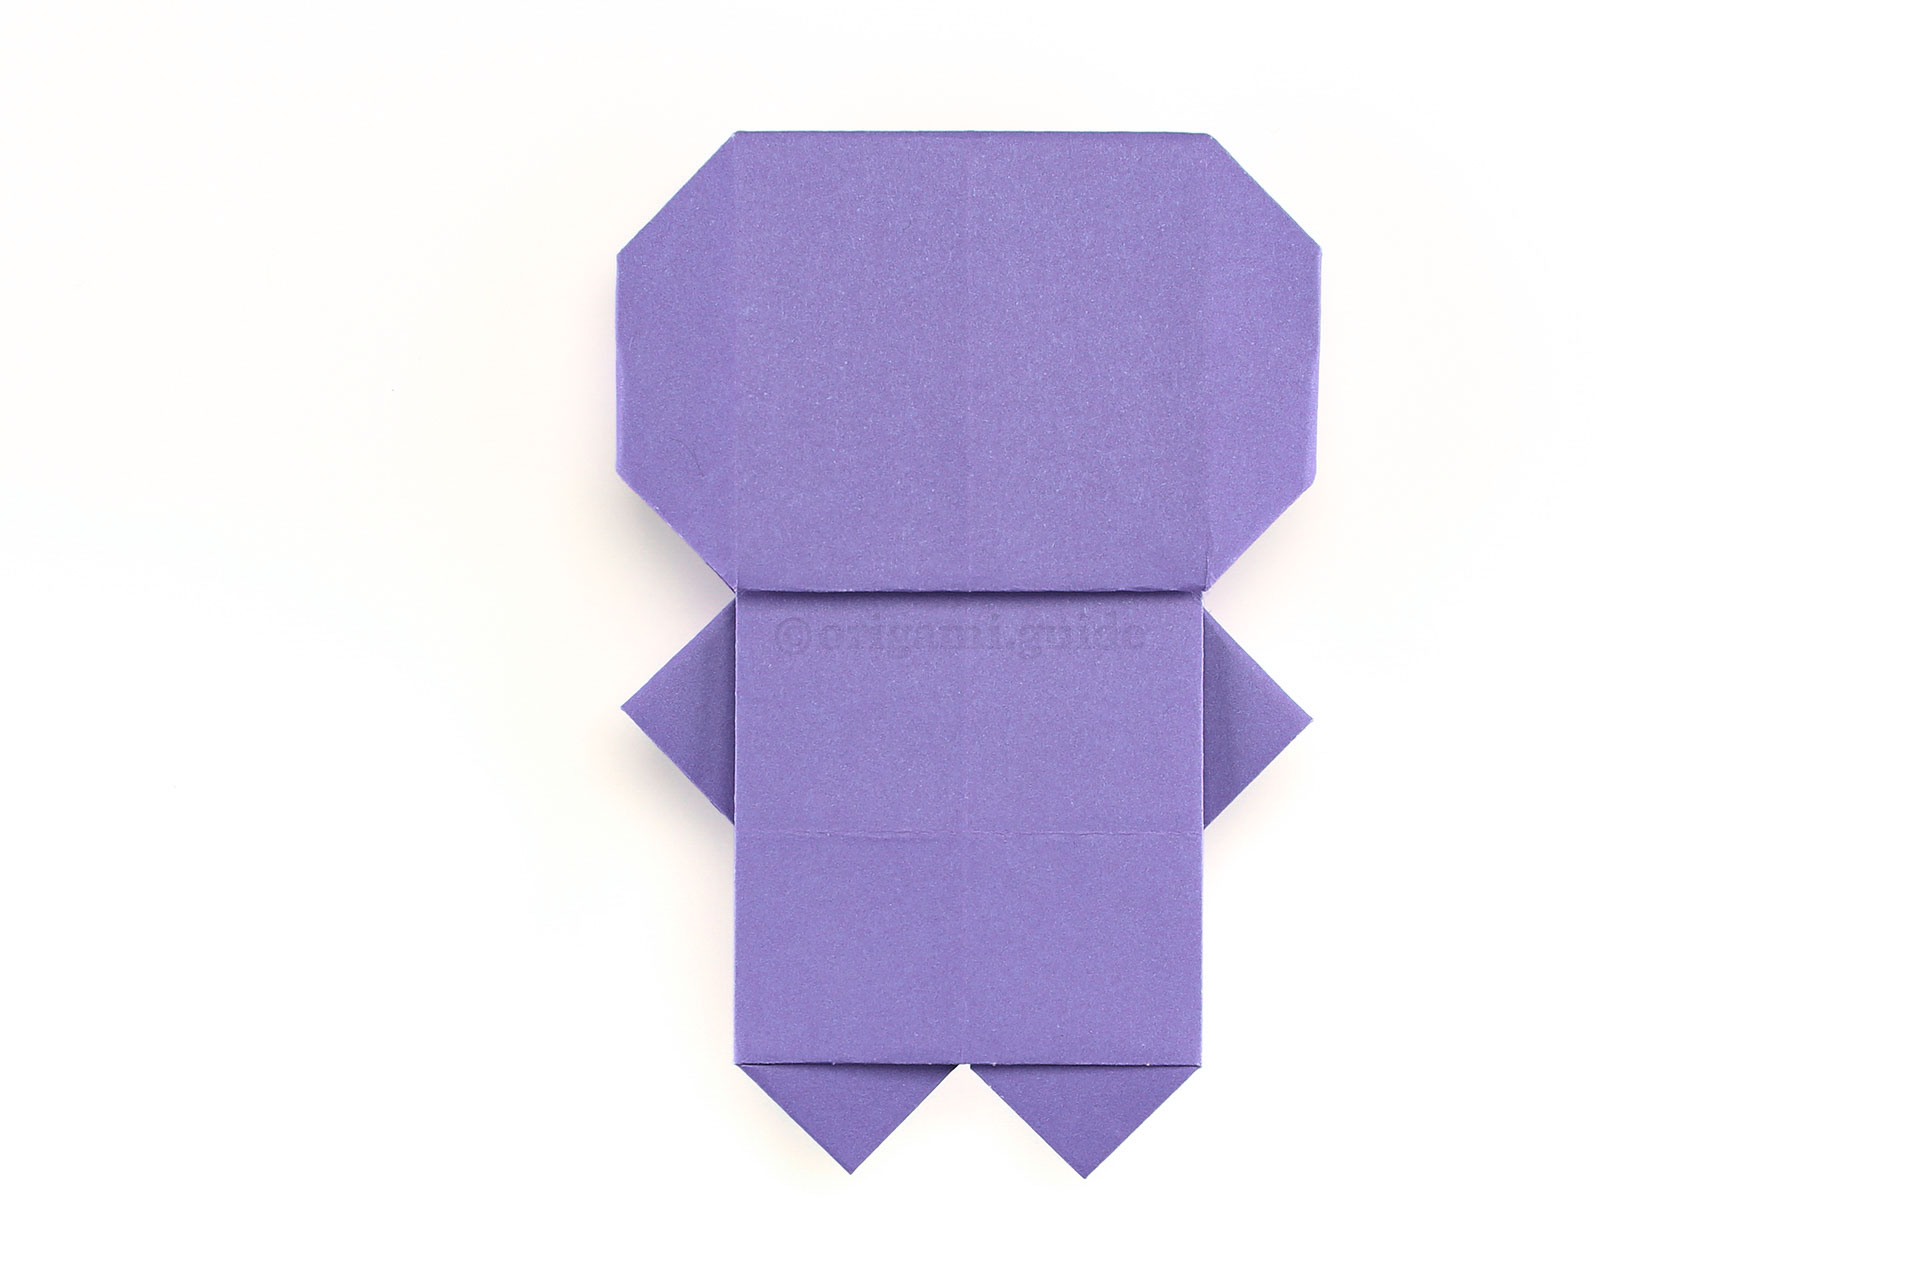
Step 46:
-
47
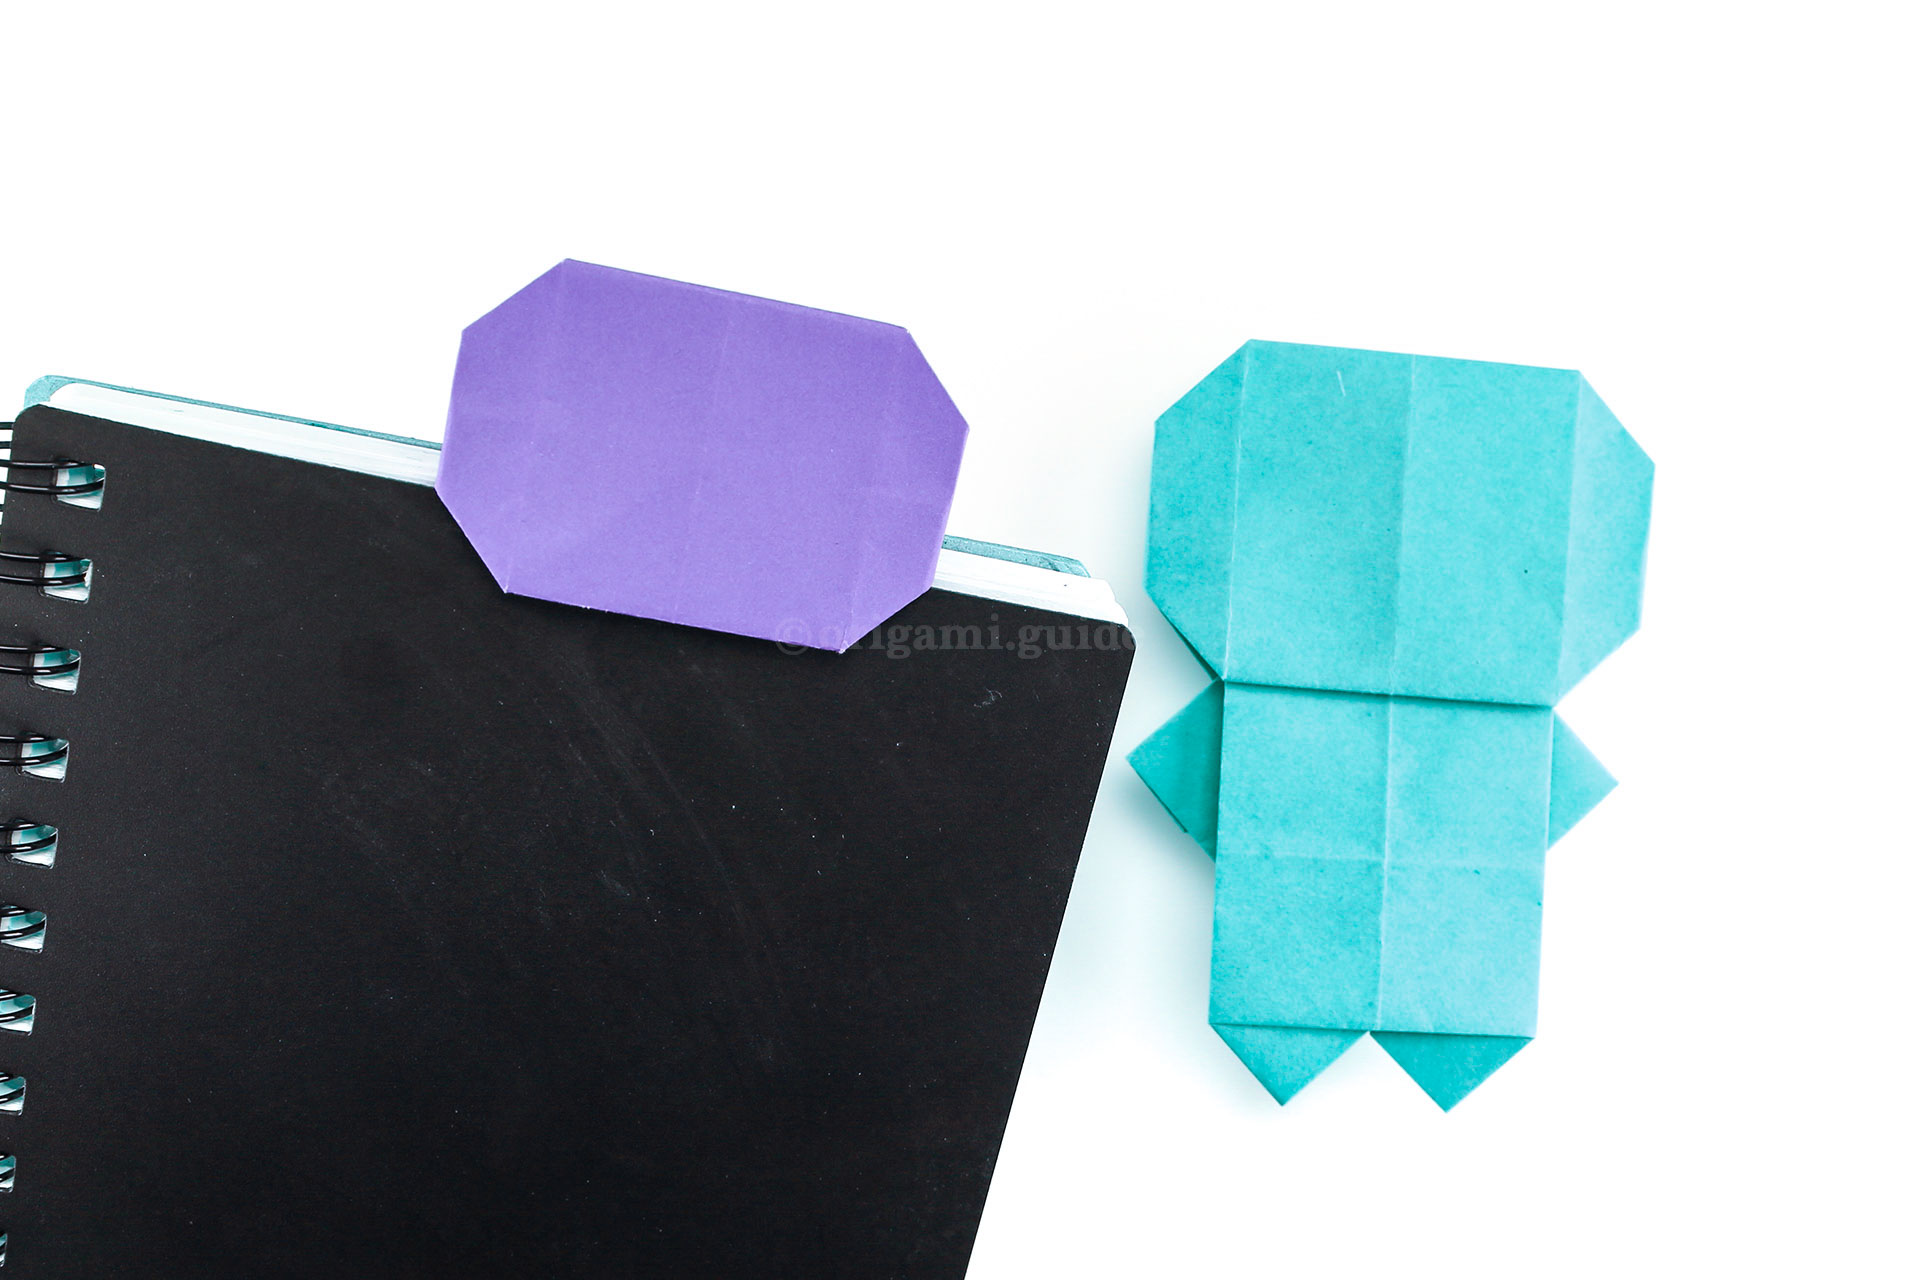
Step 47:
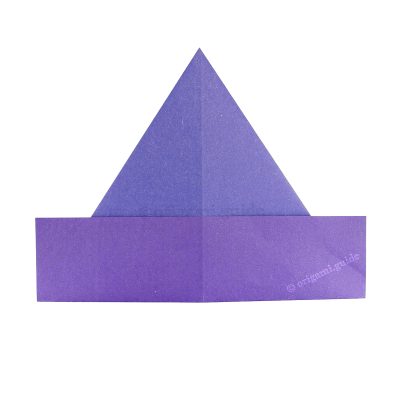
Origami Witch Hat Instructions
-
48
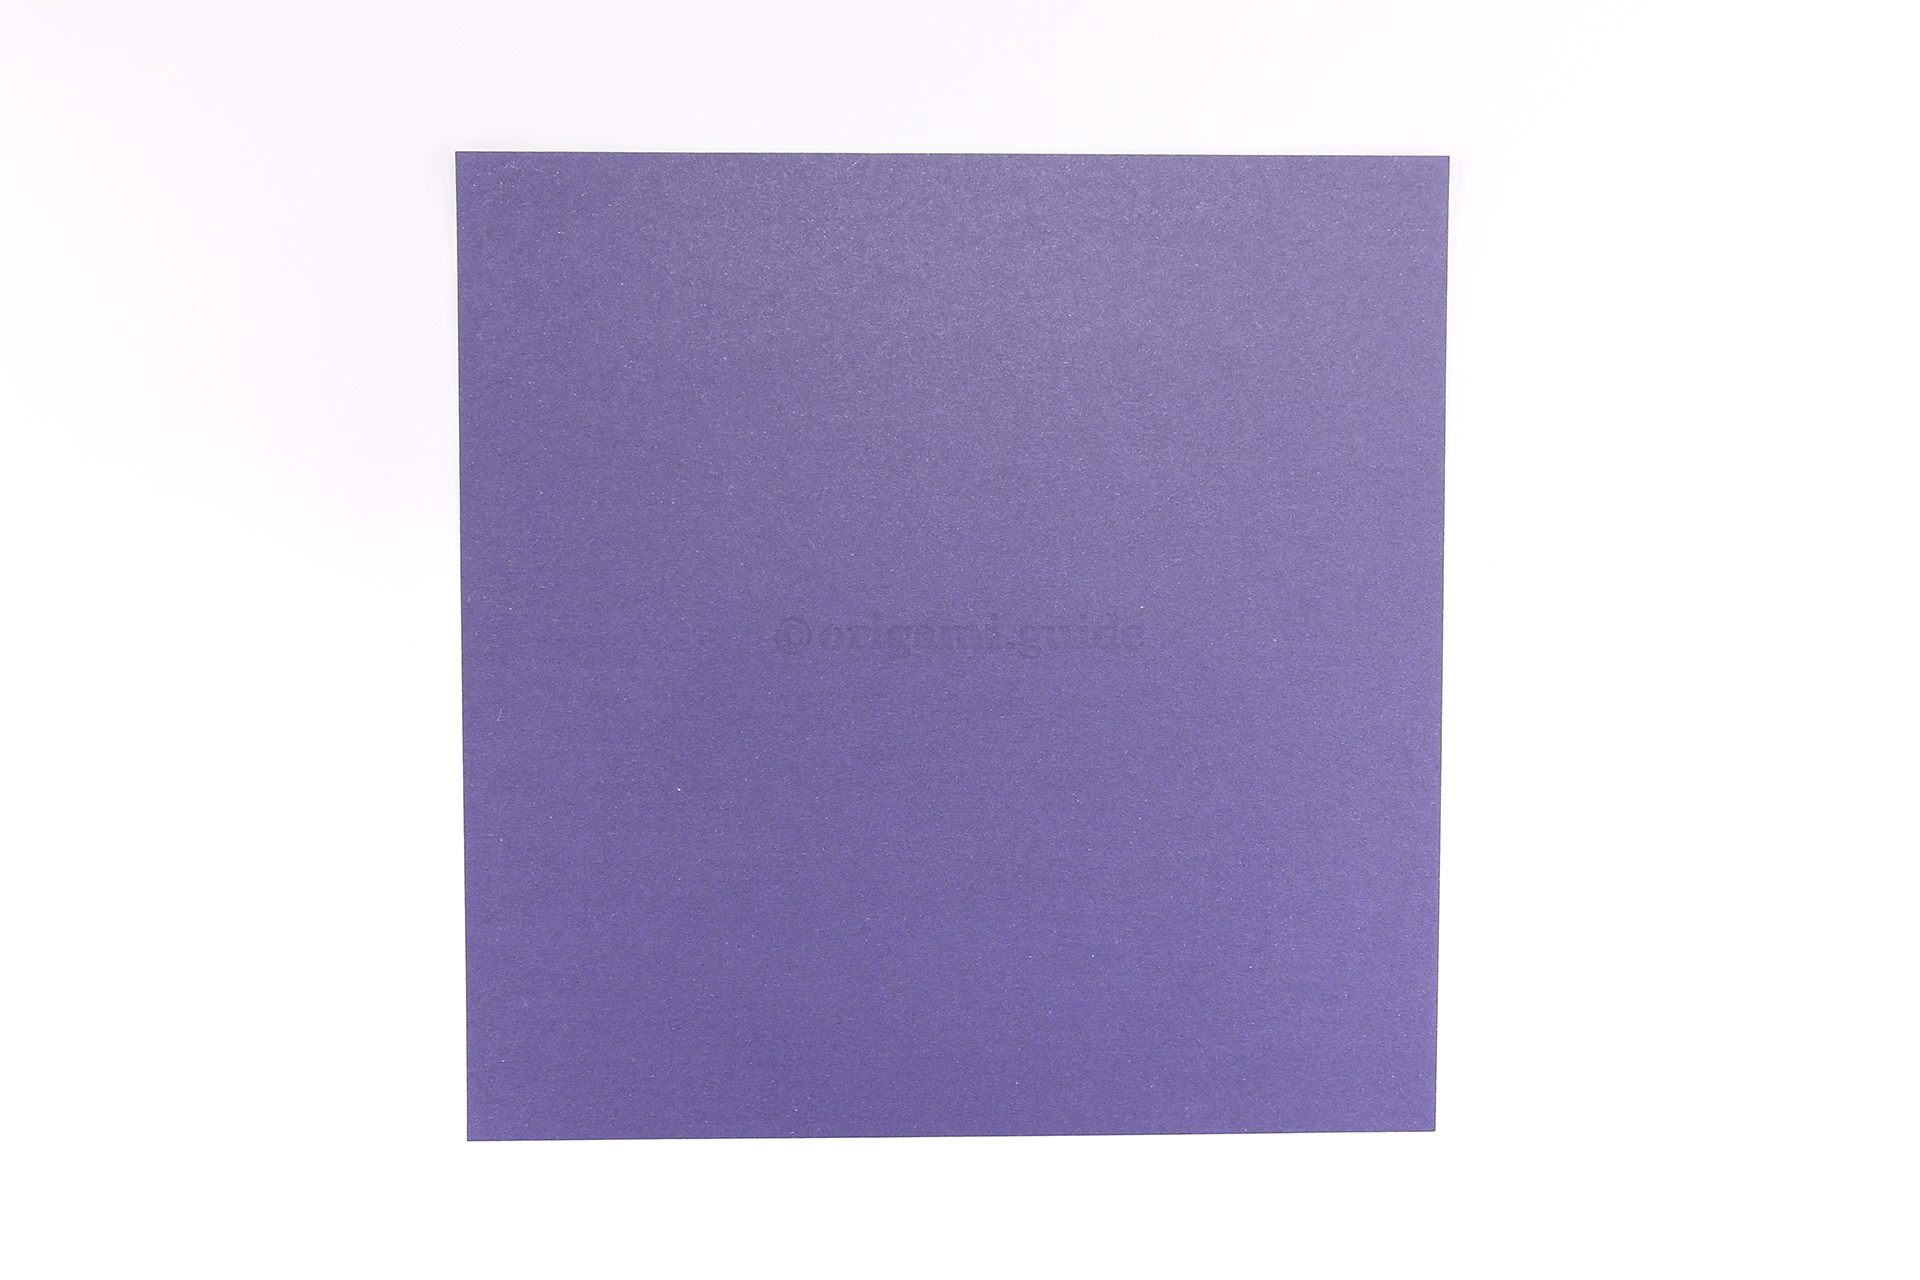
Step 48: We used origami paper that has the same colour on each side, if you use paper that has two different colours, the rim with be a different colour from the top.
-
49
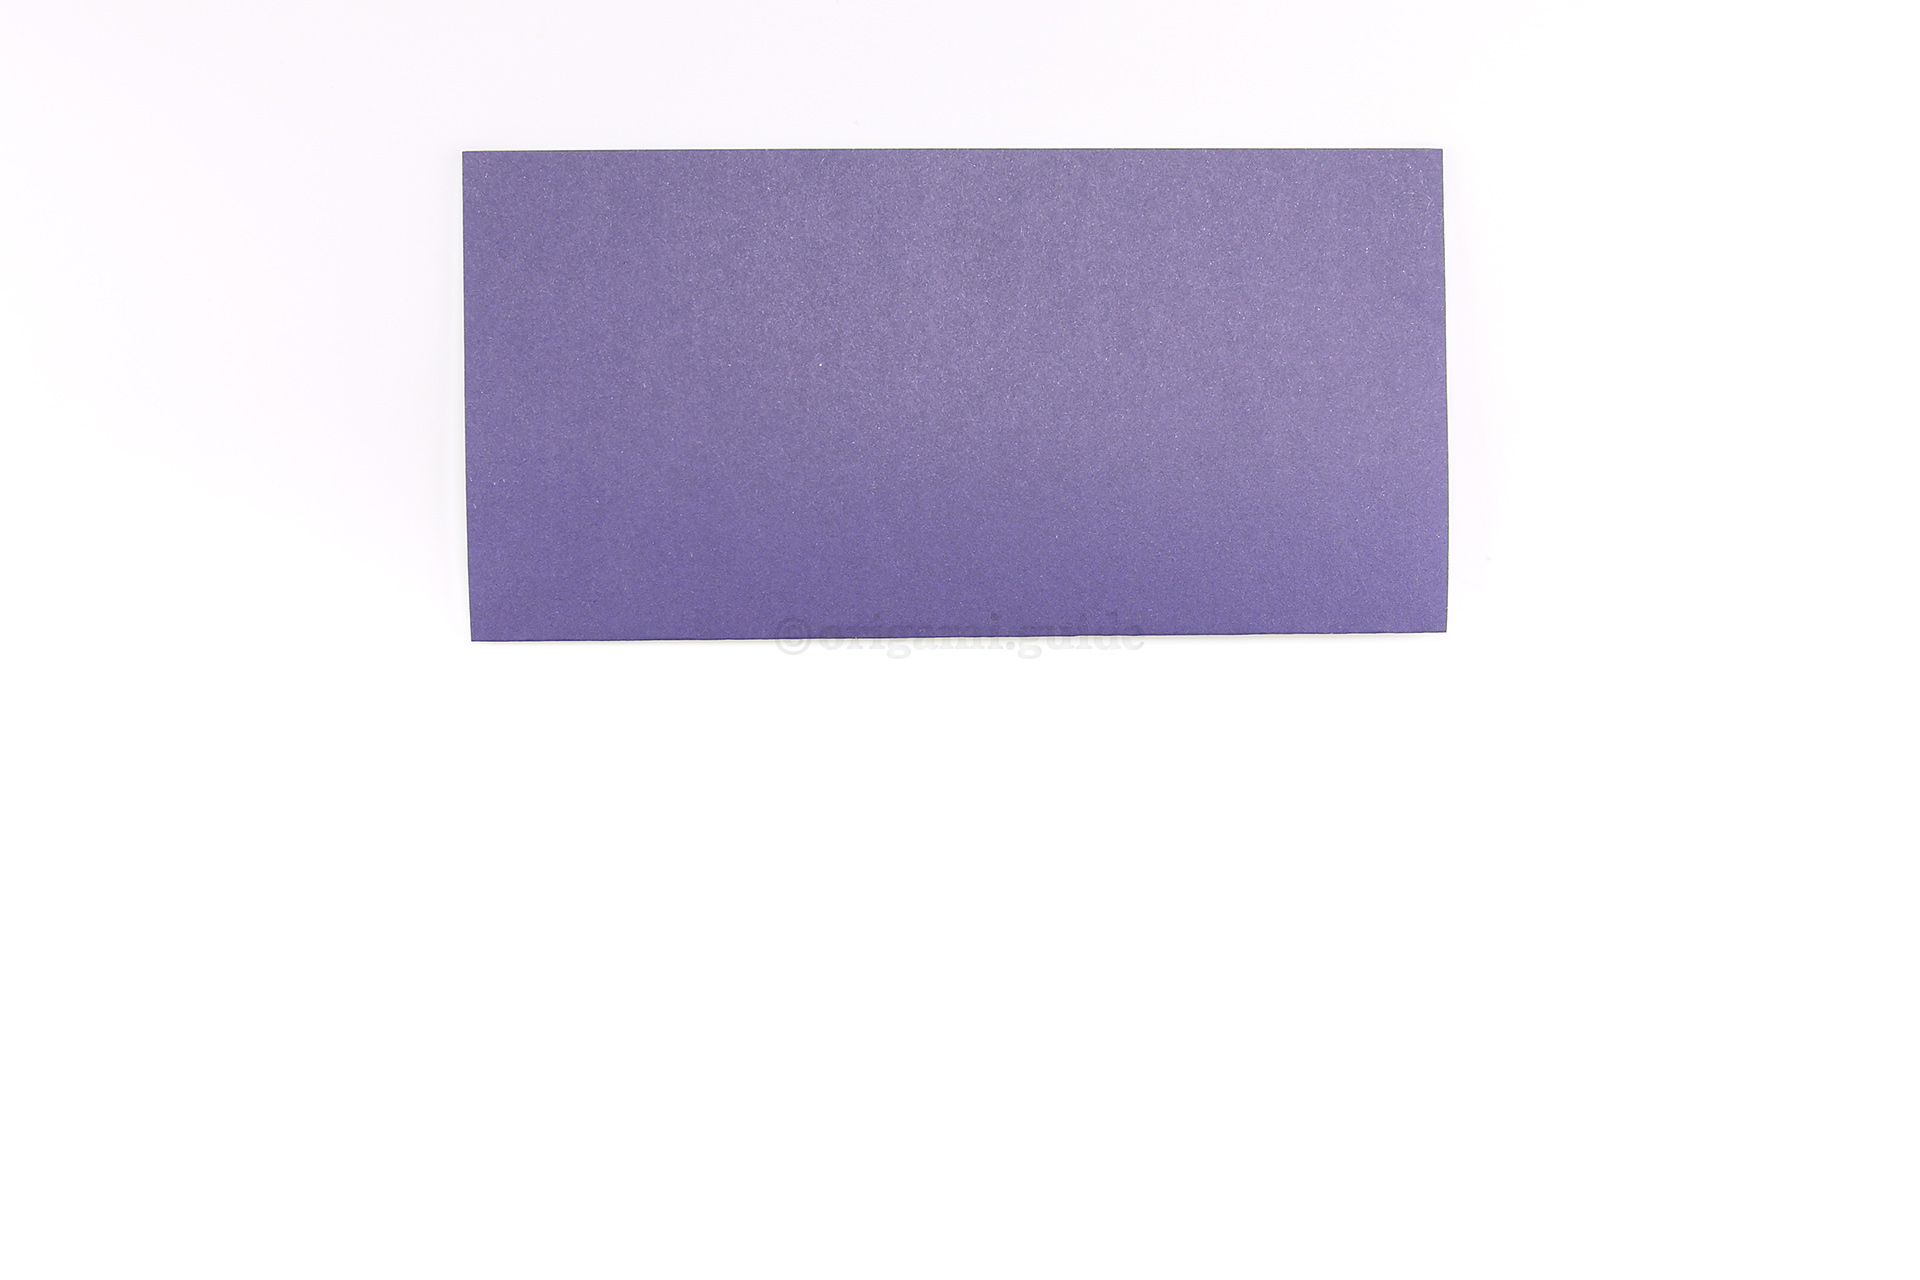
Step 49: Fold the bottom edge up to the top edge.
-
50
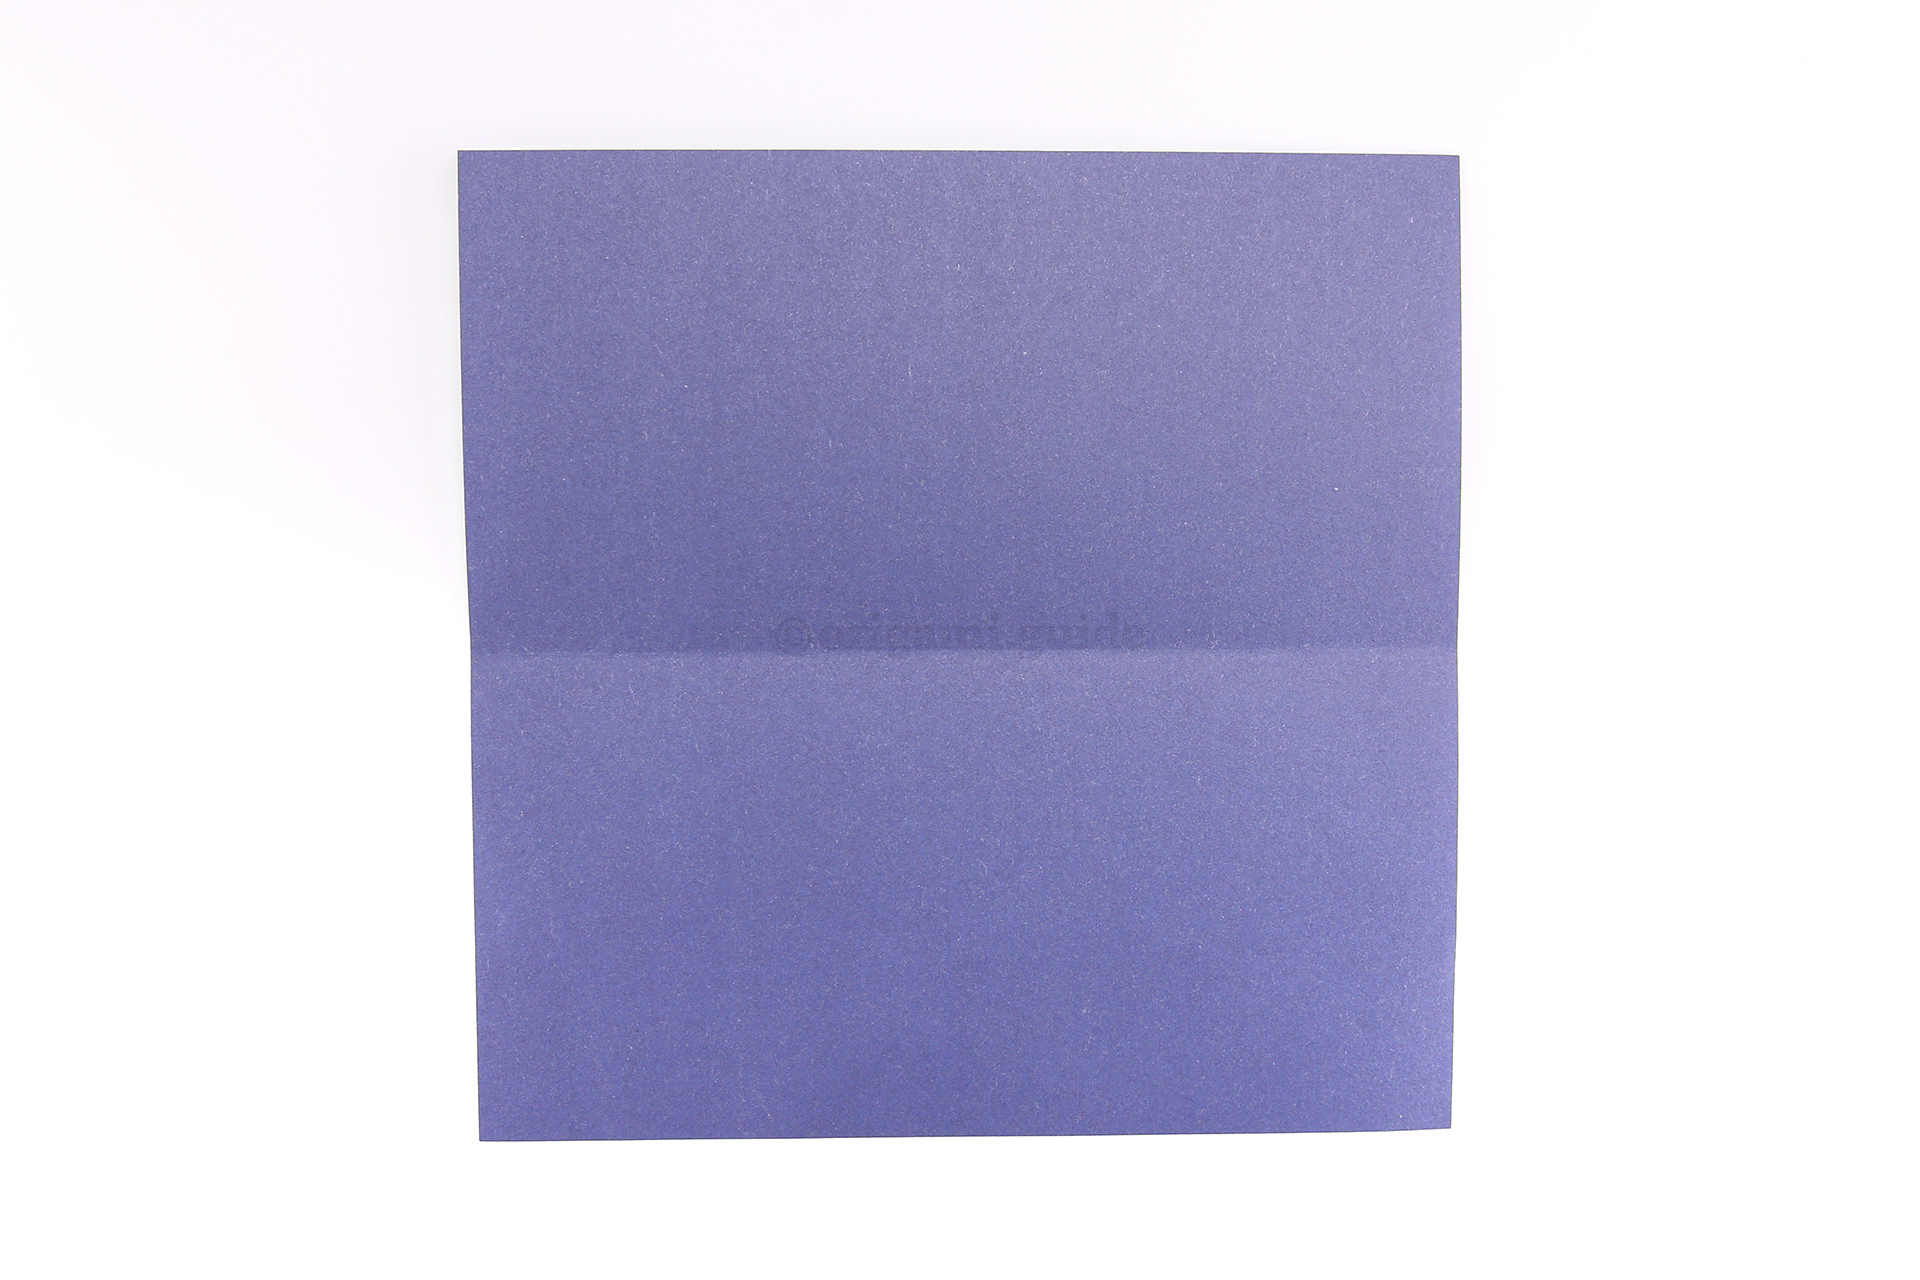
Step 50: Unfold.
-
51
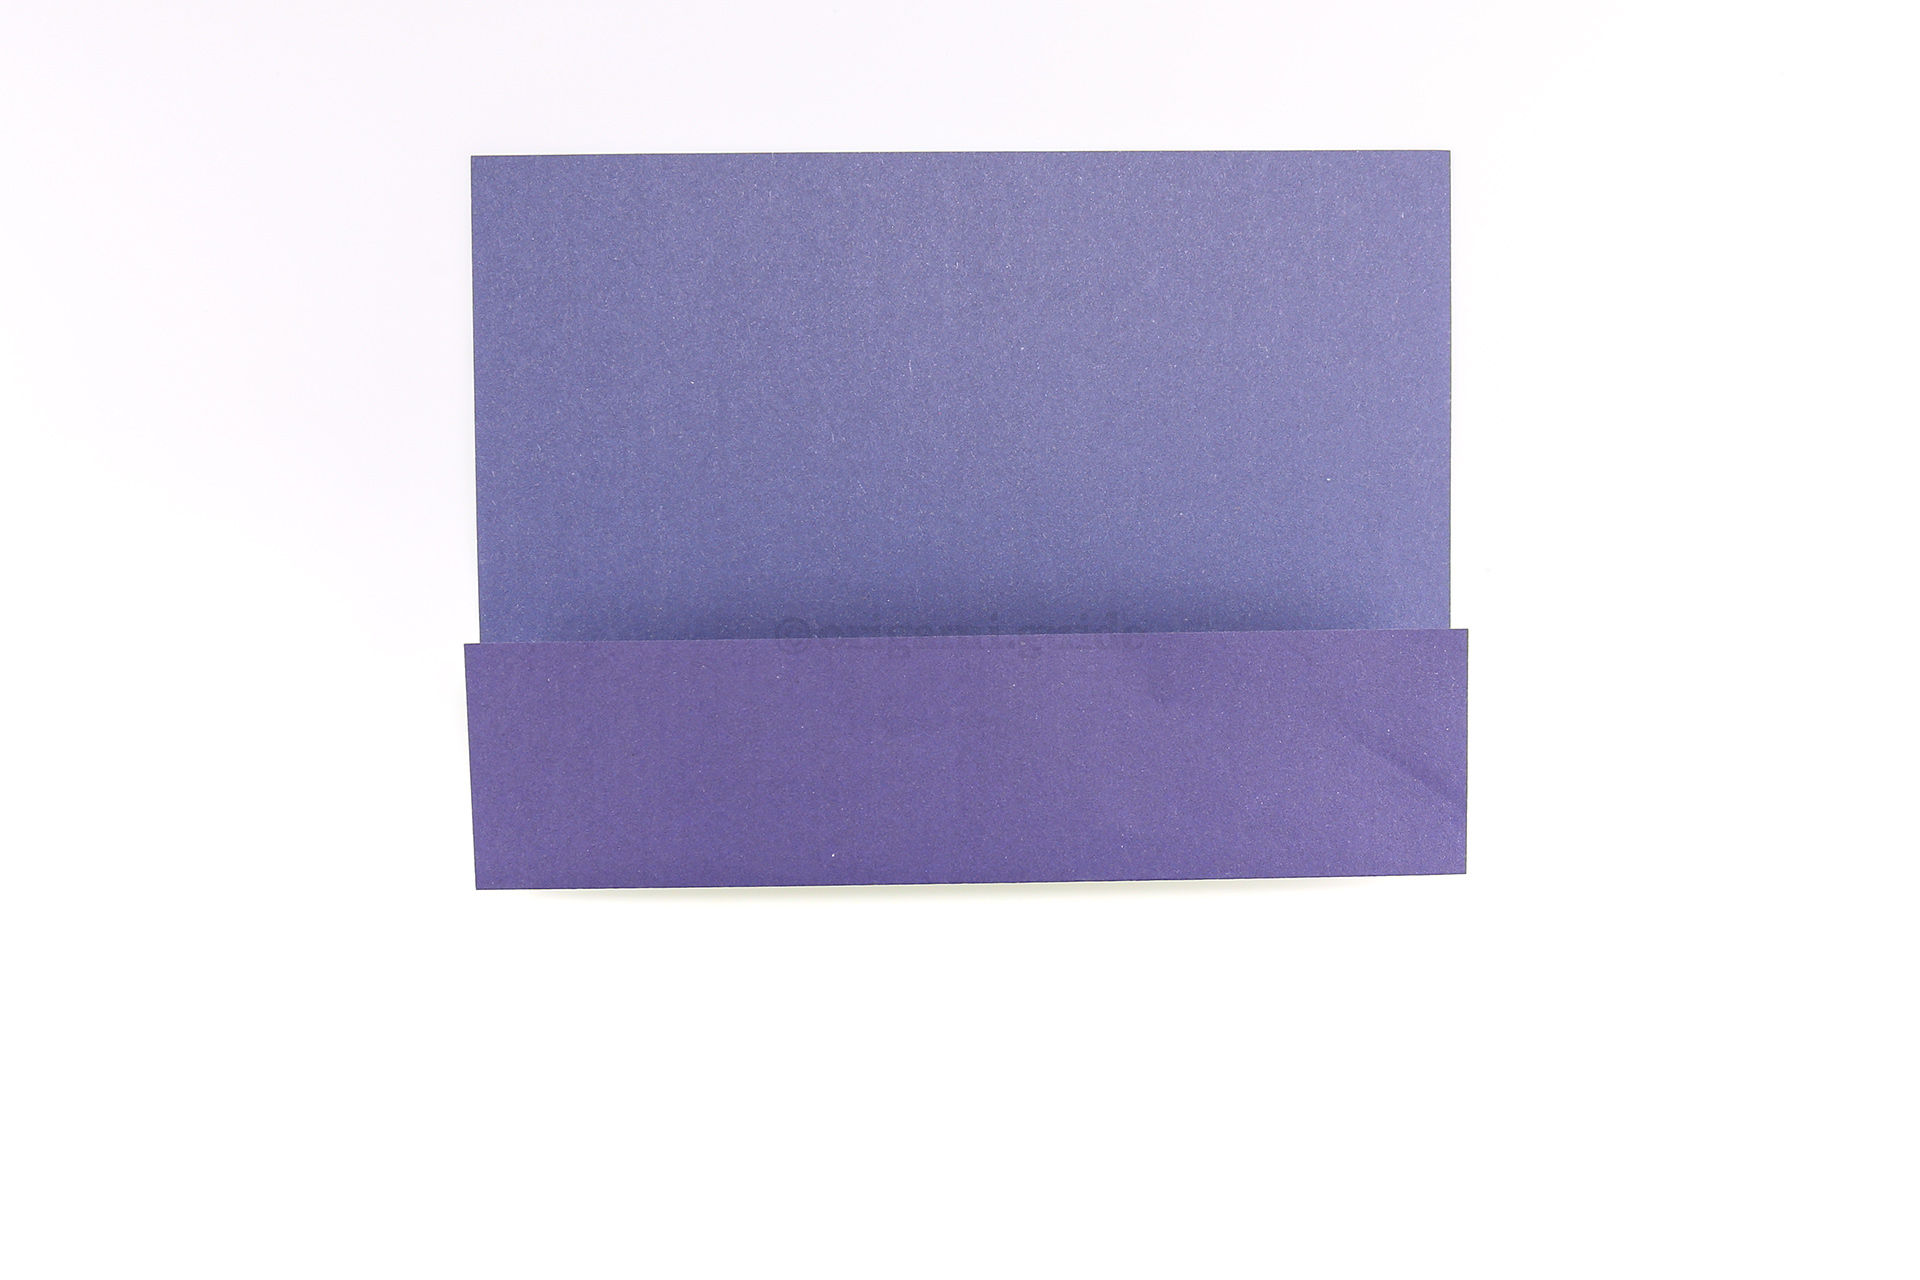
Step 51: Fold the bottom edge up to the crease you just made.
-
52
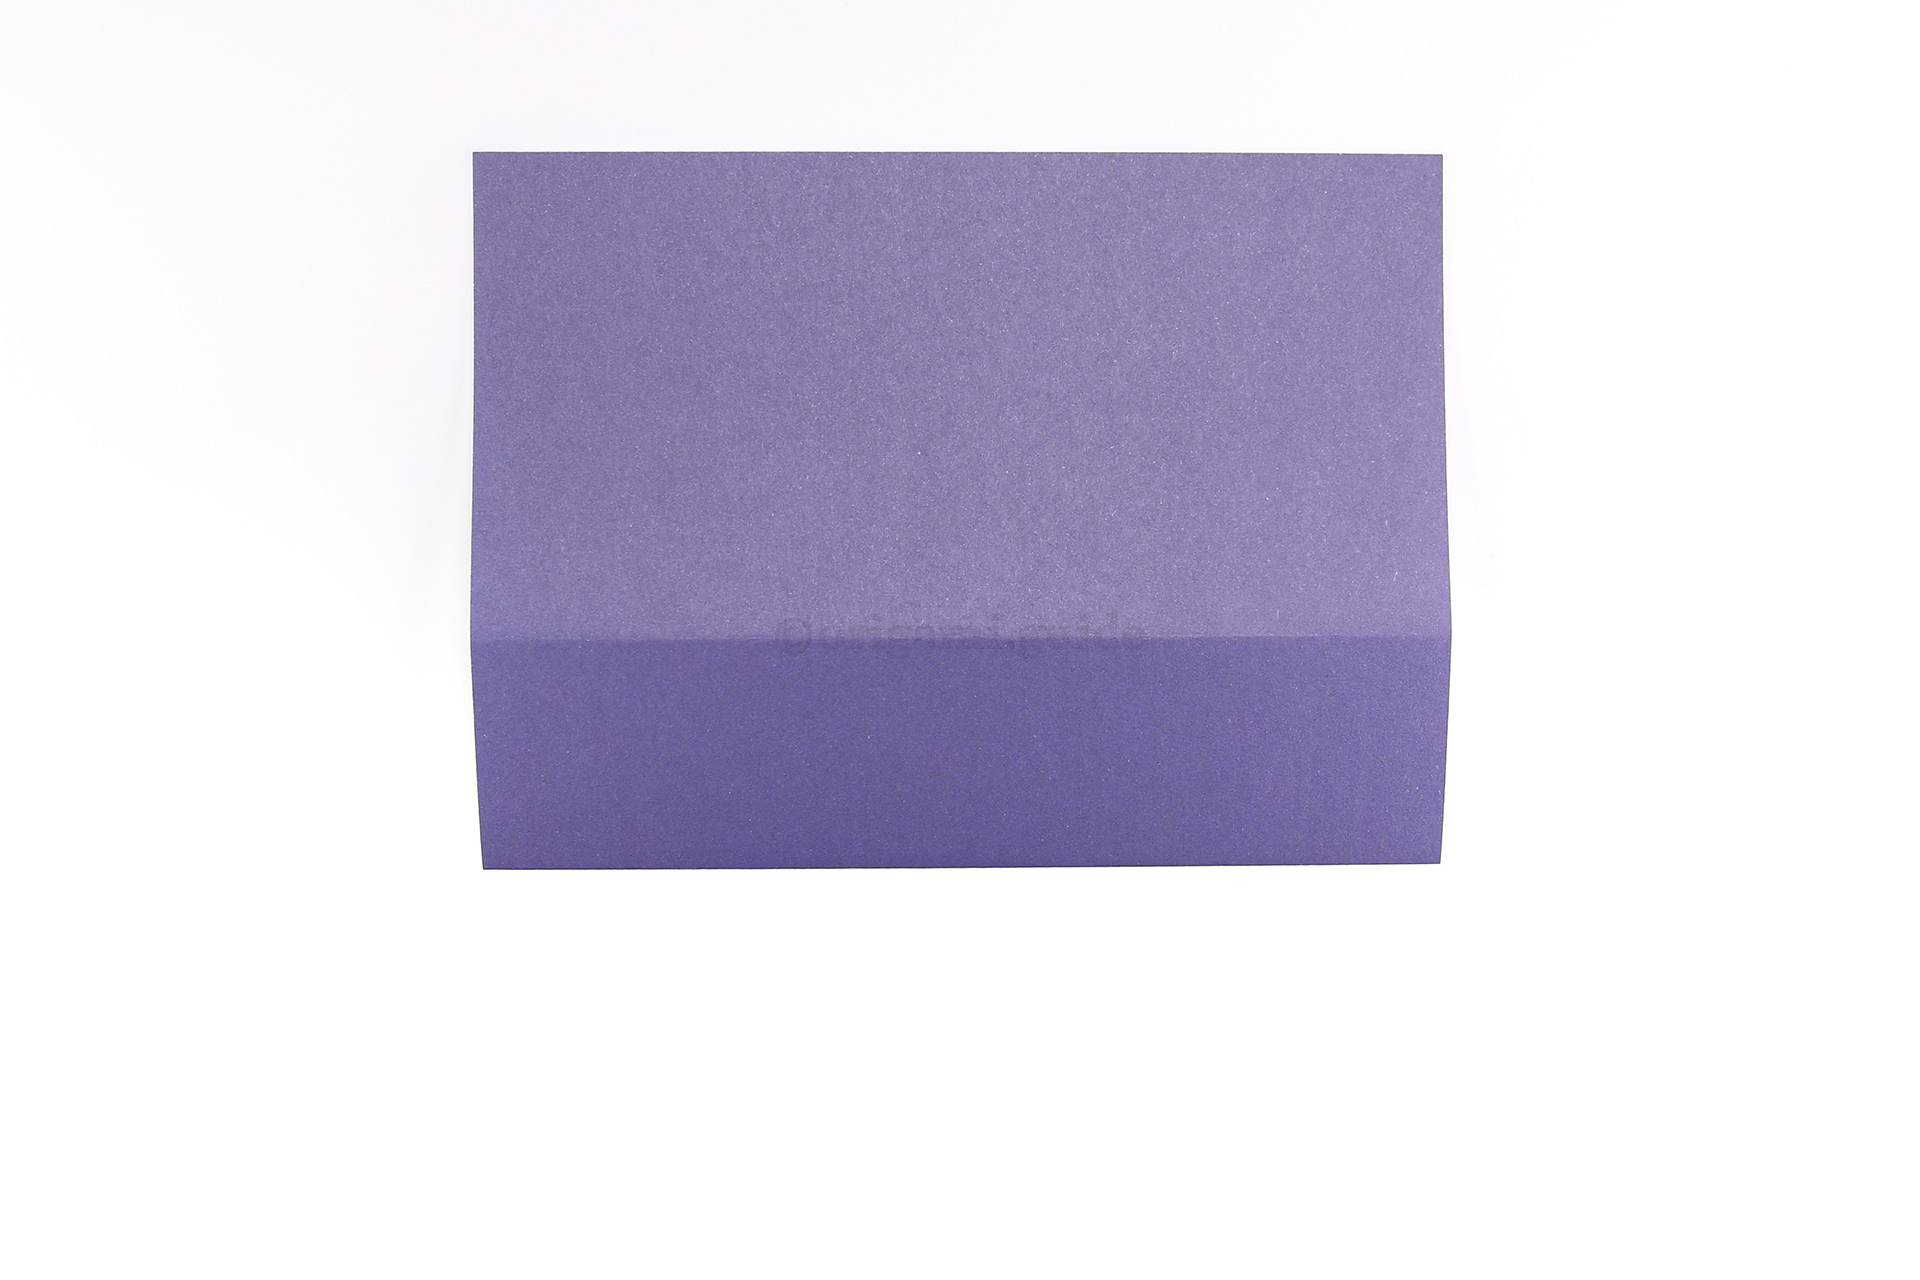
Step 52: Flip the paper over to the other side.
-
53
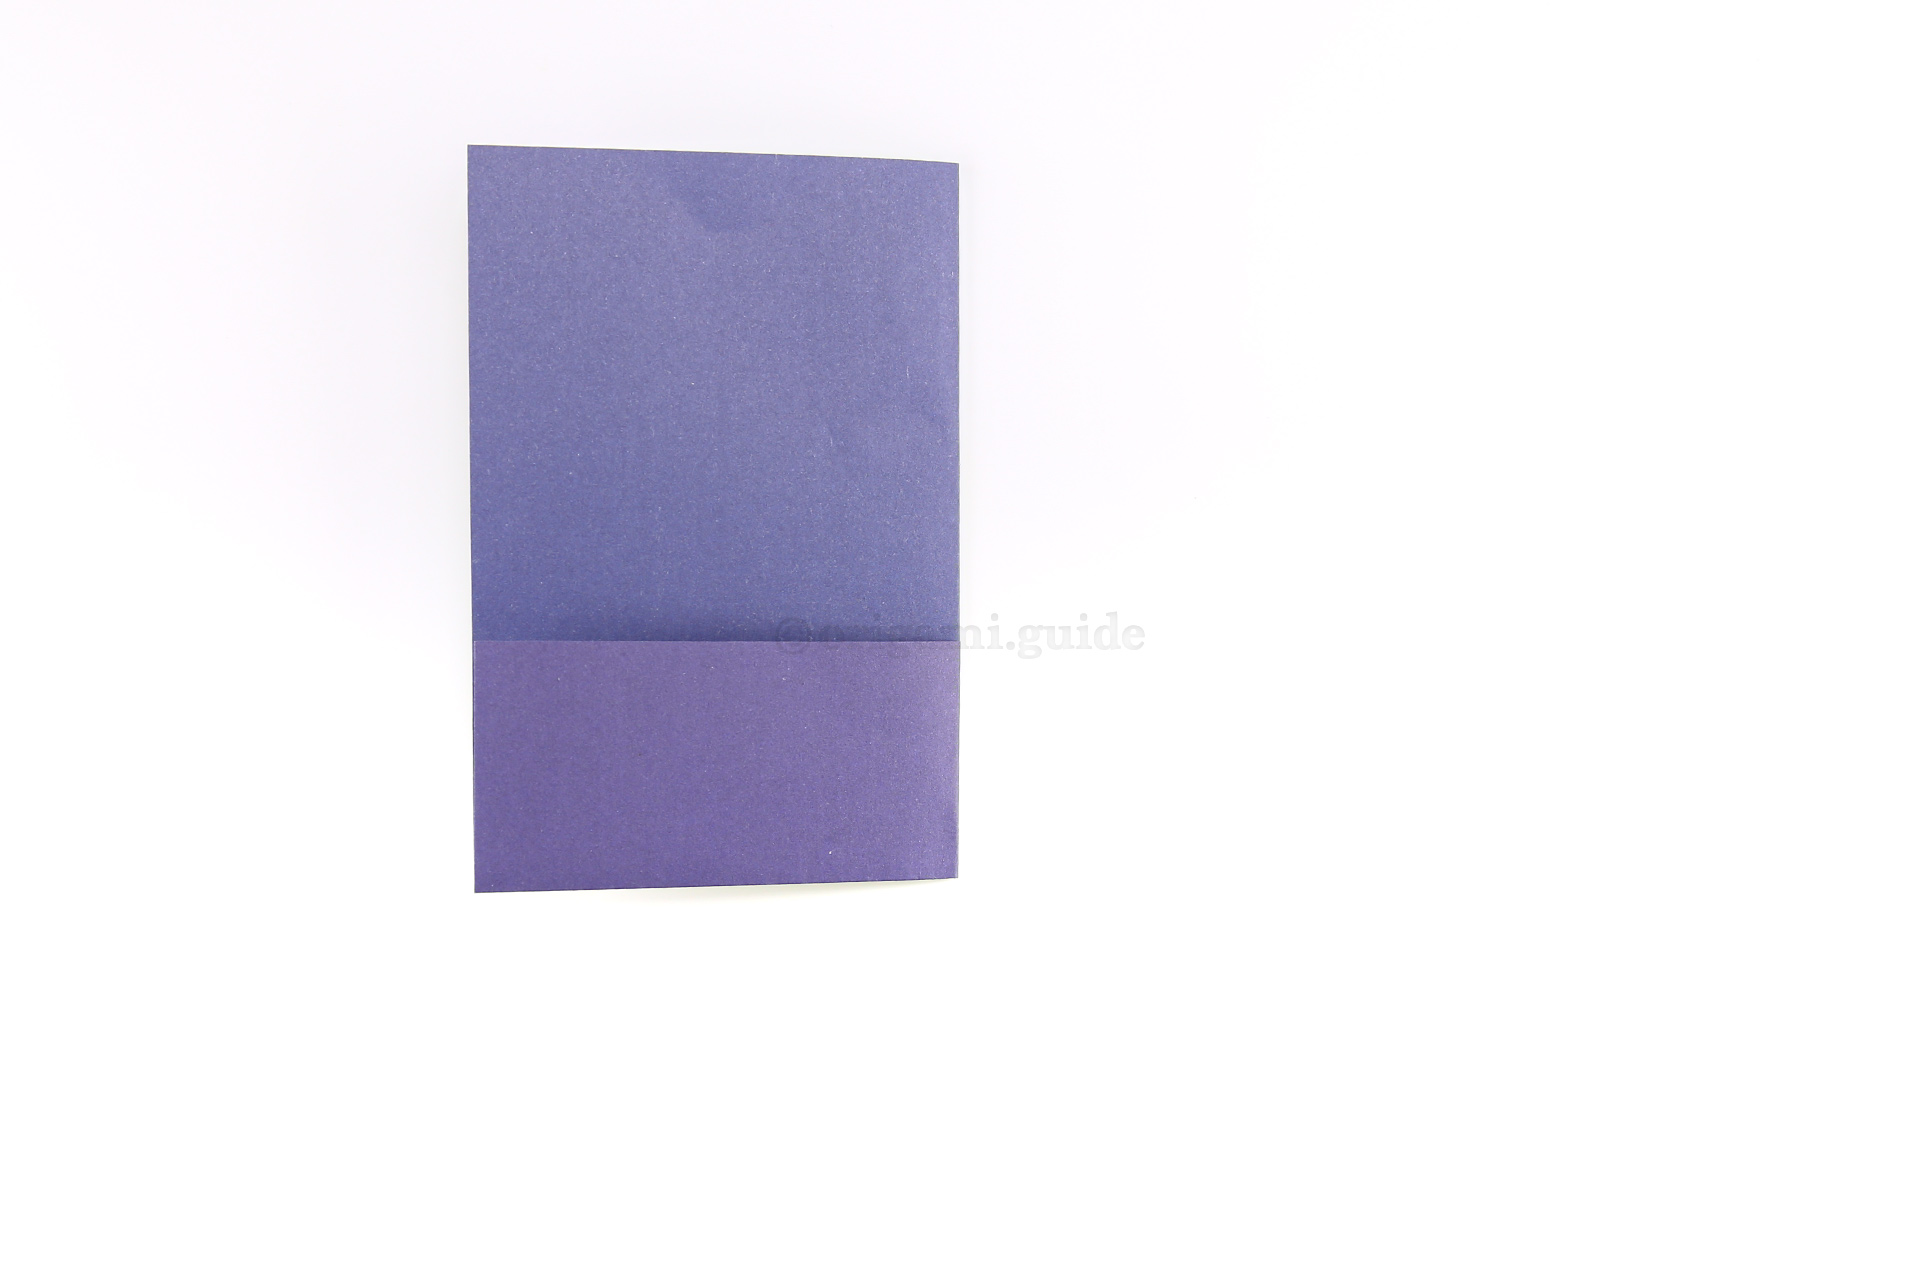
Step 53: Fold the right edge over to the left edge.
-
54
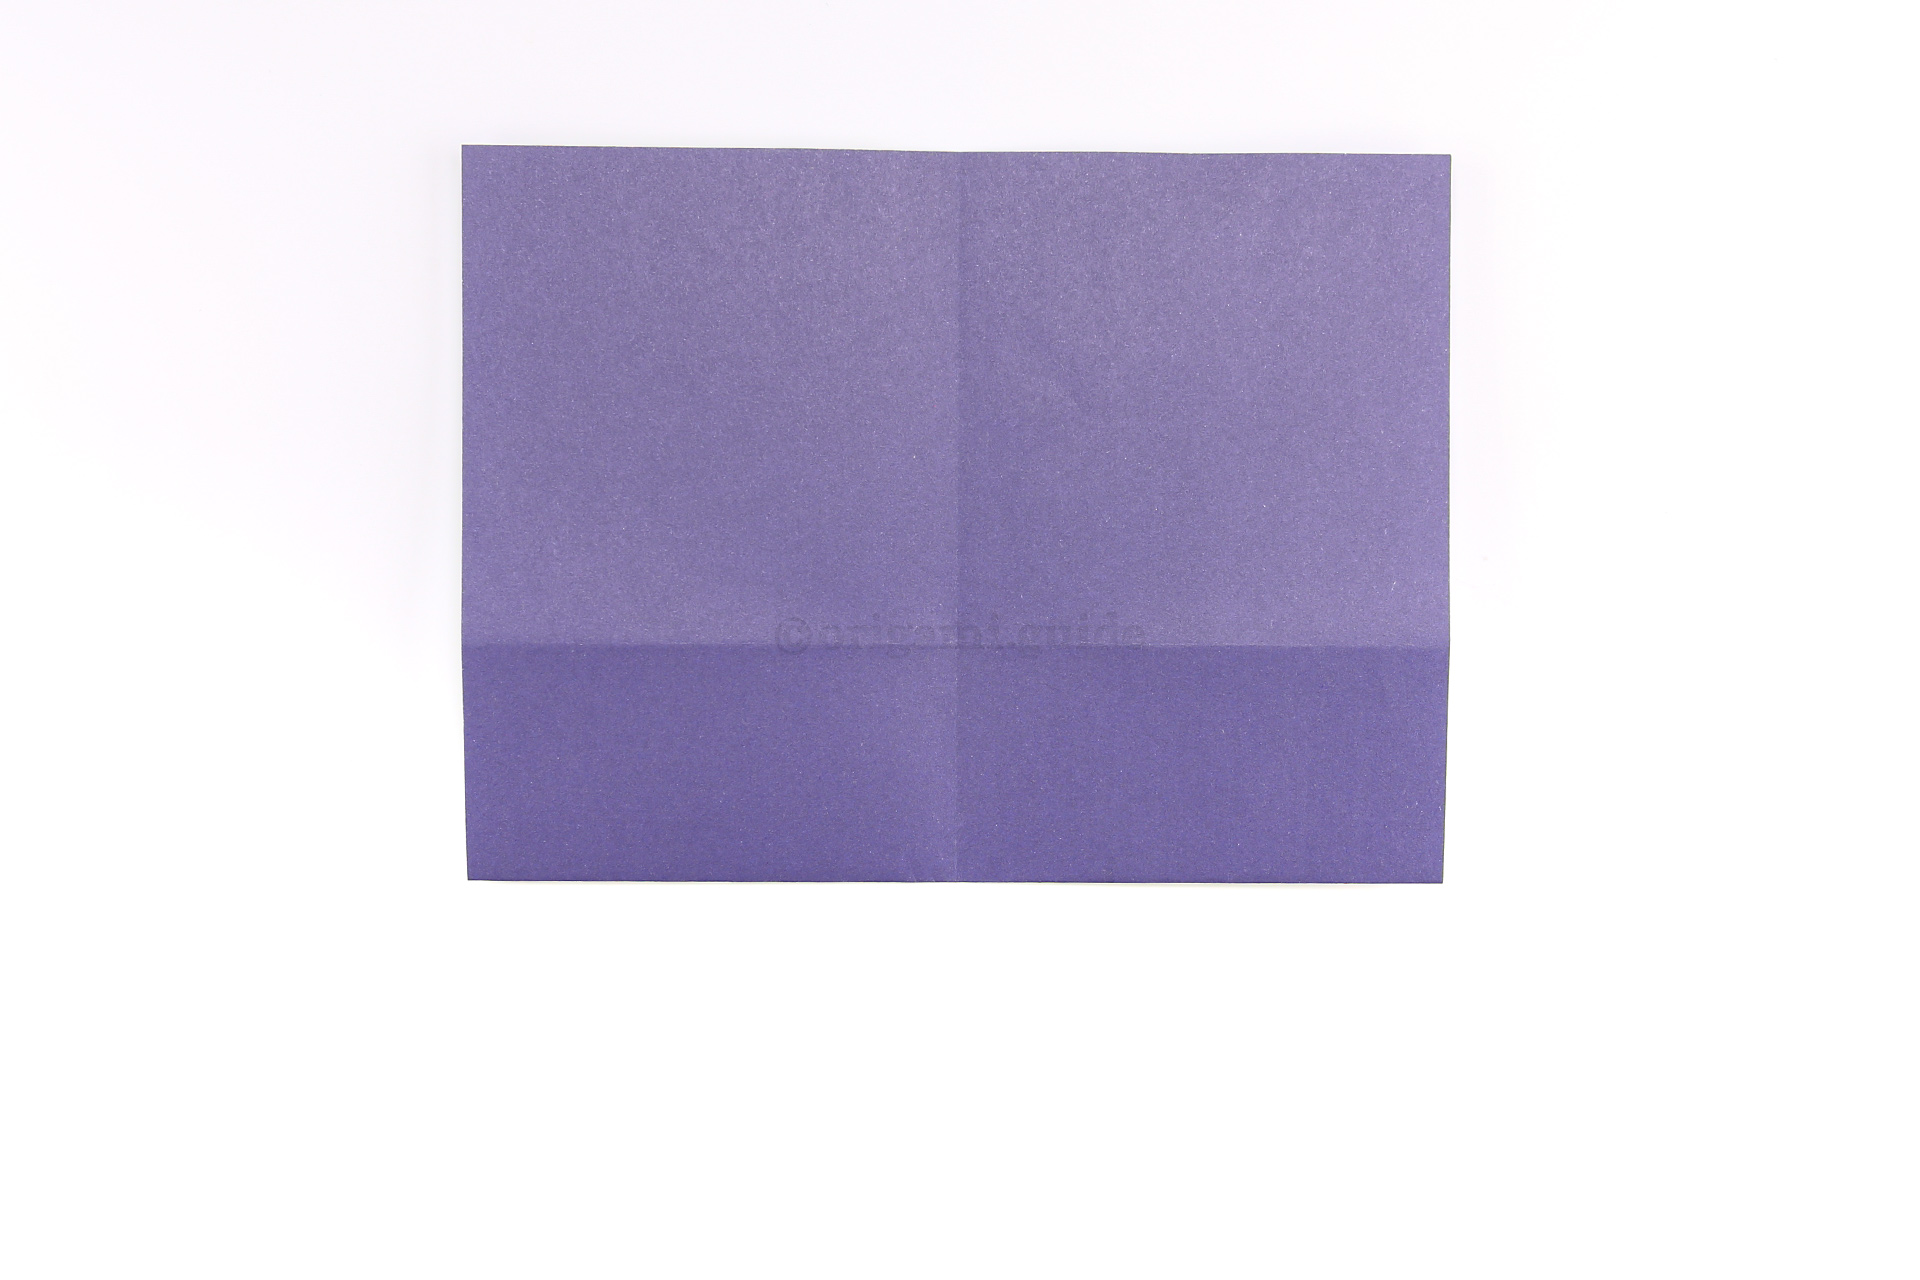
Step 54: Unfold.
-
55
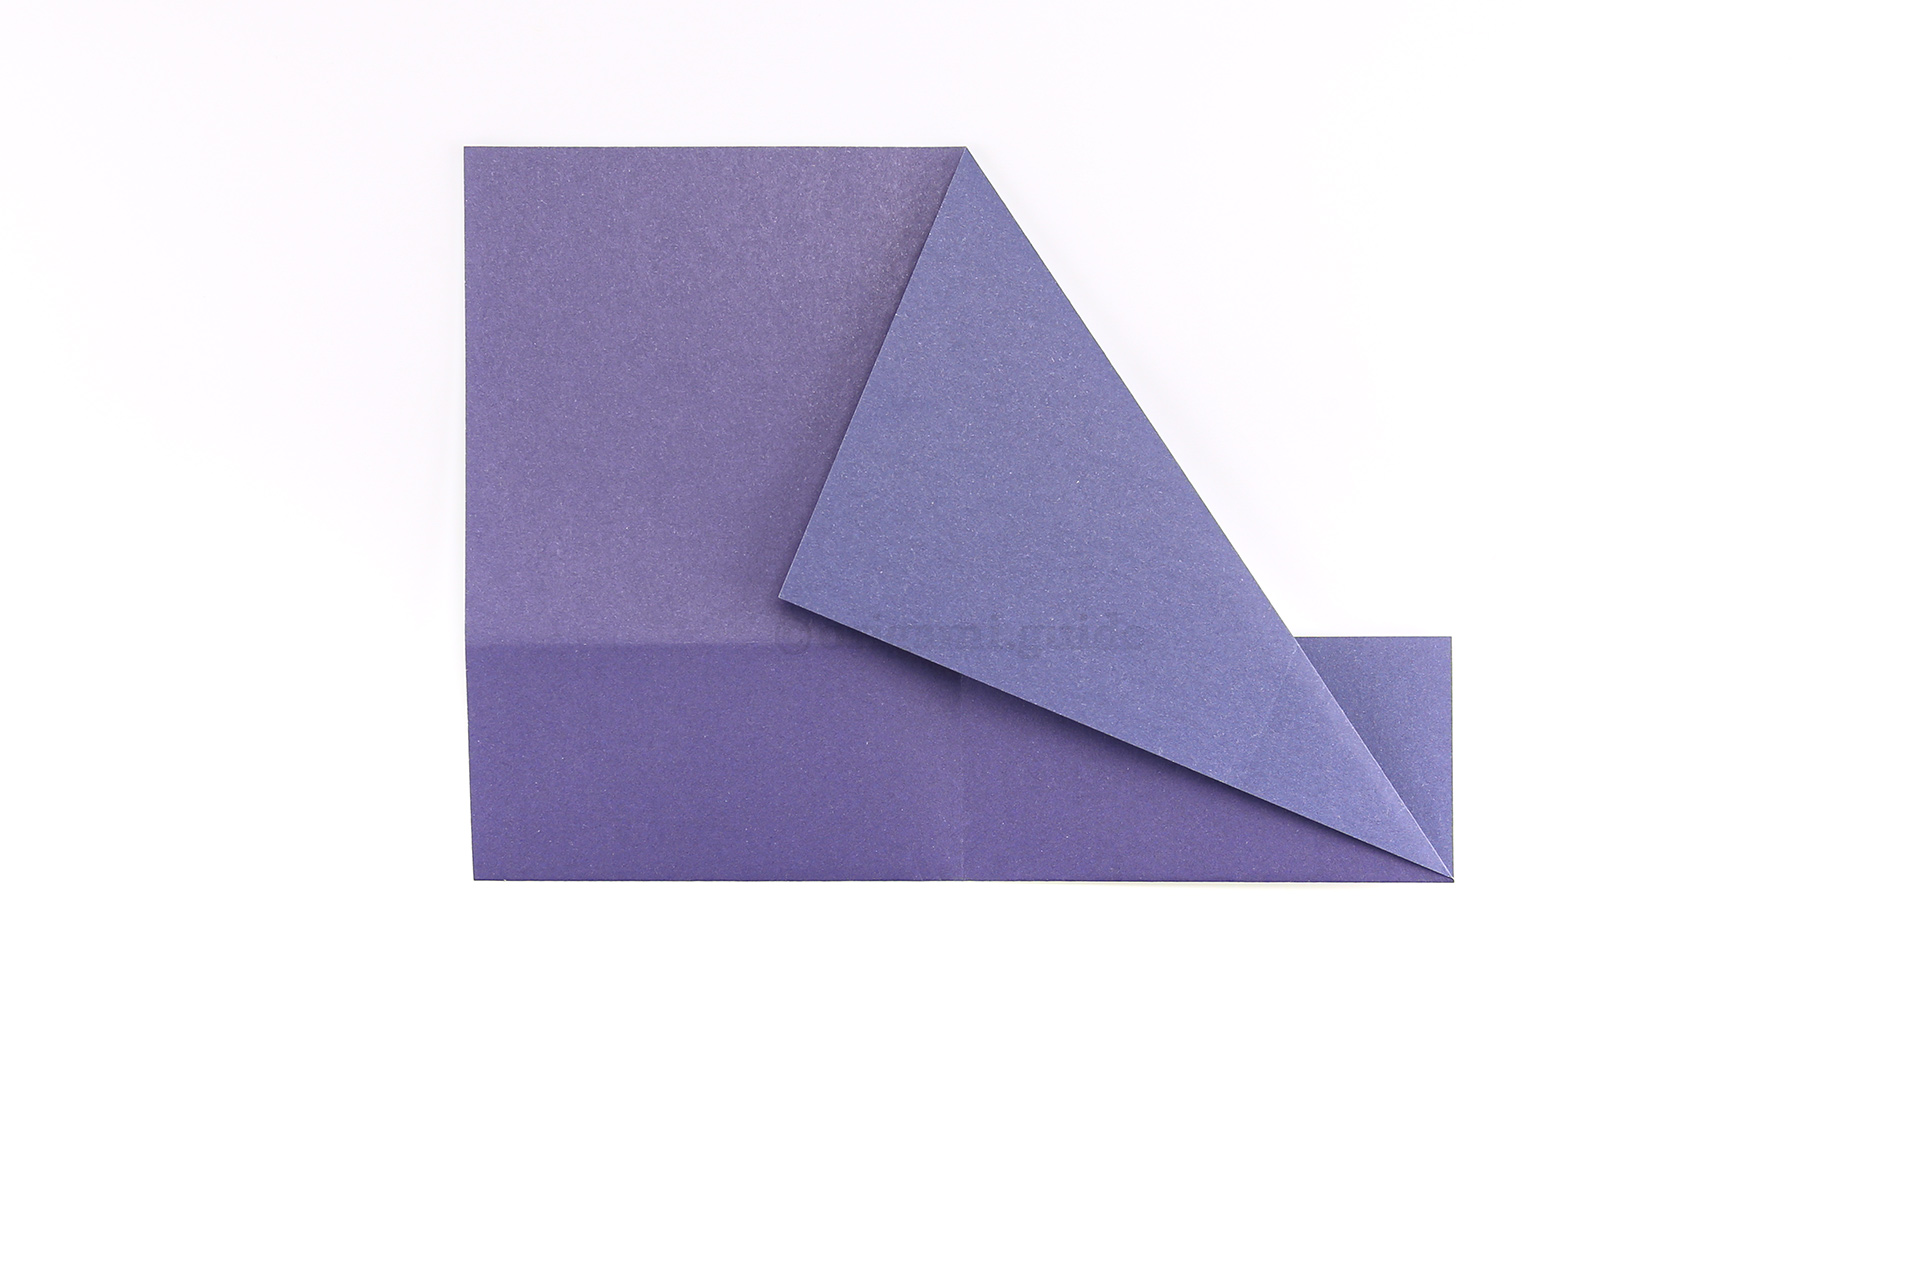
Step 55: Next, diagonally fold the top right point using the central crease as a guide for where the top point of the hat will be.
-
56
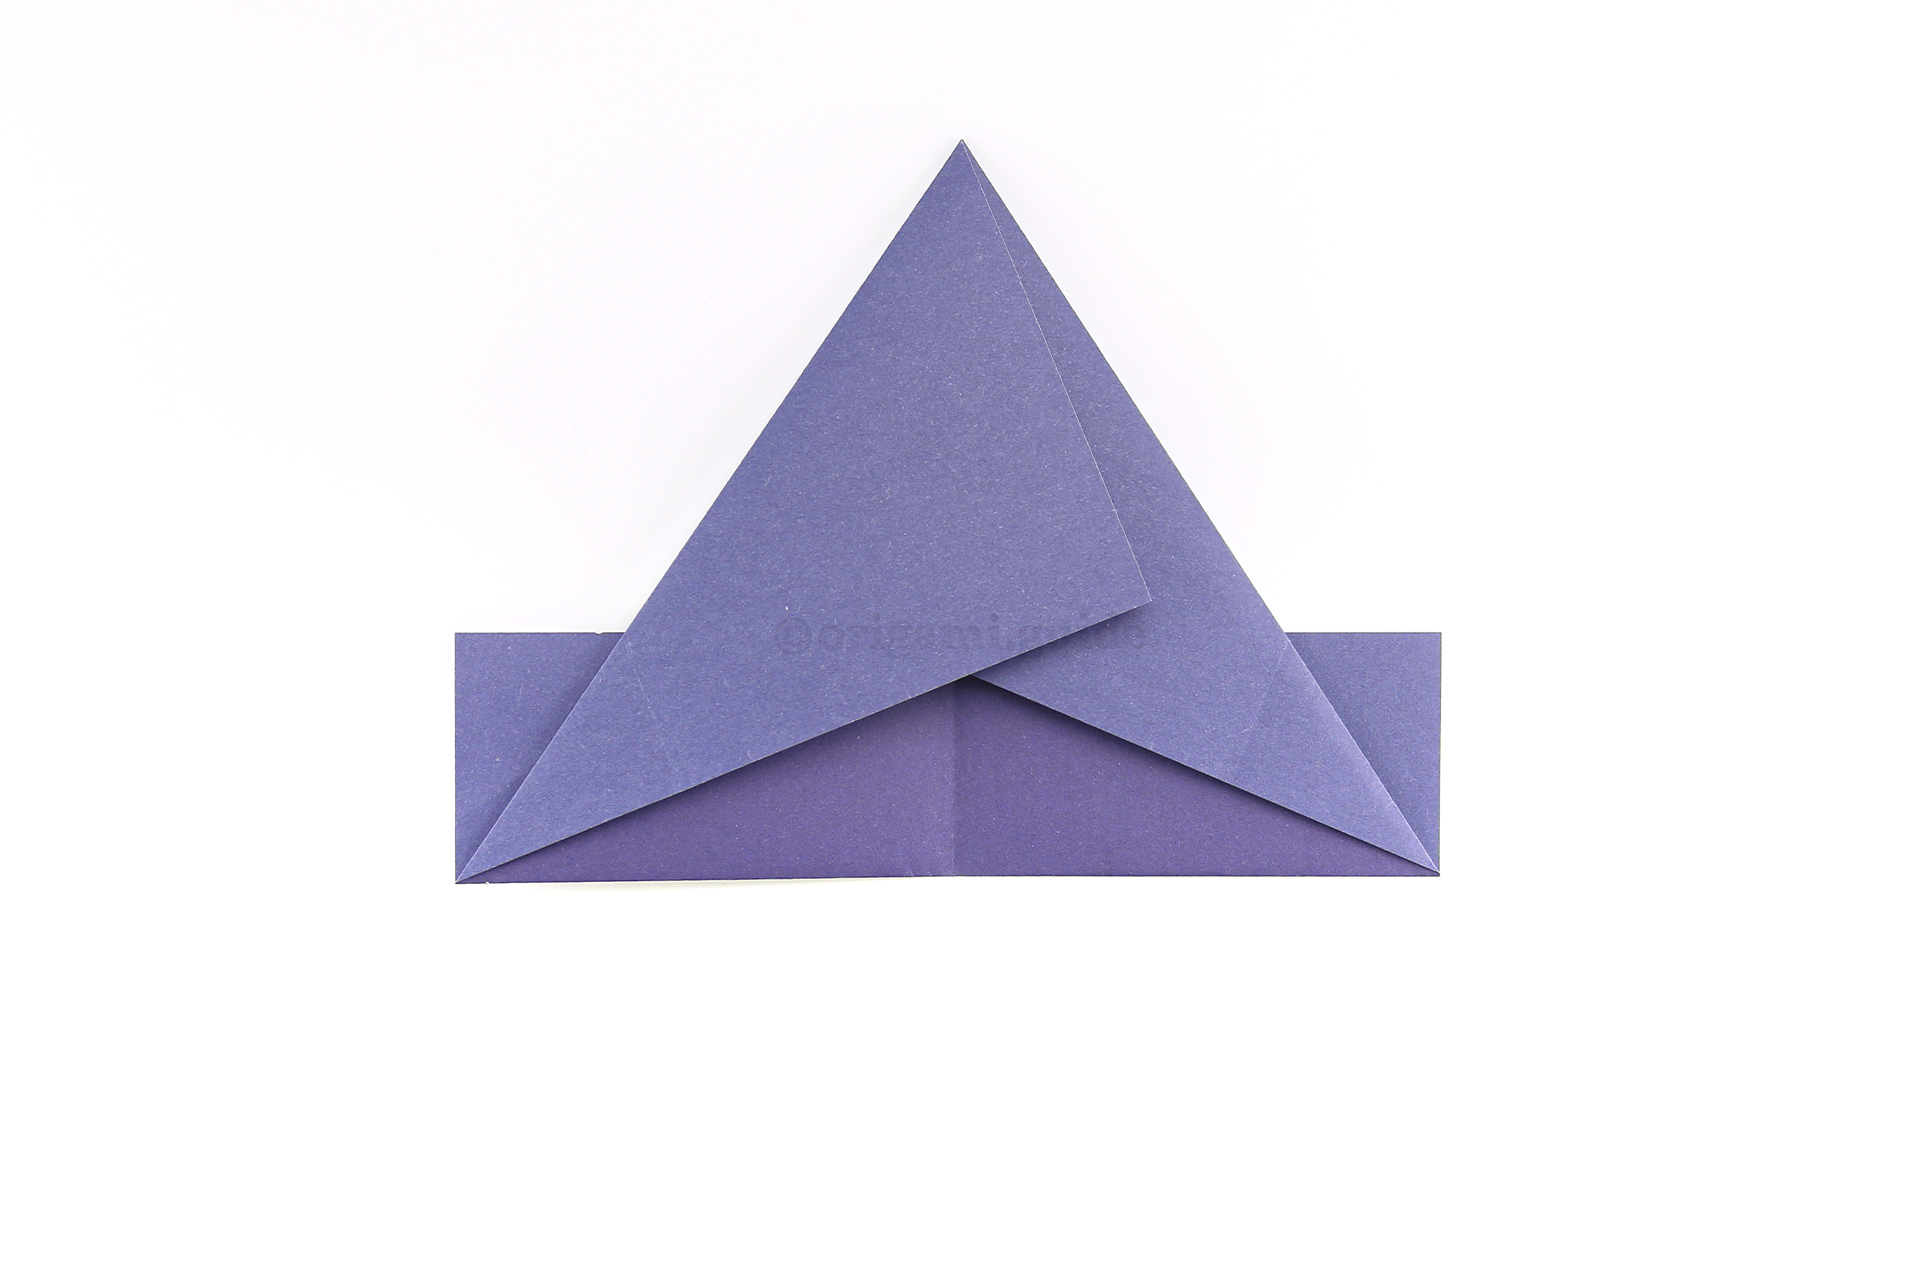
Step 56: Fold the left point diagonally to match.
-
57
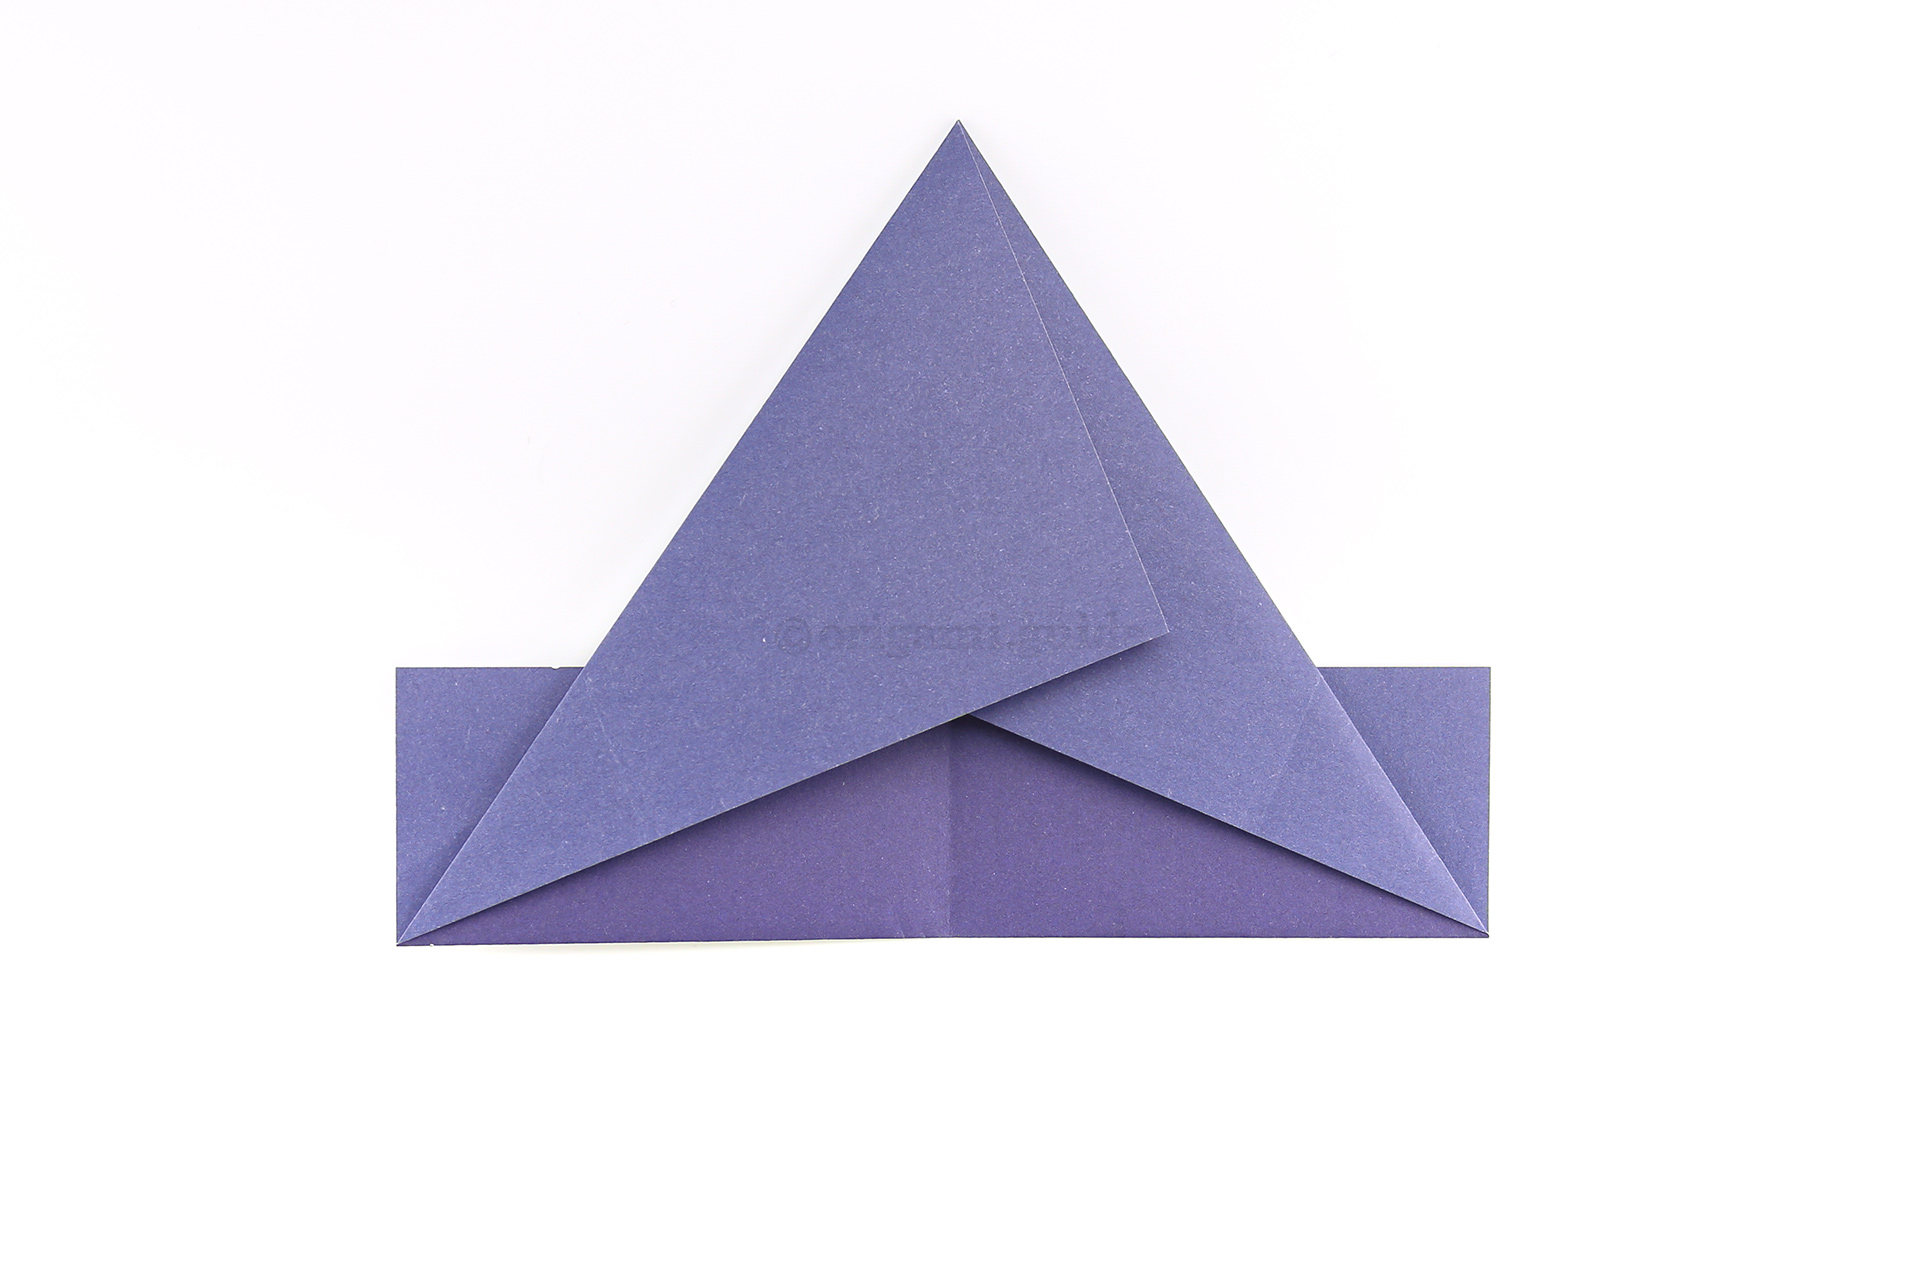
Step 57:
-
58
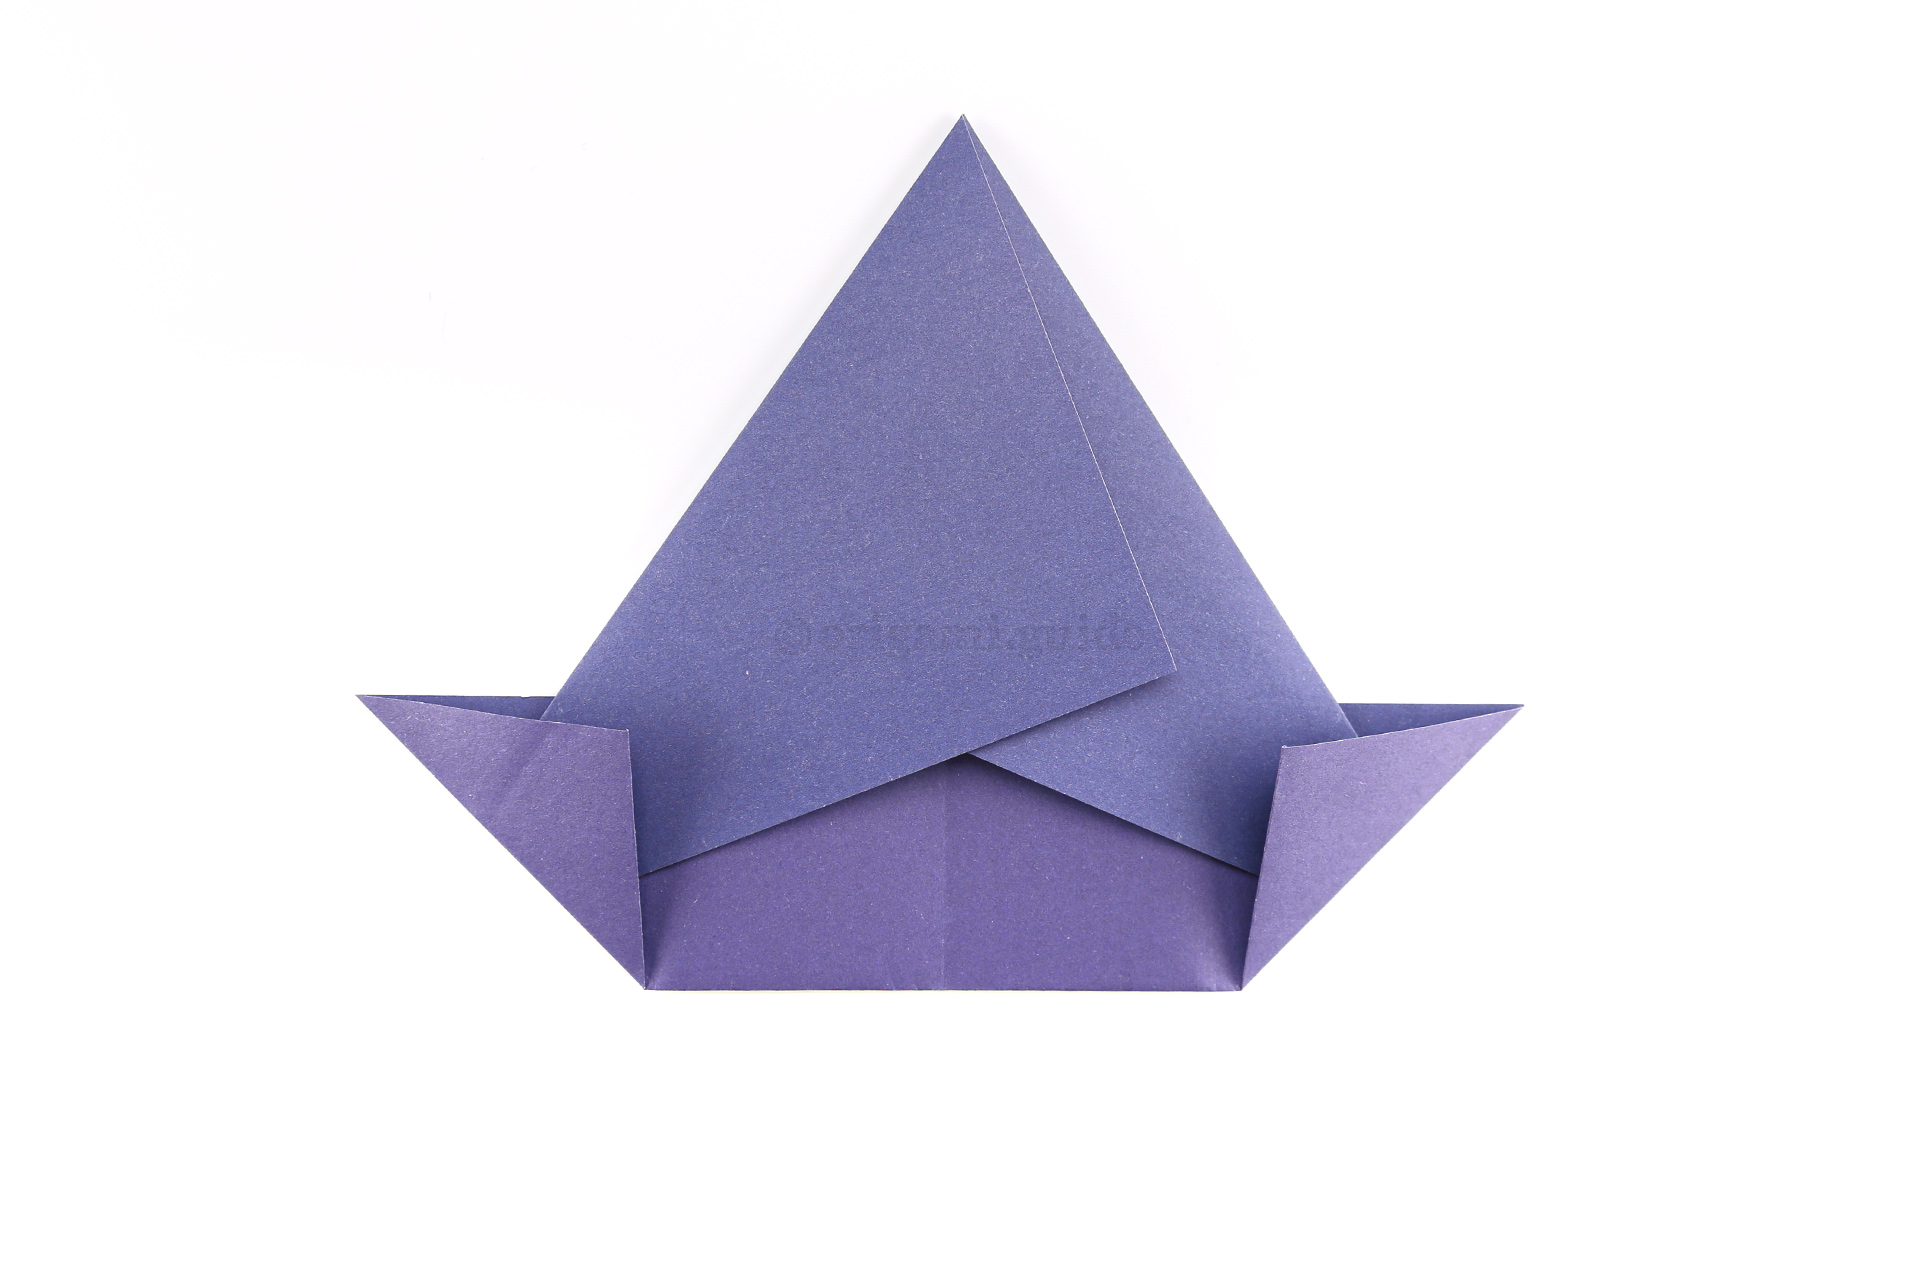
Step 58: Fold the left and right lower corners diagonally up as shown.
-
59
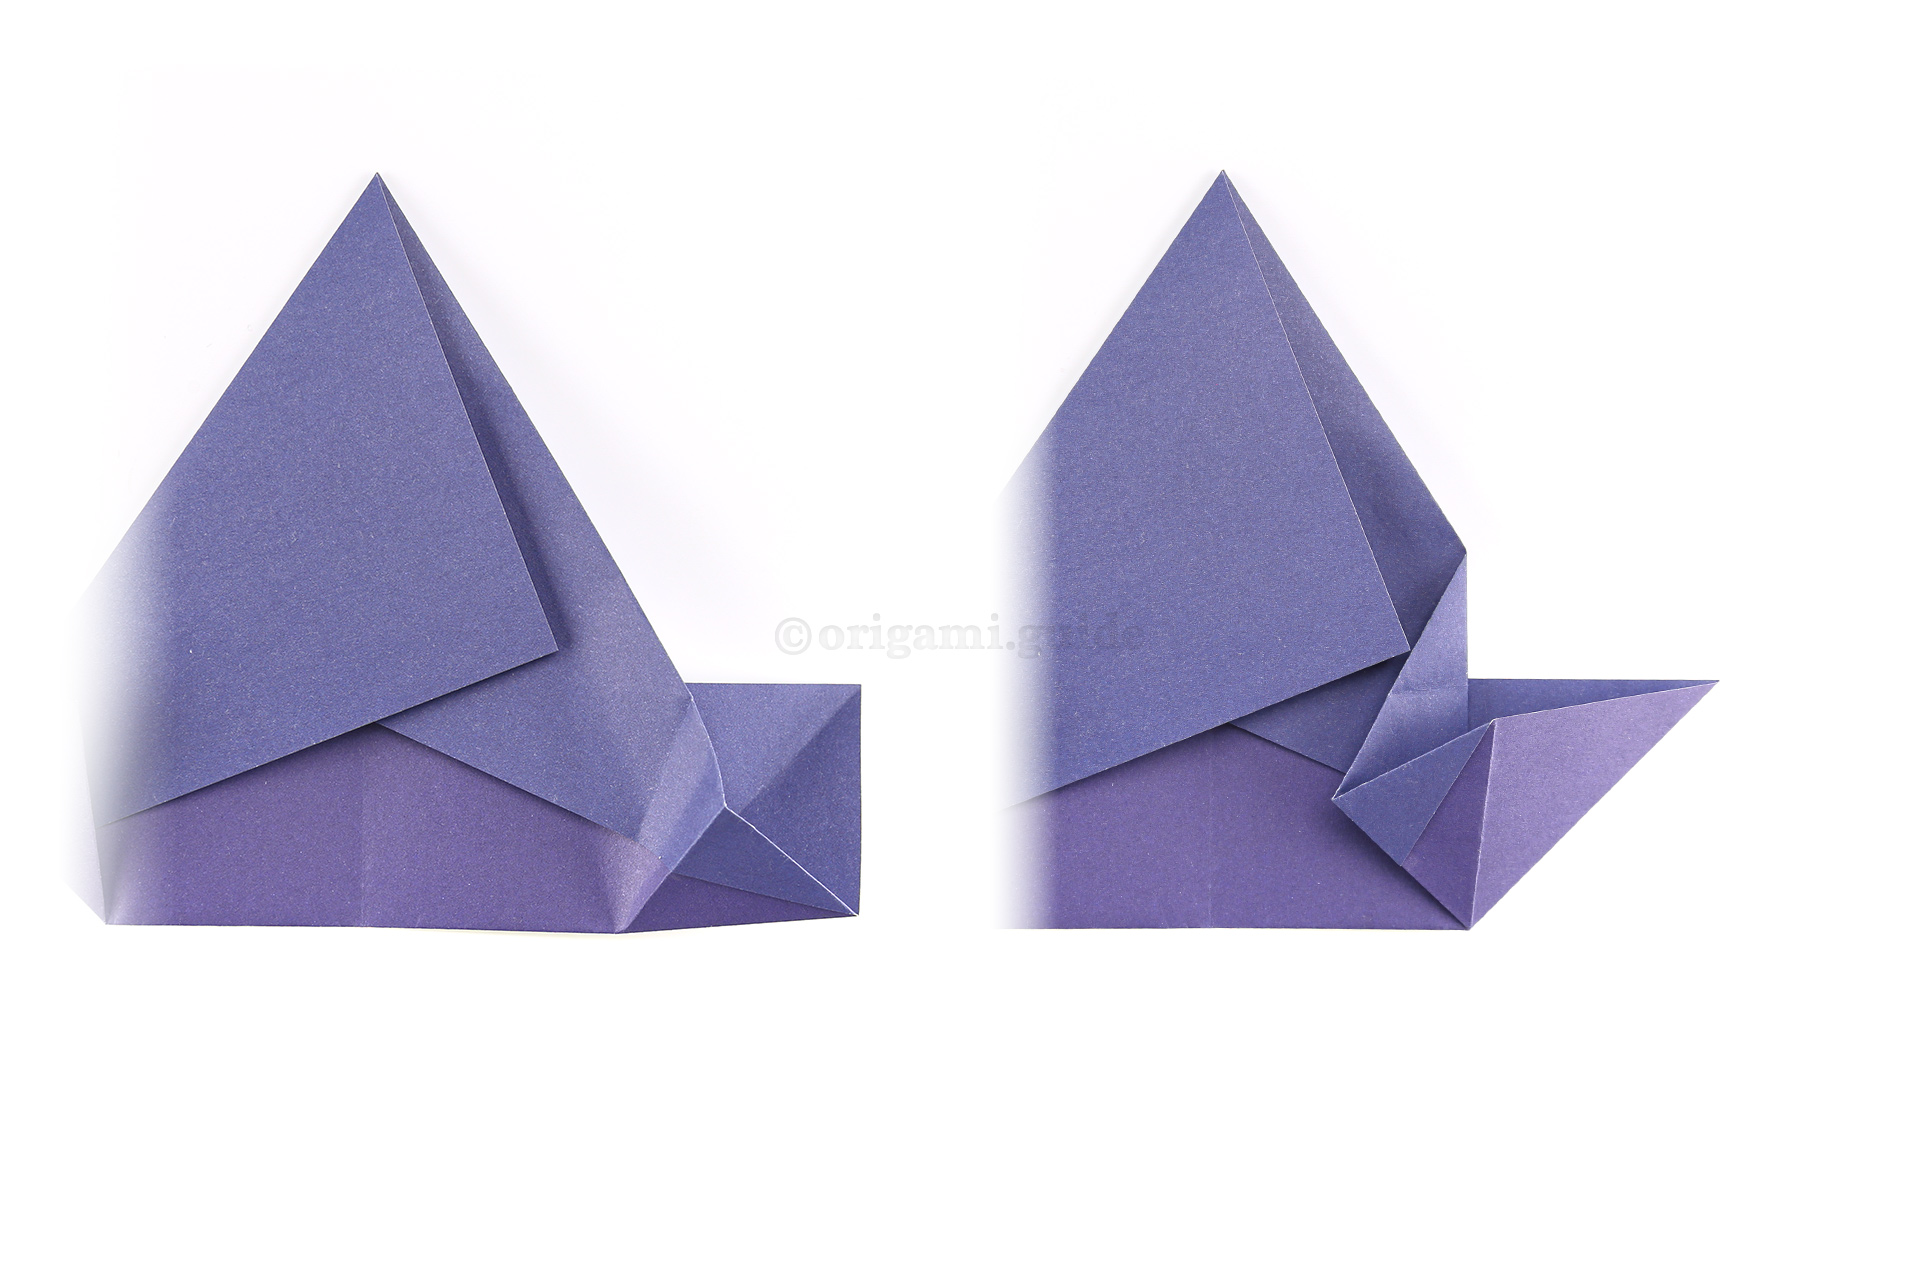
Step 59: Open the right flap you just created, and swivel fold the paper as shown.
-
60
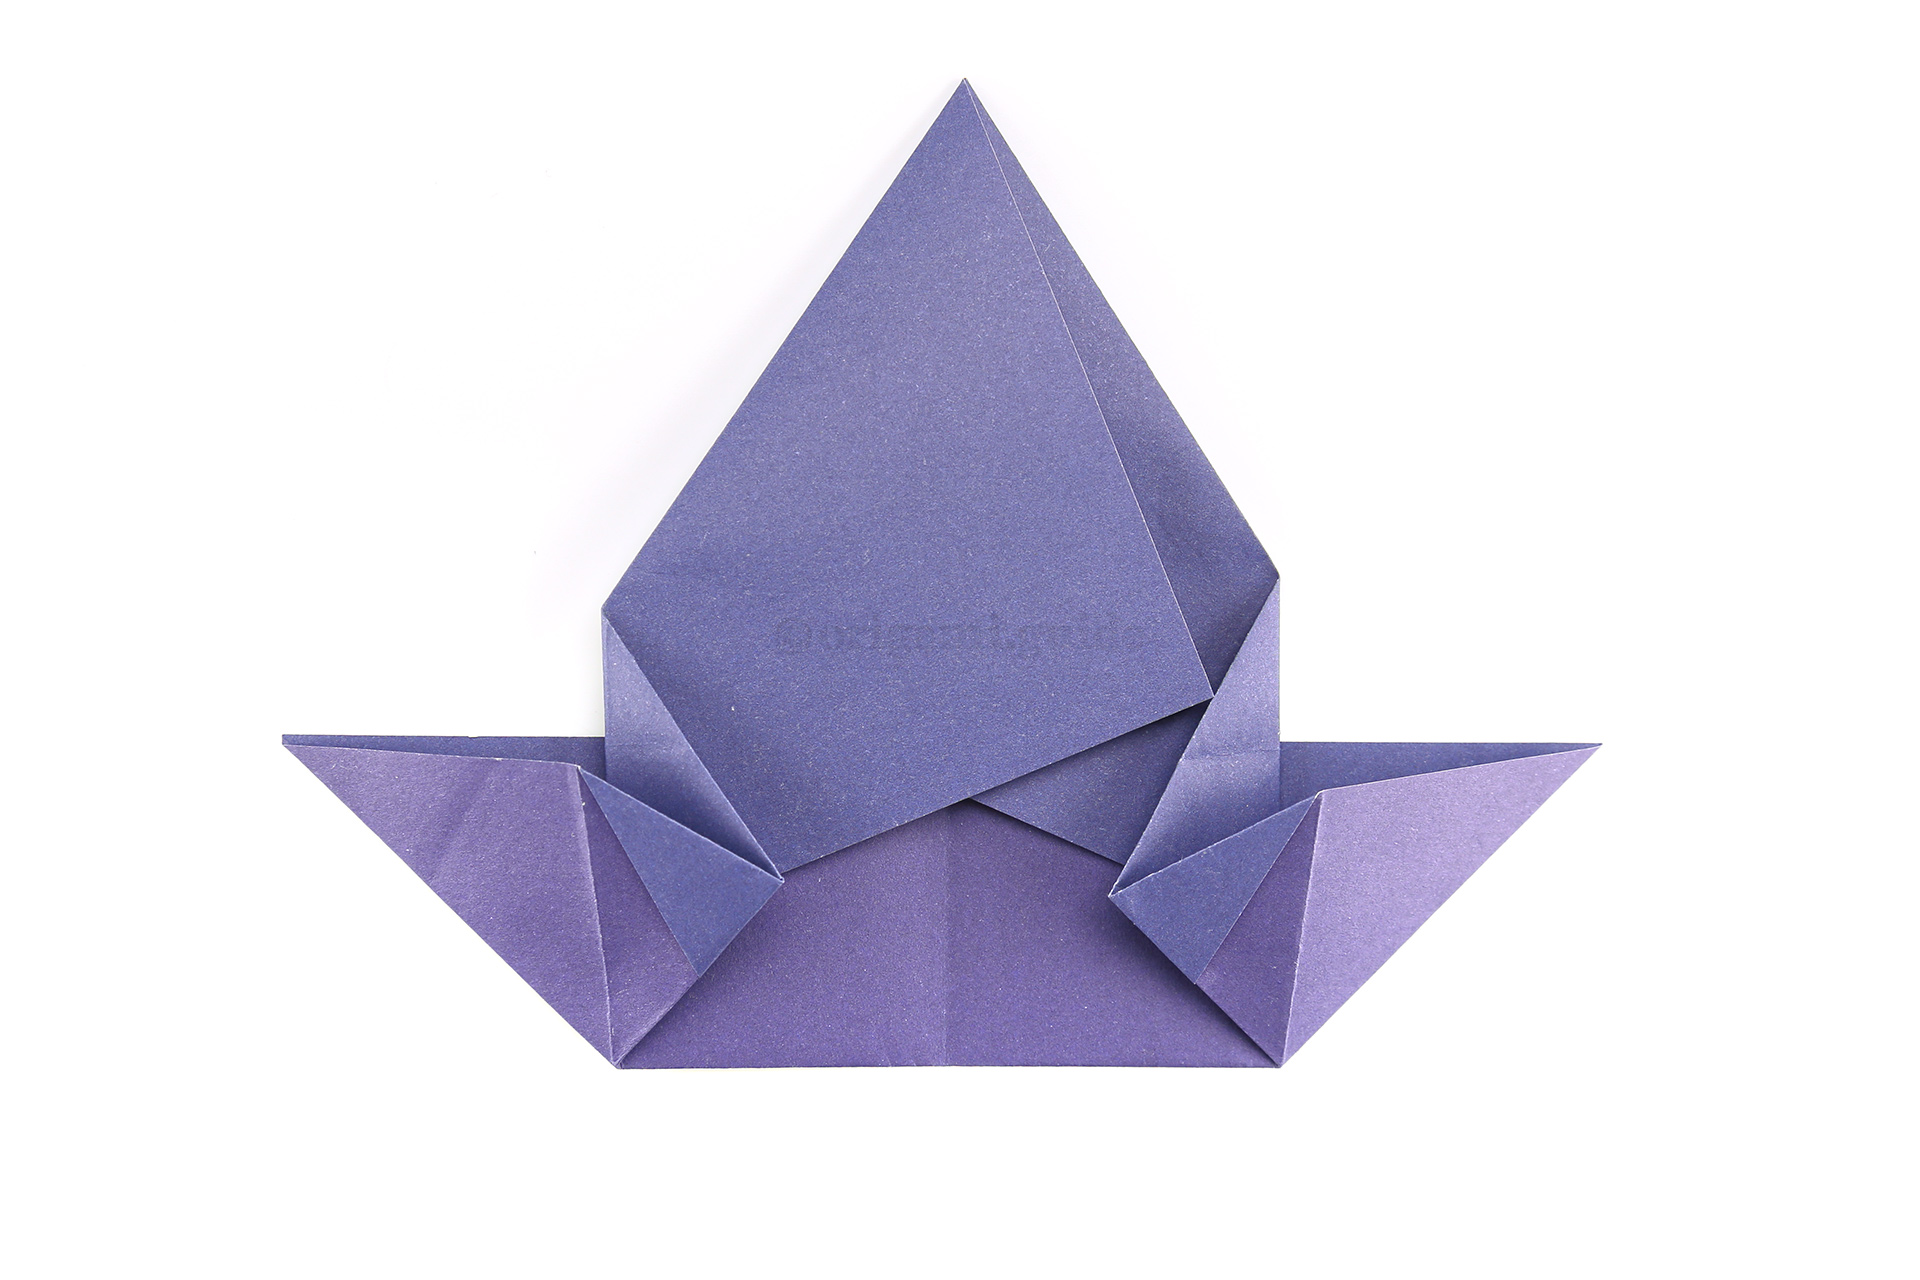
Step 60: Repeat on the left.
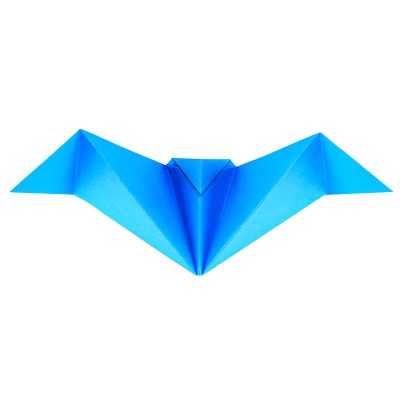
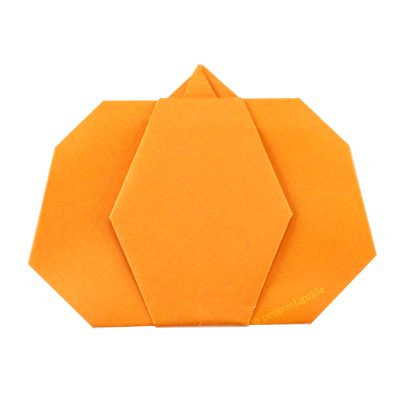
What Halloween Origami To Fold Next?
View all Halloween Origami Tutorials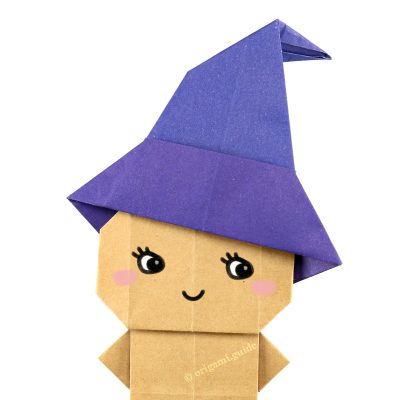
Leave A Comment
Did you fold this Cute Origami Witch? Let us know what you thought.
You can also upload a photo of your result!