Made this origami? Leave a comment & submit your photo here.
-
25
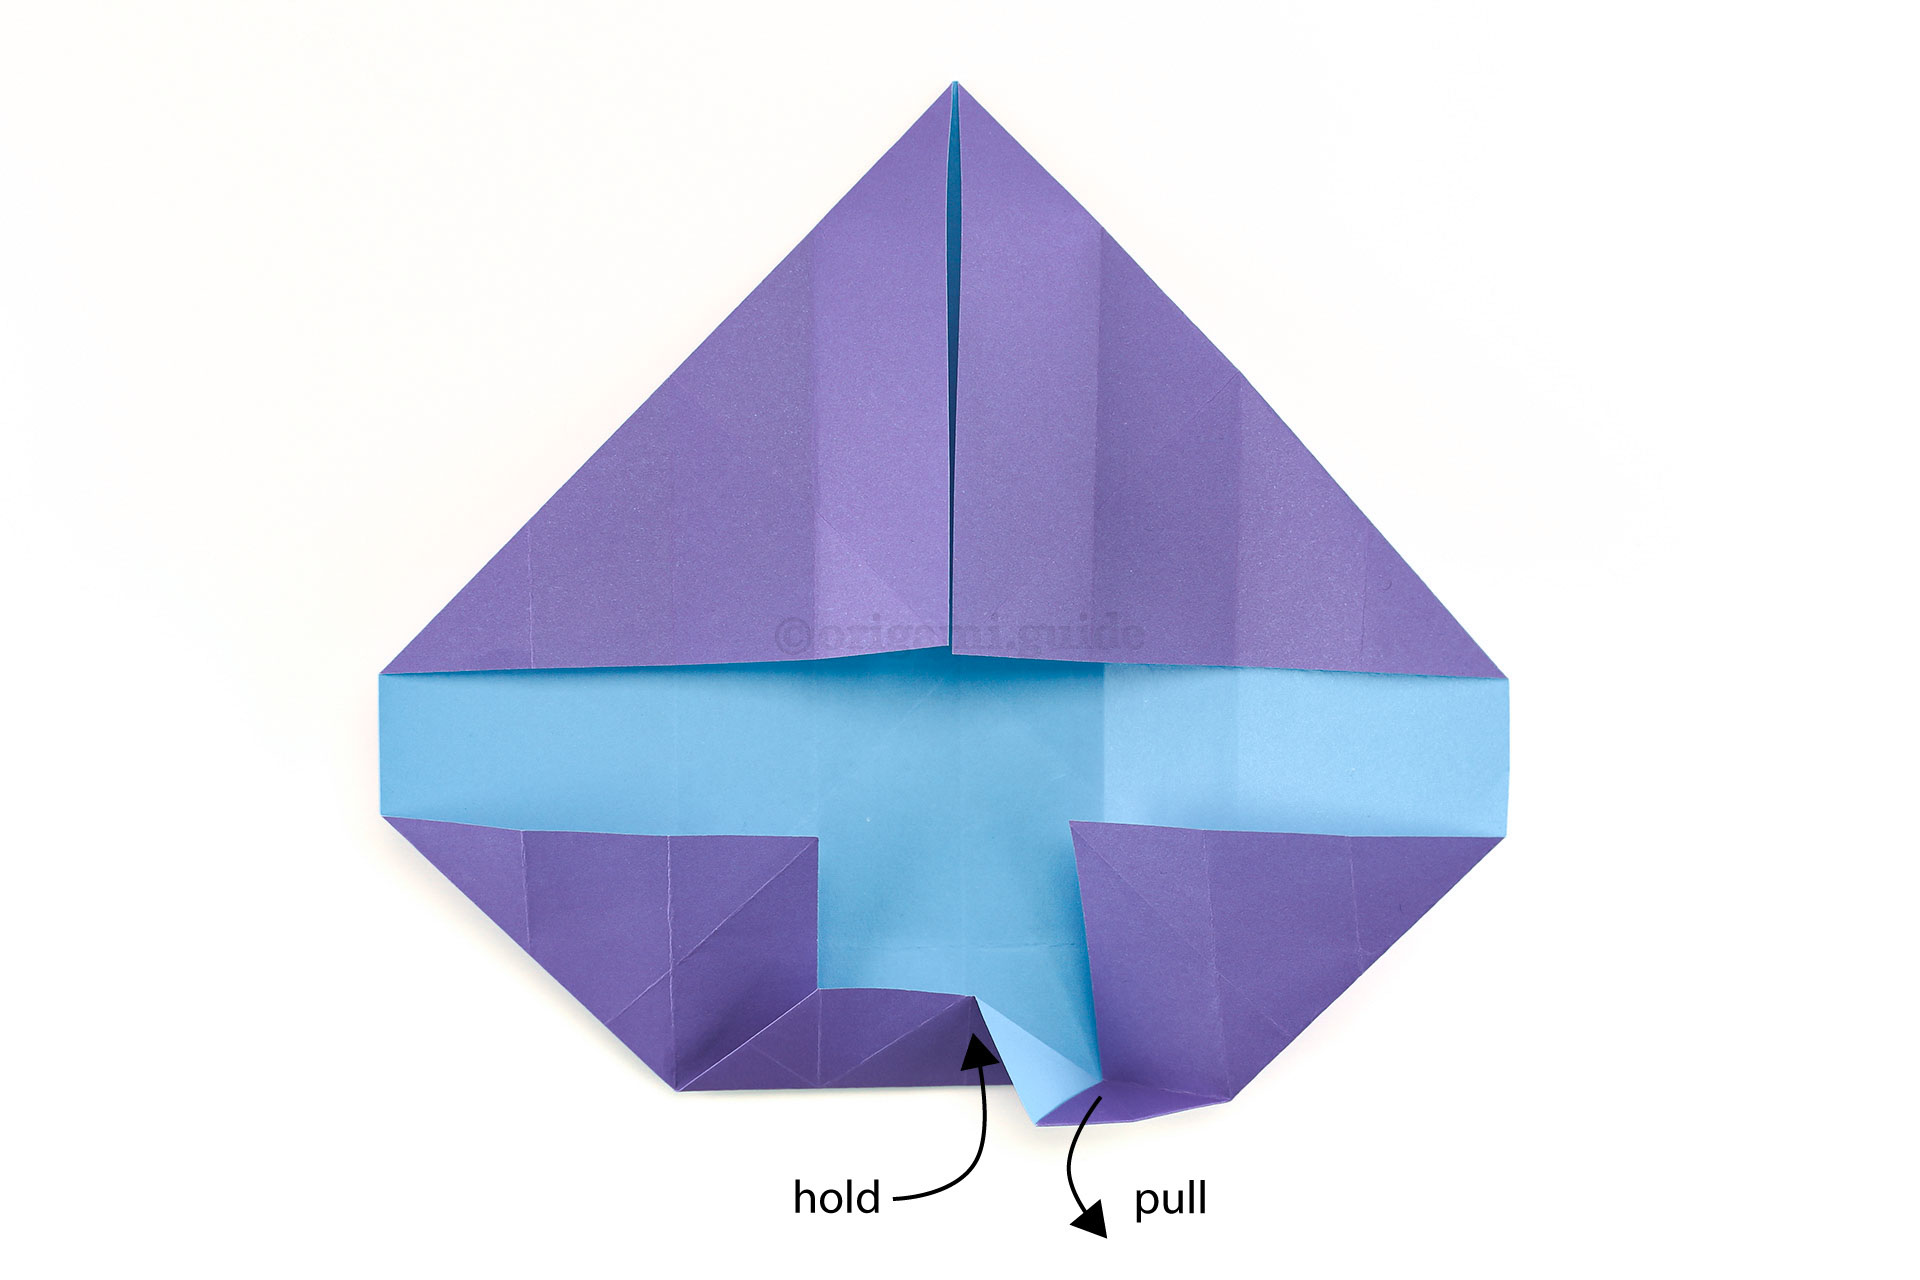
Step 25: While holding the lower triangle section, pull out the corner indicated.
-
26
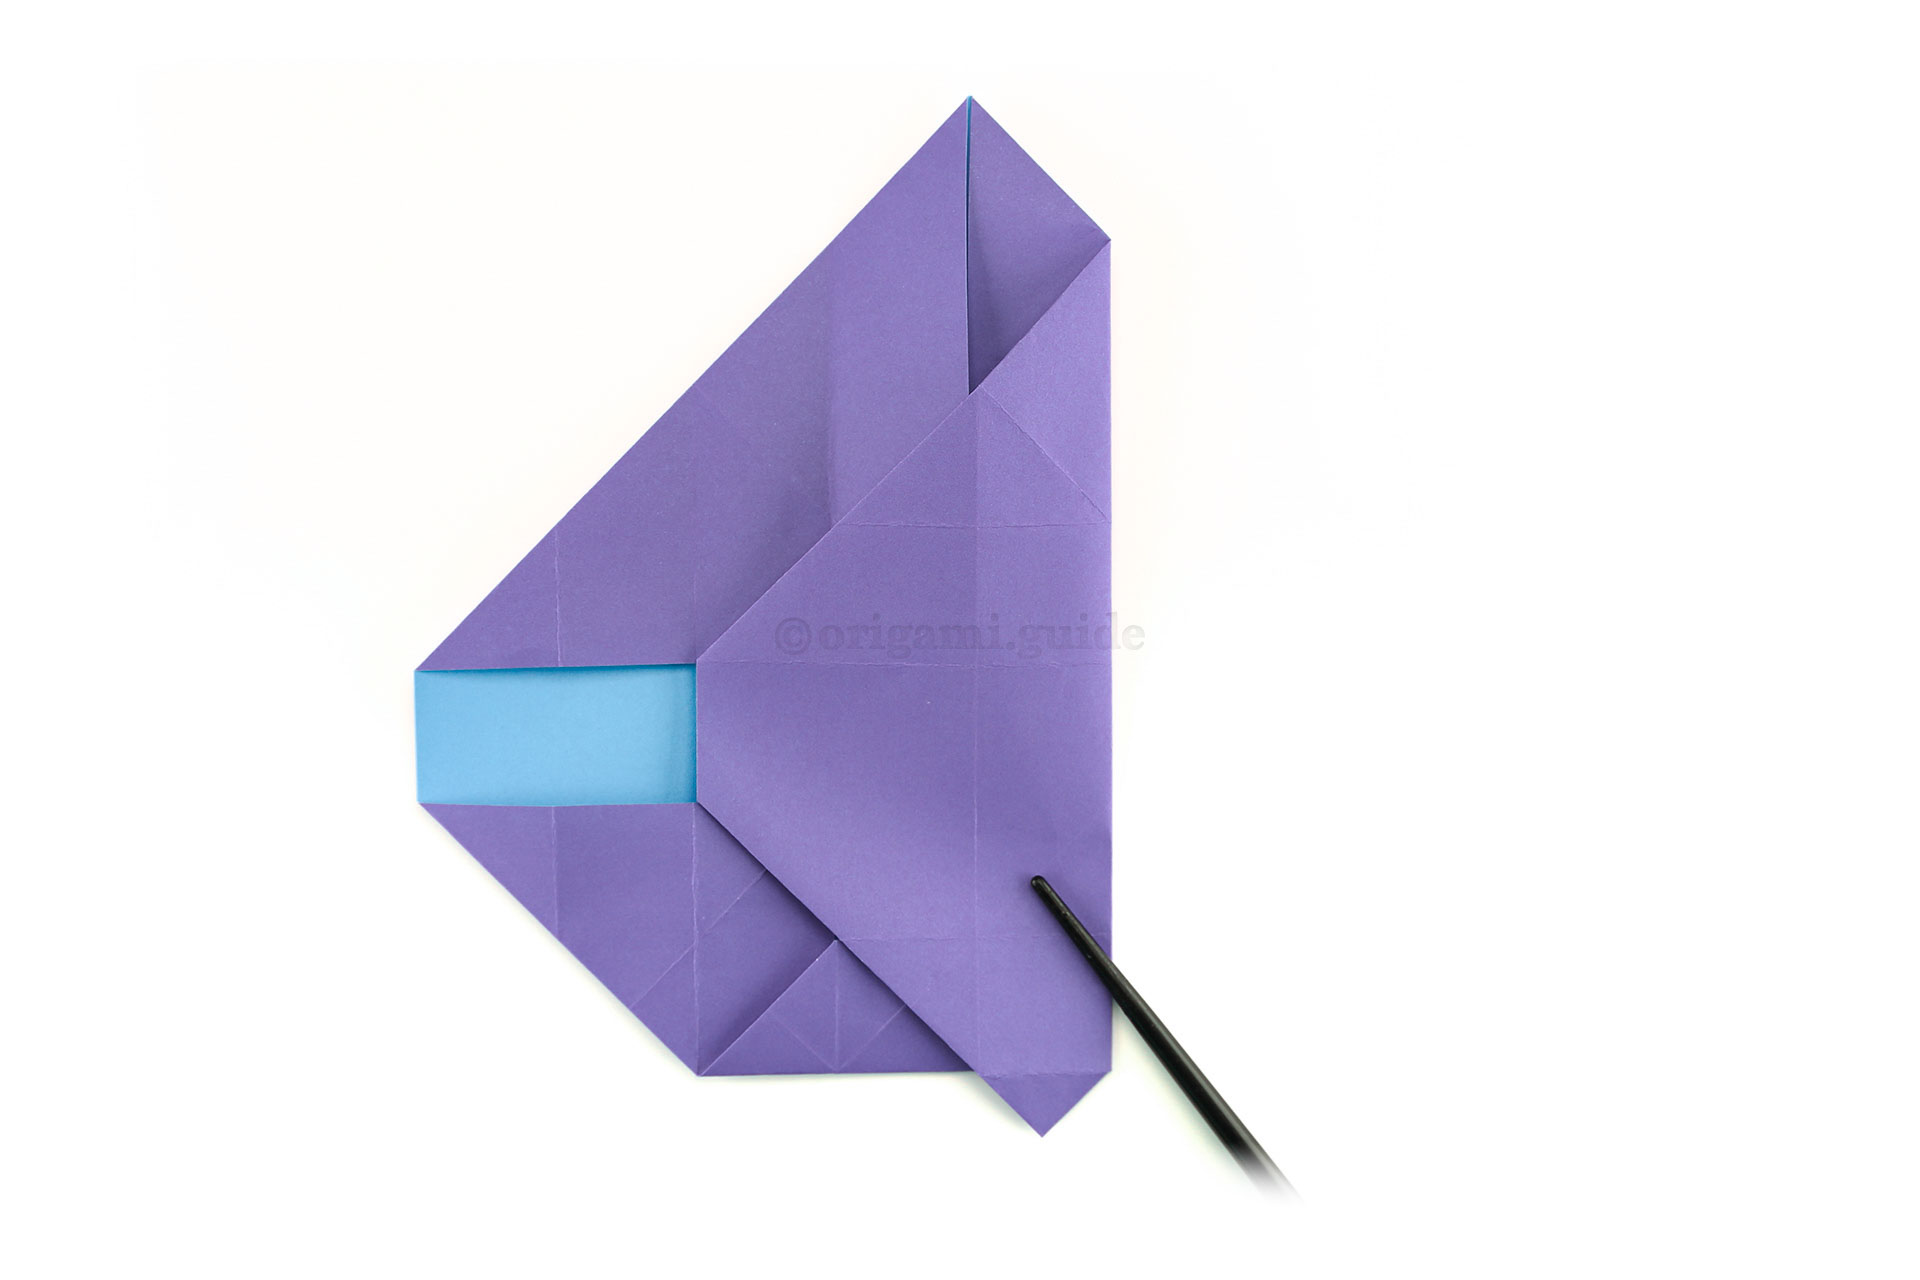
Step 26: Flatten the right side over to the left side, creating a little "foot" shape at the bottom.
-
27
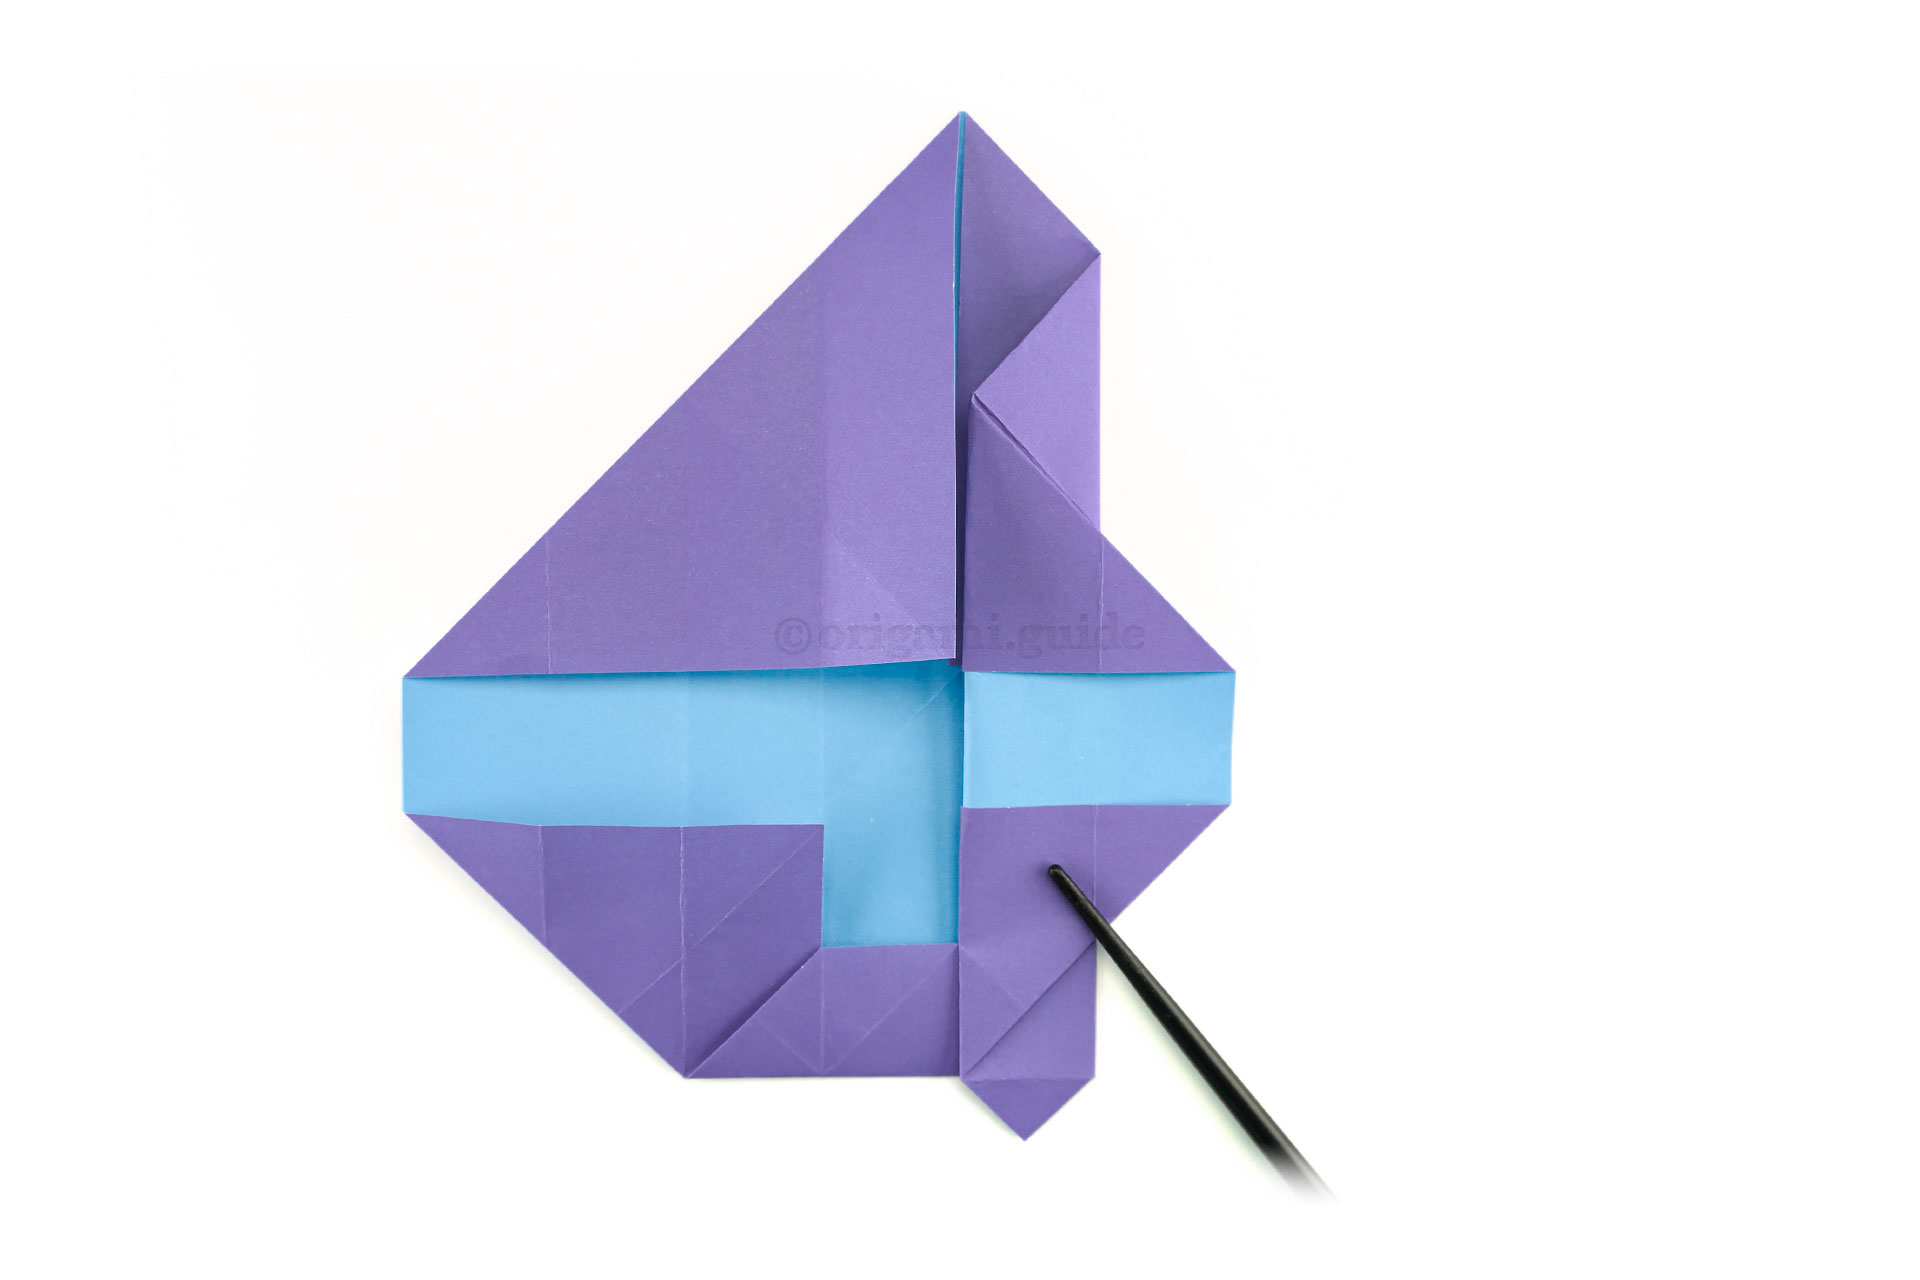
Step 27: Fold the flap back over to the right, from the central crease as shown.
-
28
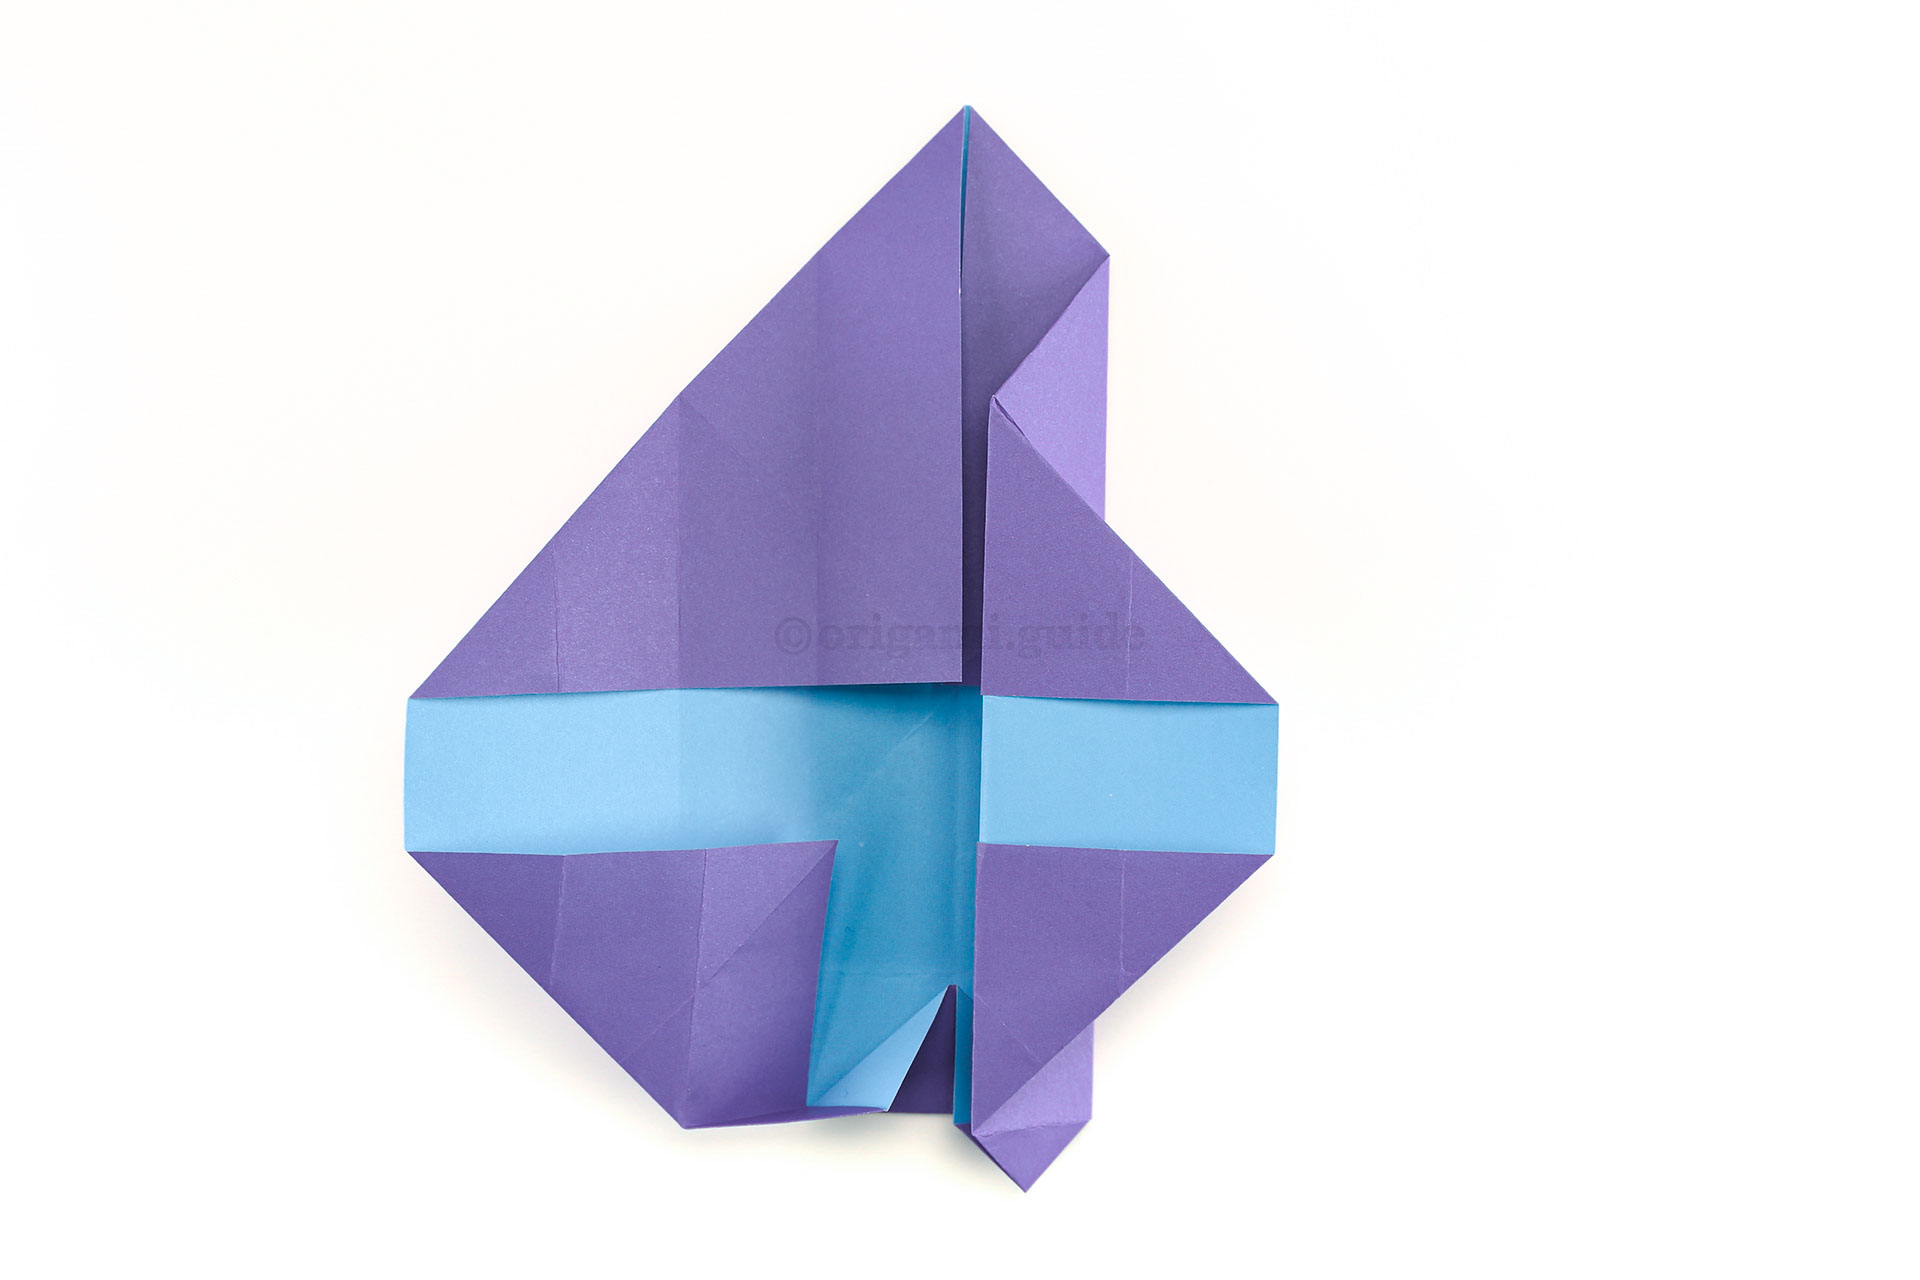
Step 28: Repeat the same process on the left side of the model.
Open out the bottom section while holding the middle. -
29
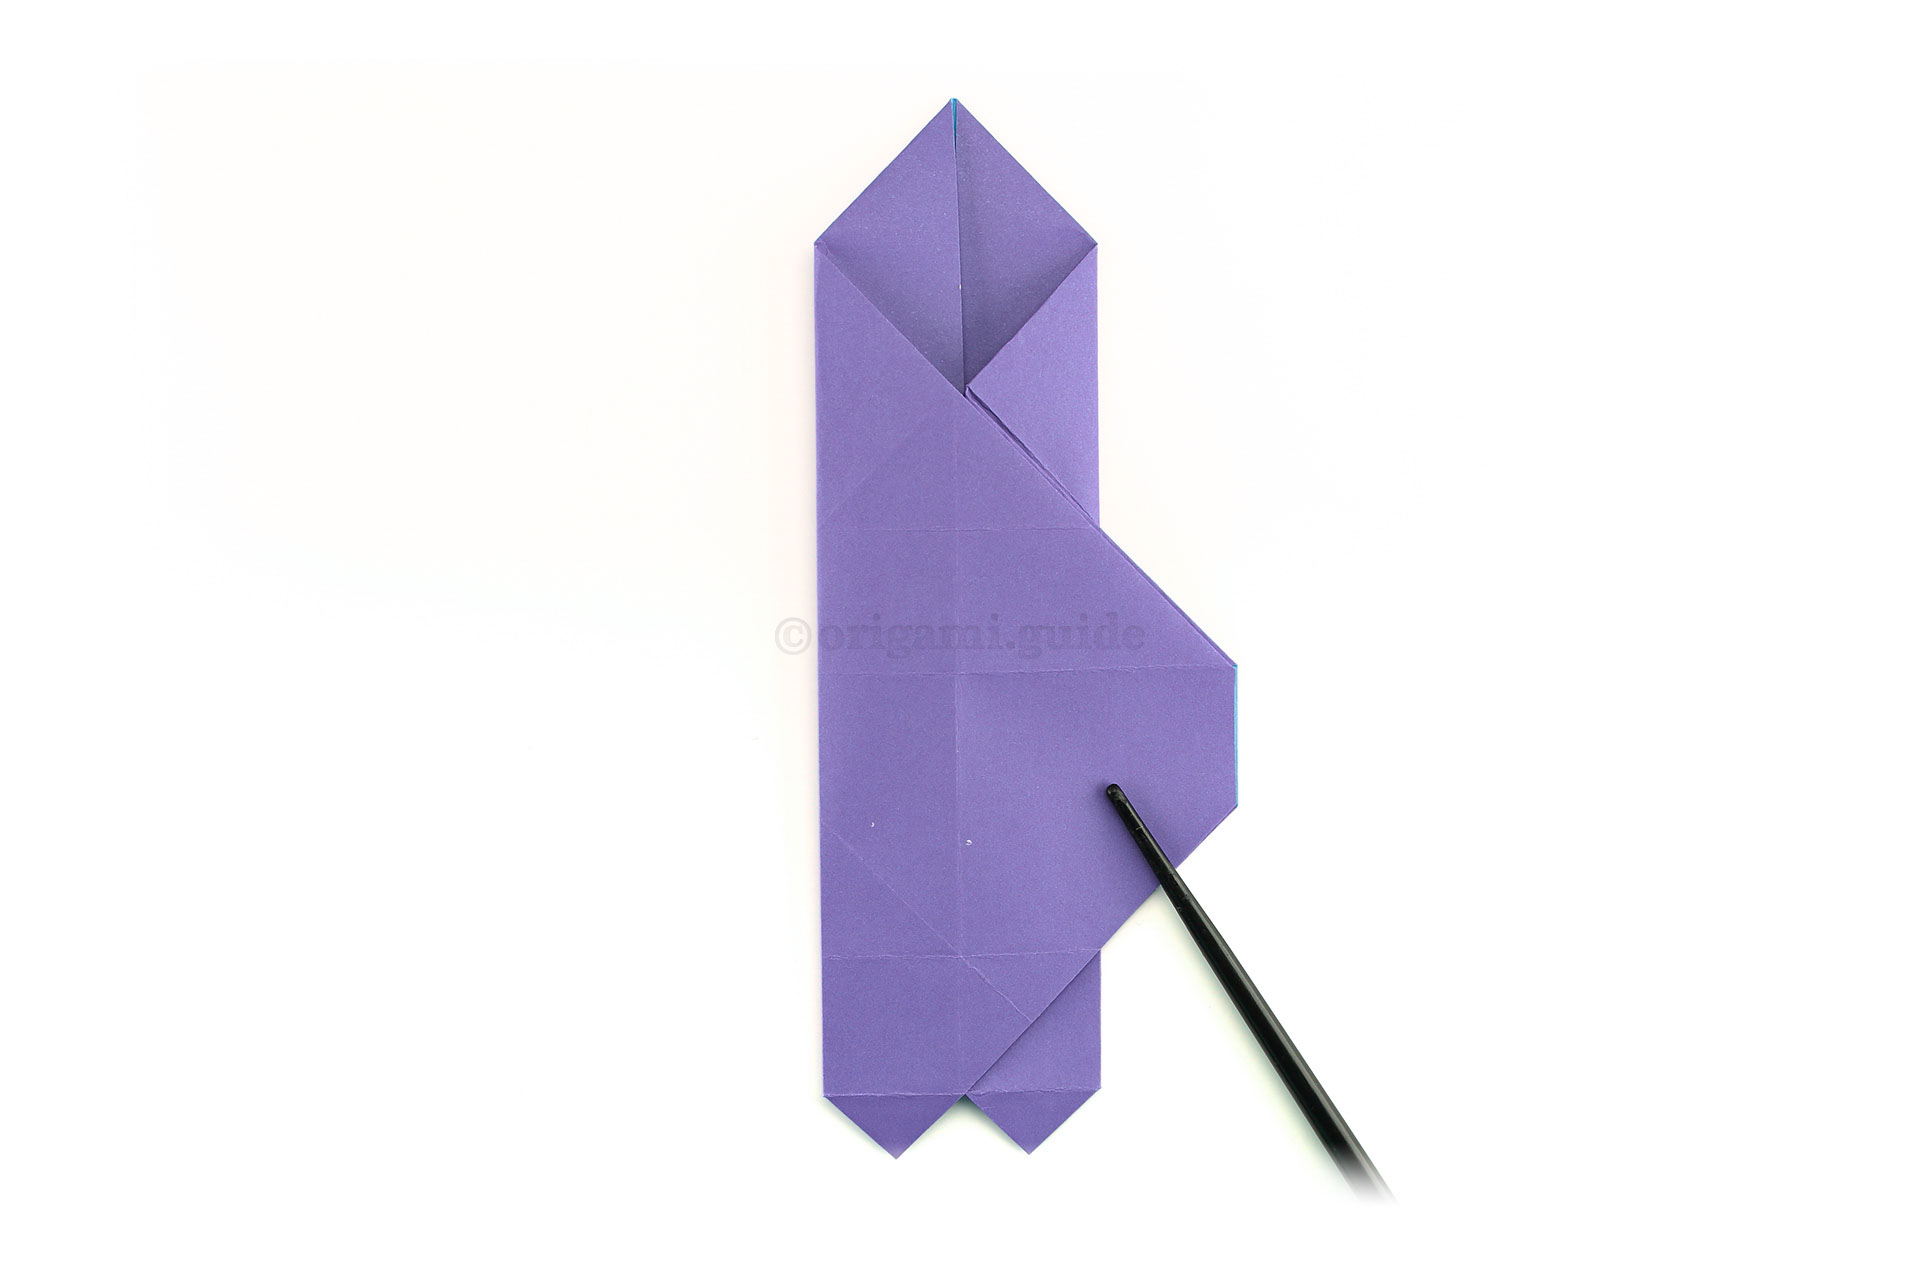
Step 29: Fold the left section over to the right, again flattening that little "foot" as shown.
-
30
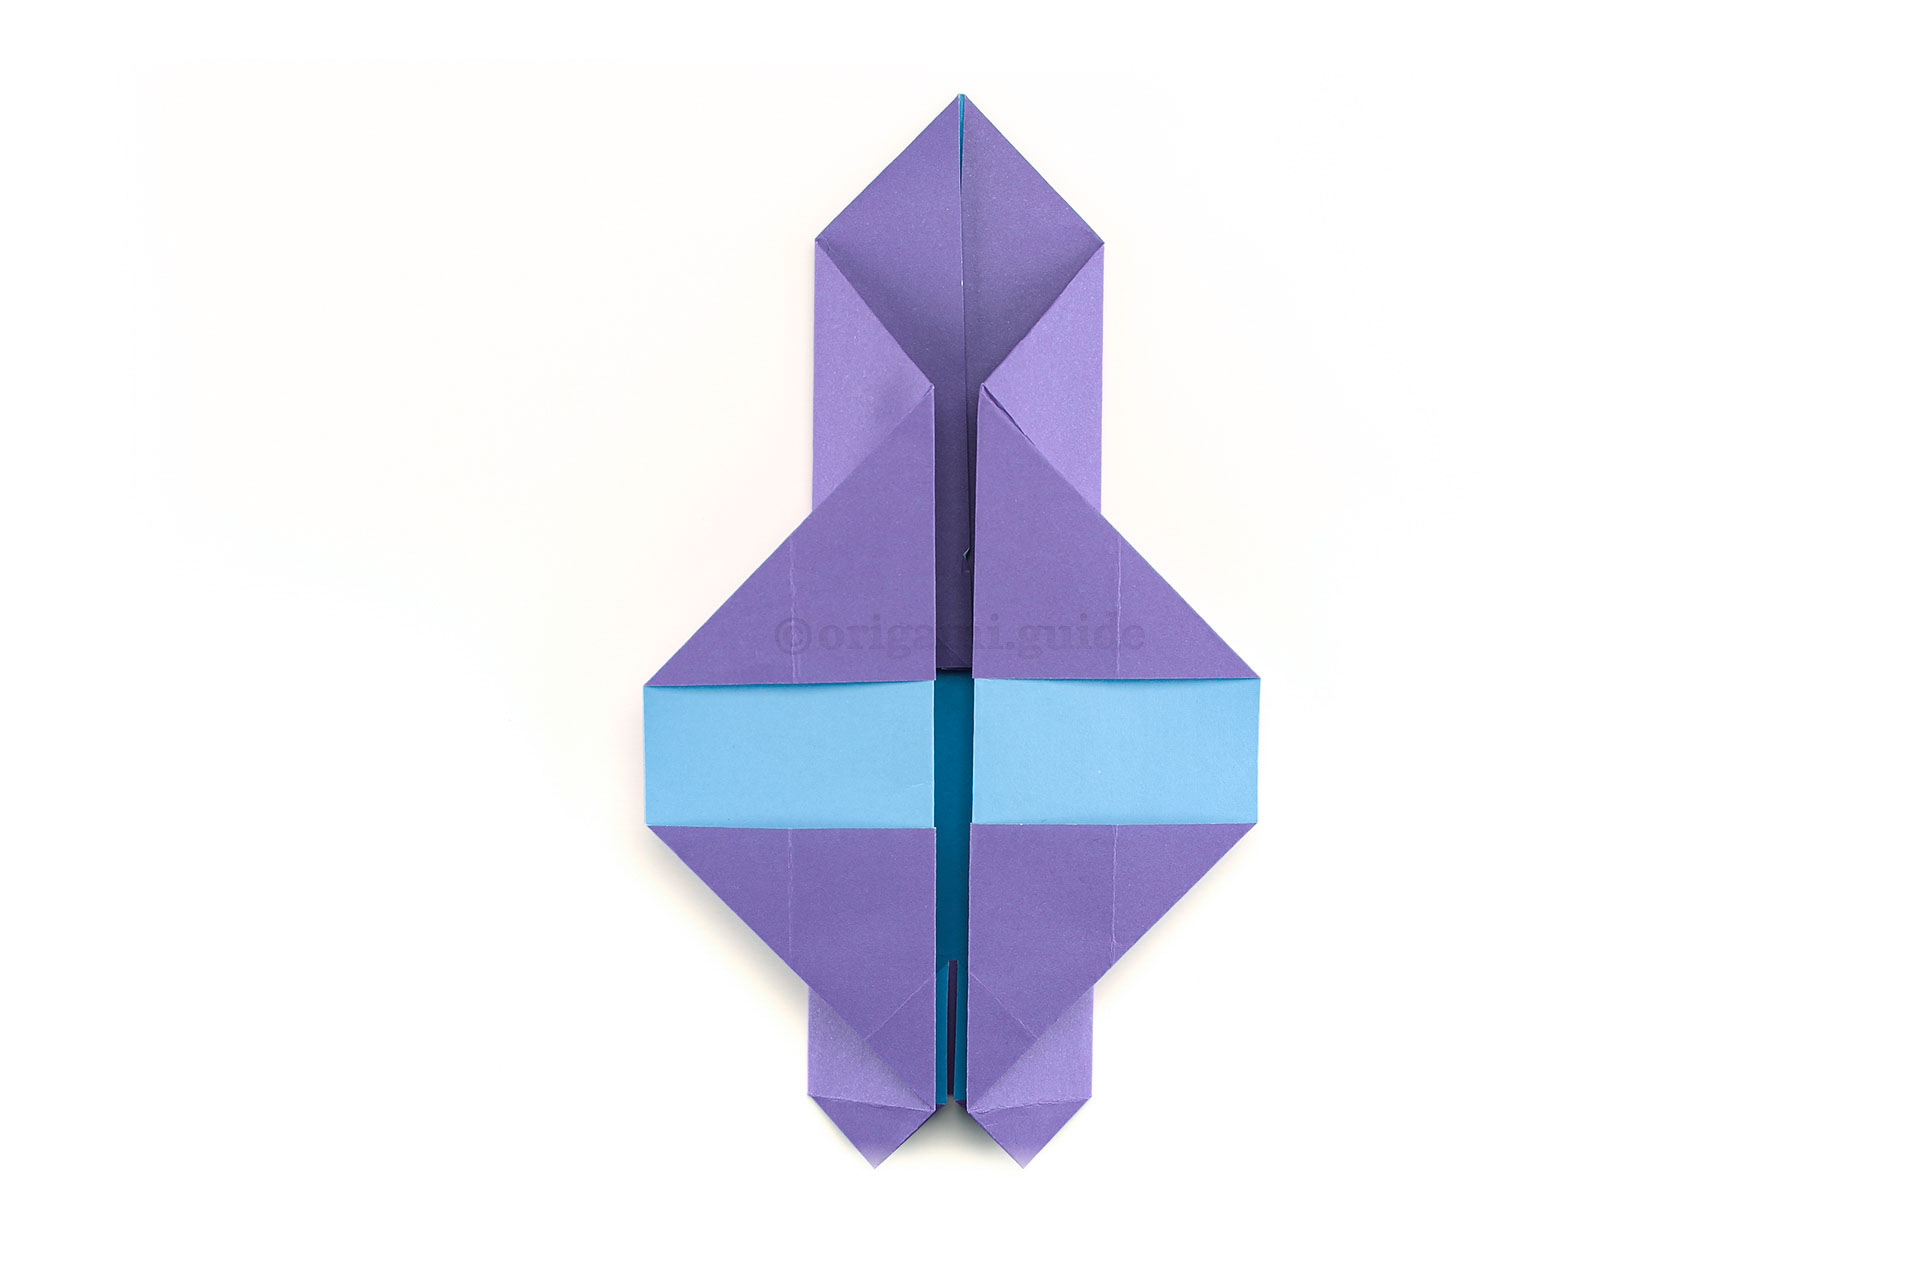
Step 30: Fold the flap back to the left, to match the other side. Flatten the paper well.
-
31
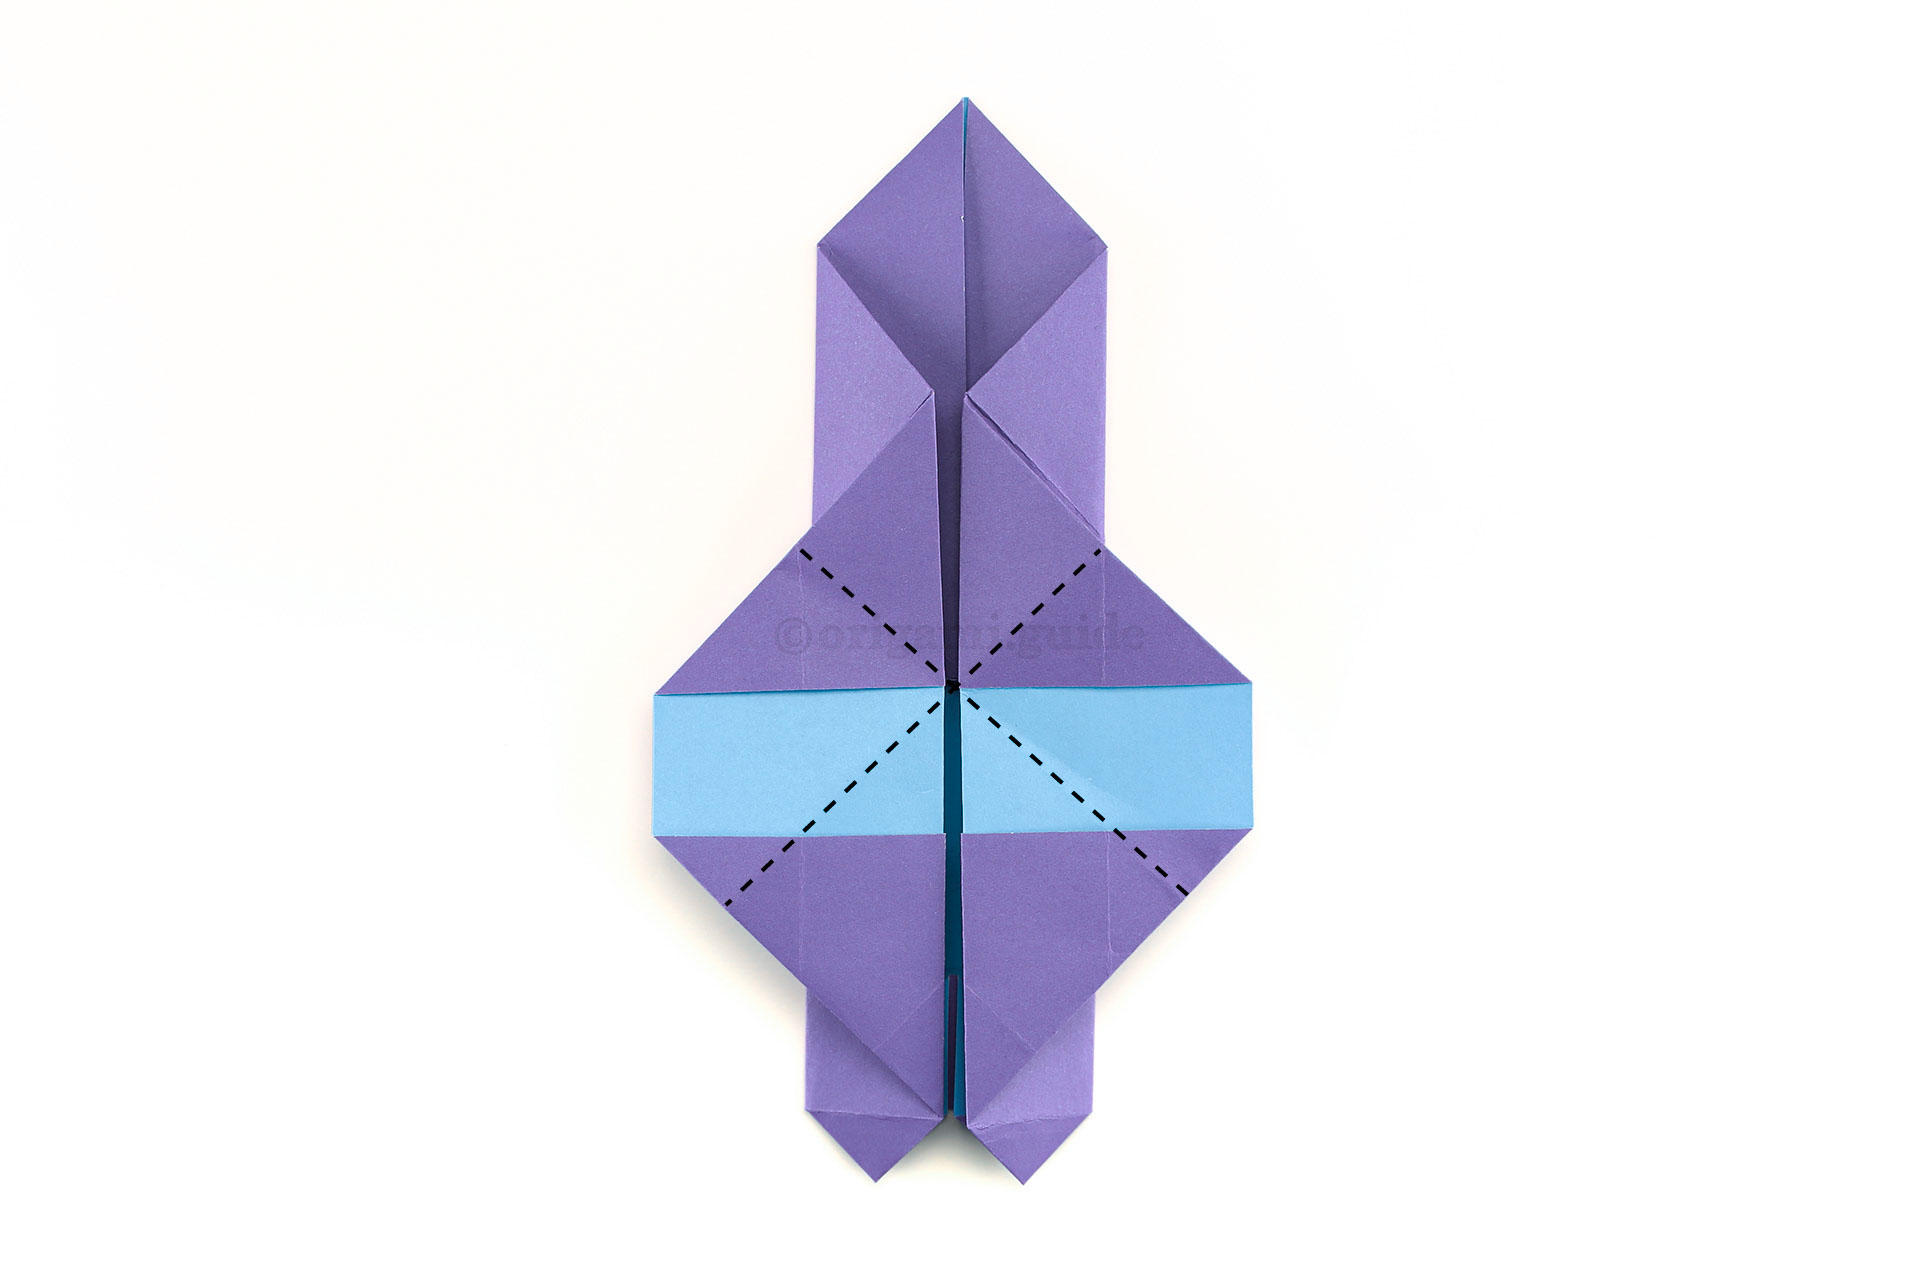
Step 31: Have a look at these crease lines, we're going to fold these next.
-
32
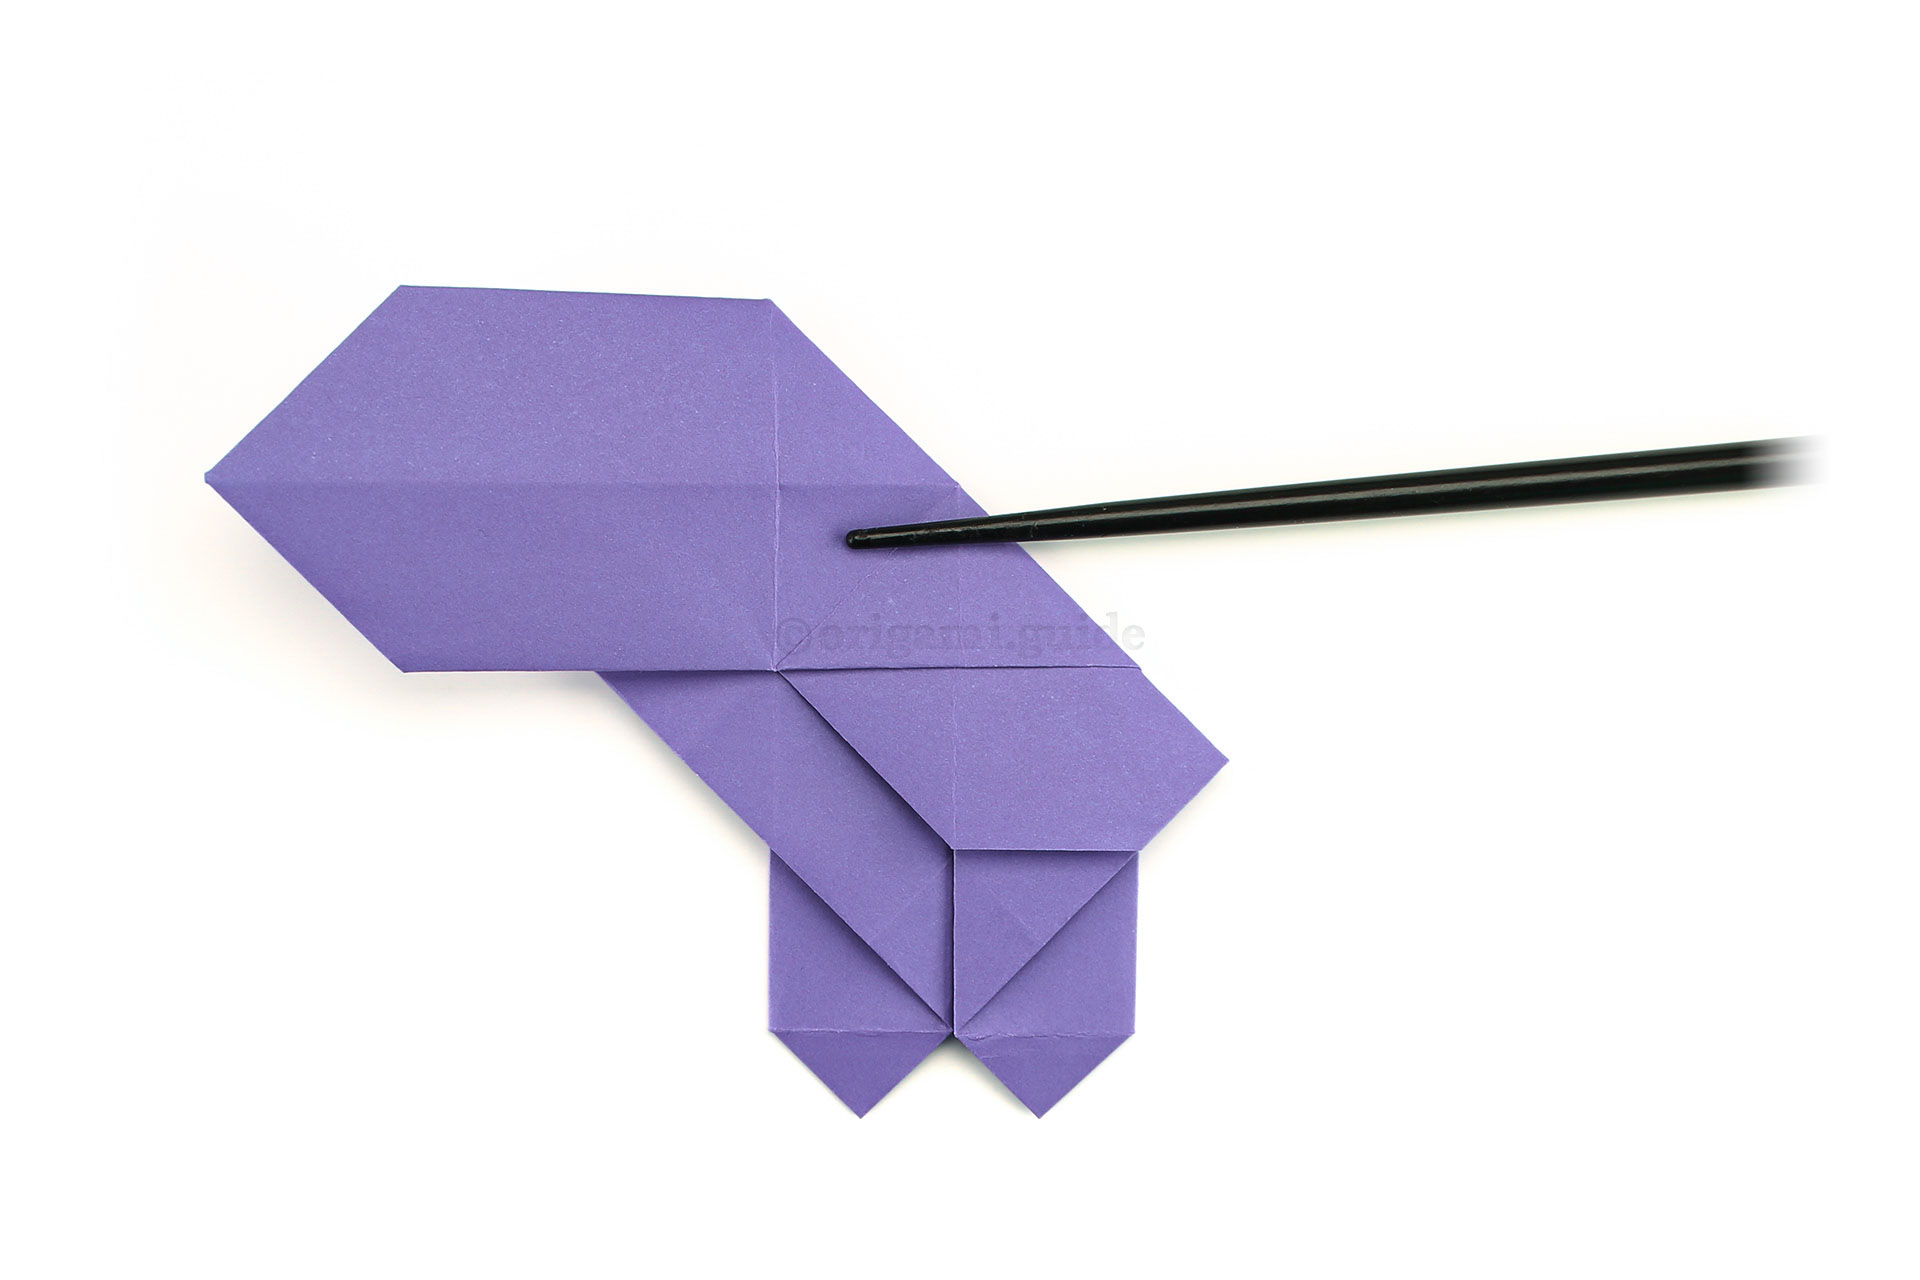
Step 32: First fold the top diagonally down to the left, along the crease lines in the previous step.
You can use a ruler to fold over if you like. -
33
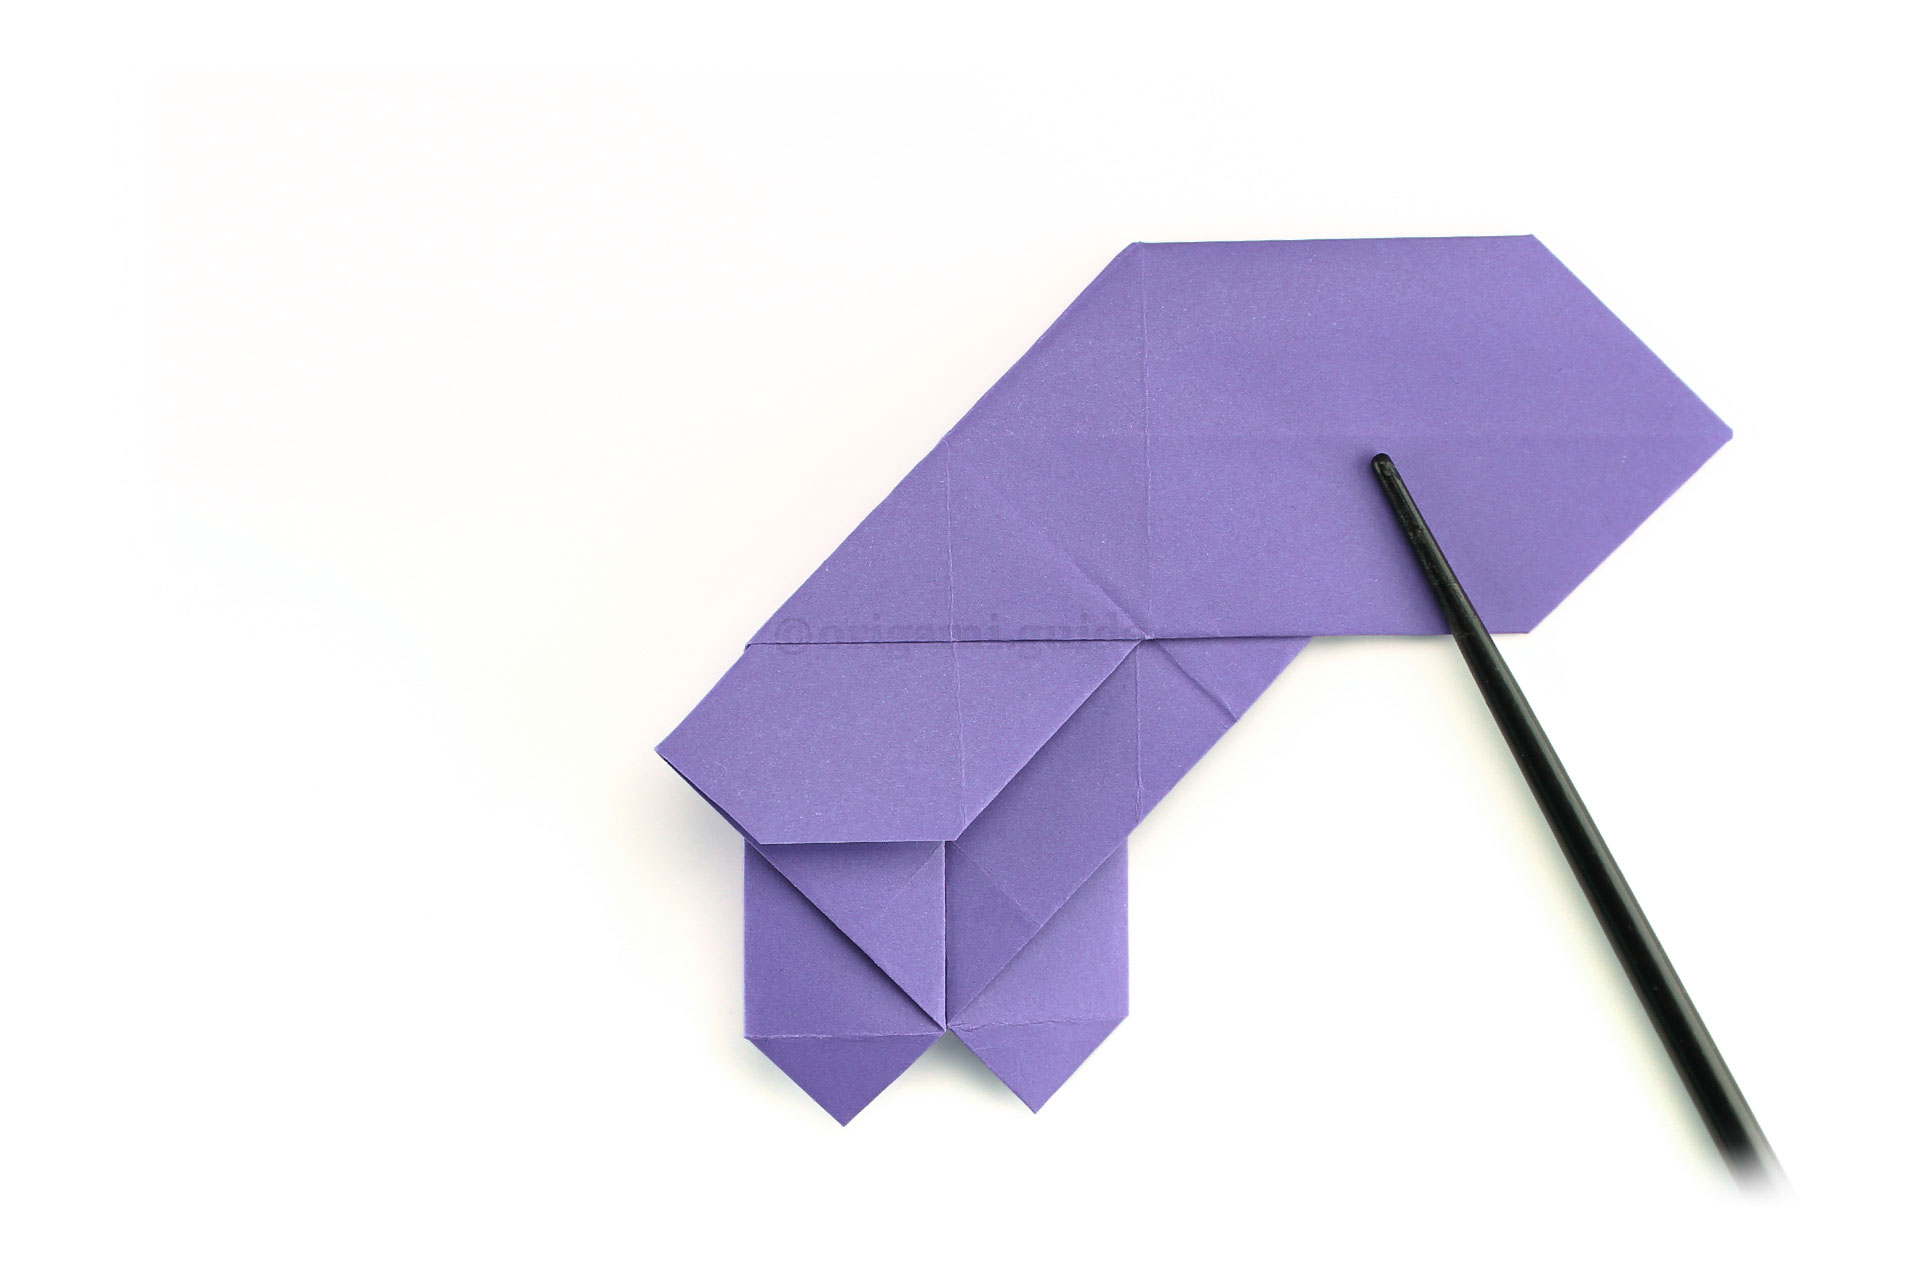
Step 33: Next we are folding the opposite diagonal crease.
-
34
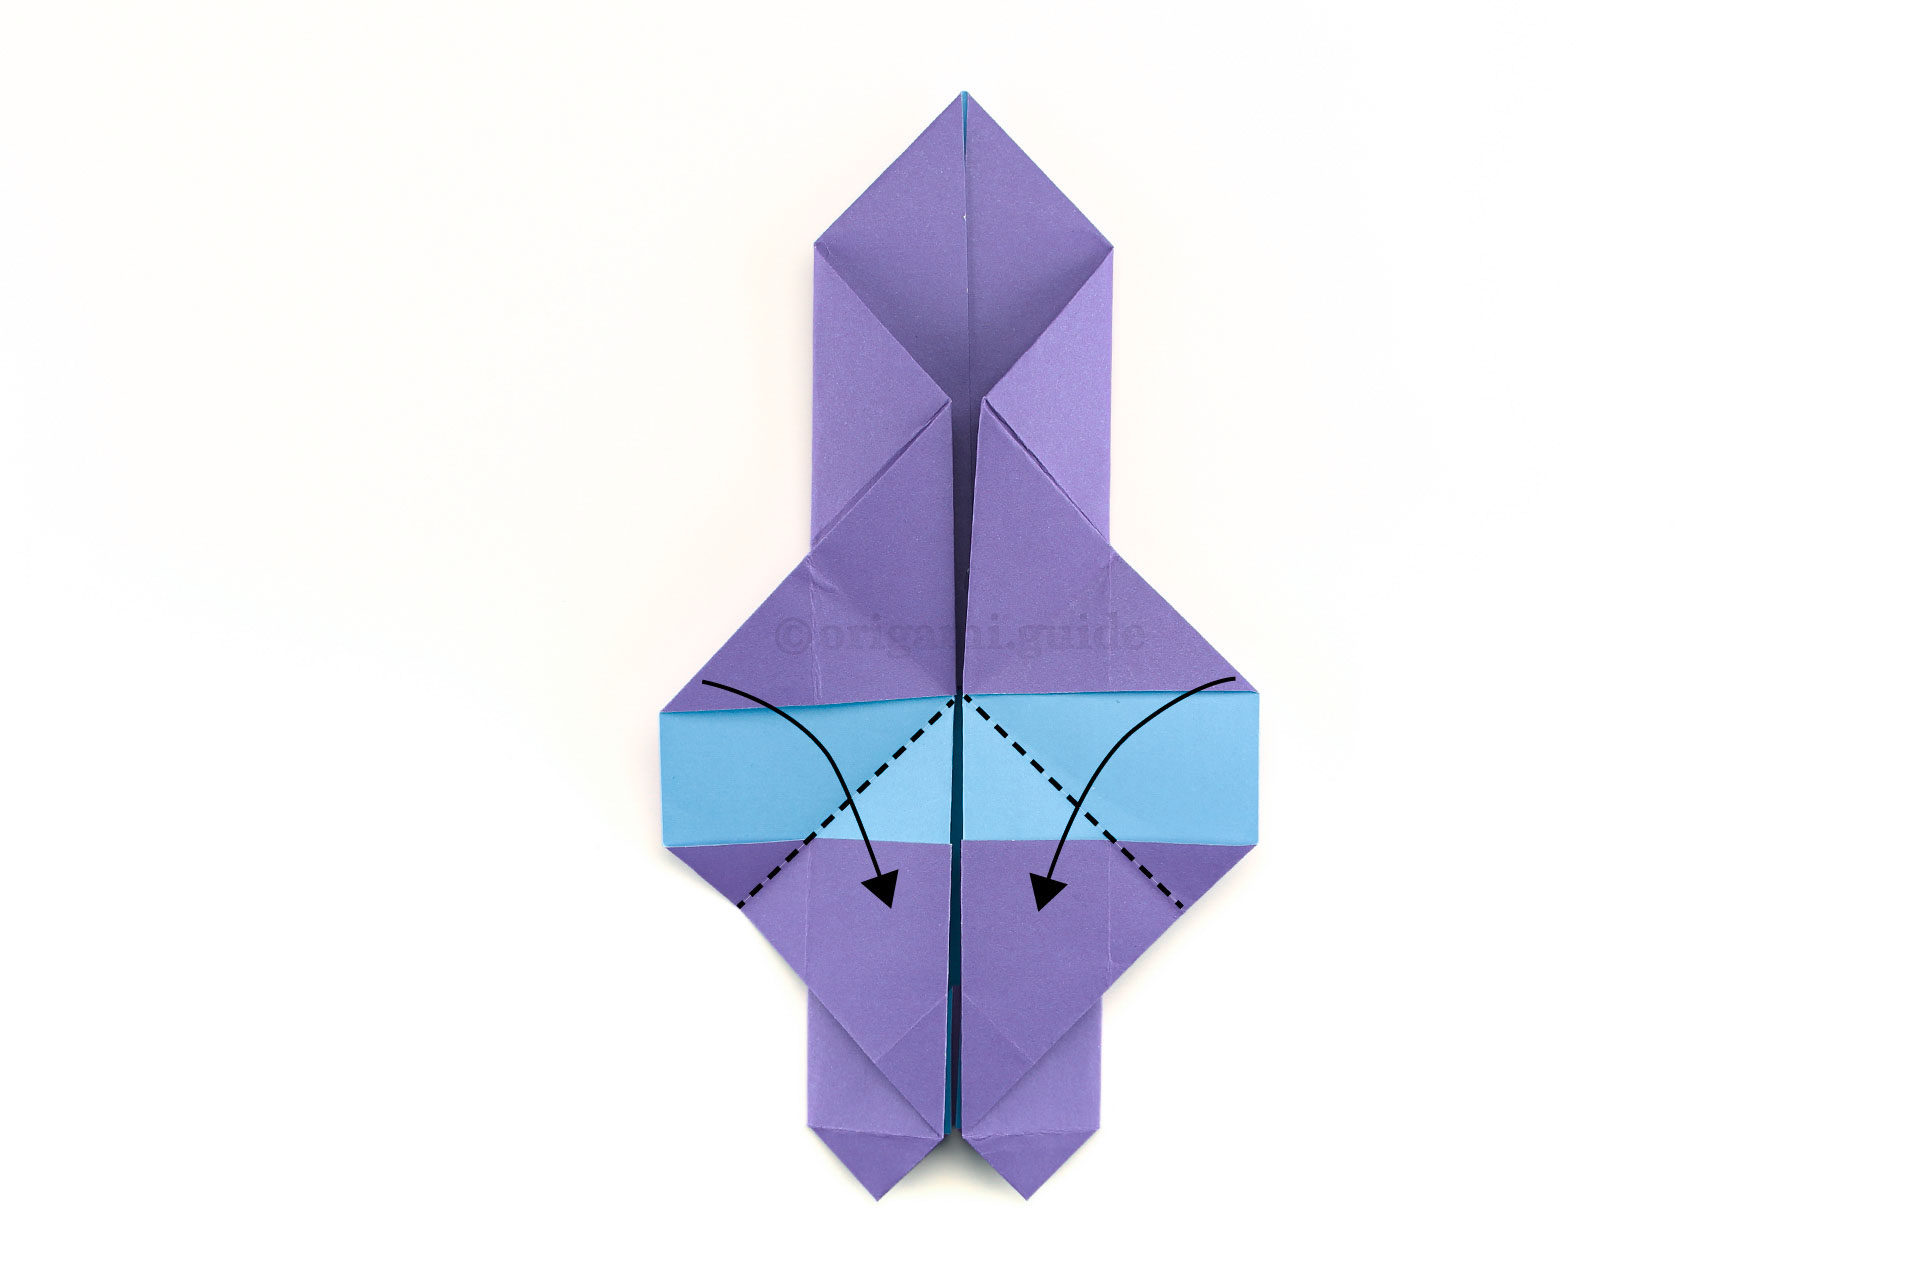
Step 34: Open the top back up and then bring the two front flaps diagonally inwards together, using the creases we just made.
-
35
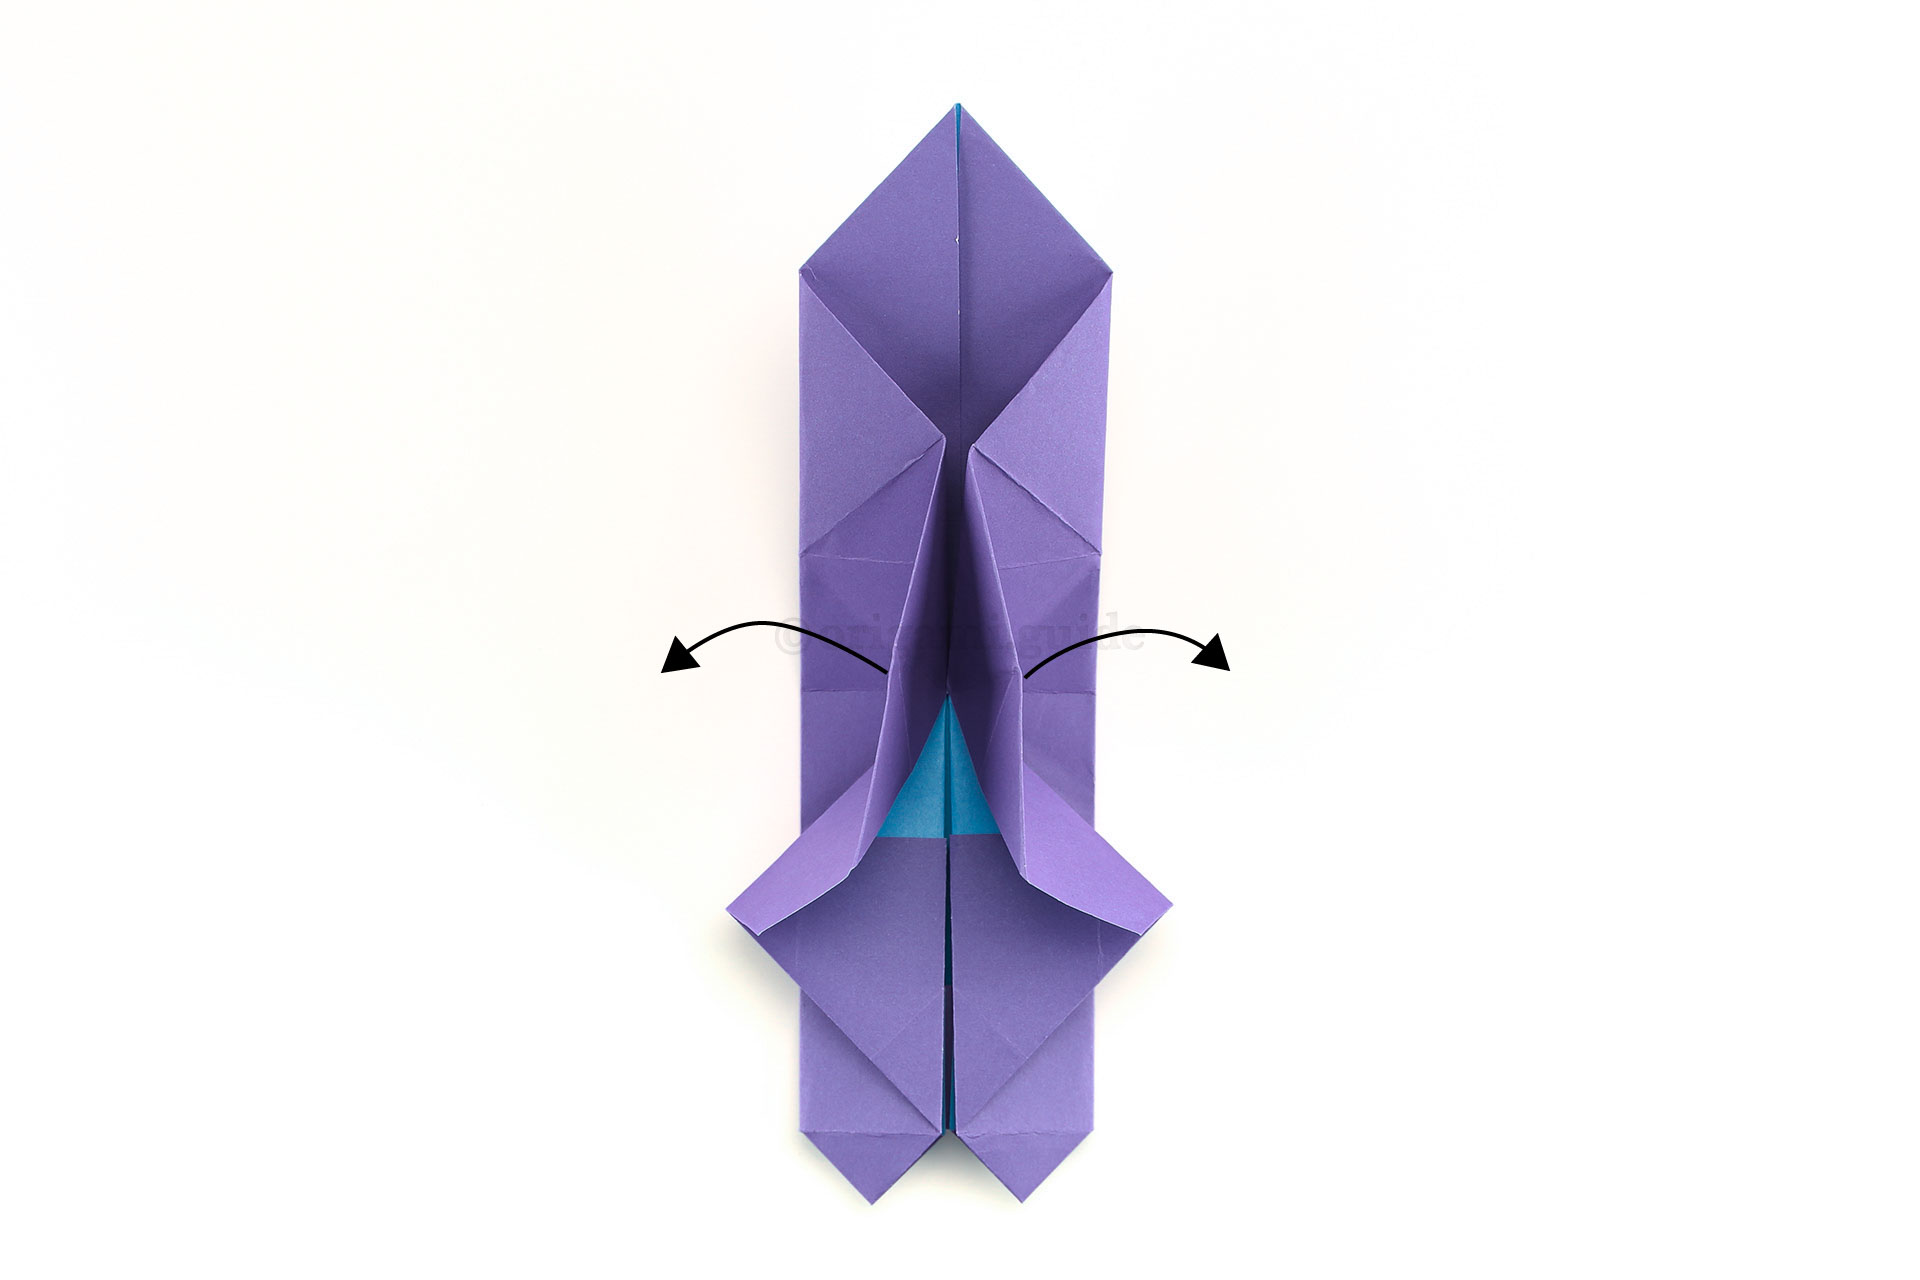
Step 35: Carefully pull the points indicated out, creating a diamond shaped hollow.
-
36
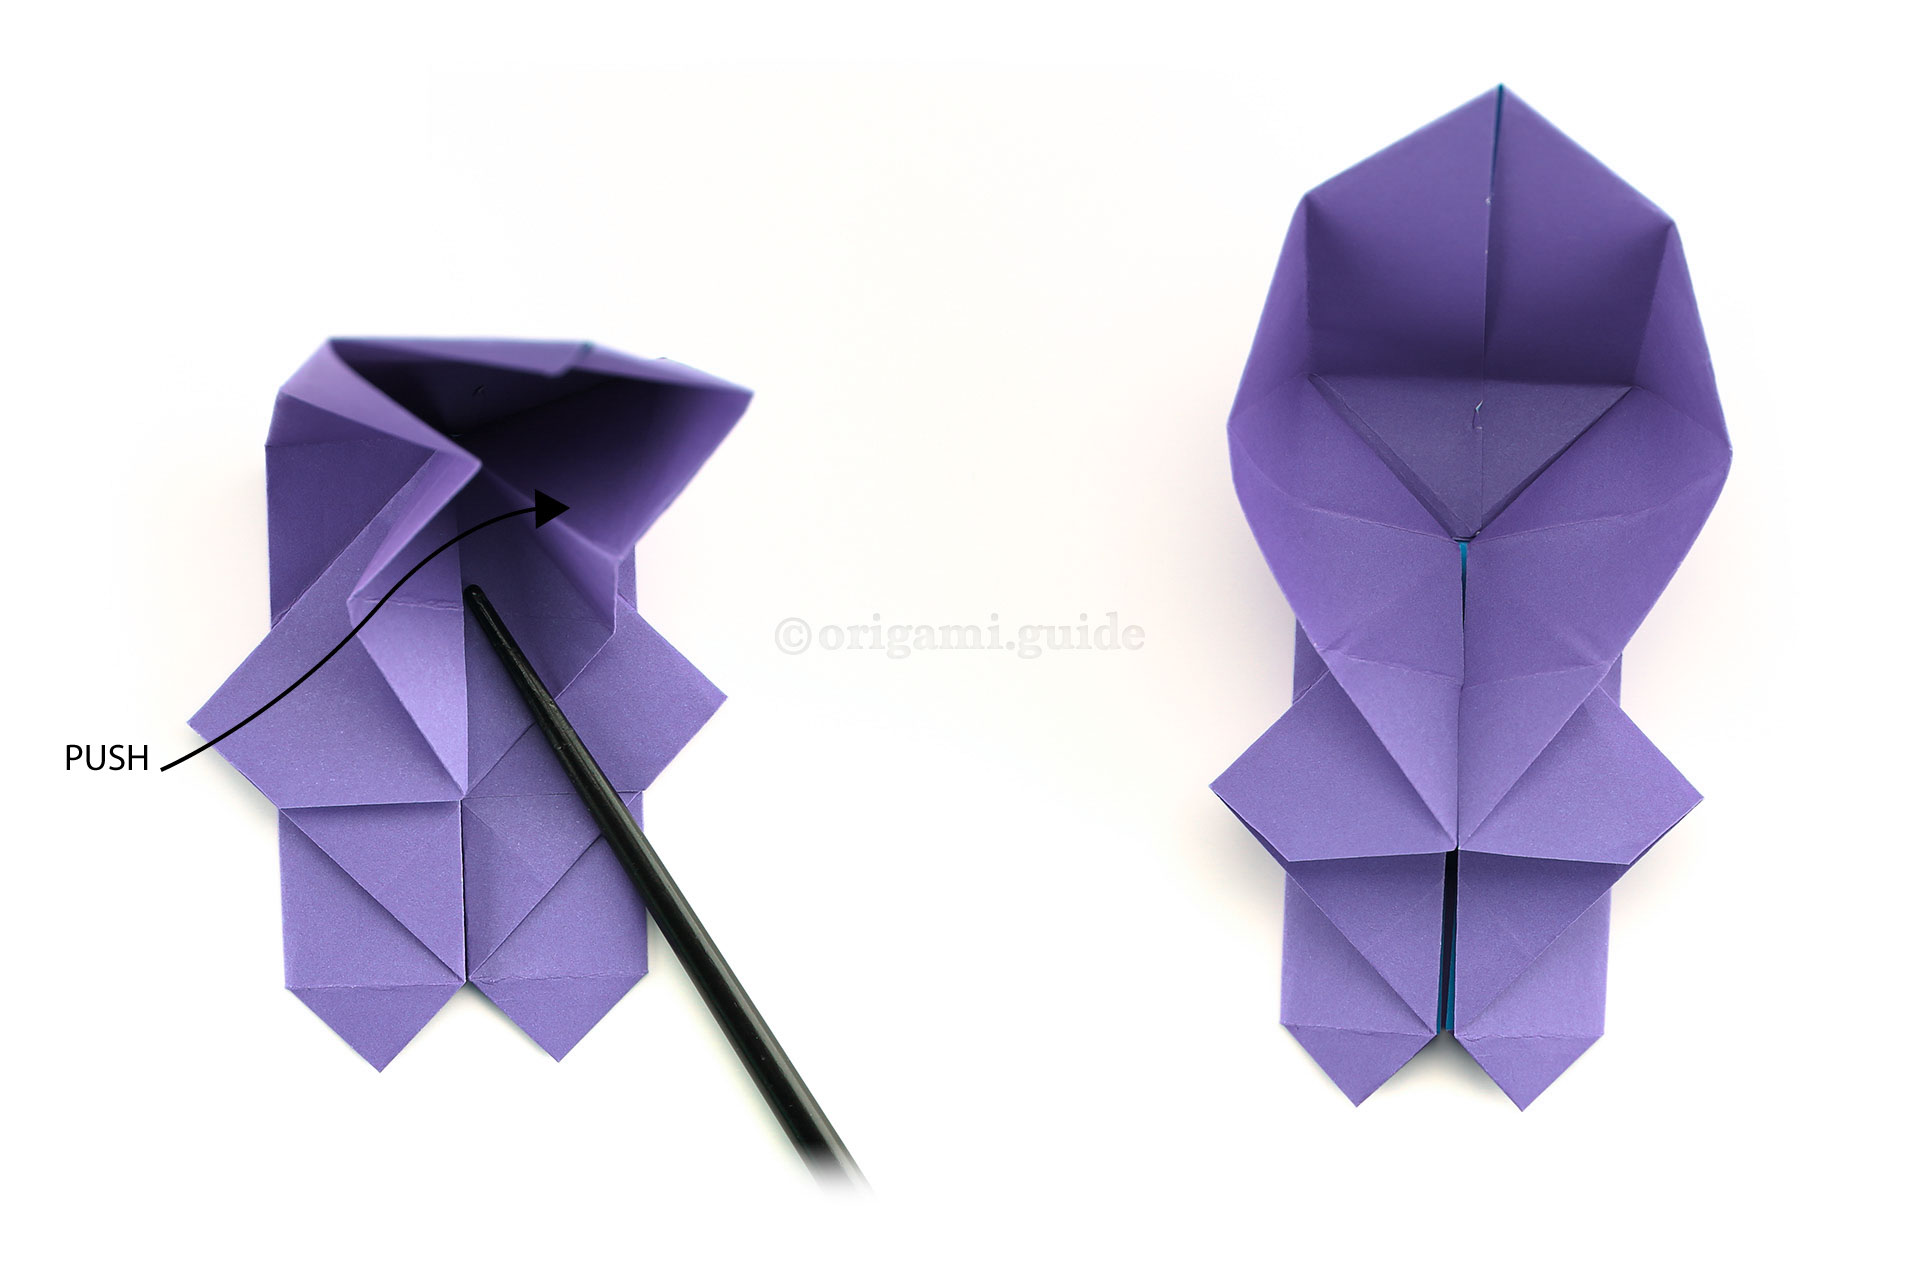
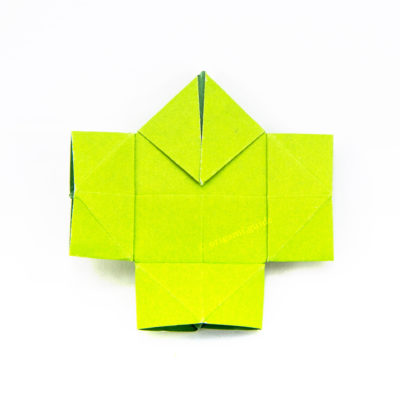
Step 36: Whilst bringing the top section forward and down, push on the area indicated. Flatten this area on both sides, creating quite a large square area as shown.
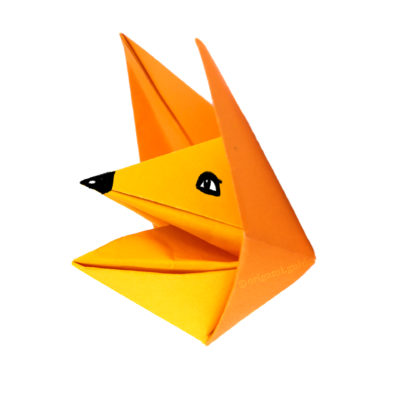
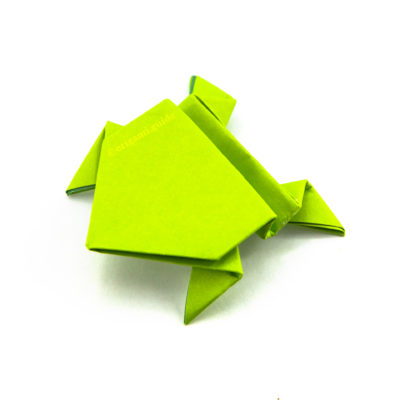
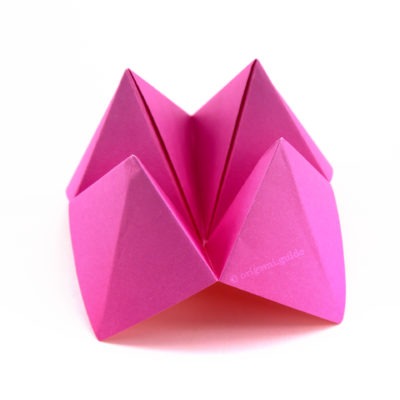
What Origami Toys To Fold Next?
View all Origami Toys Tutorials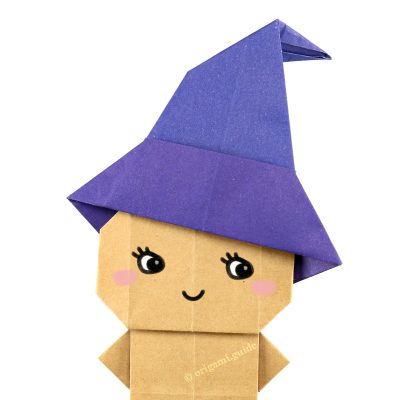
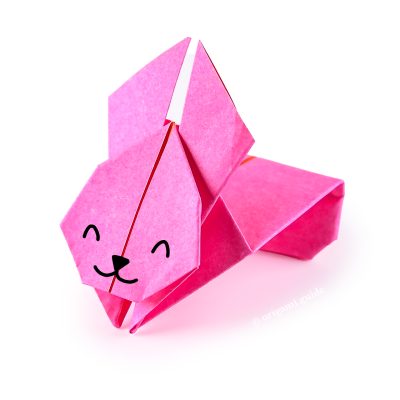
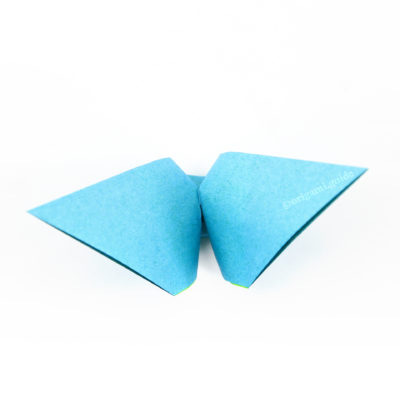
Leave A Comment
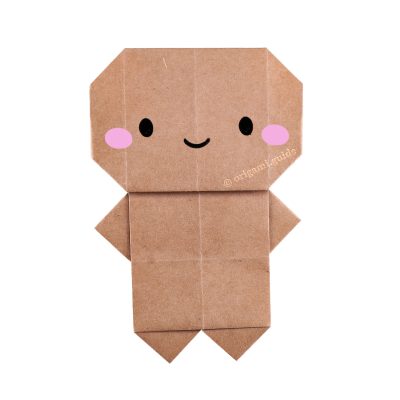
Did you fold this Cute Origami Figure / Person? Let us know what you thought.
You can also upload a photo of your result!