Made this origami? Leave a comment & submit your photo here.
-
19
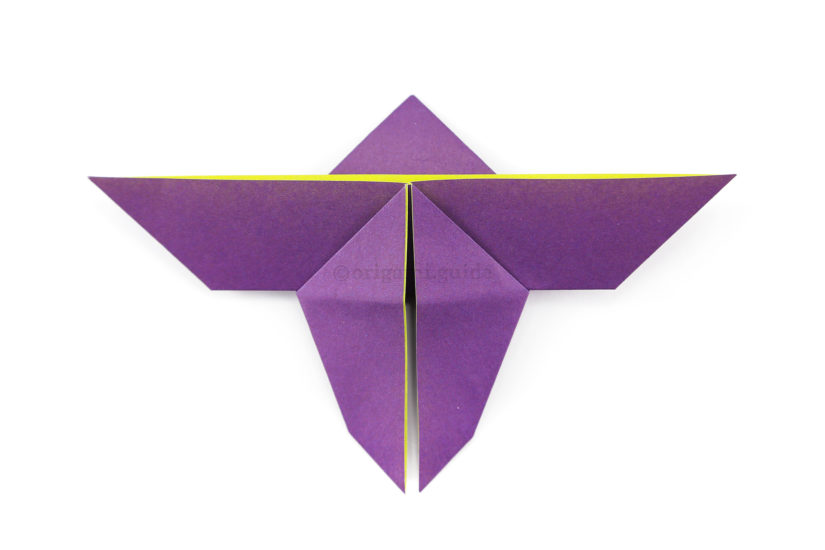
19. Flip the butterfly over to the other side.
-
20
20. Fold the top triangle down.
-
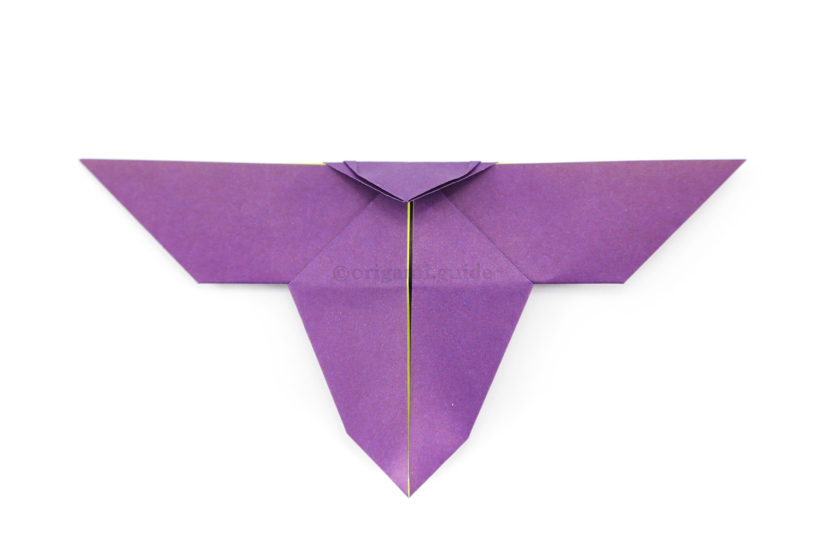
21

21. Fold the top triangular flap up, leaving a little gap.
-
22
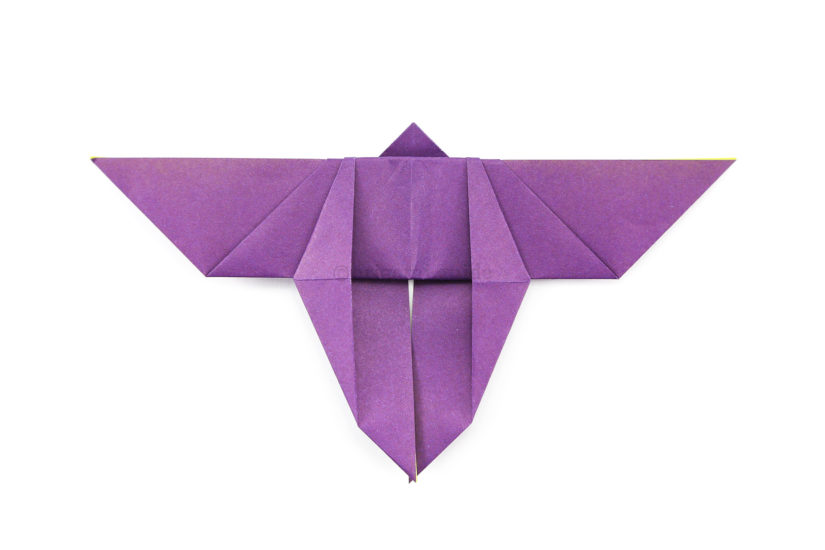
22. Flip the butterfly back over to the other side.
-
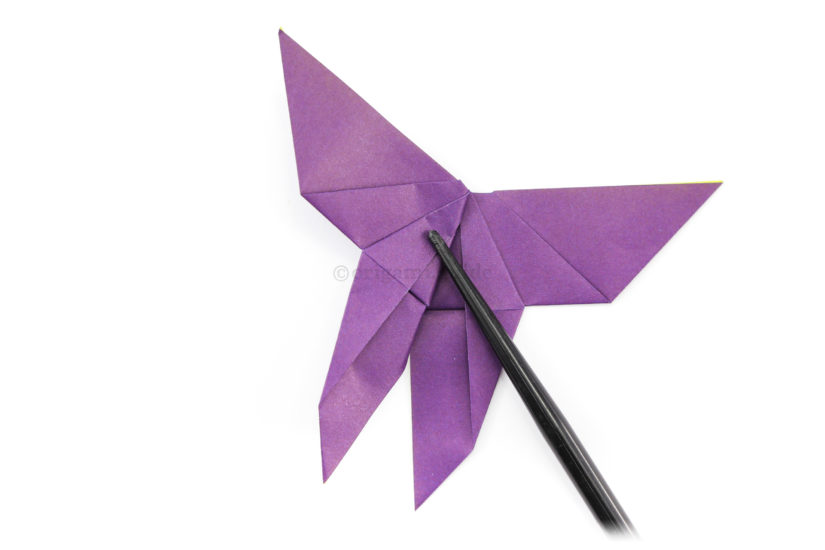
23
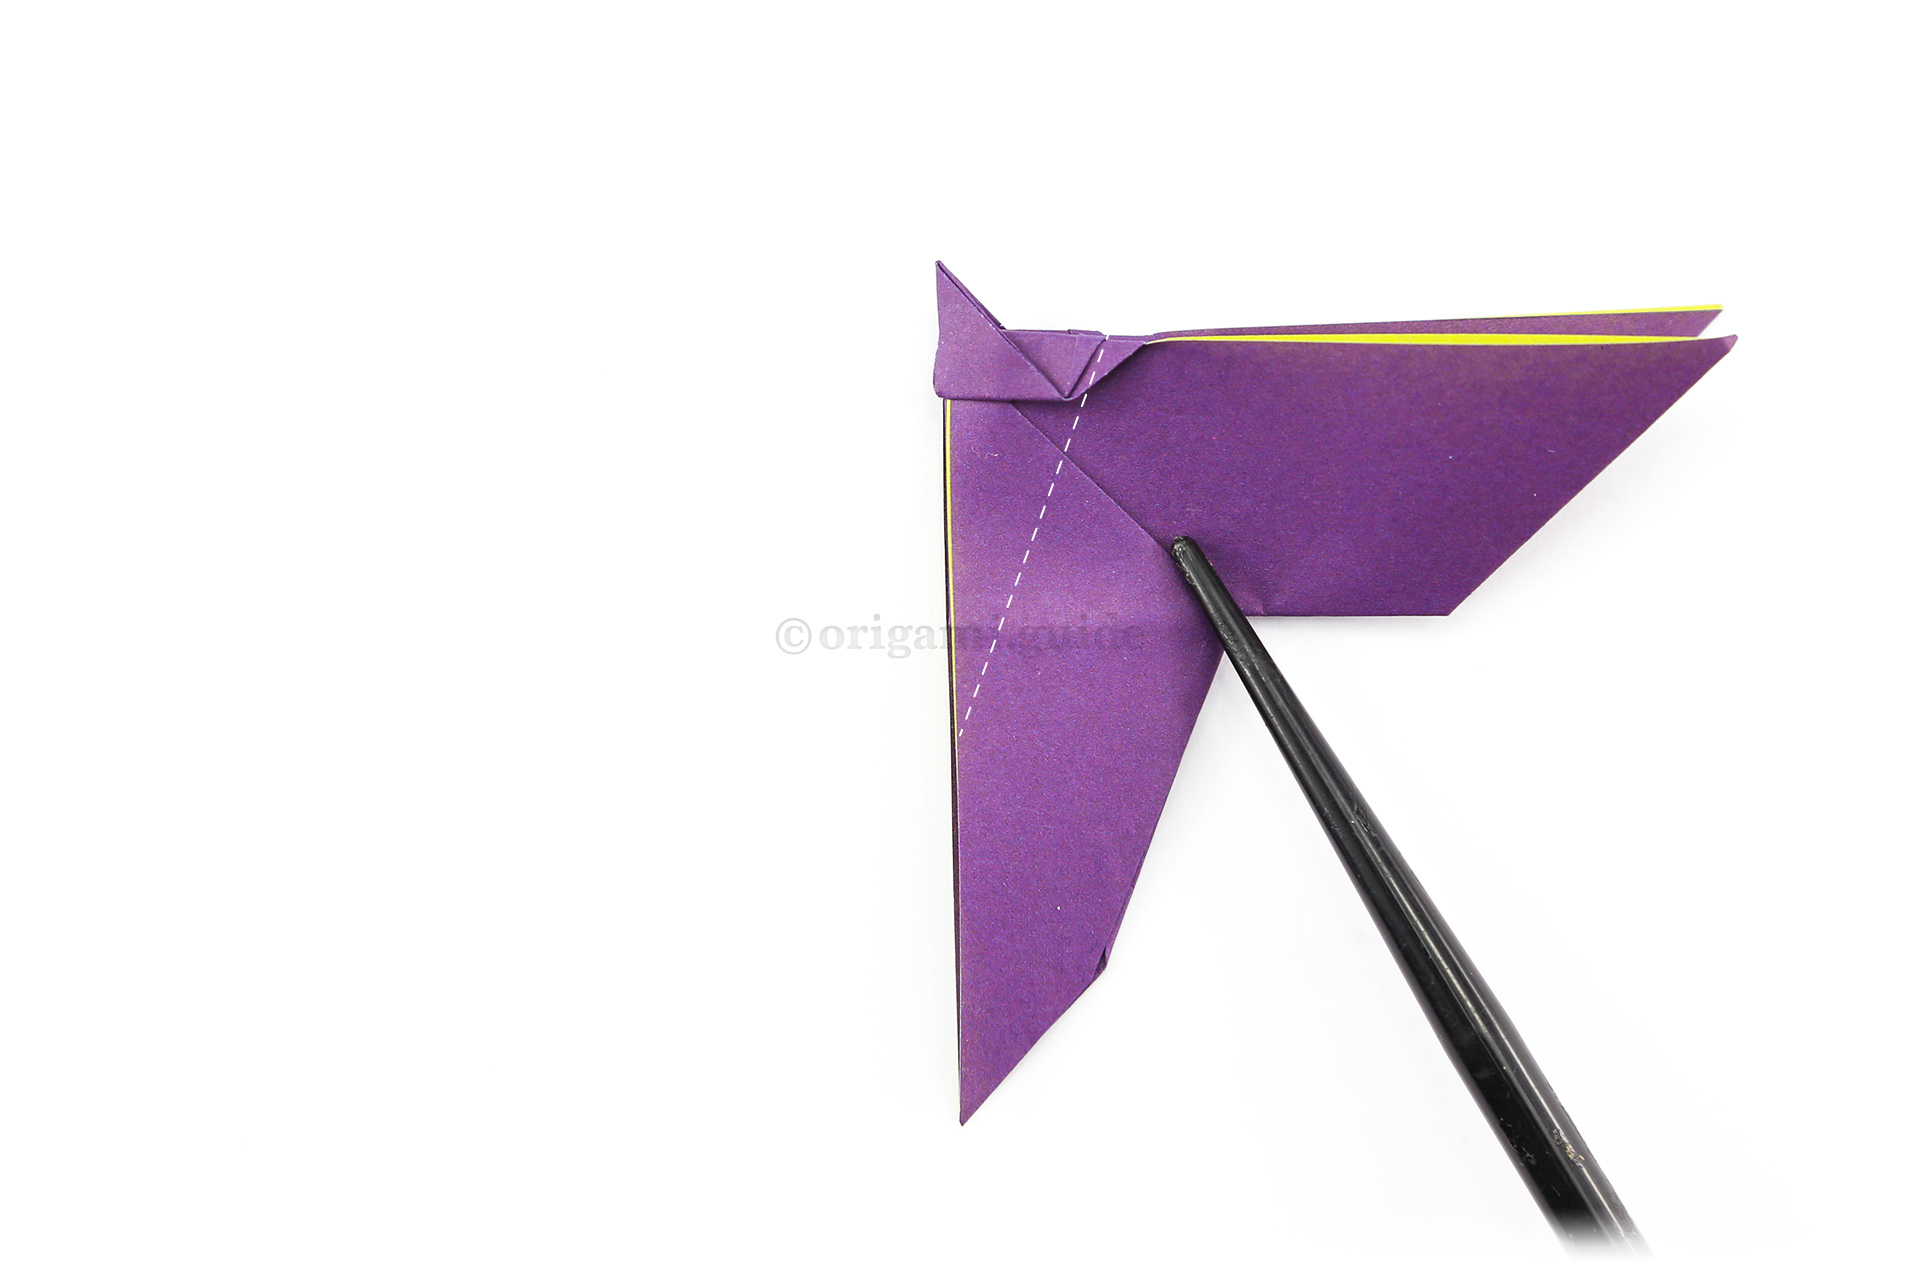
23. Fold the left side over to the right, careful not to rip the little flaps in the middle. Take note of the white valley fold line (in white) for the next step.
-
24
24. Fold the top layer back diagonally to the left, along the imaginary line in the previous step. This doesn't have to be exact, folding at different angles will result in a different end result.
-
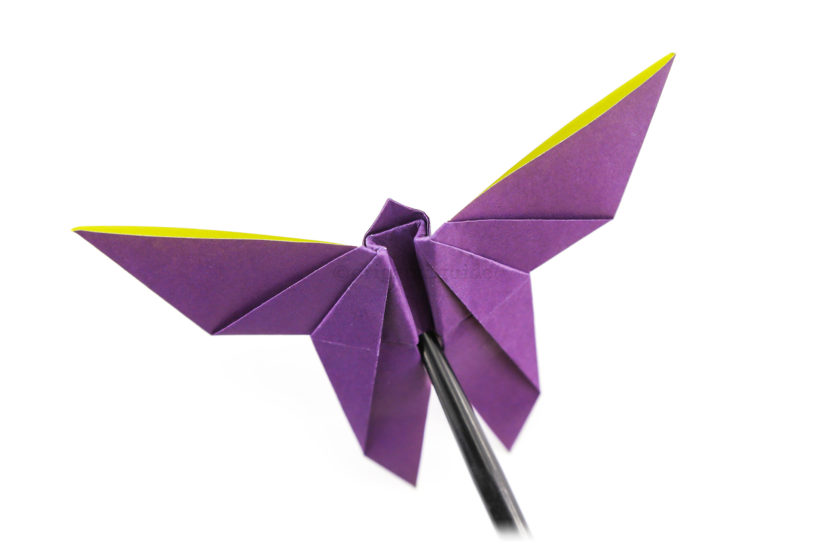
25
25. Repeat the last step on the other side.
-
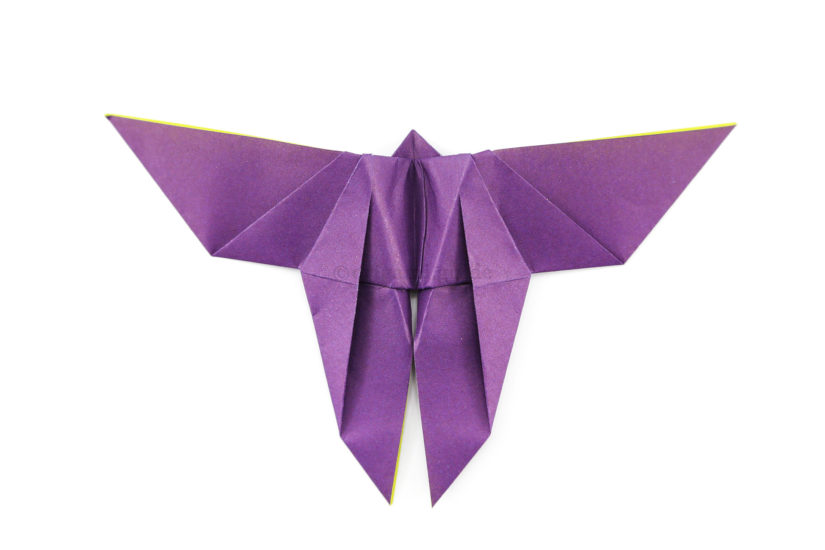
26
26. You can bring the two inner edges together.
-
27
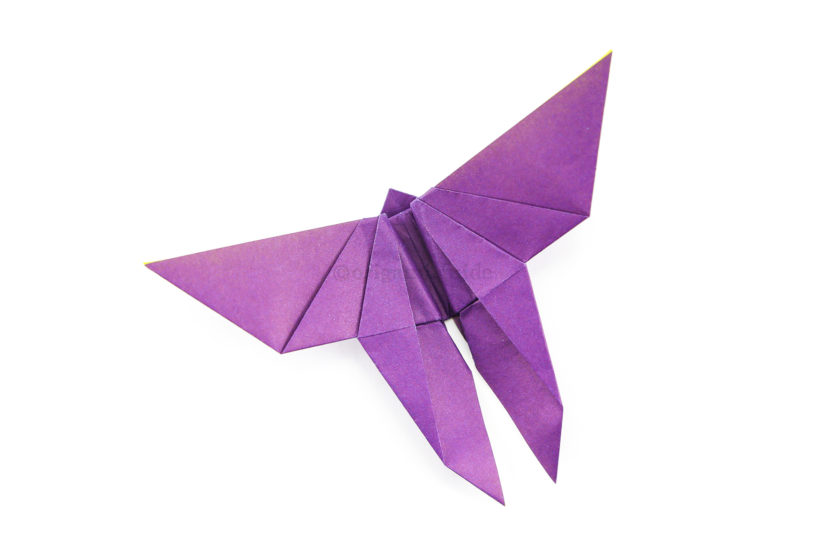
27. The butterfly is complete!
Your Origami Butterfly is Complete!
You’ve completed the Origami Butterfly, why not check out our other Origami Butterflies, here.
Did you make this origami? How did it go? Leave a comment & submit your photo here.
Related origami: Easy Origami
Intermediate Origami
Origami Butterflies
What Origami Butterflies To Fold Next?
- « How To Make An Origami Flapping Butterfly

- How To Make A Traditional Origami Butterfly »
 View all Origami Butterflies Tutorials
Leave A Comment
Did you fold this Origami Butterfly? Let us know what you thought.
You can also upload a photo of your result!