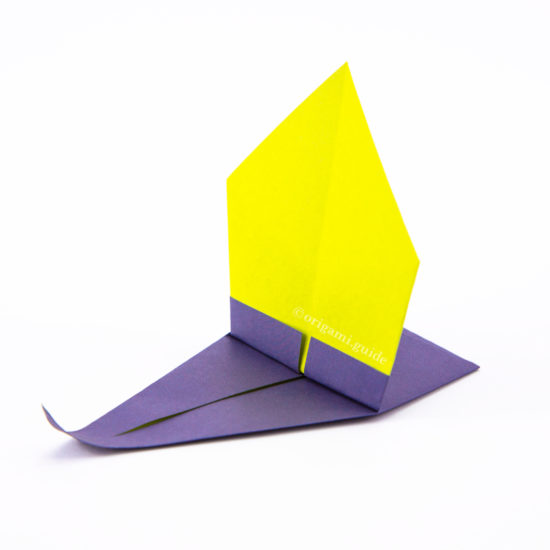
Traditional Origami Boat
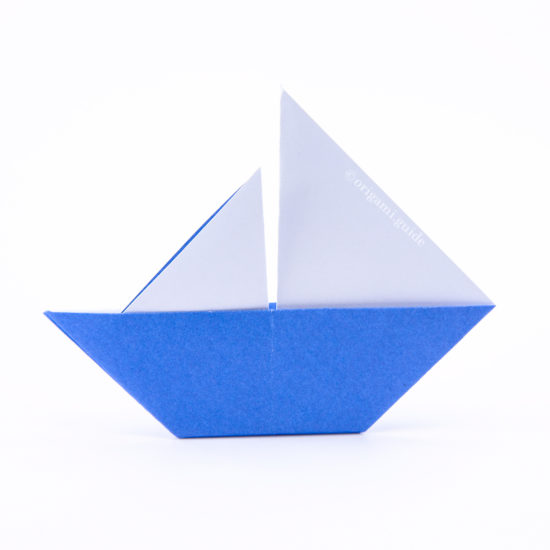
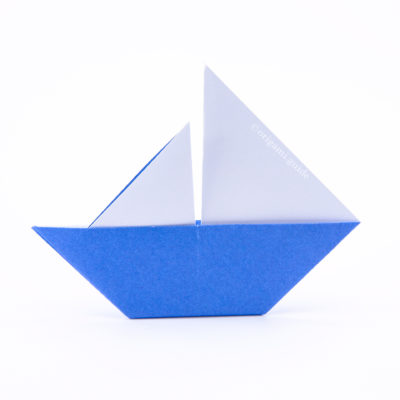
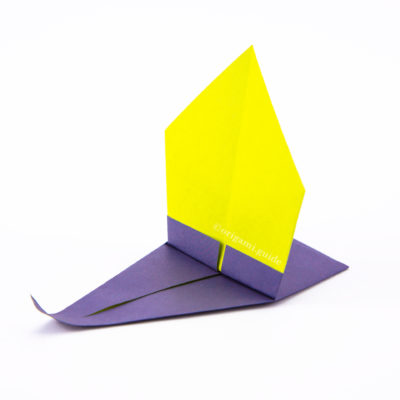
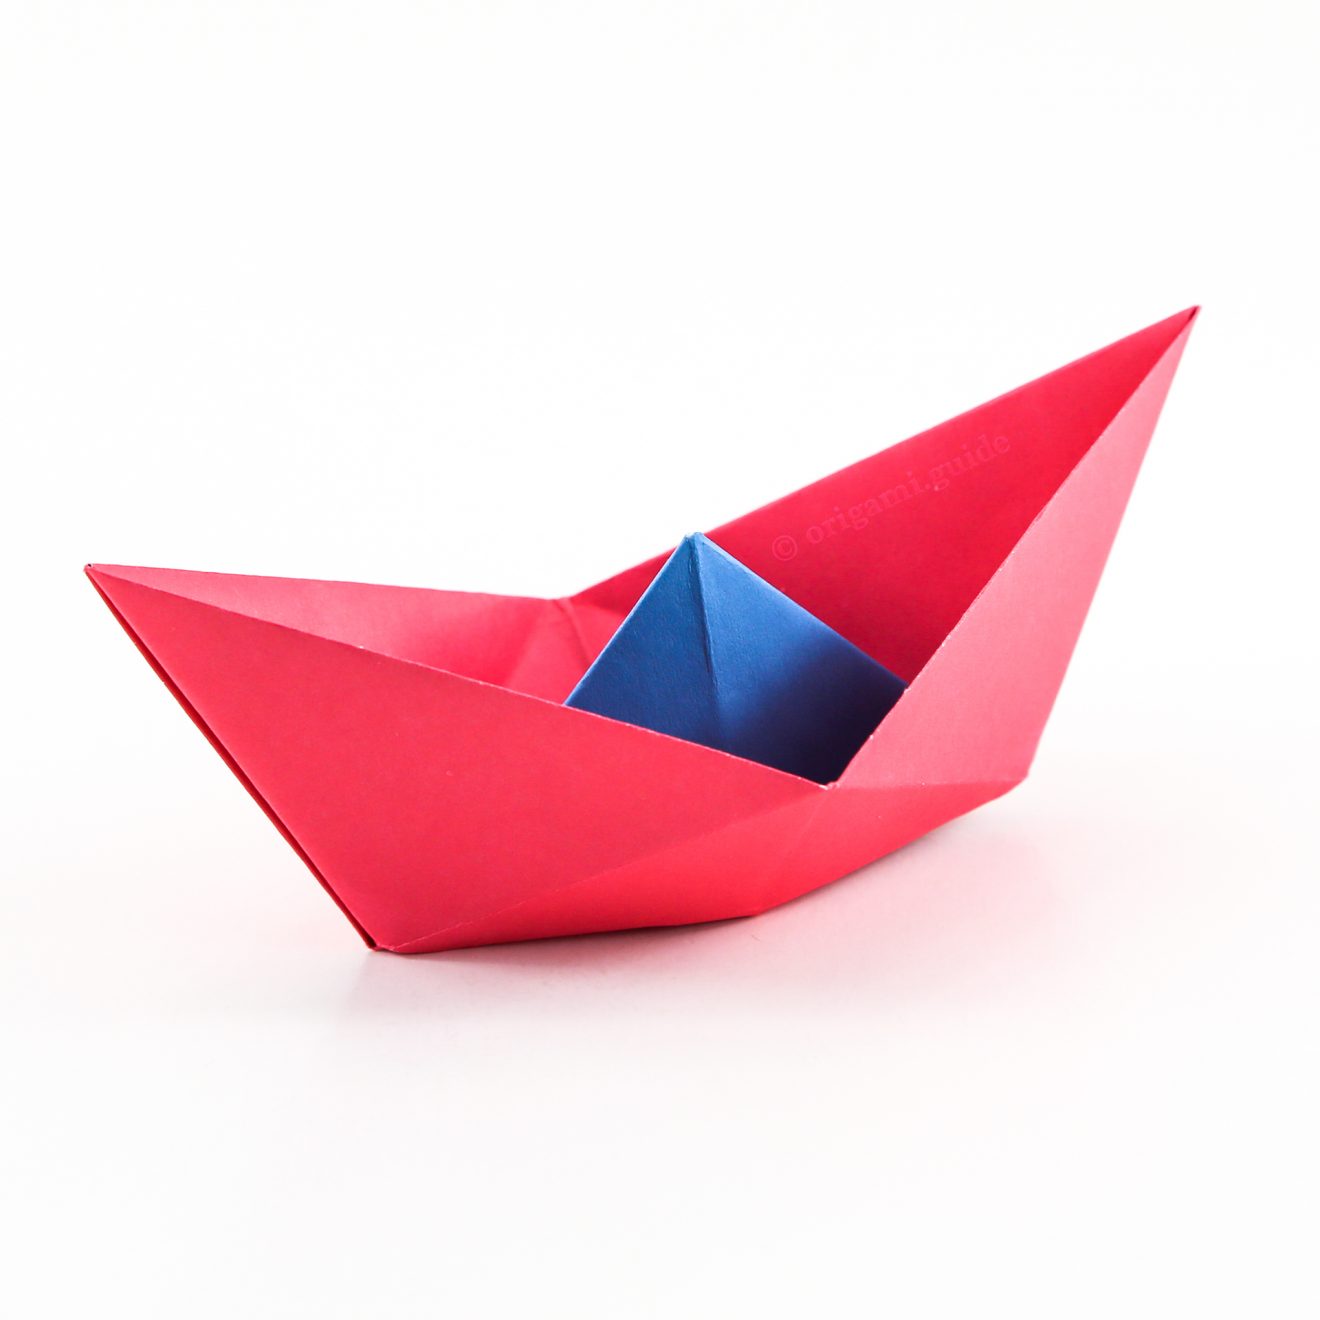
Learn how to fold probably the most famous and well known origami boat. This traditional origami sail boat actually floats so makes a great origami model to teach kids.
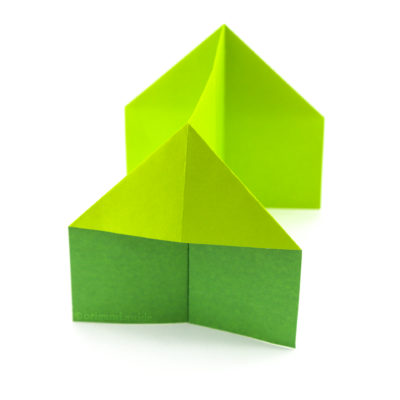
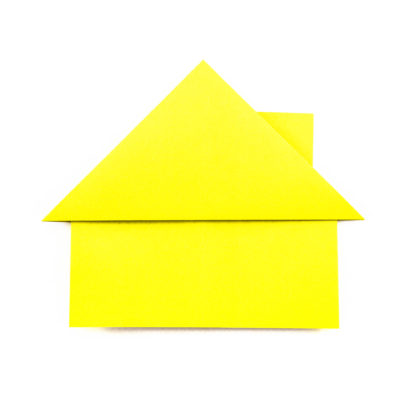
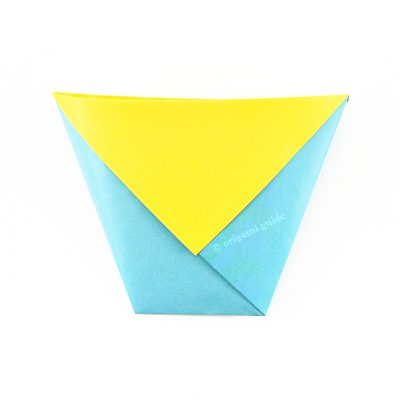
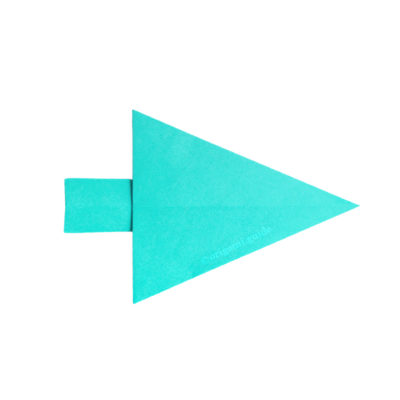
You can make these origami boats out of newspaper and other rectangular sized paper. You will probably notice it looks like a hat near the end. This traditional origami boat is actually just a few steps more that the origami hat model (tutorial here).
You will need rectangular paper for this origami boat. Either A4, US letter paper or trim from a square.
Traditional Origami Boat Instructions
Scroll down to follow the photo tutorial for the Traditional Origami Boat.
Made this origami? Leave a comment & submit your photo on the last page here.
-
1

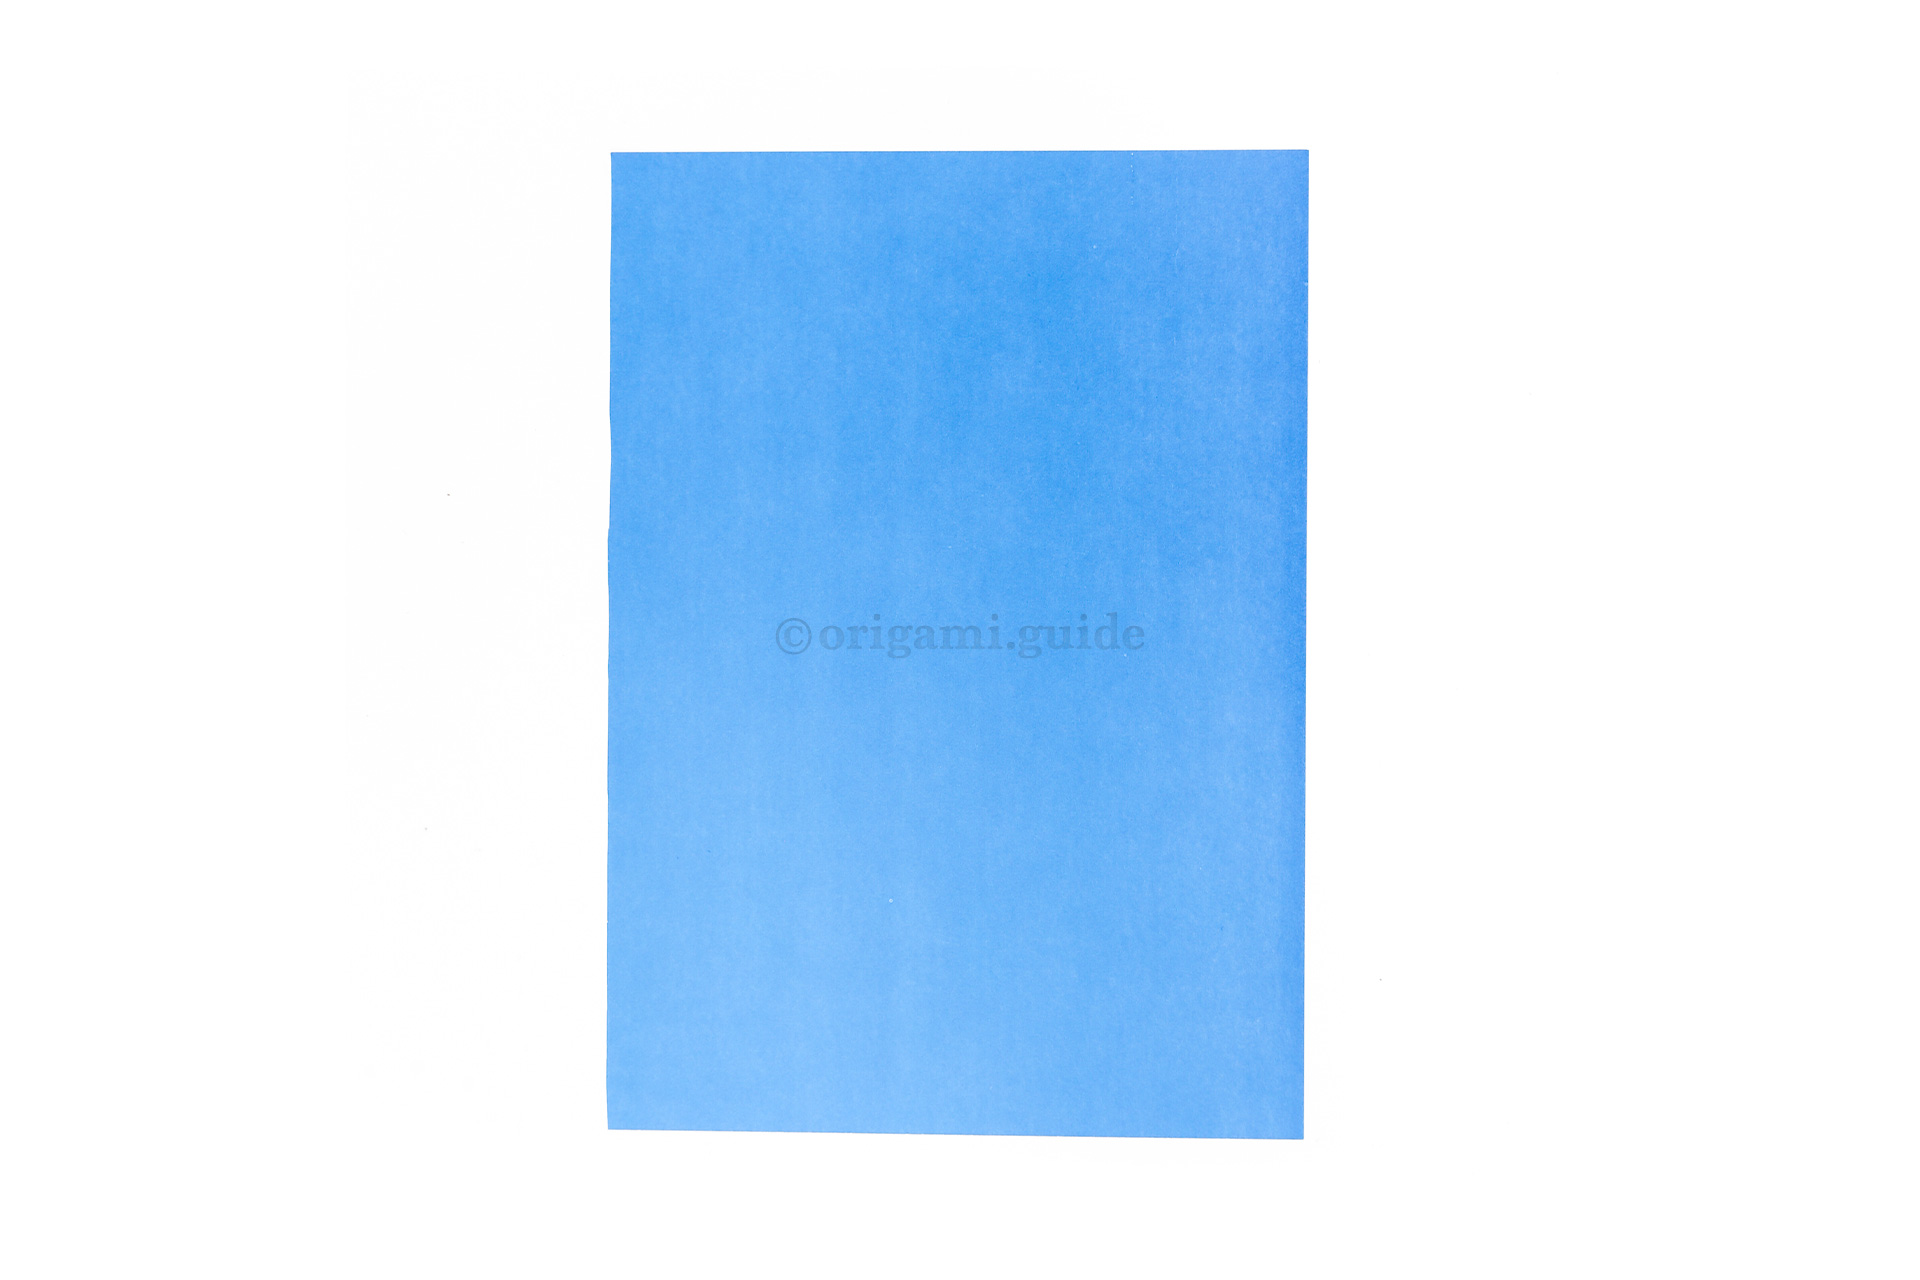
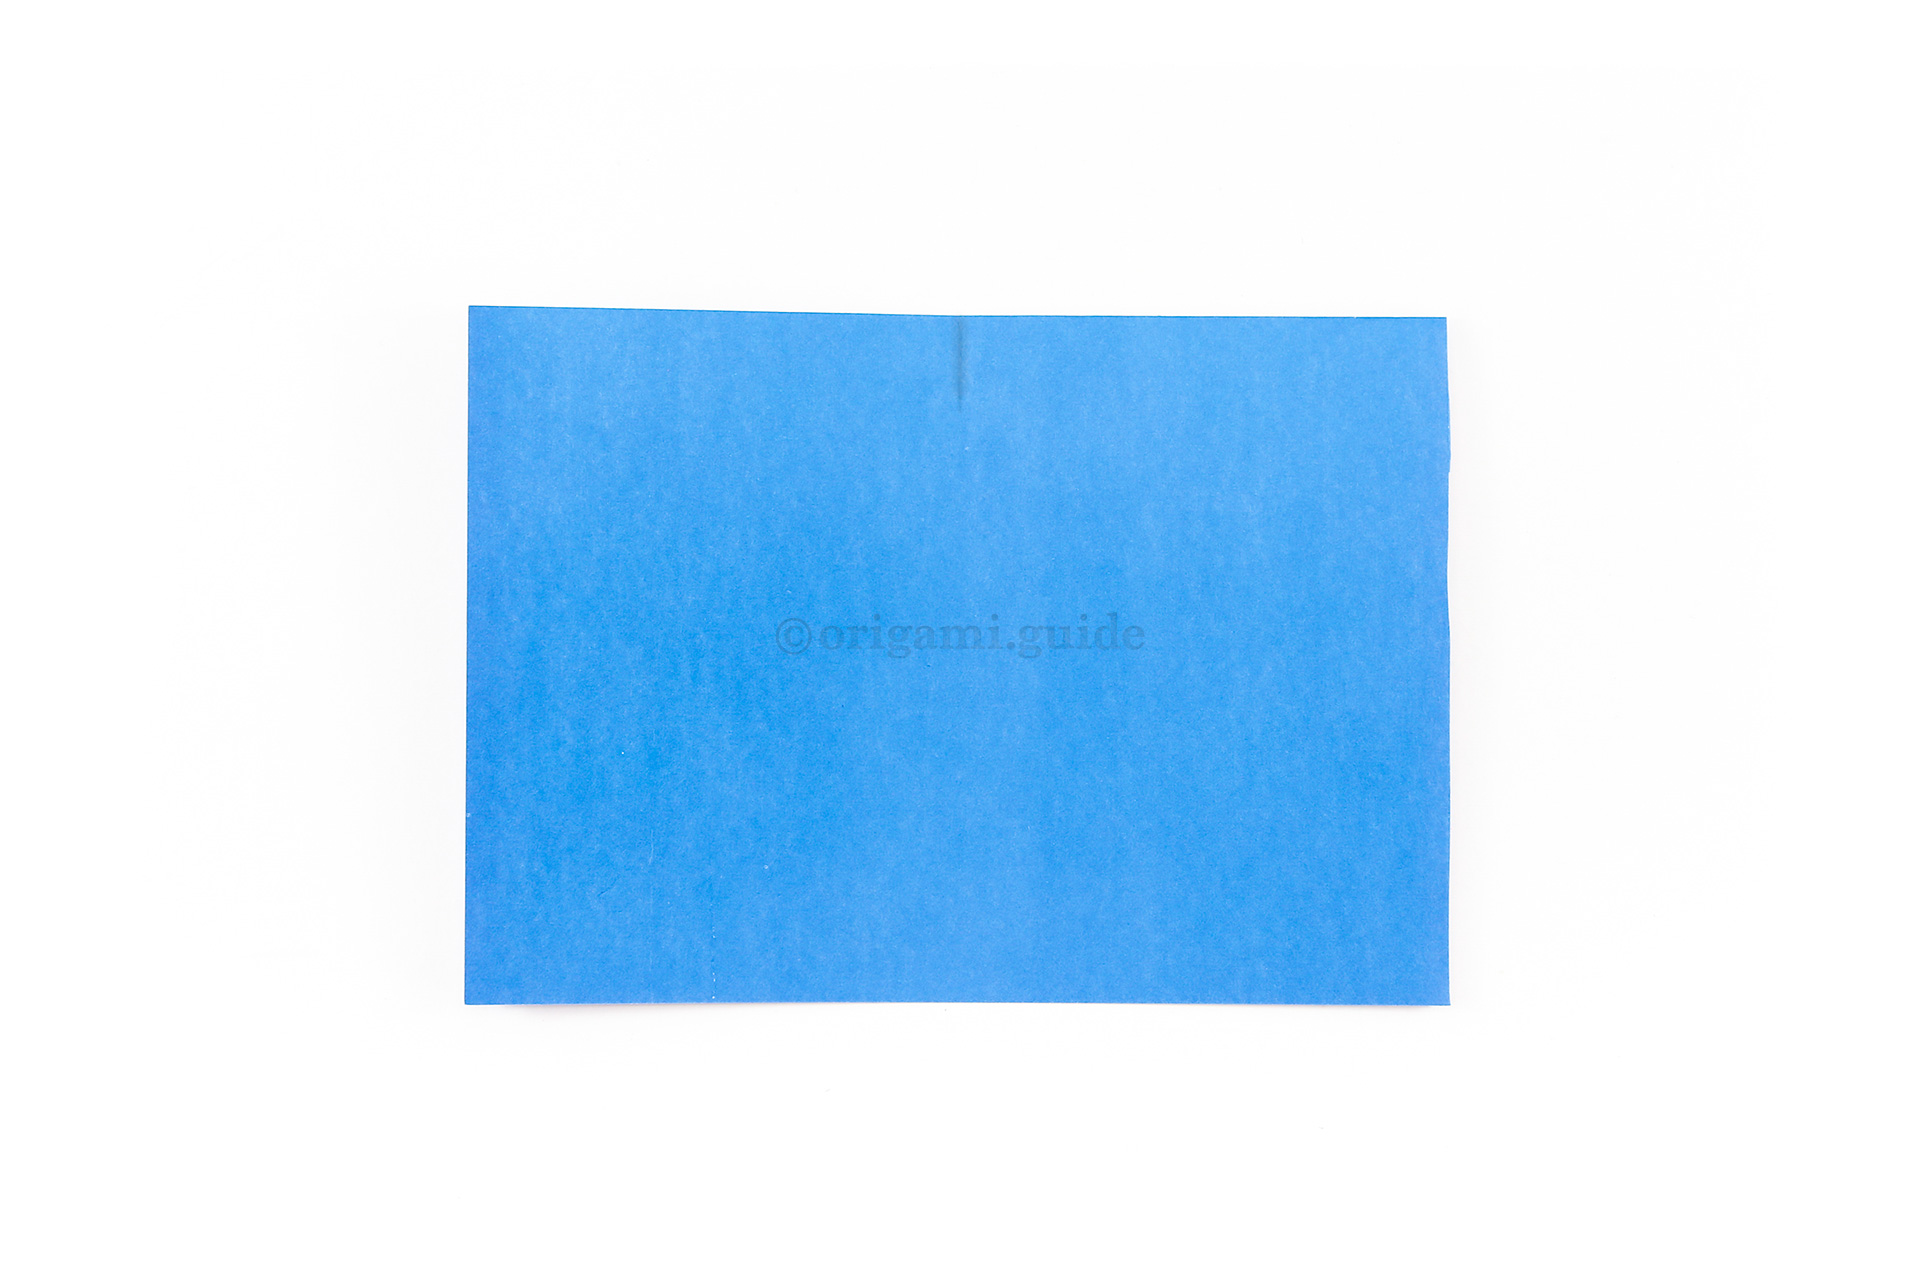
Step 1: This is the front of our paper, the inner triangle of the boat will be this colour.
-
2

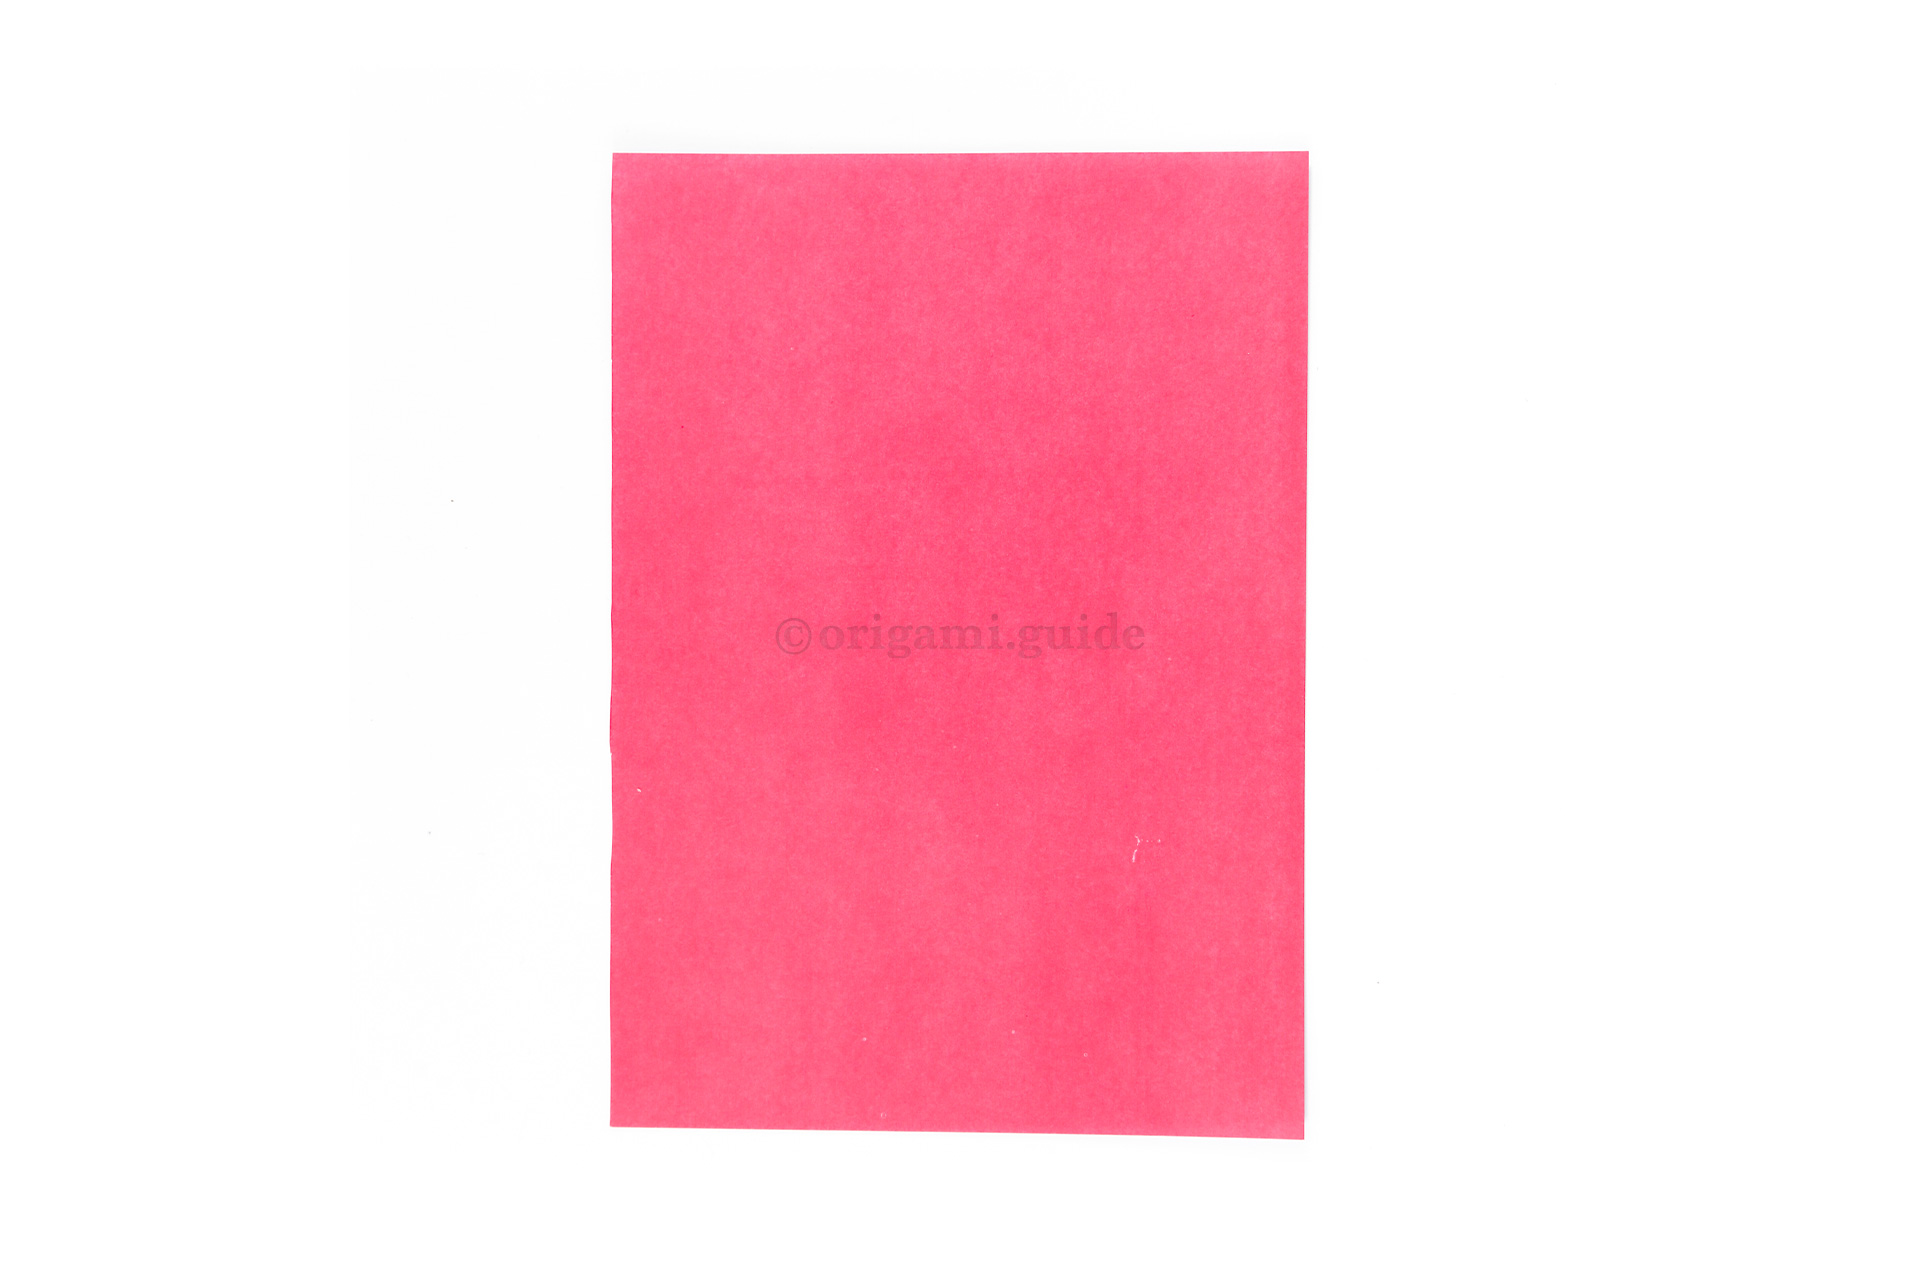
Step 2: This is the back of the paper, the lower rim of the boat will end up this colour.
-
3

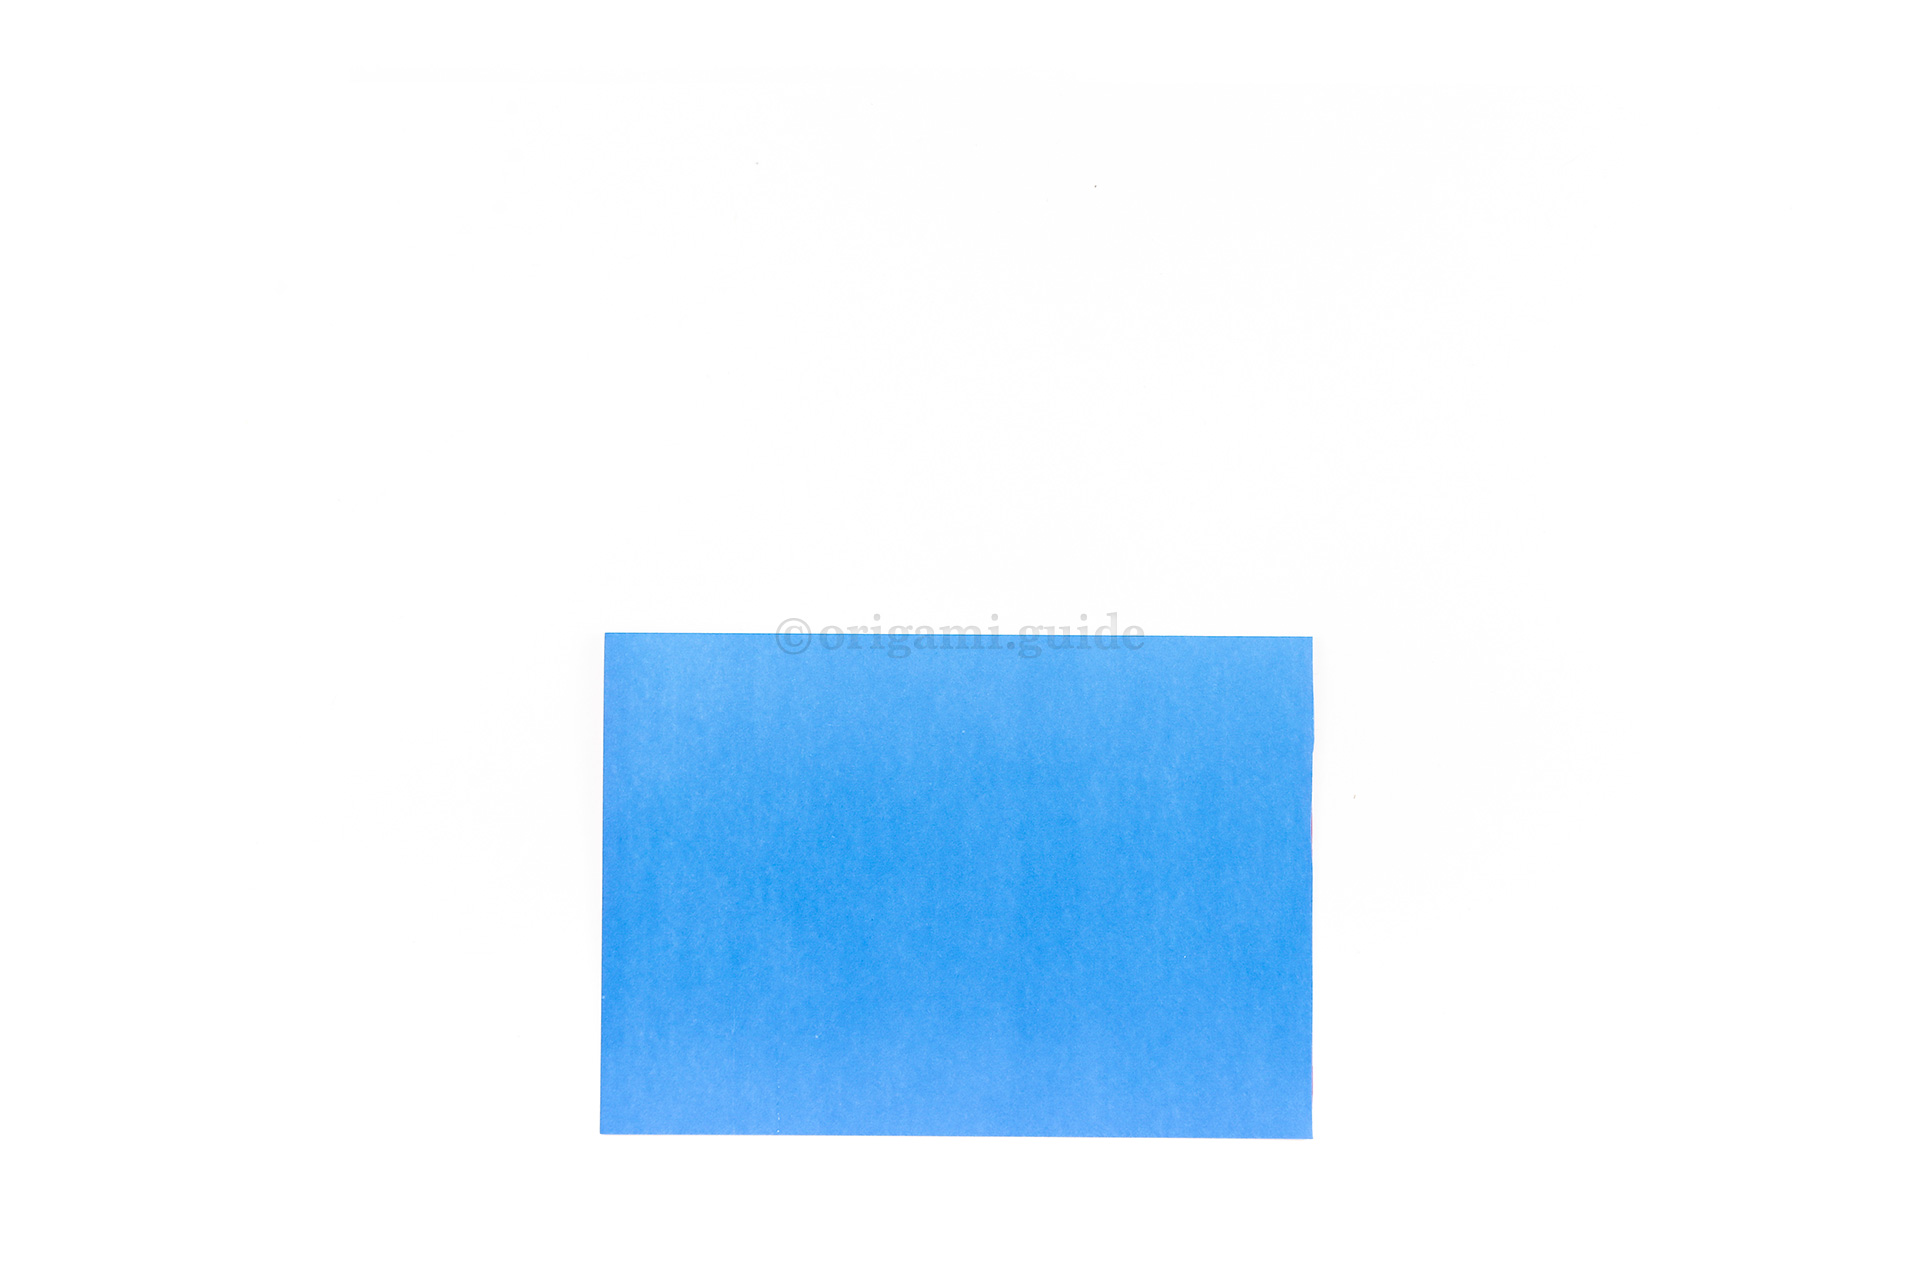
Step 3: Fold the top edge down to the bottom edge.
-
4

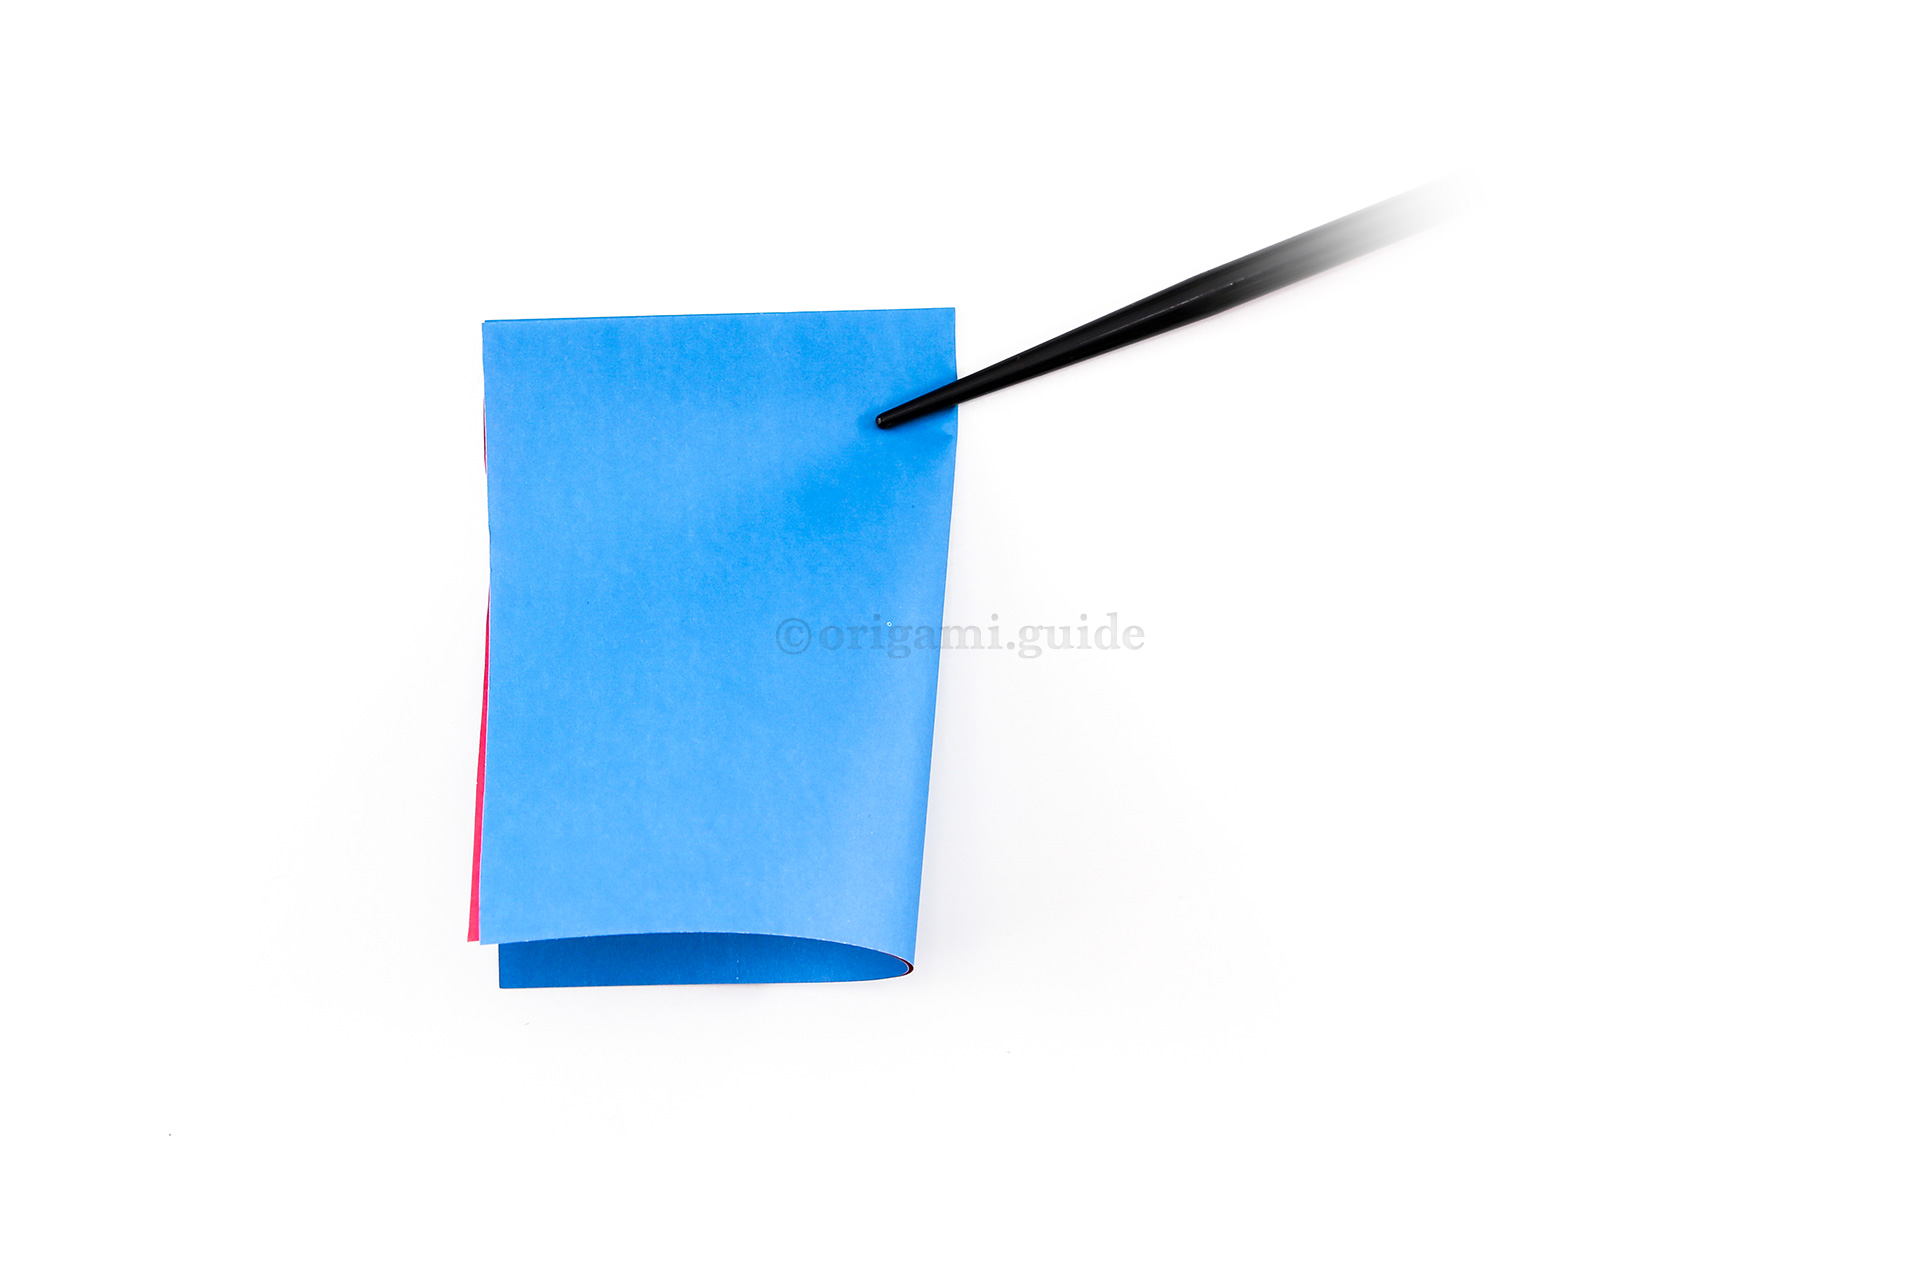
Step 4: Next bring the right corner over to the left and make a small crease.
-
5

Step 5: Unfold the previous step.
-
6

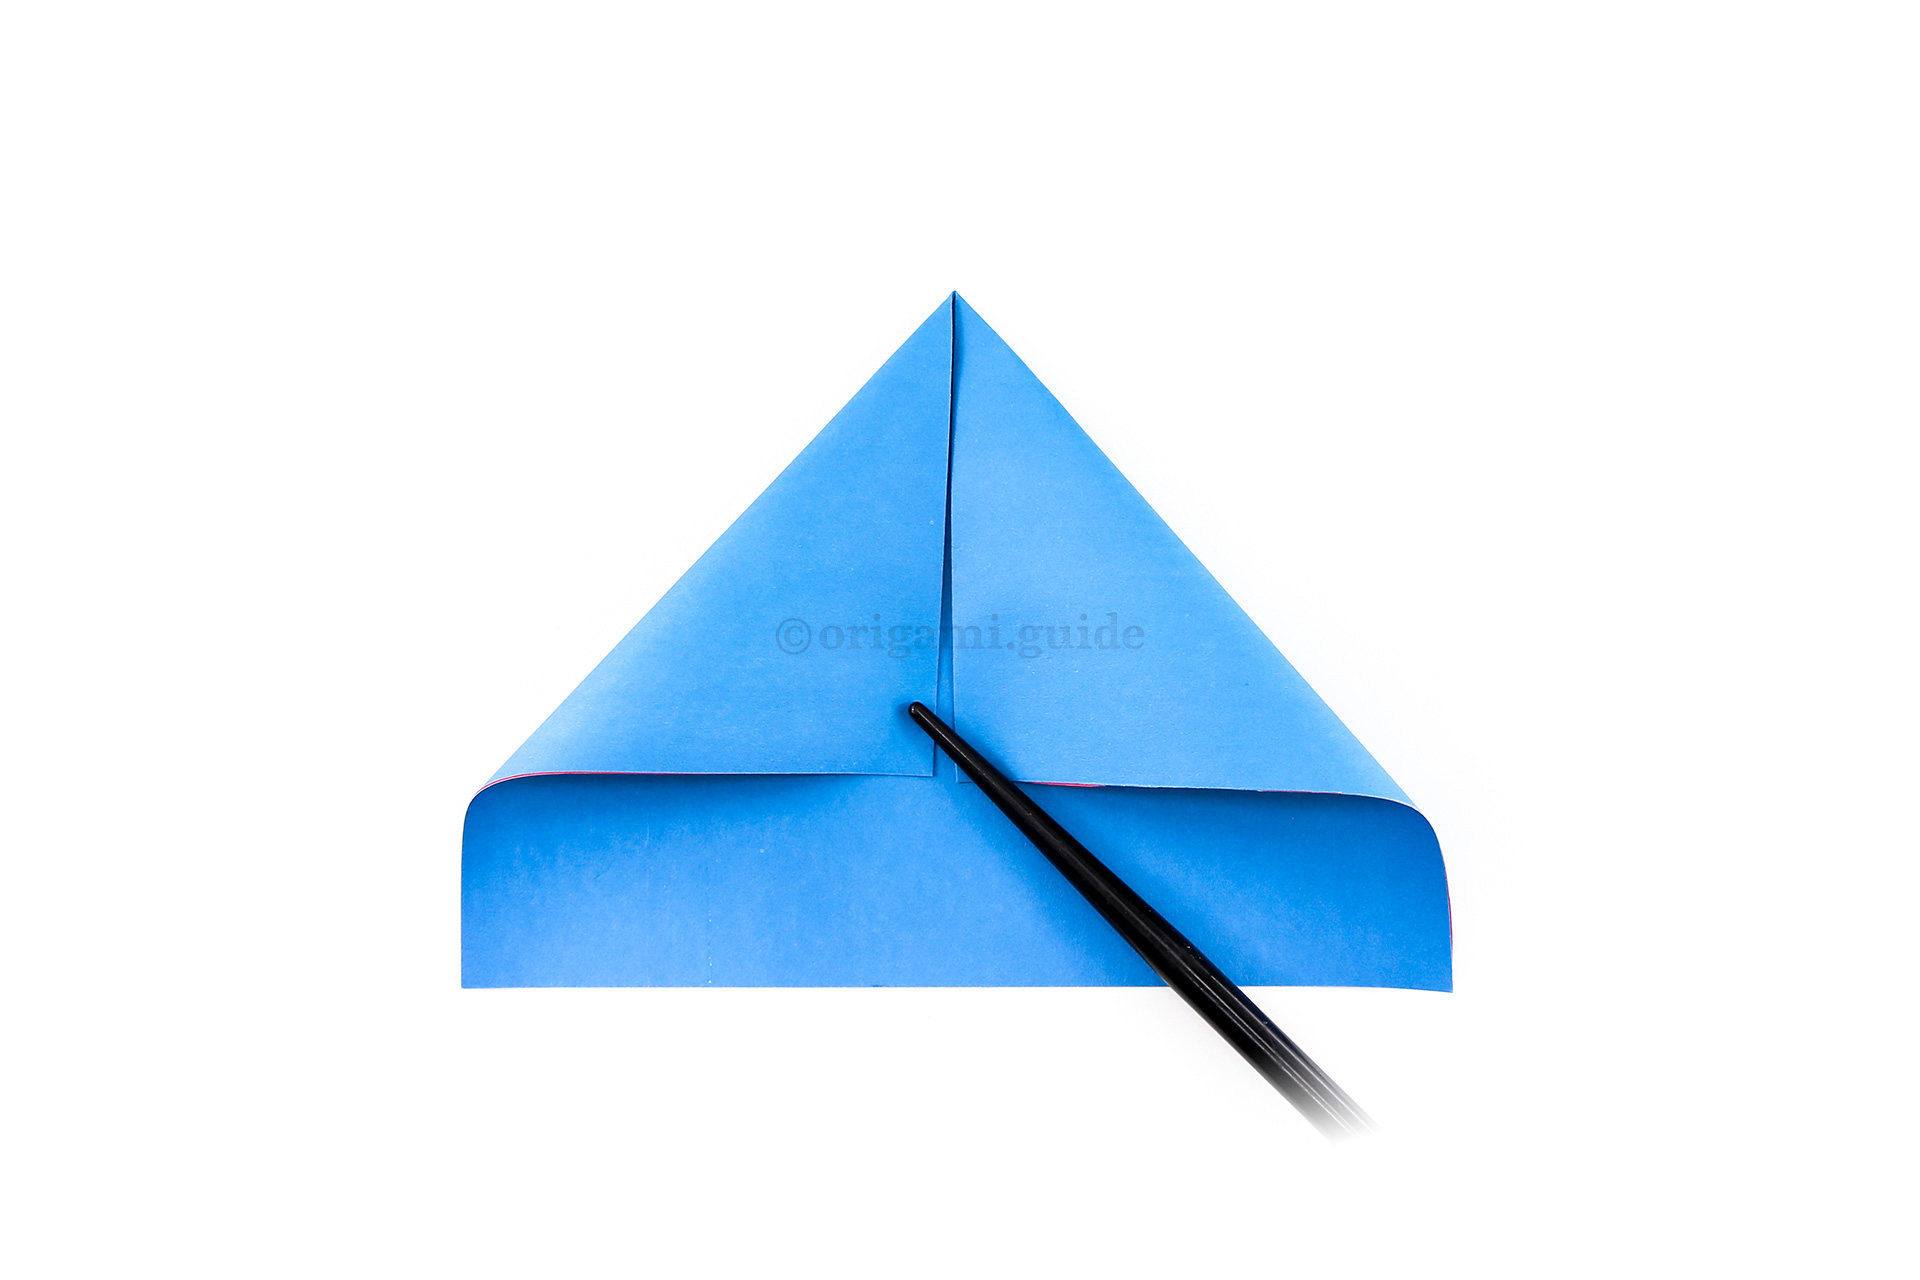
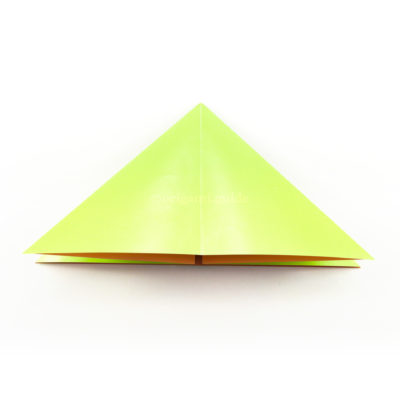
Step 6: Bring the top left and top right corners down using the crease as a starting point.
-
7

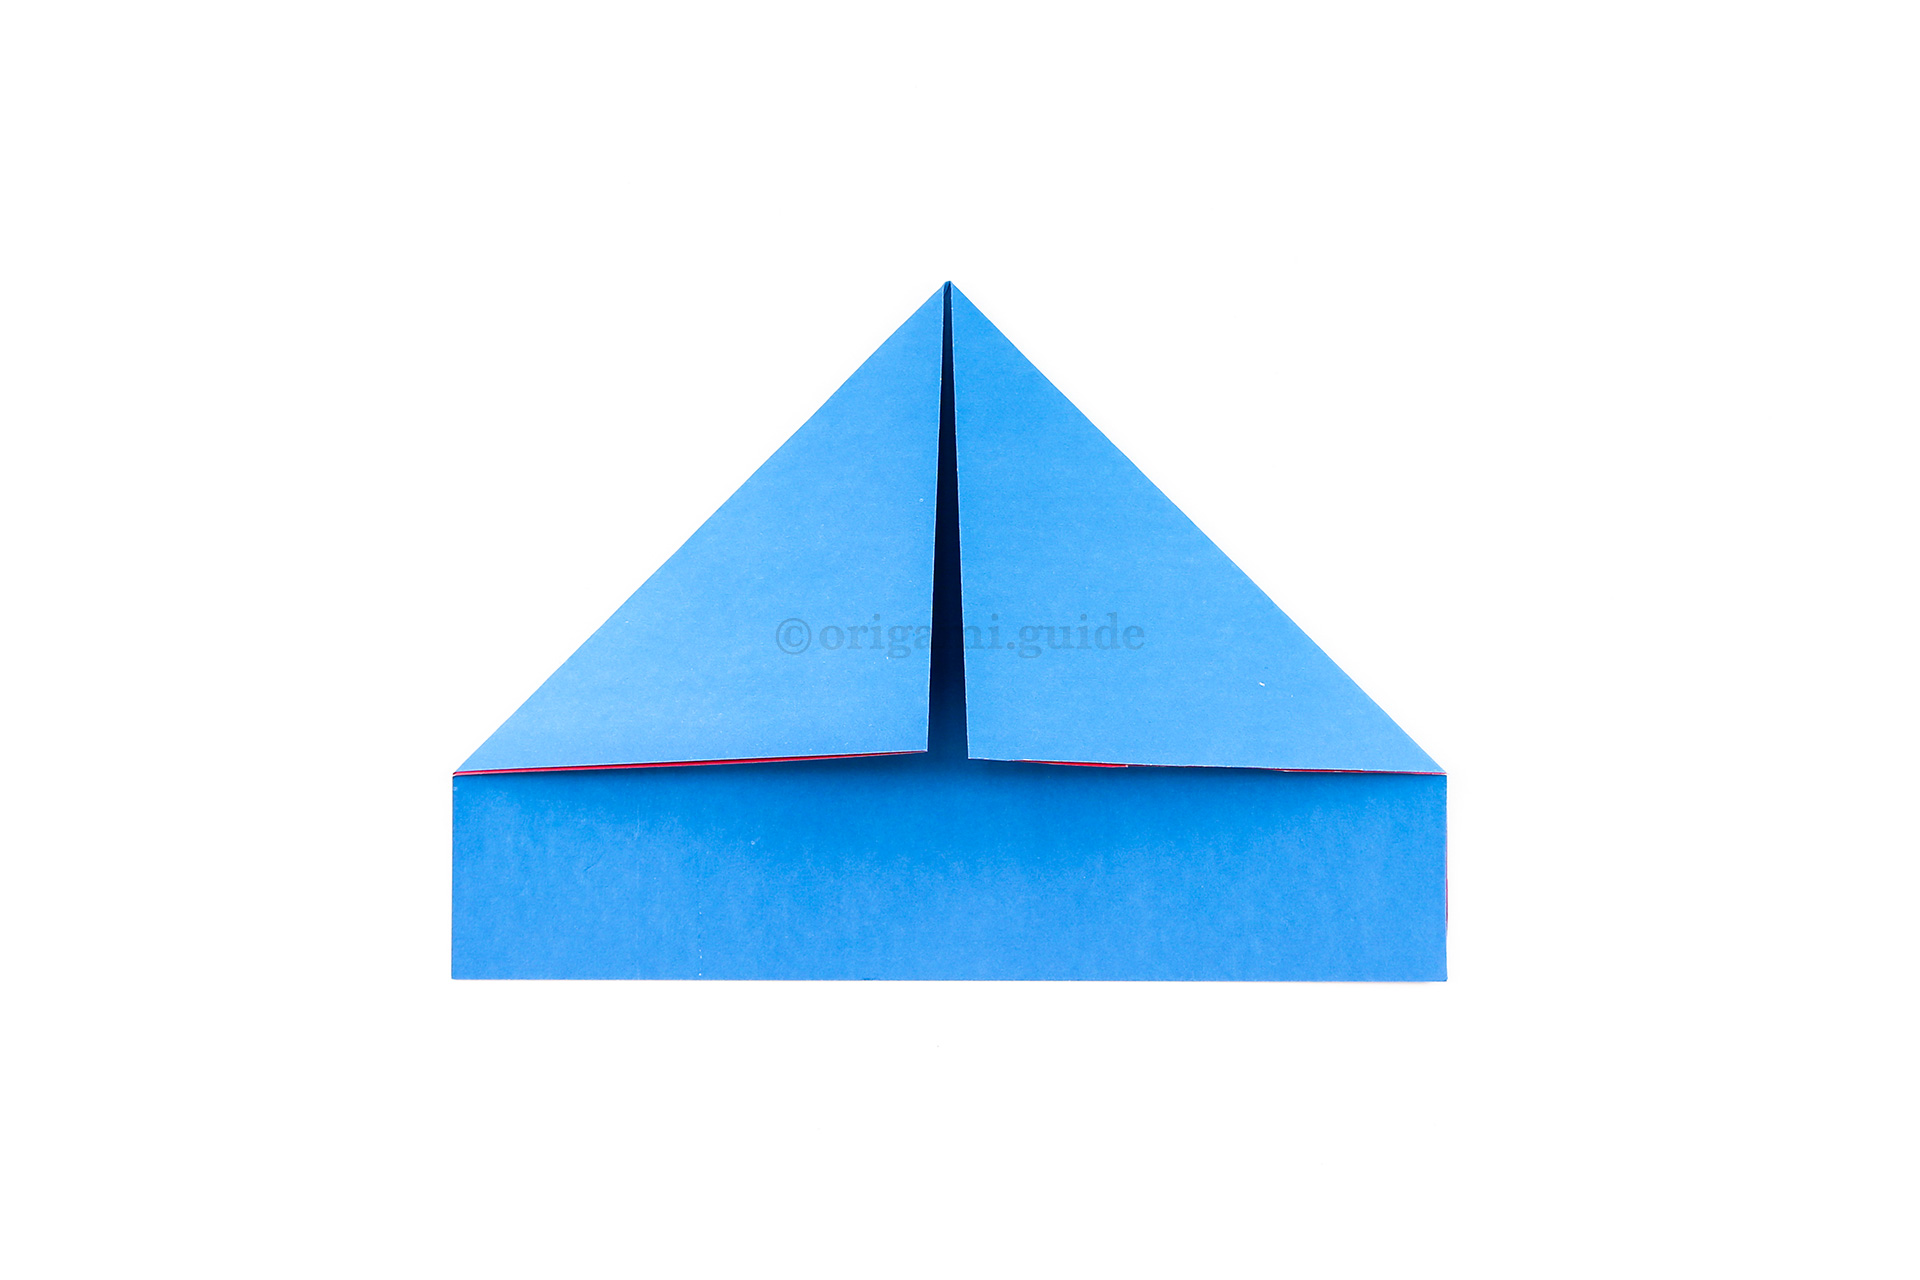
Step 7: Flatten the paper so that you have this, both flaps aligned nicely.
What Origami Boats To Fold Next?
- « How To Make An Origami Sail Boat

- How To Make An Origami Yacht Toy »
 View all Origami Boats Tutorials
Leave A Comment
Did you fold this Traditional Origami Boat? Let us know what you thought.
You can also upload a photo of your result!
