Made this origami? Leave a comment & submit your photo here.
-
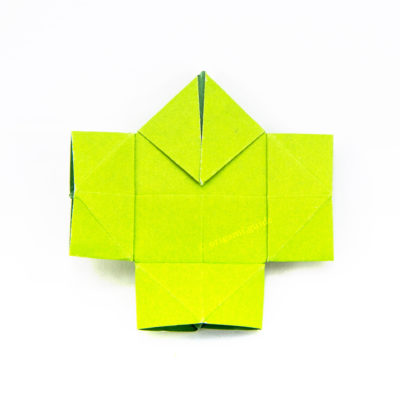
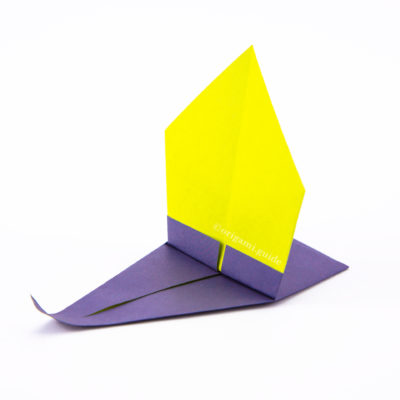
15

Step 15: Flatten it out to be an even smaller diamond shape.
-
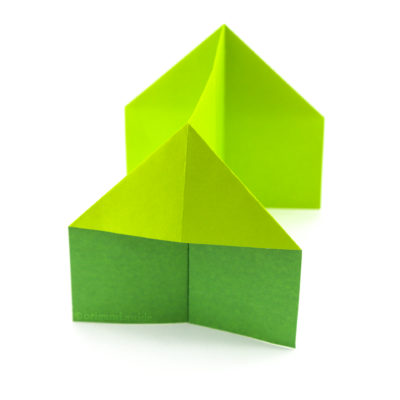
16
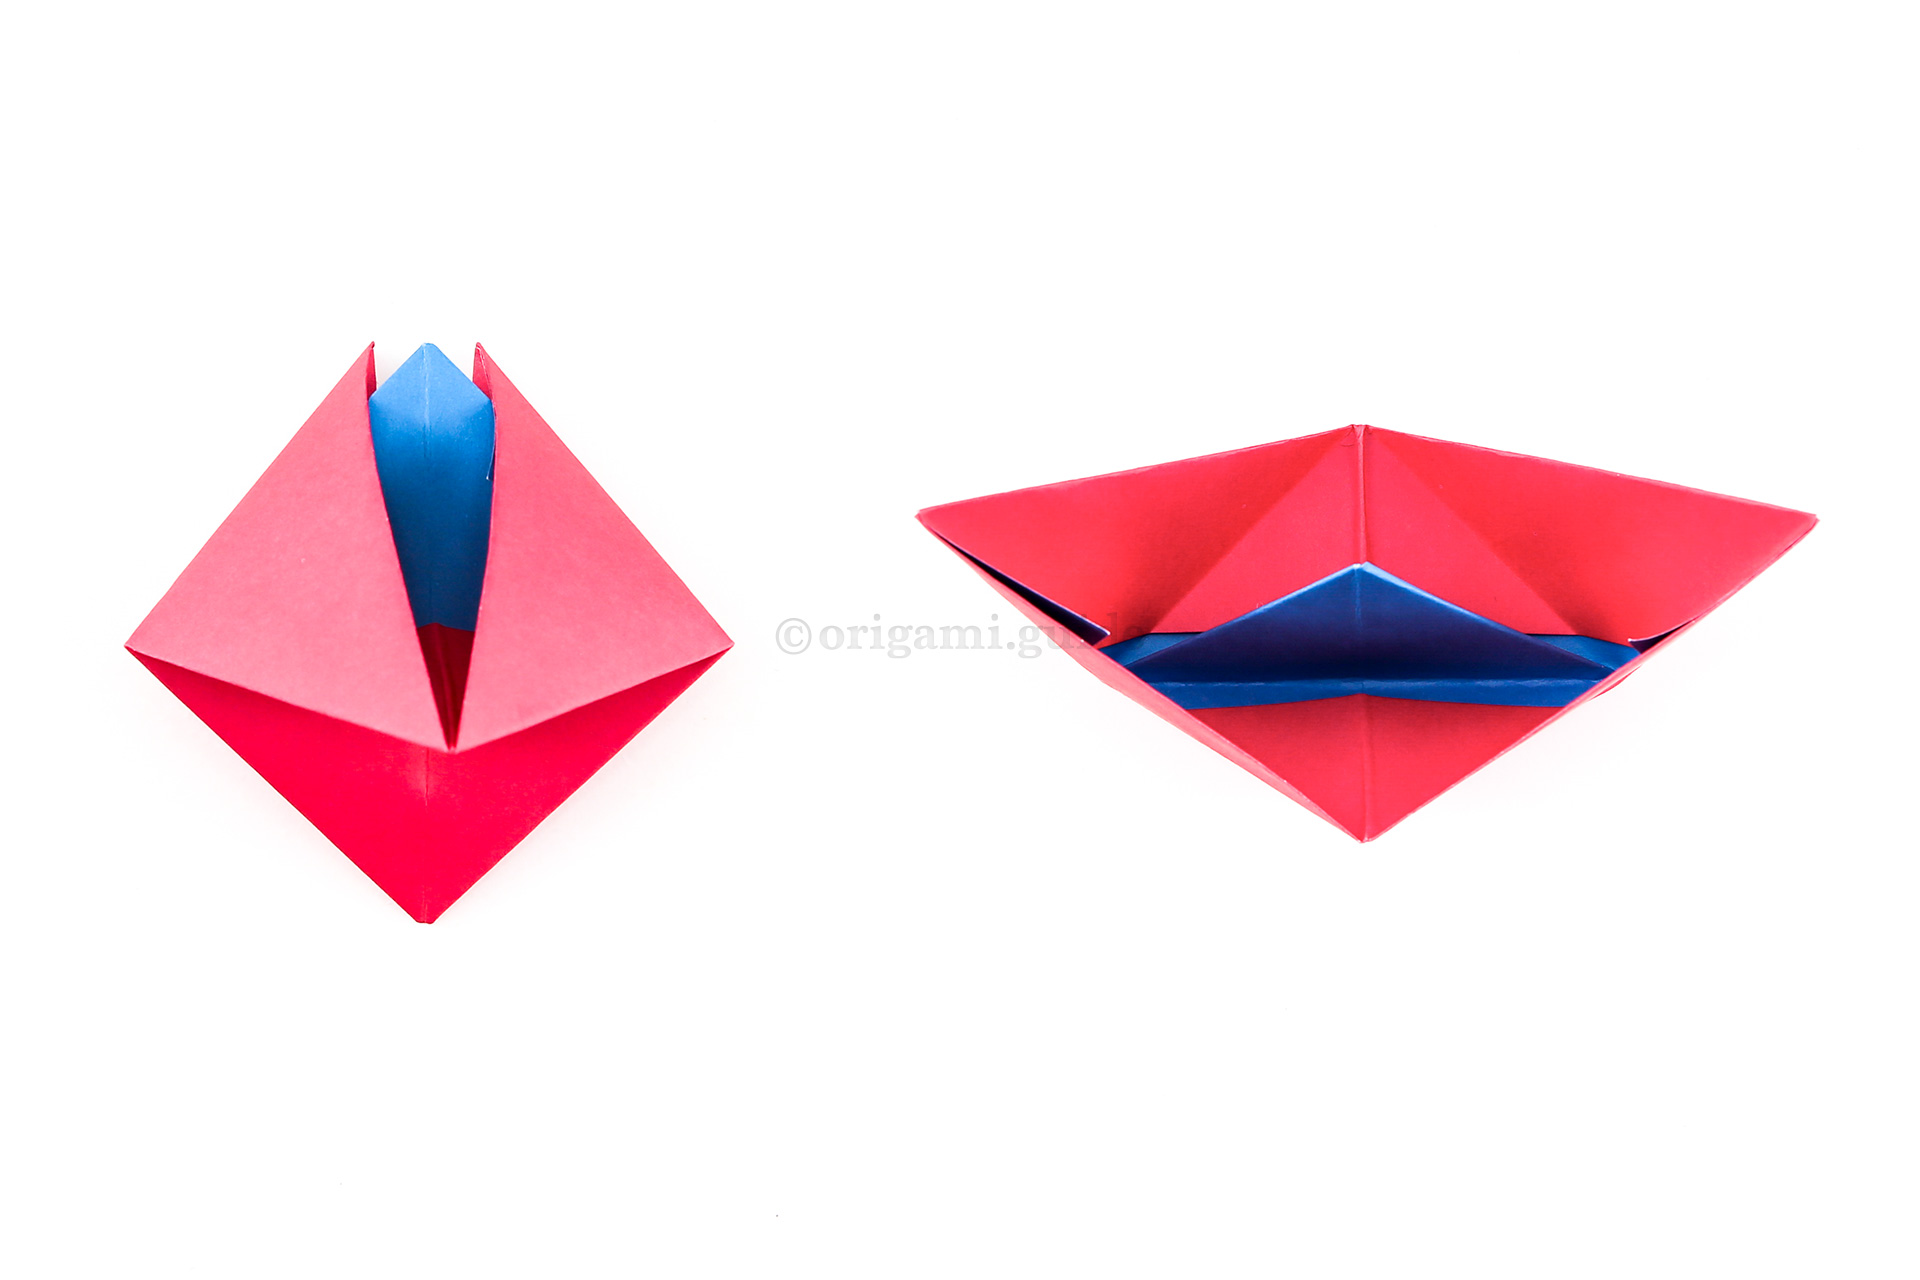
Step 16: Next, pull the two top left and right points outwards. This will result in a boat shape.
-
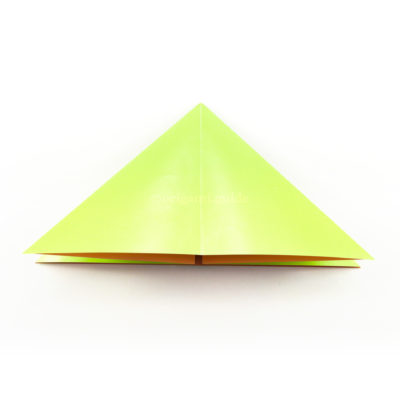
17
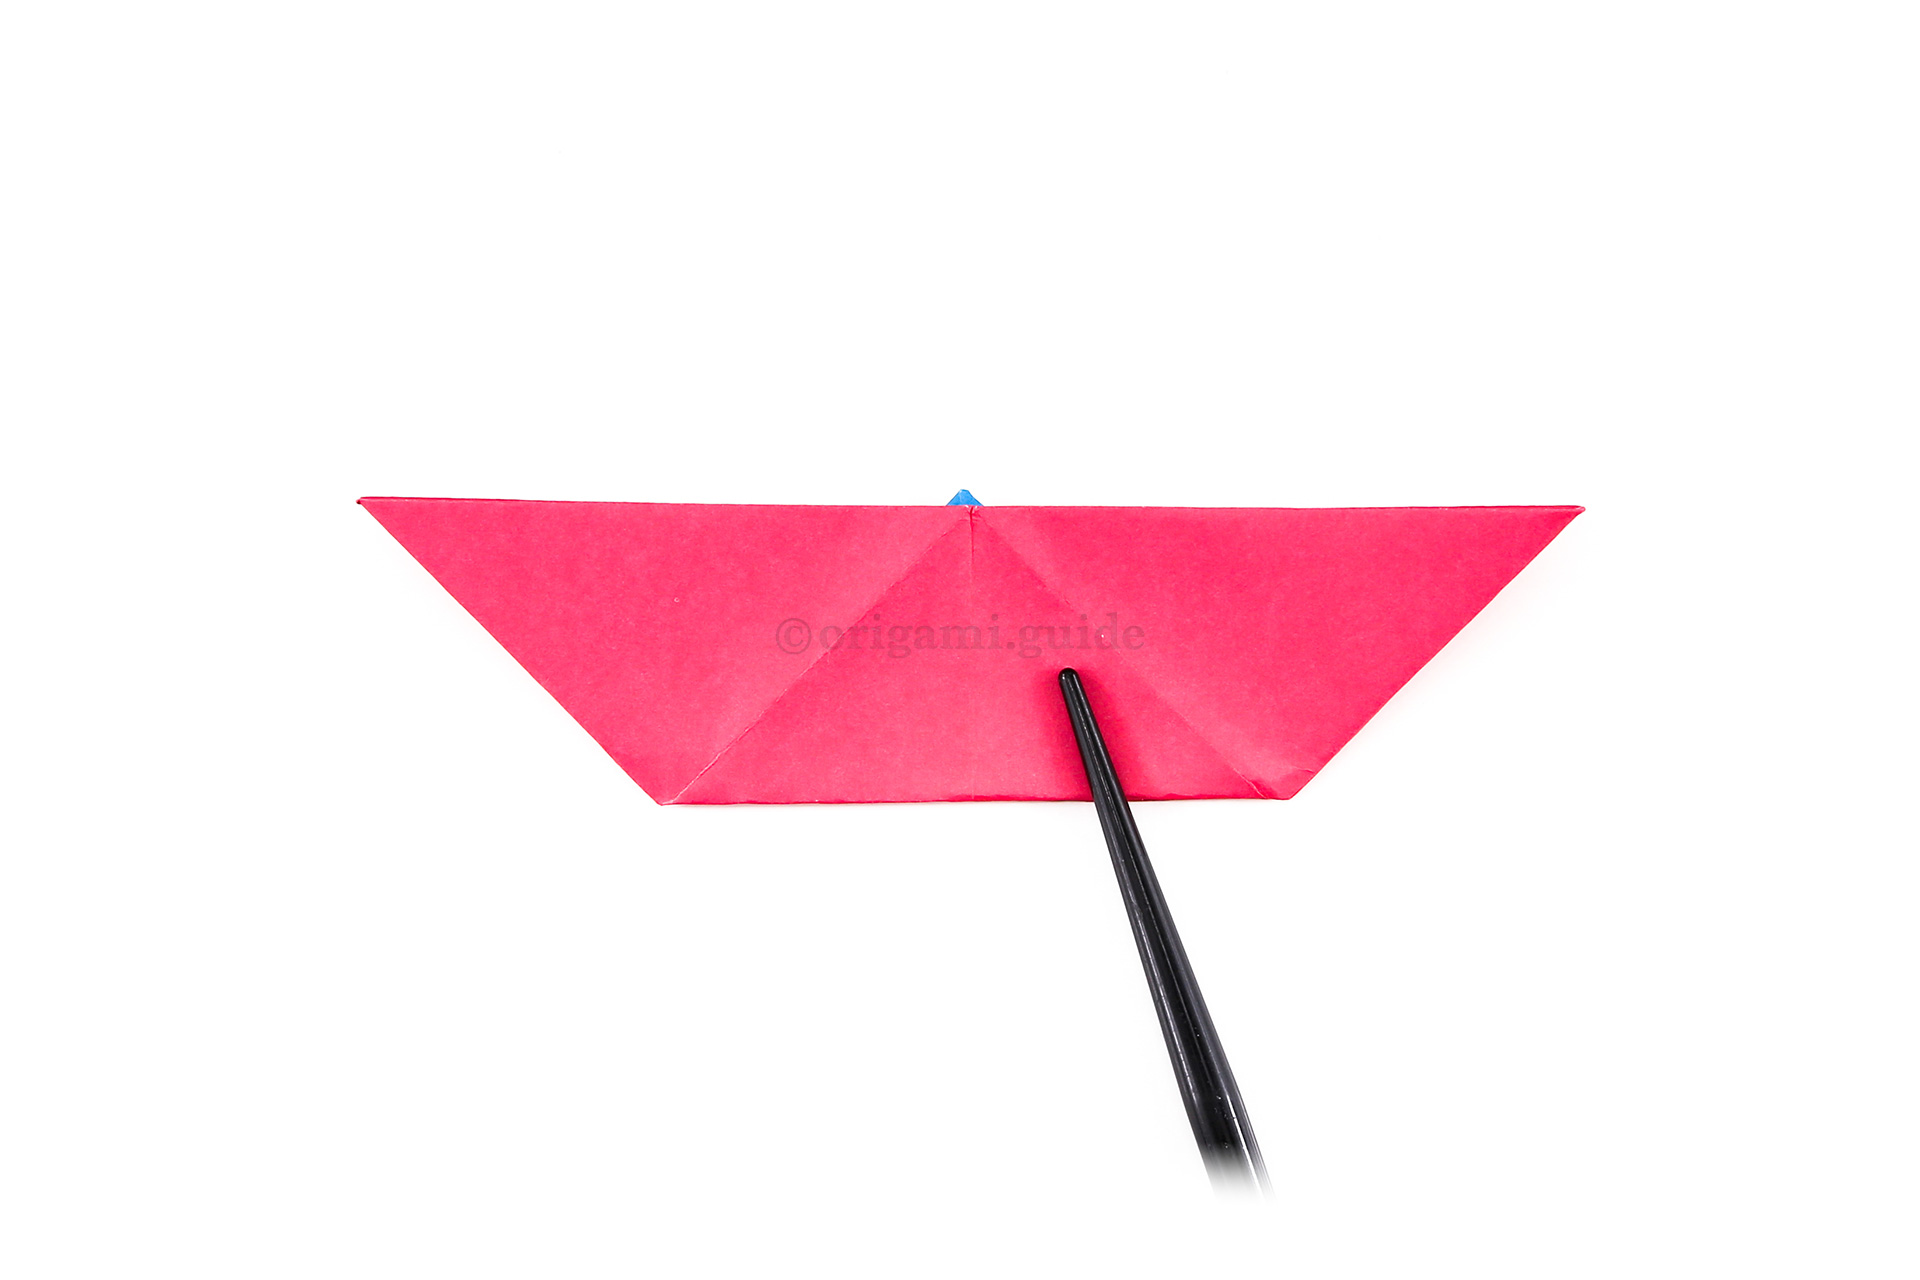
Step 17: Flatten the boat as shown.
-
18
Step 18: There are some loose flaps inside the boat, you can fold these inside to hide them if they bother you.
-
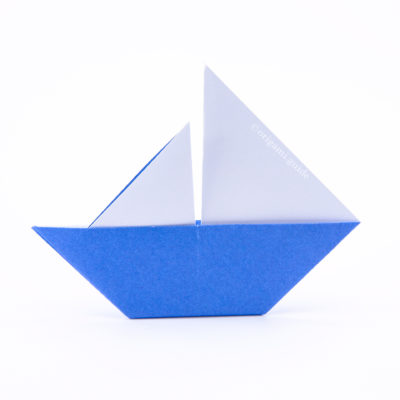
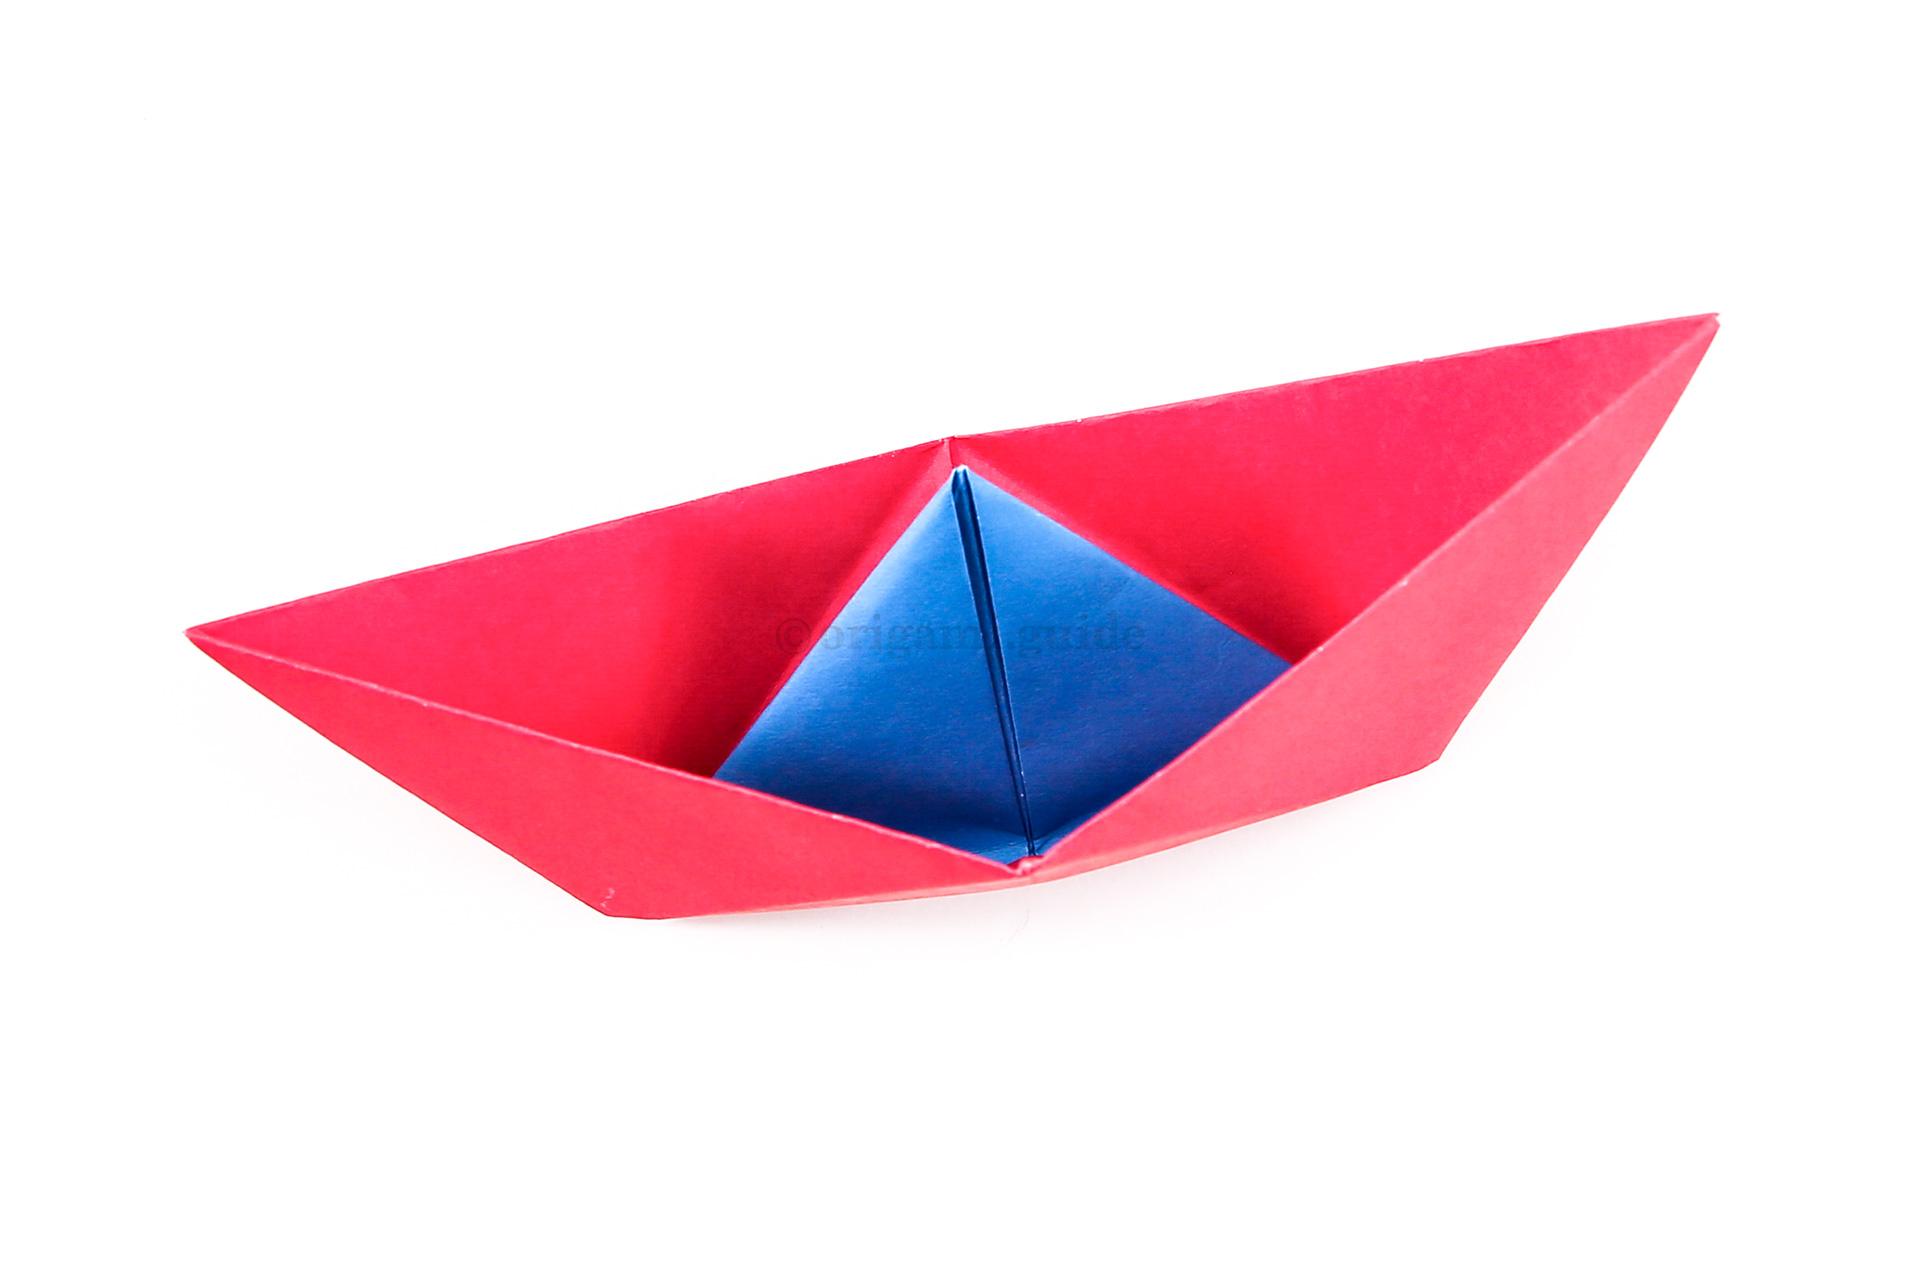
19
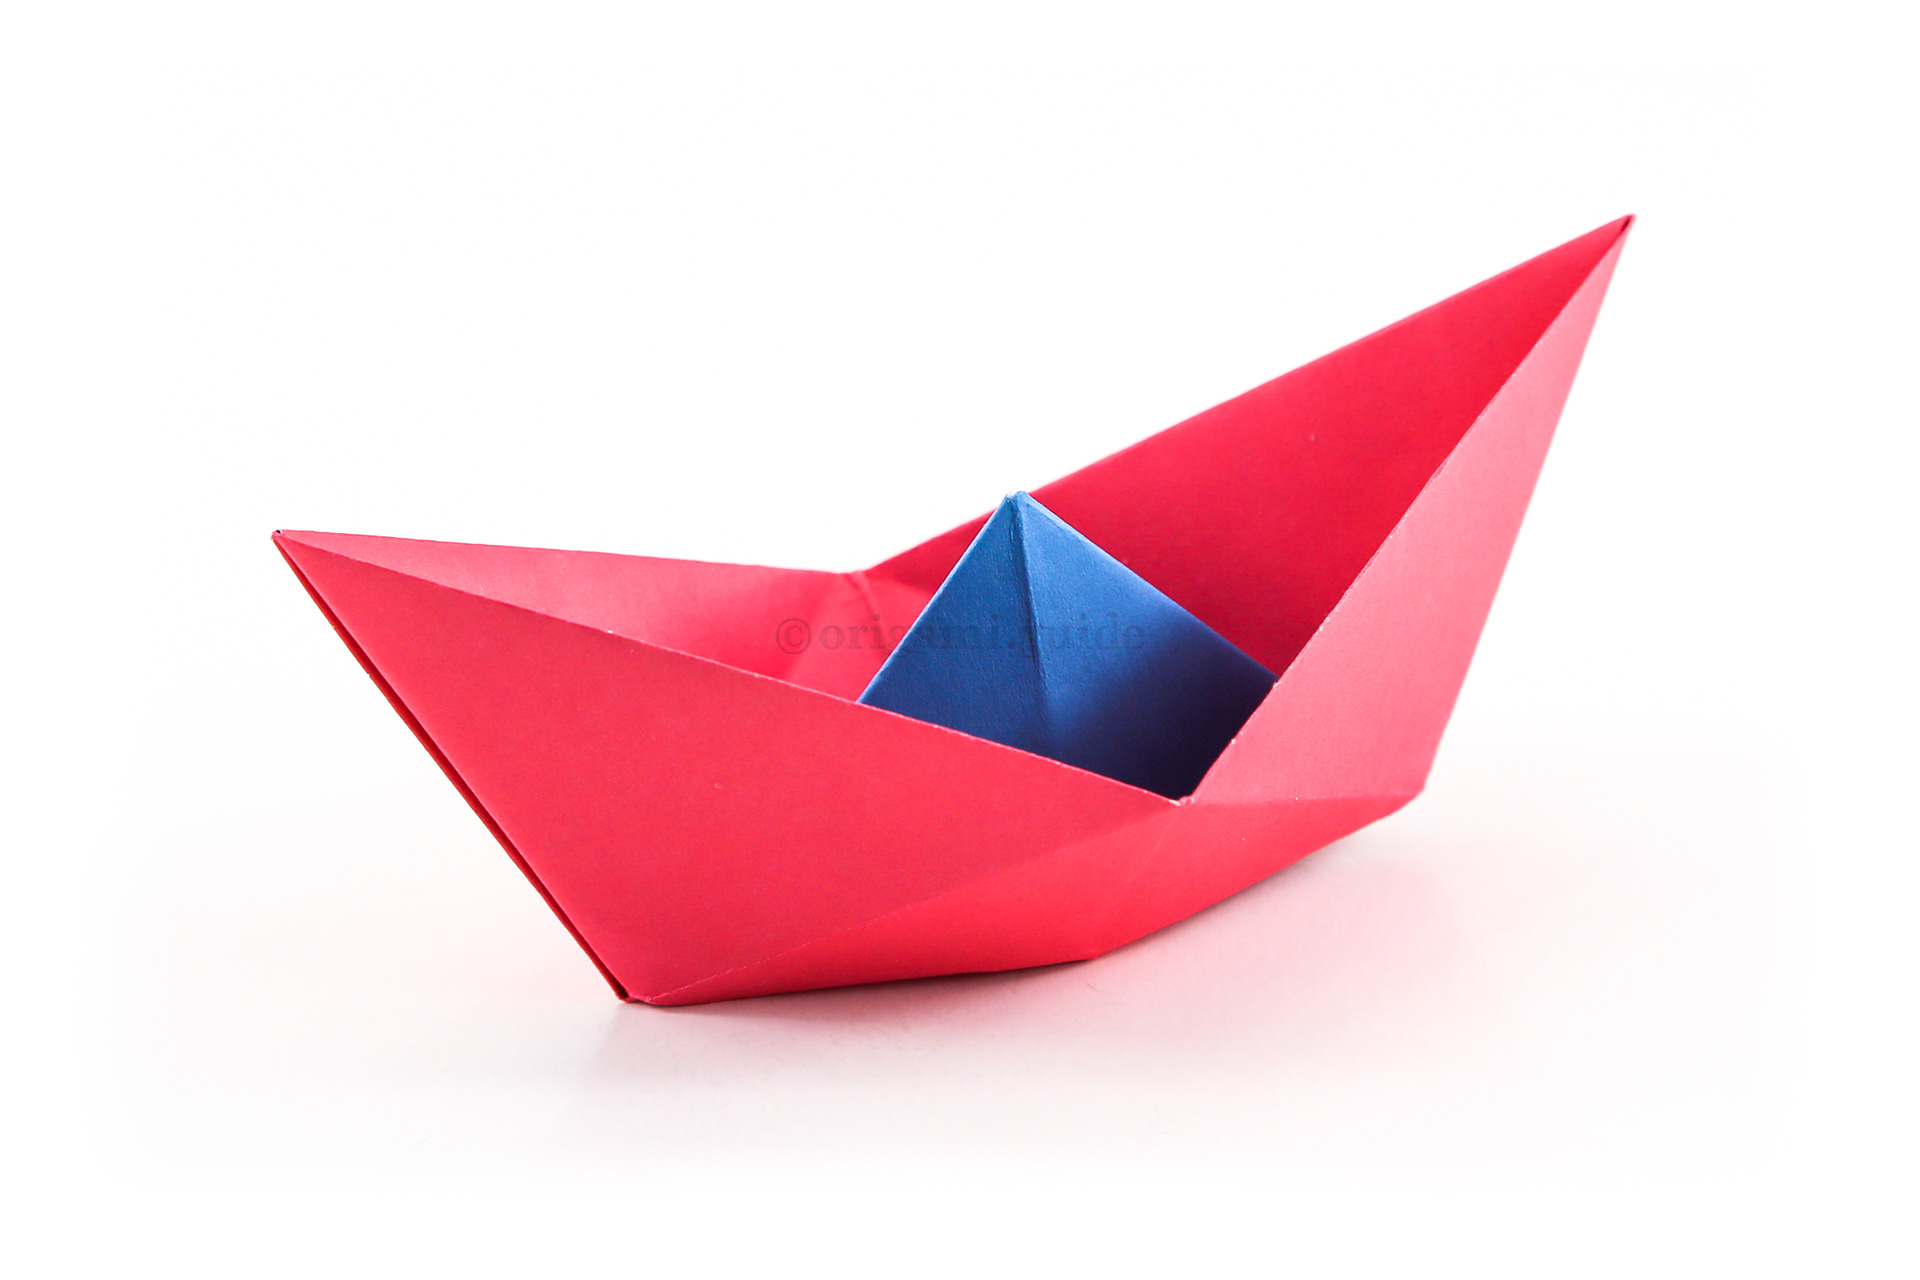
Step 19: Your origami boat is complete! Note: If you want your boat to float, try rounding out the hole that is on the underside of the boat just a bit.
Your Traditional Origami Boat is Complete!
You’ve completed the Traditional Origami Boat, why not check out our other Origami Boats, here.
Did you make this origami? How did it go? Leave a comment & submit your photo here.
Related origami: Easy Origami
Traditional Origami
Origami Boats
What Origami Boats To Fold Next?
- « How To Make An Origami Sail Boat

- How To Make An Origami Yacht Toy »
 View all Origami Boats Tutorials
Leave A Comment
Did you fold this Traditional Origami Boat? Let us know what you thought.
You can also upload a photo of your result!