Made this origami? Leave a comment & submit your photo here.
-
19
Step 19: Repeat the same on the left.
-
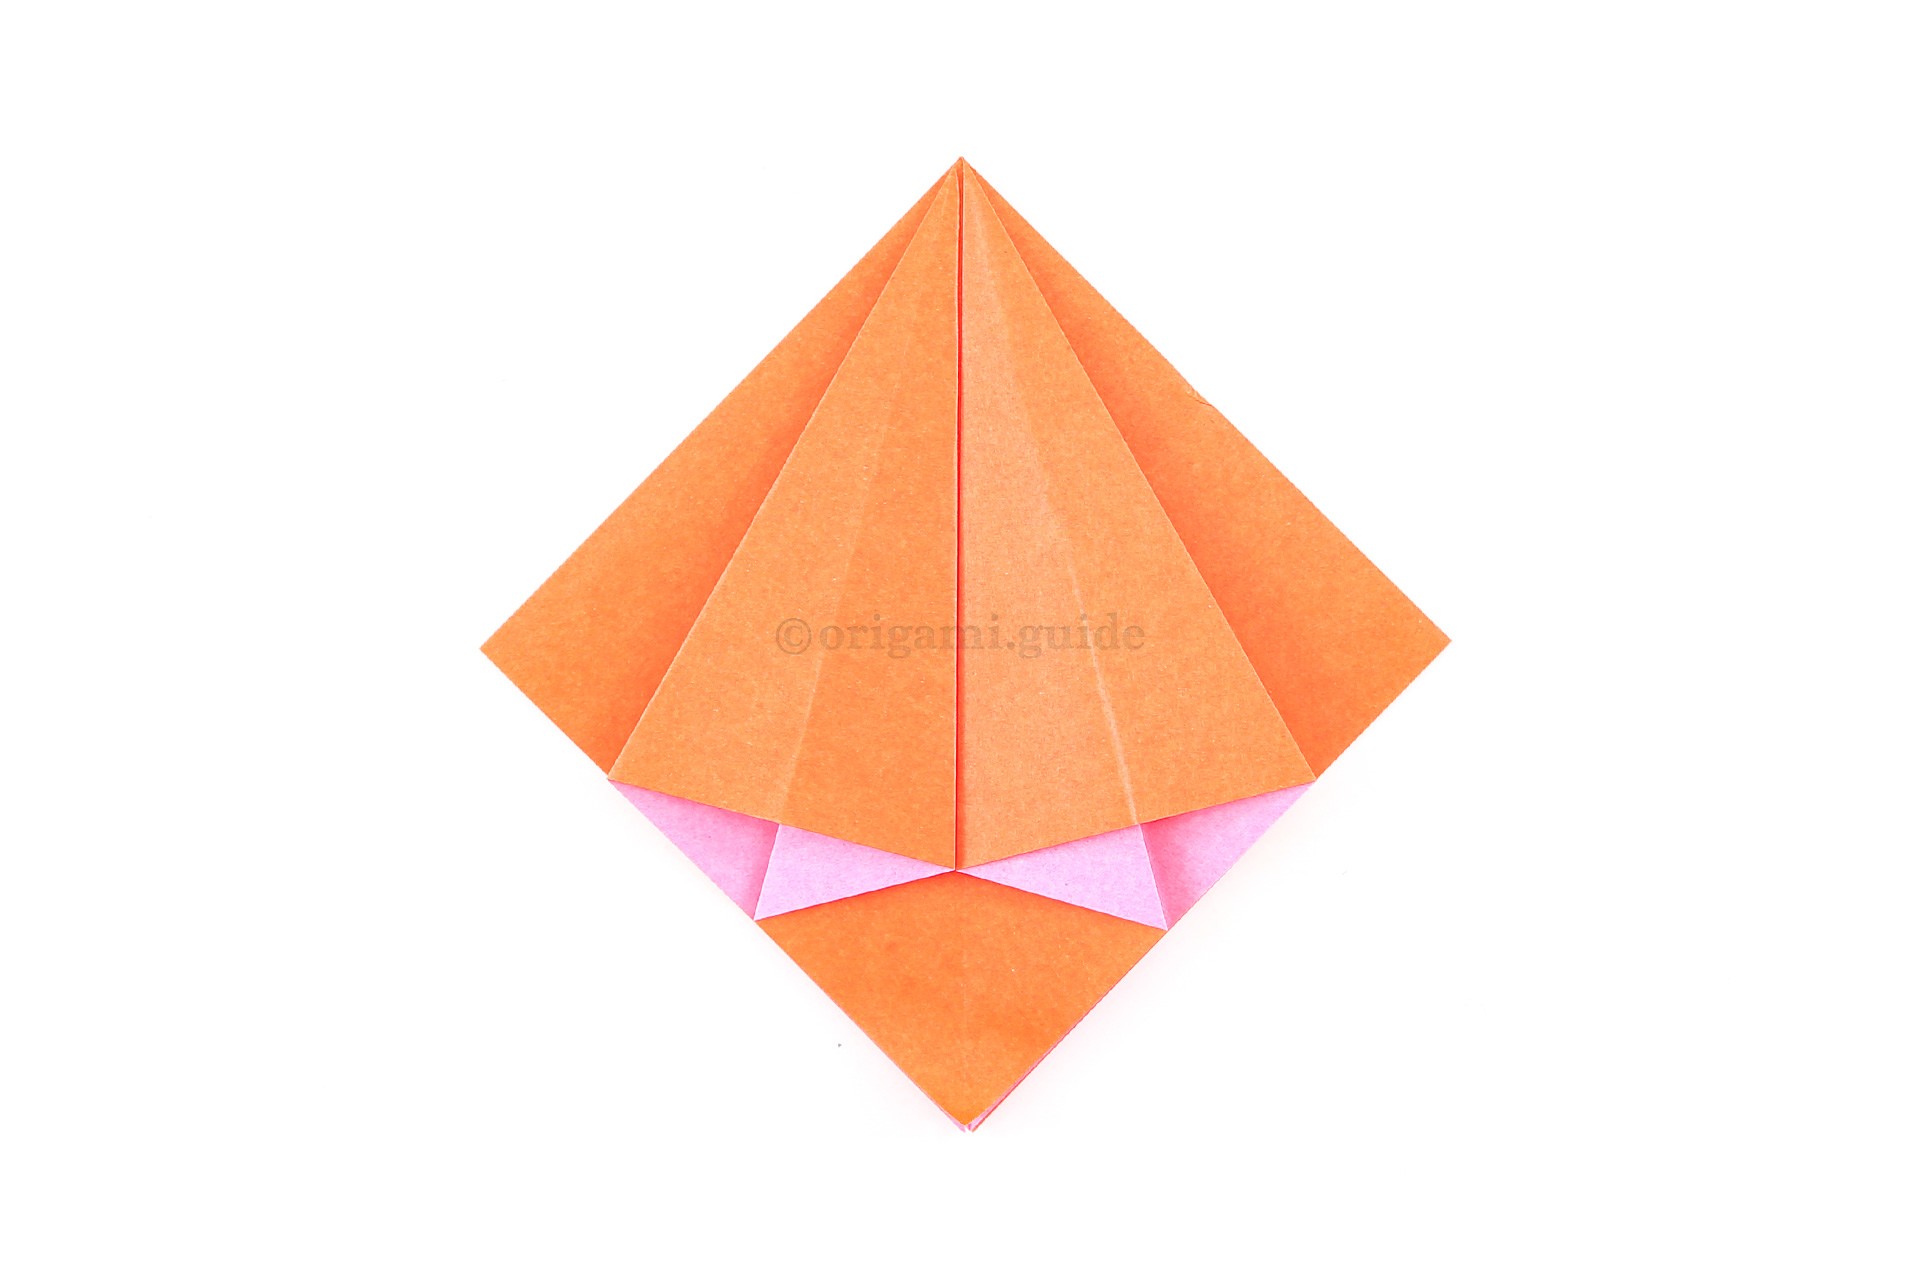
20
Step 20: Fold the bottom left and right edges of the two flaps inwards as shown.
-
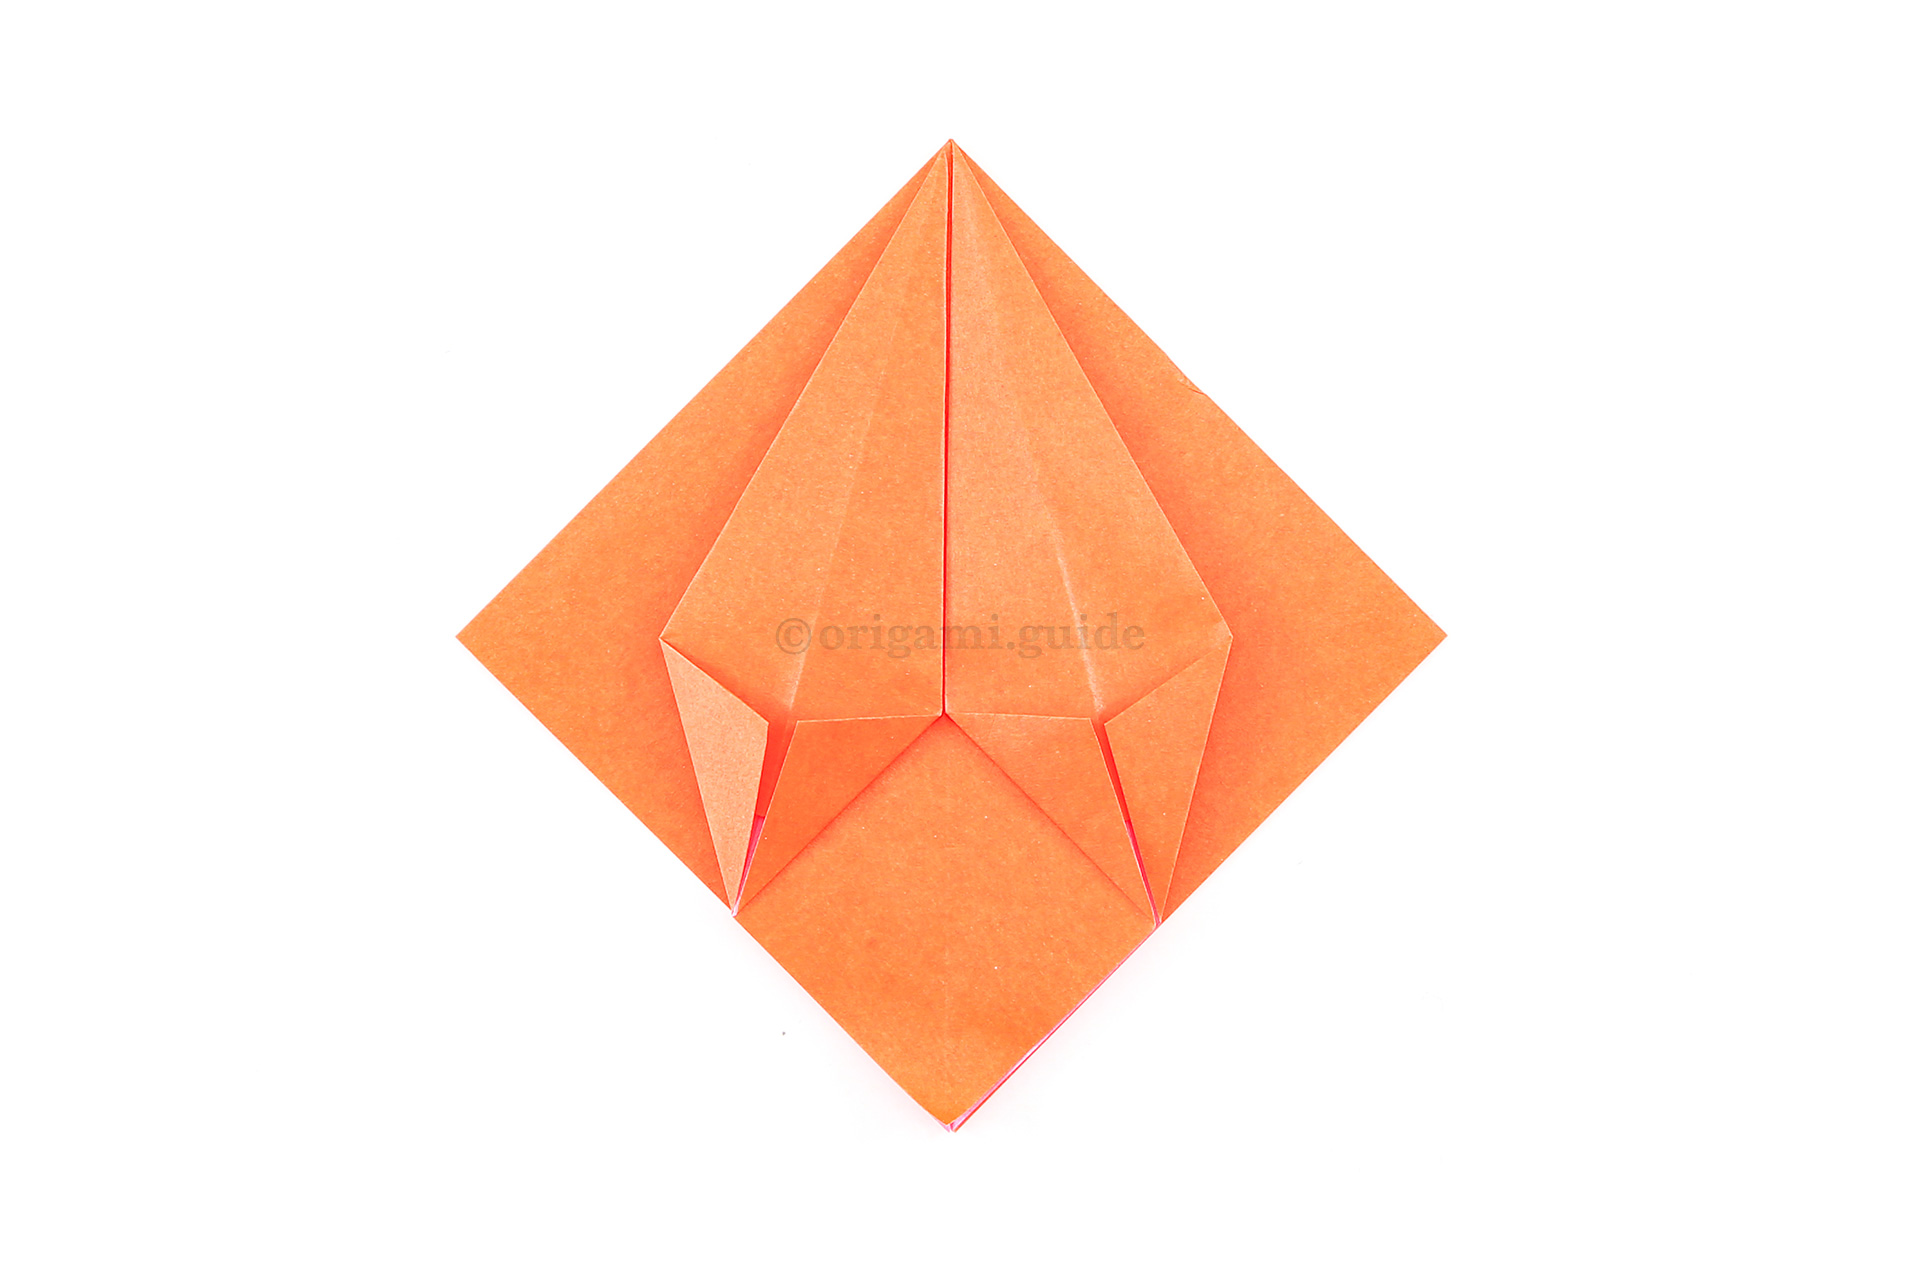
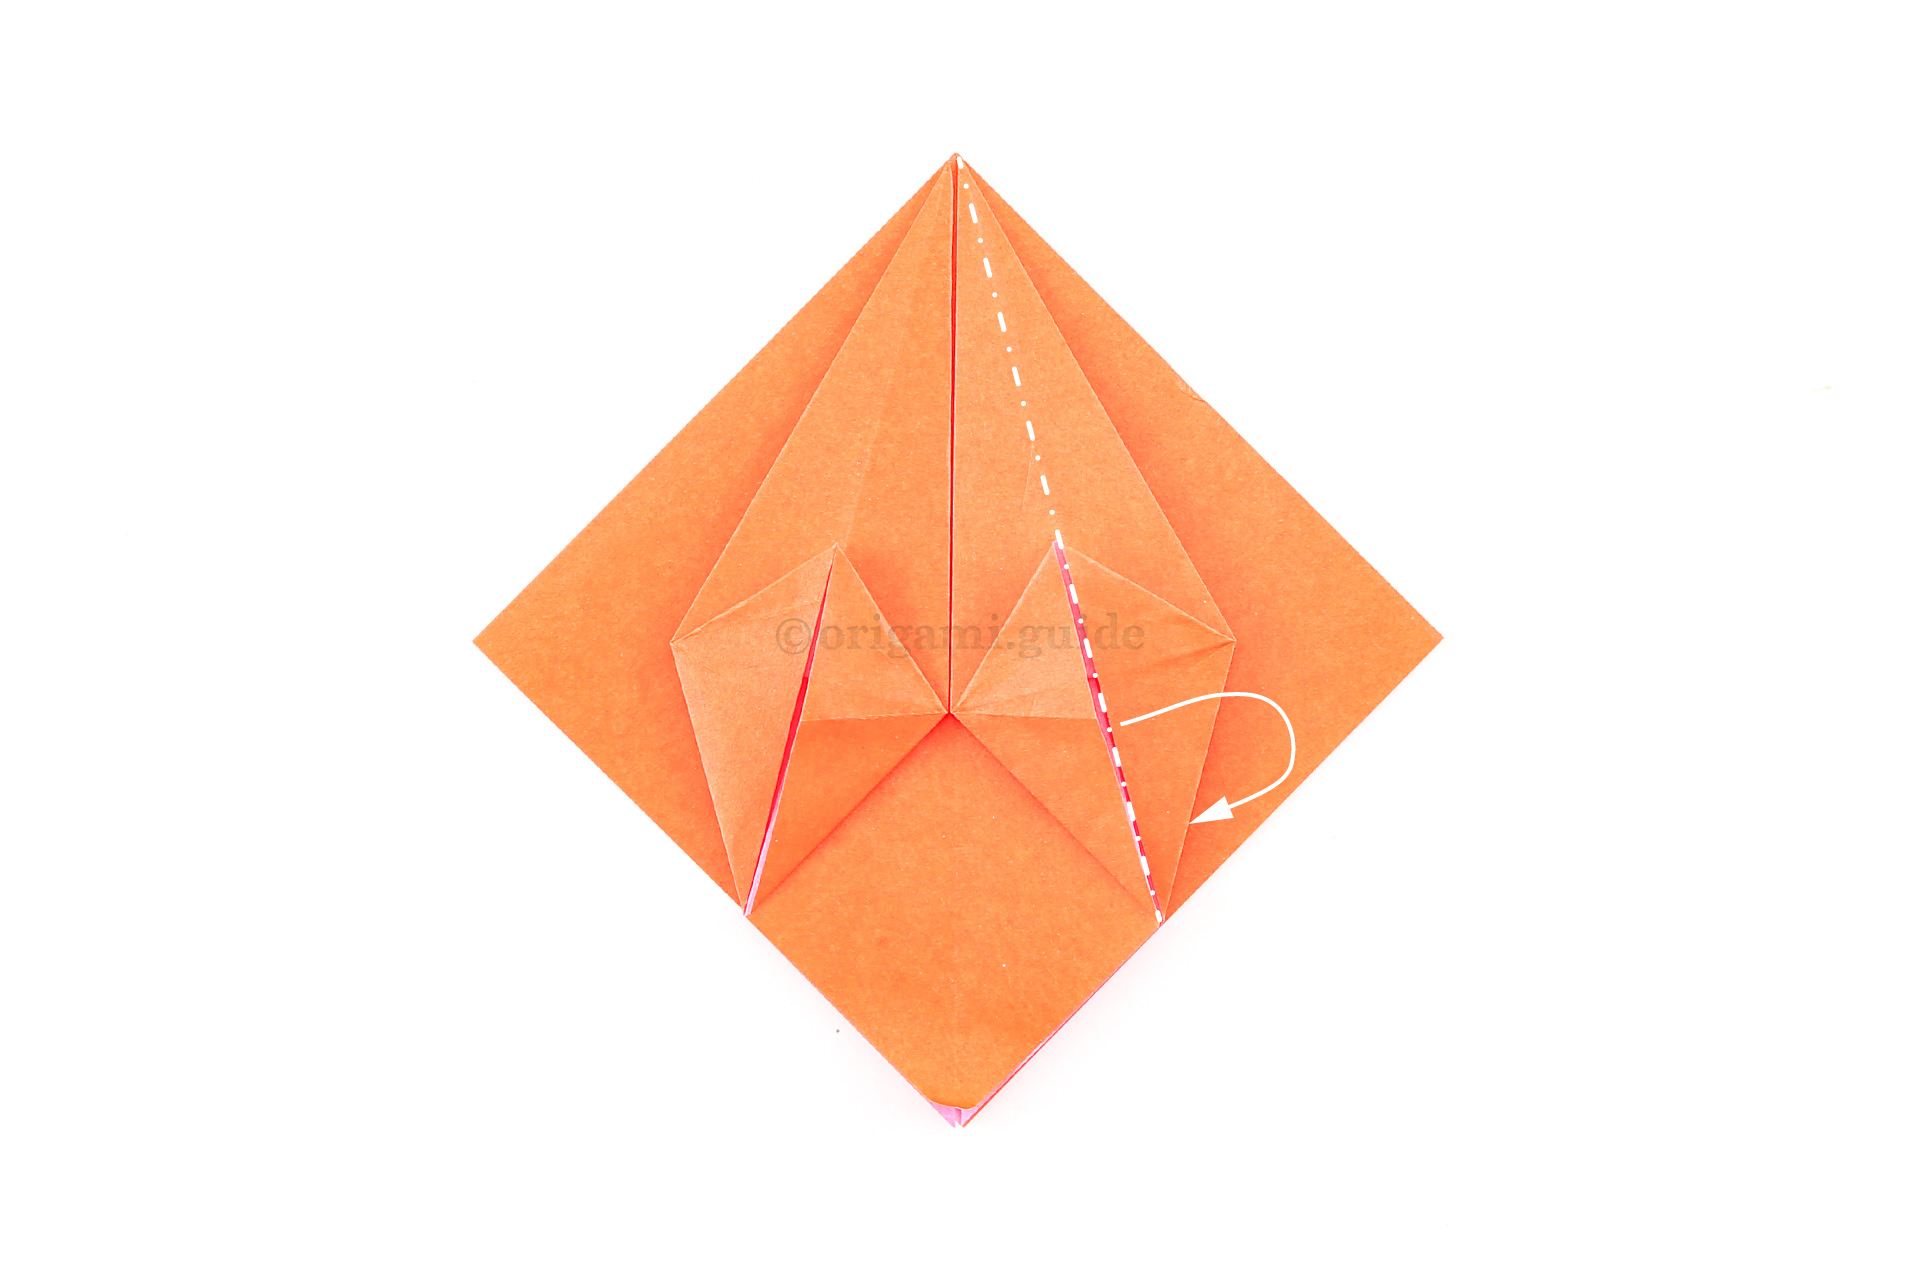
21
Step 21: Unfold the previous step. Next, we will perform an origami "Petal Fold", if you're very new to origami, you may find this a little difficult. If you do, completing the Origami Bird Base will help you understand the Petal Fold technique.
-
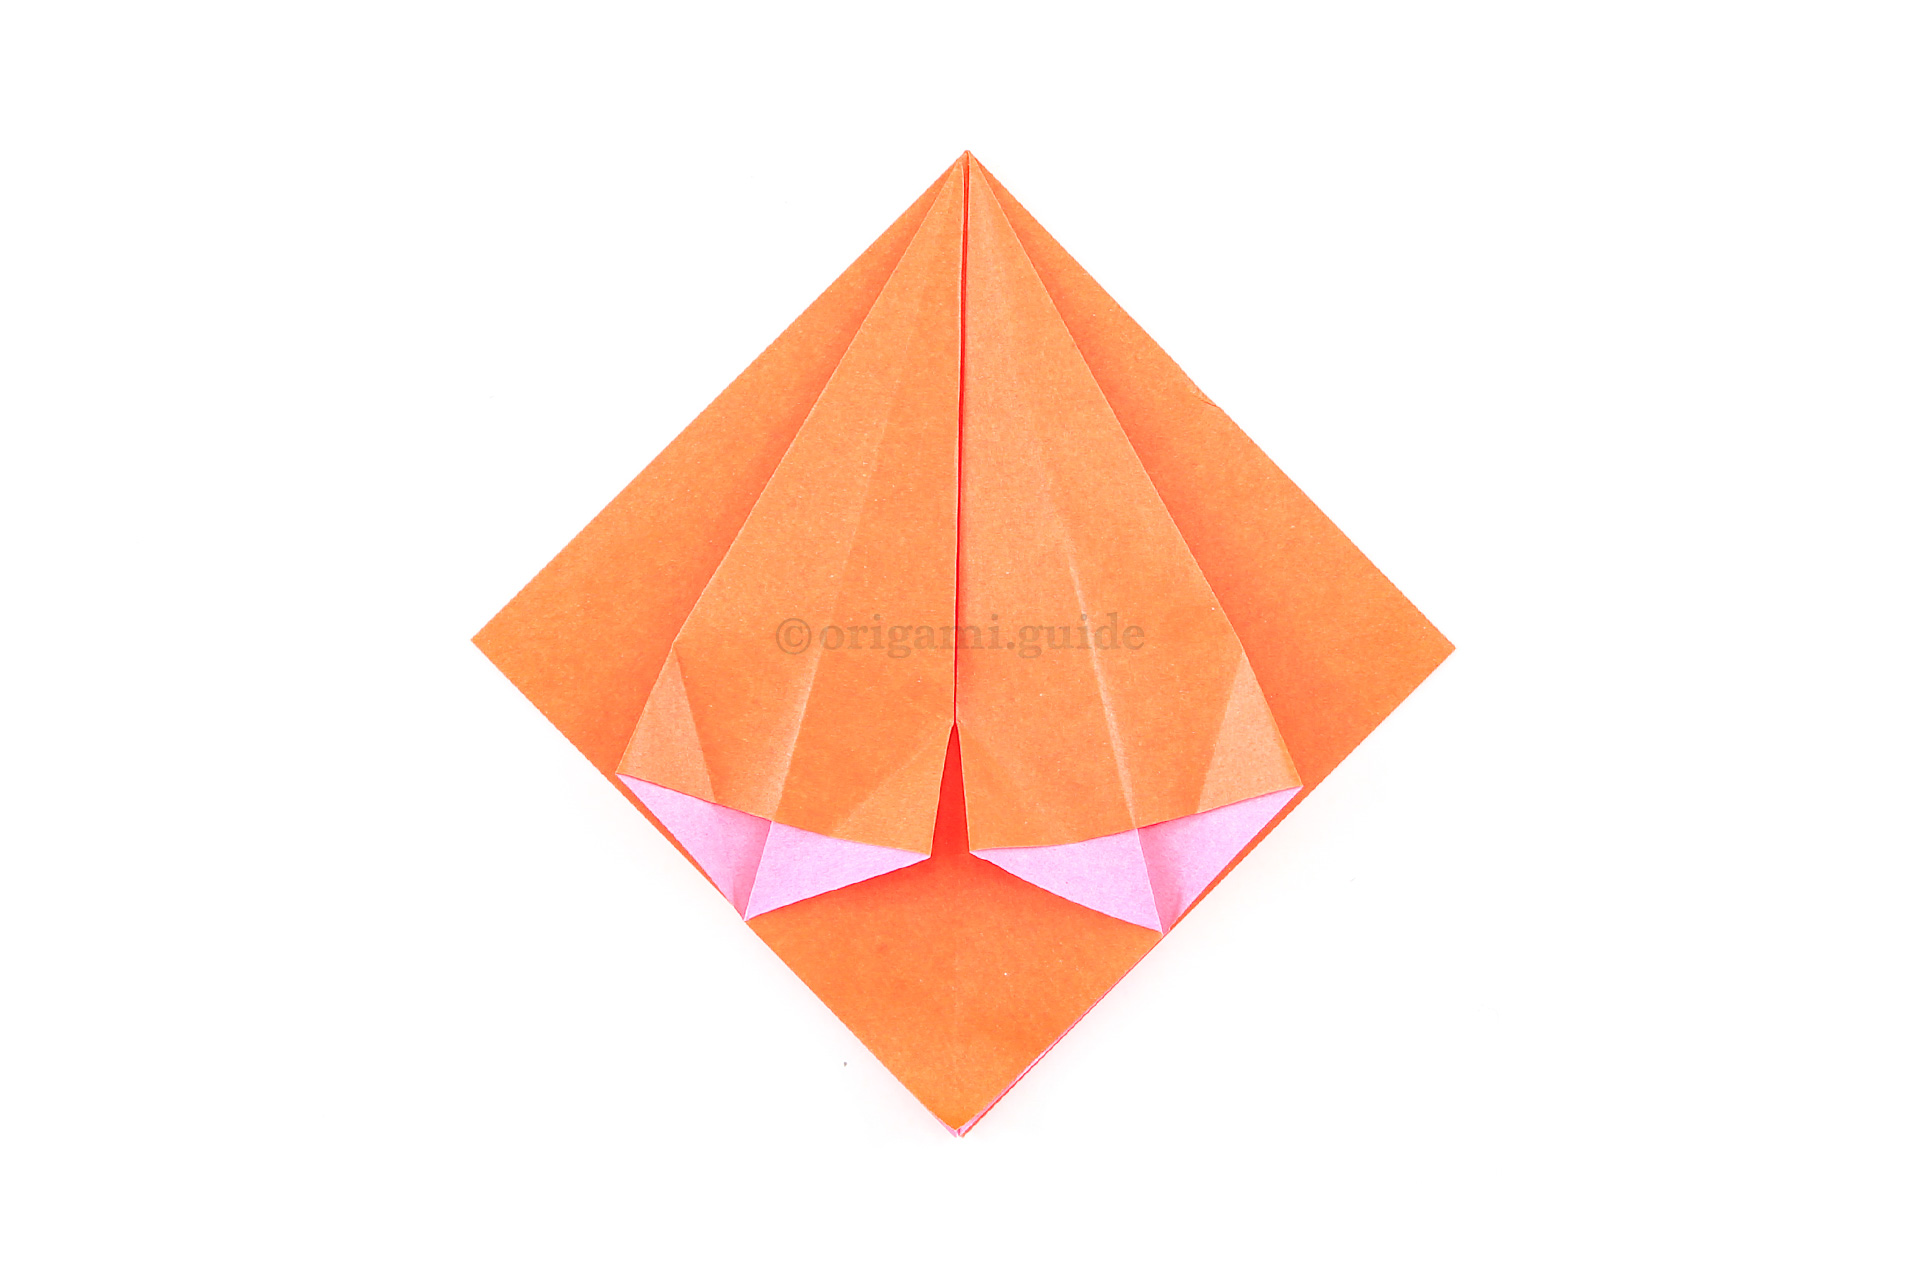
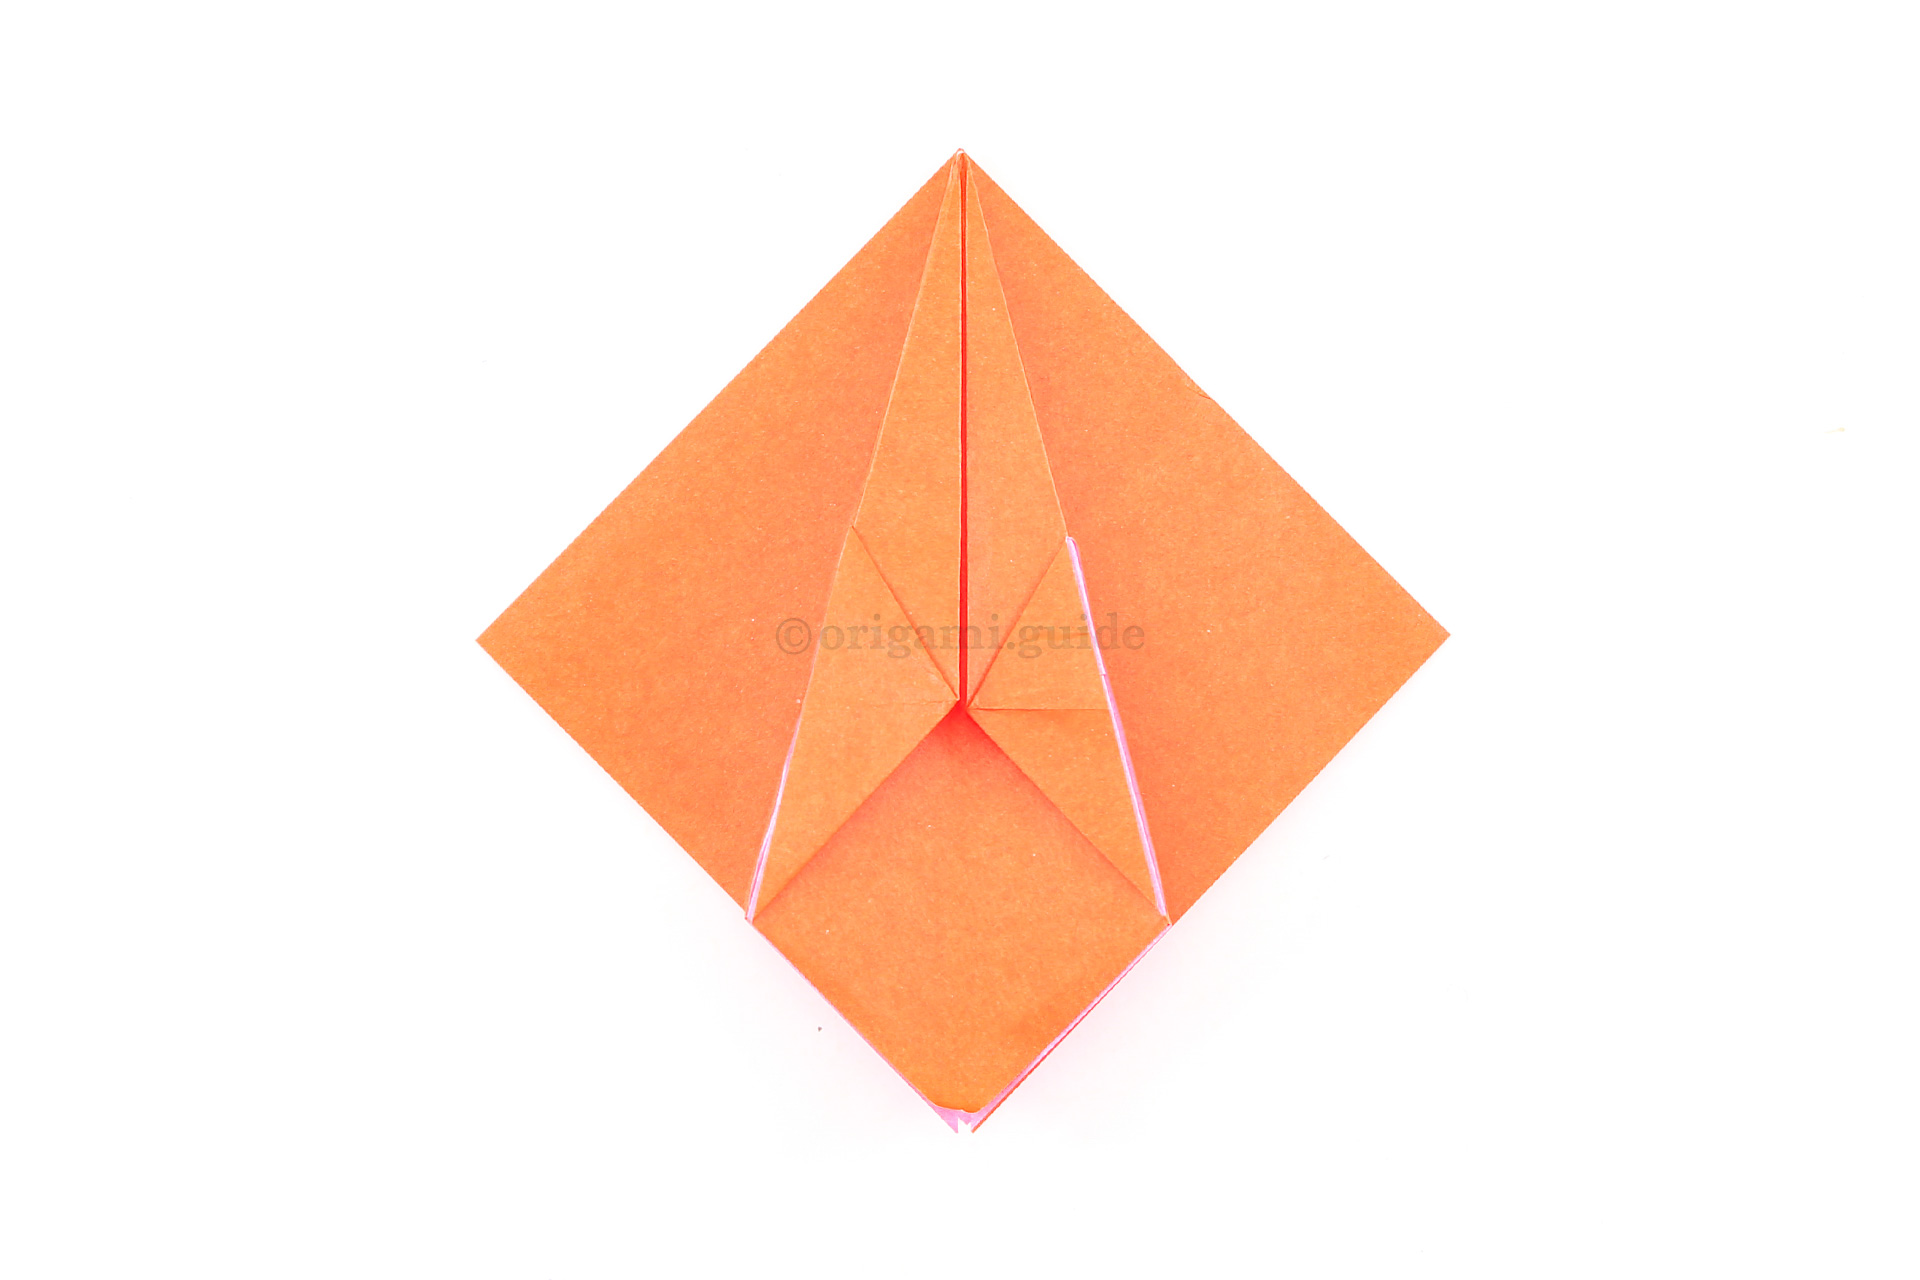
22
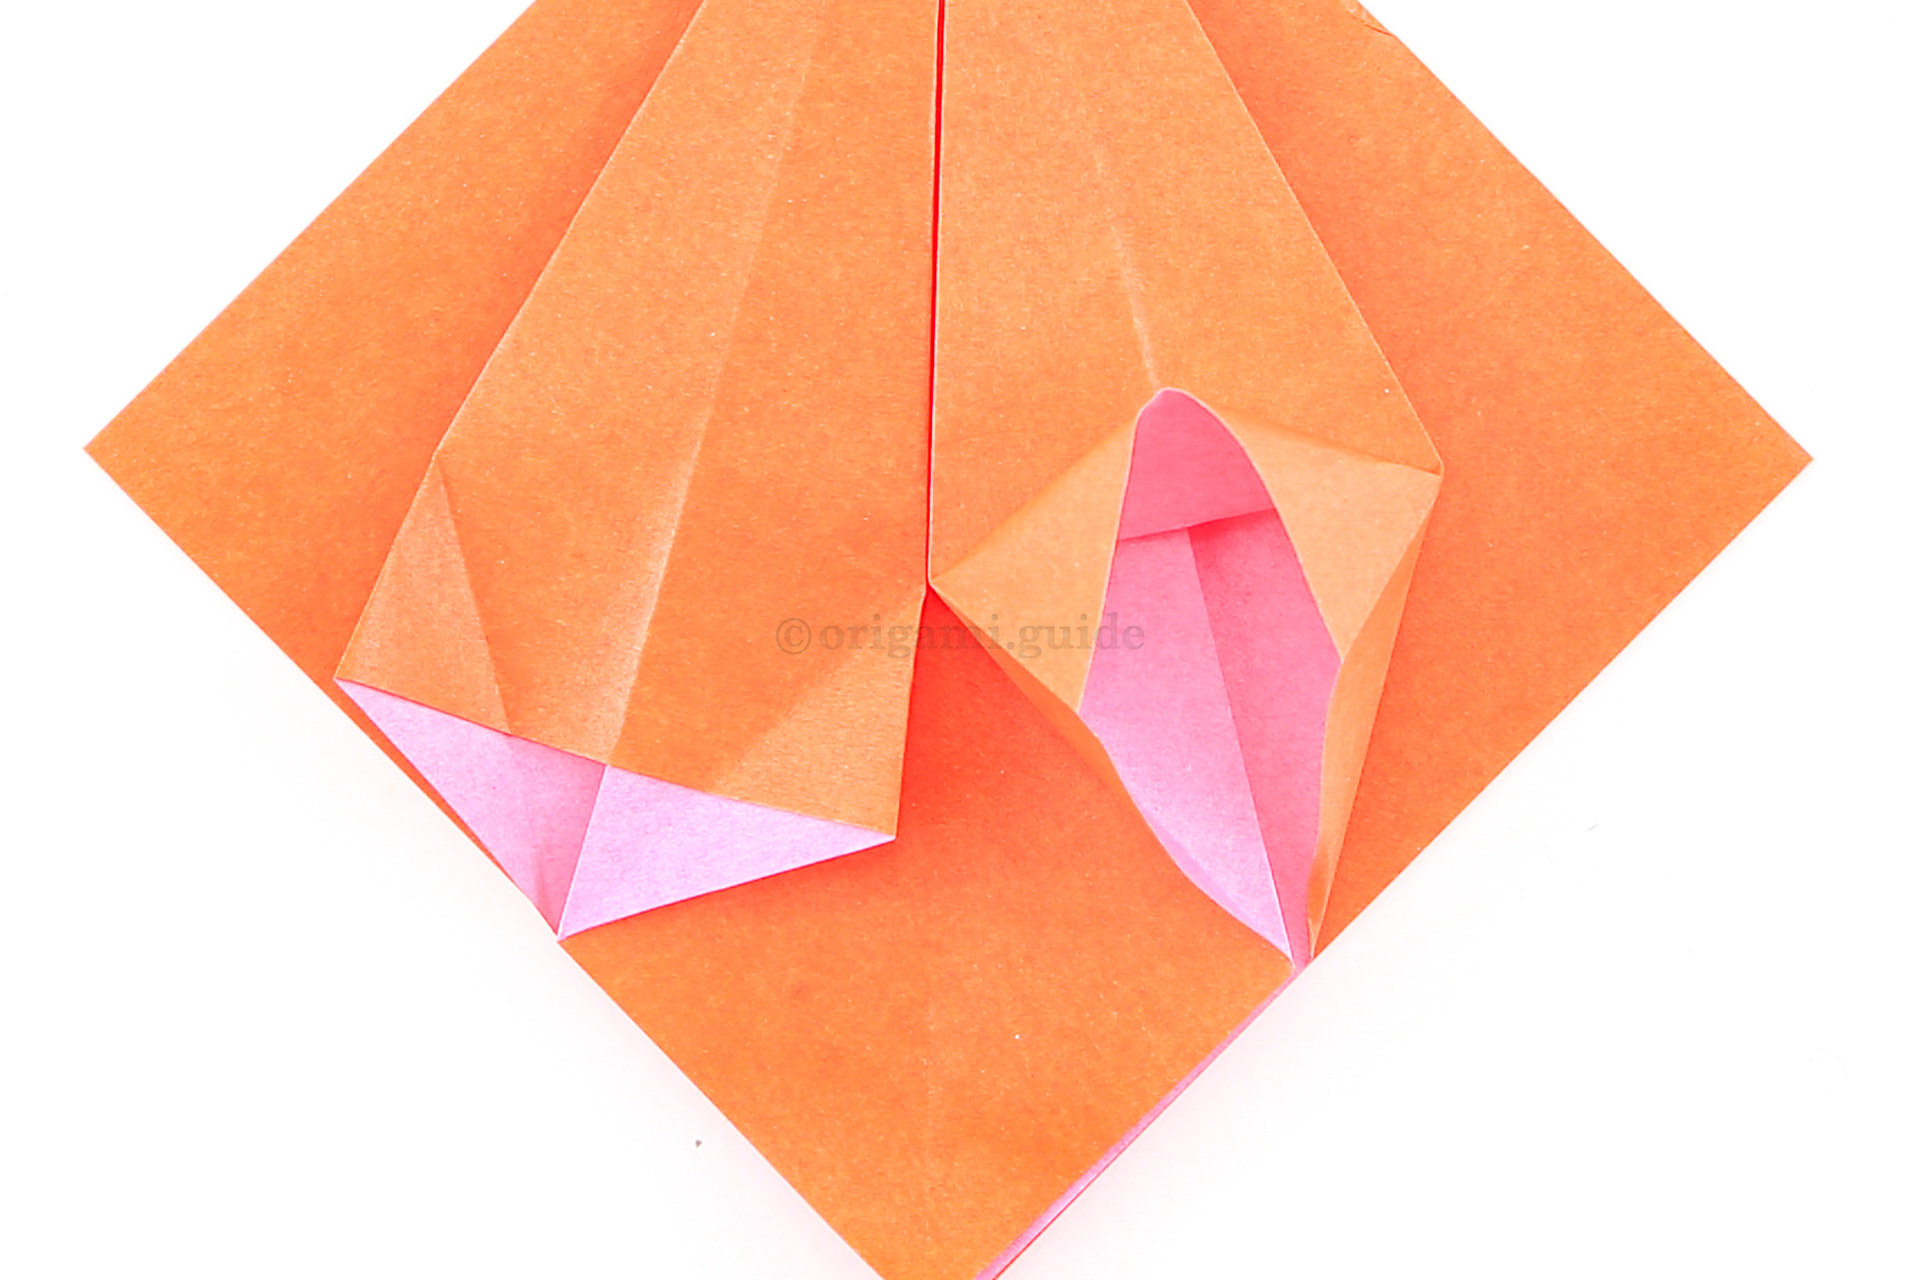
Step 22: Pull up the lower part of the right section, using the folds you made in the previous step to make a petal fold. Repeat on the left section.
-
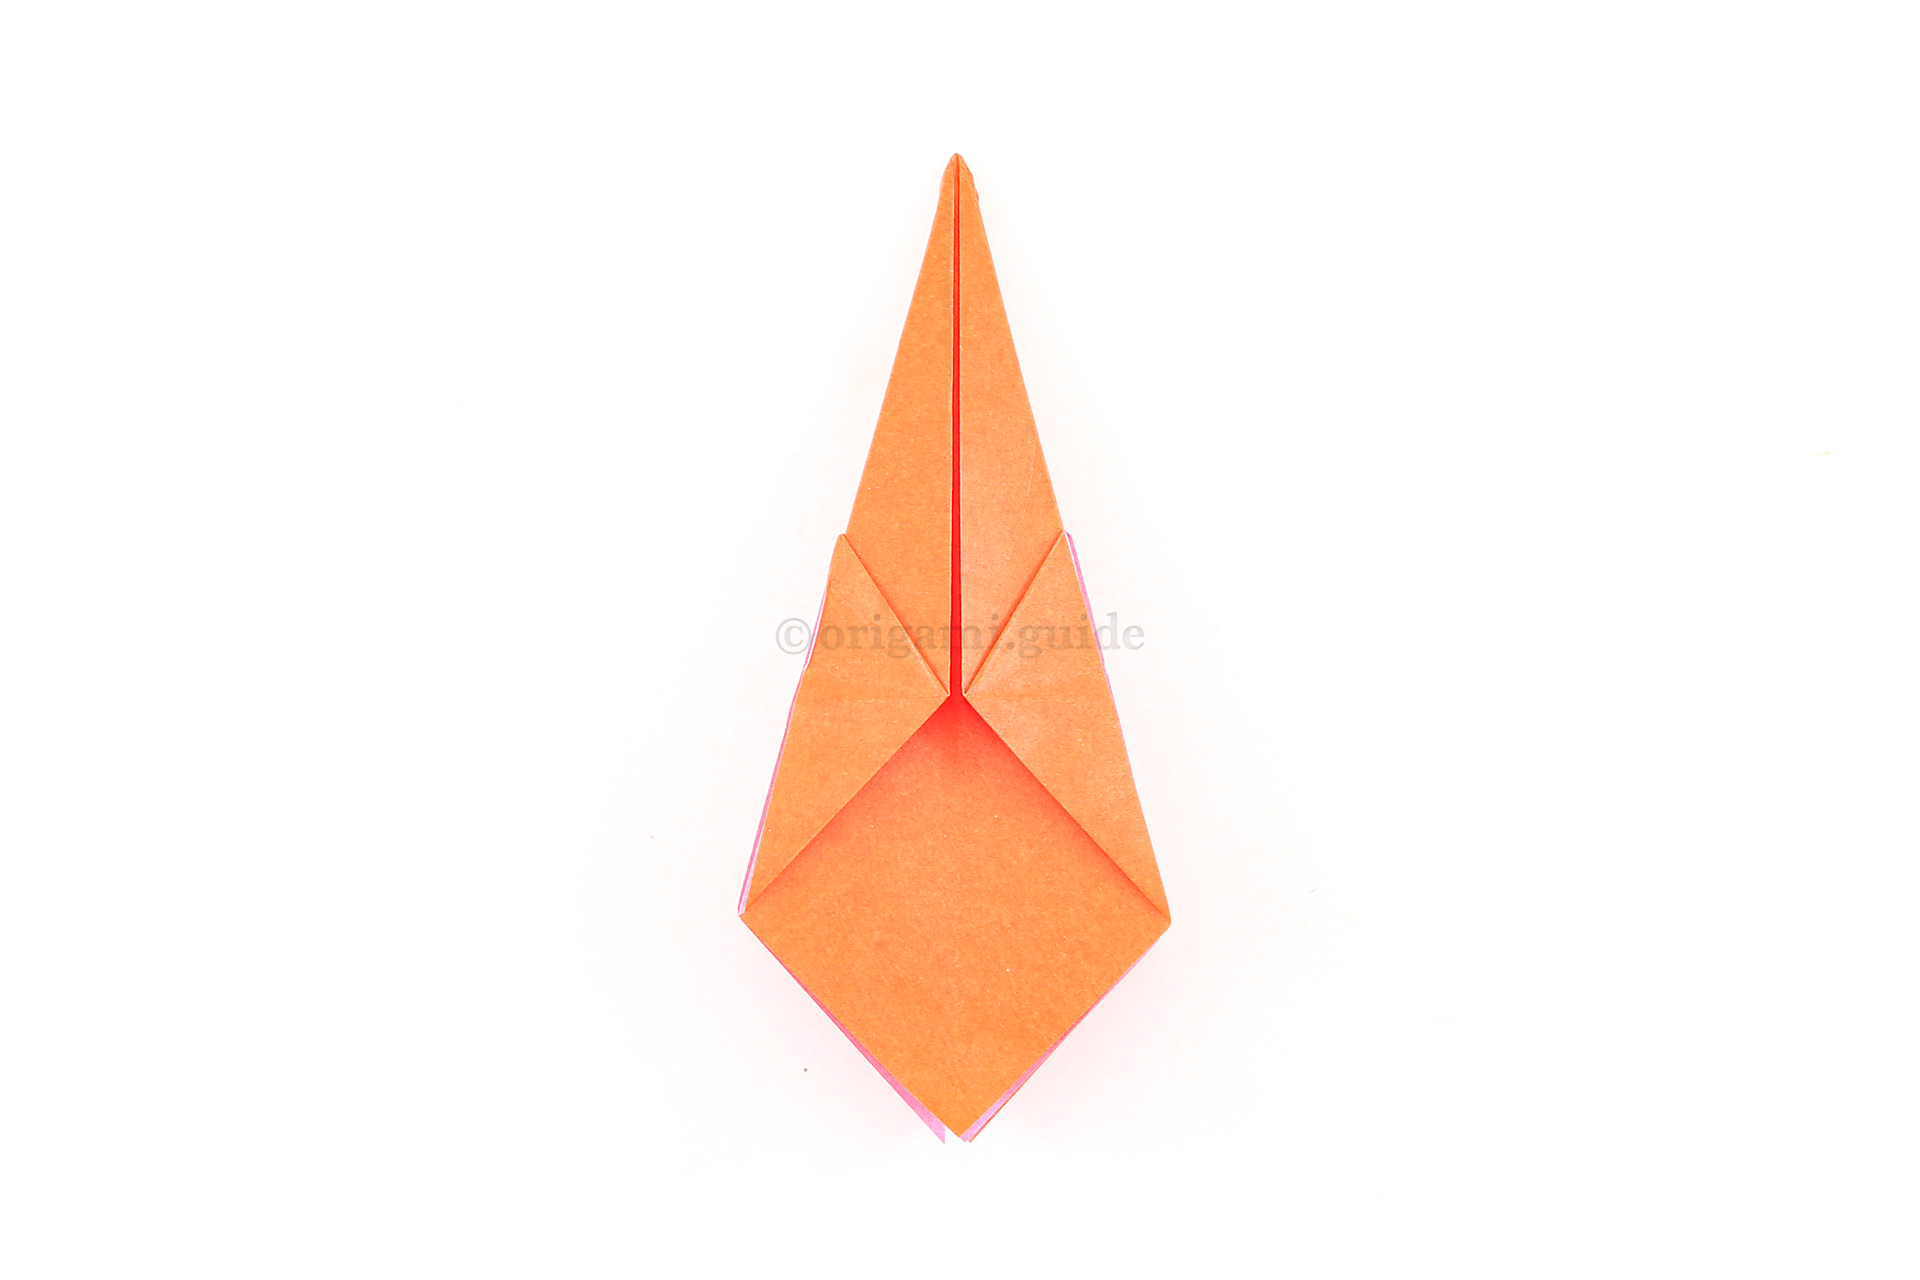
23
Step 23: Flatten the petal folds. Fold the outer half of both flaps behind.
-
24
Step 24: This is the result.
-
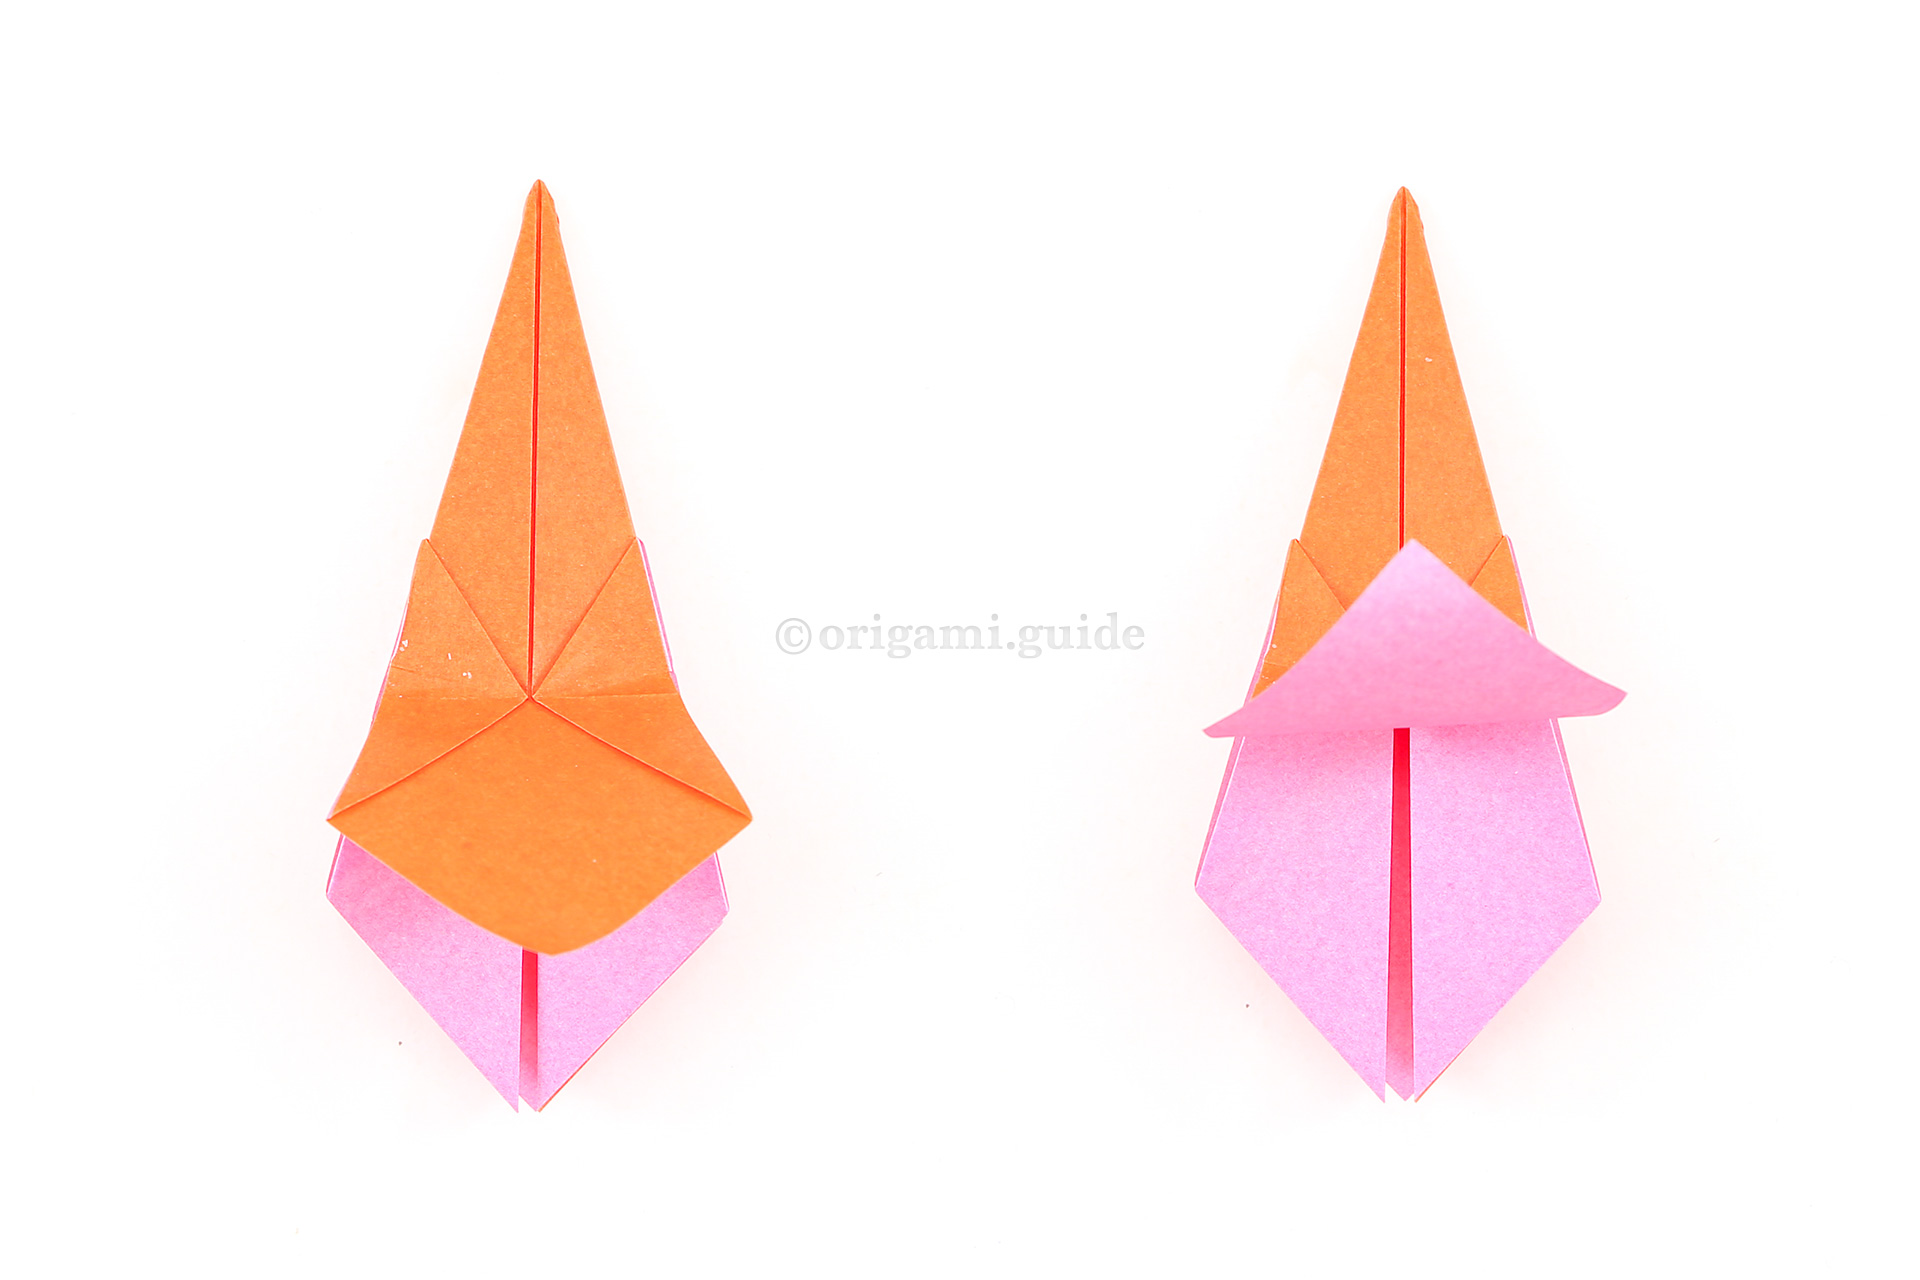
25
Step 25: Flip the paper over to the other side and repeat steps 15 to 24.
-
26
Step 26: You can now start to unfold the petals of the origami daylily.
-
27
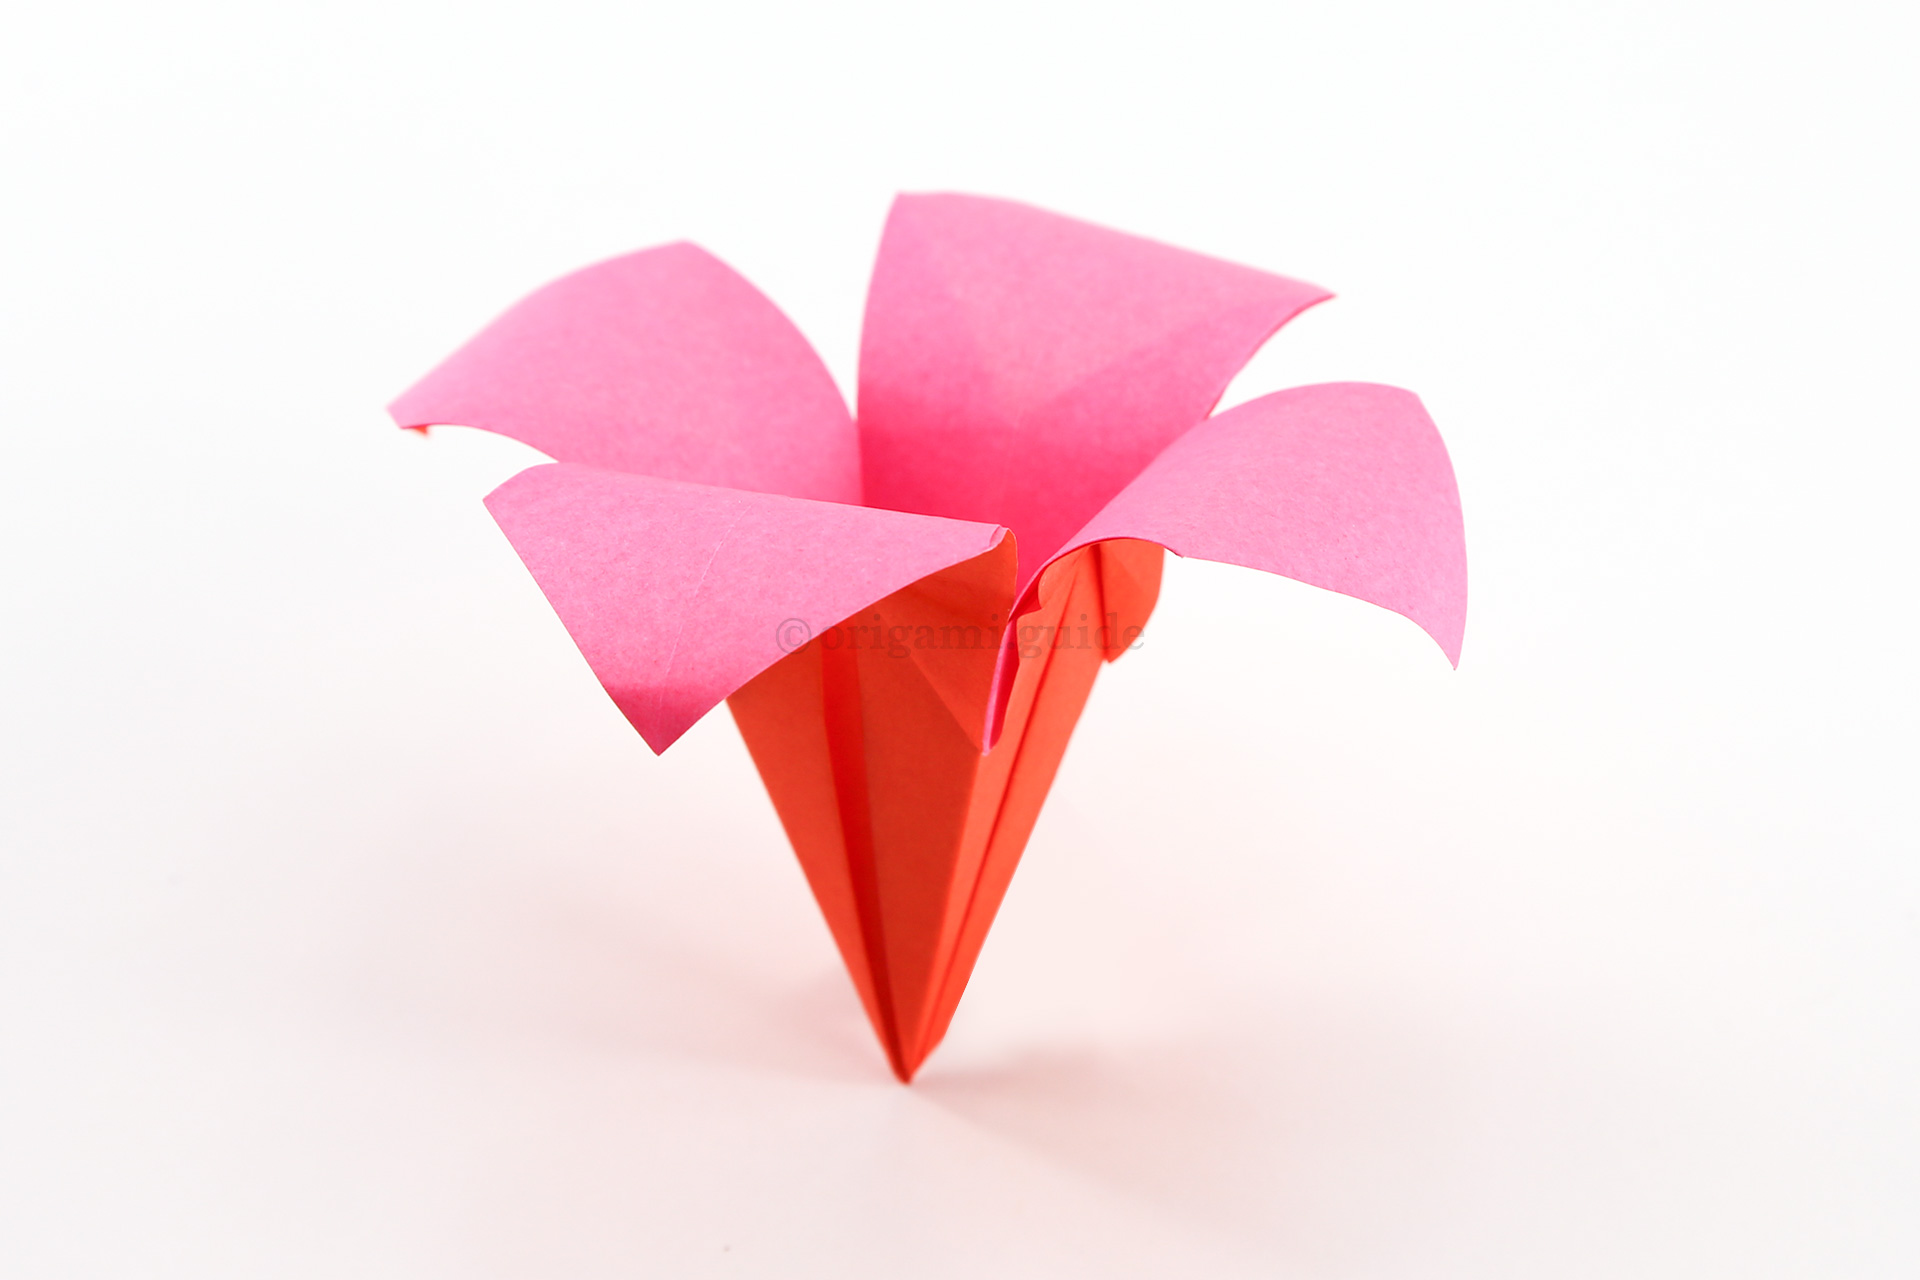
Step 27: You can use a pen to curl the petals over, or you can make a bold looking flower by folding the petals back.
Your Origami Daylily is Complete!
You’ve completed the Origami Daylily, why not check out our other Origami Flowers, here.
Did you make this origami? How did it go? Leave a comment & submit your photo here.
Related origami: Easy Origami
Traditional Origami
Origami Flowers
Mothers Day
What Origami Flowers To Fold Next?
- « Nested Origami Camellia Flower Rosette Tutorial

- How To Fold A Simple Origami Flower »
 View all Origami Flowers Tutorials
Leave A Comment
Did you fold this Origami Daylily? Let us know what you thought.
You can also upload a photo of your result!