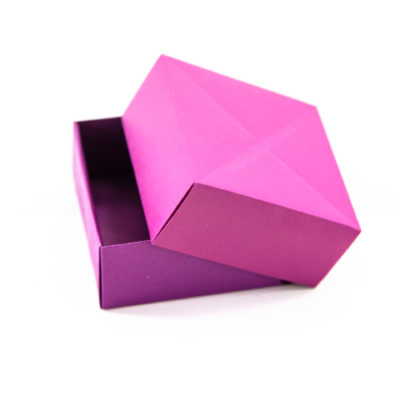
Origami Candy Box
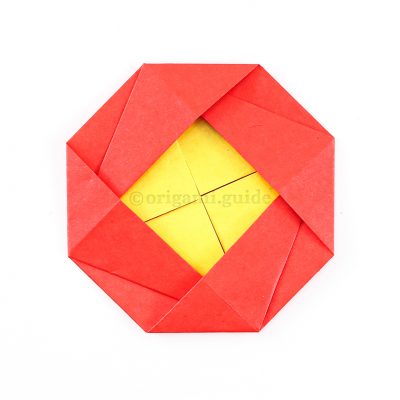
Learn how to make an origami candy box – to hold sweets or other items. It’s simple to make this following our step by step instructions.
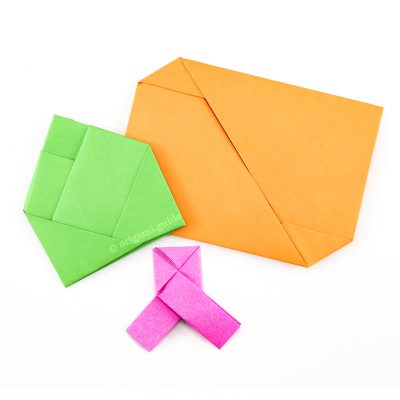
This origami box is so appealing, the shape is really nice and items don’t fall out easily. Makes a great little box for keeping jewellery.
We decided to mark this as ‘easy to intermediate’ as it has quite a few steps.
Origami Candy Box Instructions
Scroll down to follow the photo tutorial for the Origami Candy Box.
Made this origami? Leave a comment & submit your photo on the last page here.
-
1
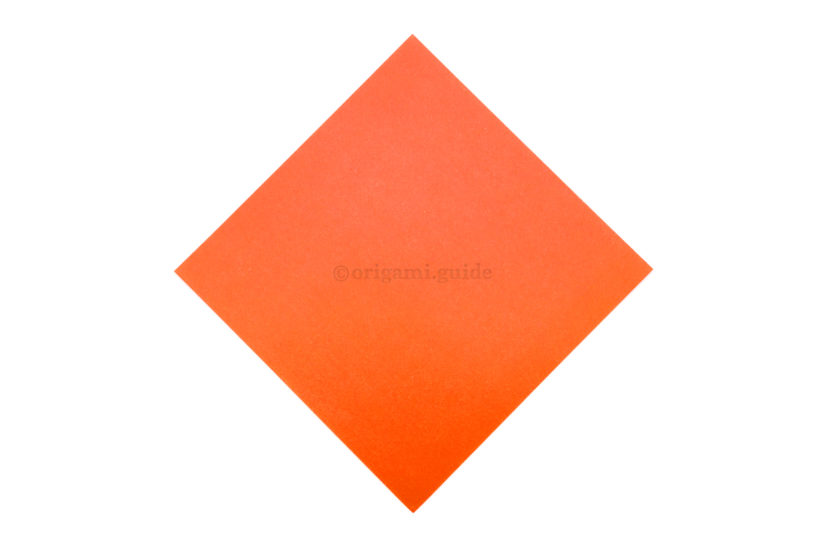
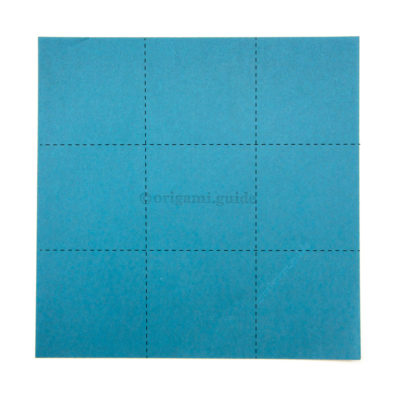
1. This is the back of our origami paper, this colour will only show on the underside of the candy box.
-
2
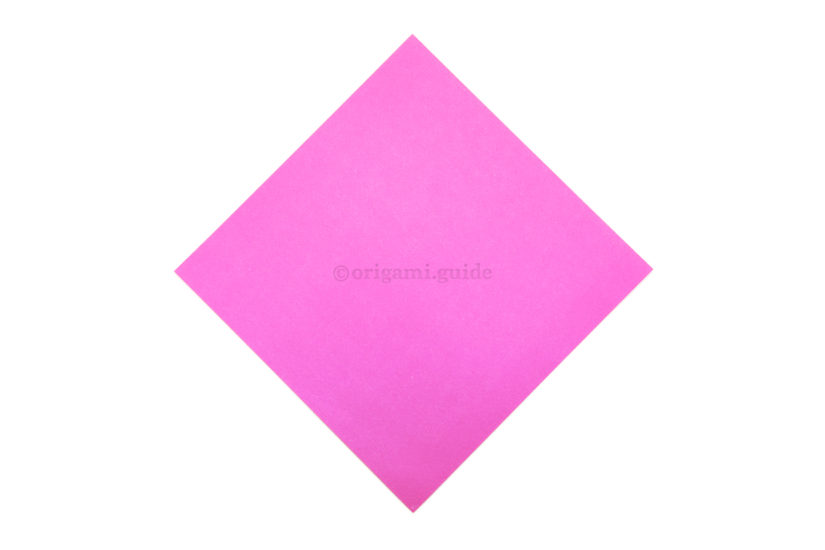
2. This is the front of our origami paper, this will be the main colour of the candy box.
-
3

3. Fold the bottom point up to the top point.
-
4
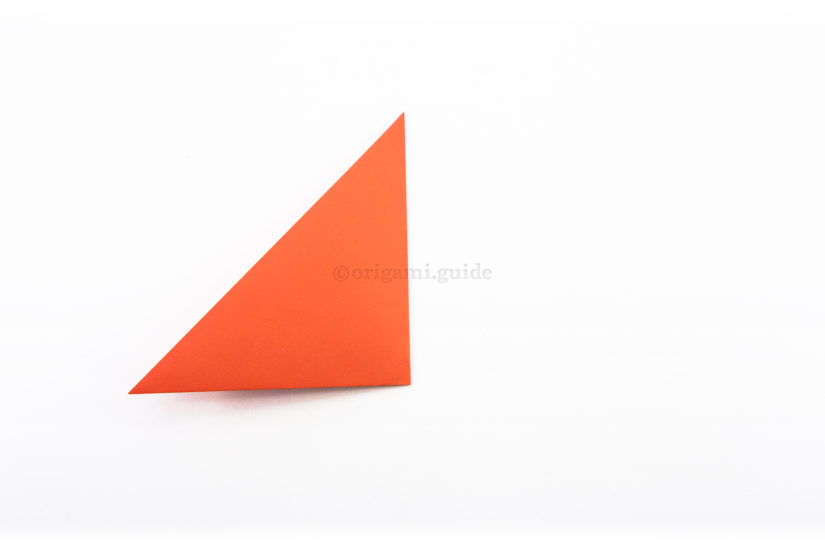
4. Fold the right point over to the left point.
-
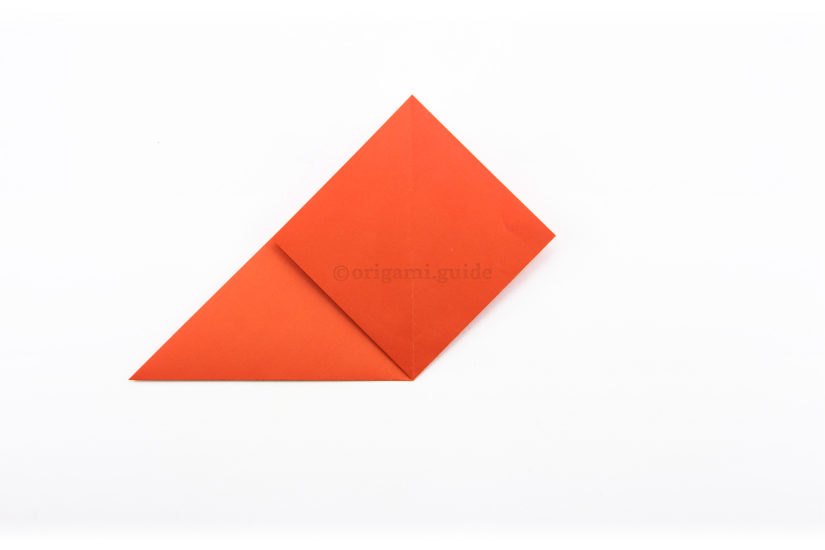
5
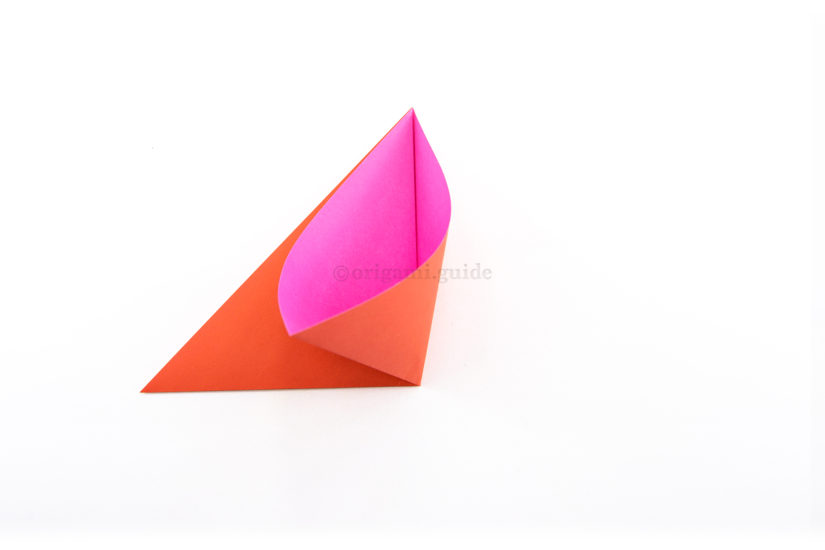
5. Bring the flap back over and open it out at the same time.
-
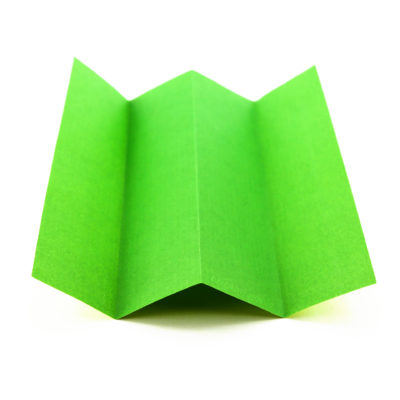
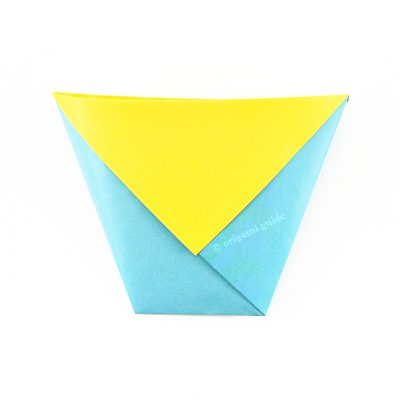
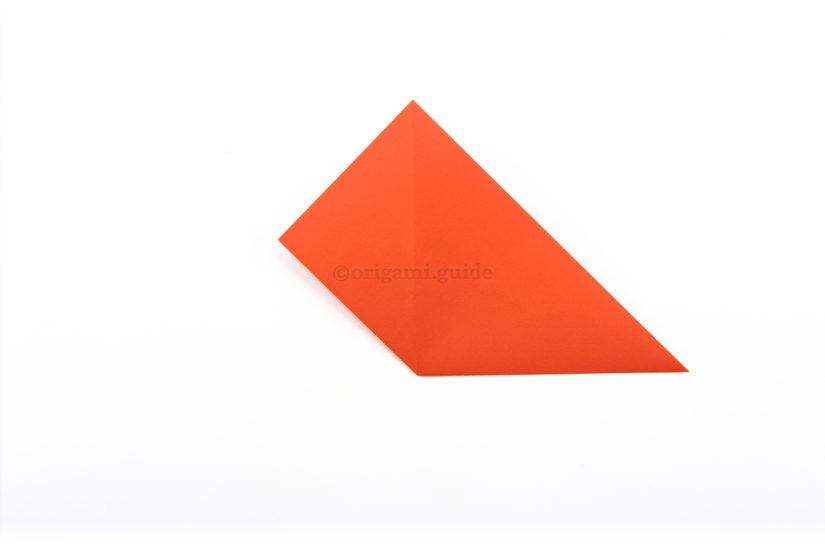
6
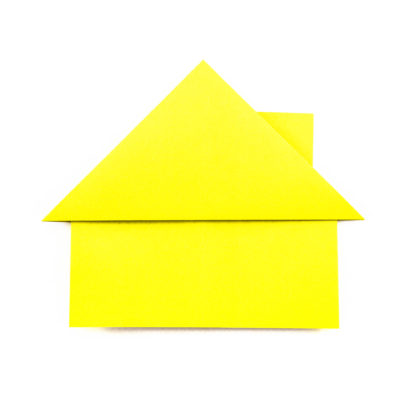
6. Flatten the paper, aligning the top points.
-
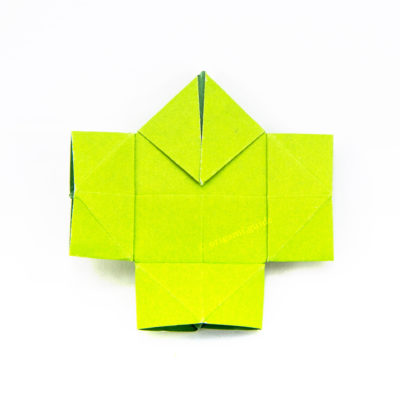
7
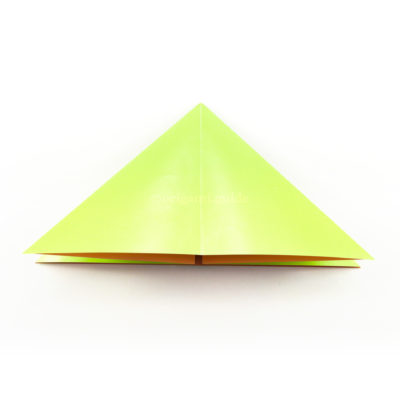
7. Flip the whole paper over, from left to right.
-
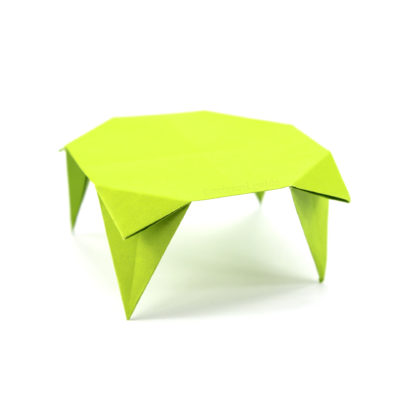
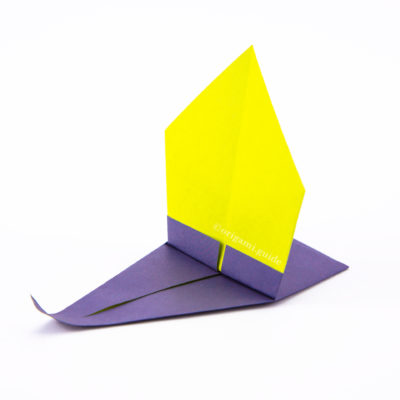
8

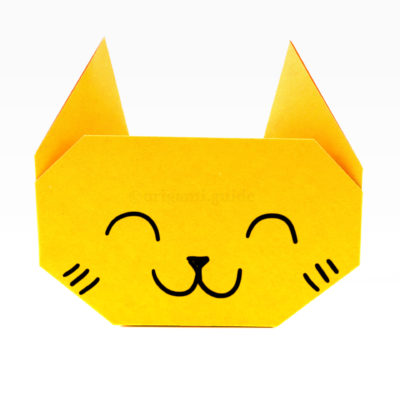
8. Bring the right side over to the left, opening it up at the same time.
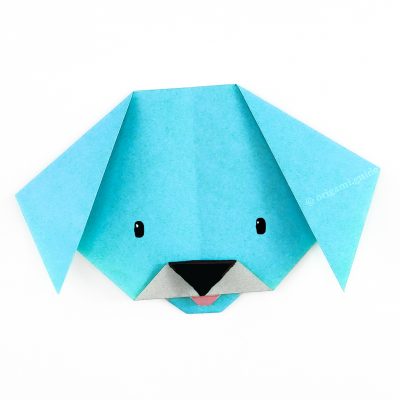
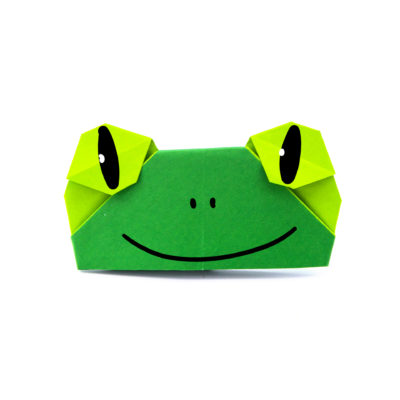
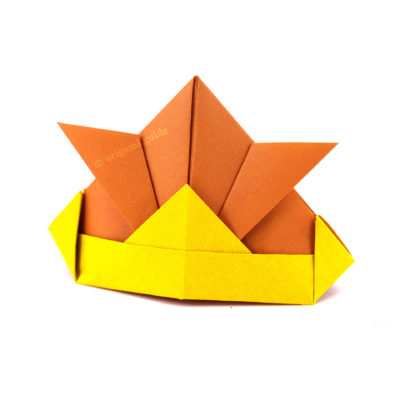
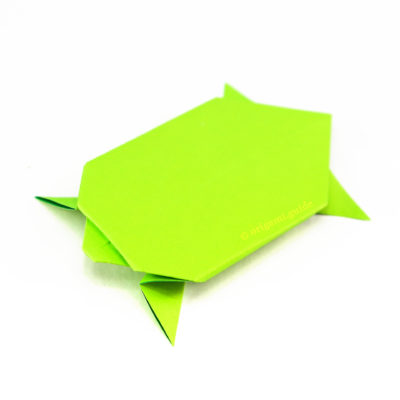
What Origami Boxes To Fold Next?


Leave A Comment
Did you fold this Origami Candy Box? Let us know what you thought.
You can also upload a photo of your result!