Made this origami? Leave a comment & submit your photo on the last page here.
-
9
9. Unfold the previous step.
-
10
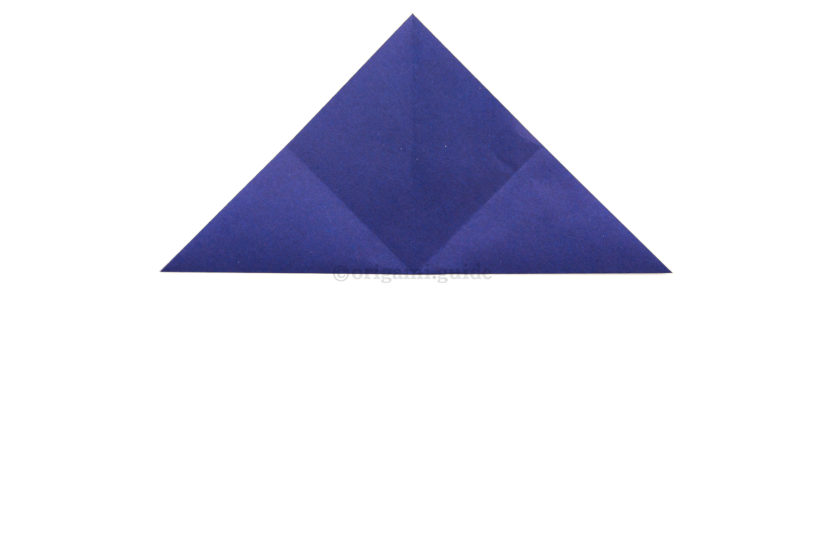
10. Fold the bottom corner up to the top corner.
-
11
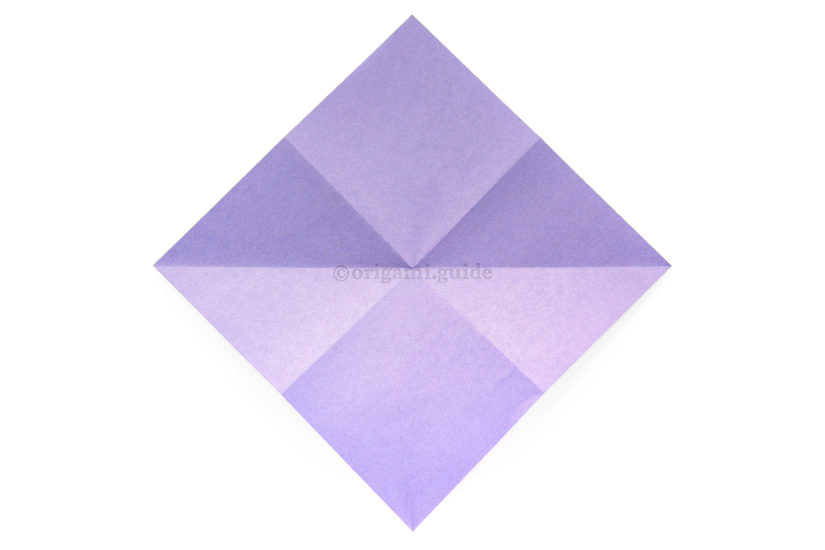
11. Unfold the previous step.
-
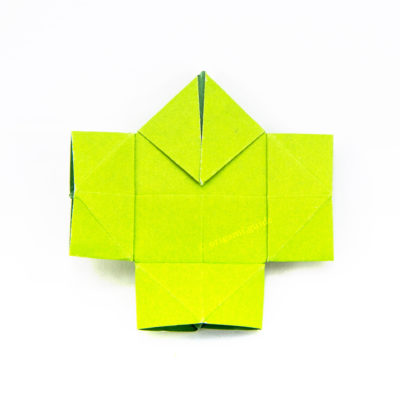
12

12. Flip the paper over to the other side.
-
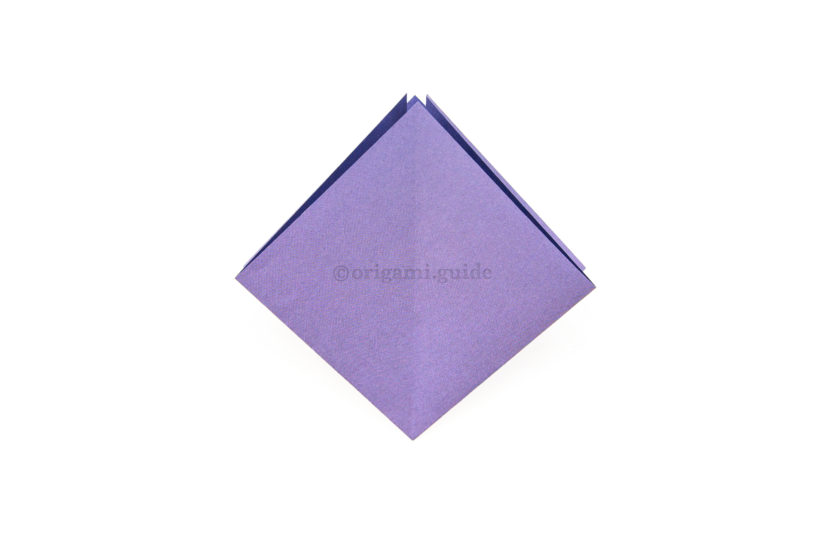
13

13. Bring the left and right corners inwards and up, collapsing them under the bottom section.
-
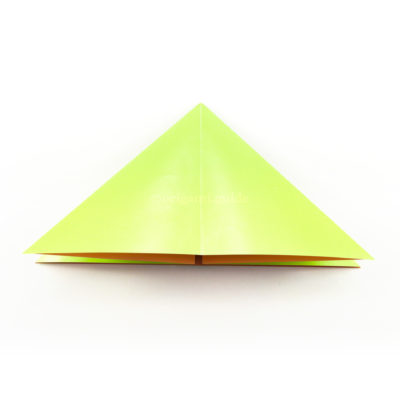
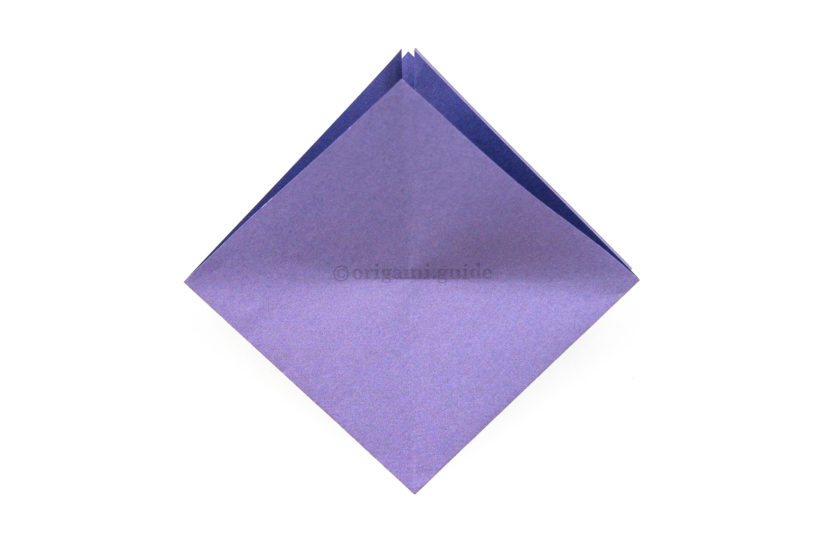
14
14. Flatten the layers. (This is an origami square base.)
-
15

15. Bring the top point down to the bottom corner and make a small crease.
-
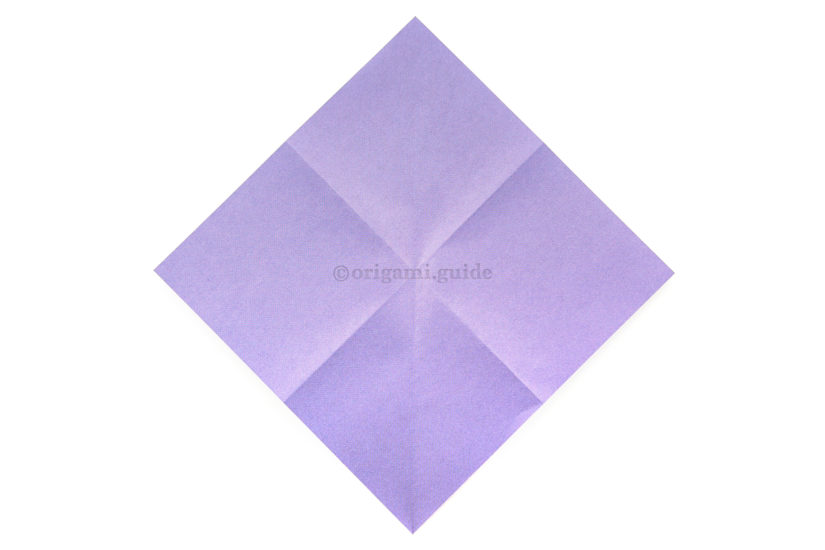
16
16. Unfold the previous step. You can now see the middle of the paper is now marked.
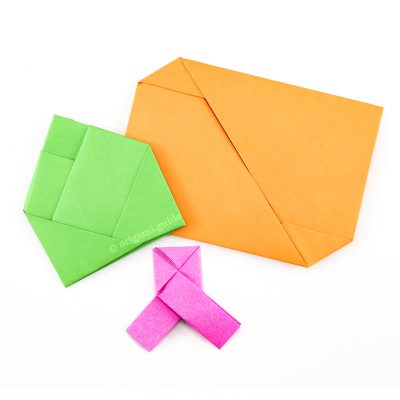
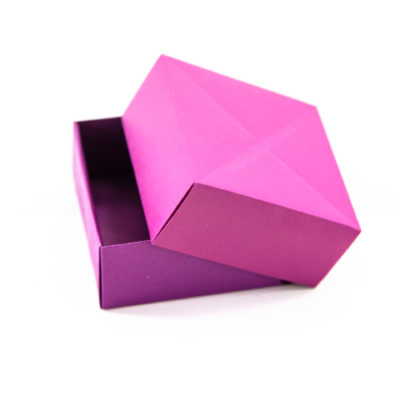
What Origami Boxes To Fold Next?
- « How To Make An Origami Box Divider

- How To Make A Shallow Origami Box »
 View all Origami Boxes Tutorials
Leave A Comment
Did you fold this Origami Packaging Box? Let us know what you thought.
You can also upload a photo of your result!
65 Comments
Newest