Made this origami? Leave a comment & submit your photo here.
-
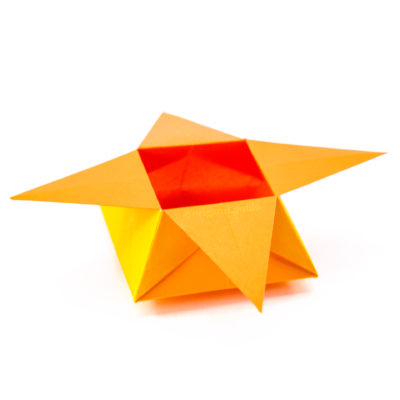
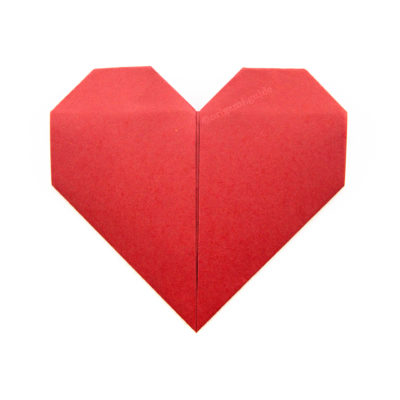
25
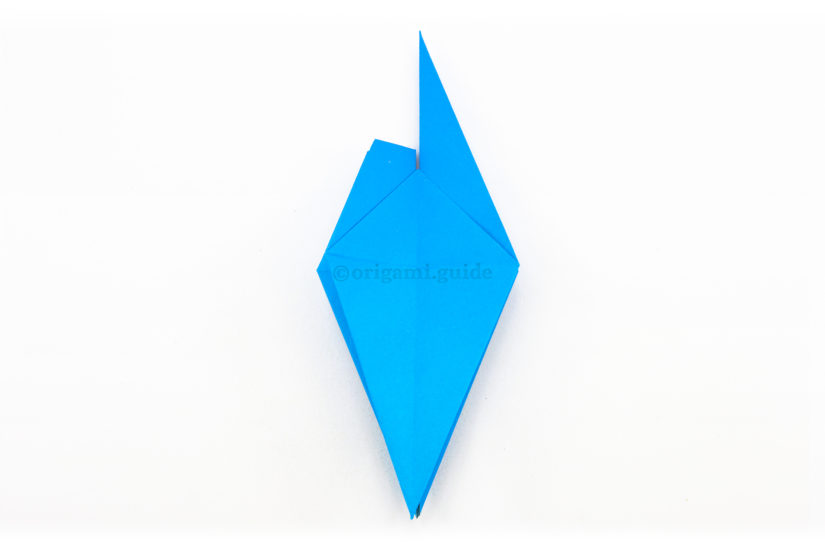
25. Flip one layer from the back over to the right.
-
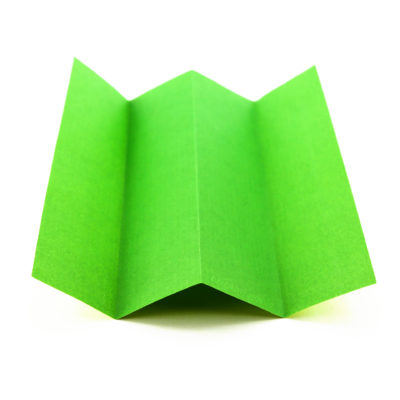
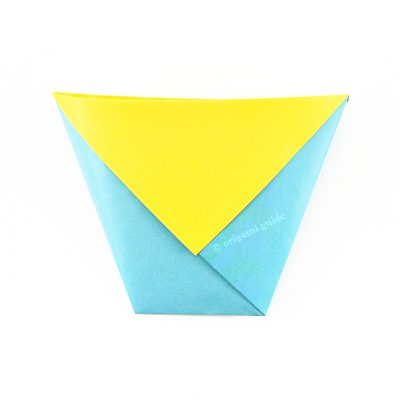
26
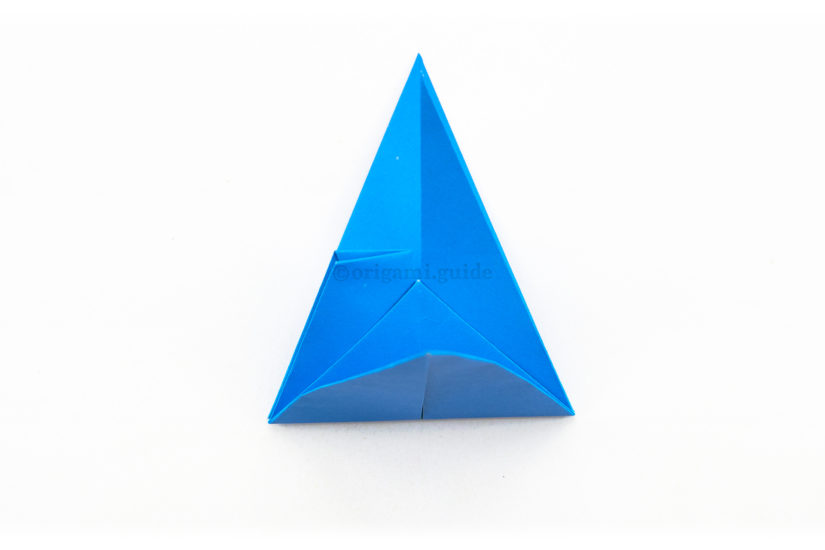
26. Fold both of the lower points up, these form the “wings” of the flapping bird.
-
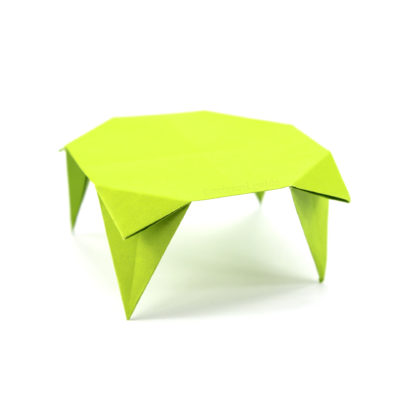
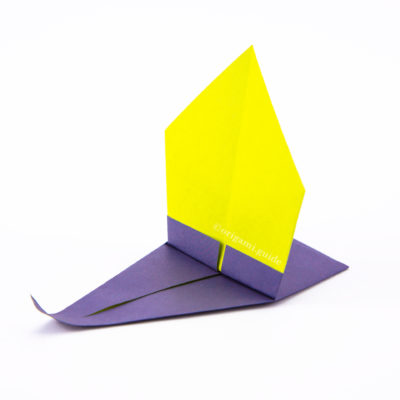
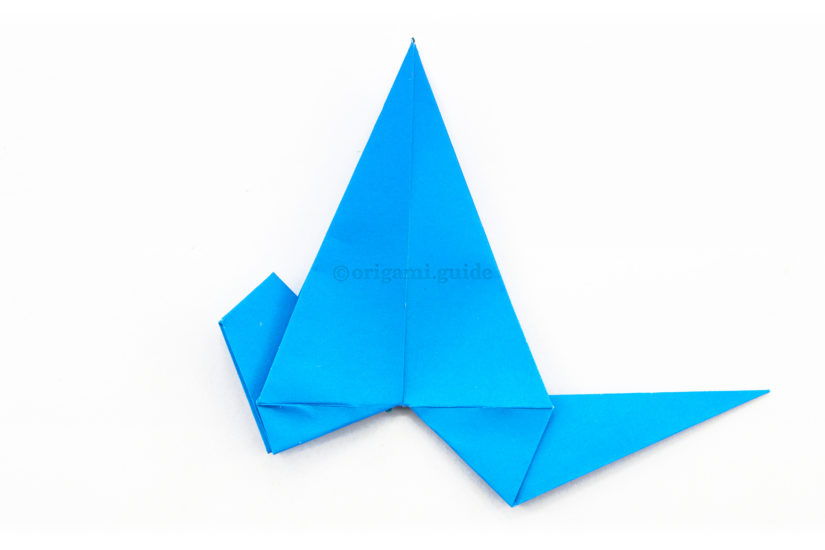
27

27. Pull the top right inner point down to the right until it's almost level with the horizontal crease on the wings.
This forms the tail. -
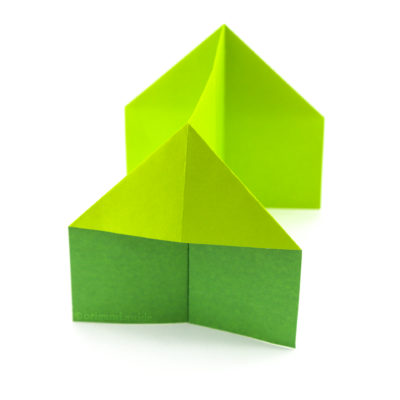
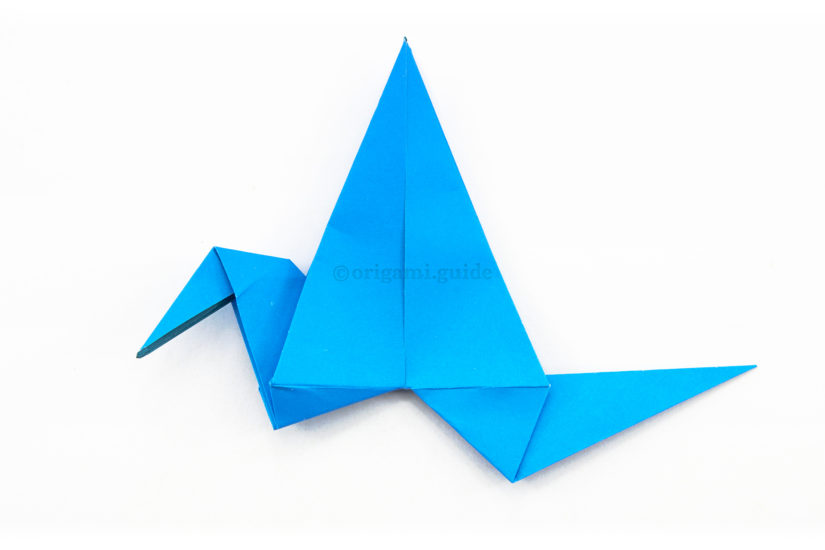
28
28. Pull the inner left section down to the left until it's aligned as shown. This forms the neck.
-
29
29. Pull out the beak and crease it in your preferred position.
-
30
30. Curl the wings, curl them towards the bird's head a little.
-
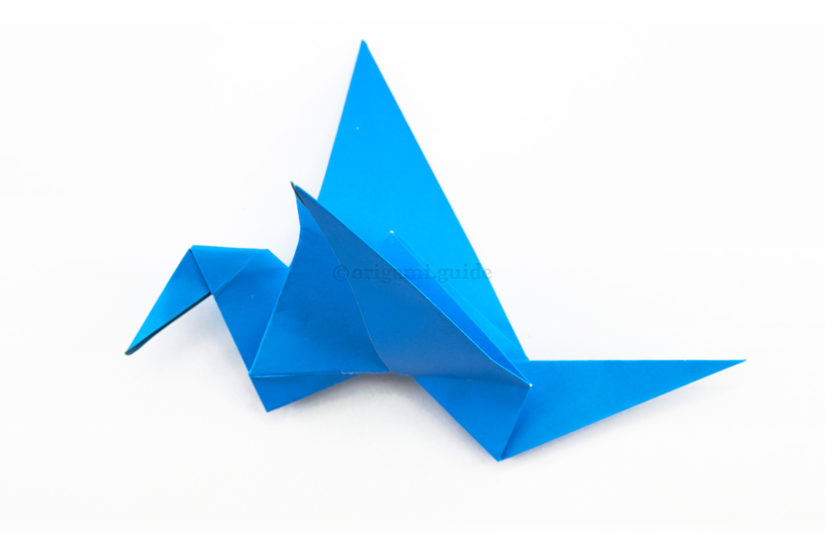
31
31. Fold the wings down a little, then tug on the tail gently, outwards away from the head.
-
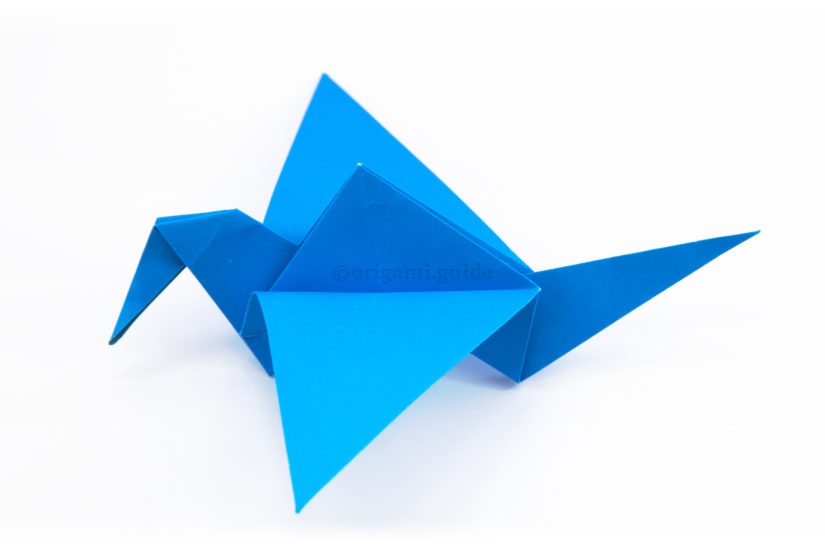
32
32. You may need to adjust the curl of the wings and the level of the wings in order for it to 'flap'. Hold onto the bird's lower neck whilst pulling the tail.
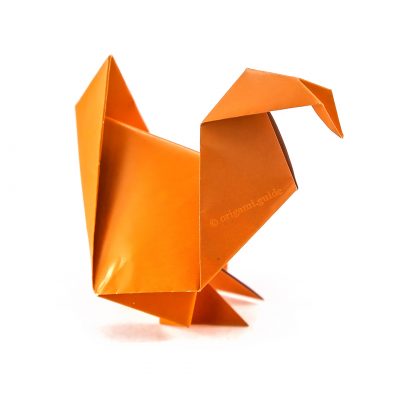
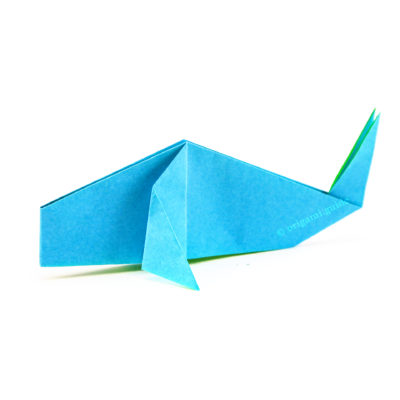
Your Origami Flapping Bird is Complete!
You’ve completed the Origami Flapping Bird, why not check out our other Origami Birds, here.
Did you make this origami? How did it go? Leave a comment & submit your photo here.
Related origami: Easy Origami
Traditional Origami
Origami Toys
Origami Birds
What Origami Birds To Fold Next?
- « How To Make An Easy Origami Swan

- How To Make a Traditional Origami Crane »
 View all Origami Birds Tutorials
Leave A Comment
Did you fold this Origami Flapping Bird? Let us know what you thought.
You can also upload a photo of your result!