Made this origami? Leave a comment & submit your photo here.
-
19
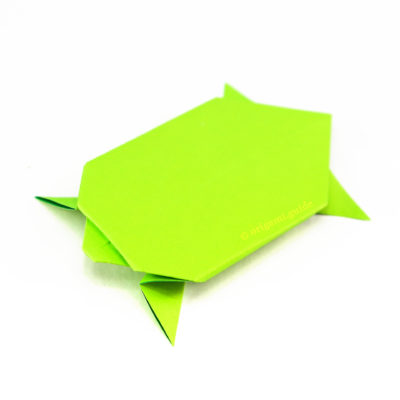
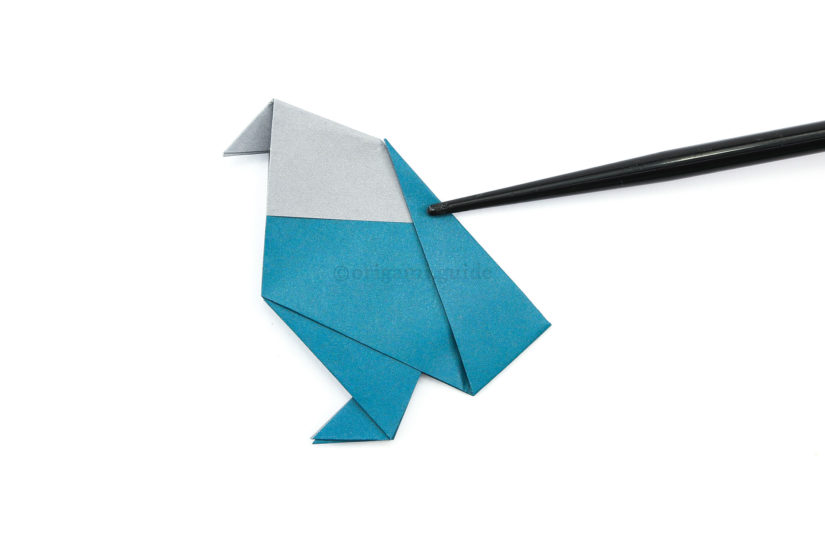
19. Inside reverse fold the beak, you can alter this as desired.
-
20
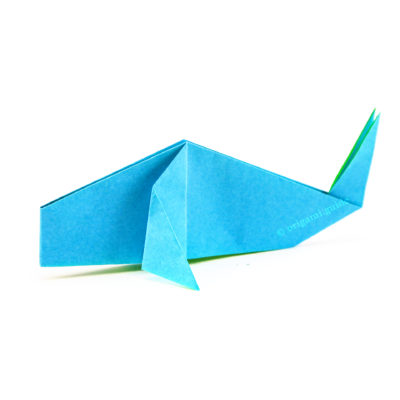
20. For the tail, fold the tip up, aligning with the back edge.
-
21
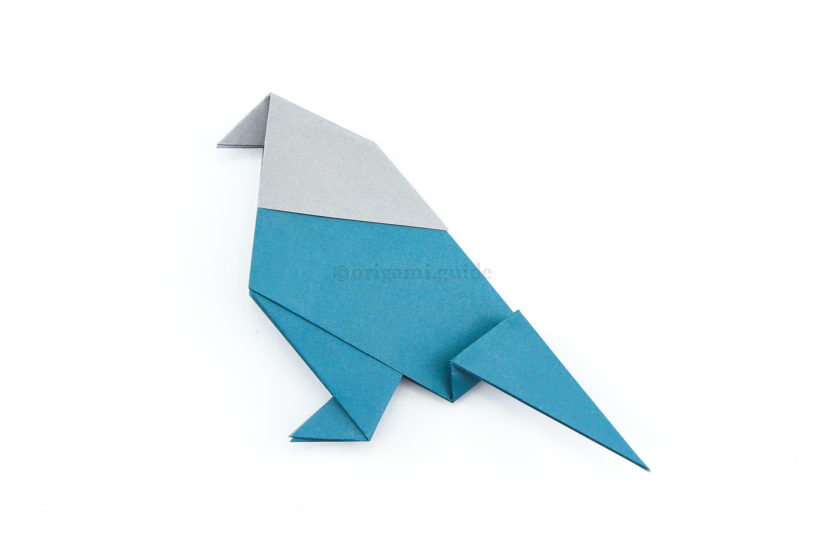
21. Fold the tip back down, leaving a gap.
-
22
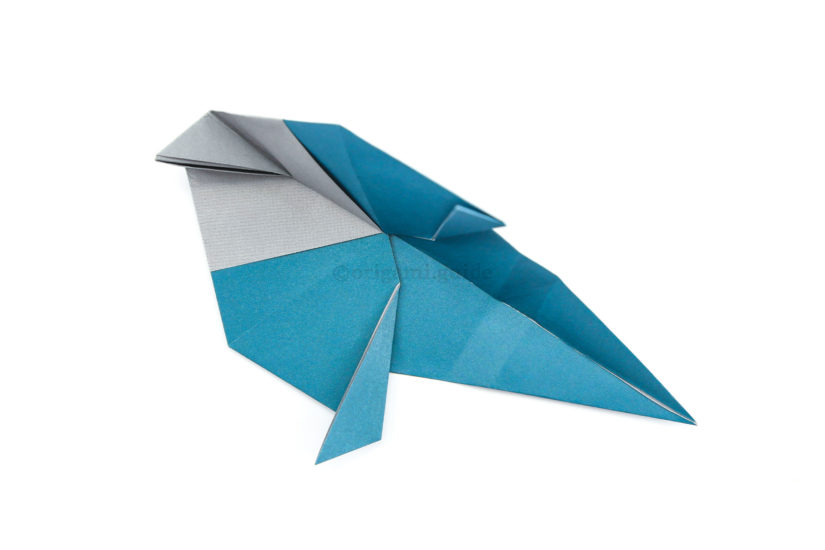
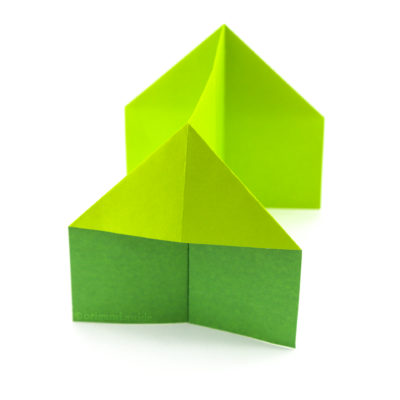
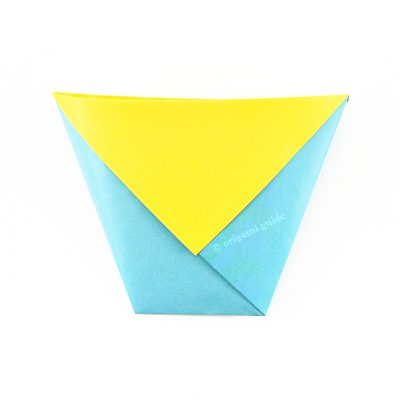
22. Unfold the previous 2 steps and open the bird up so you can see inside.
-
23
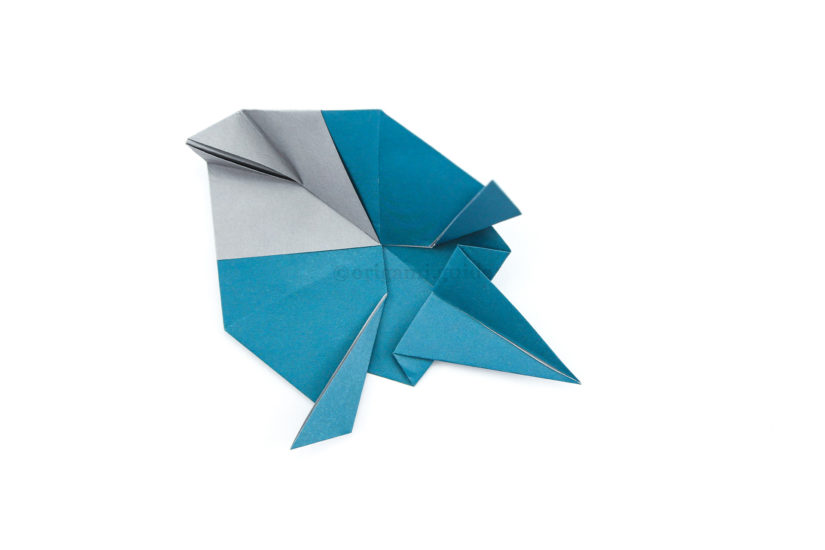
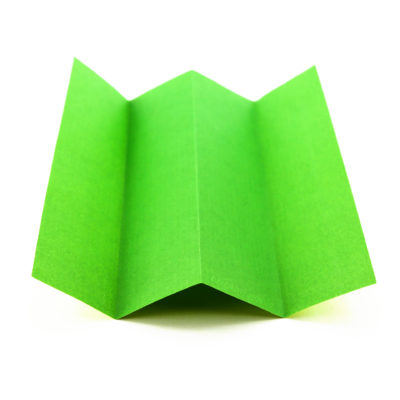
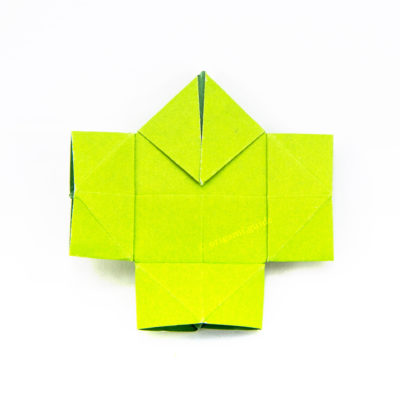
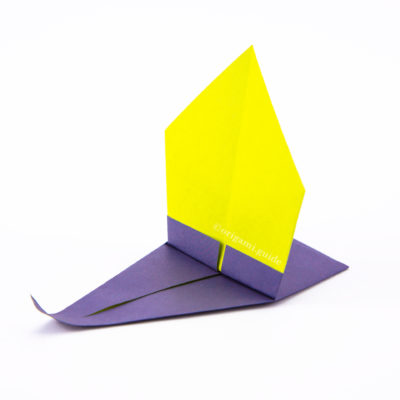
23. Next re-fold the pleat folds inside the bird.
-
24
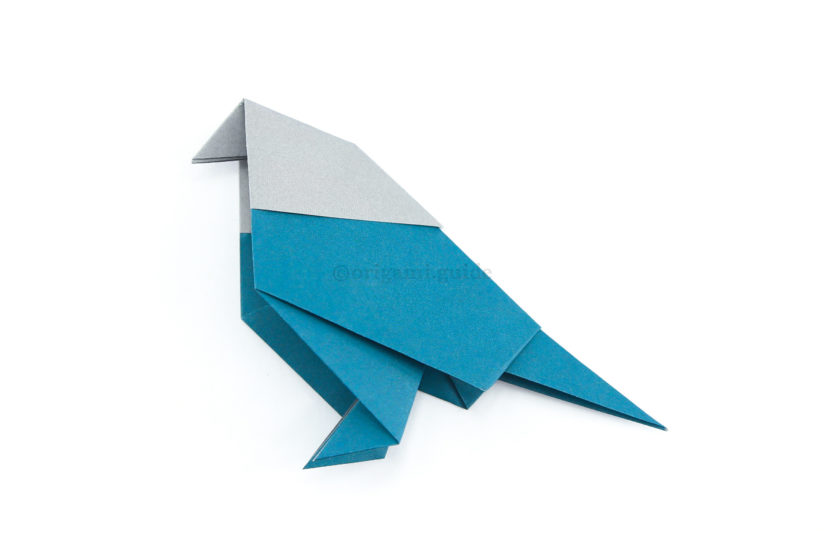
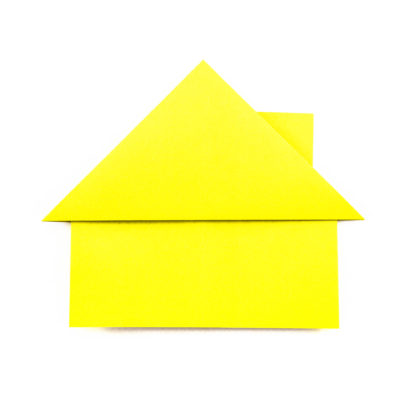
24. Re-fold the bird back together. If your bird has trouble standing, adjust the tail of the bird by pulling and re-folding into place.
-
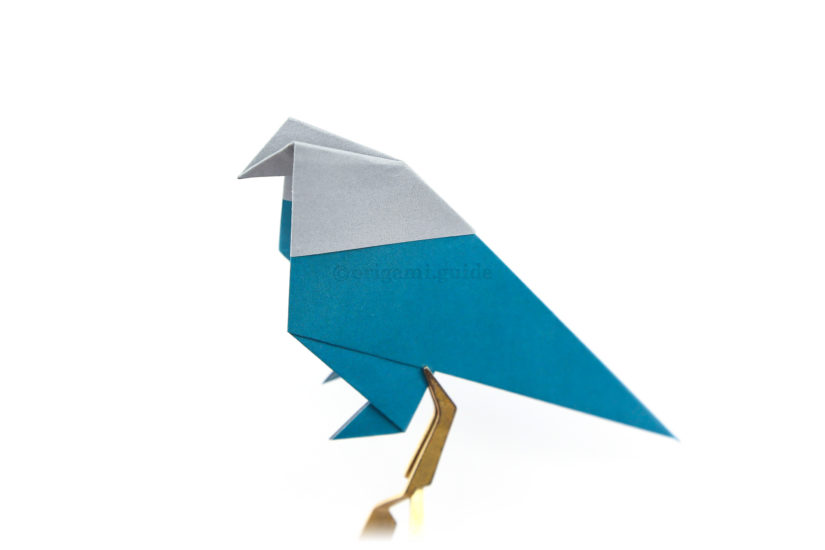
25
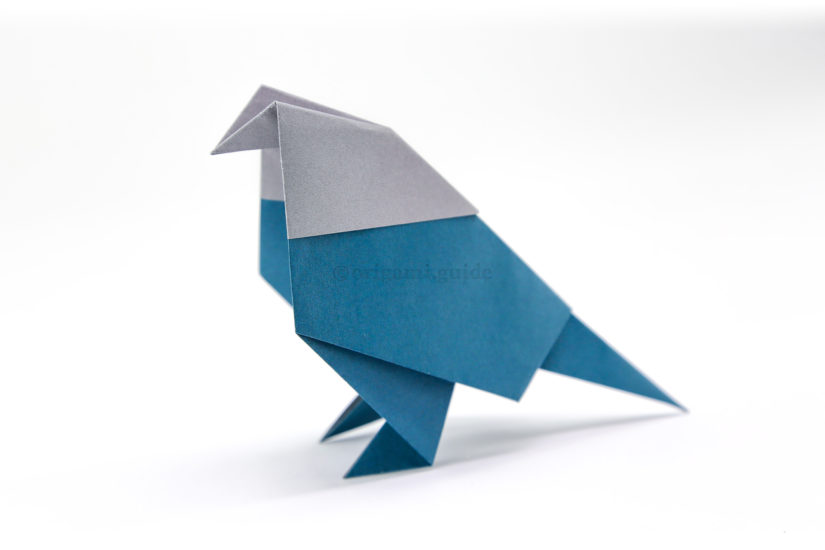
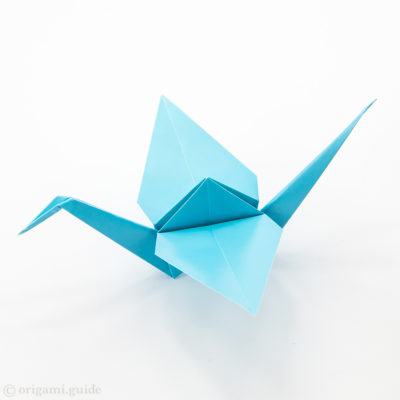
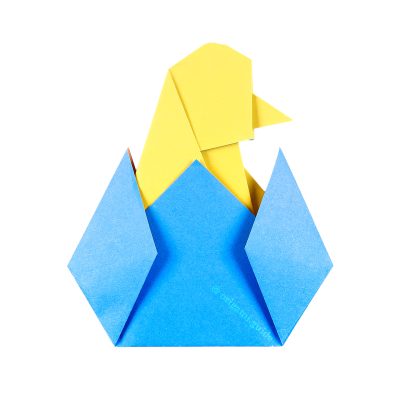
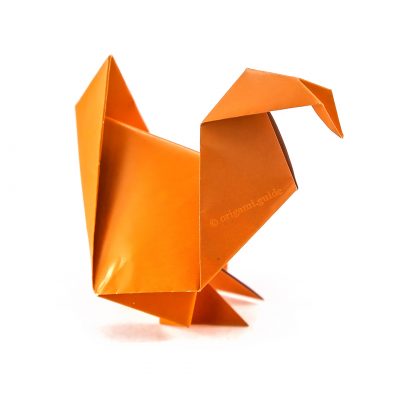
25. Your origami bird is complete!
Your Origami Bird is Complete!
You’ve completed the Origami Bird, why not check out our other Origami Birds, here.
Did you make this origami? How did it go? Leave a comment & submit your photo here.
Related origami: Easy Origami
Traditional Origami
Origami Birds
What Origami Birds To Fold Next?


Leave A Comment
Did you fold this Origami Bird? Let us know what you thought.
You can also upload a photo of your result!