Made this origami? Leave a comment & submit your photo on the last page here.
-
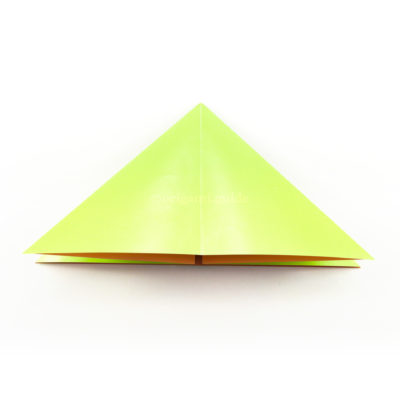
11
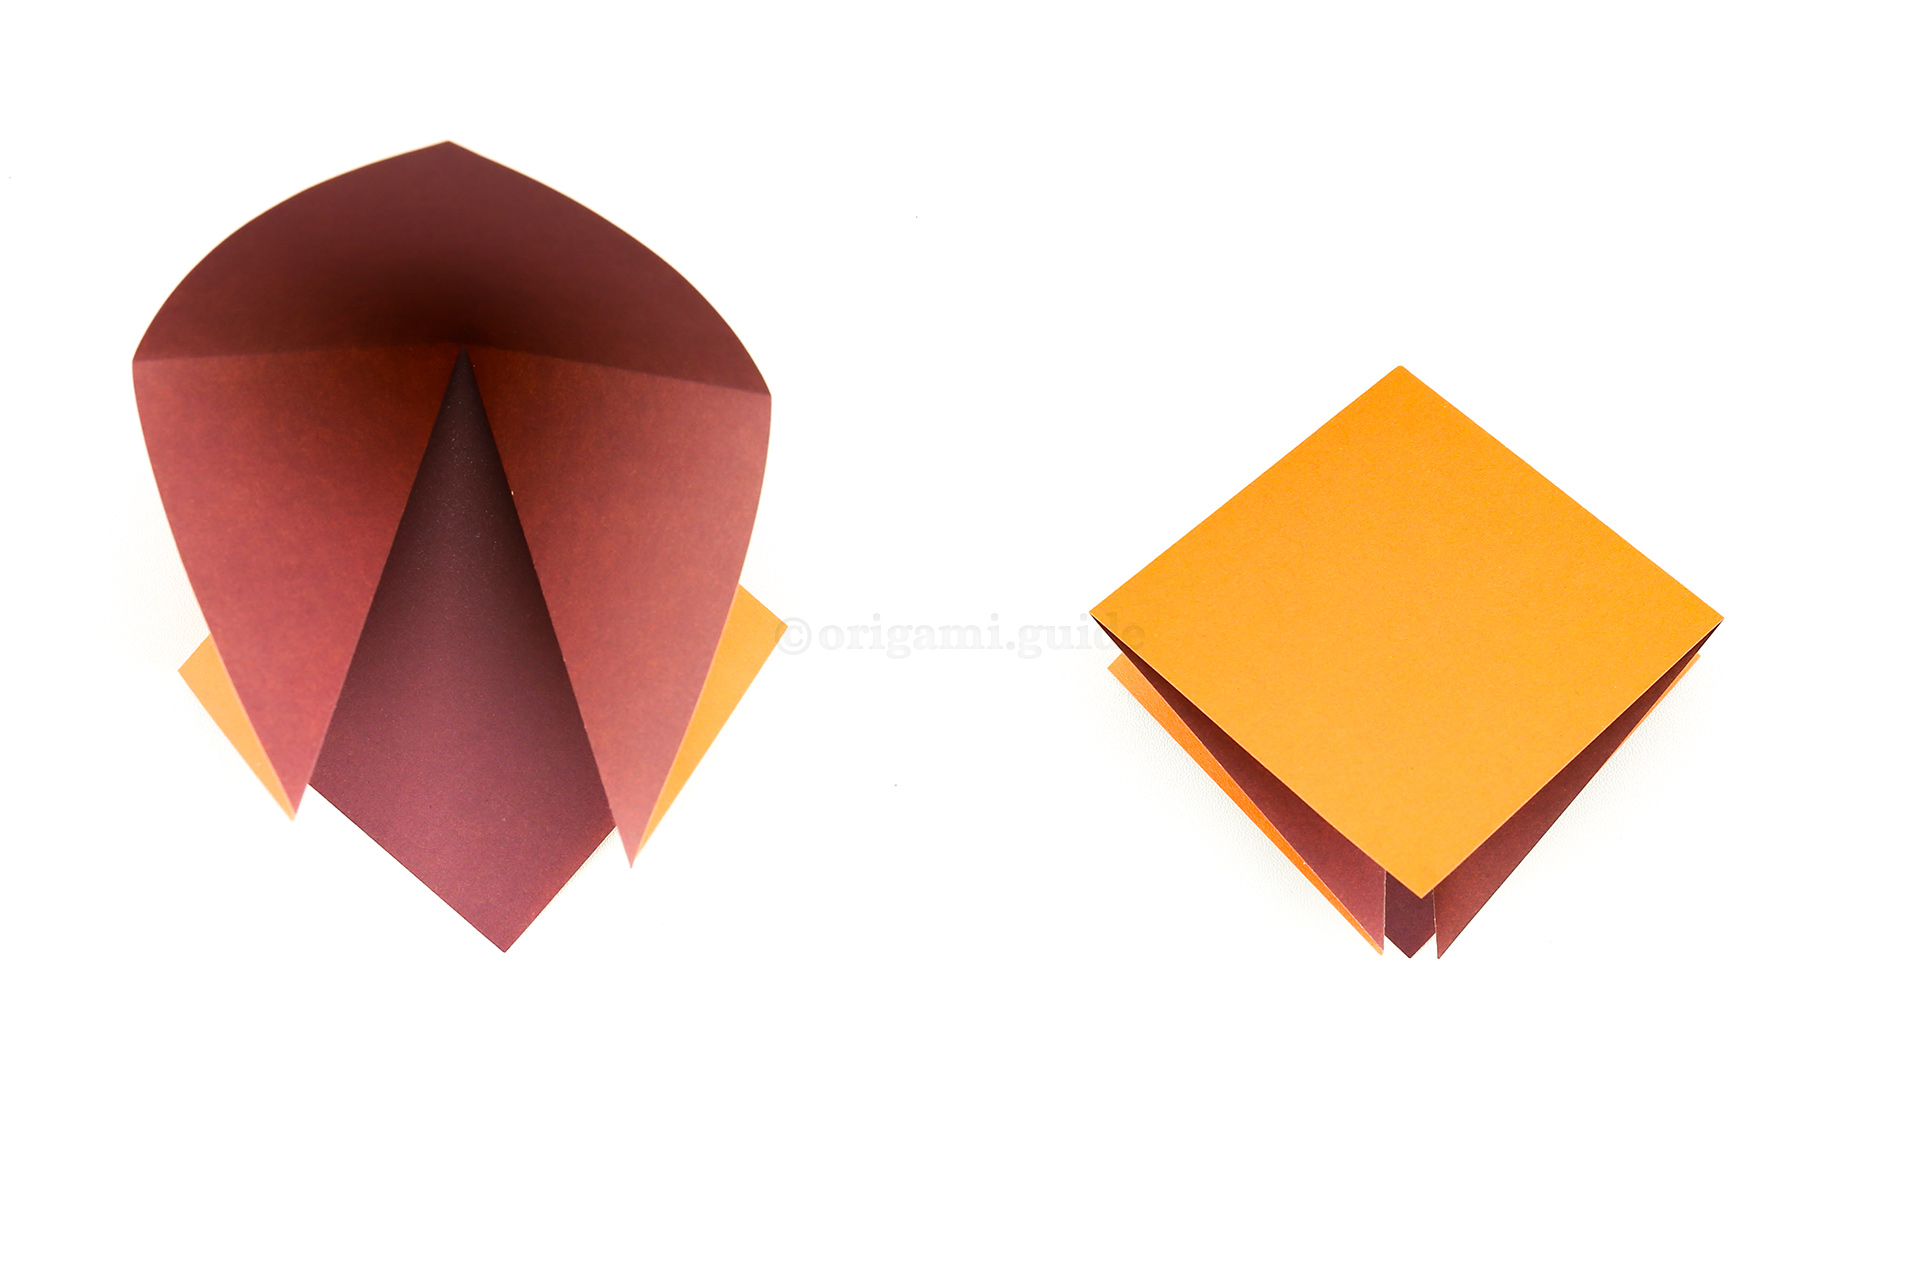
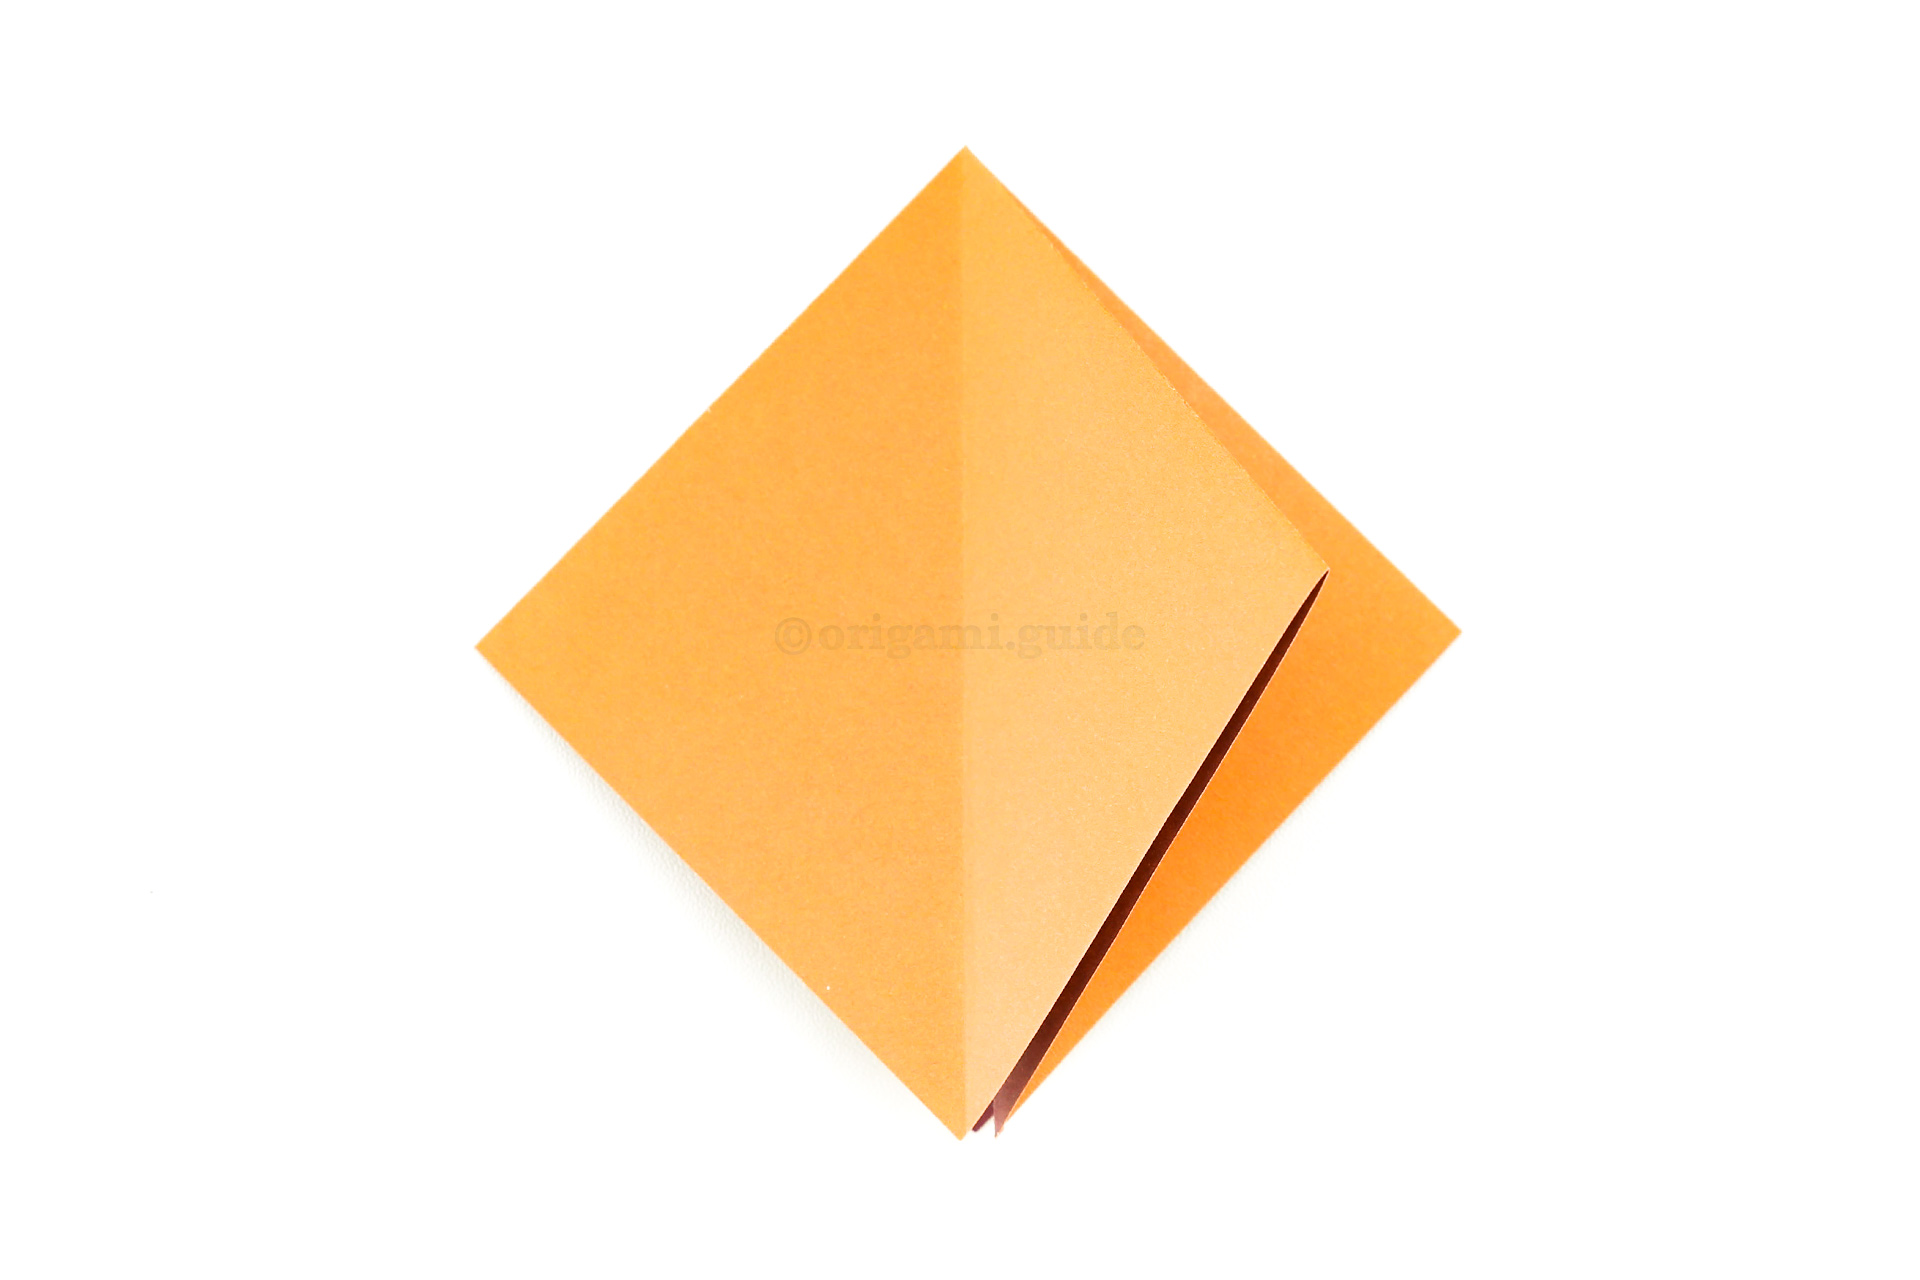
Step 11: Pushing the centre of the paper, bring the right and left sides of the paper inwards and down. This is an origami square base.
-
12
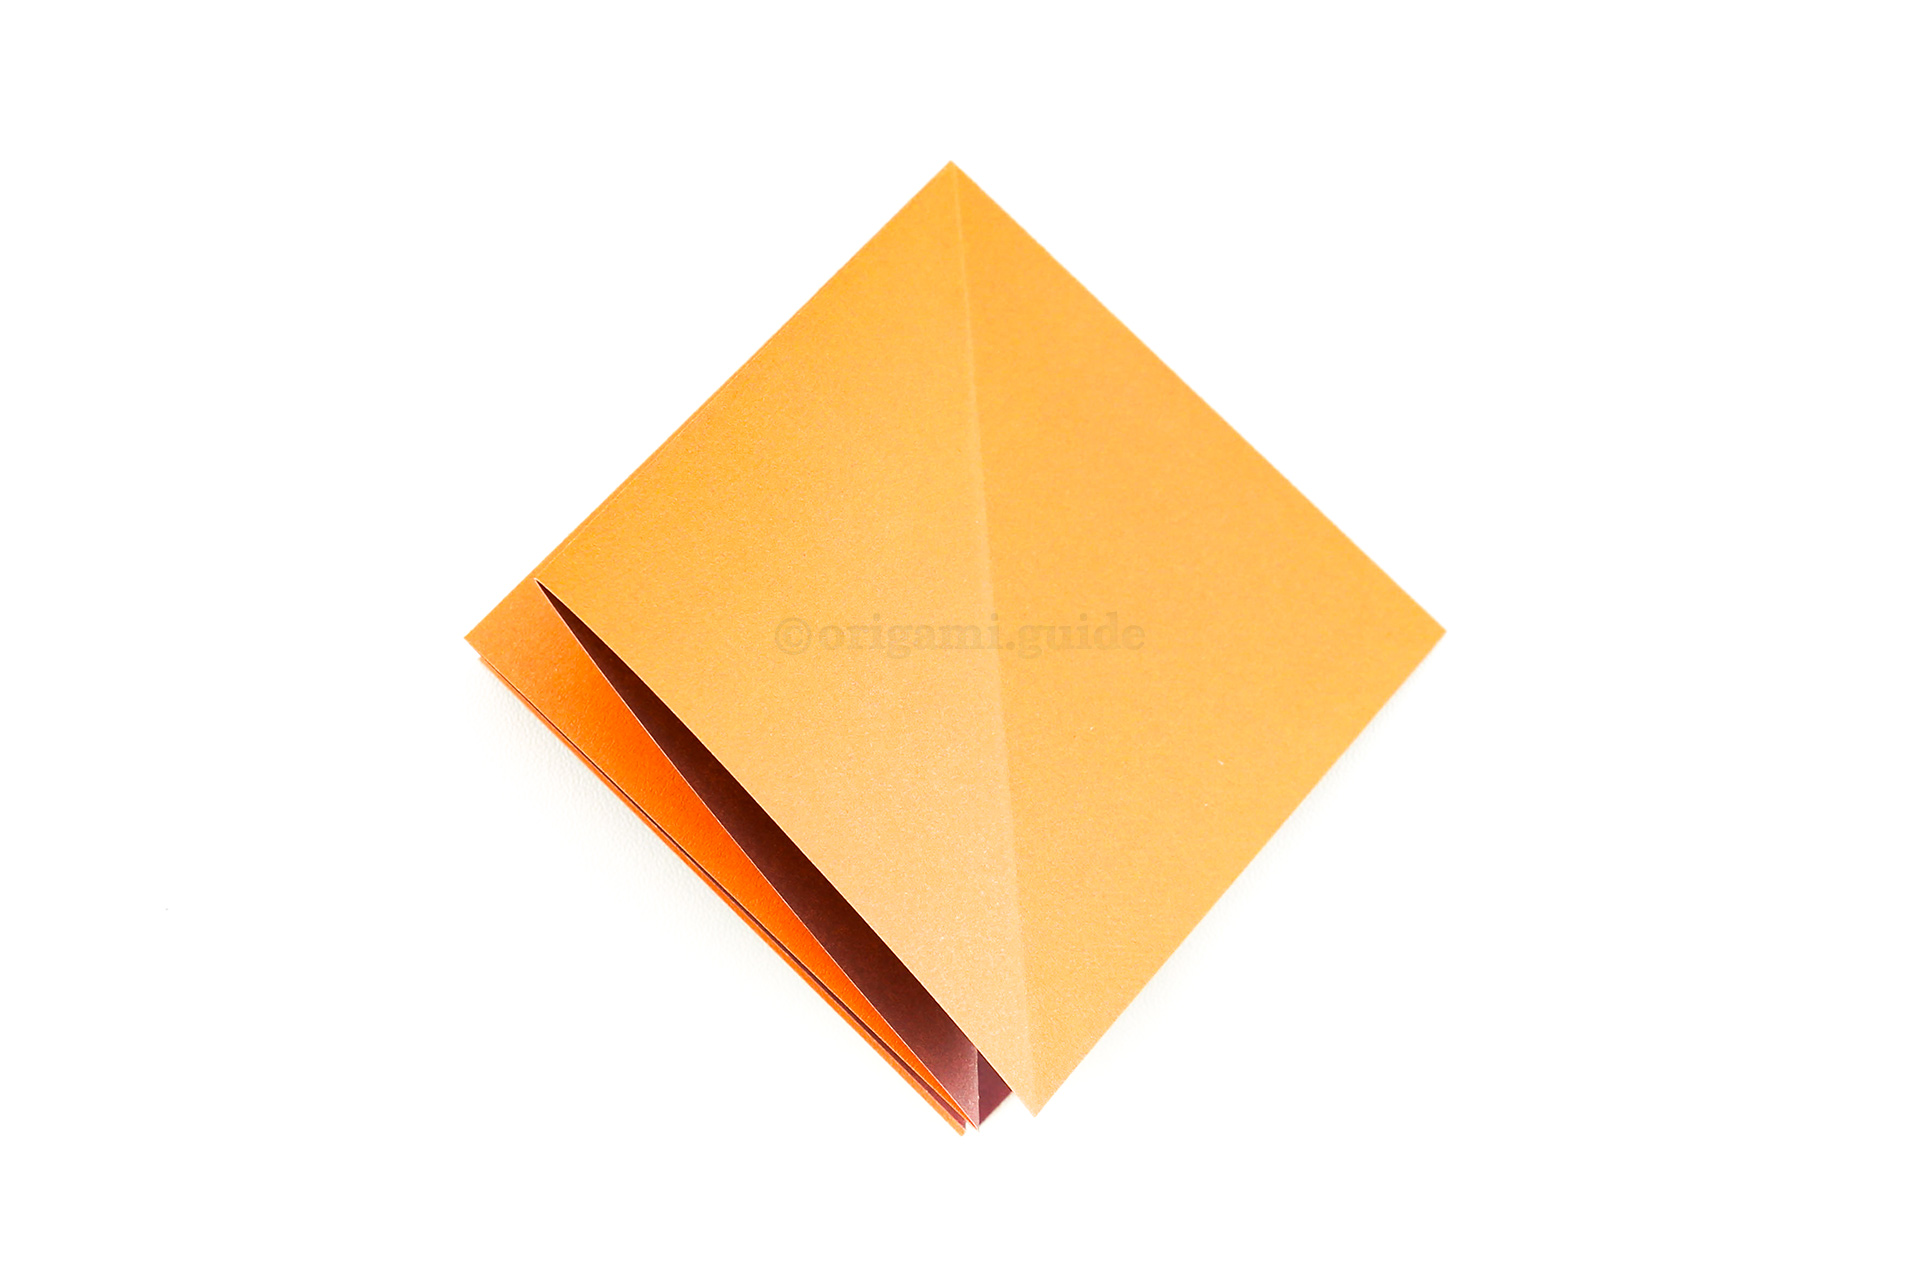
Step 12: Fold the front right flap over to the left, so that there will only be one layer on the right.
-
13
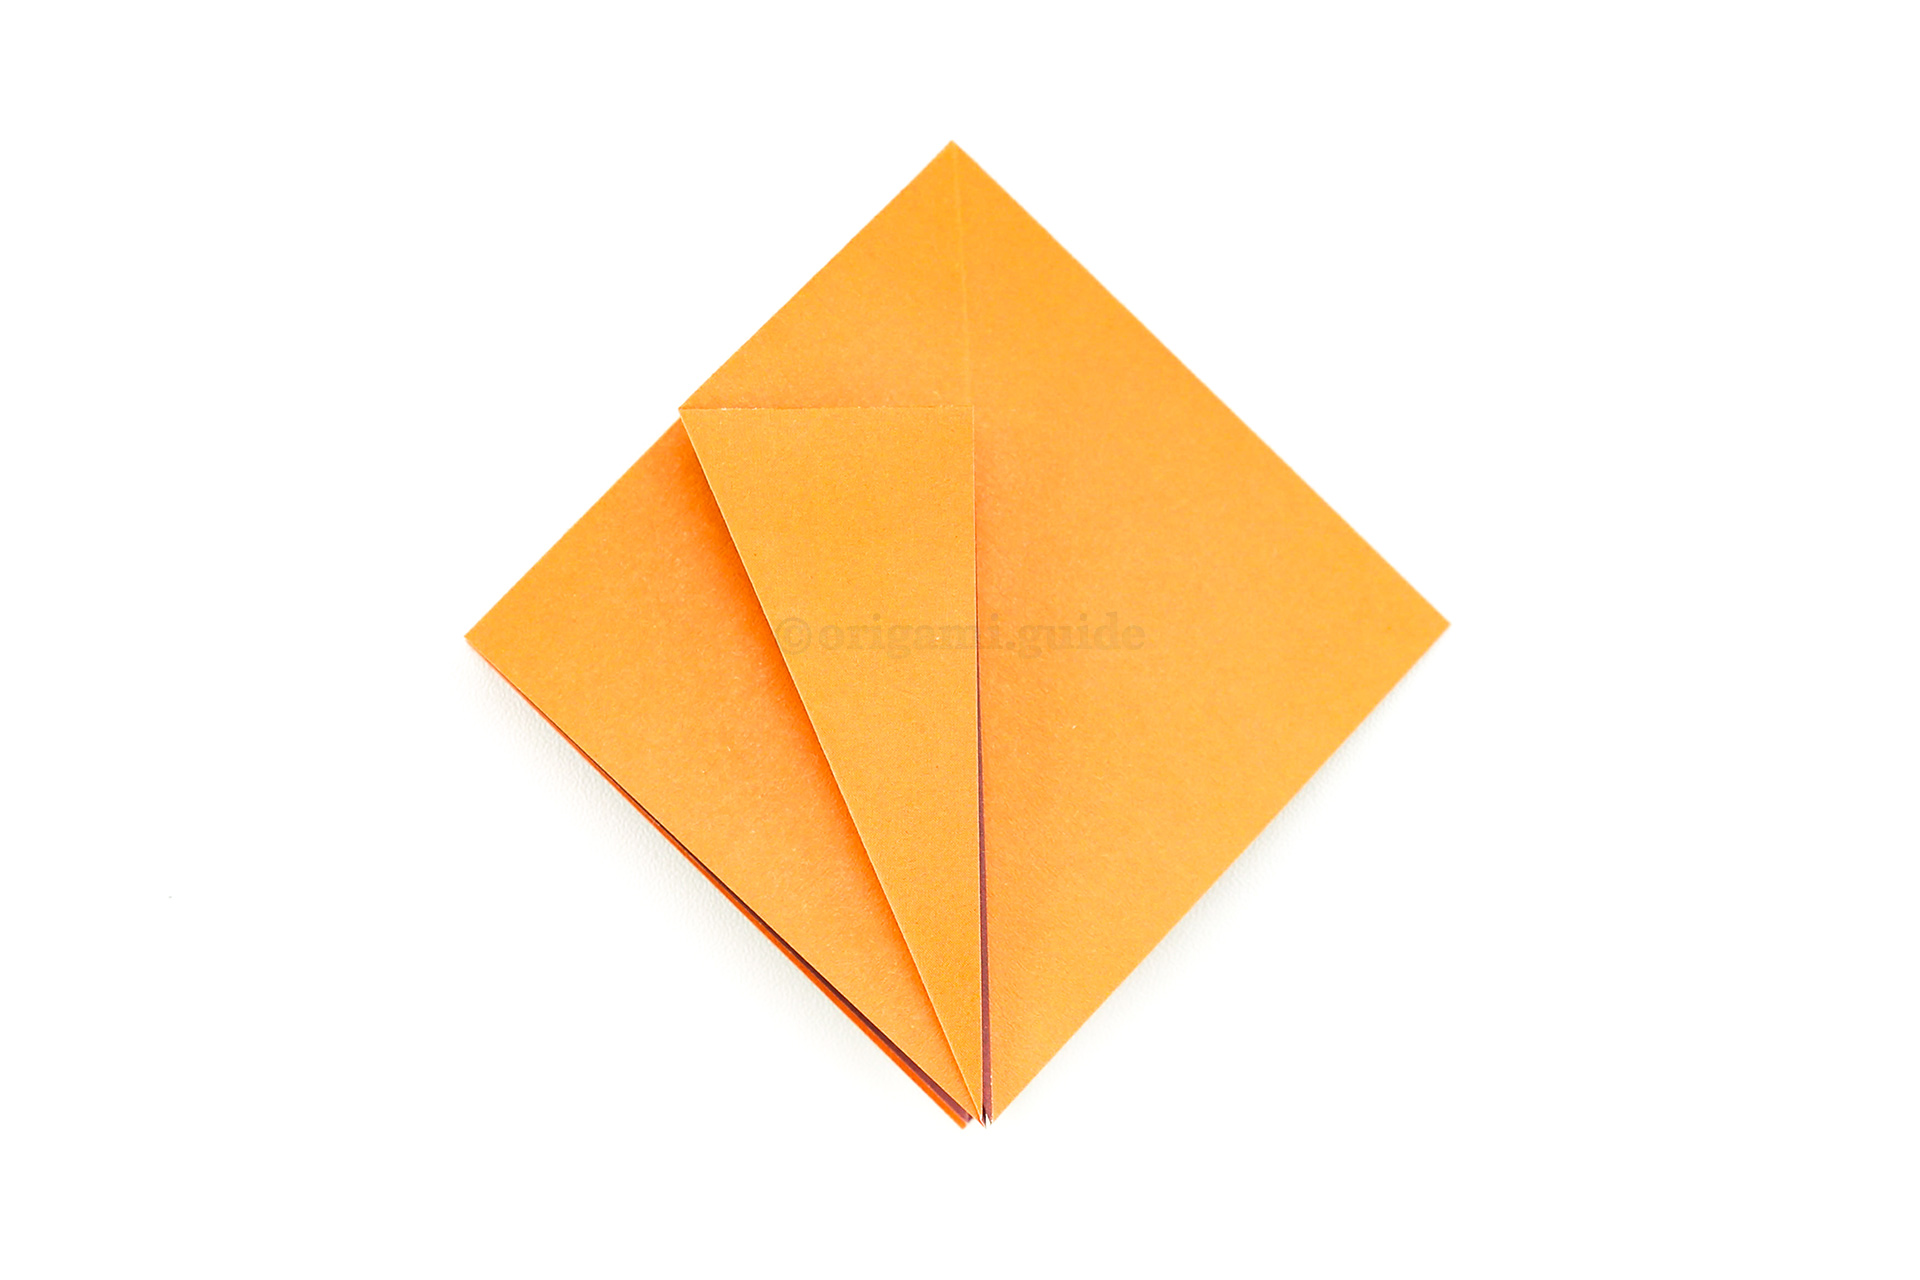
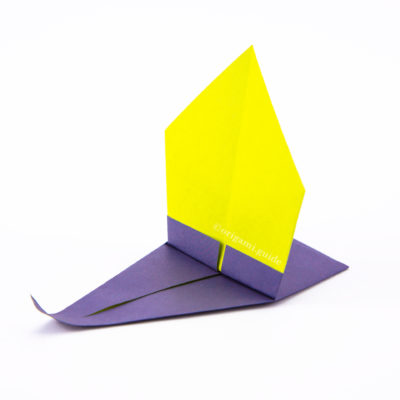
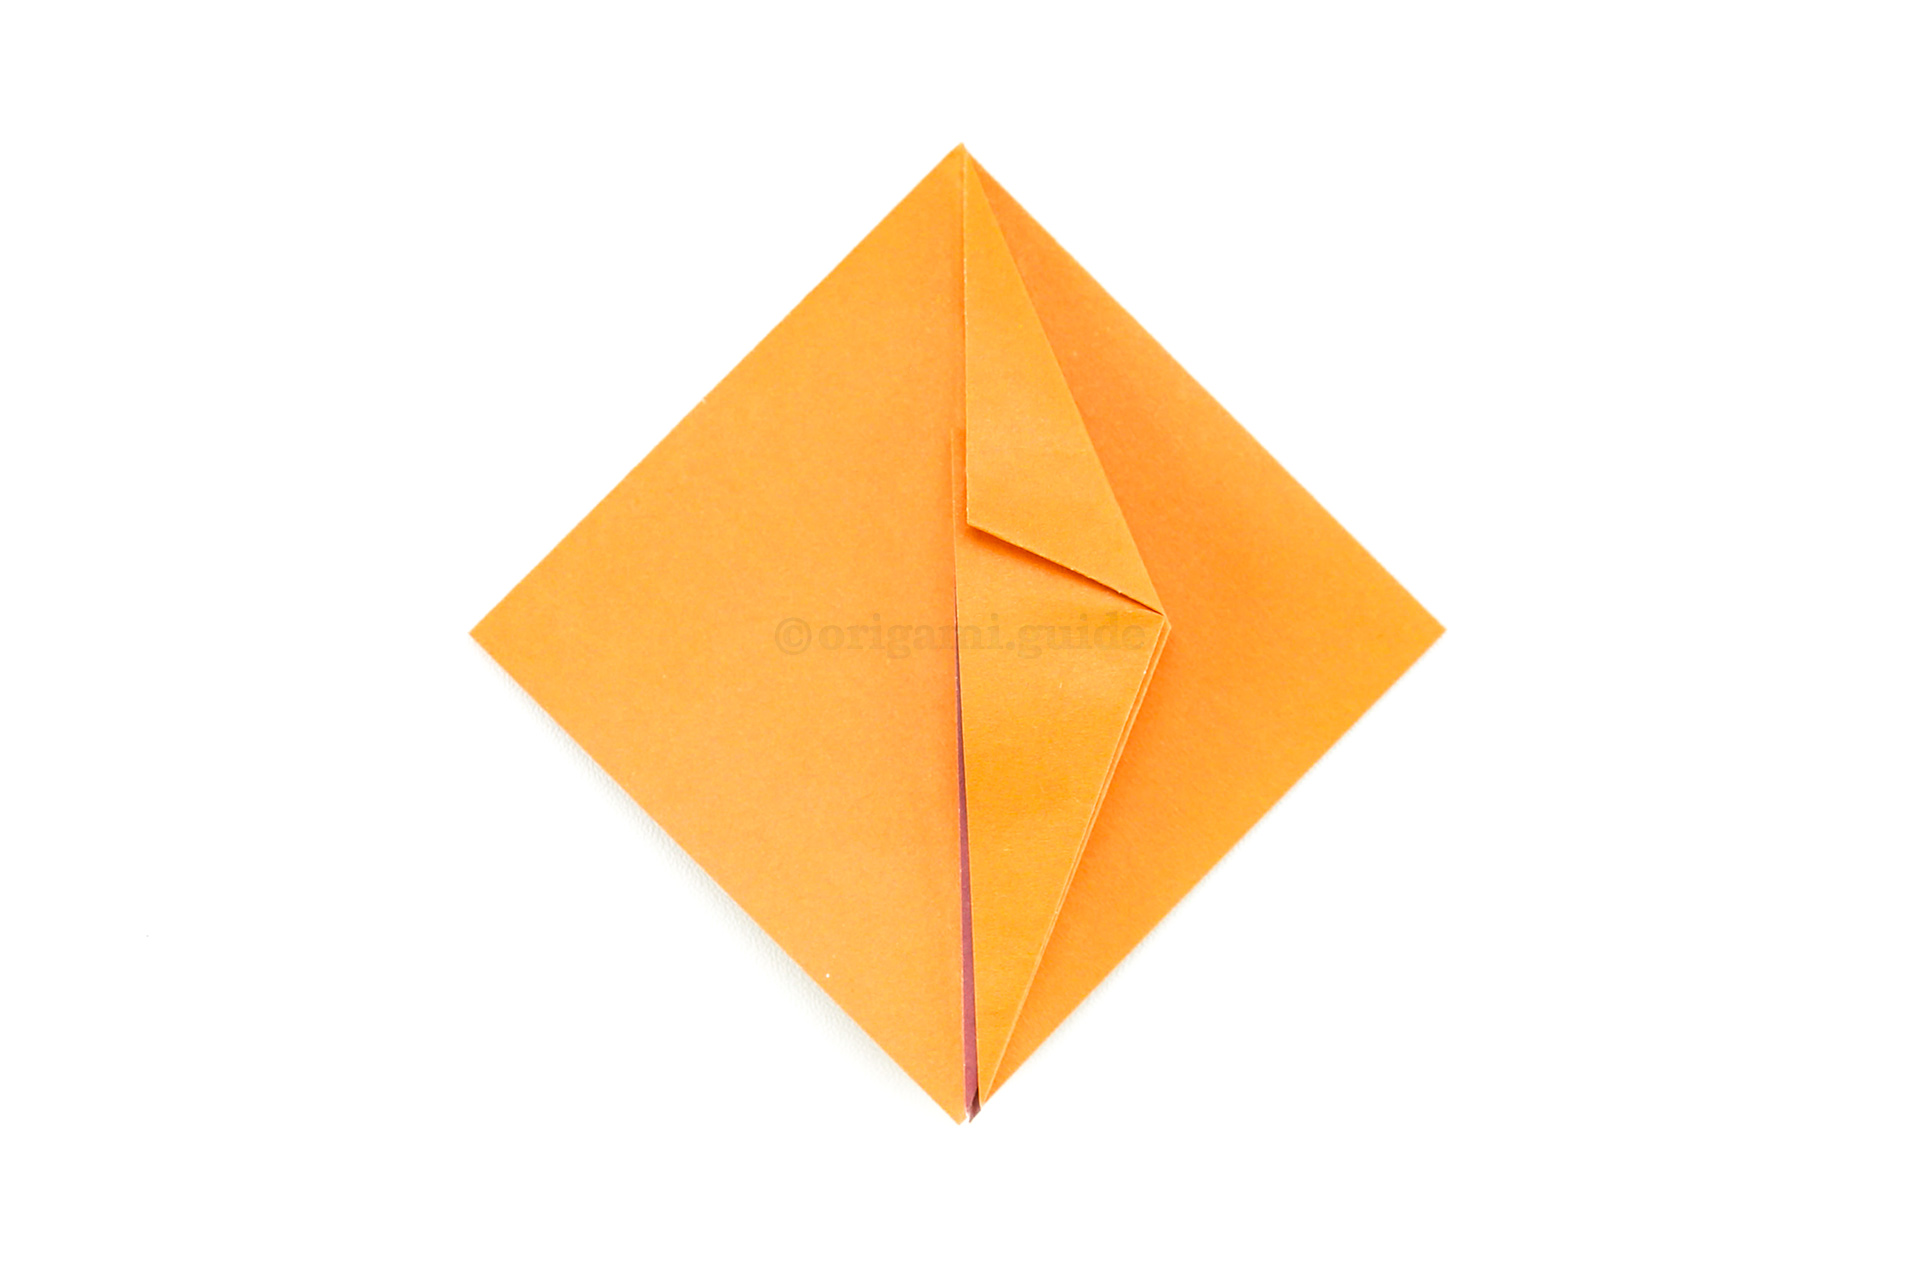
Step 13: Fold the lower left edge of the front flap to align with the vertical central crease as shown.
-
14
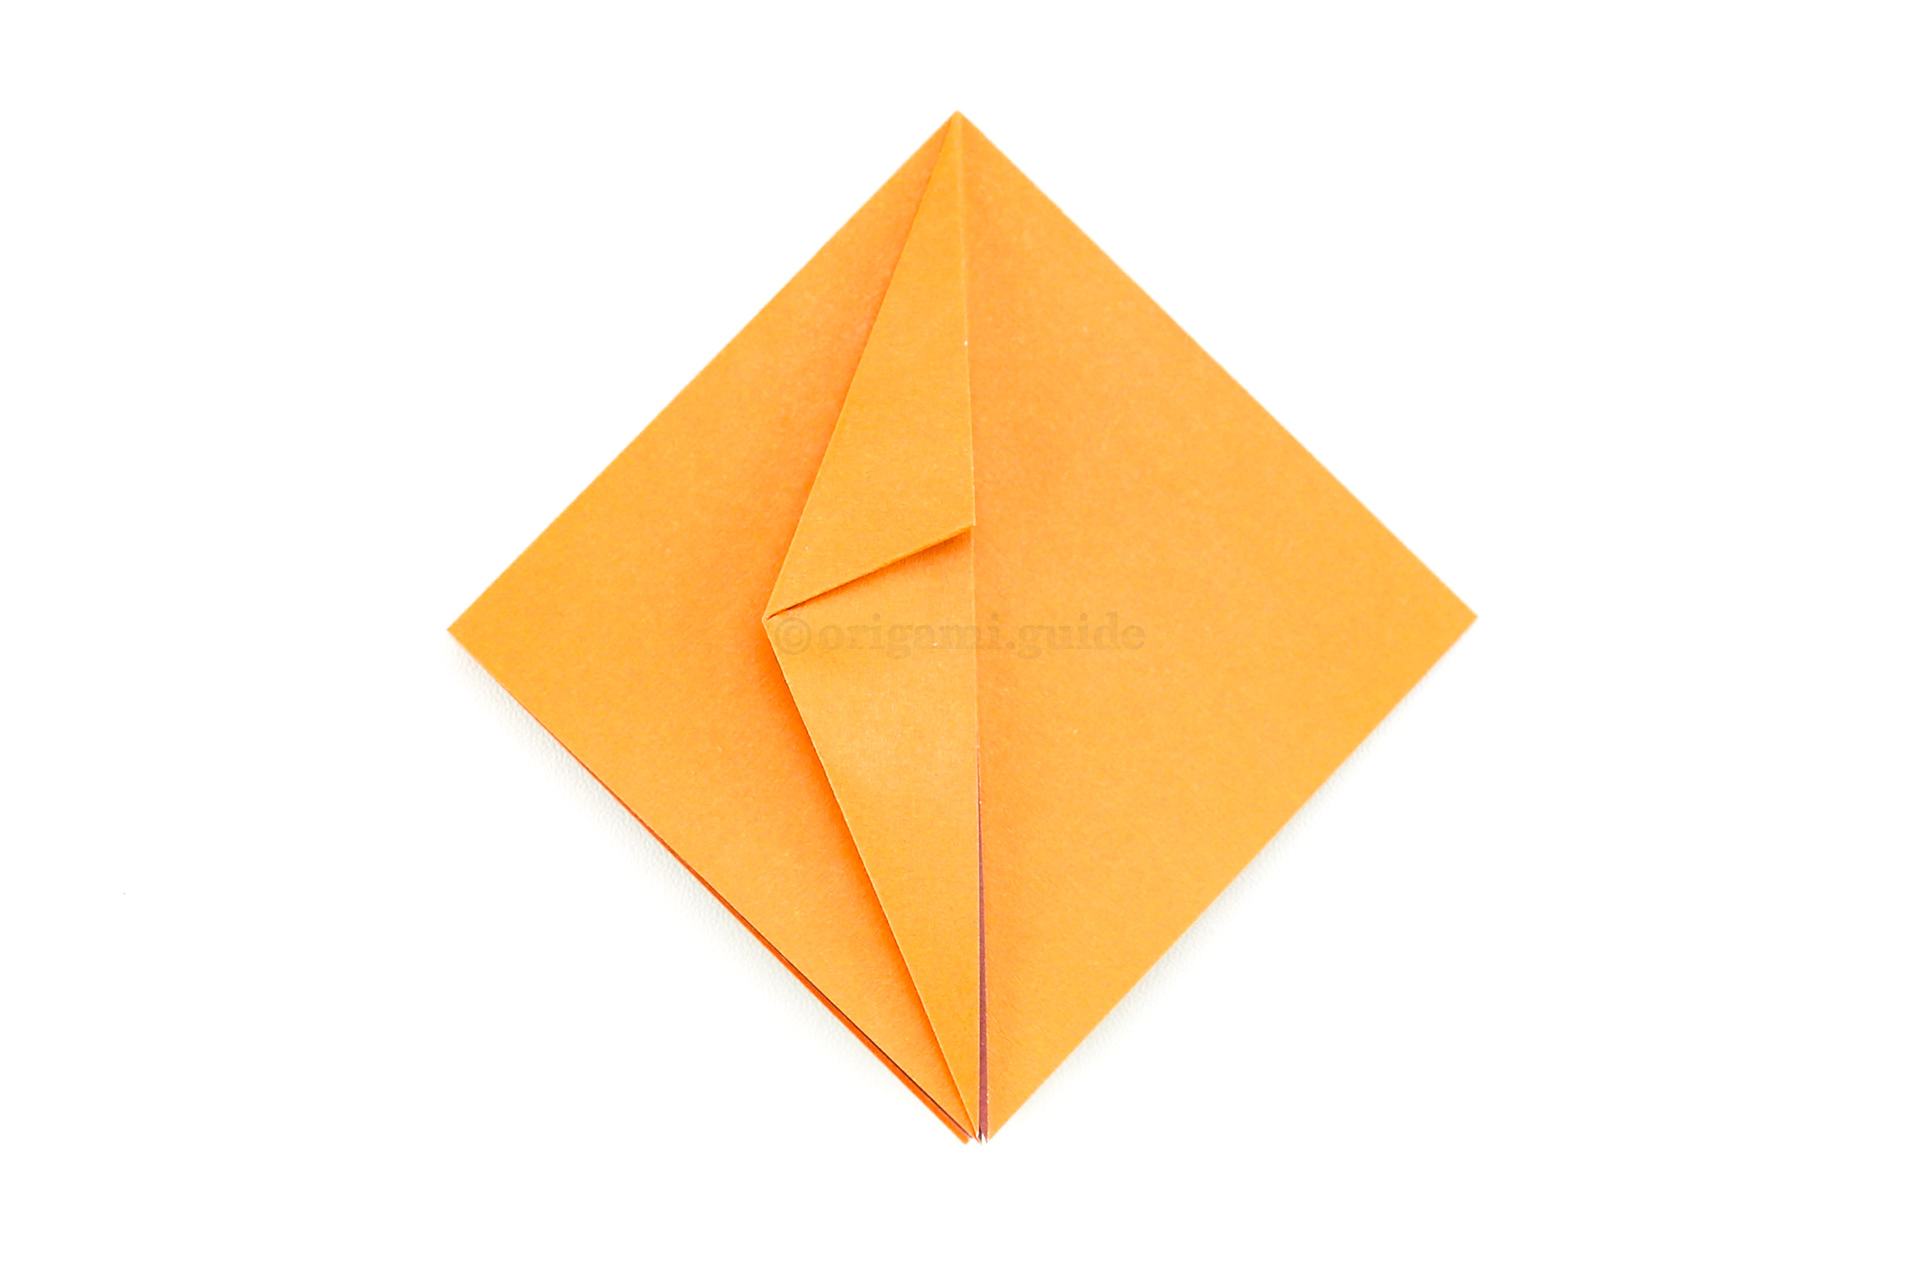
Step 14: Fold the top left edge diagonally in to also align with the central vertical crease as shown.
-
15
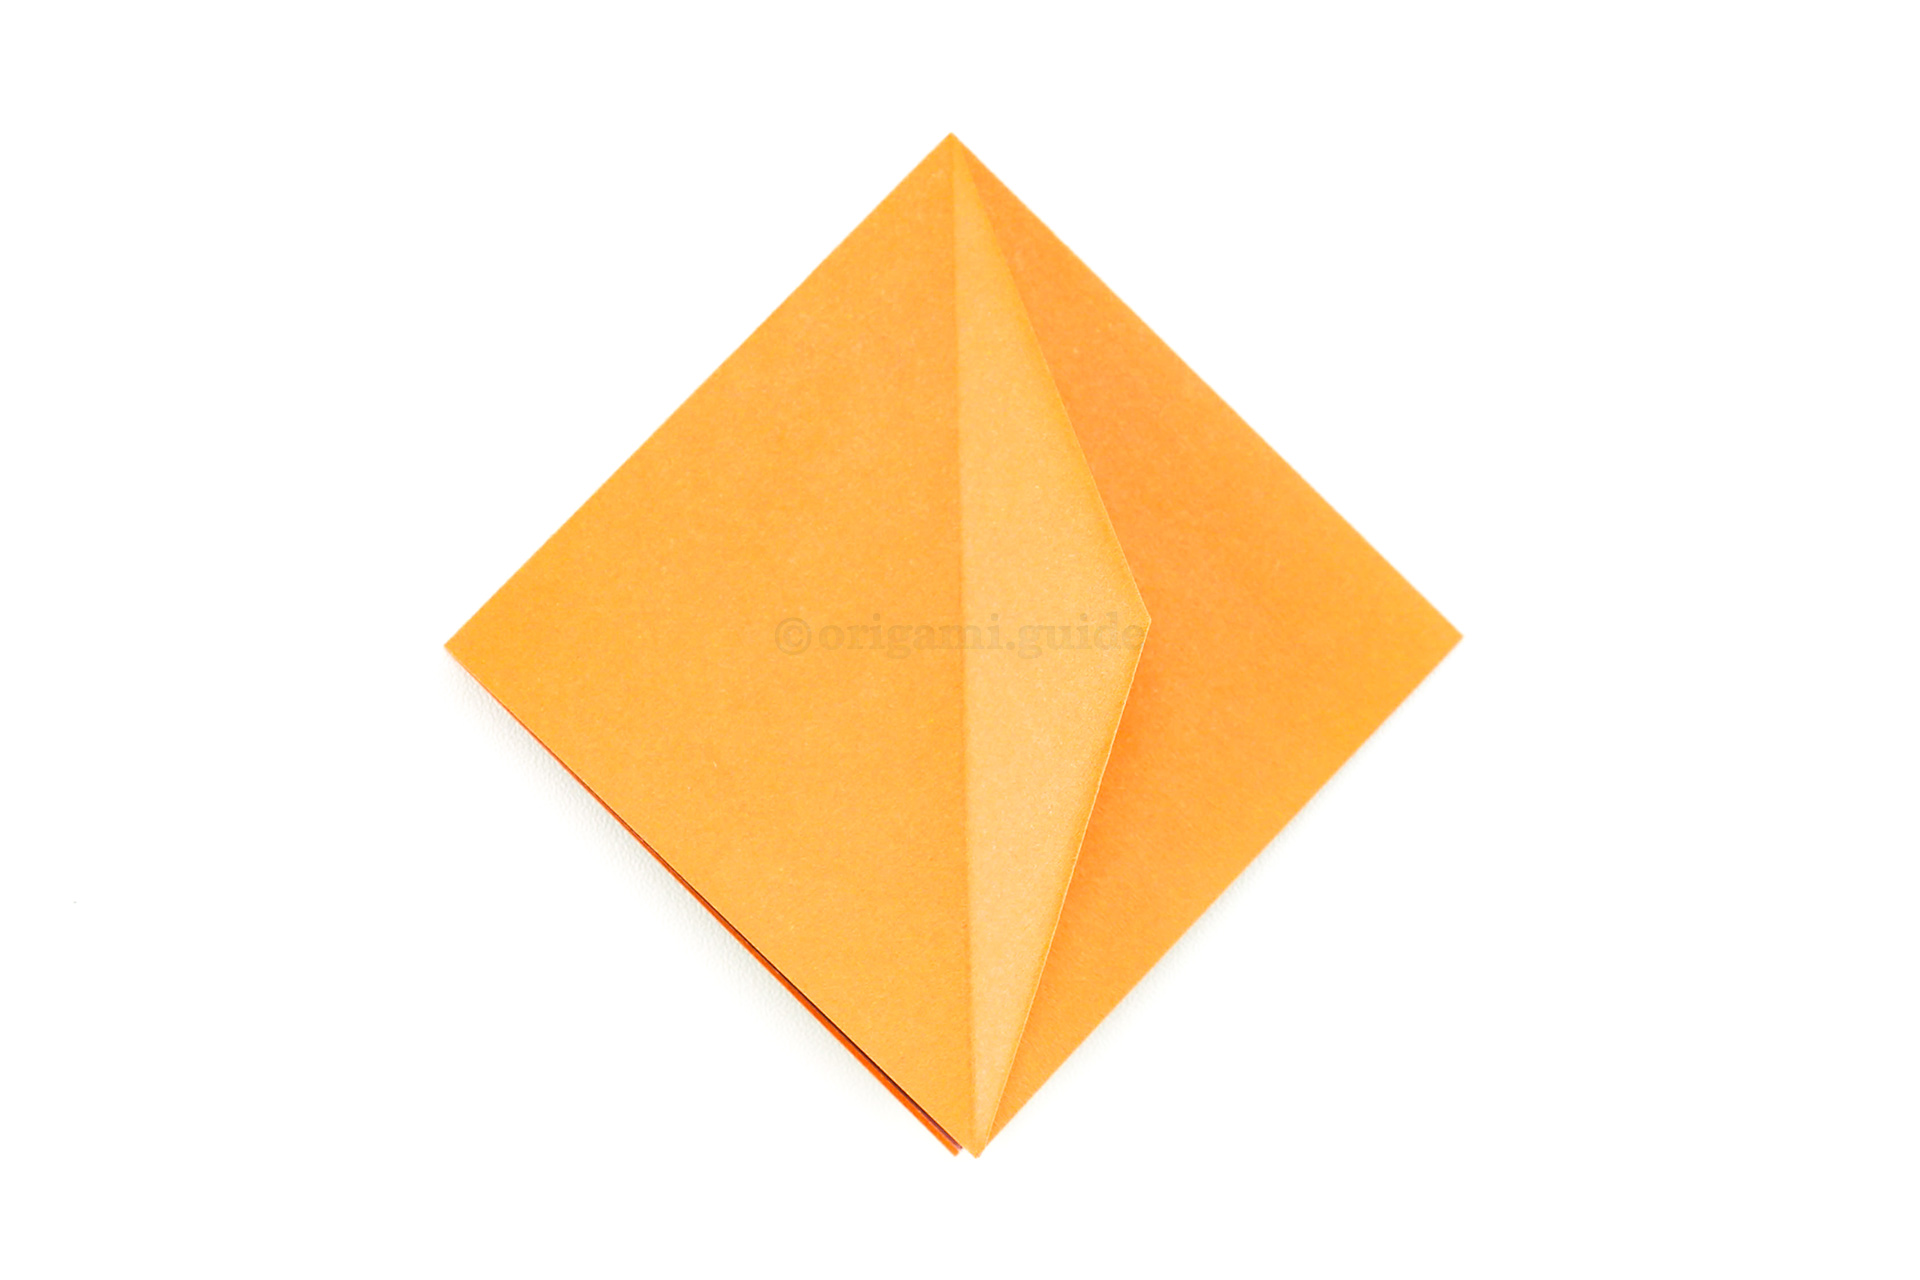
Step 15: Flip the flap over to the right.
-
16
Step 16: Flip the left flap over to the right.
-
17

Step 17: Repeat the same process on this flap. Fold the lower right edge diagonally in to meet the central vertical crease.
-
18
Step 18: Fold the top right edge diagonally in to also align with the central vertical crease as shown.
-
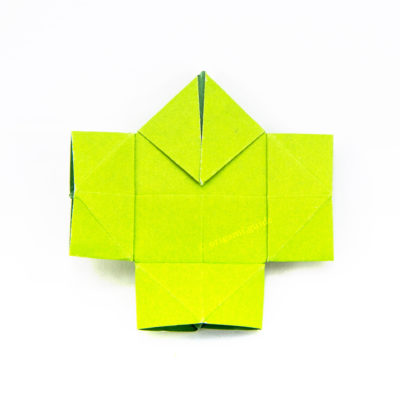
19

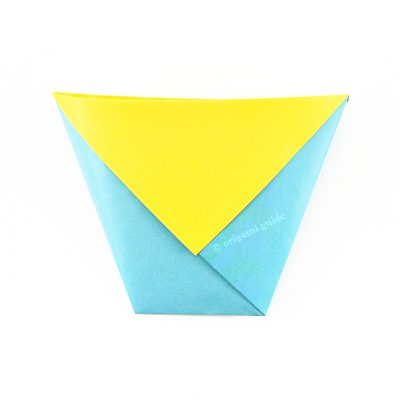
Step 19: Fold the front-most flap over to the left, revealing a diamond shape.
-
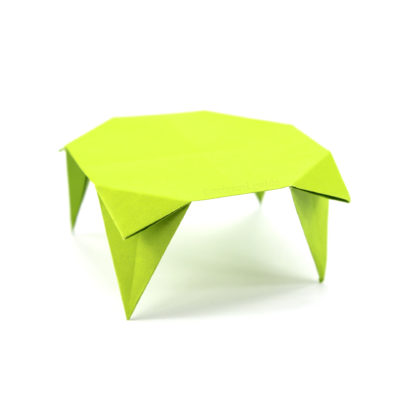
20
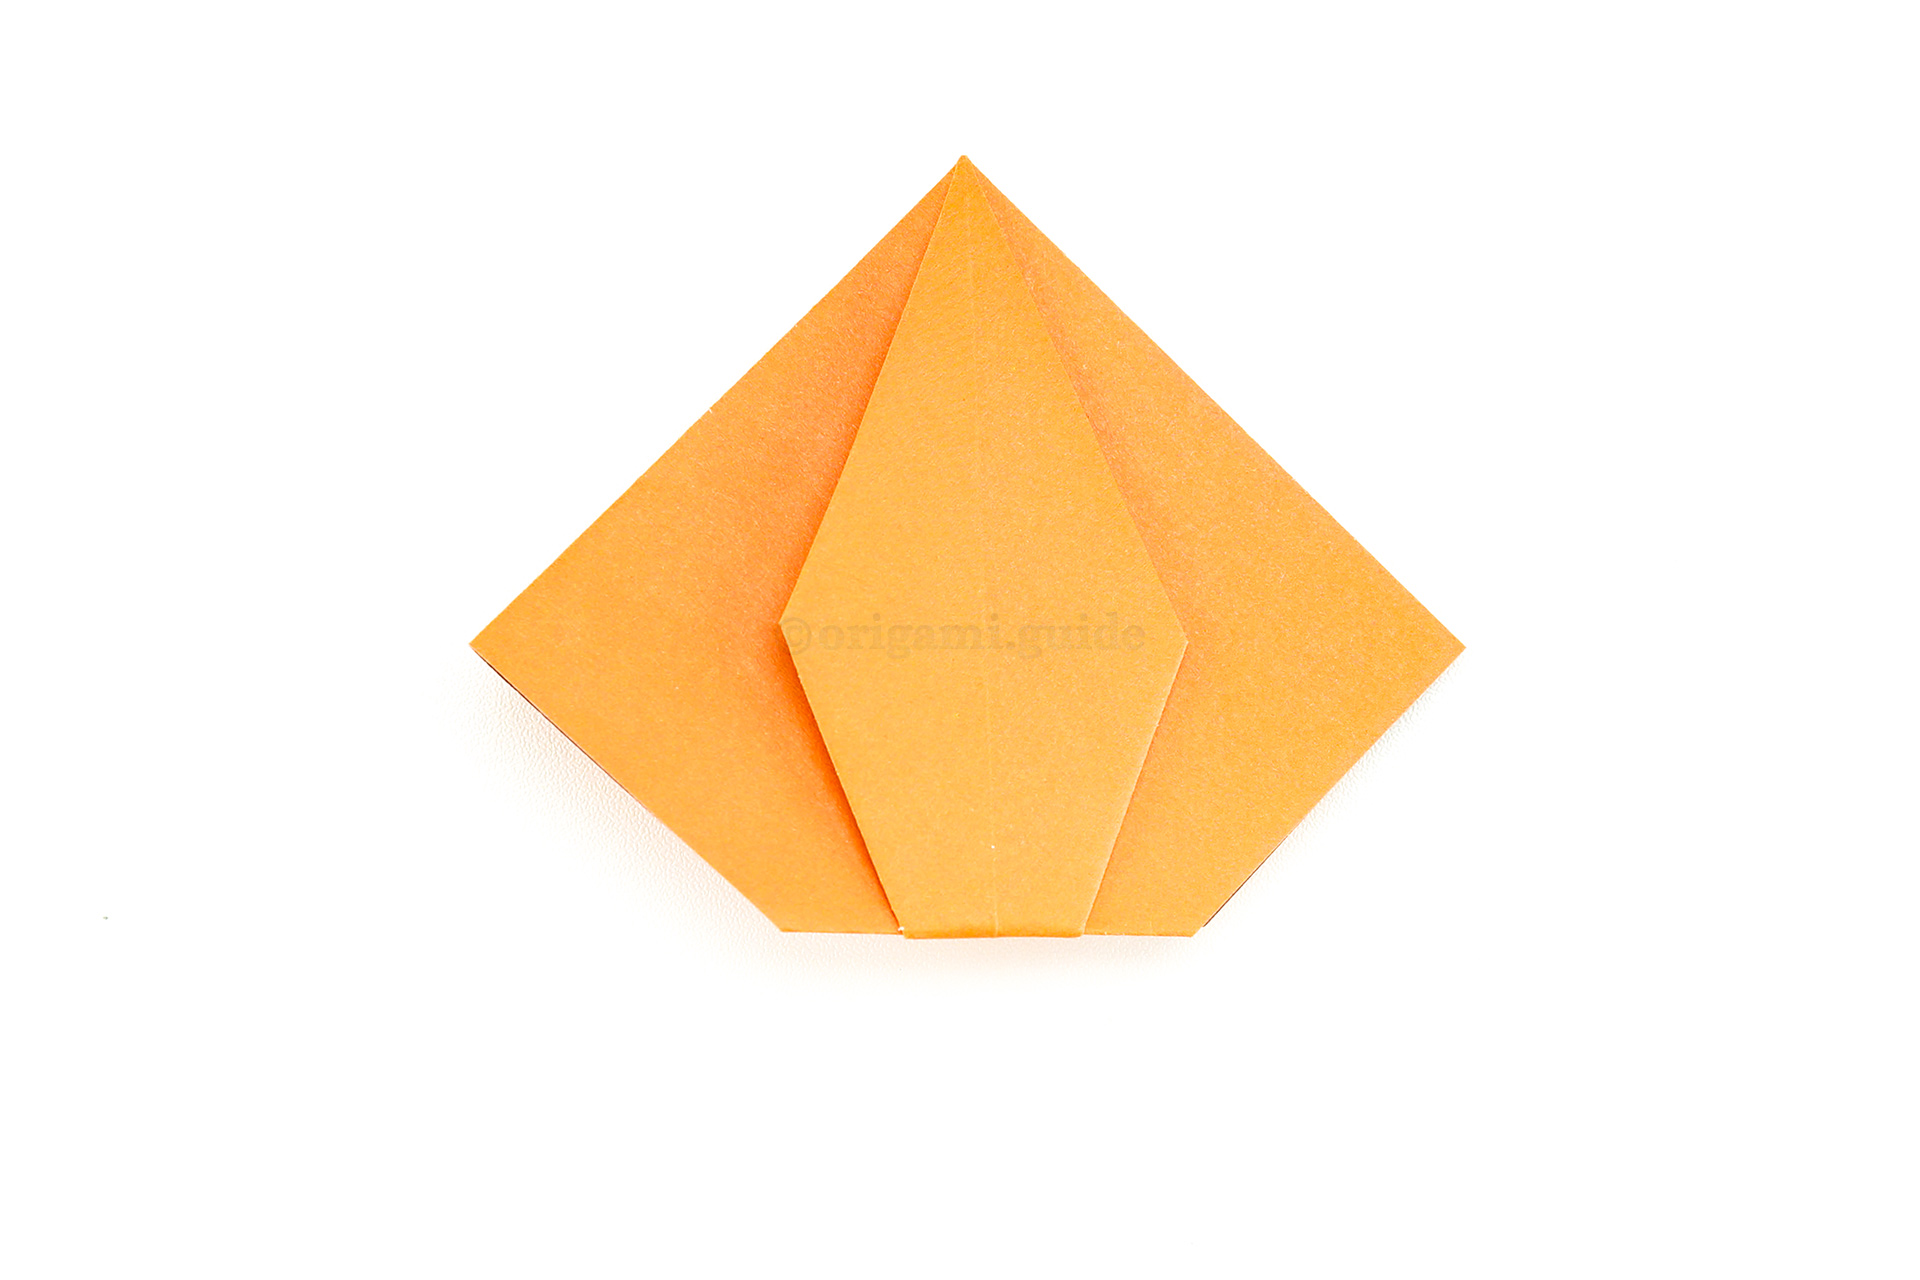
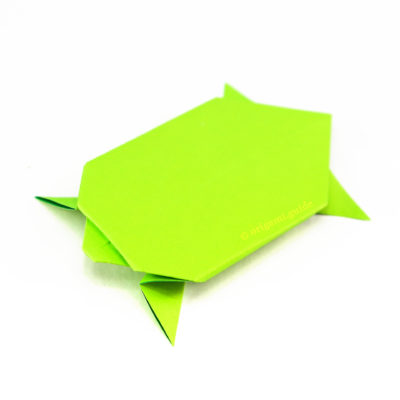
Step 20: There are several ways to shape the pumpkin, so using your judgement, fold the bottom point behind to form the base of your origami pumpkin.
What Halloween To Fold Next?


Leave A Comment
Did you fold this Easy Origami Pumpkin? Let us know what you thought.
You can also upload a photo of your result!