Pleat & Crimp Fold
Sometimes an origami diagram will simply say ‘make a pleat fold’. What does this mean? This simple photo tutorial shows how to make a pleat and crimp fold.
Sometimes there will be clear directions how how far to fold, and other times not. The most basic way to explain a pleat fold is a paper fan. The paper is folded one way and then the other.
Pleat & Crimp Fold Instructions
Scroll down to follow the photo tutorial for the Pleat & Crimp Fold.
Made this origami? Leave a comment & submit your photo on the last page here.
-
1

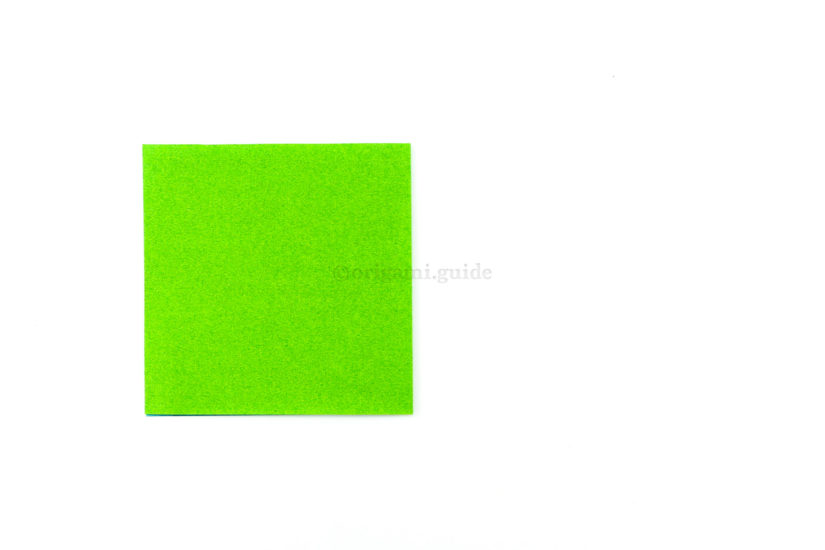
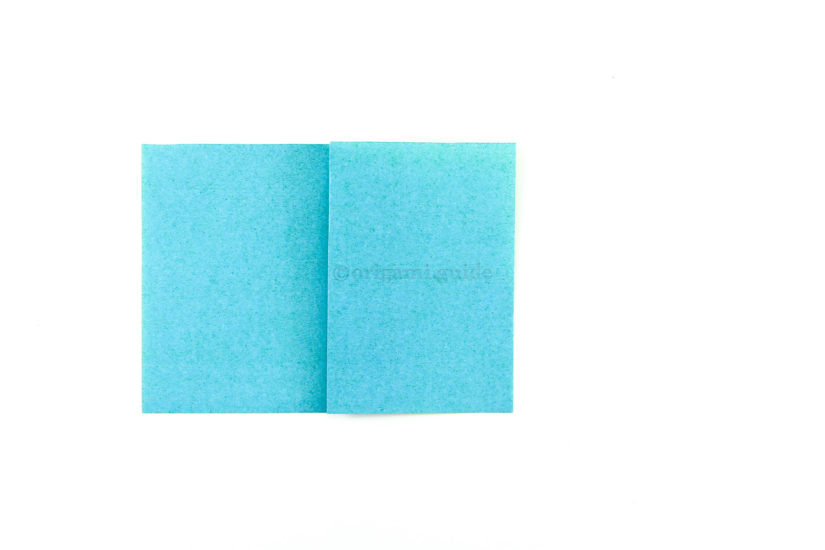
1. Starting with any sheet of paper, here we have a half square.
-
2
2. Fold the right edge to the left edge.
-
3
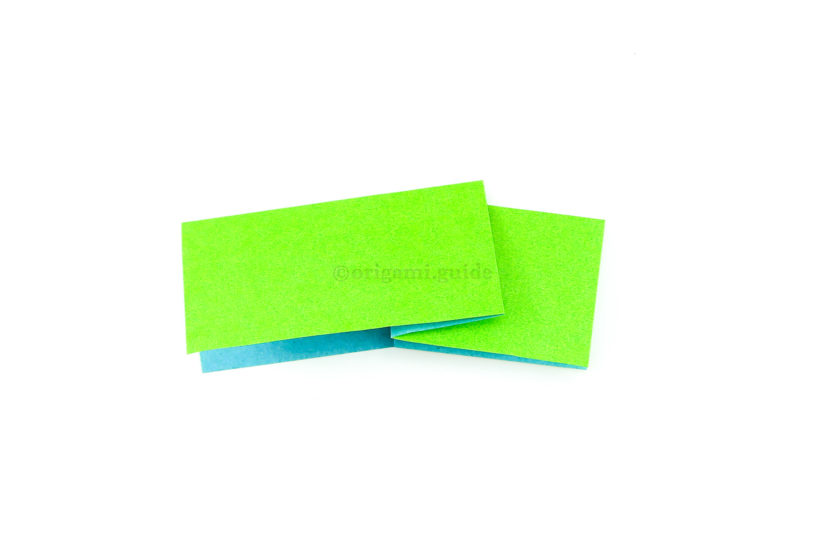
3. Fold the front flap back to the right, leaving a gap.
-
4

4. If you pick up the paper, you'll be able to see the 'pleat'.
-
5

4. To make a crimp fold, simply fold the paper in half from top to bottom.
-
6
5. You can pull the right end down and flatten the paper. This is how you might create something like a snake or worm.
Your Pleat & Crimp Fold is Complete!
You’ve completed the Pleat & Crimp Fold, why not check out our other Folding Techniques, here.
Did you make this origami? How did it go? Leave a comment & submit your photo here.
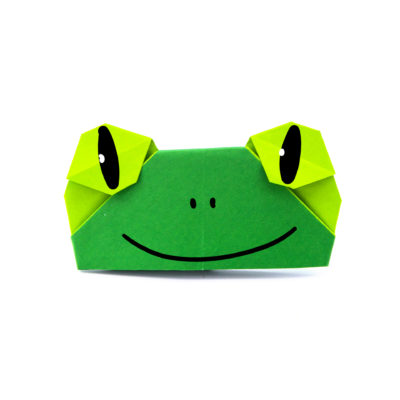
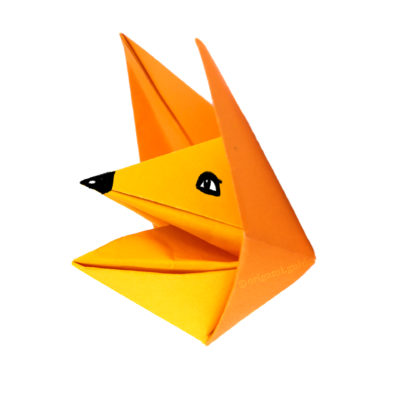
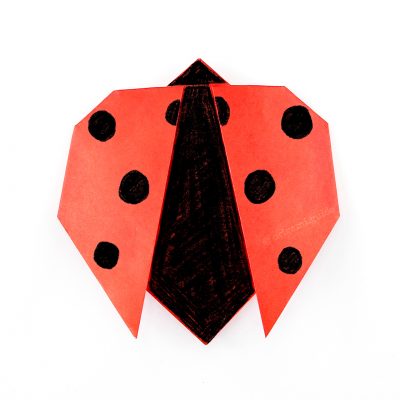
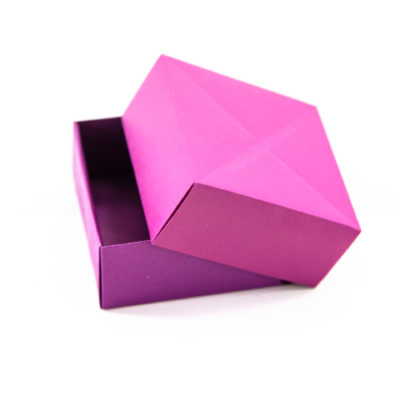
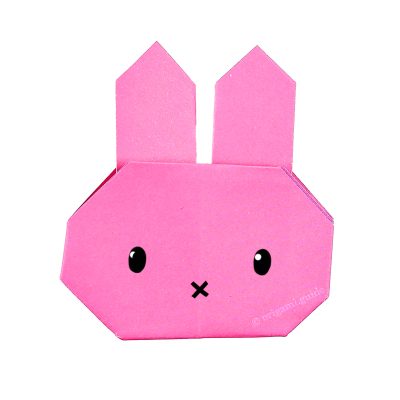
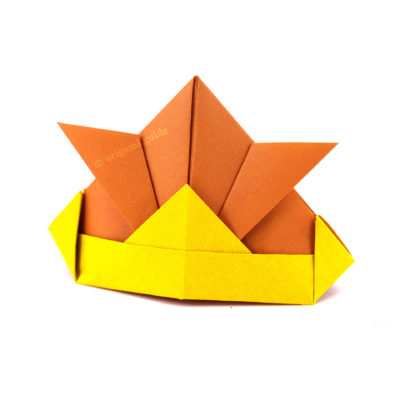
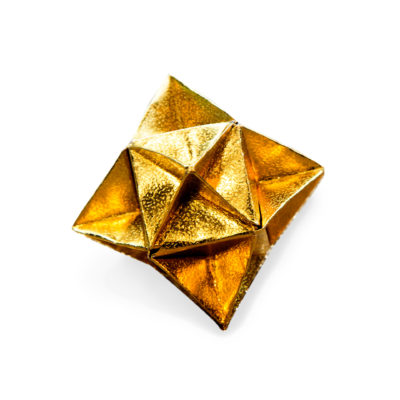
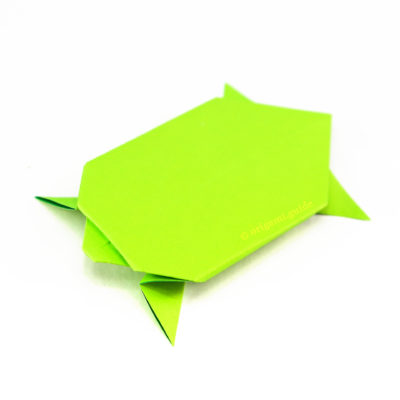
Related origami: Folding Techniques
What Folding Techniques To Fold Next?
- « How To Make Origami Mountain & Valley Folds

- How To Make An Origami Book & Cupboard Fold »
 View all Folding Techniques Tutorials
Leave A Comment
Did you fold this Pleat & Crimp Fold? Let us know what you thought.
You can also upload a photo of your result!