Made this origami? Leave a comment & submit your photo here.
-
17
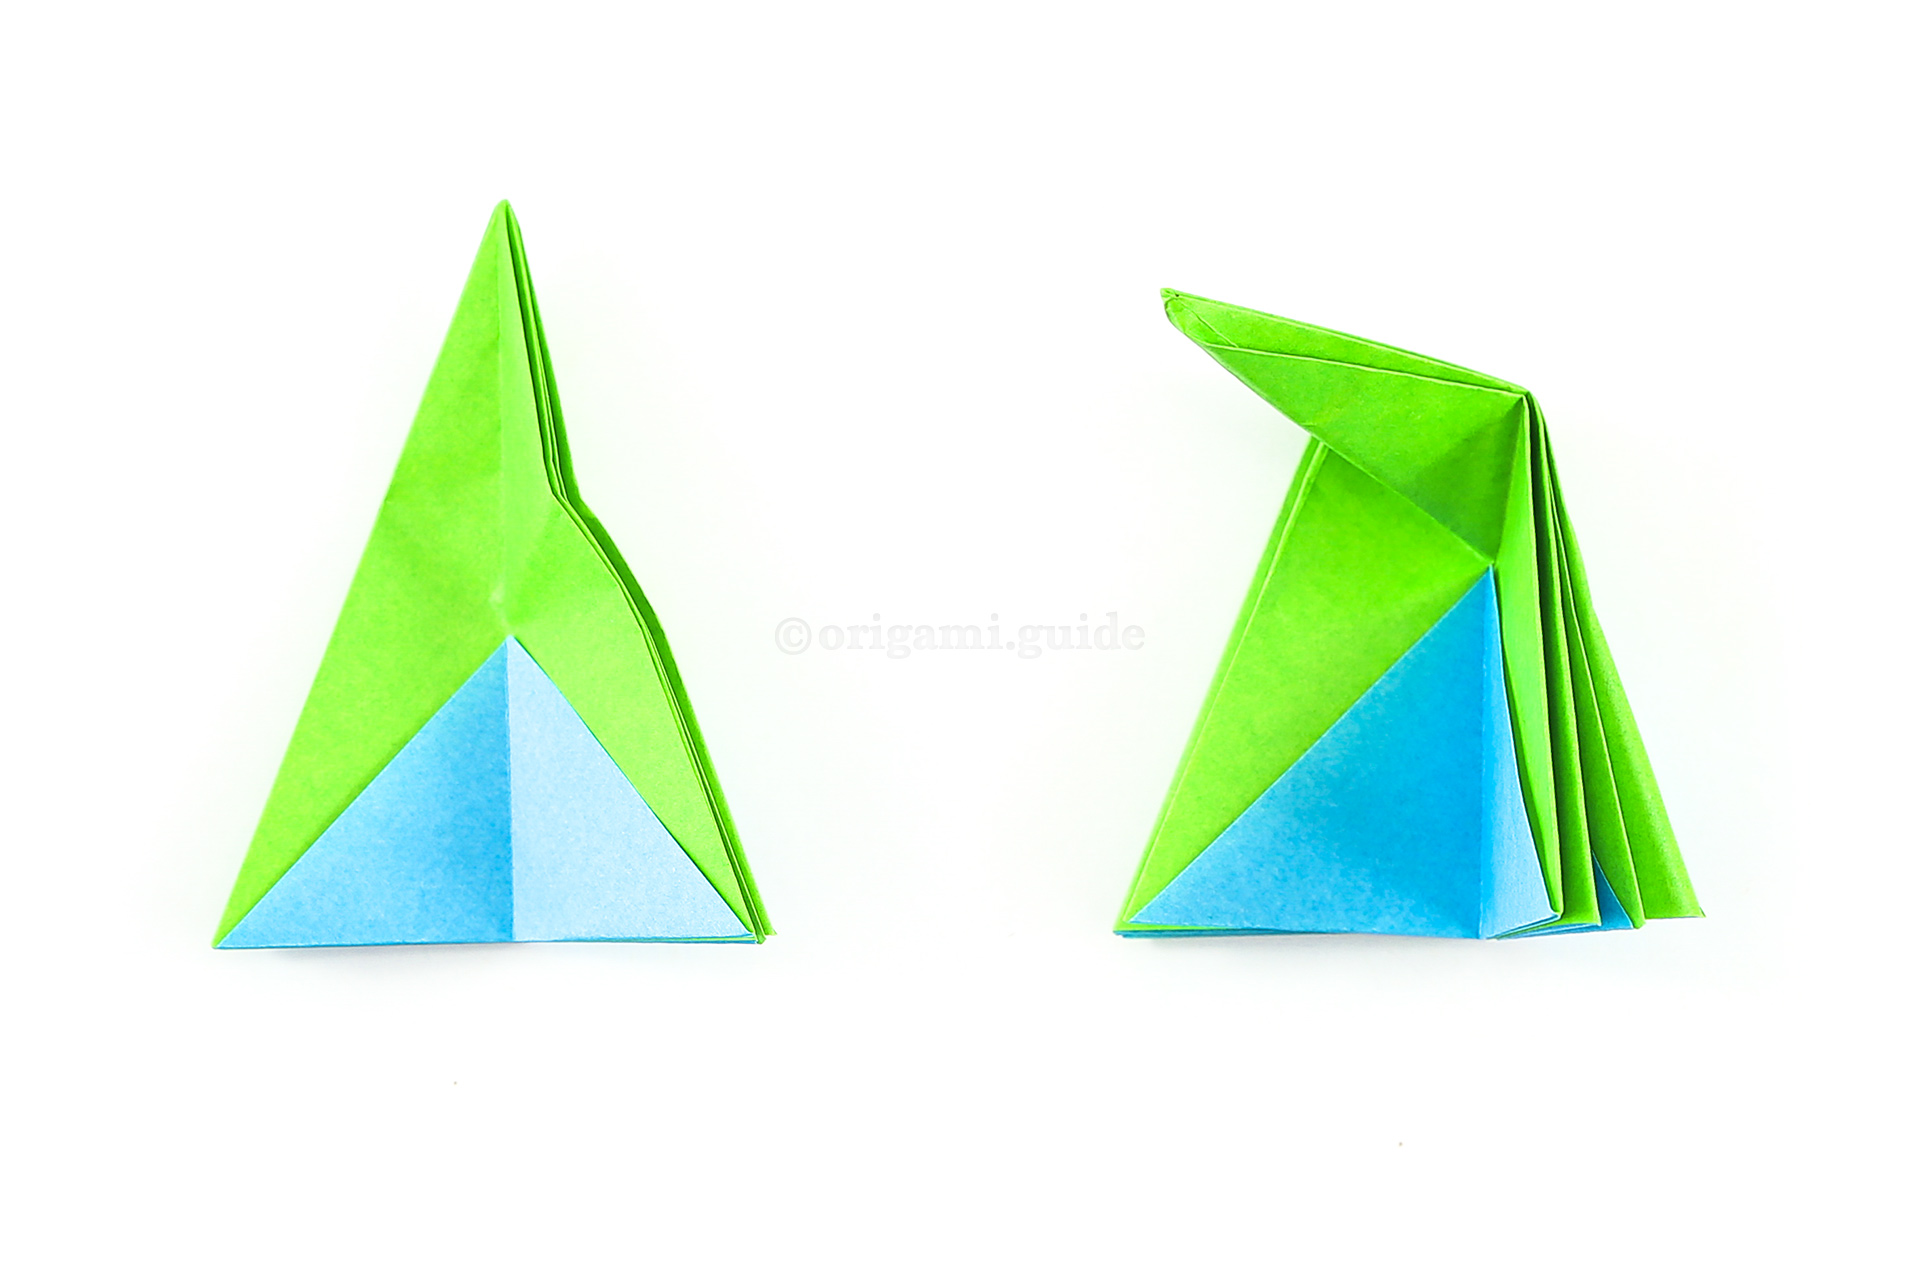
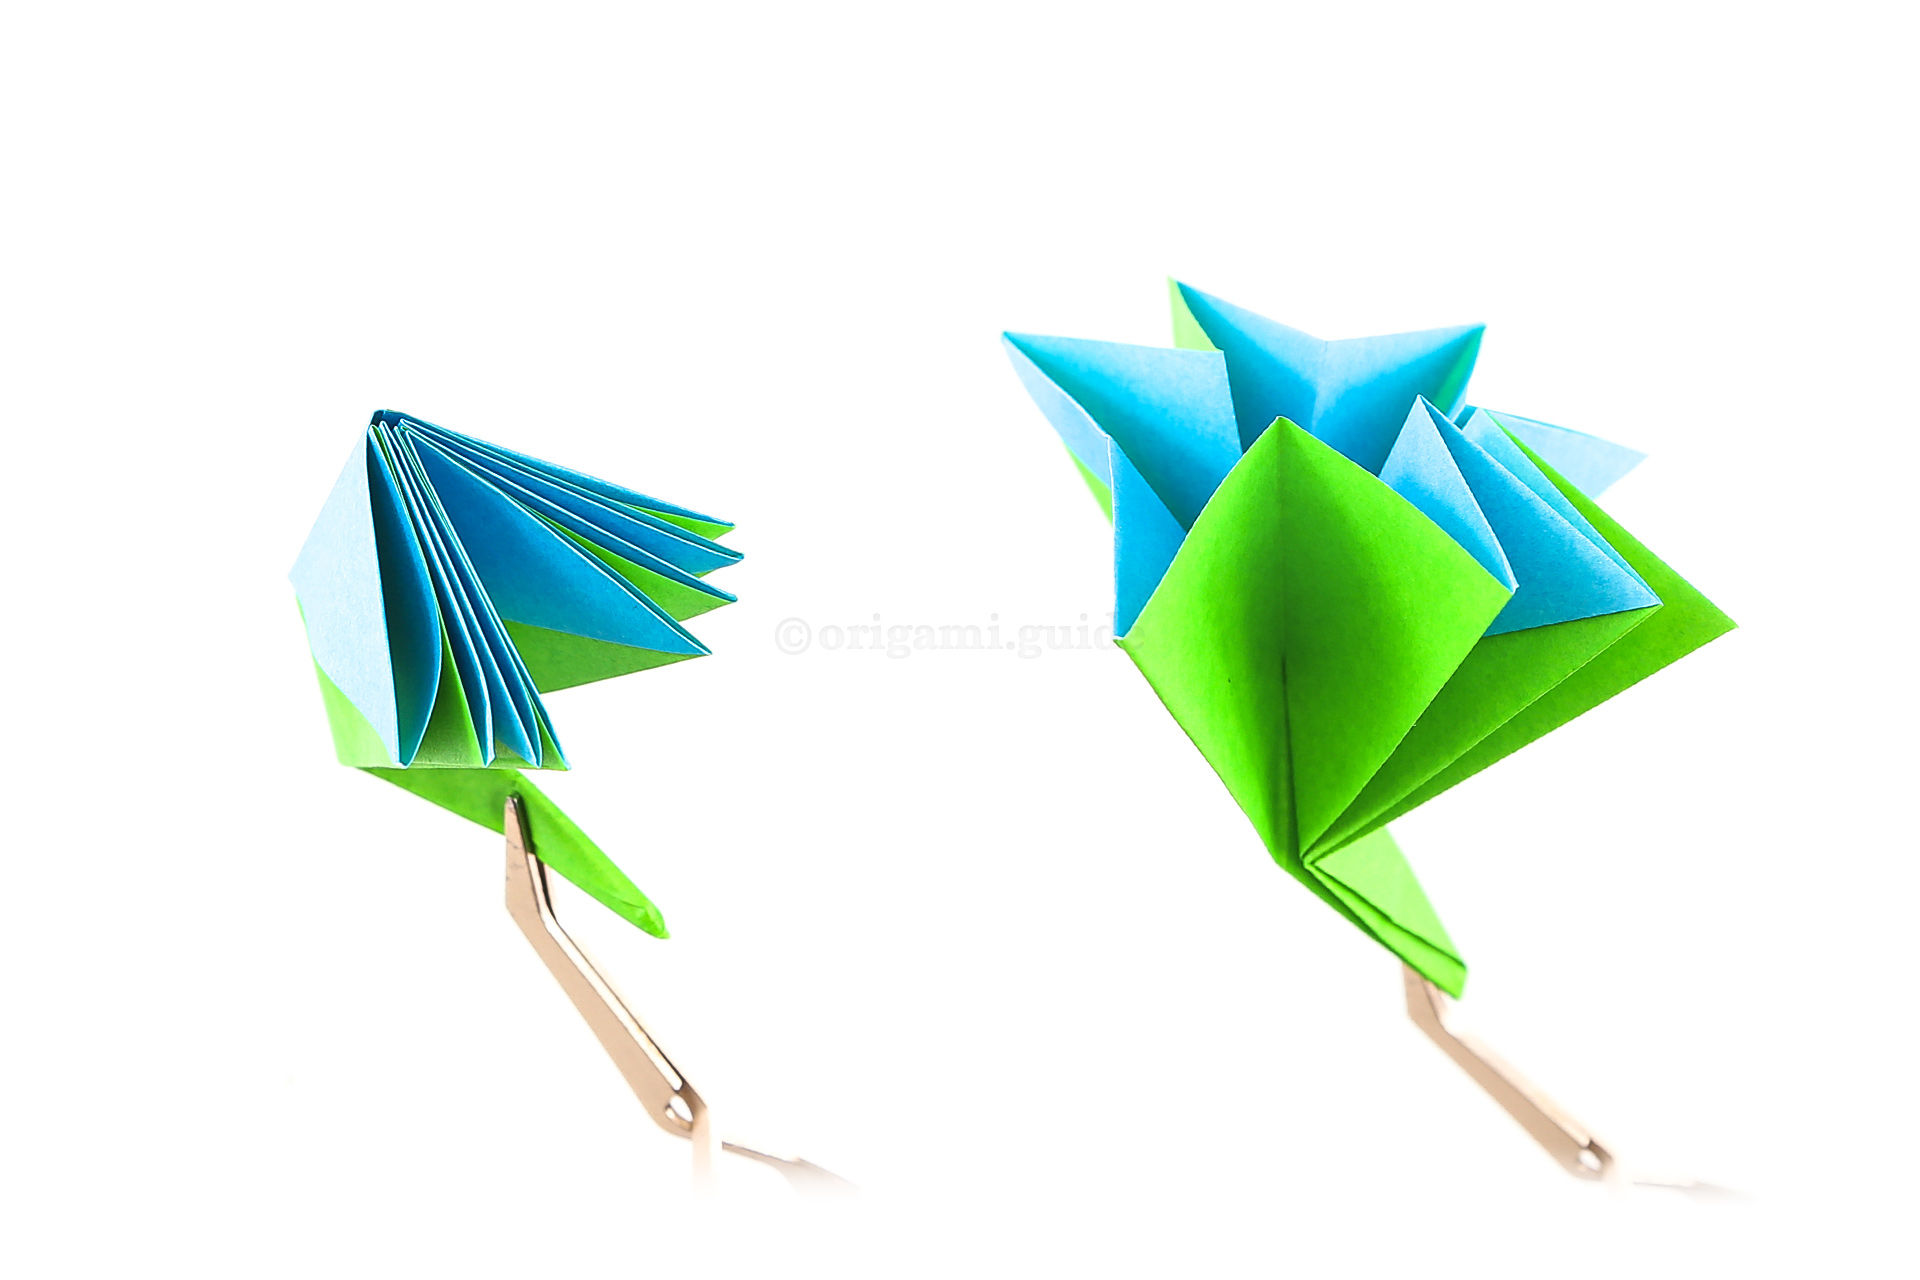
Step 17: Let the previous two steps unfold. Next, reverse the crease on the top section of the triangle, and bring it down, using the previous folds as guides.
-
18

Step 18: Hold the flowers stem like this and then open out the top section.
-
19

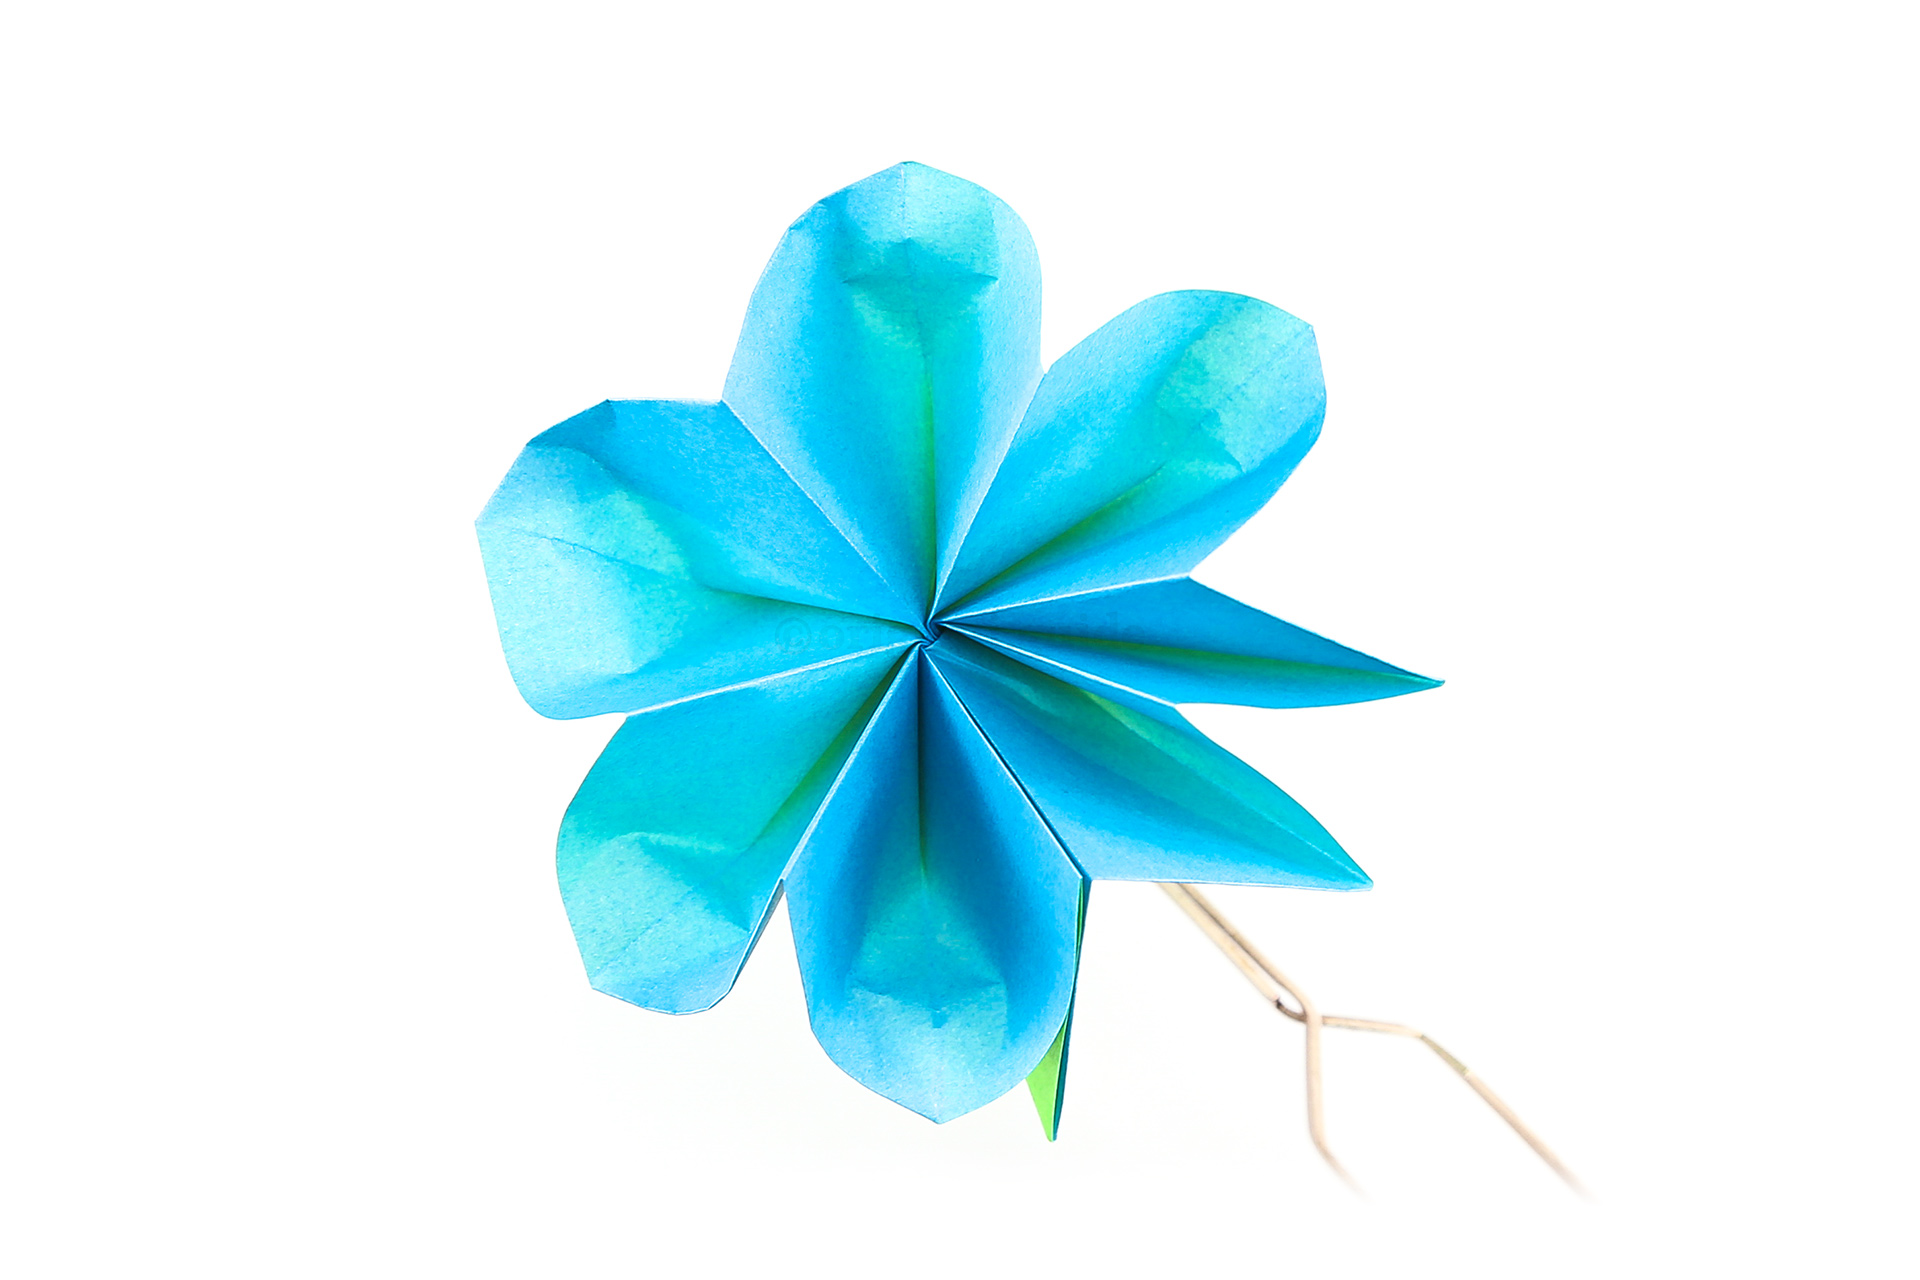
Step 19: Here is a top view of the flower so far.
-
20

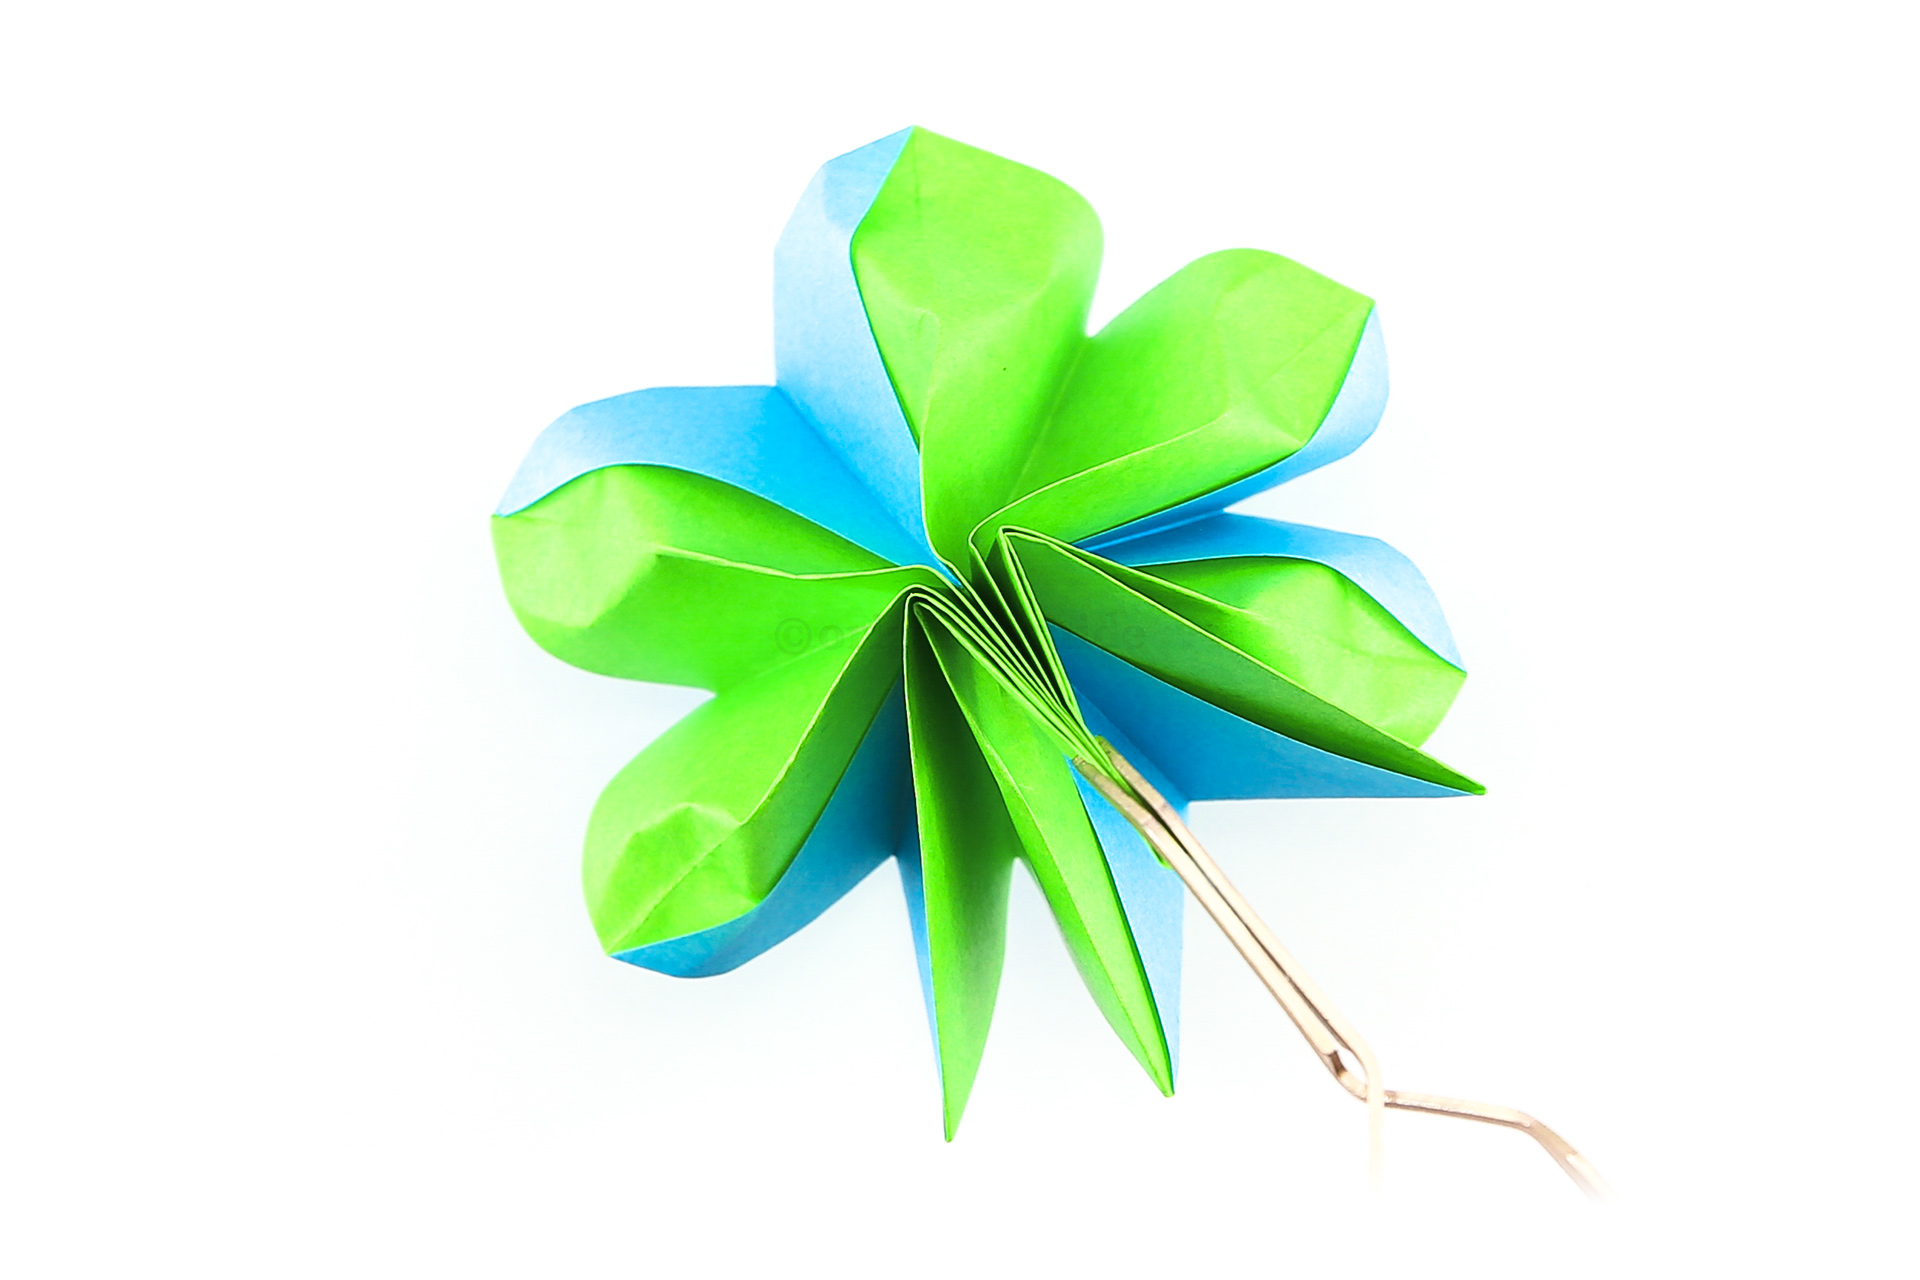
Step 20: Whilst holding the stem firmly, you can shape the petals. Push each petal open from the back. This motion is similar to pushing a pill out of its foil packaging.
-
21

Step 21: Here is the back of the flower whilst shaping the petals.
-
22

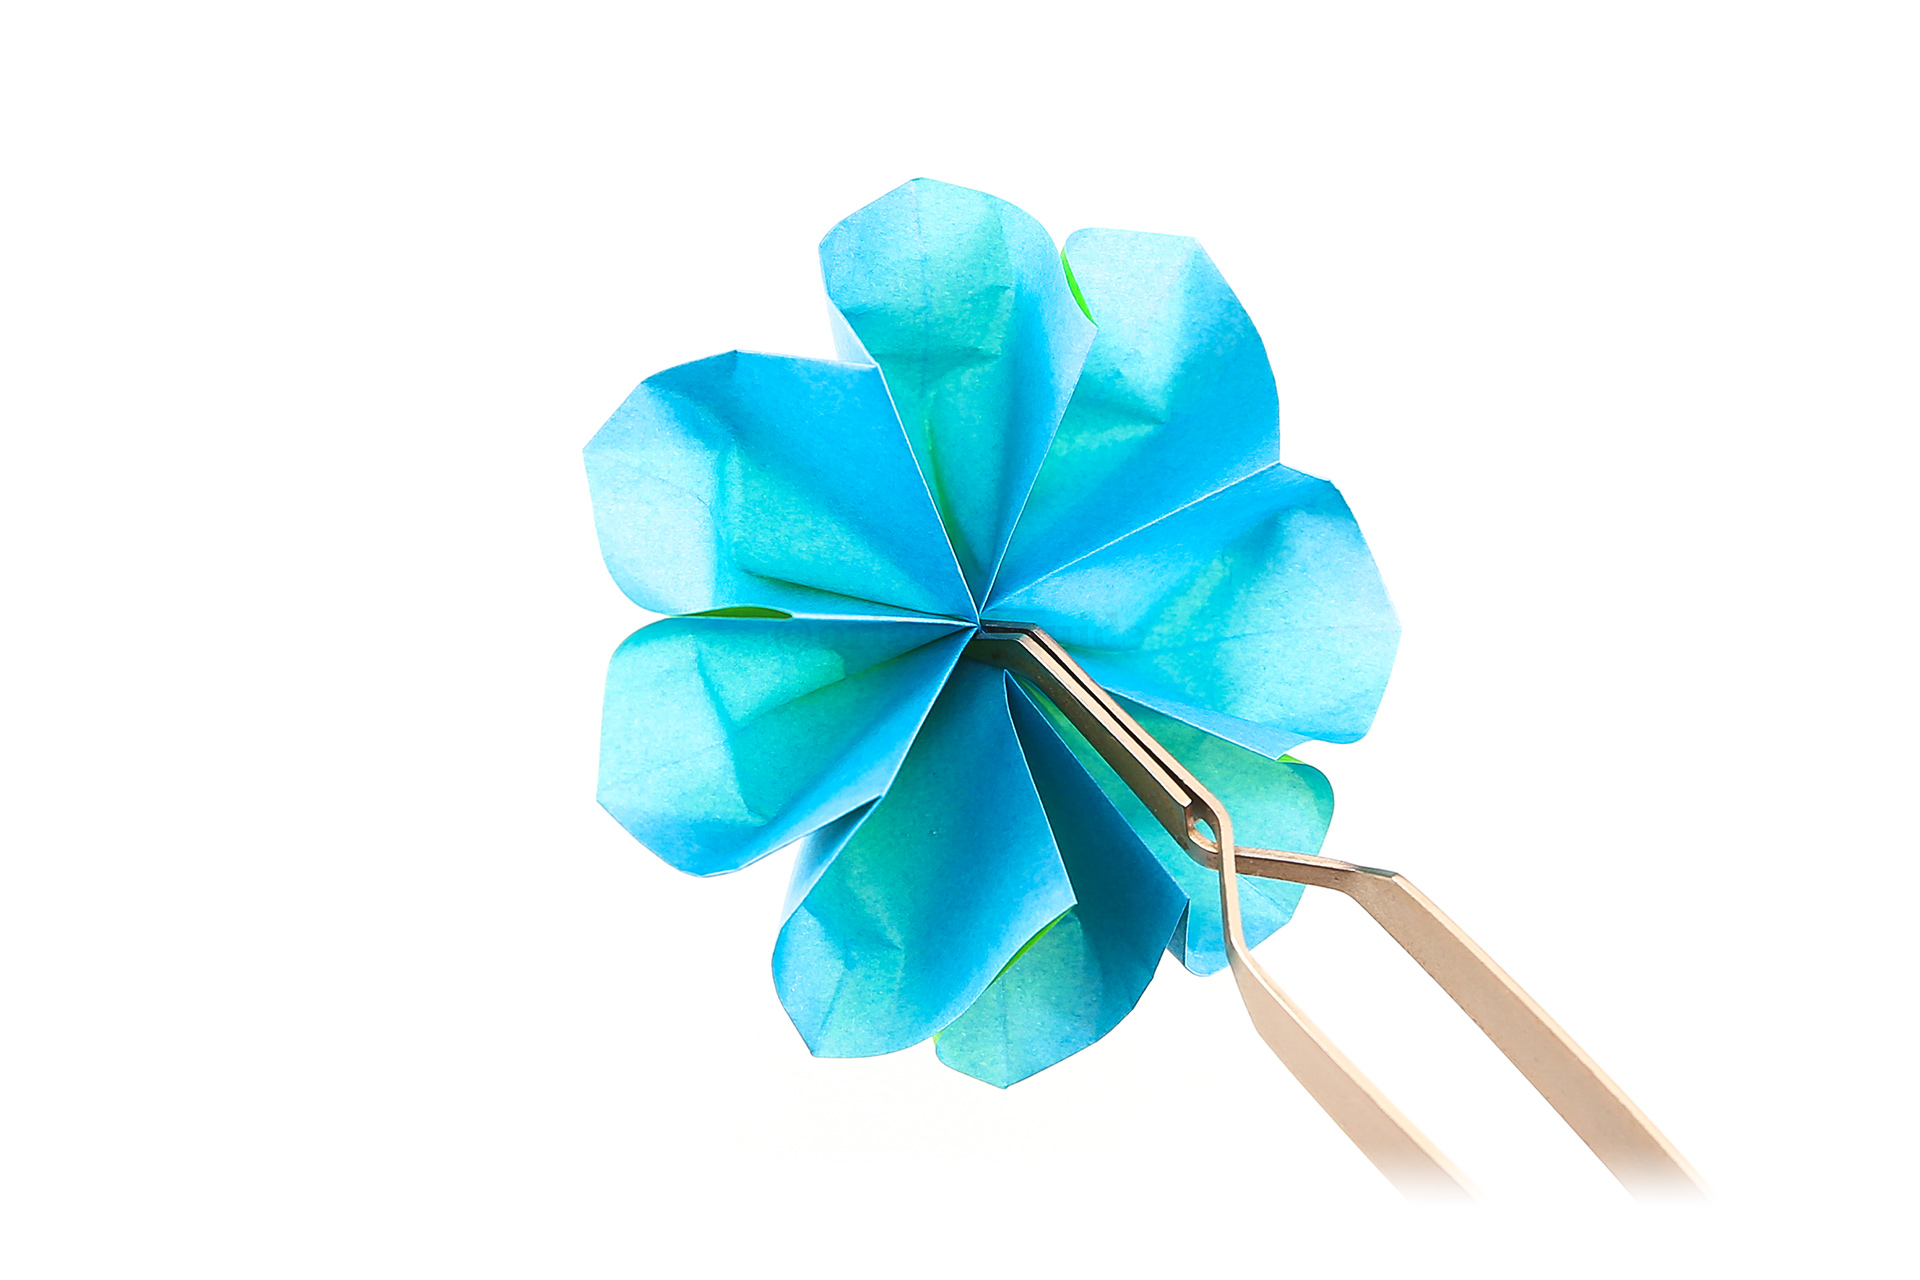
Step 22: Using some tweezers, you can pinch the centre of the flower to solidify the folds.
-
23

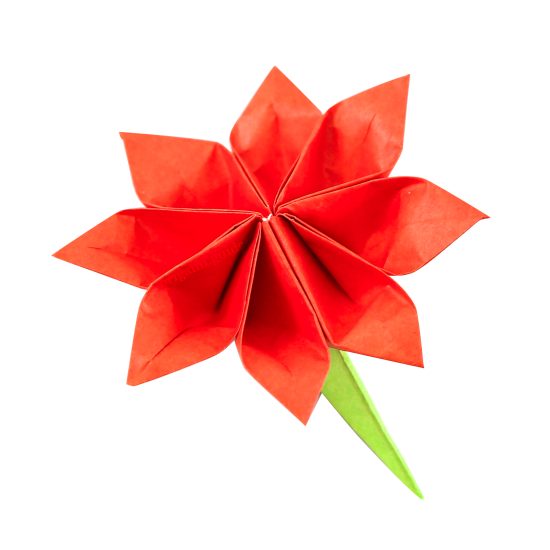
Step 23: The back of the flower has a useful stem. You can use this stem to stand the flower upright or tuck it into a pocket, pin or hair-clip.
-
24

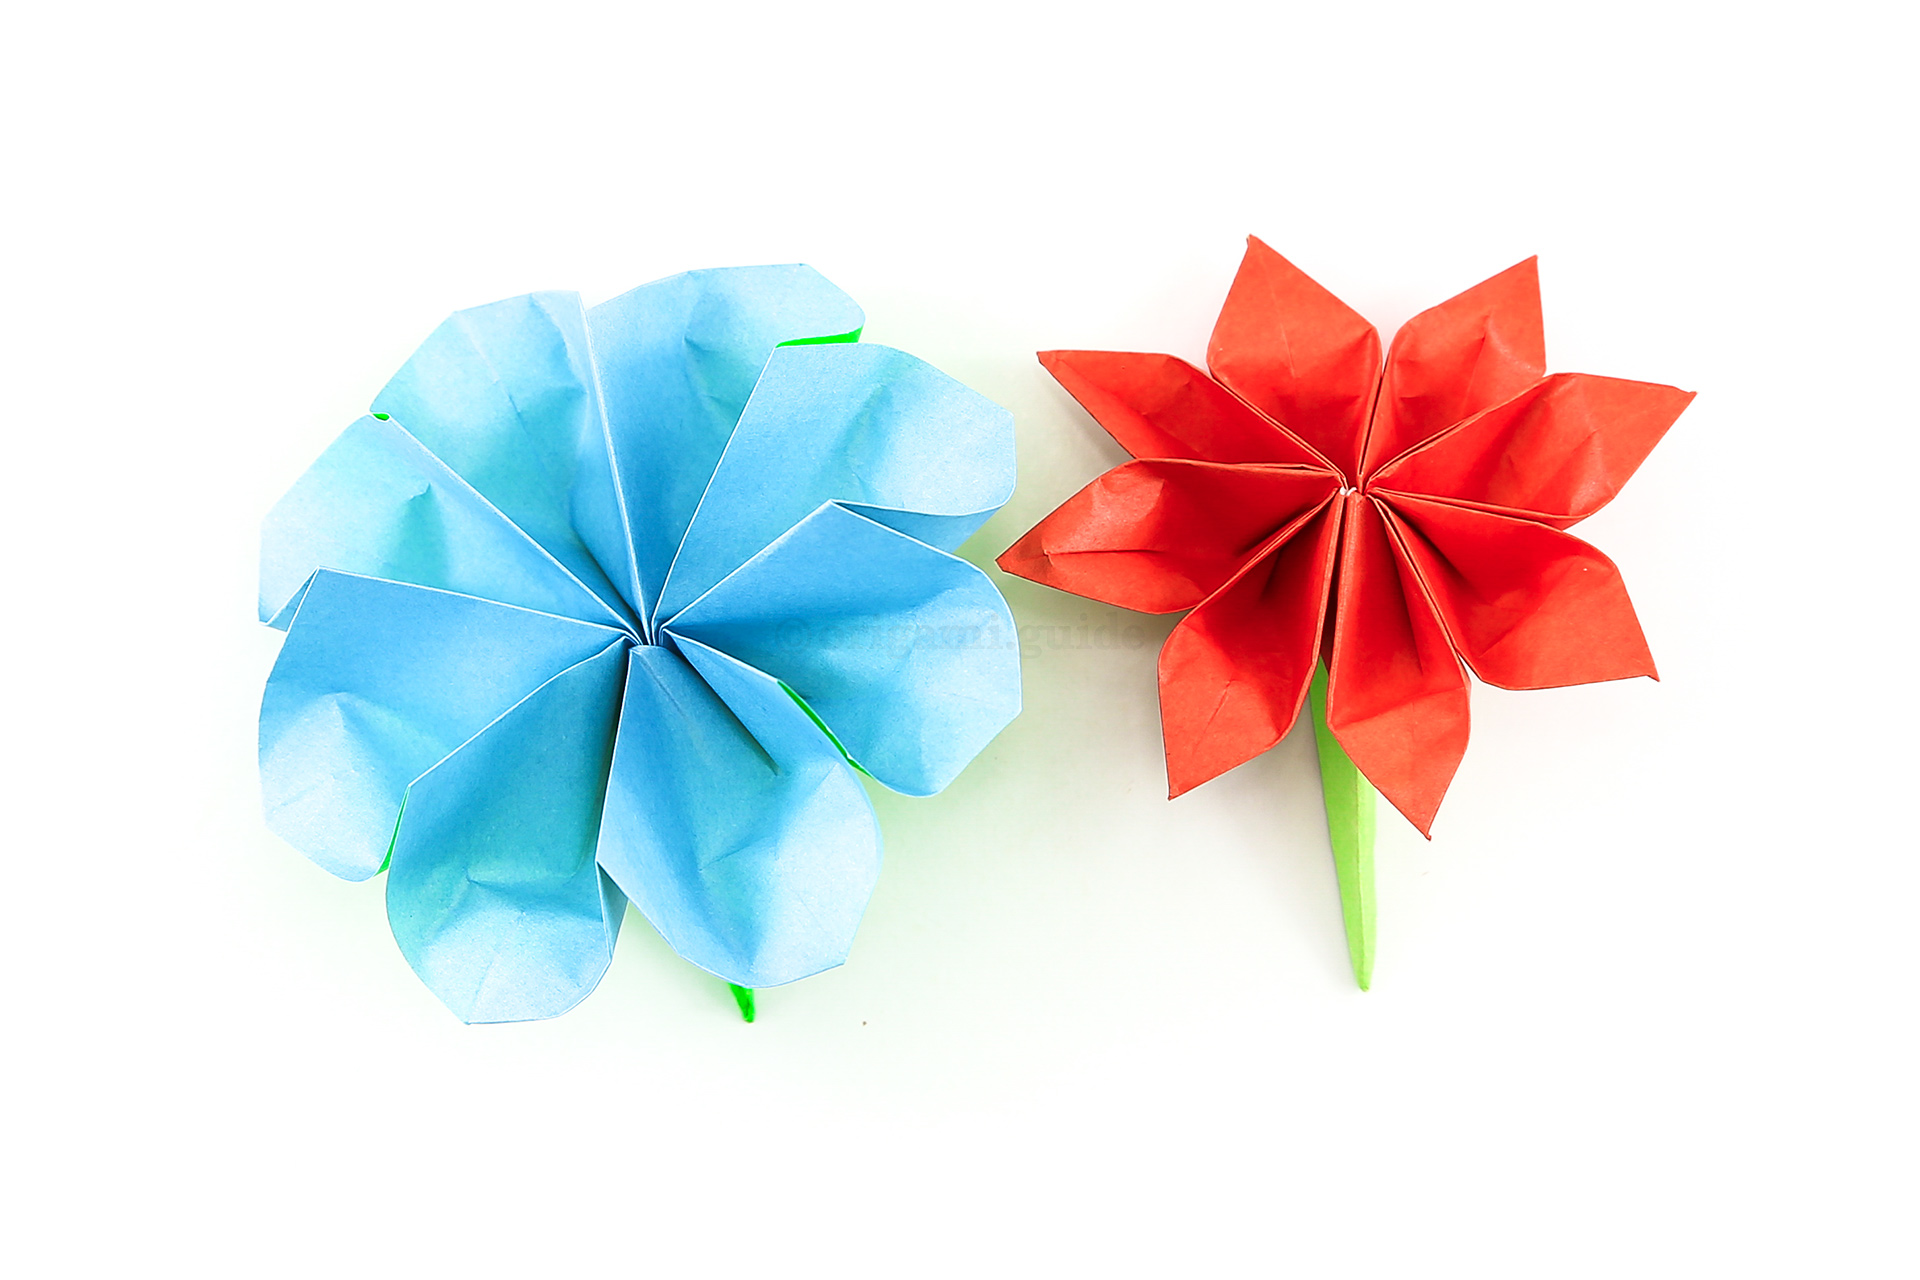
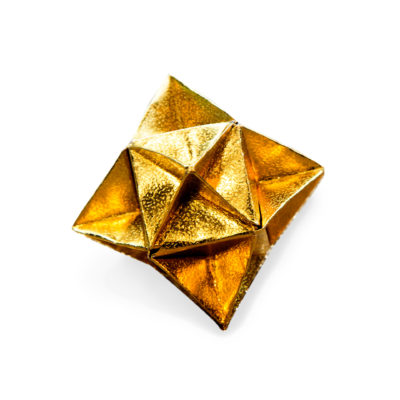
Step 24: Here is the finished flower along with it's slightly more difficult friend.
Your Origami 8 Petal Flower is Complete!
You’ve completed the Origami 8 Petal Flower, why not check out our other Origami Flowers, here.
Did you make this origami? How did it go? Leave a comment & submit your photo here.
Related origami: Easy Origami
Intermediate Origami
Traditional Origami
Origami Flowers
Mothers Day
What Origami Flowers To Fold Next?
- « How To Fold An 8 Petal Origami Flower

- How To Make An Origami Lotus Flower »
 View all Origami Flowers Tutorials
Leave A Comment
Did you fold this Origami 8 Petal Flower? Let us know what you thought.
You can also upload a photo of your result!
