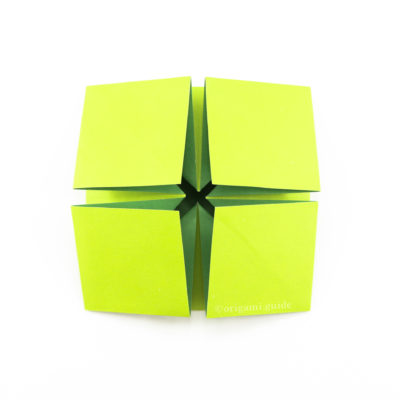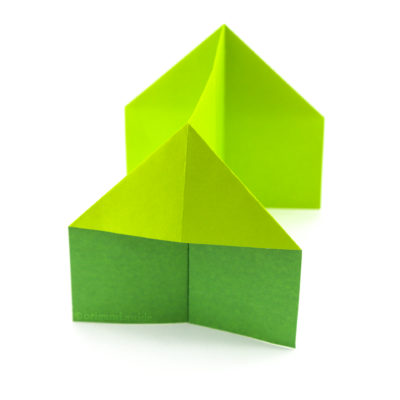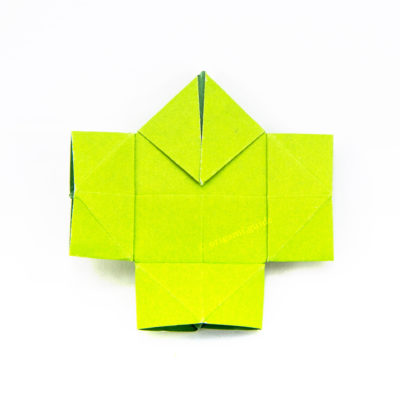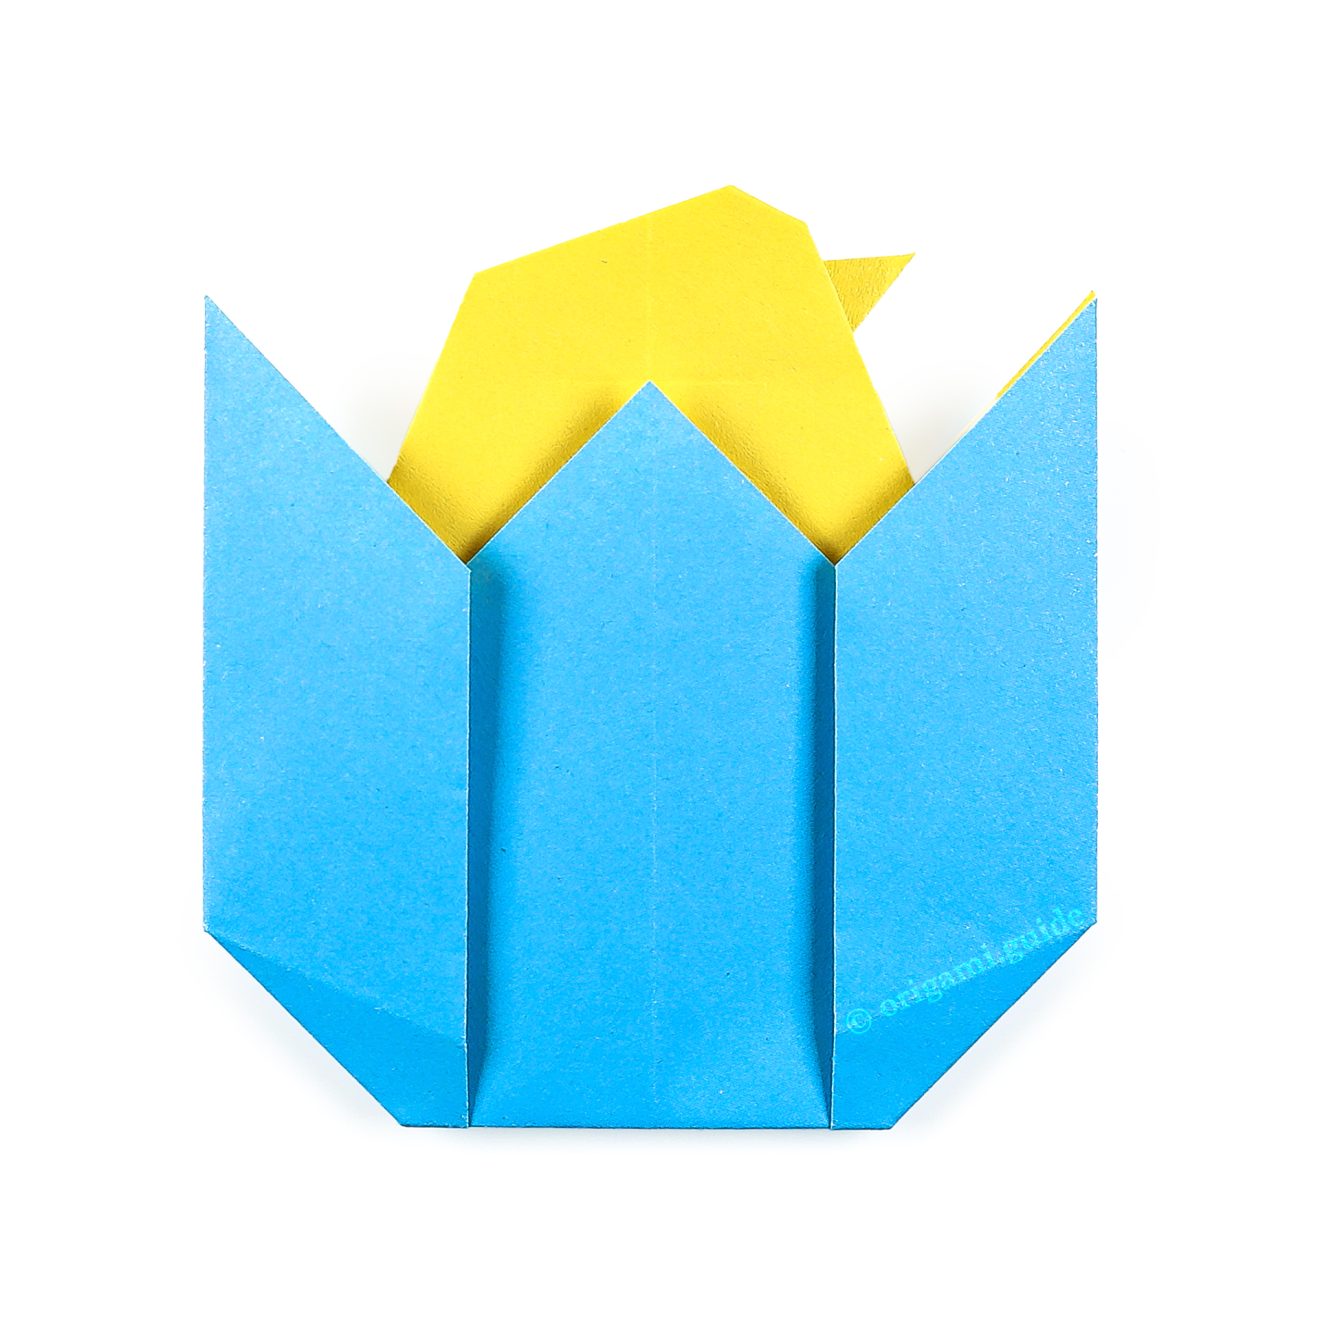
Origami Baby Chick In An Egg
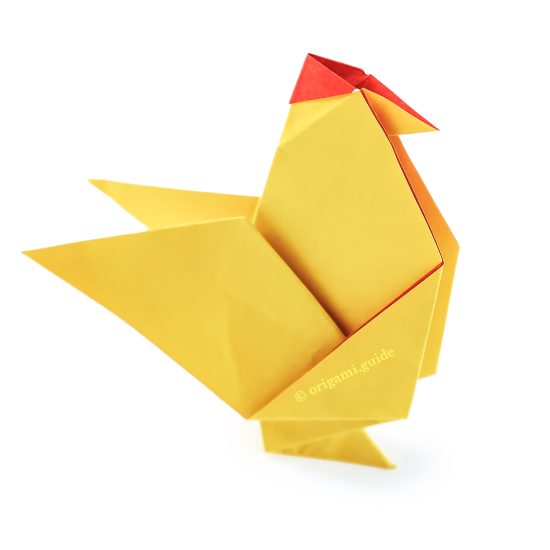
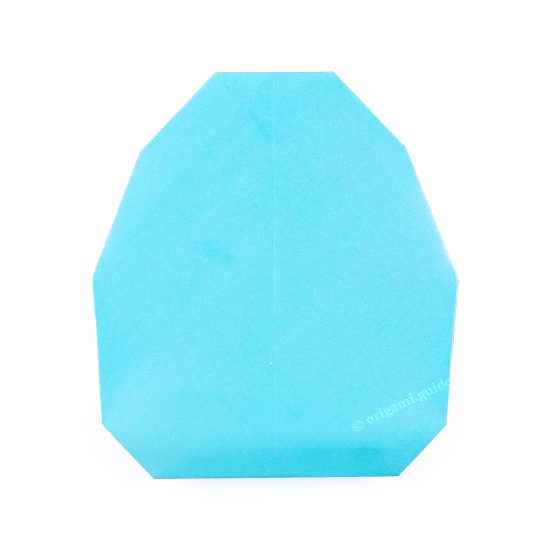
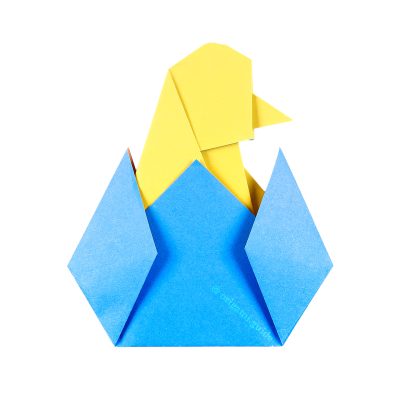
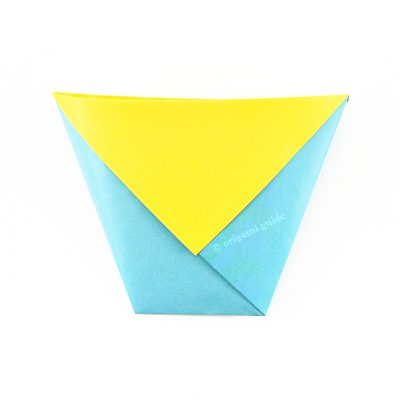
Learn how to fold a cute origami baby chick nested in an egg for Easter. Kids will enjoy making this origami easter craft. This is a simple origami that anyone can complete with one sheet of square paper.
This origami chick and an egg is not two sheets but one, which means that using origami paper with two different colours such as yellow and white would be preferable.
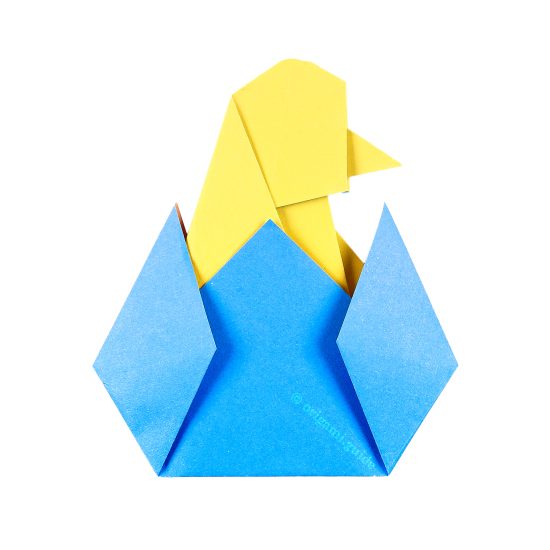
We also have an origami chick in an egg that is made with two sheets, with the chick being able to be removed from the egg here.
We recommend using paper that is 15 x 15 cm or more to start with.
Origami Baby Chick In An Egg Instructions
Scroll down to follow the photo tutorial for the Origami Baby Chick In An Egg.
Made this origami? Leave a comment & submit your photo on the last page here.
-
1

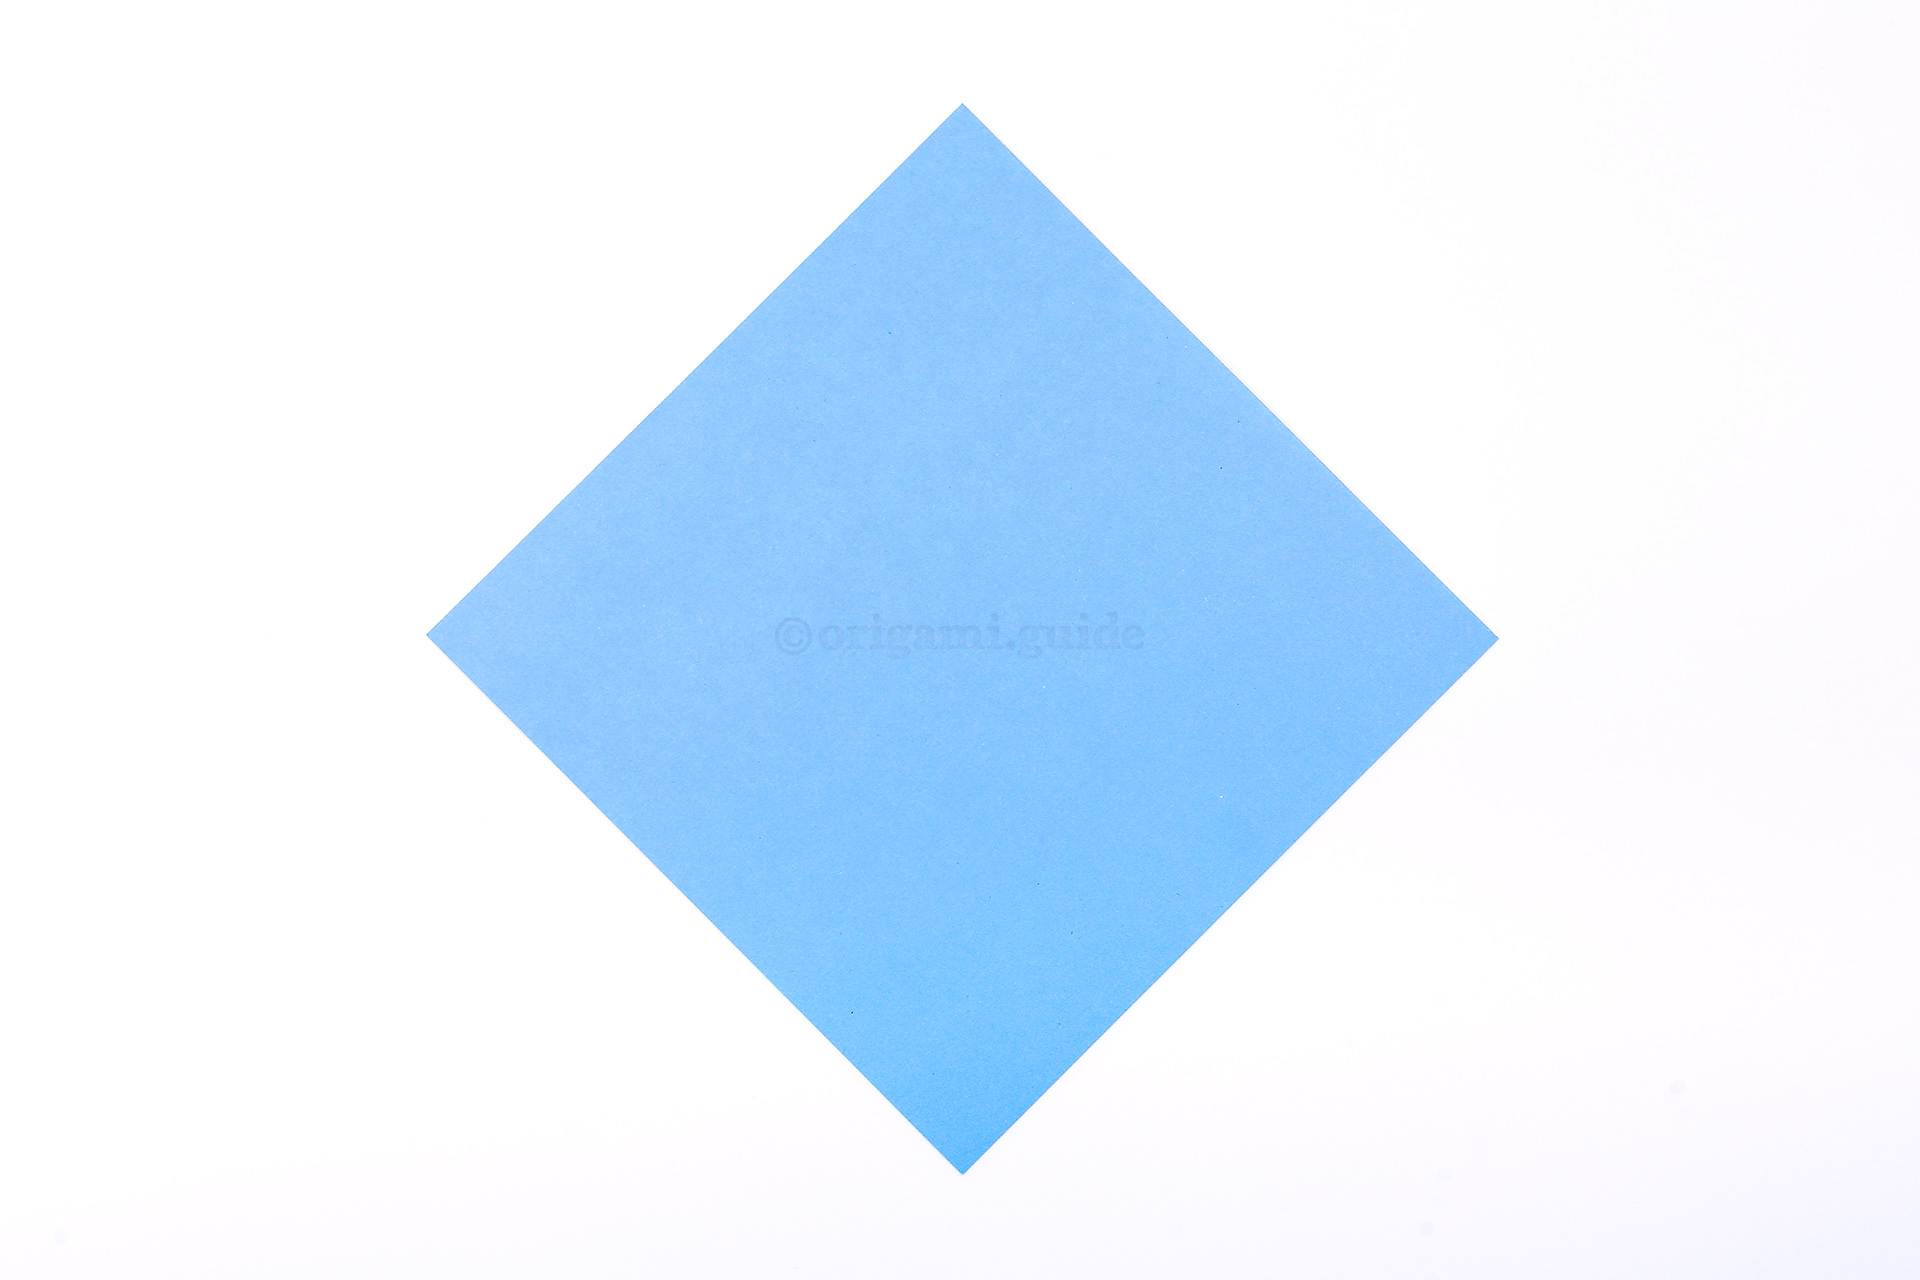
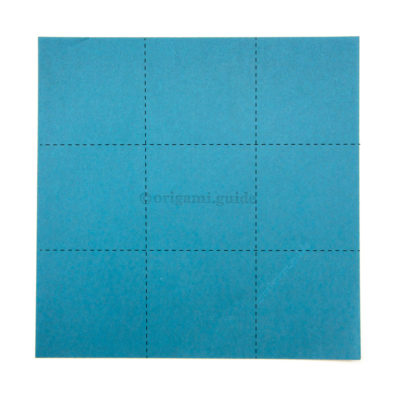
Step 1: This is the back of our origami paper, this colour will be the egg.
-
2

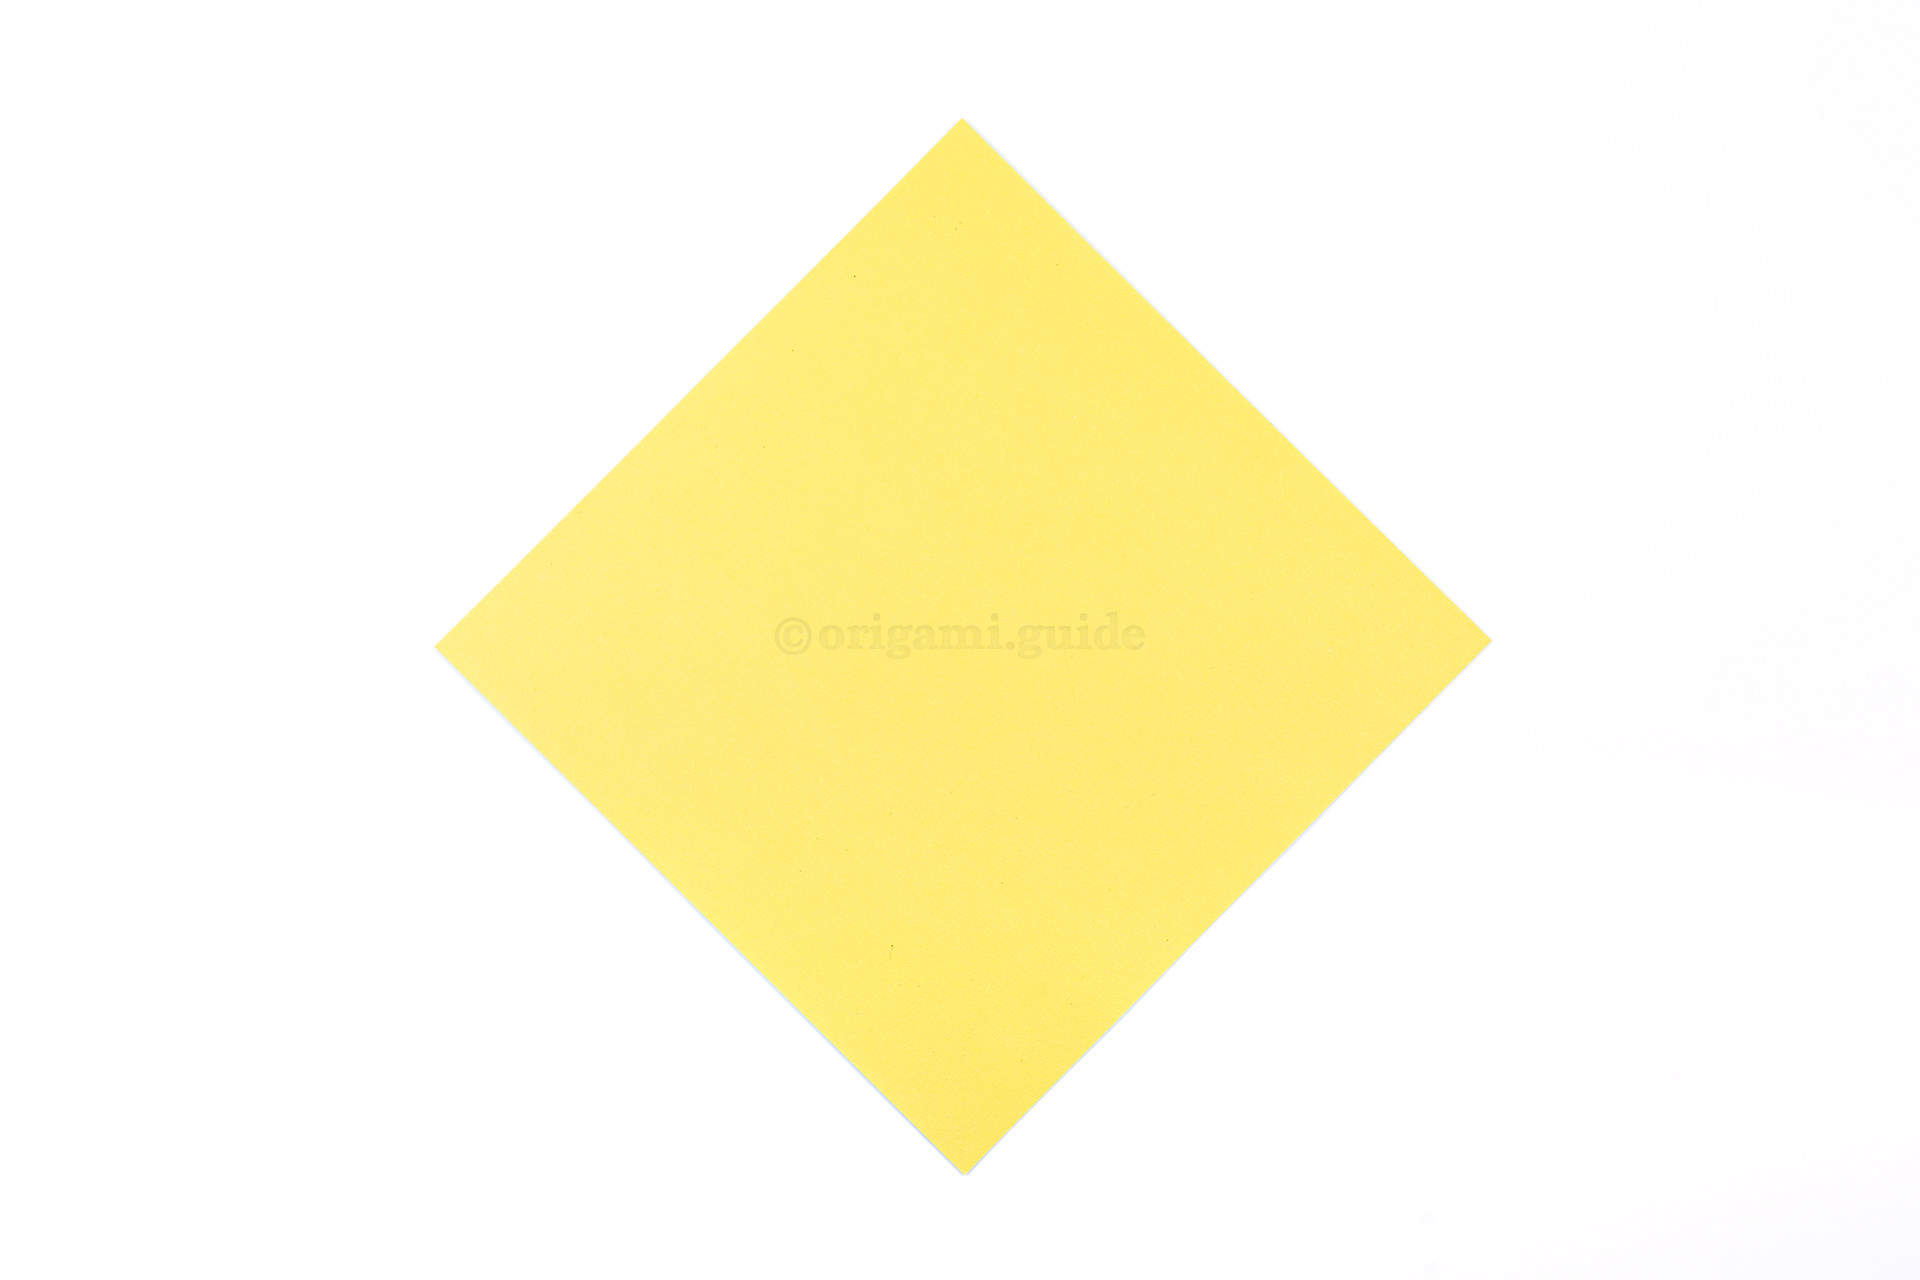
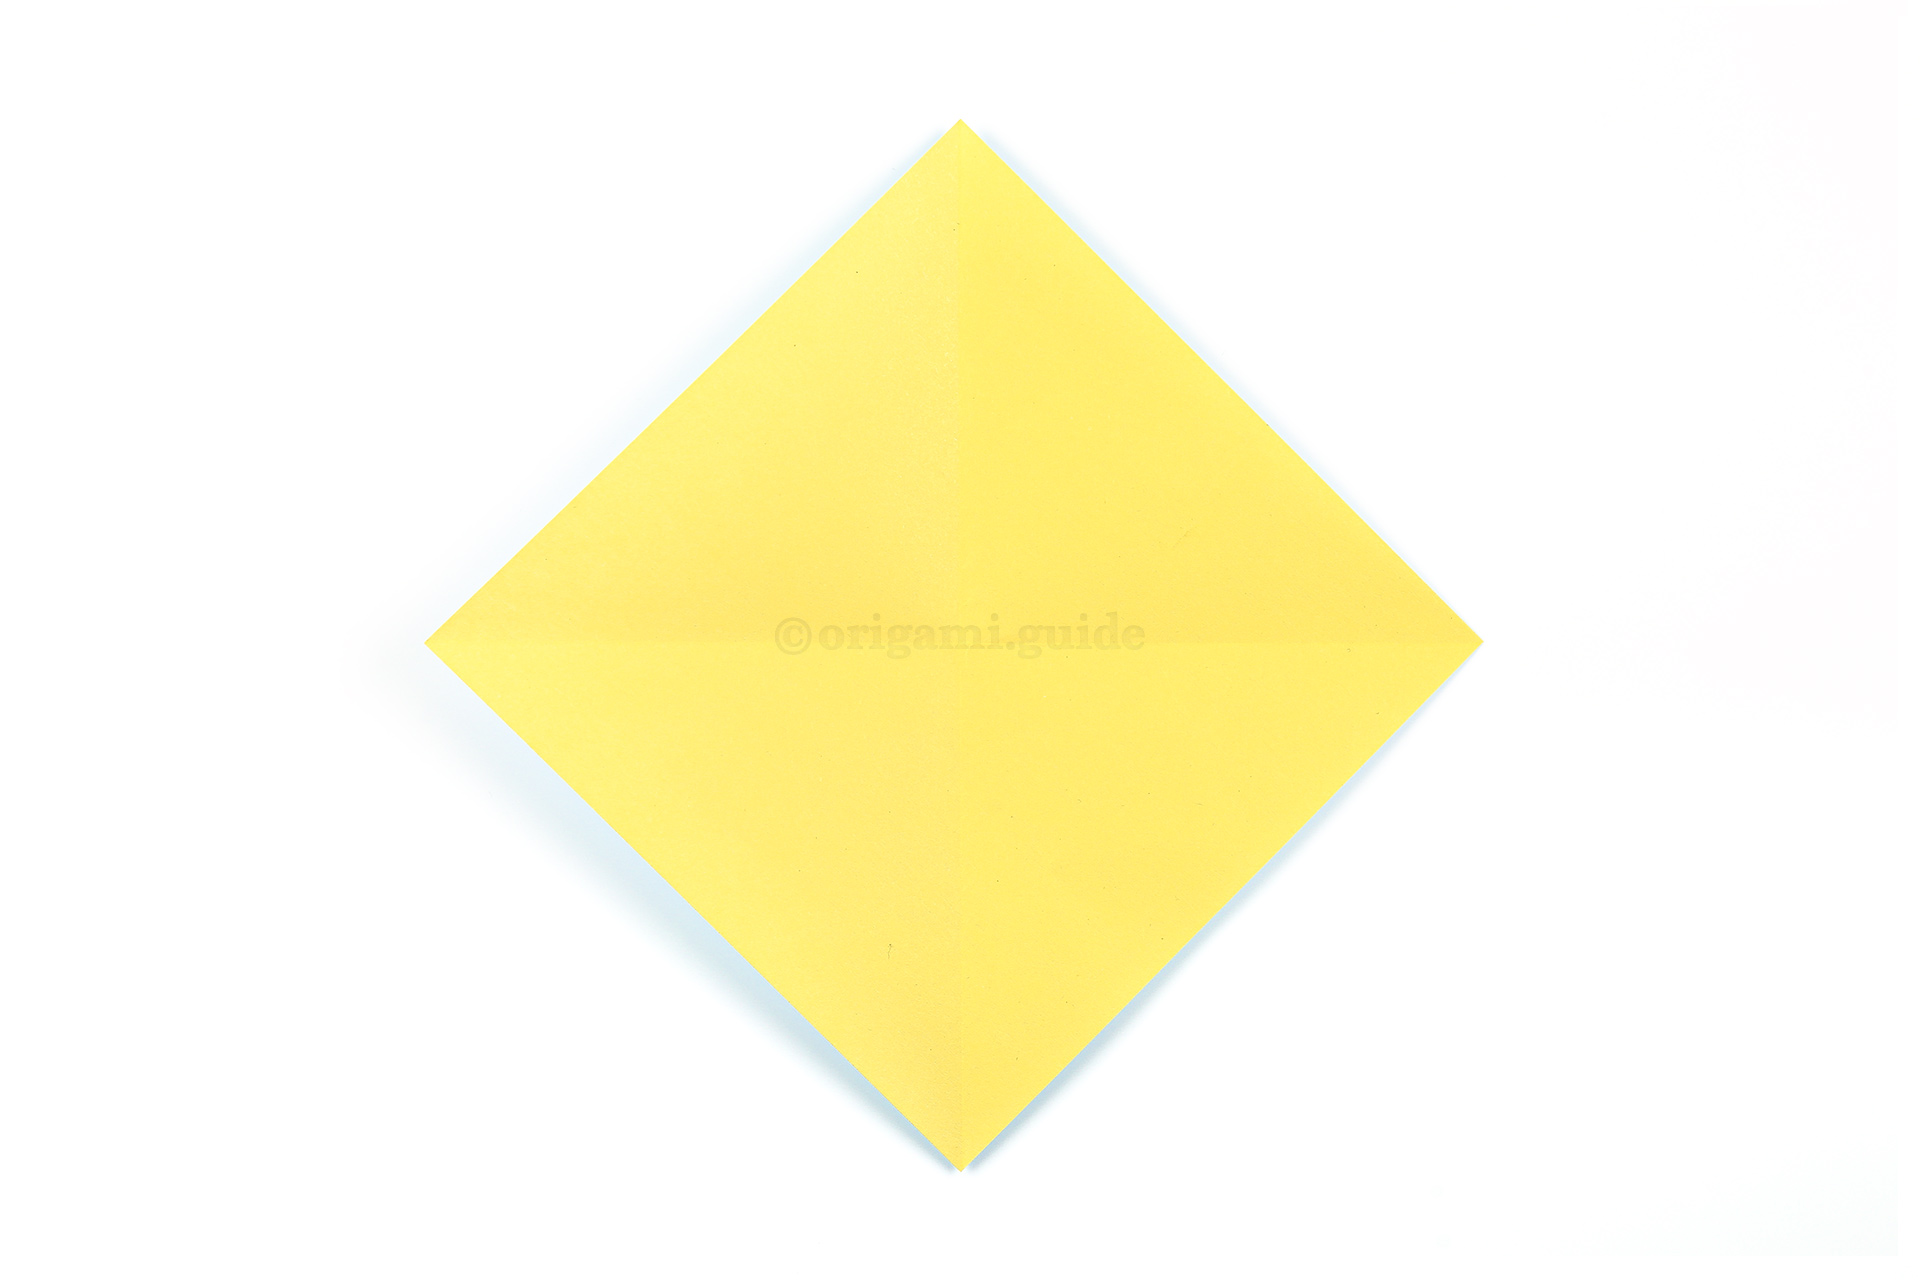
Step 2: This is the front of our origami paper which will be the little chick.
-
3

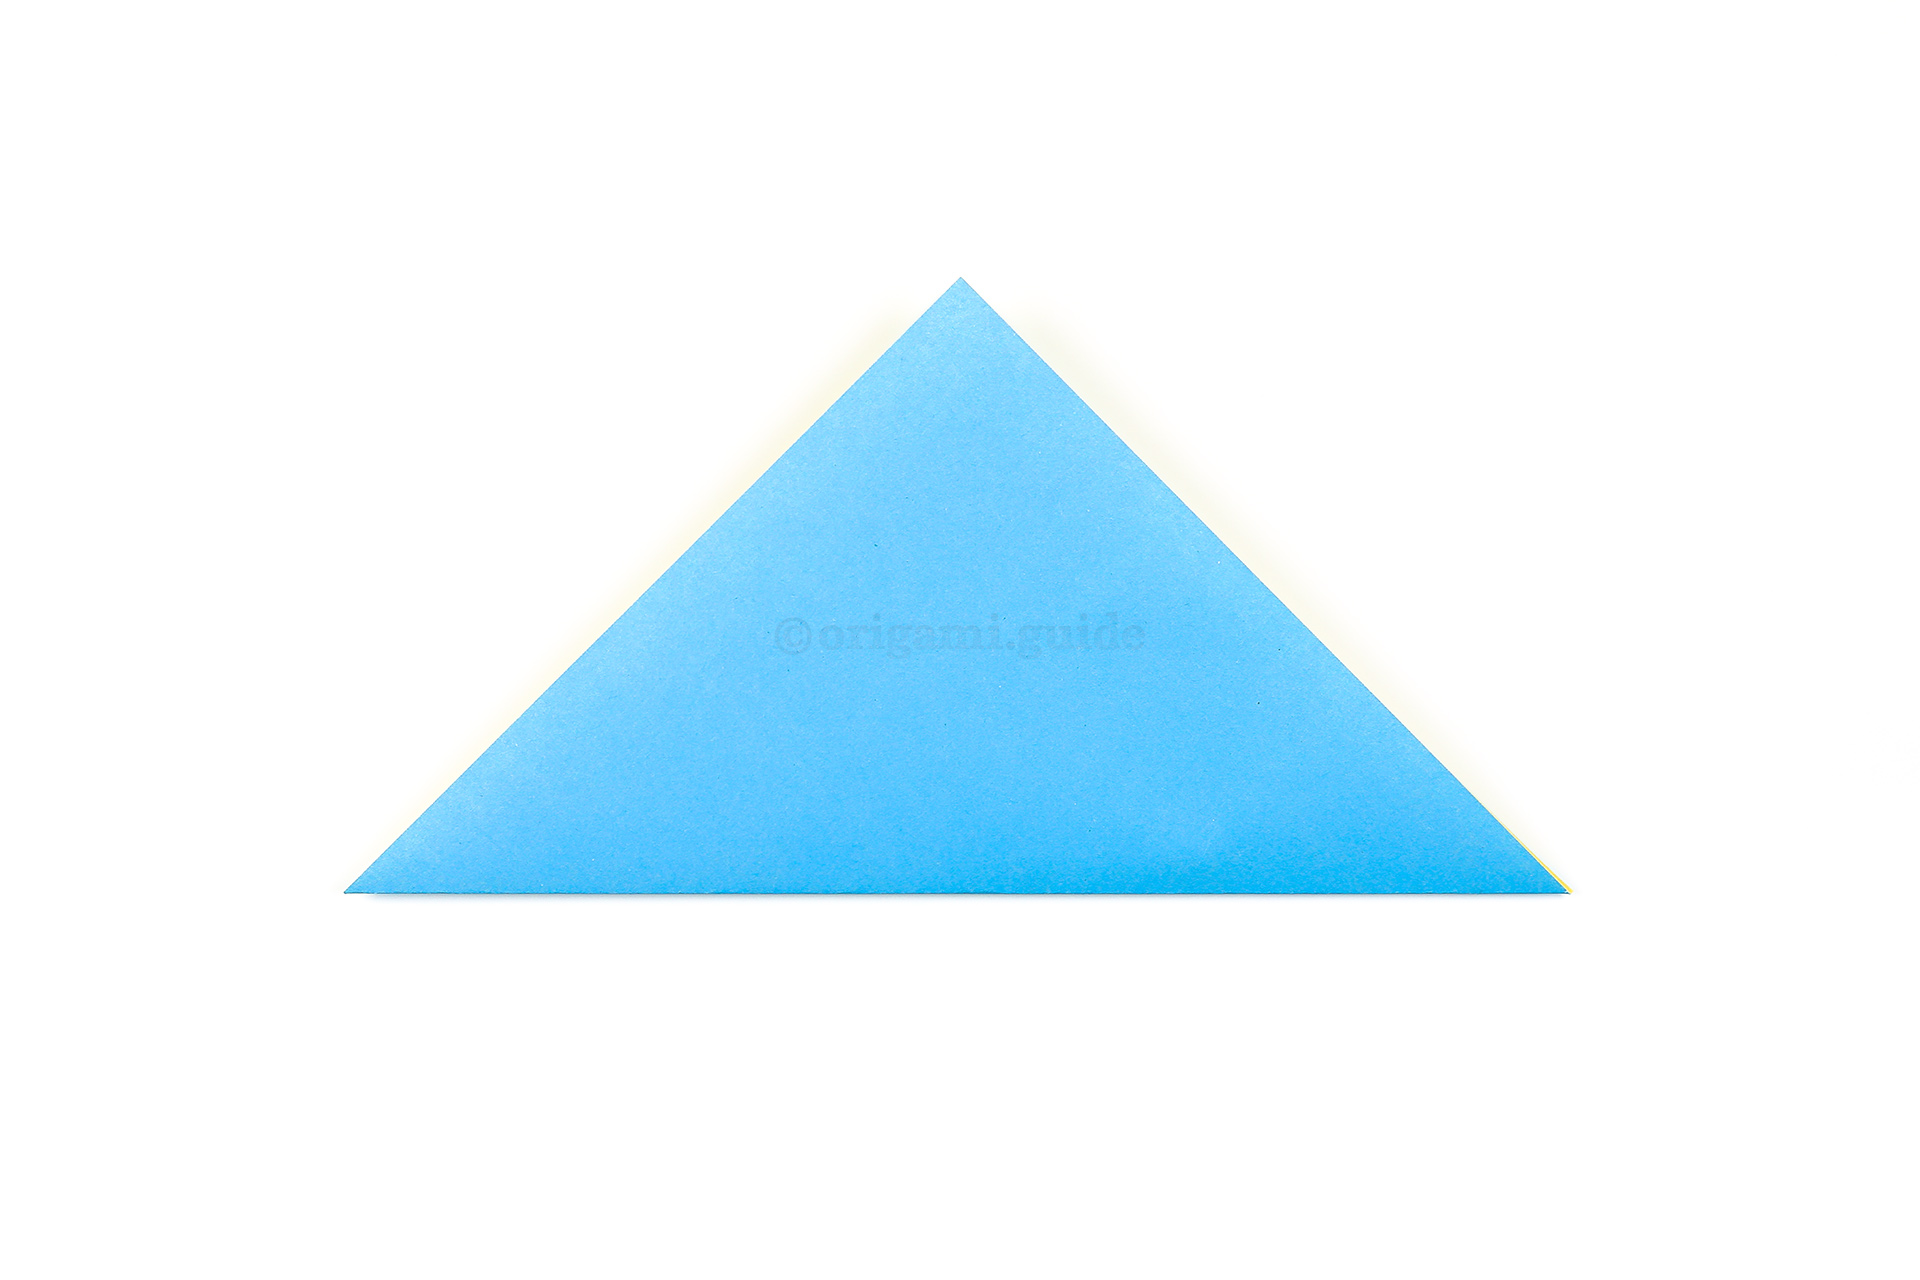
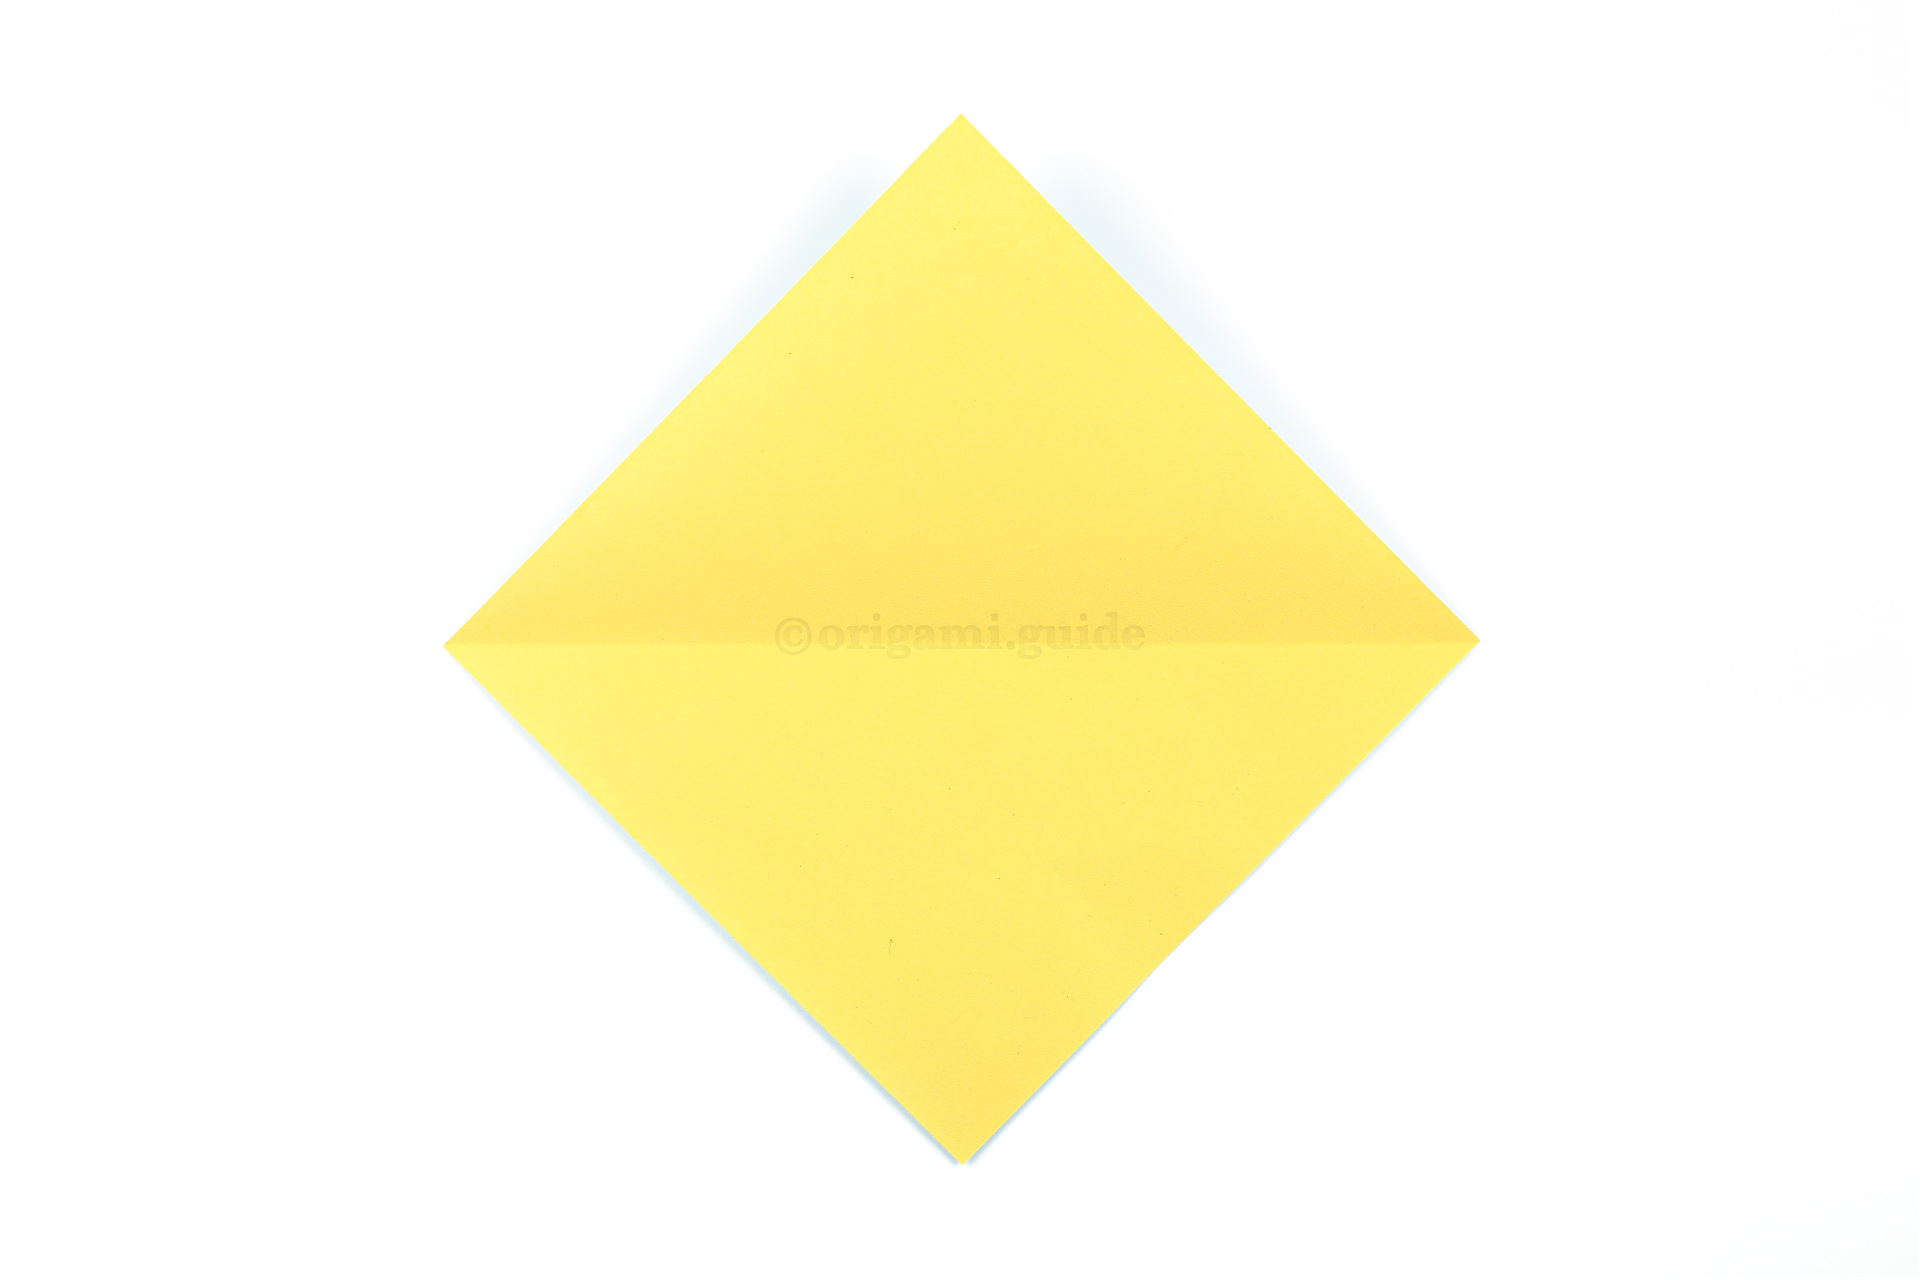
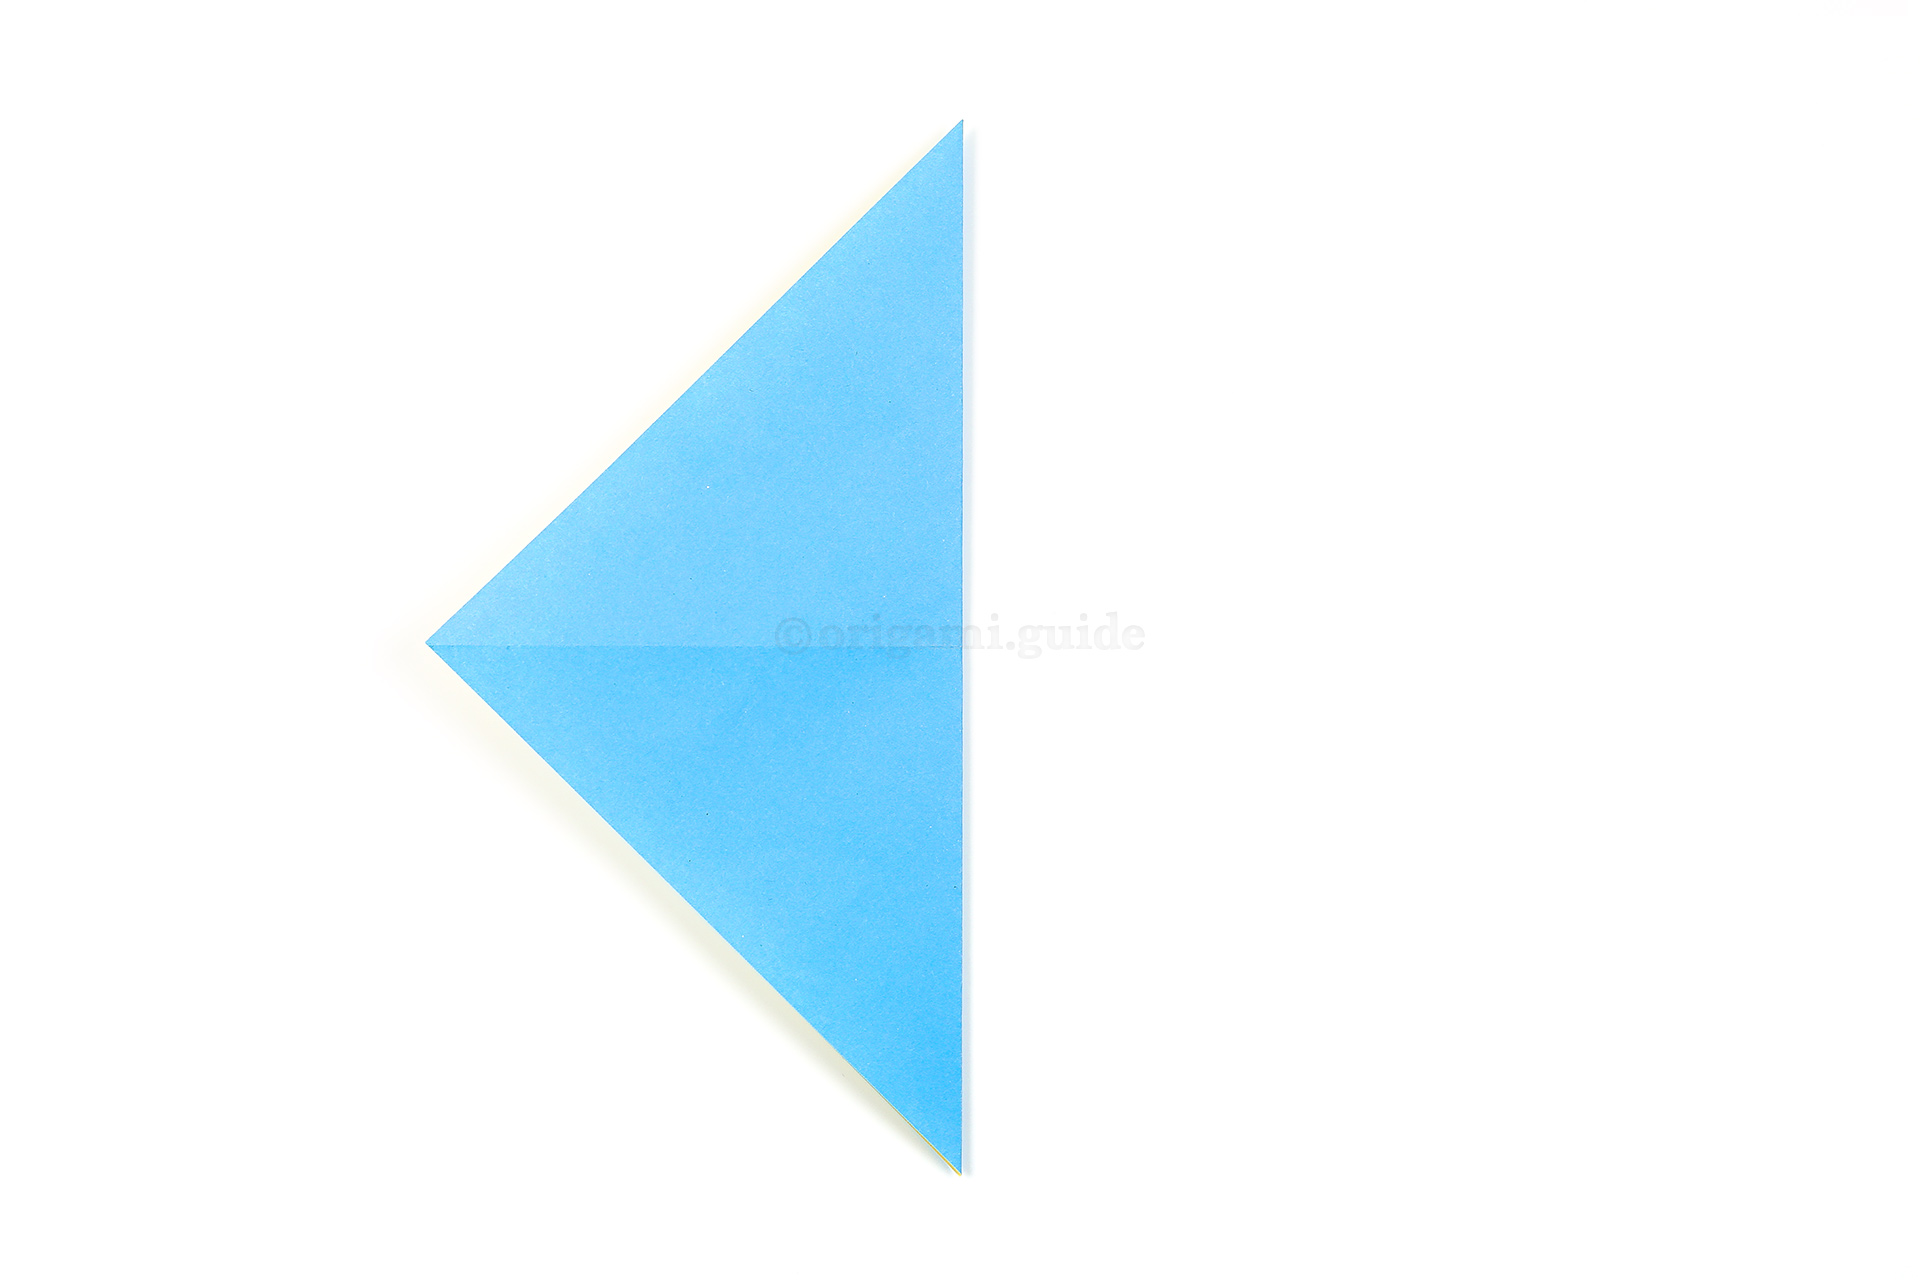
Step 3: Fold the bottom point up to the top point.
-
4

Step 4: Unfold the previous step.
-
5

Step 5: Fold the right point over to the left point.
-
6

Step 6: Unfold the previous step.
-
7

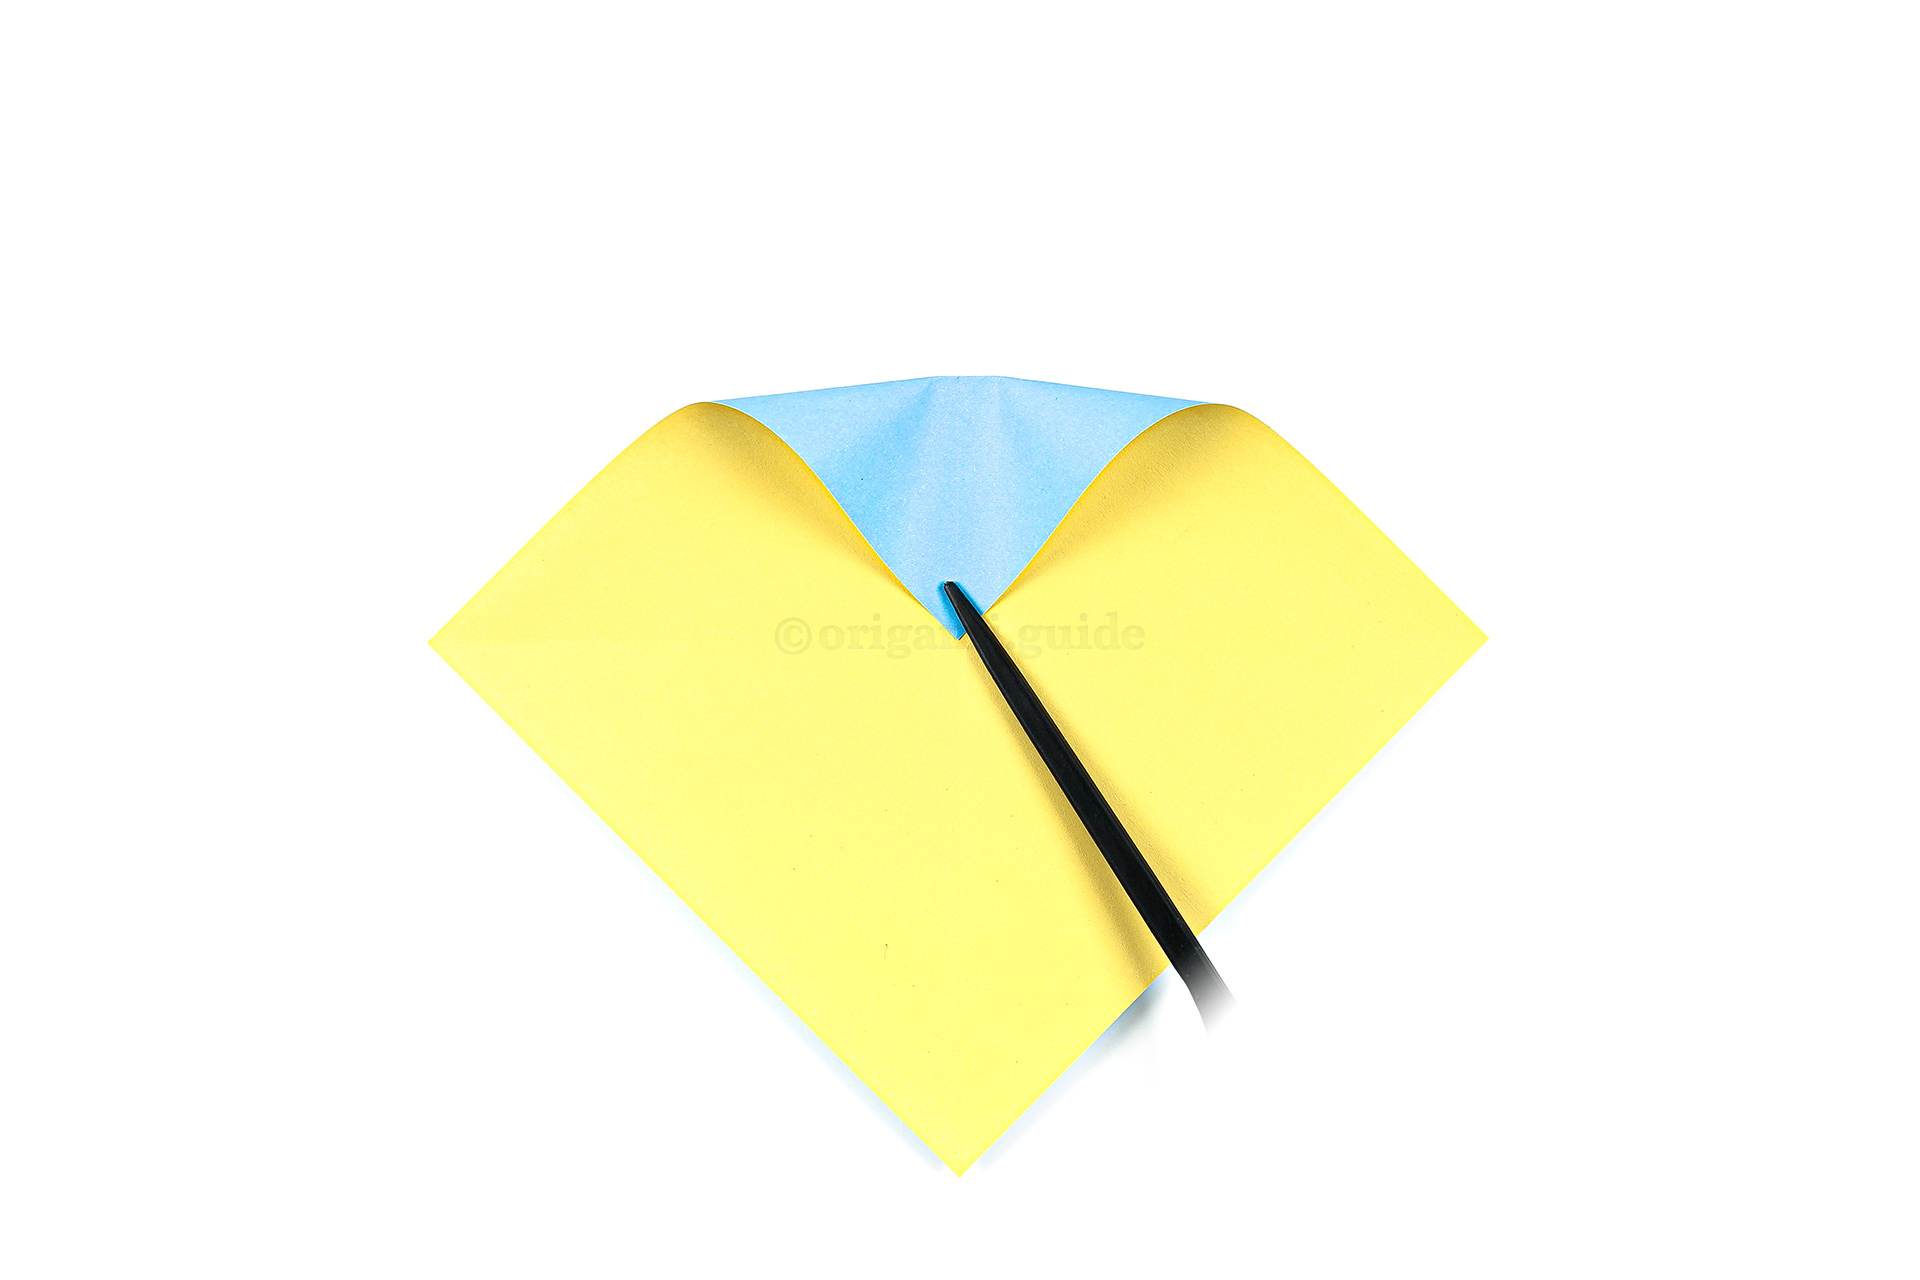
Step 7: Bring the top point down to meet the center of the paper and make a small mark at the top.
-
8

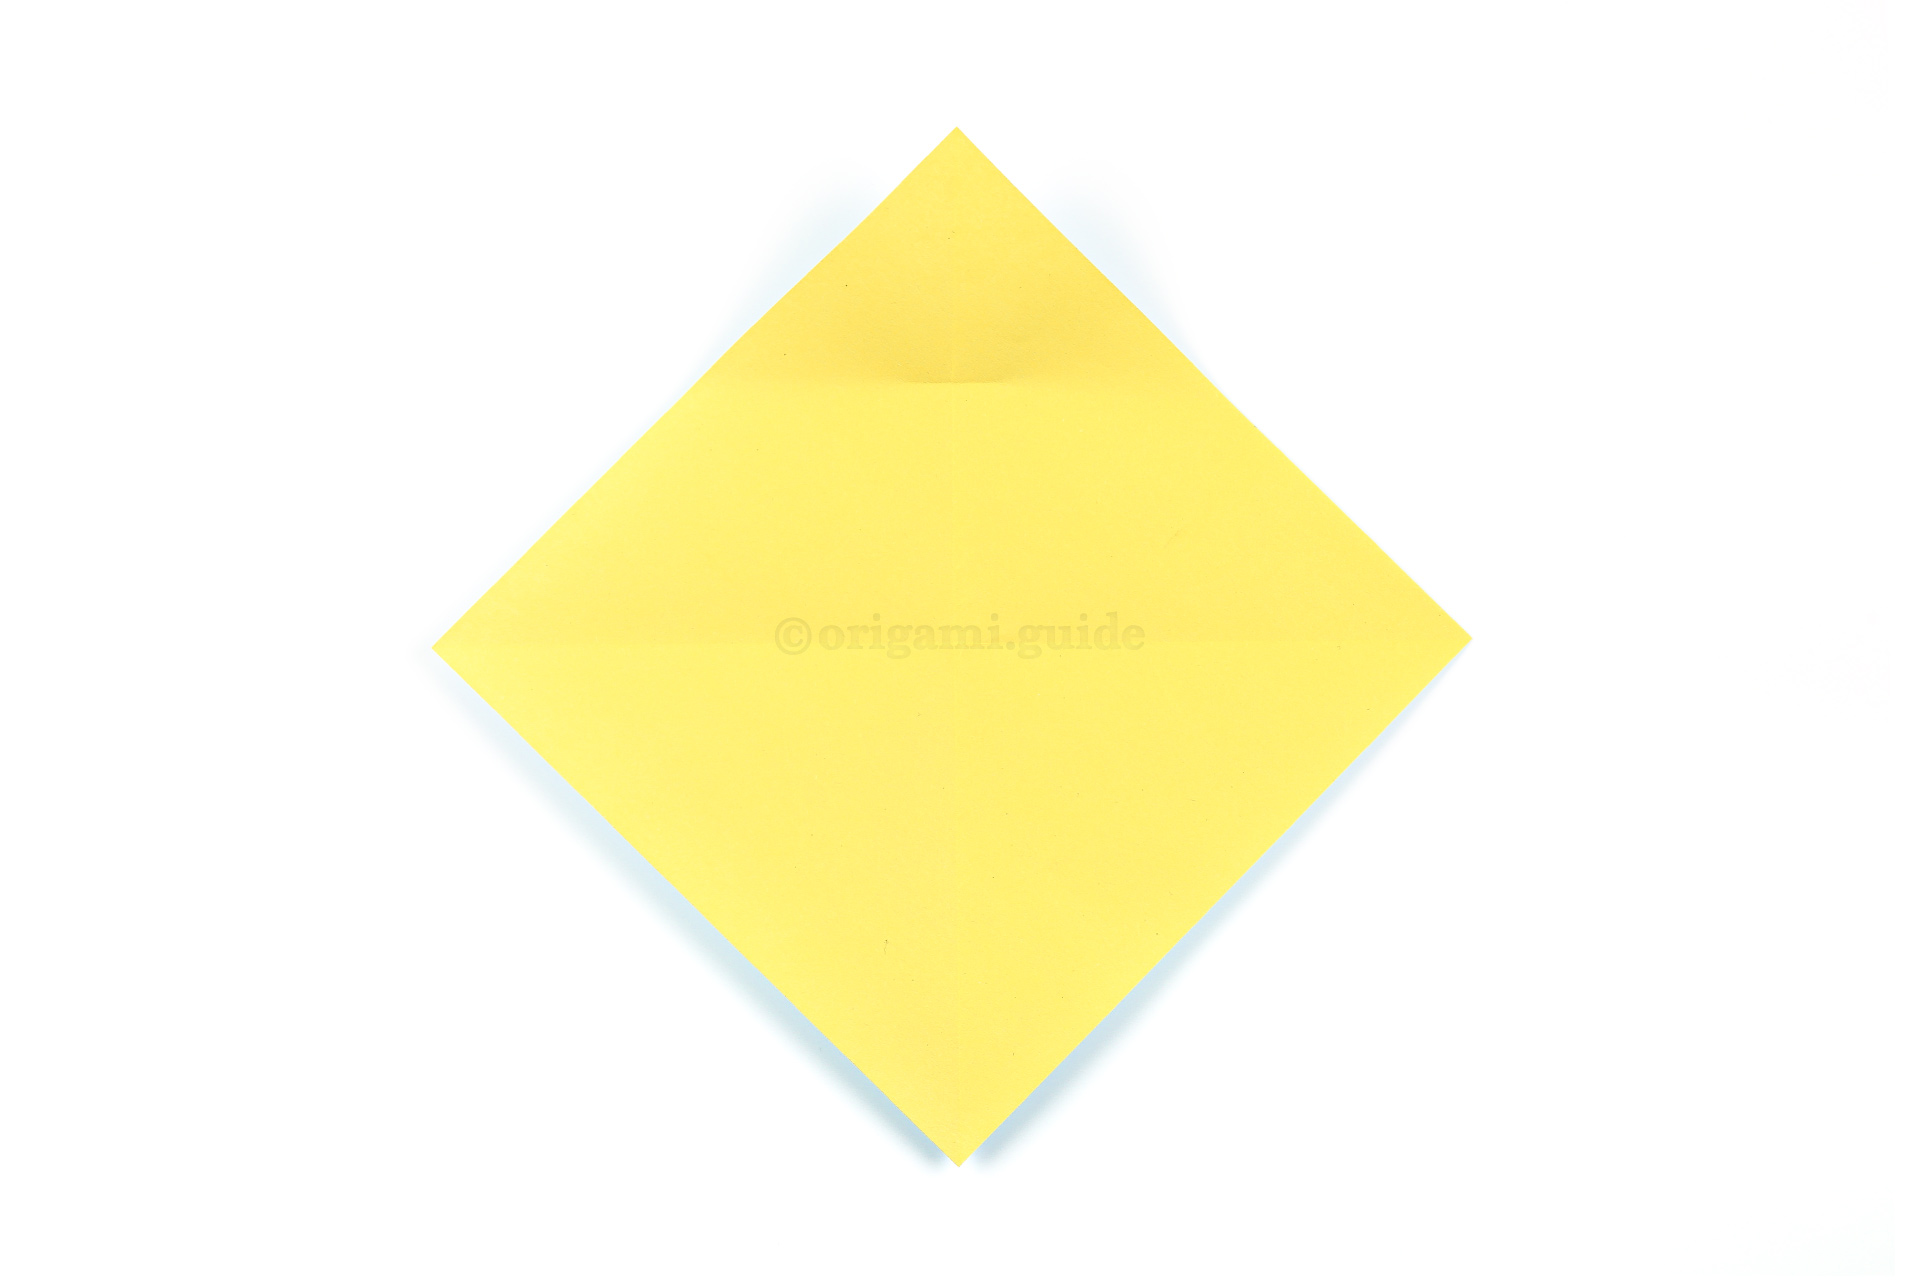
Step 8: Unfold the previous step.
-
9

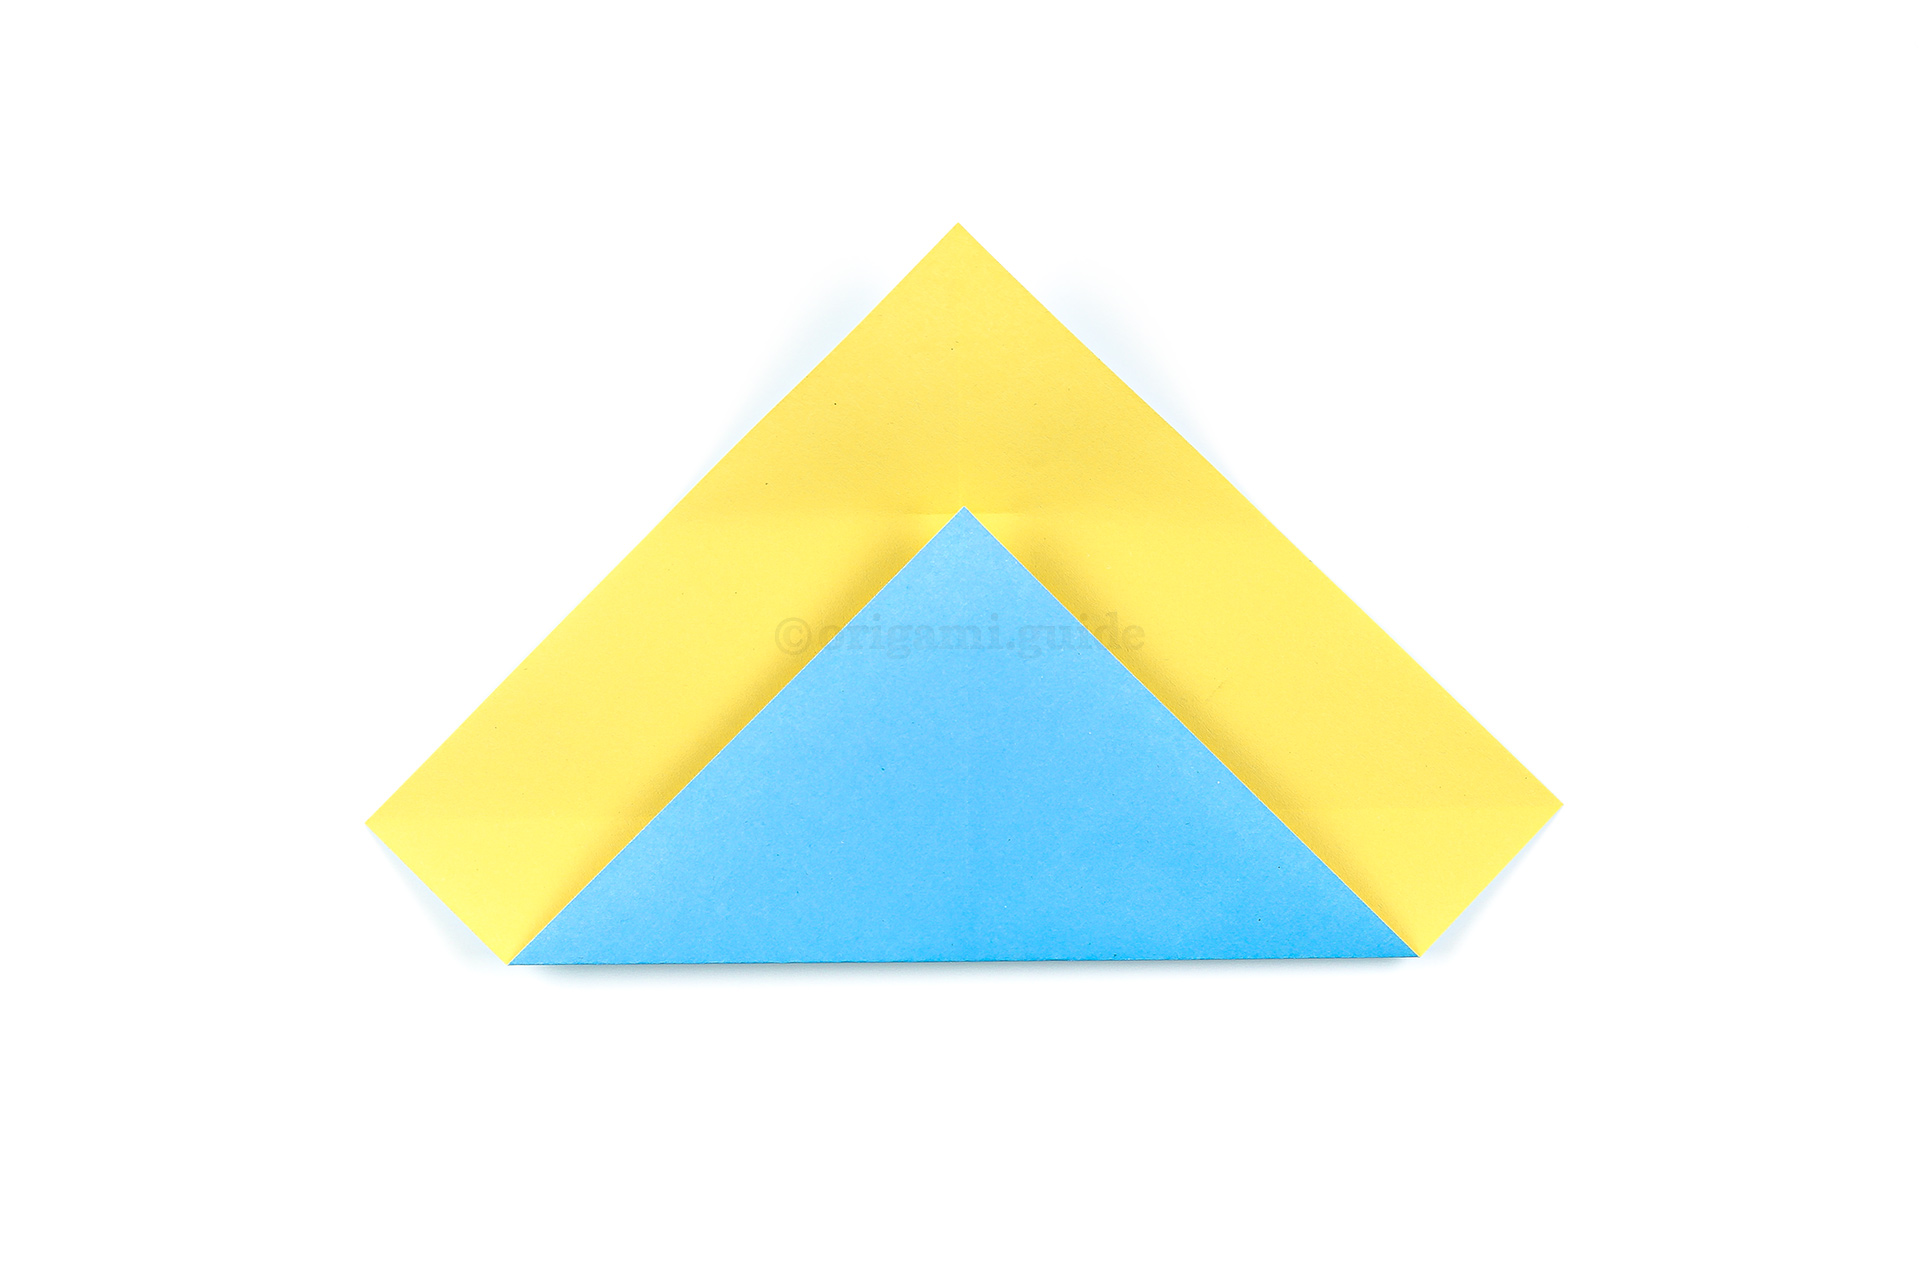
Step 9: Next, fold the bottom point up to the little mark you made in the previous step.
-
10

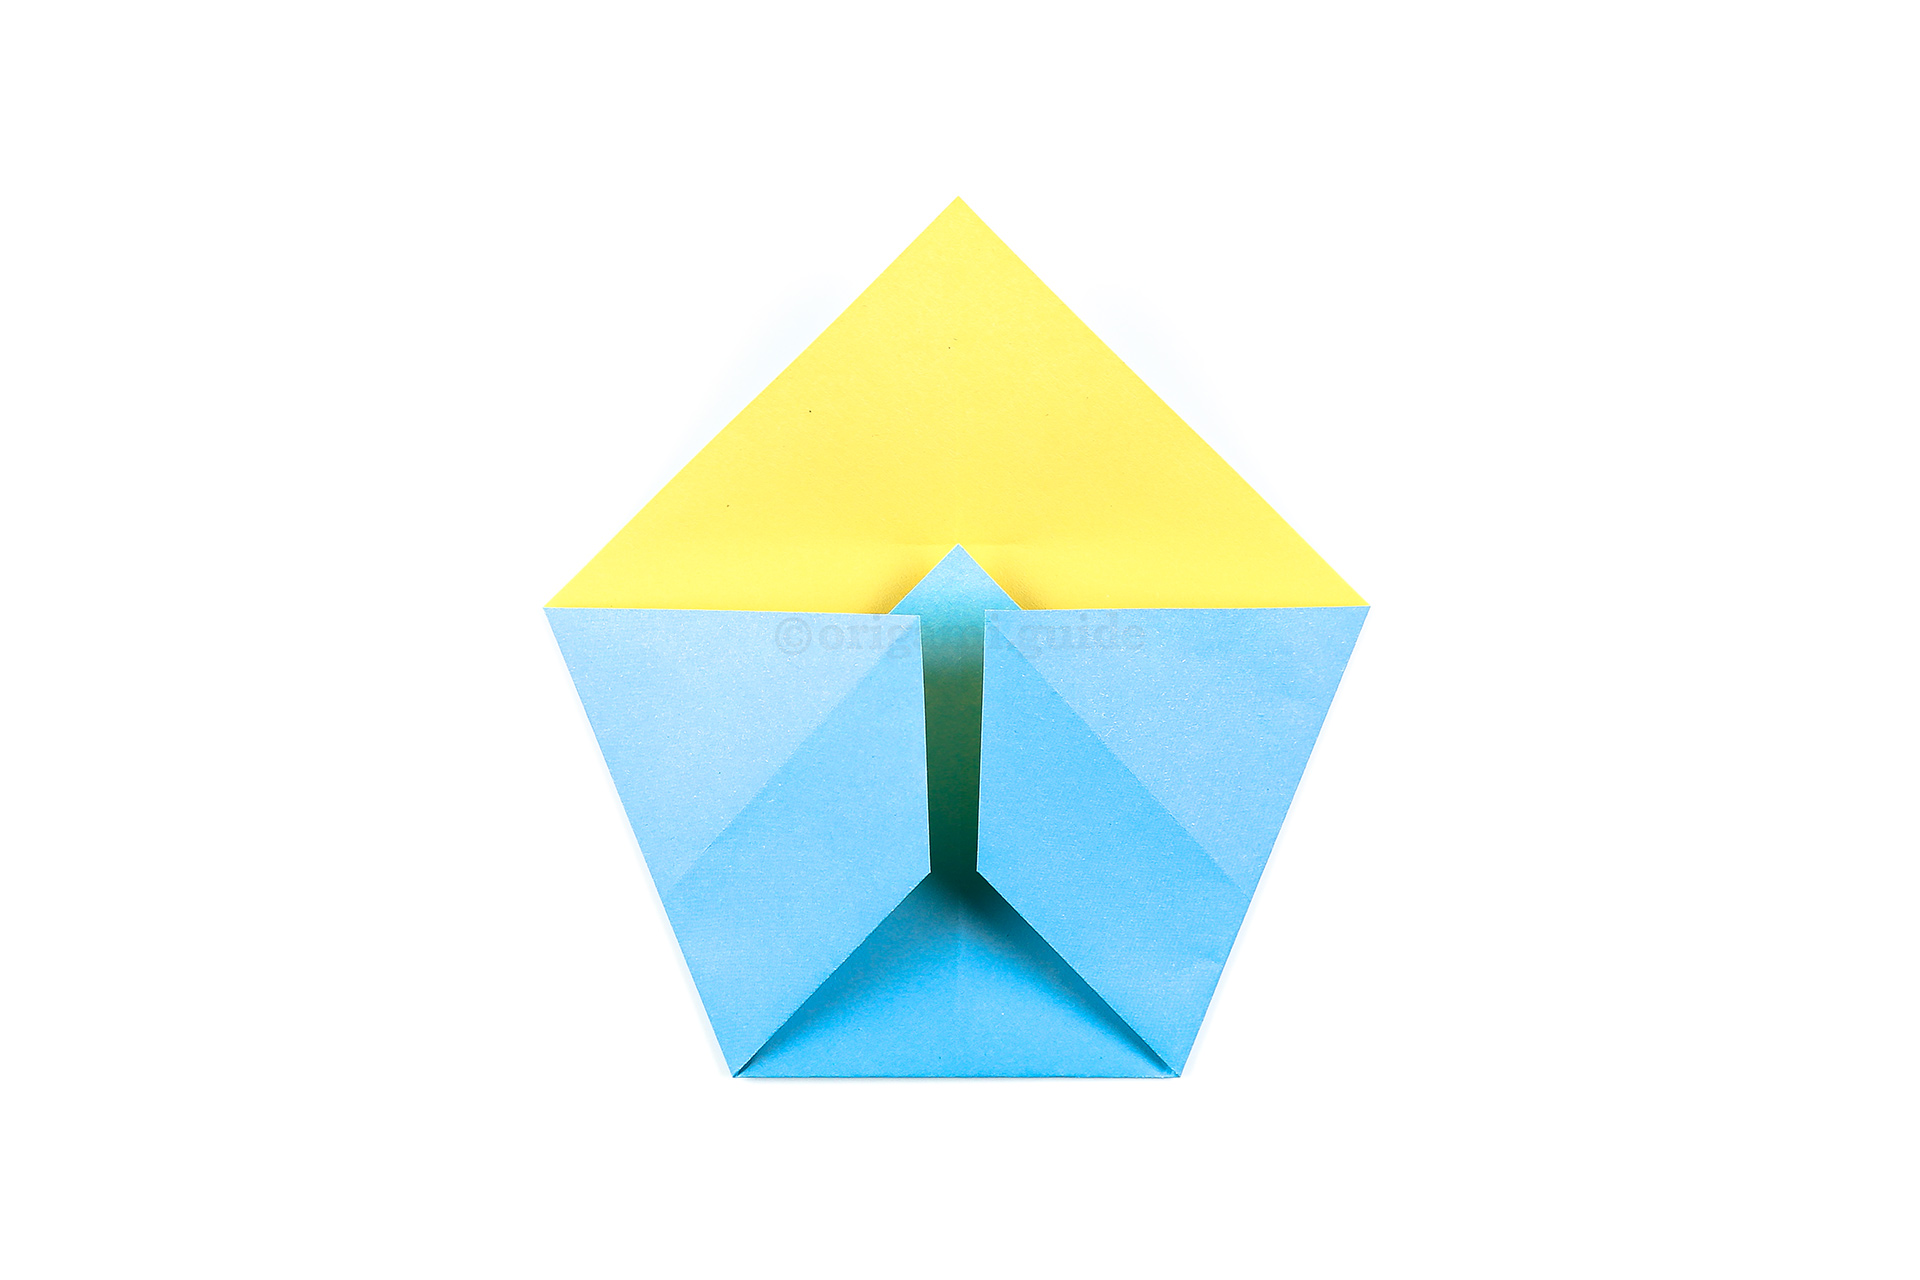
Step 10: Fold the left and right sides in to the middle.
What Easter Origami To Fold Next?
Leave A Comment
Did you fold this Origami Baby Chick In An Egg? Let us know what you thought.
You can also upload a photo of your result!
