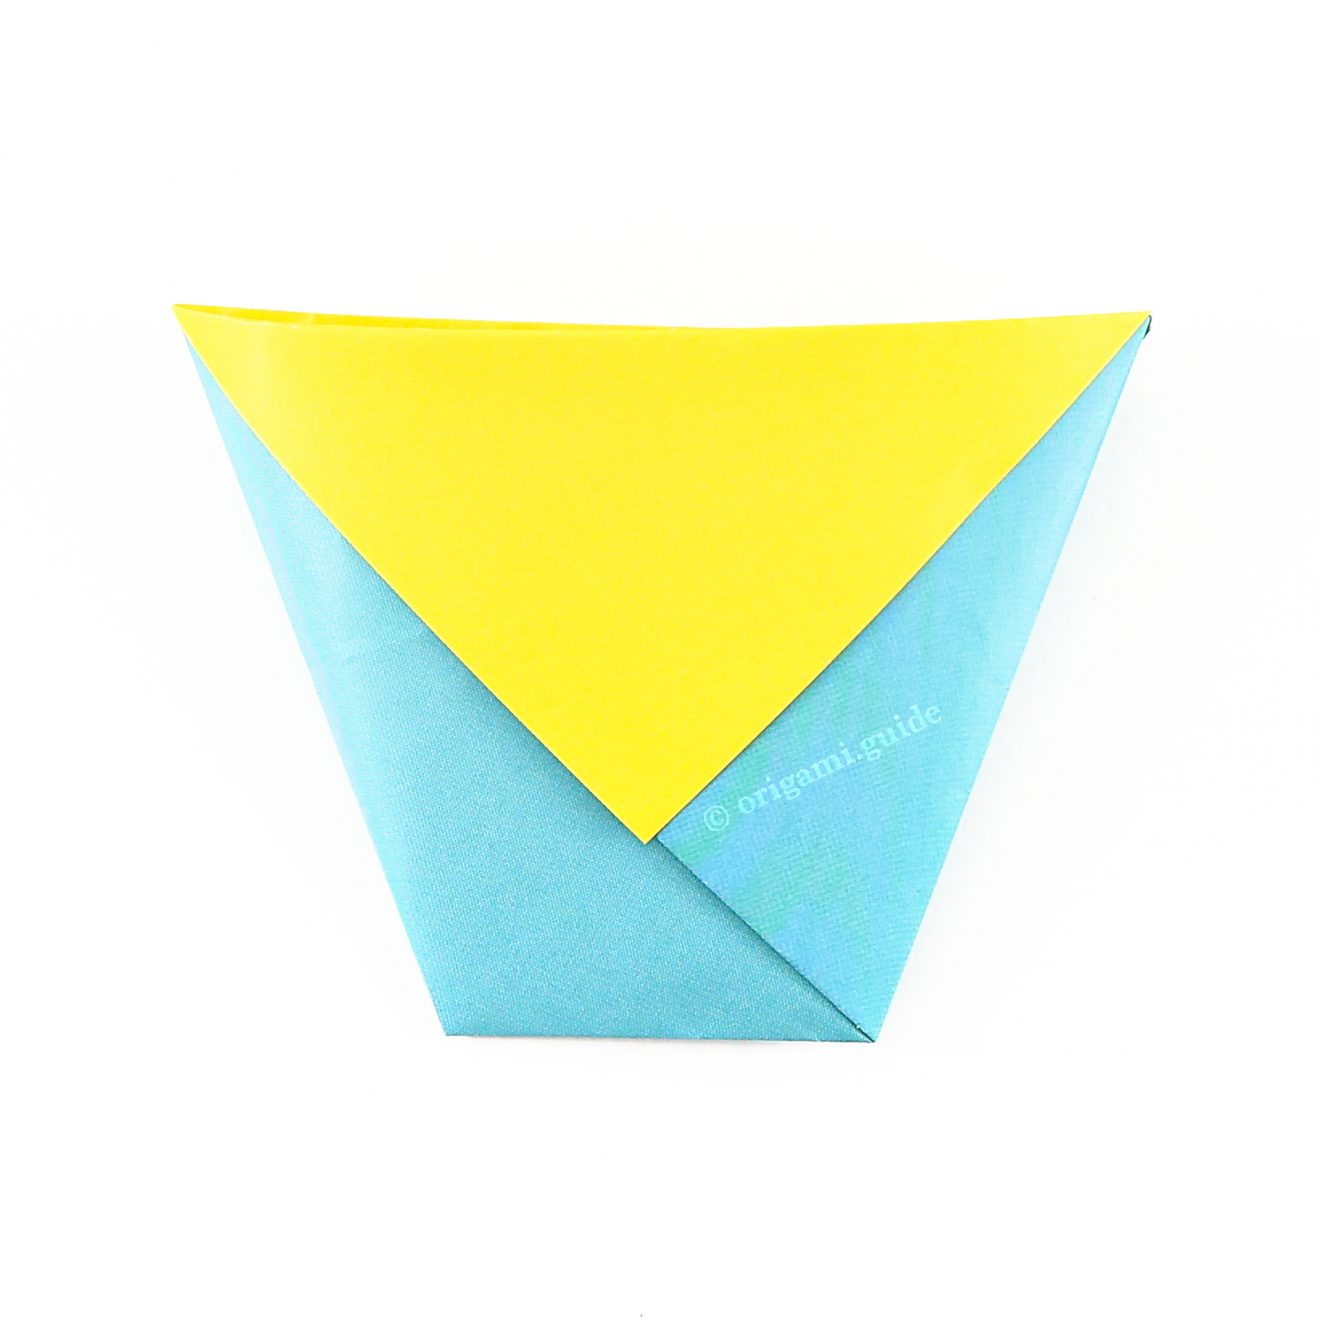
Origami Drinking Cup
- Like
- Digg
- Del
- Tumblr
- VKontakte
- Buffer
- Love This
- Odnoklassniki
- Meneame
- Blogger
- Amazon
- Yahoo Mail
- Gmail
- AOL
- Newsvine
- HackerNews
- Evernote
- MySpace
- Mail.ru
- Viadeo
- Line
- Comments
- Yummly
- SMS
- Viber
- Telegram
- Subscribe
- Skype
- Facebook Messenger
- Kakao
- LiveJournal
- Yammer
- Edgar
- Fintel
- Mix
- Instapaper
- Copy Link
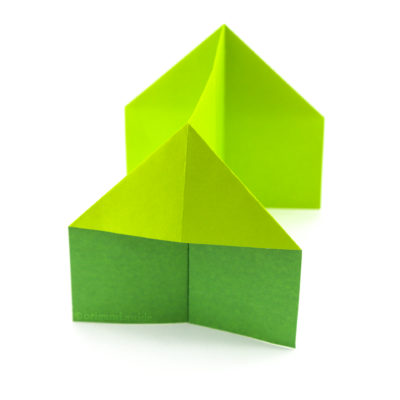
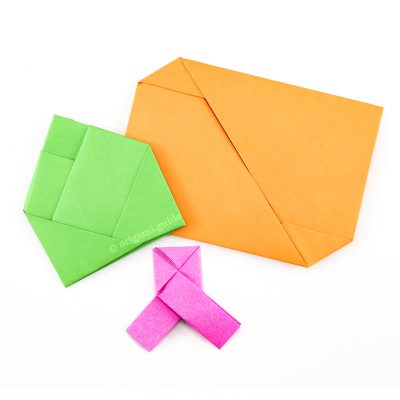
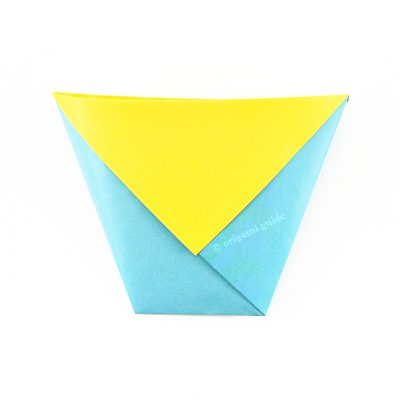
Learn how to make a useable origami drinking cup with this easy to follow step by step tutorial. This simple paper cup can be used as a biodegradable way to hold snacks at parties.
This is a well known and old traditional origami model. It has multiple uses, such as a little pocket to stick into a journal, as a little hat for stuffed toys and of course as a cup.
Obviously if you did use it as a cup for liquid, the paper would quite quickly turn to mush and the liquid would spill. However, in a pinch, they do hold up long enough to drink it. We think this is a great holder for fries and even sandwiches.
Origami Drinking Cup Instructions
Scroll down to follow the photo tutorial for the Origami Drinking Cup.
Made this origami? Leave a comment & submit your photo on the last page here.
-
1

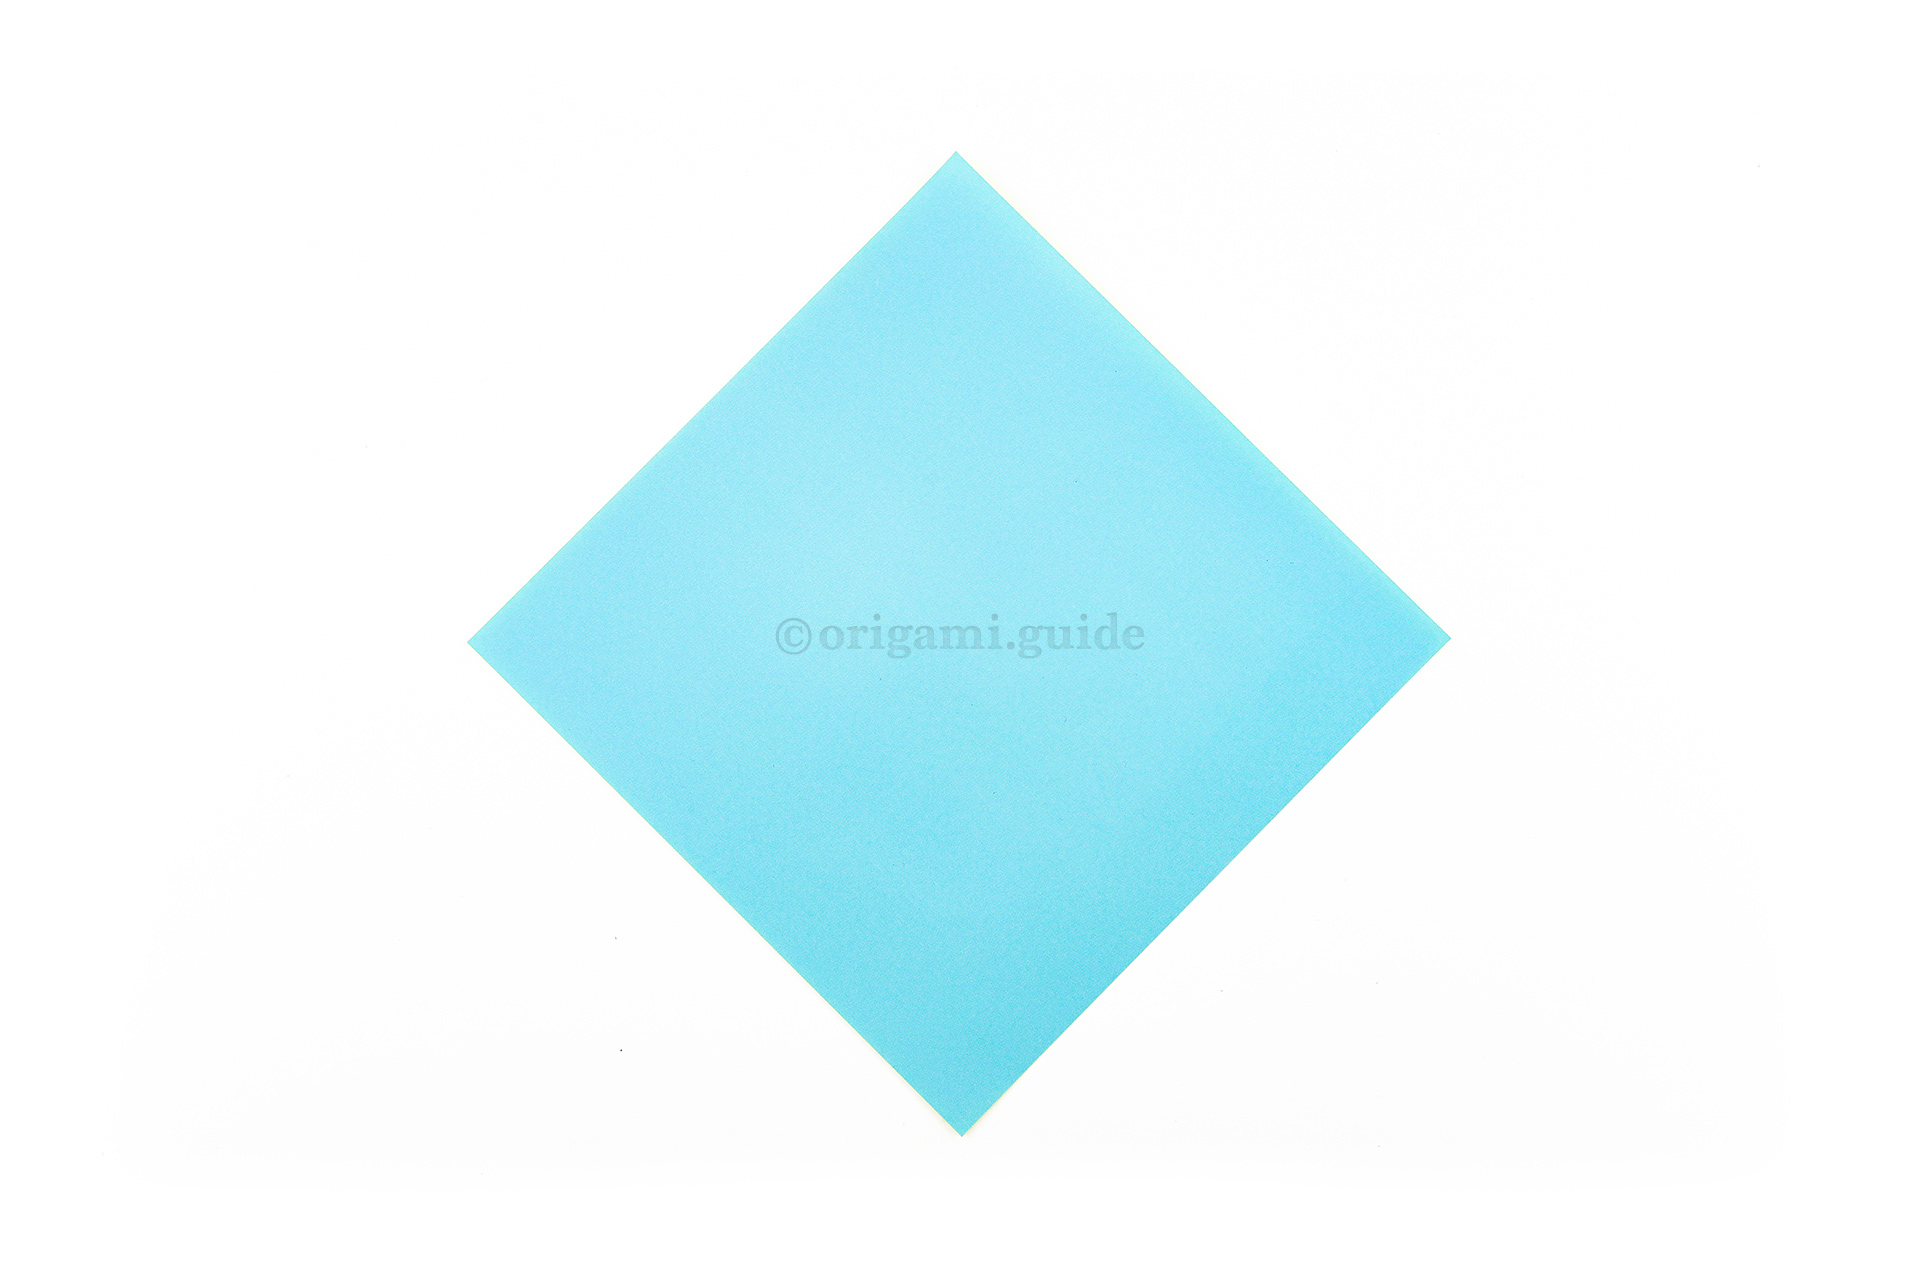
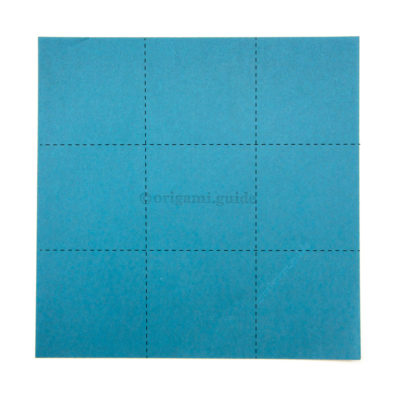
Step 1: This is the front of our paper, our cups main area will be this colour.
-
2

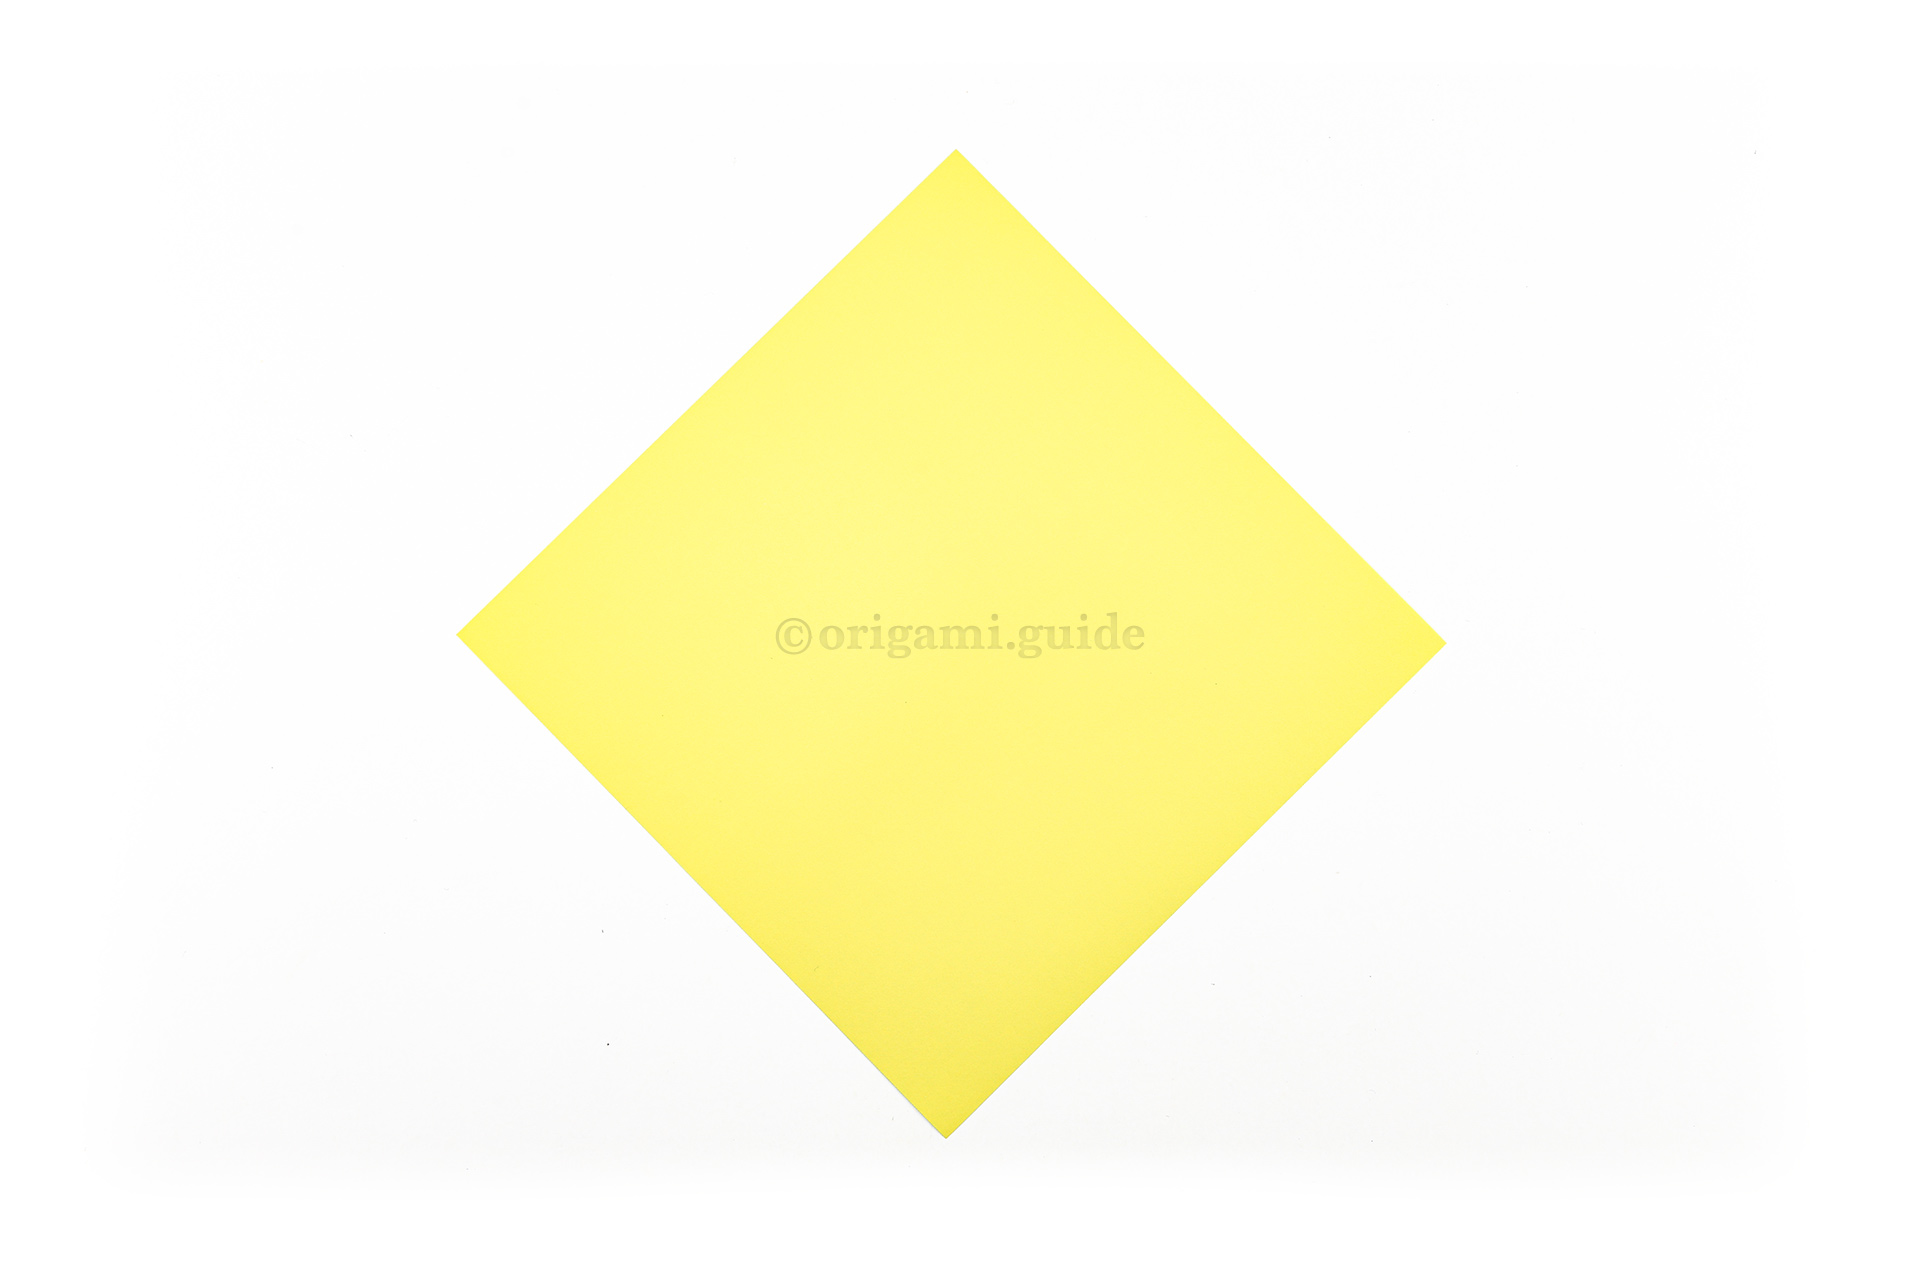
Step 2: This is the back of our paper, the inside and outer flap will end up this colour.
-
3

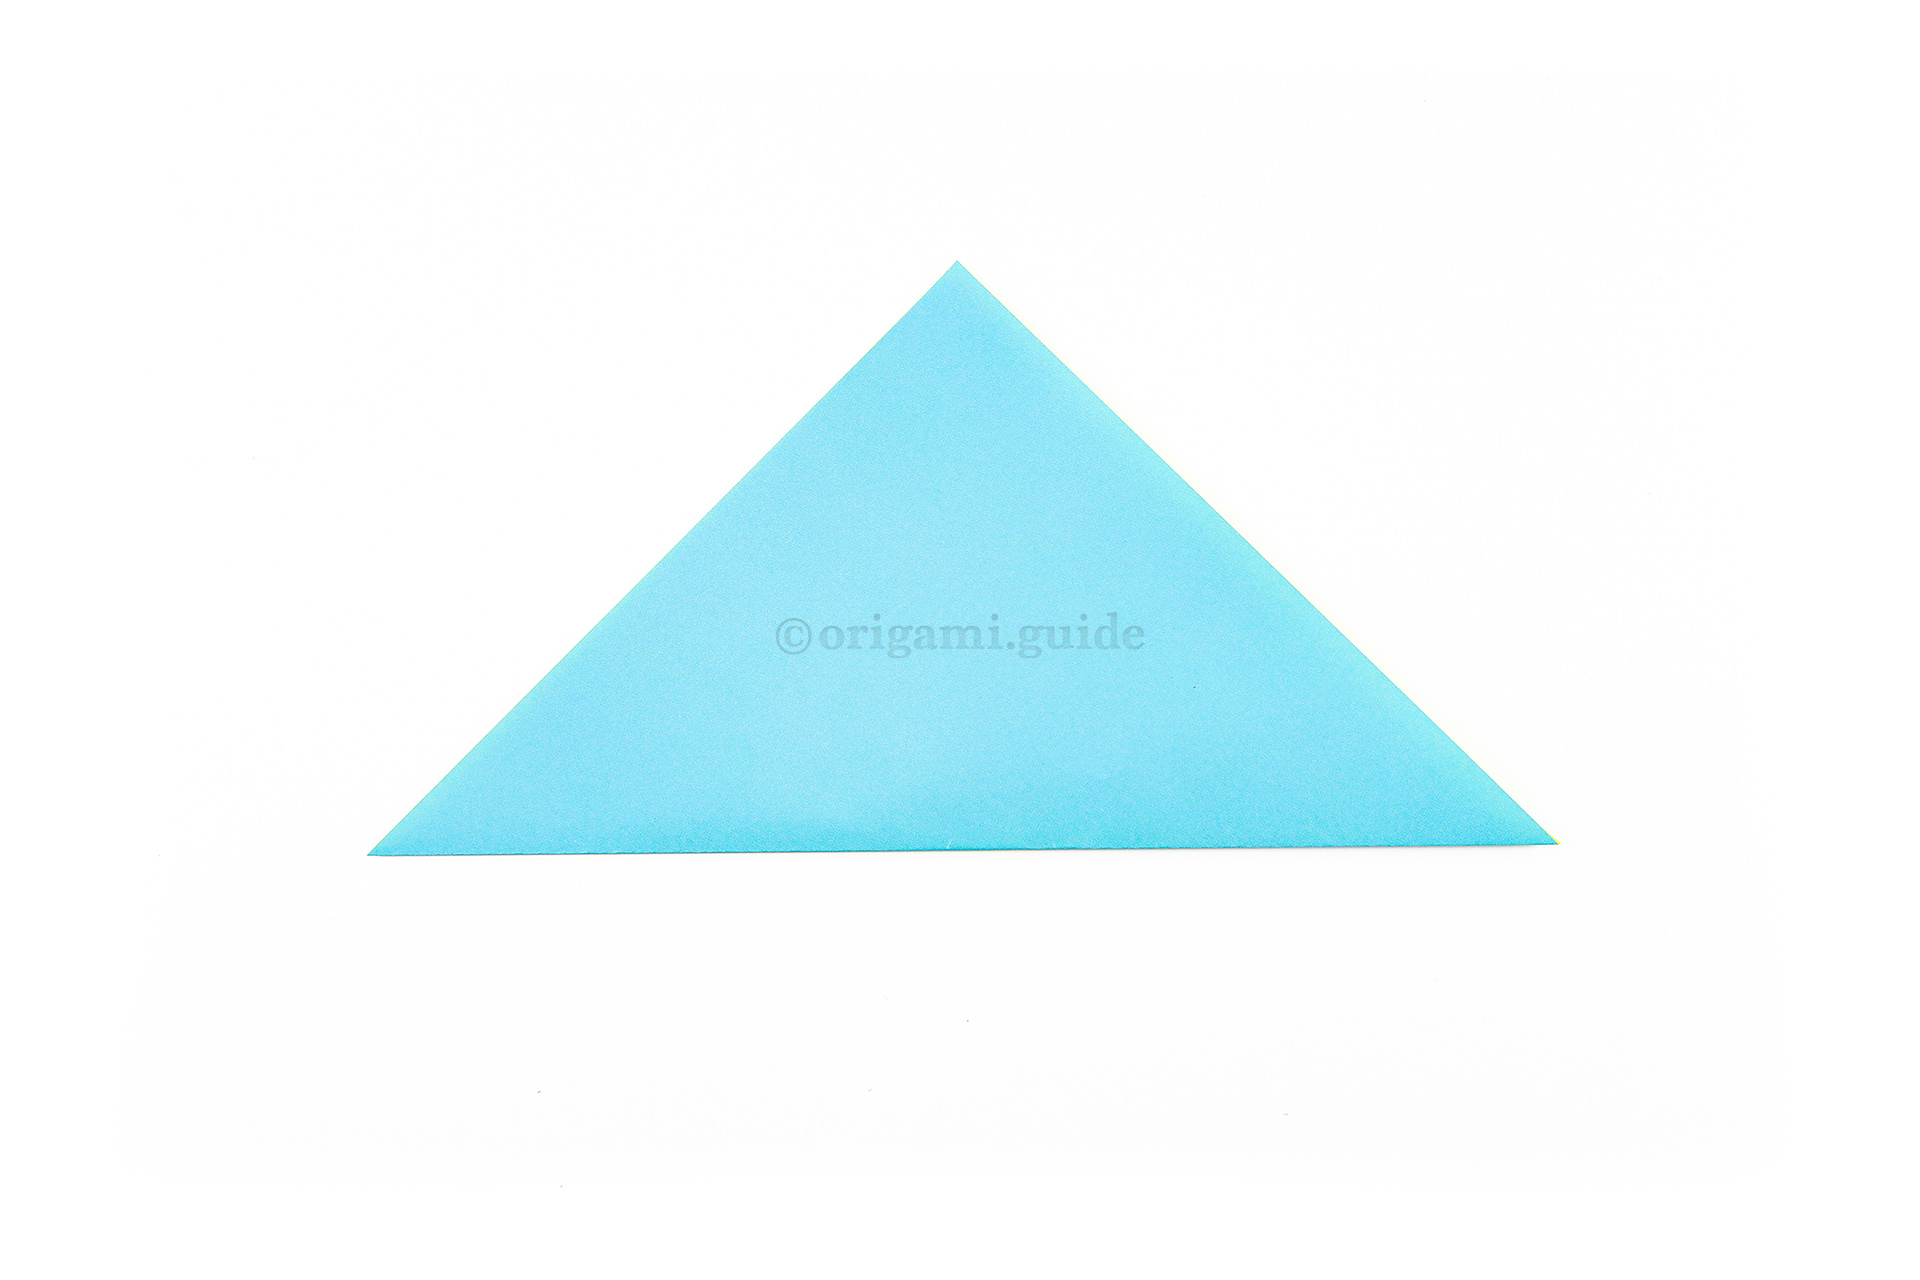
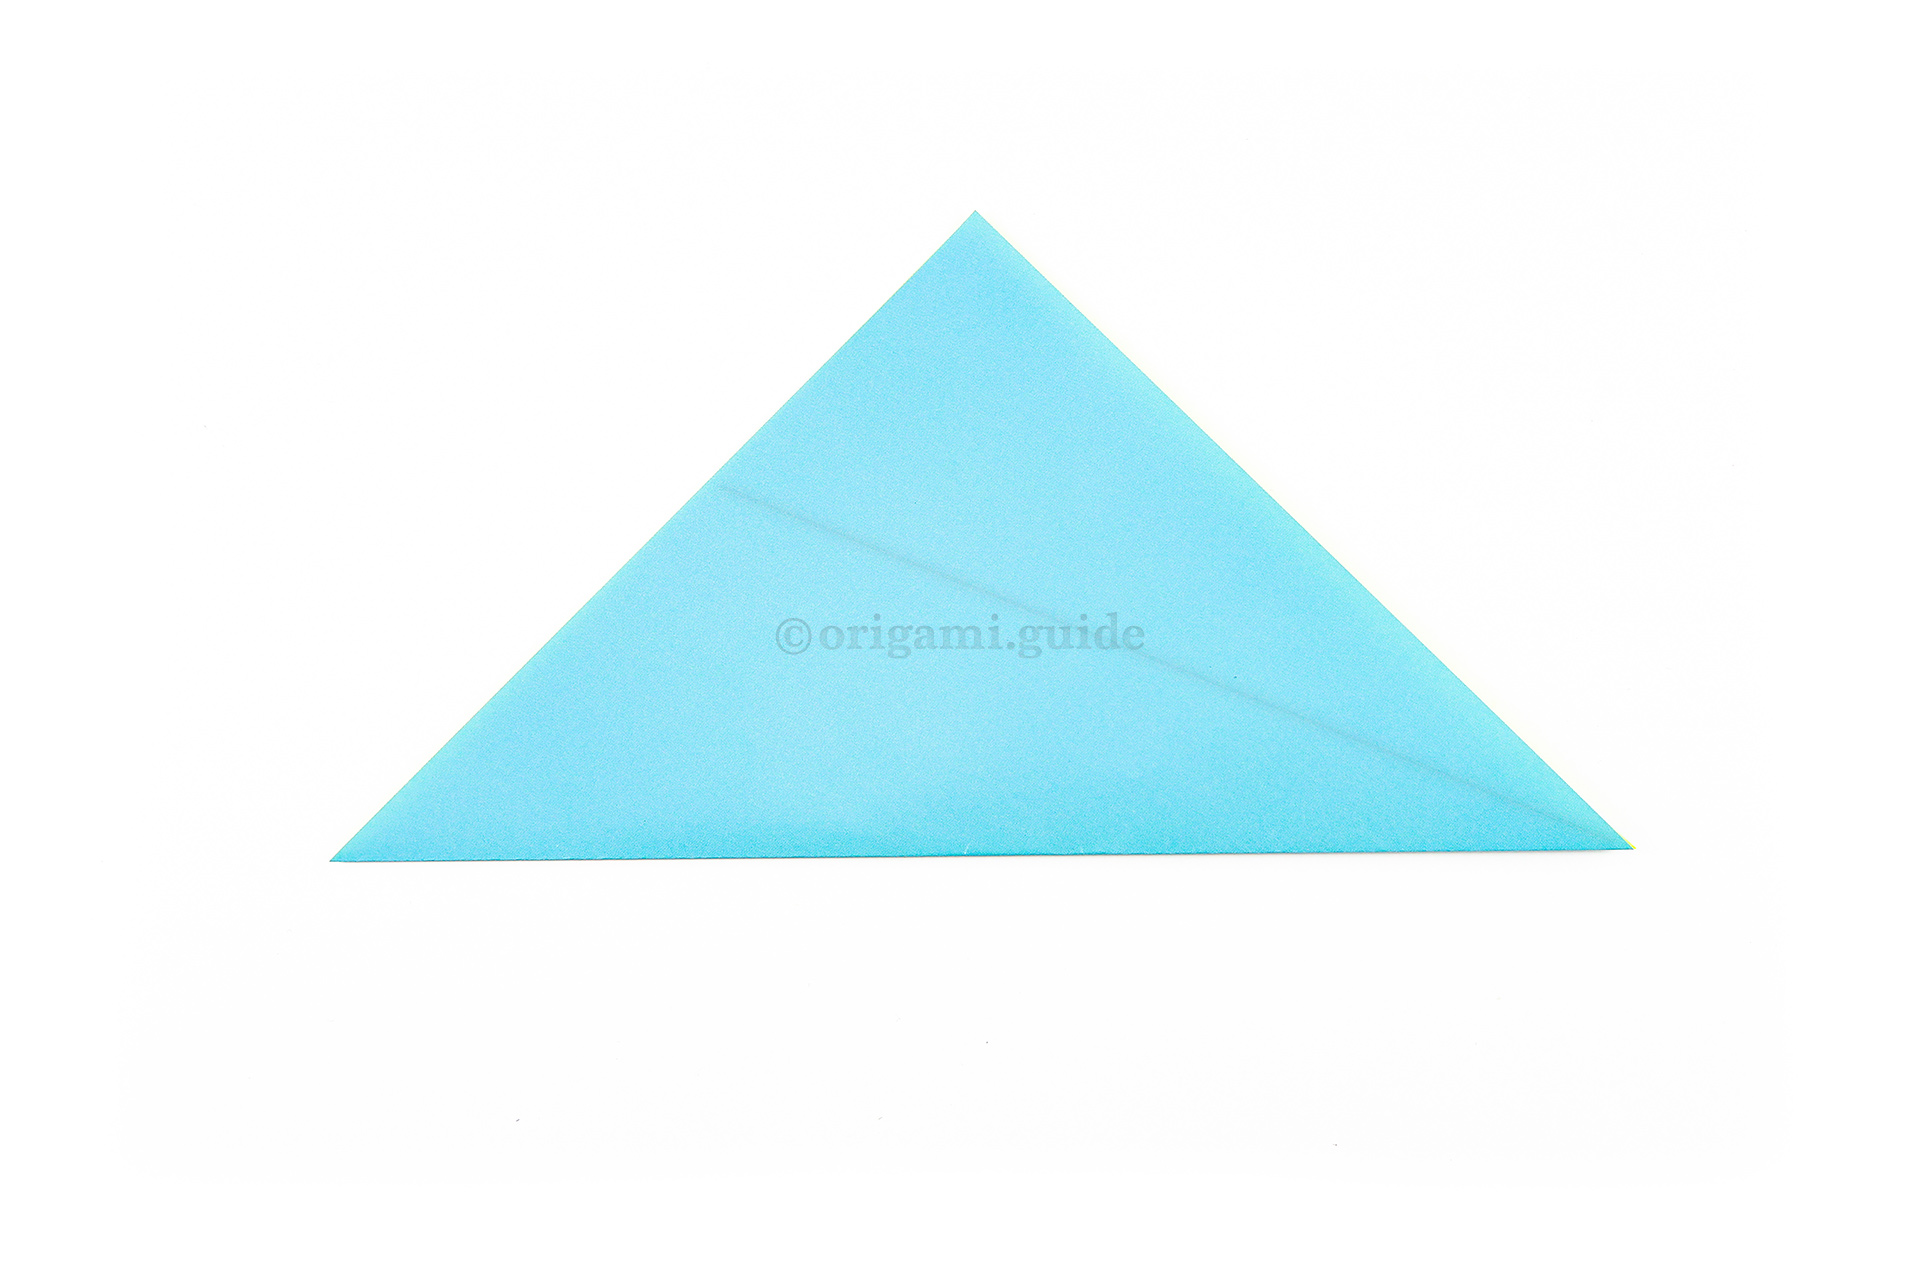
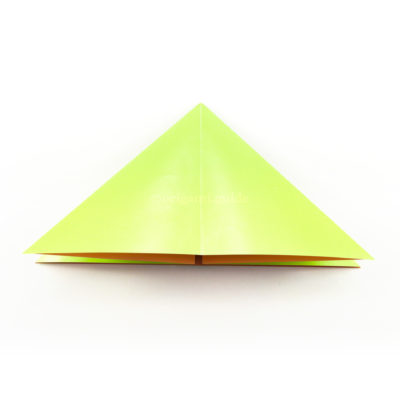
Step 3: Fold the bottom point up to the top point.
-
4

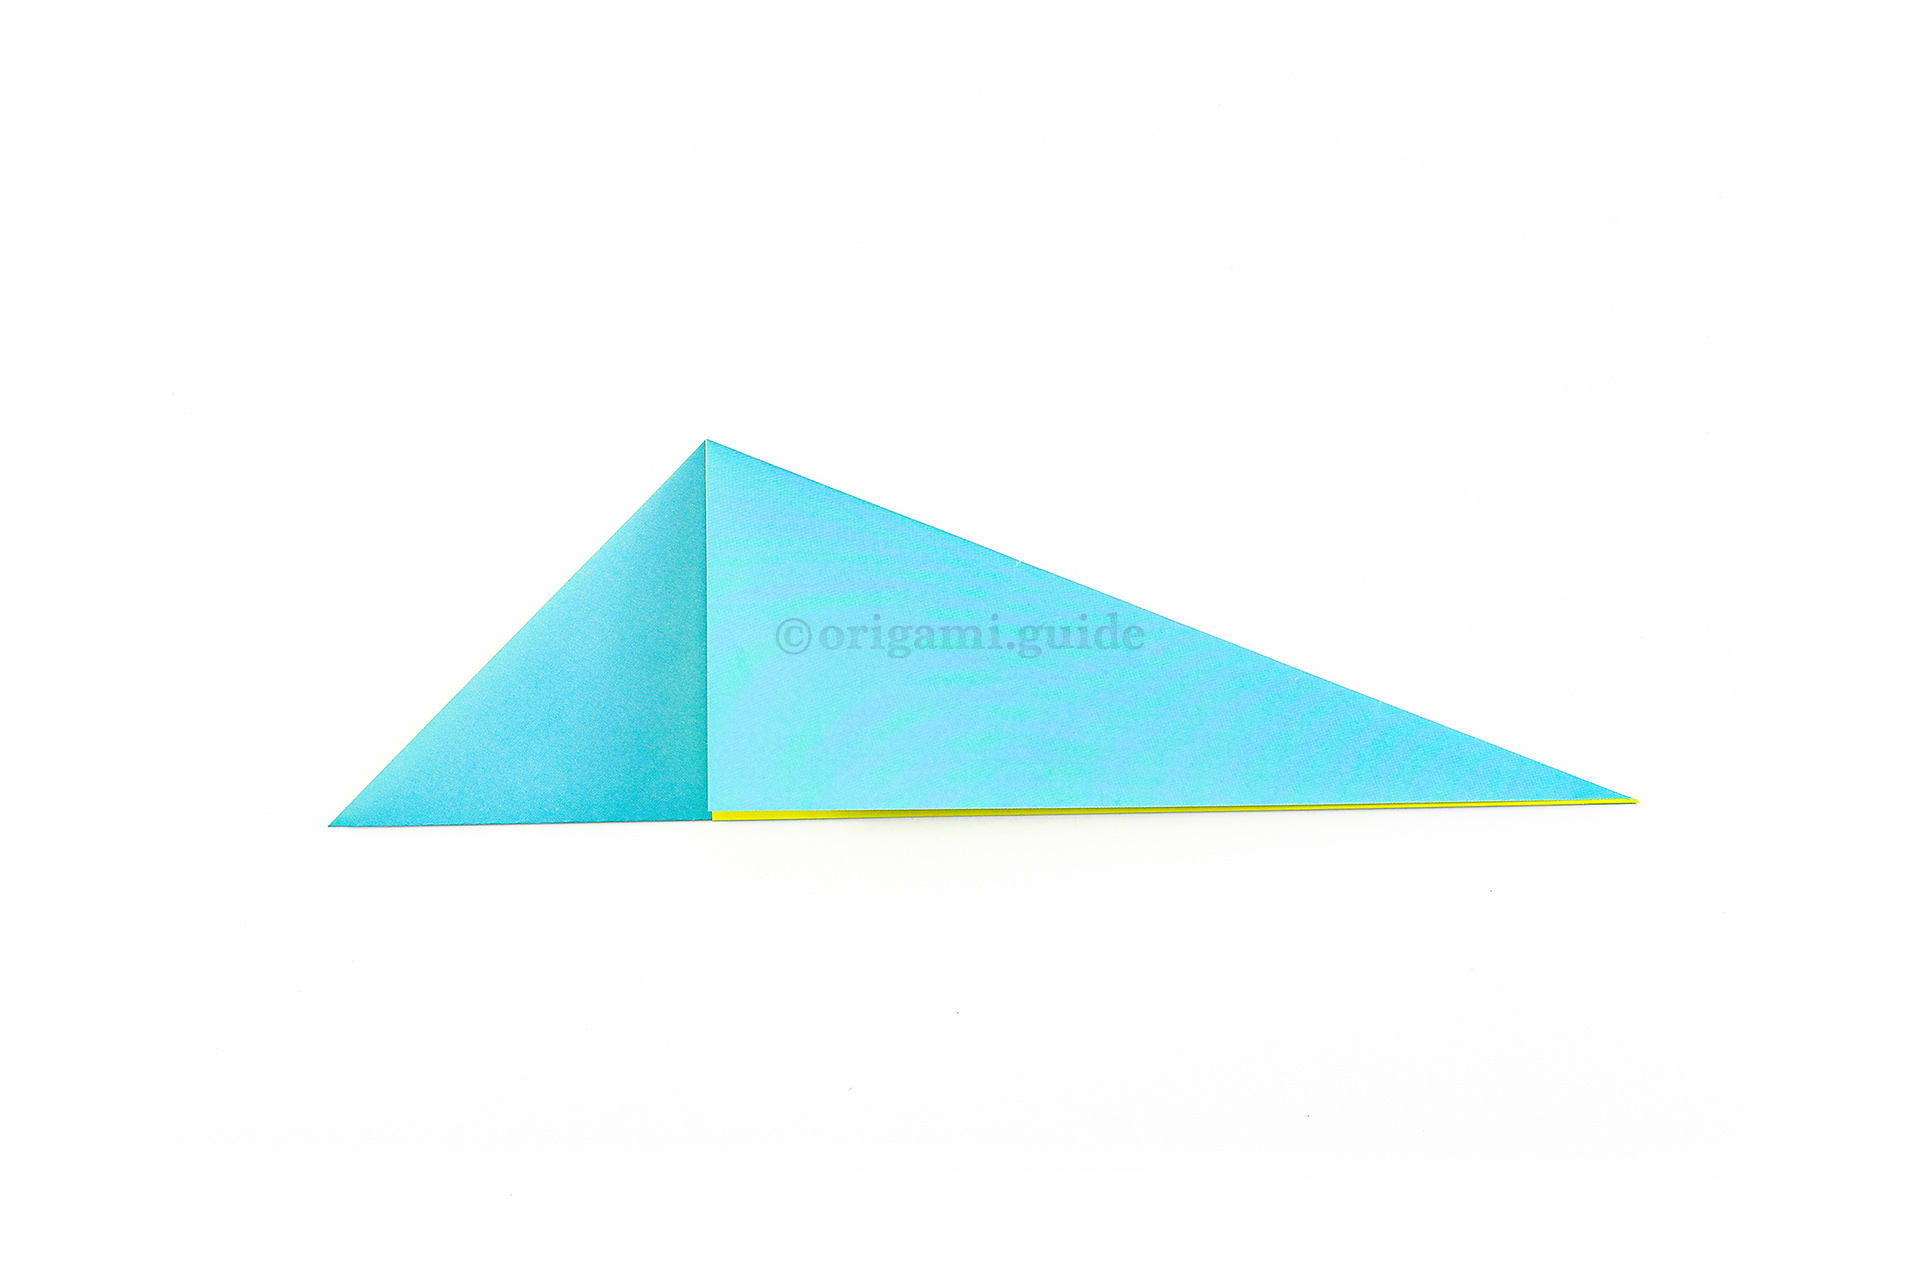
Step 4: Bring the top right edge diagonally down to align with the bottom edge. This crease only needs to exist on the left section, so you needn't bother folding down to the right point.
-
5

Step 5: Unfold the previous step.
-
6

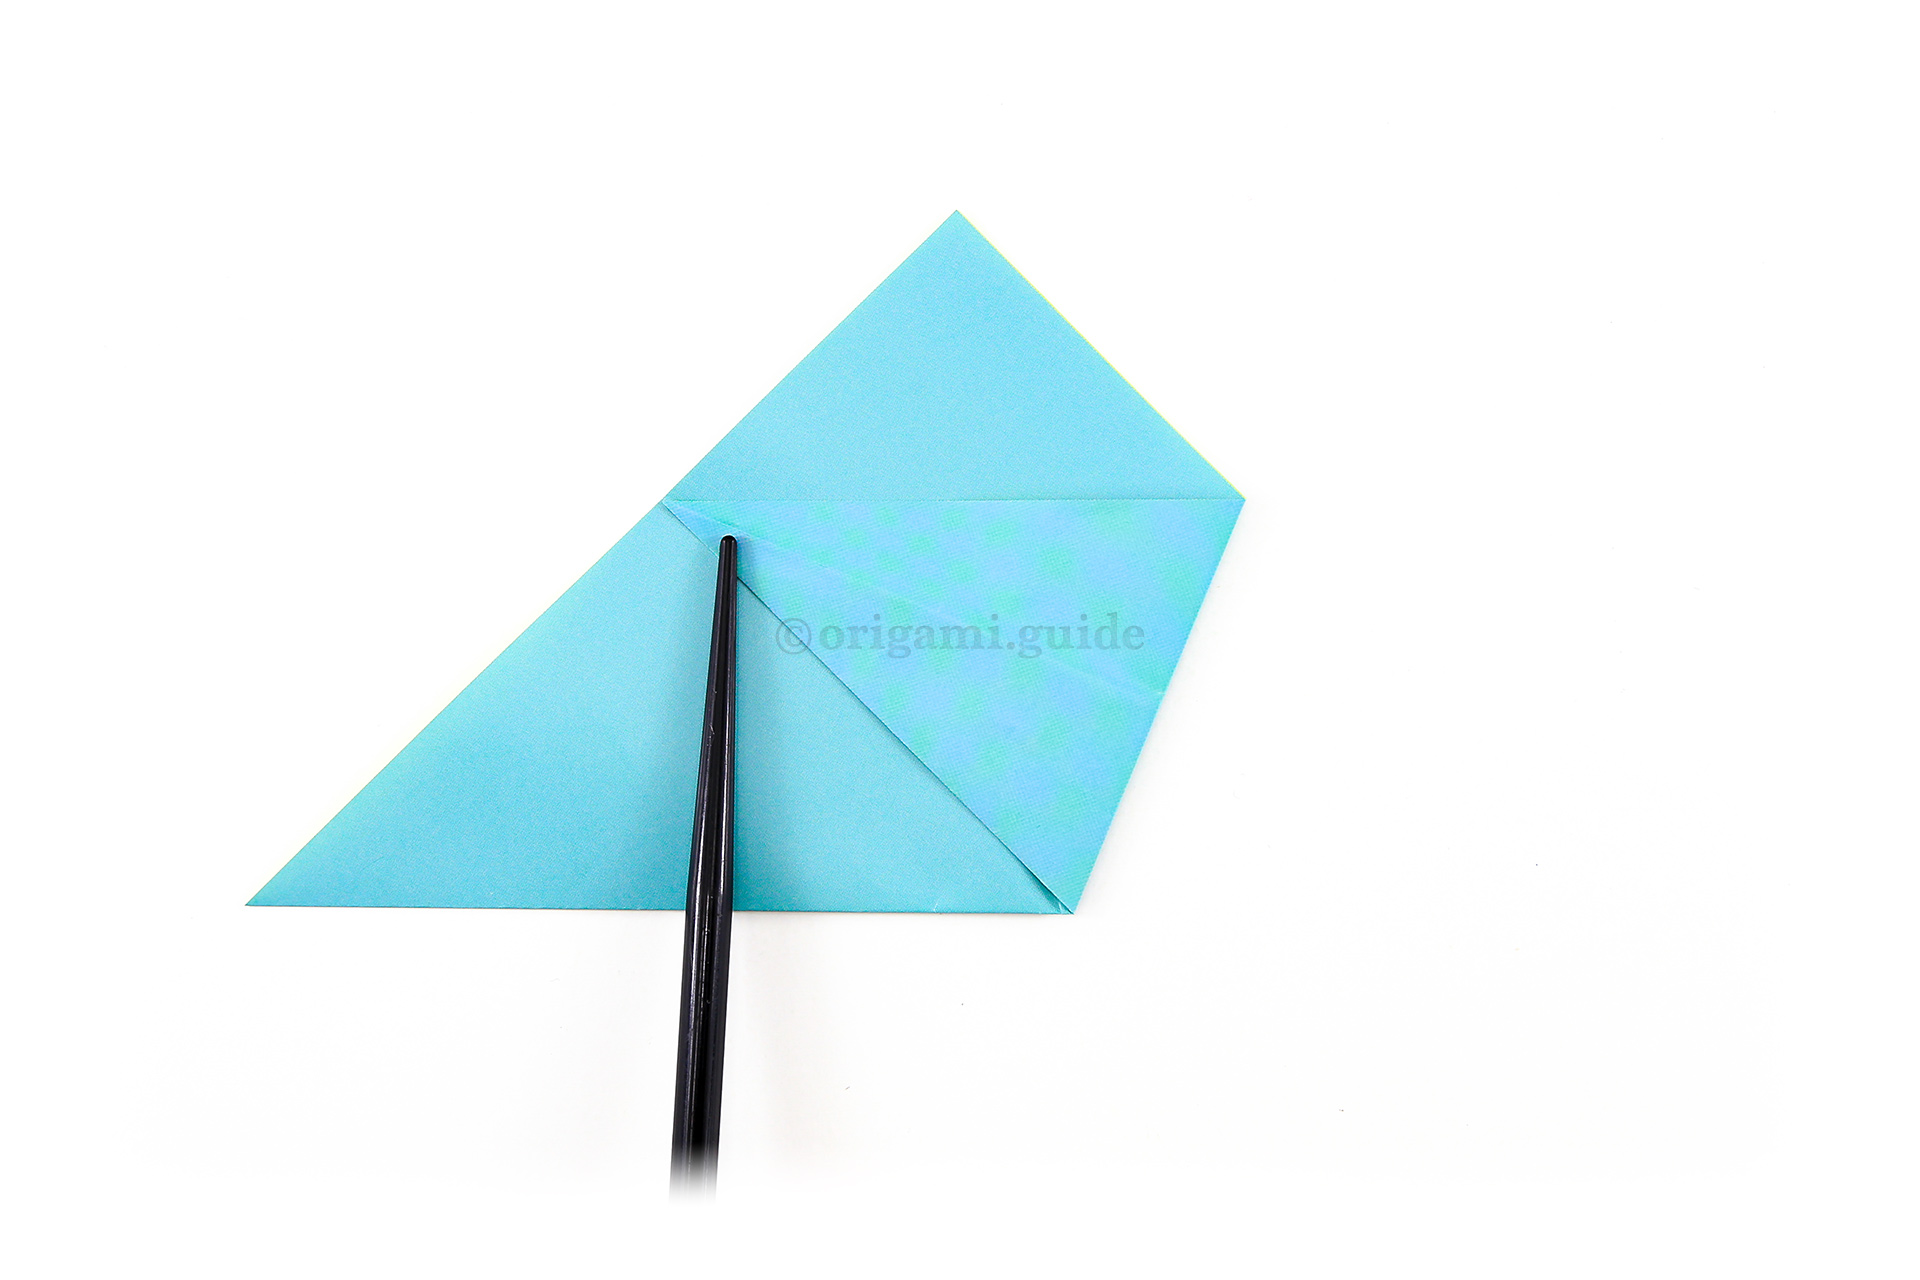
Step 6: Fold the bottom right point diagonally up to meet the top end of the crease you created in the previous step.
-
7

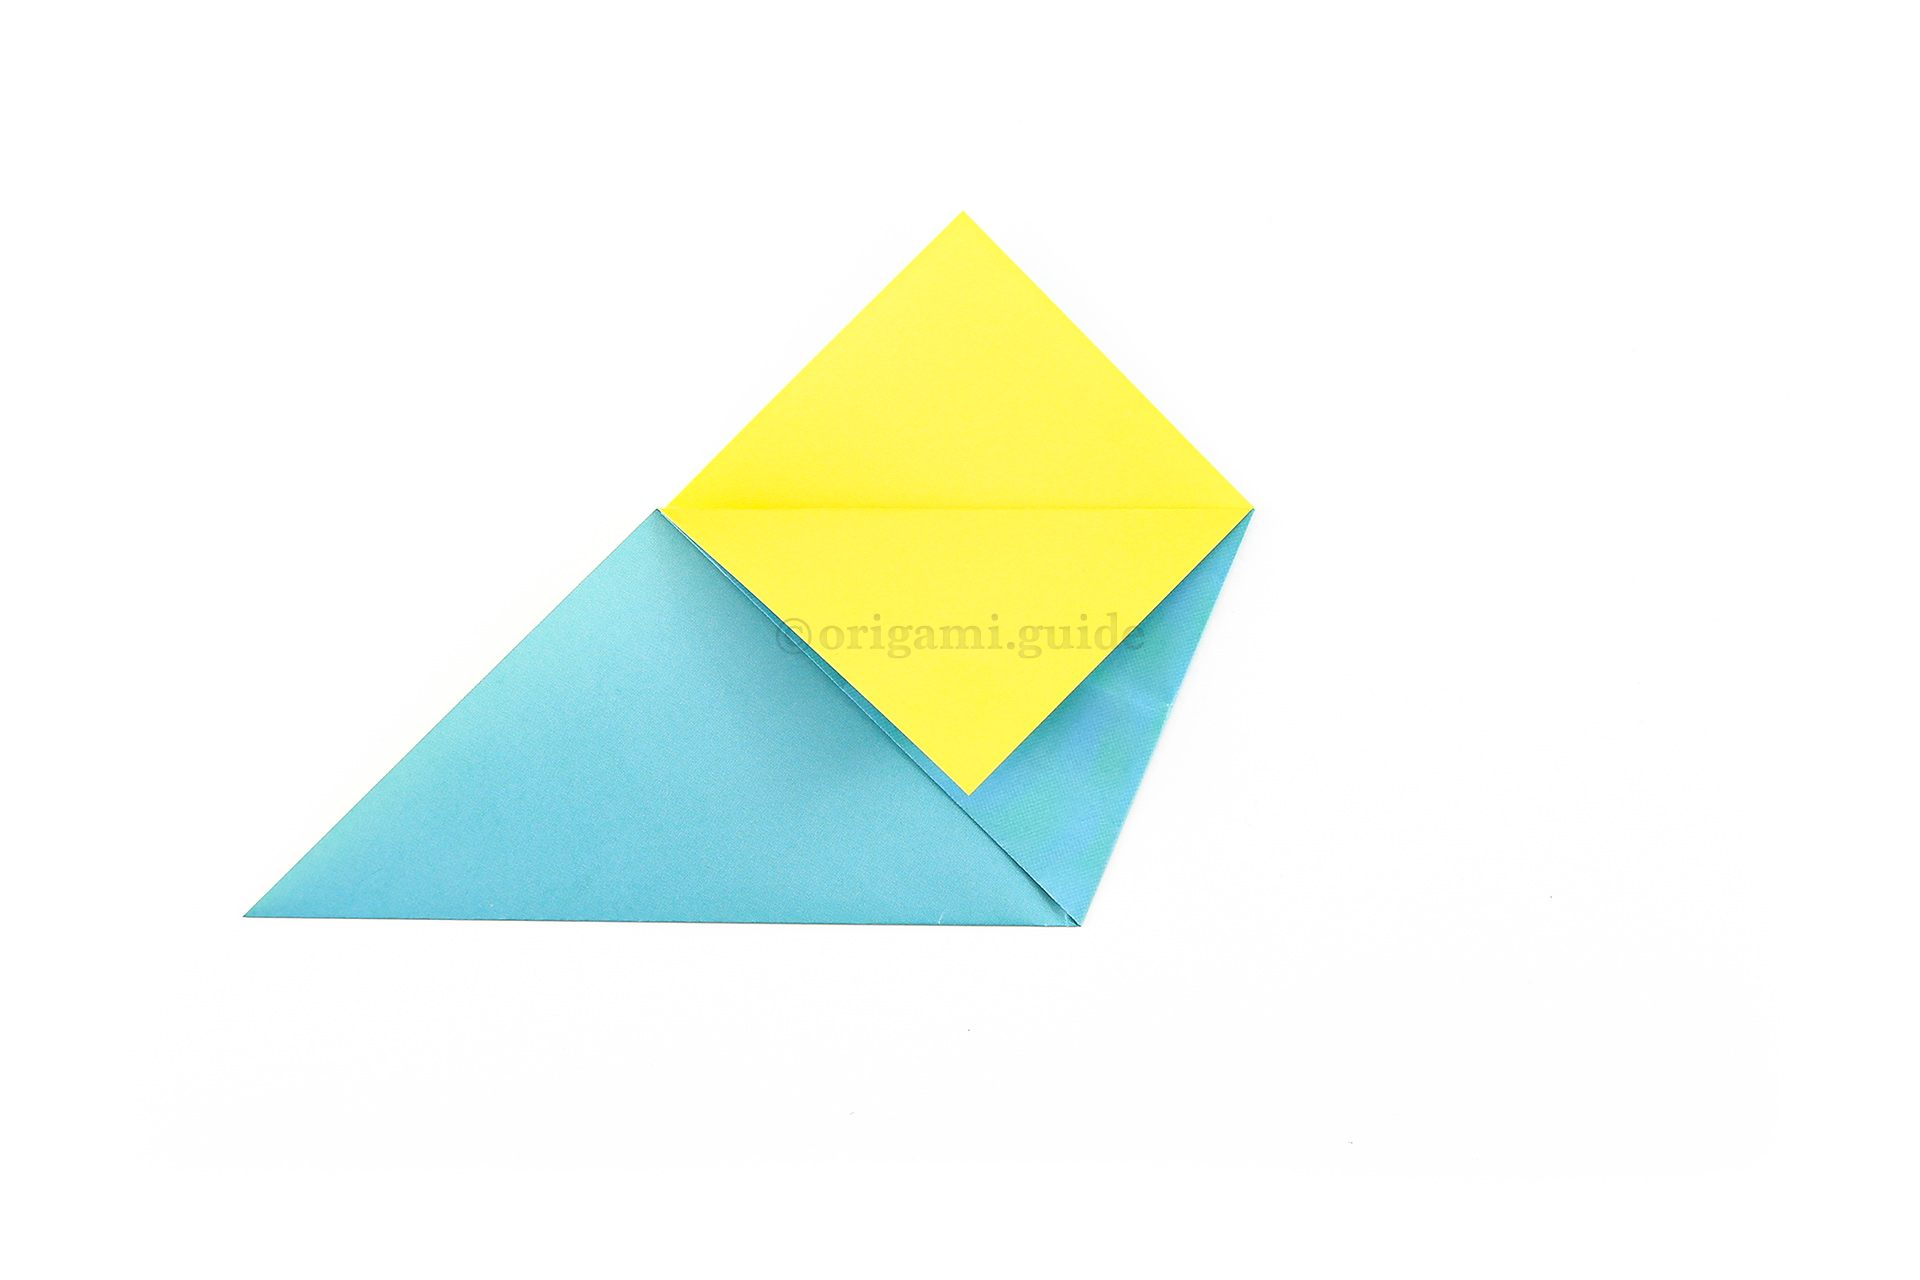
Step 7: Fold one layer from the top point down over the front flap.
What Traditional Origami To Fold Next?
- « How To Fold An Origami Ladybug

- How To Fold An Easy Origami Fox »
 View all Traditional Origami Tutorials
Leave A Comment
Did you fold this Origami Drinking Cup? Let us know what you thought.
You can also upload a photo of your result!
