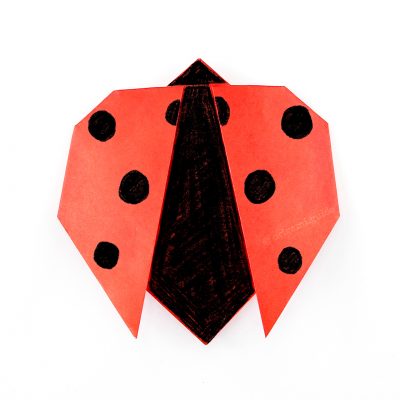
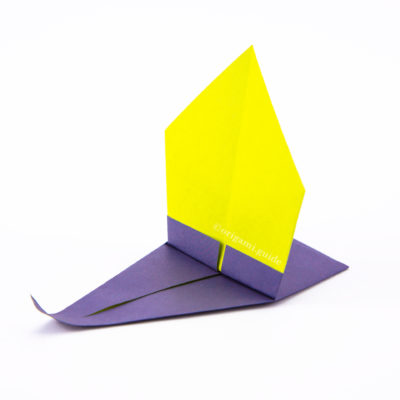
Origami Ladybug
Learn how to fold an easy origami ladybug. This step by step photo tutorial takes about 1 minute to complete. The origami ladybird is a traditional origami model.
With just a few folds you will see the square paper turn into a bug shape, such a multipurpose shape, you will see these folds in such models as the origami cat face and the origami dog face.
This origami ladybird can also become other types of insects, such as beetles. Just decorate your bug however you like.
Origami Ladybug Instructions
Scroll down to follow the photo tutorial for the Origami Ladybug.
Made this origami? Leave a comment & submit your photo on the last page here.
-
1
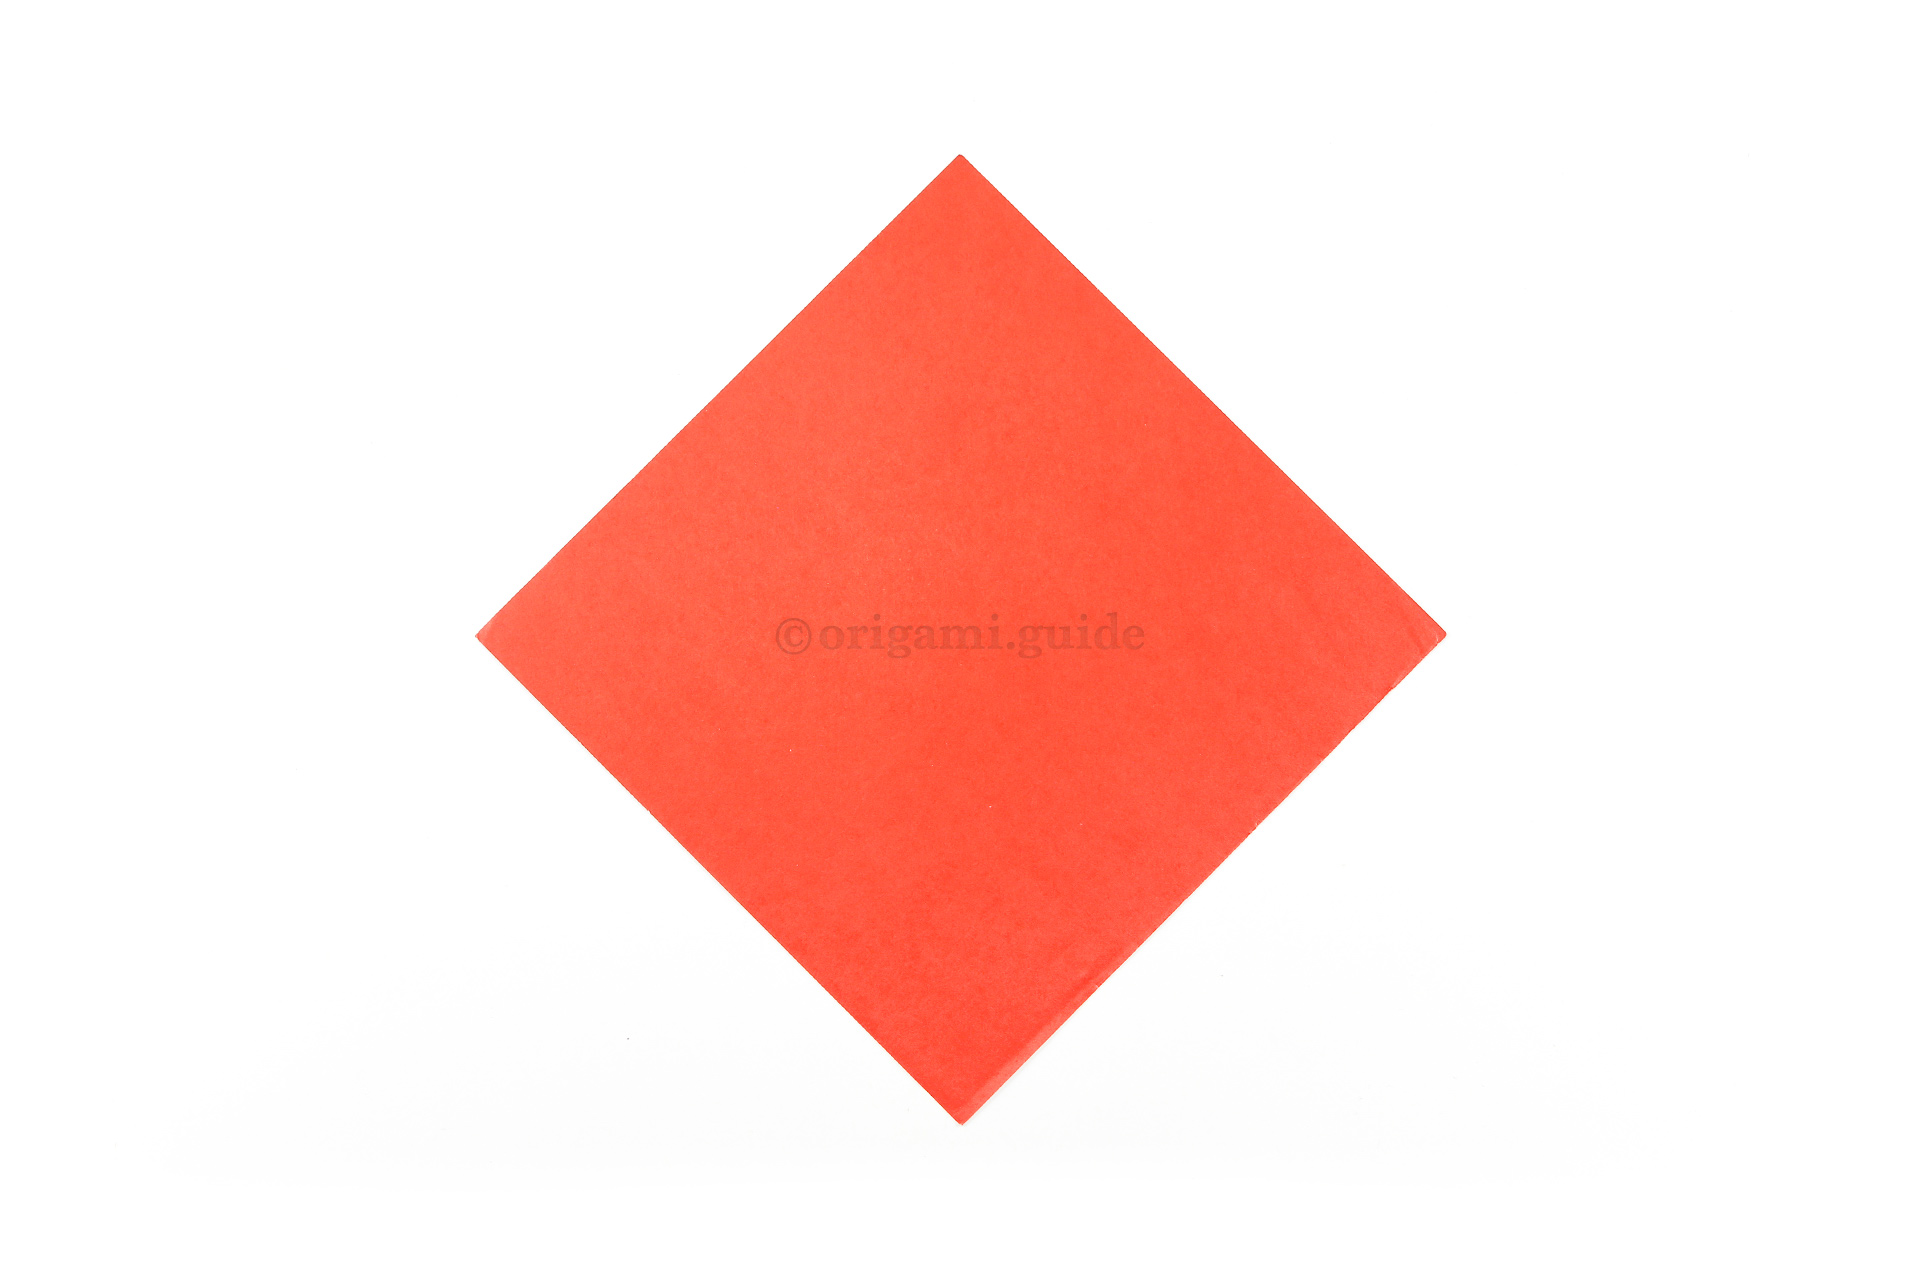
Step 1: This is the front of our origami paper, this red colour will be the only visible colour on our ladybug.
-
2
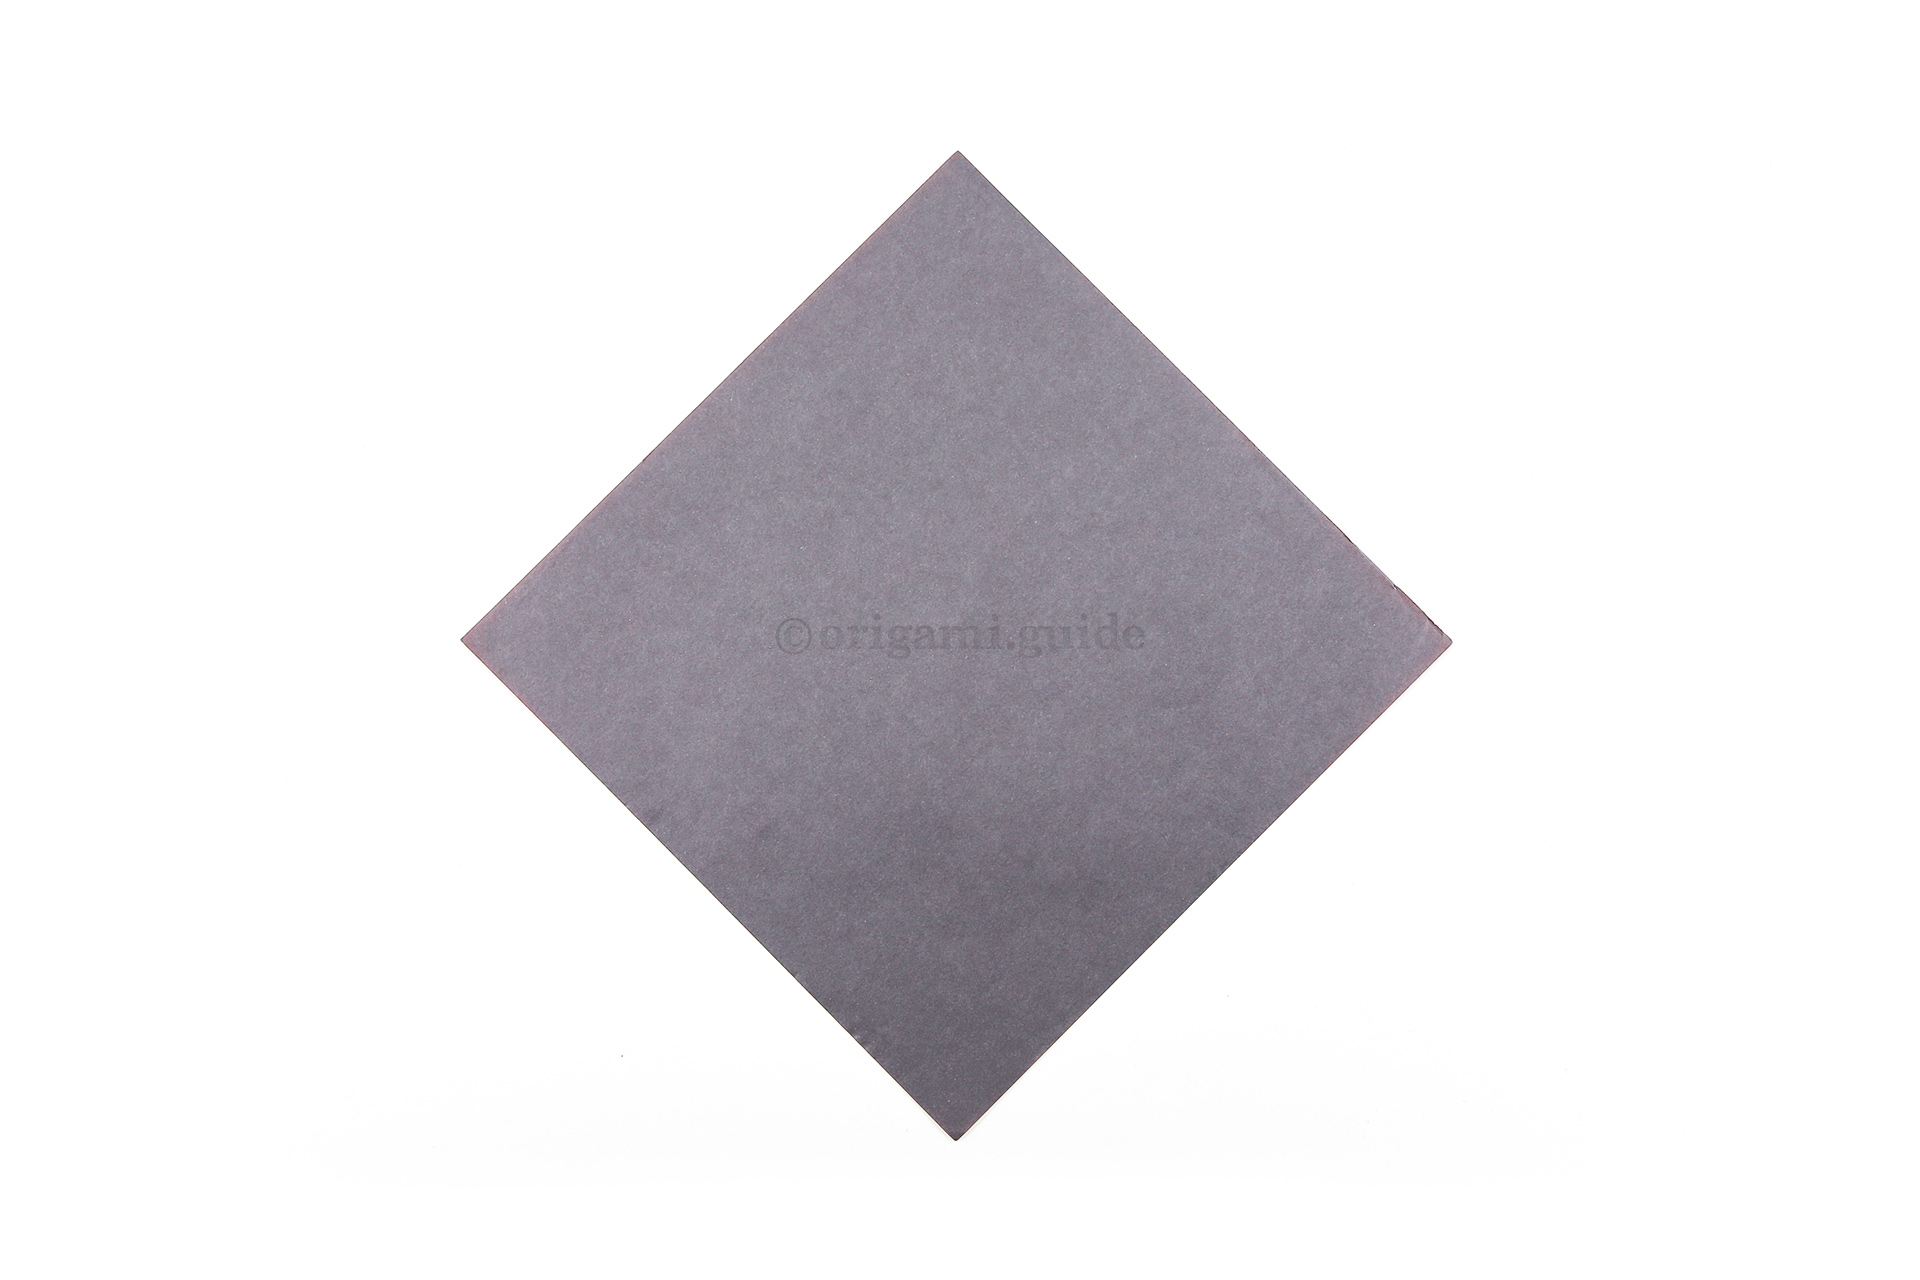
Step 2: This is the back of our paper, which won't be visible.
-
3
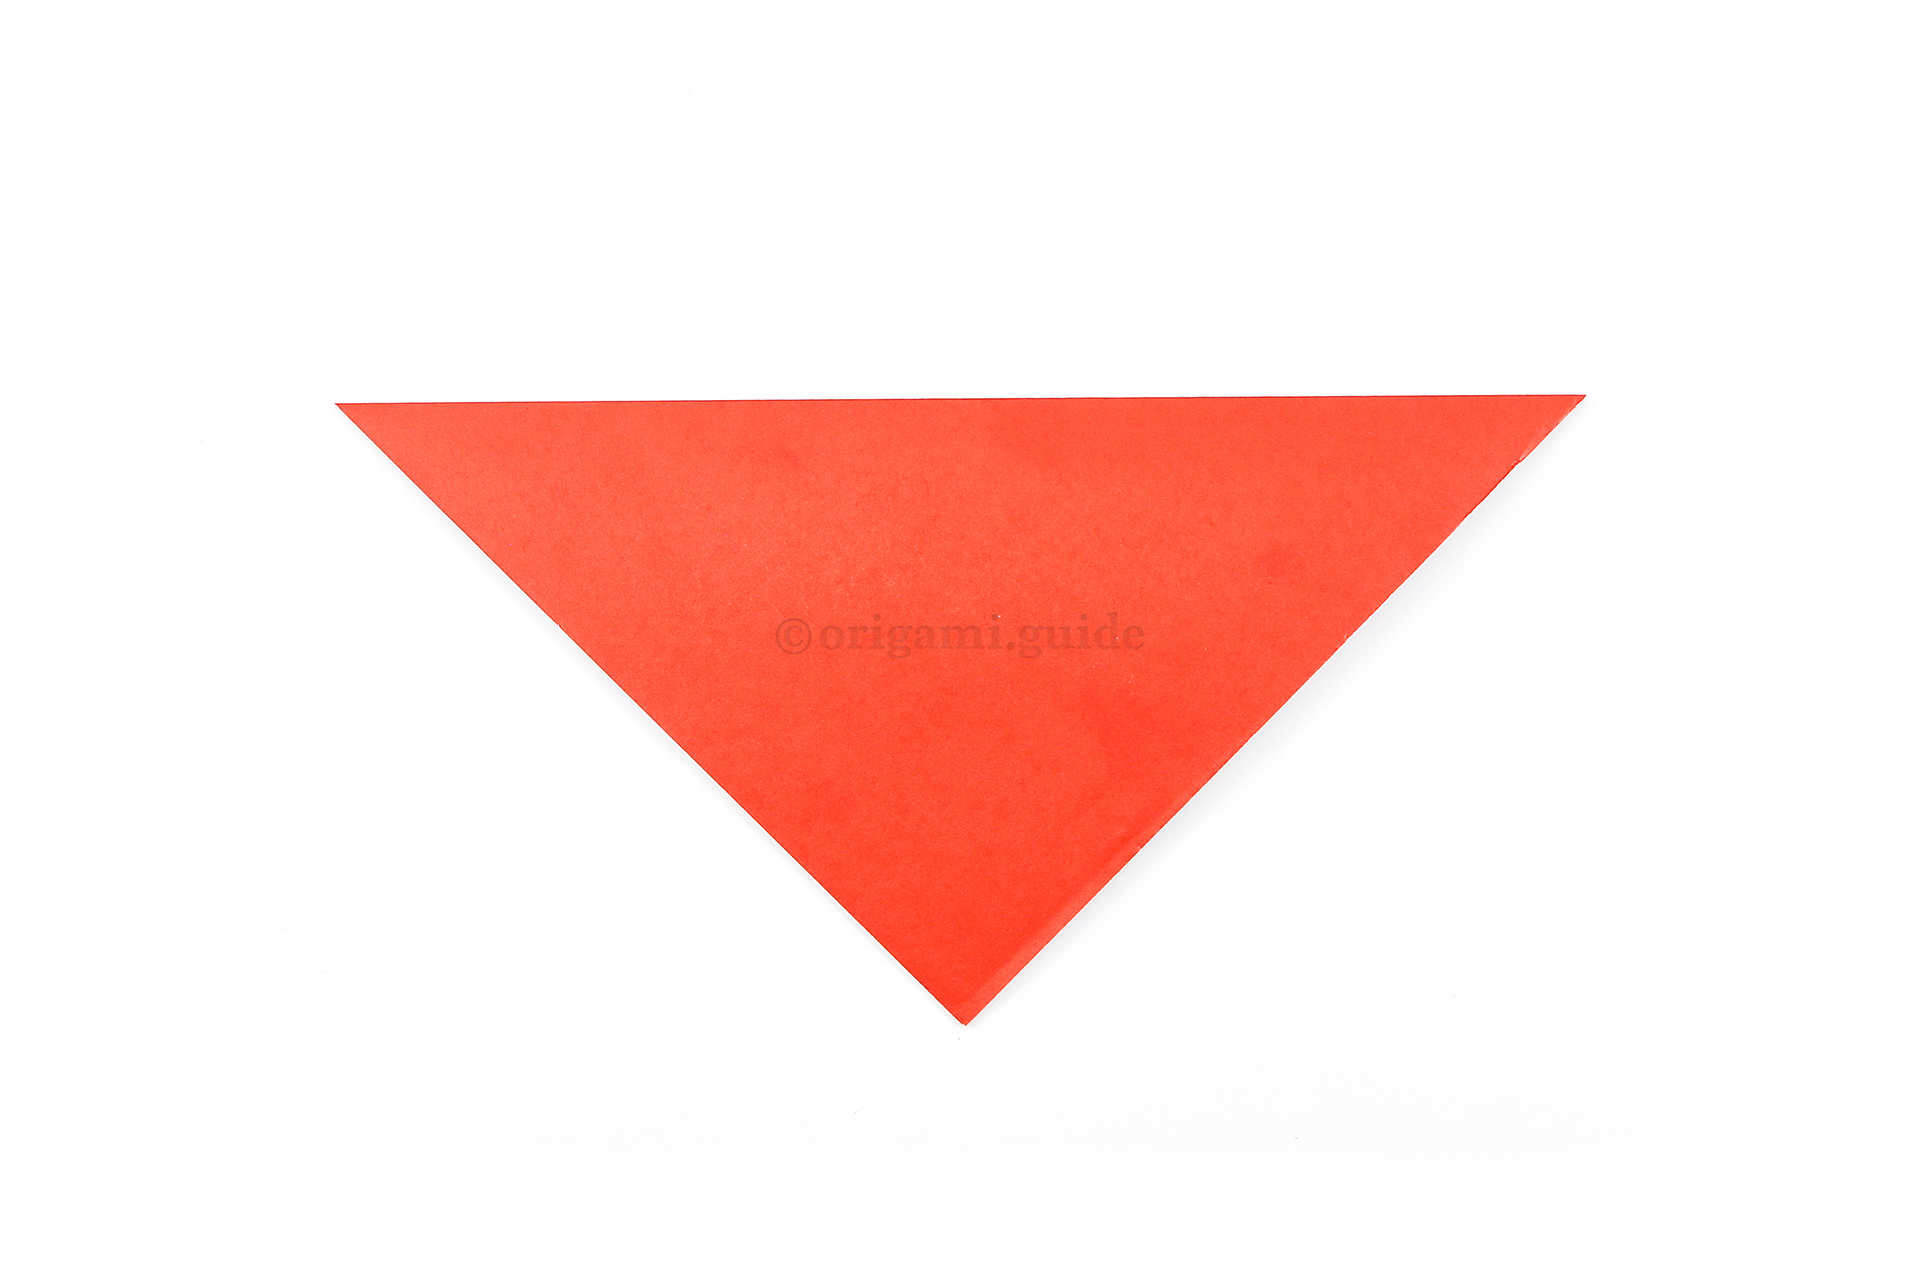
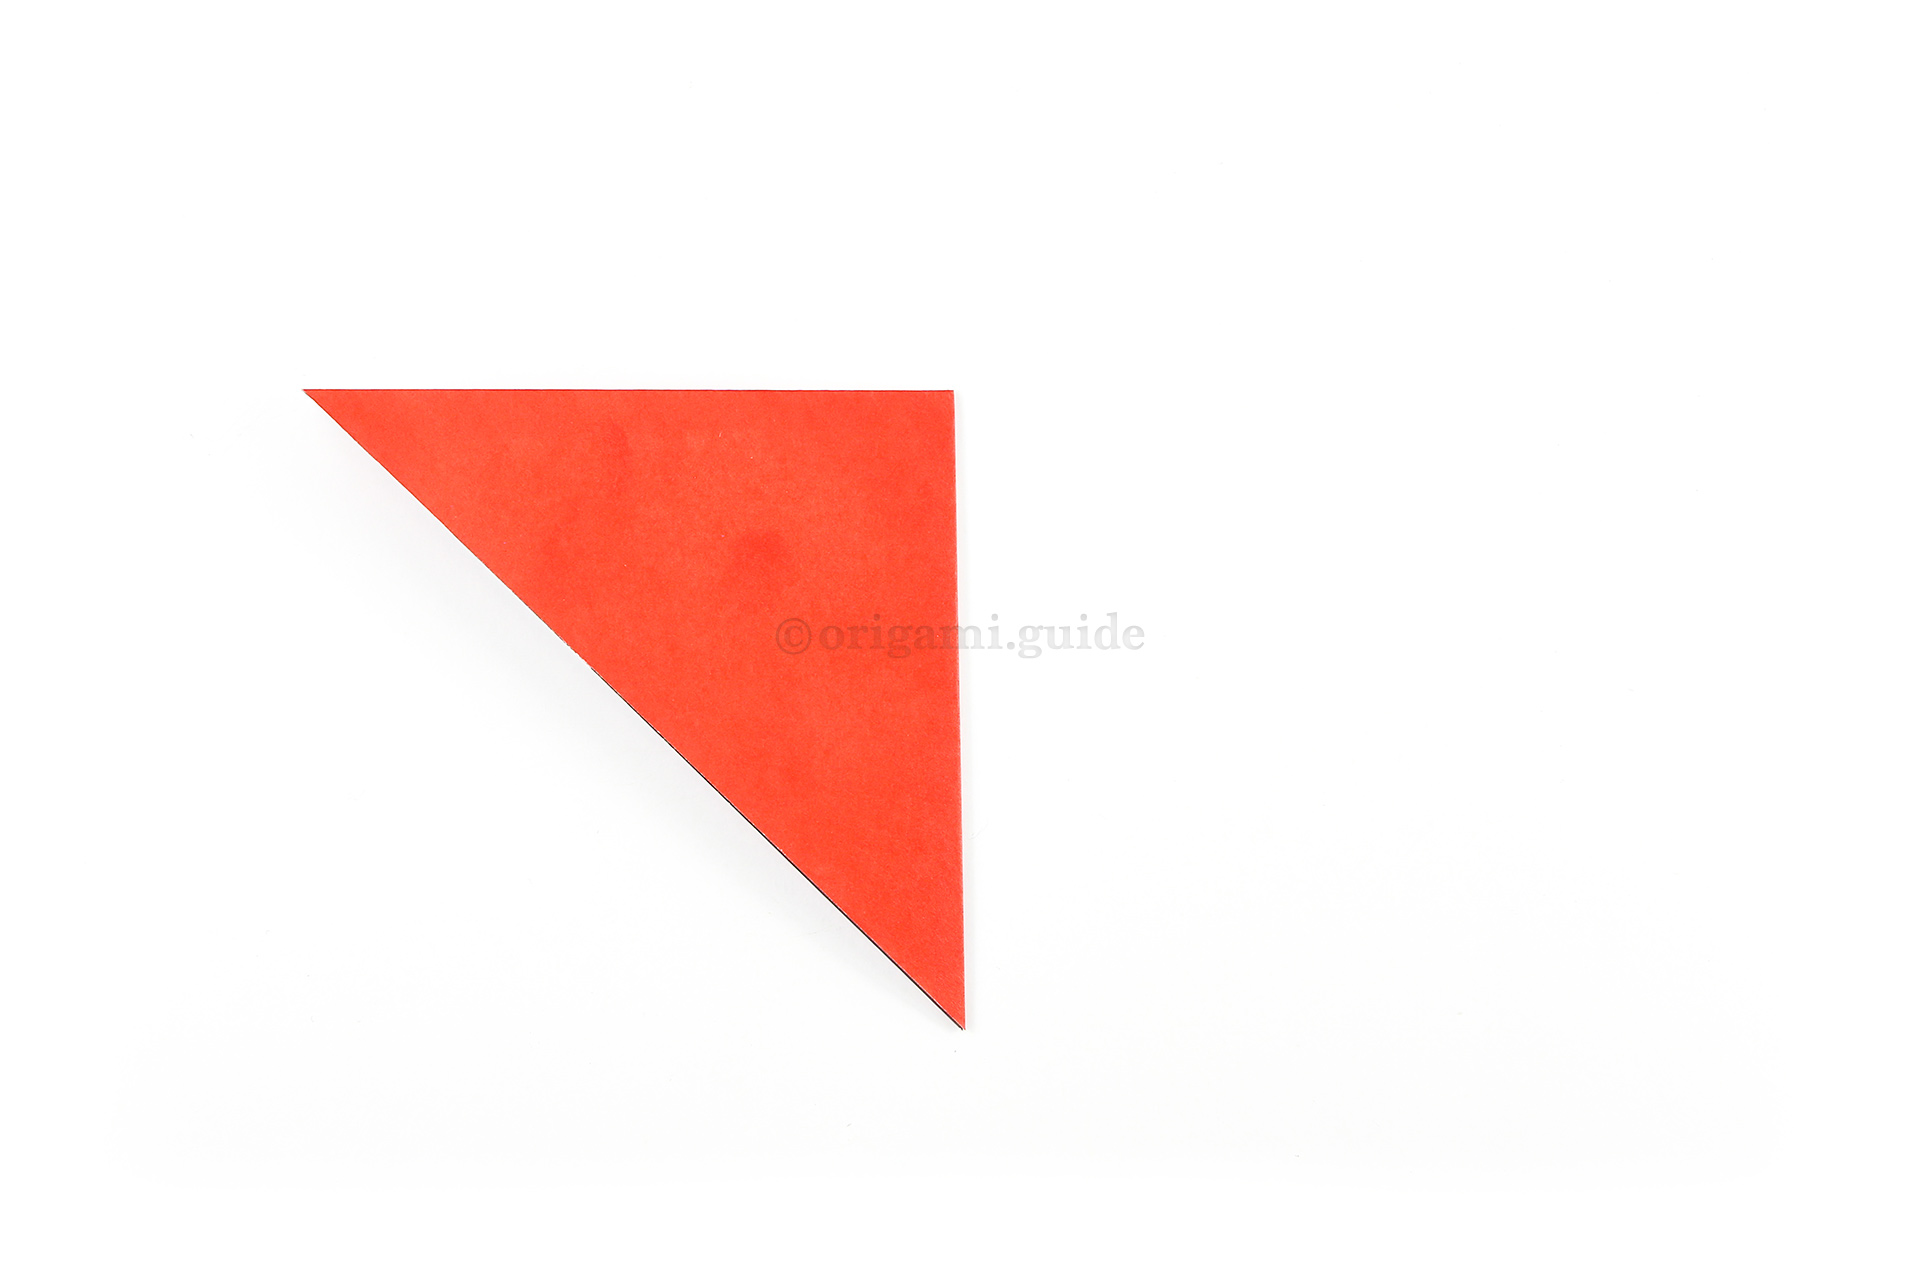
Step 3: Fold the paper diagonally in half by bringing the top point down to the bottom point.
-
4
Step 4: Next fold the right point over to the left point.
-
5
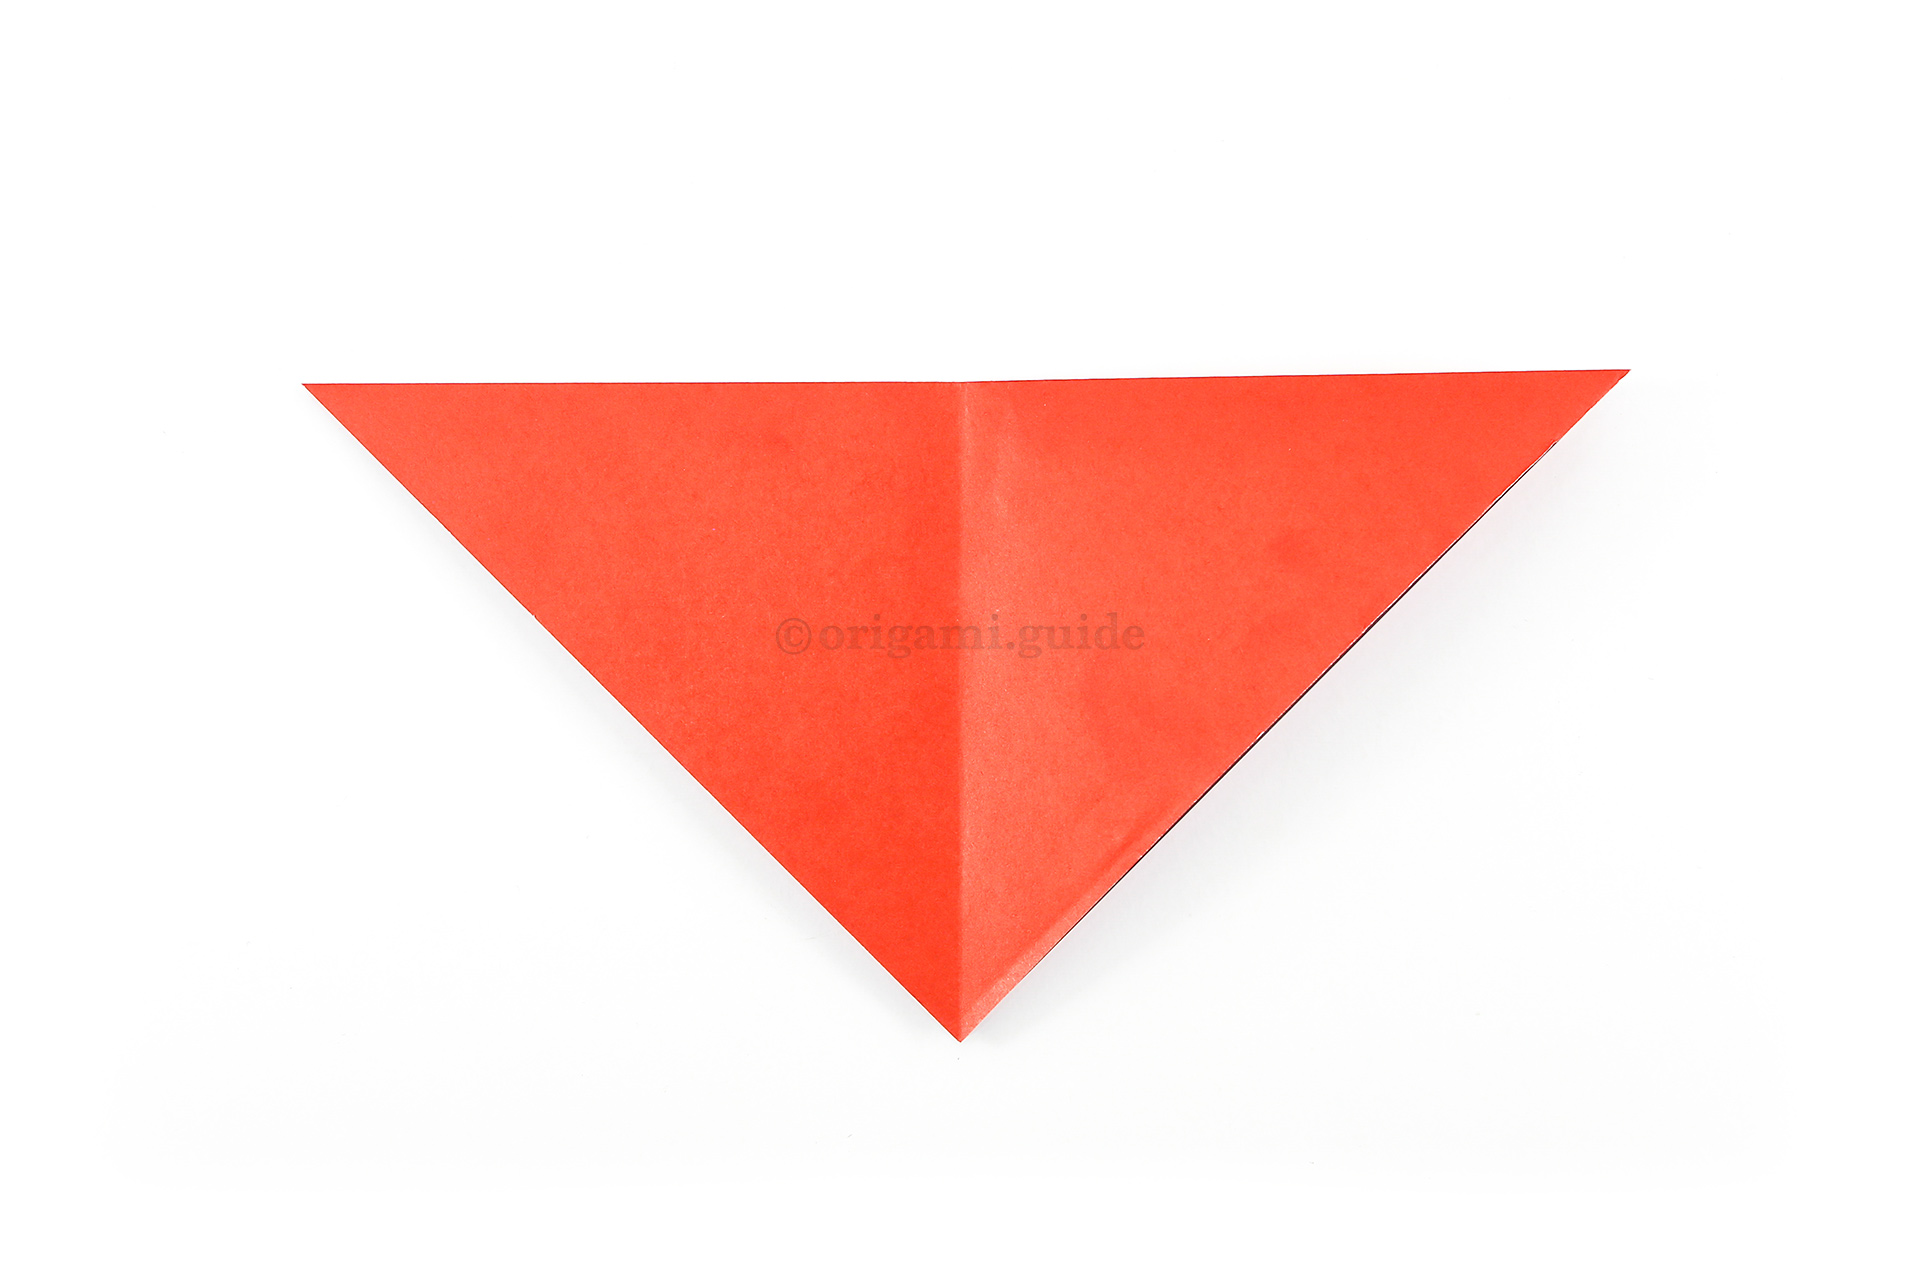
Step 5: Unfold the previous step. You now have a central vertical crease.
-
6
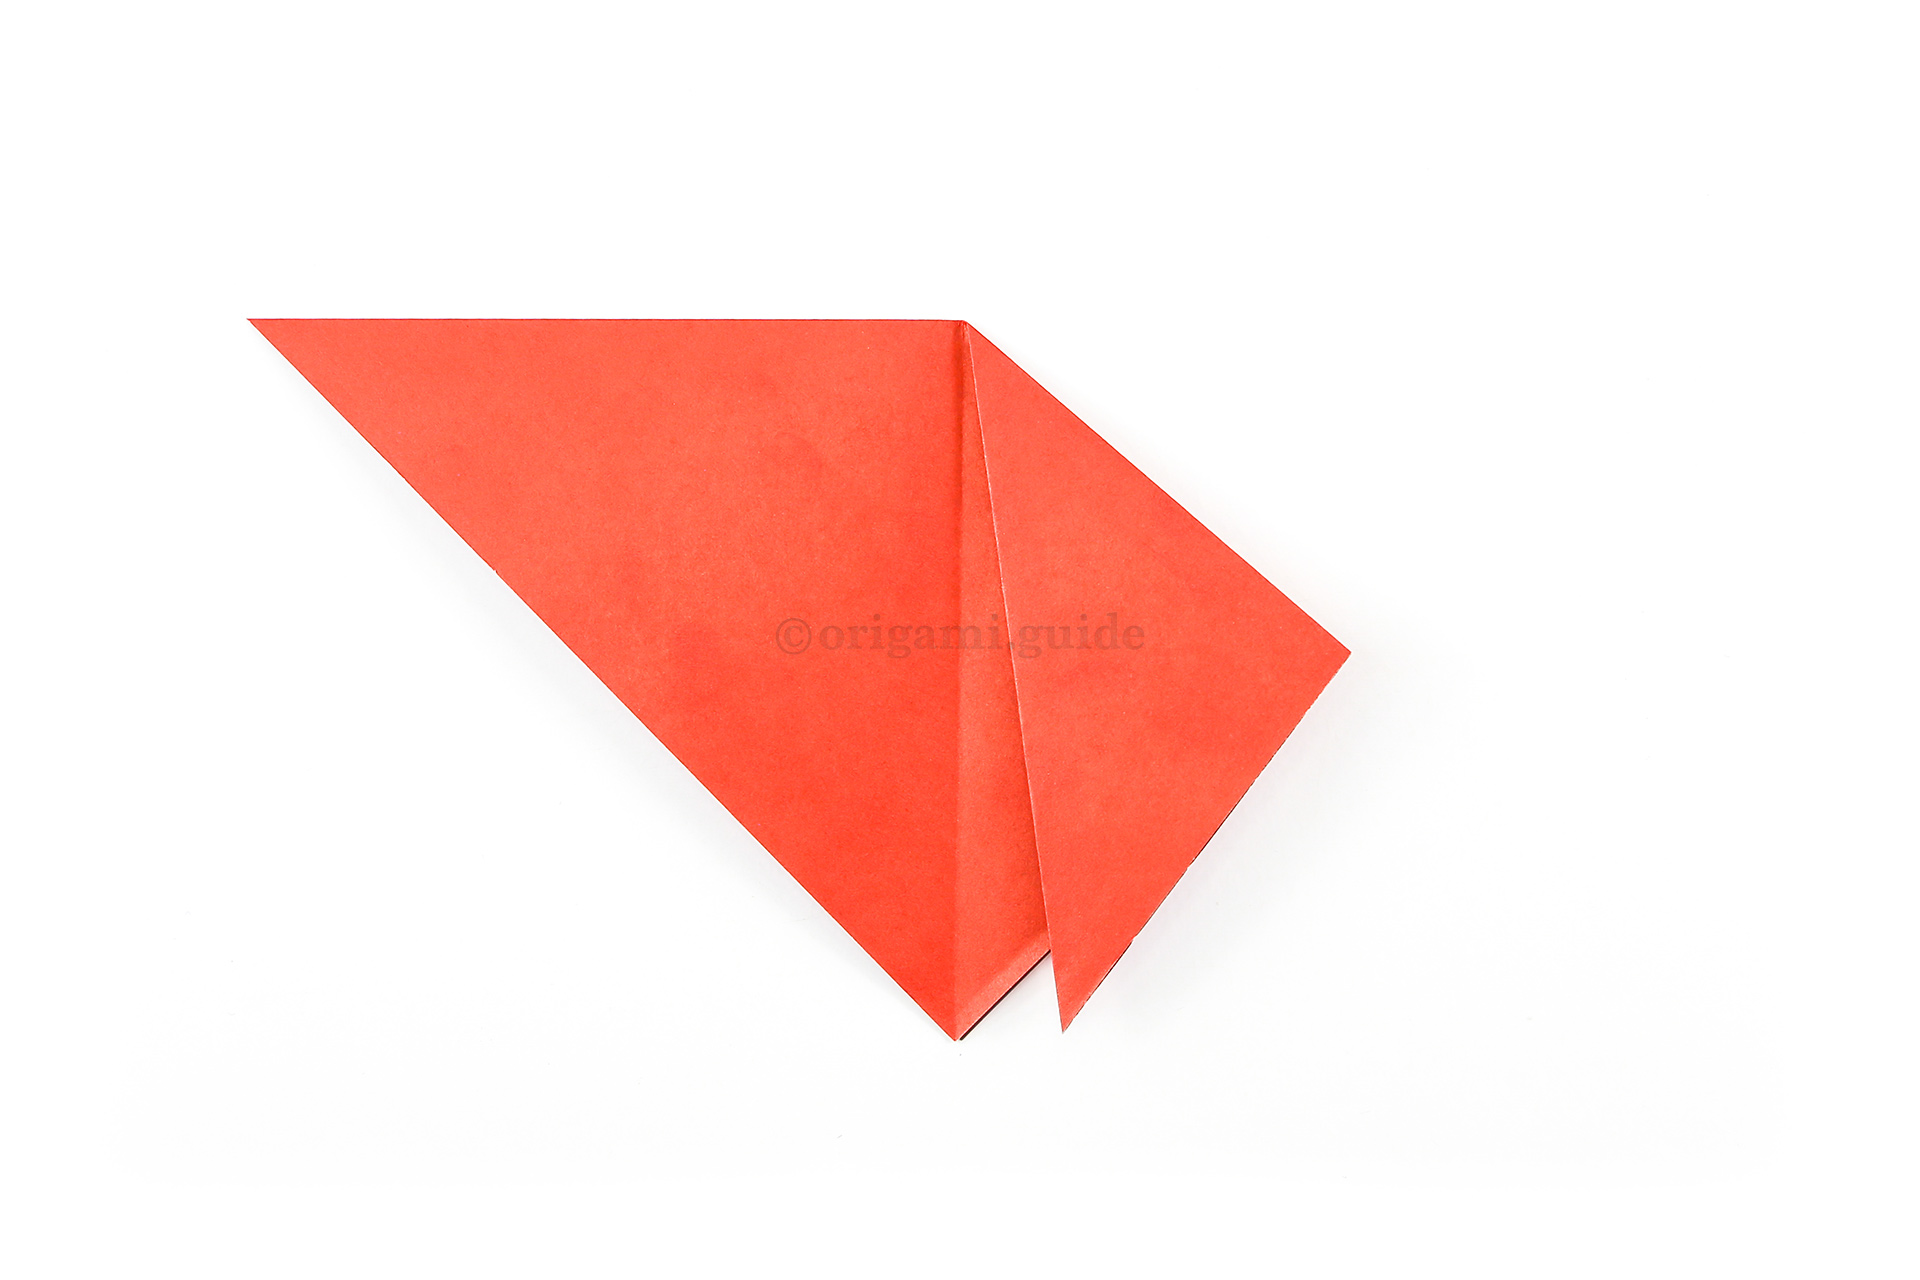
Step 6: Fold the right point down from the top of the vertical crease, with the bottom point just sticking out to the right a little.
-
7
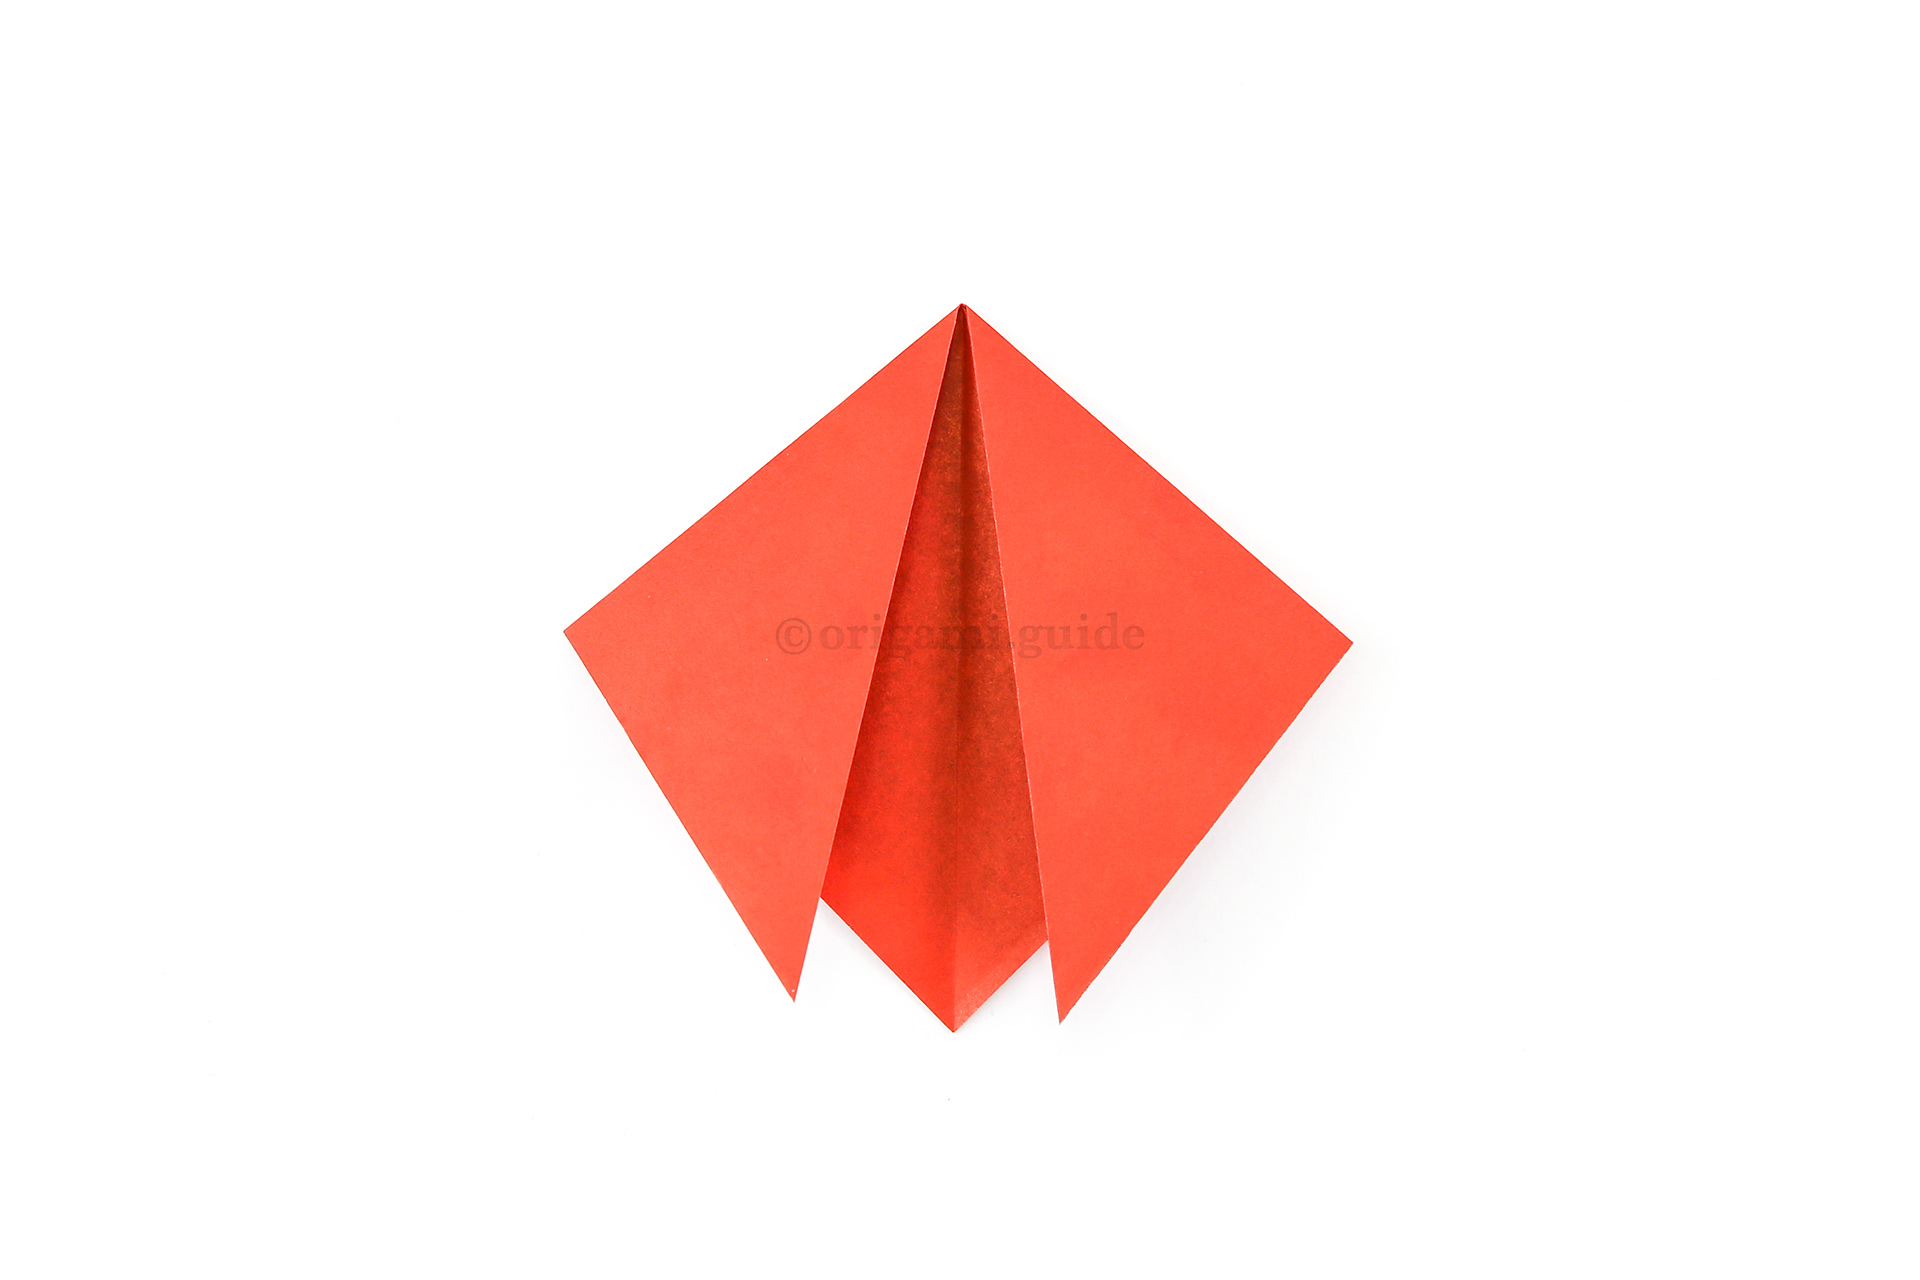
Step 7: Fold the left point to match the opposite side.
What Origami Insects To Fold Next?


Leave A Comment
Did you fold this Origami Ladybug? Let us know what you thought.
You can also upload a photo of your result!