Made this origami? Leave a comment & submit your photo here.
-
11

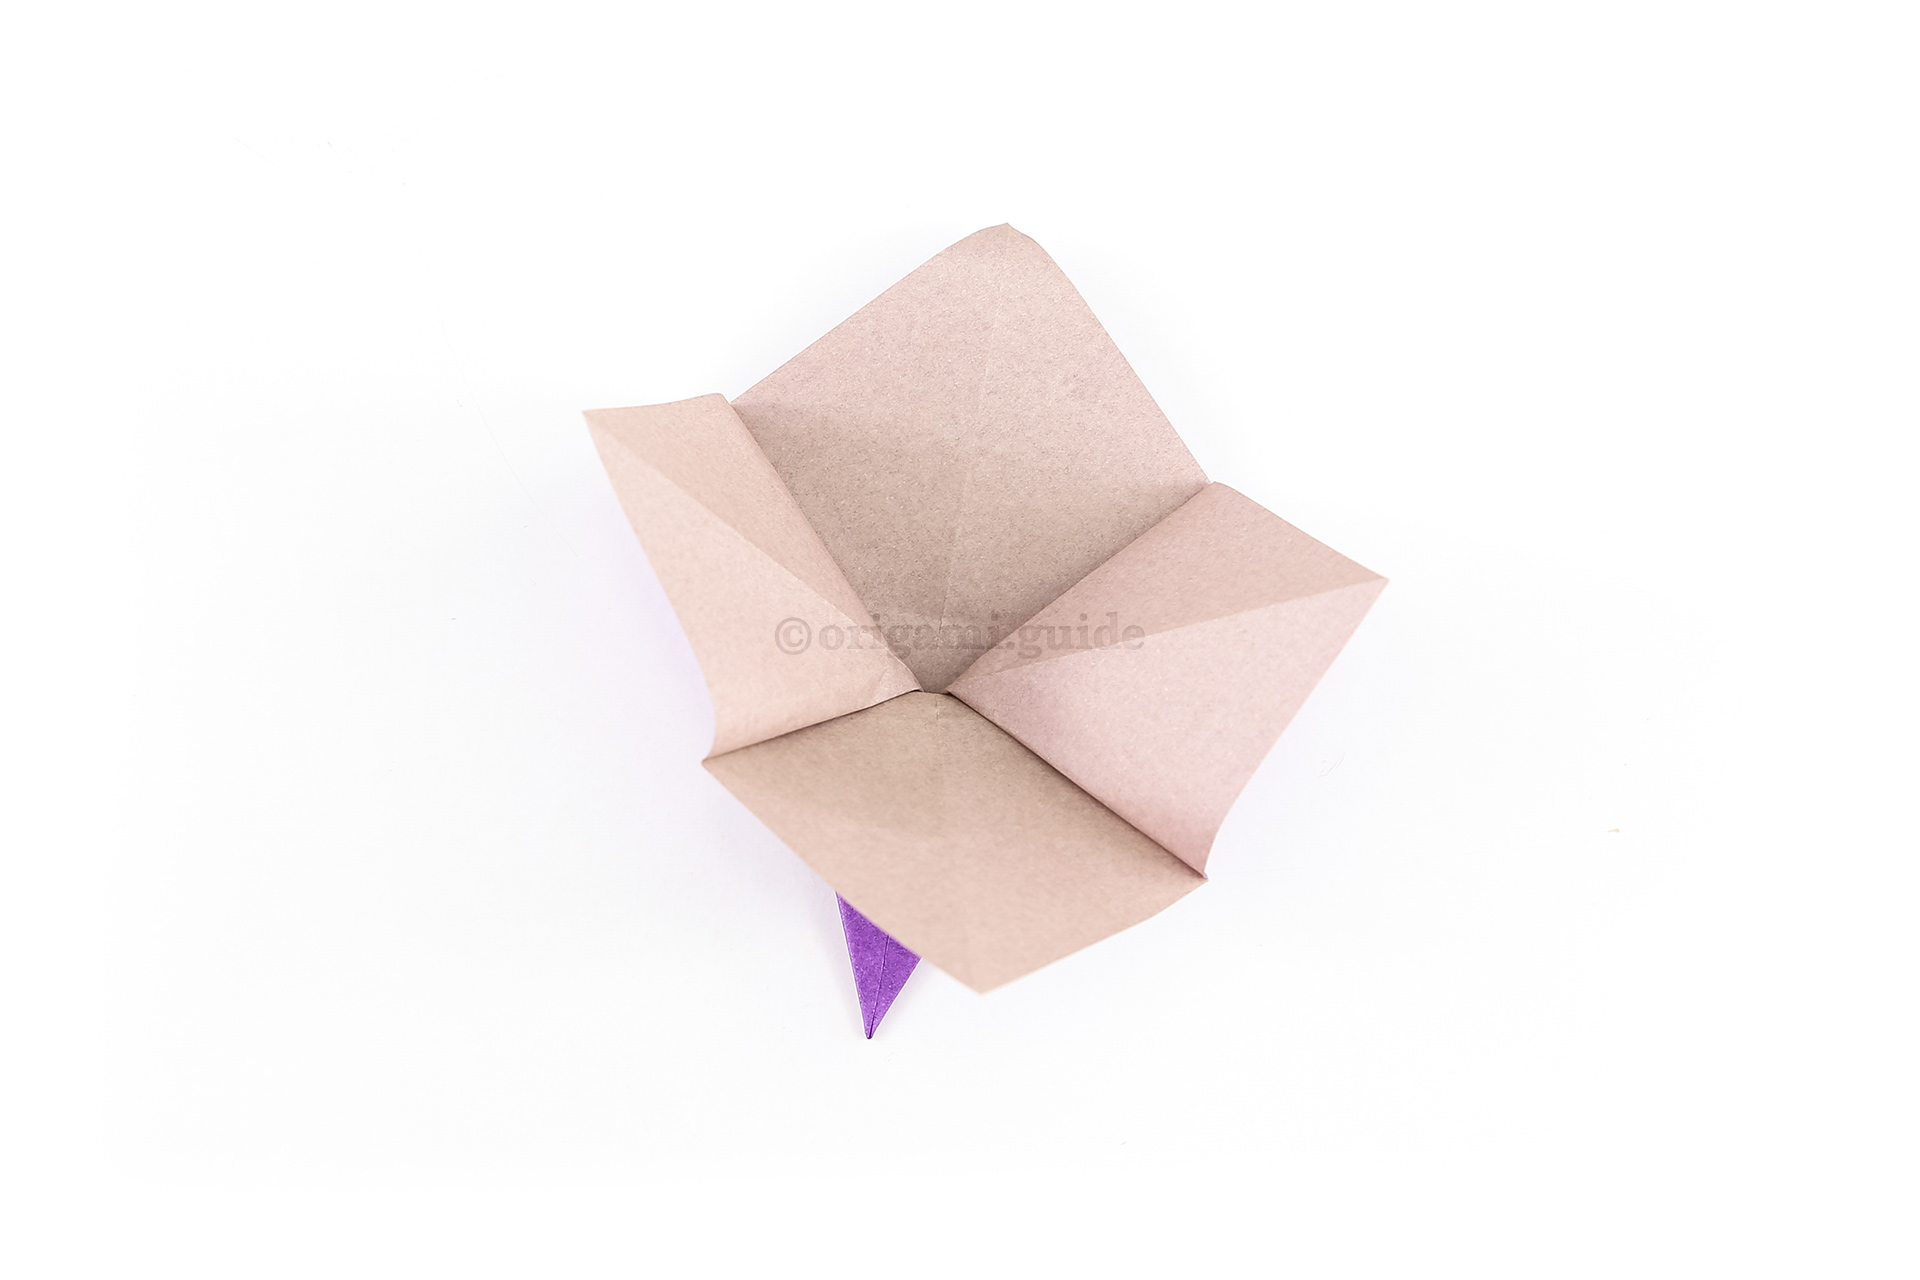
Step 11: Bring the two sides informing a mouth shape, and continue pushing the folds together.
-
12
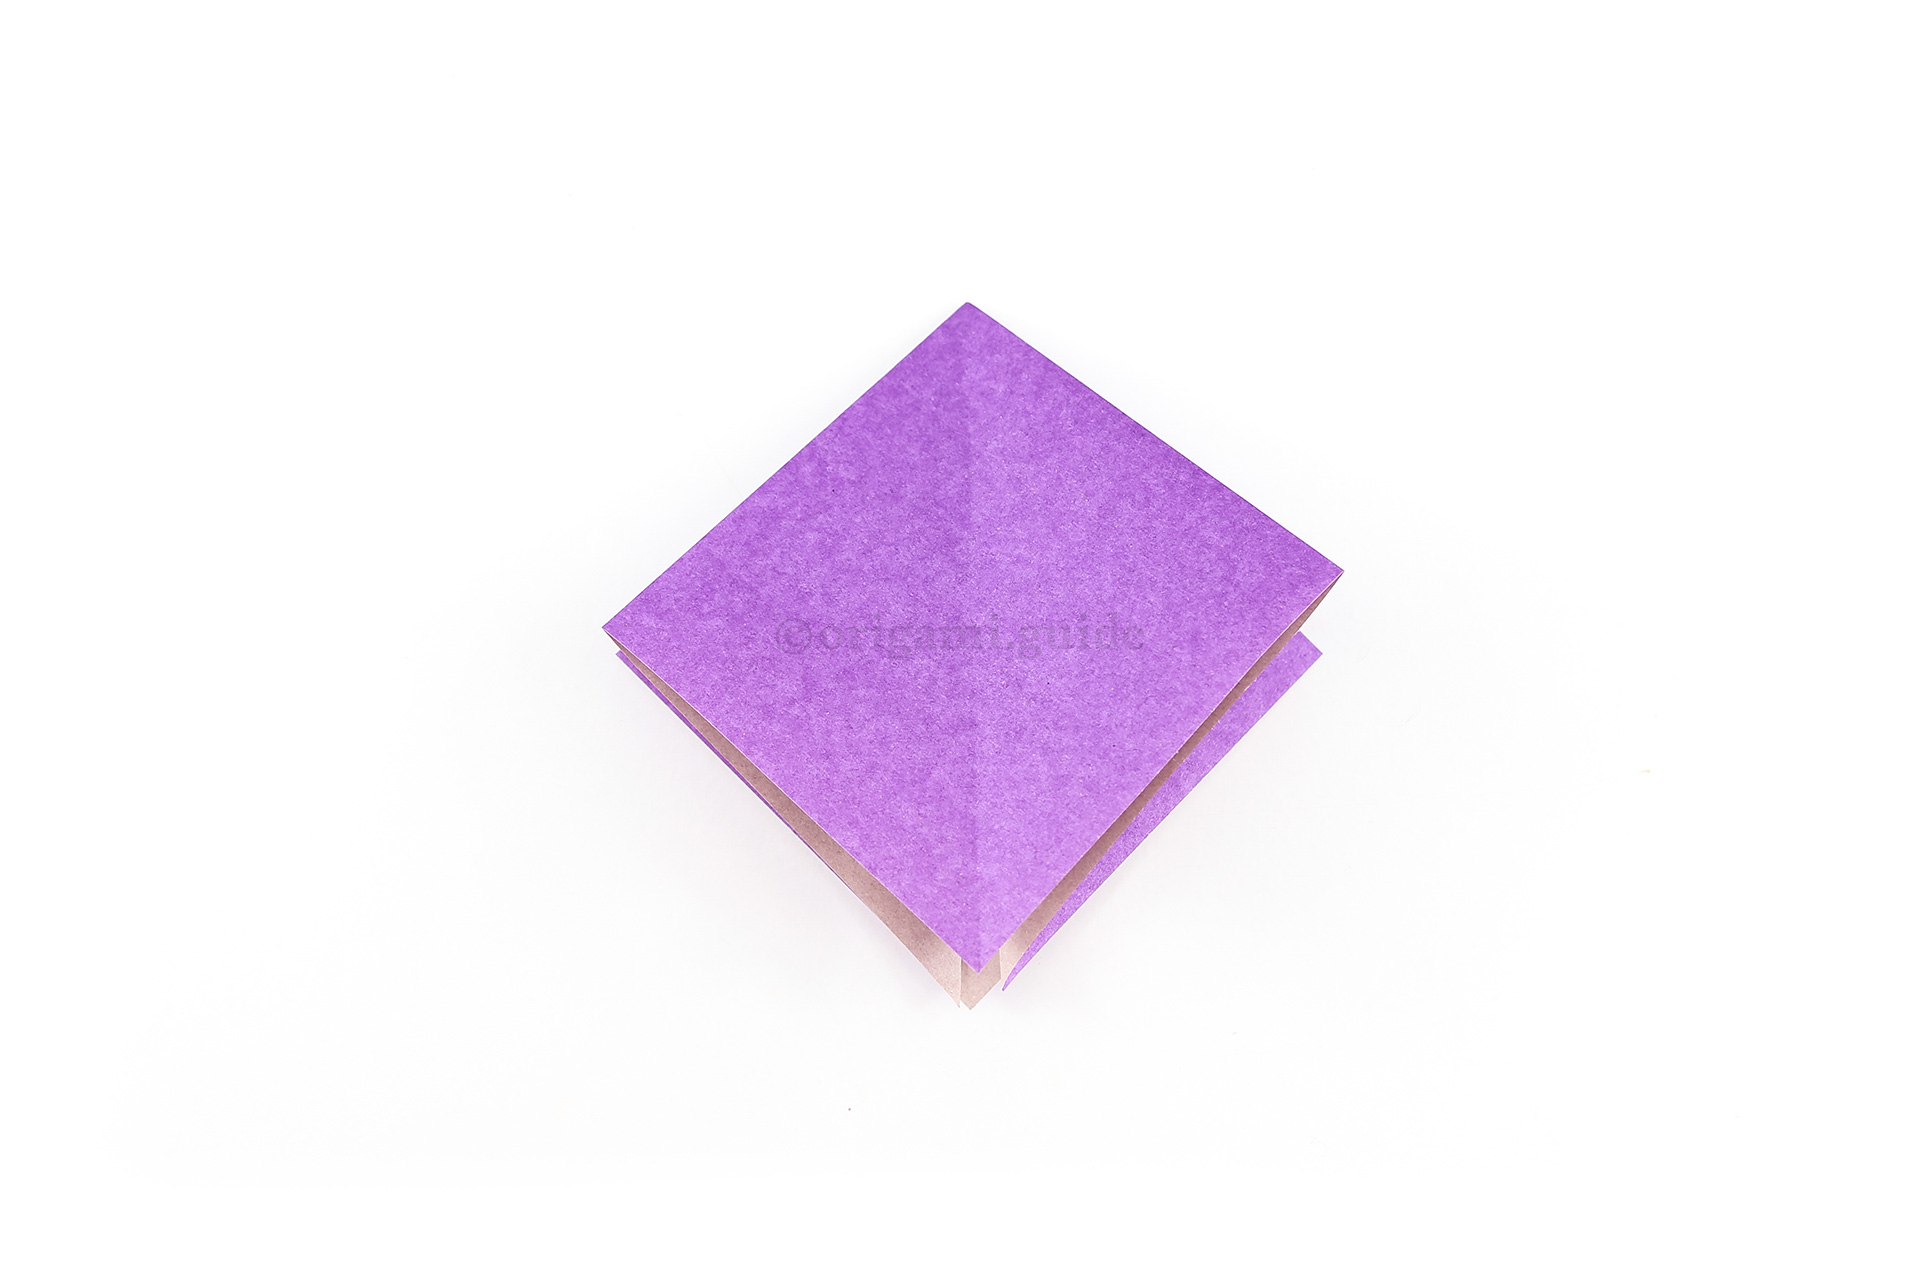
Step 12: Flatten the paper, this is a completed square base or preliminary base.
-
13
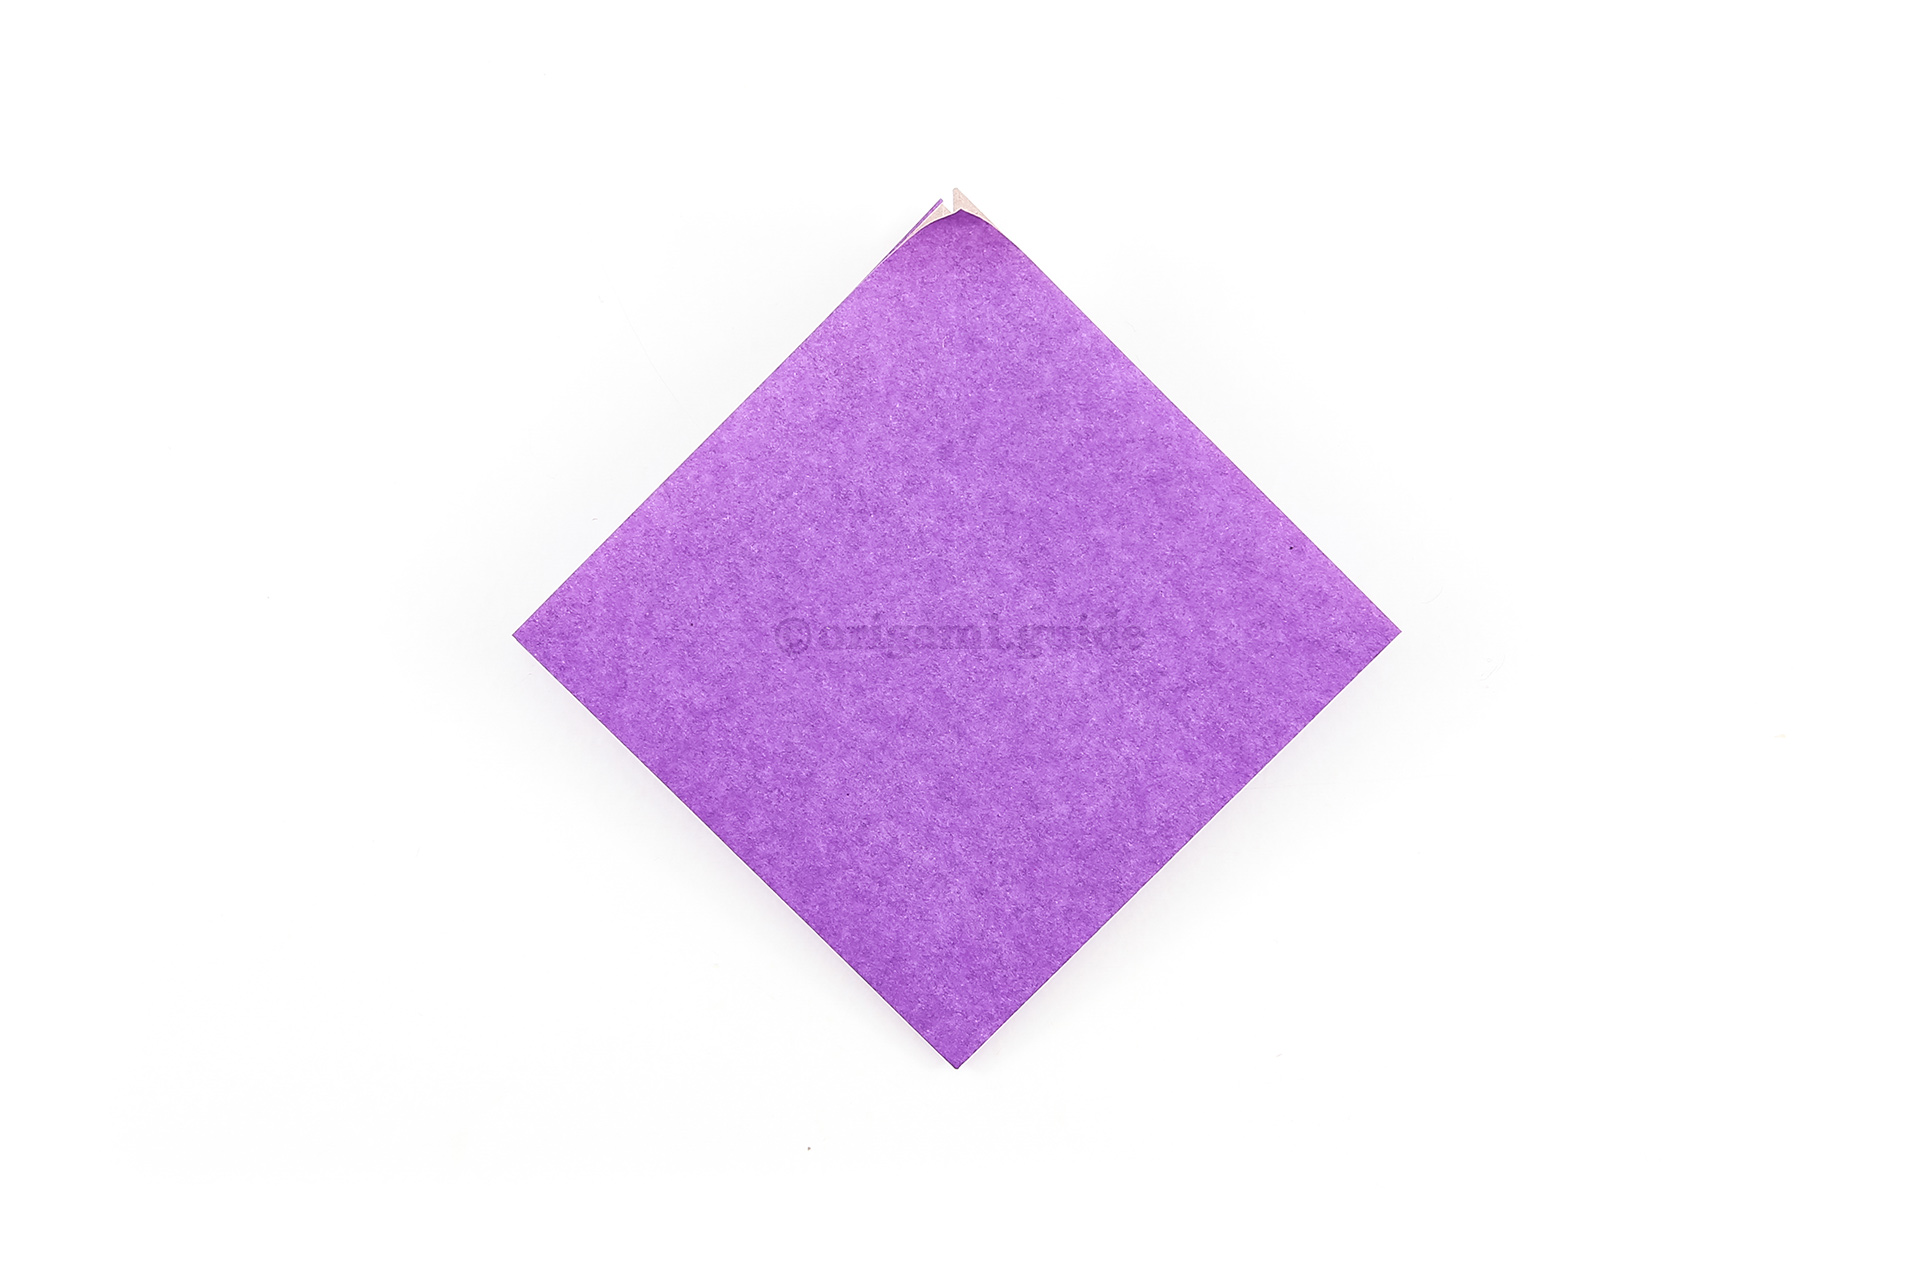
Step 13: Rotate your square base so that the opening is at the top.
-
14
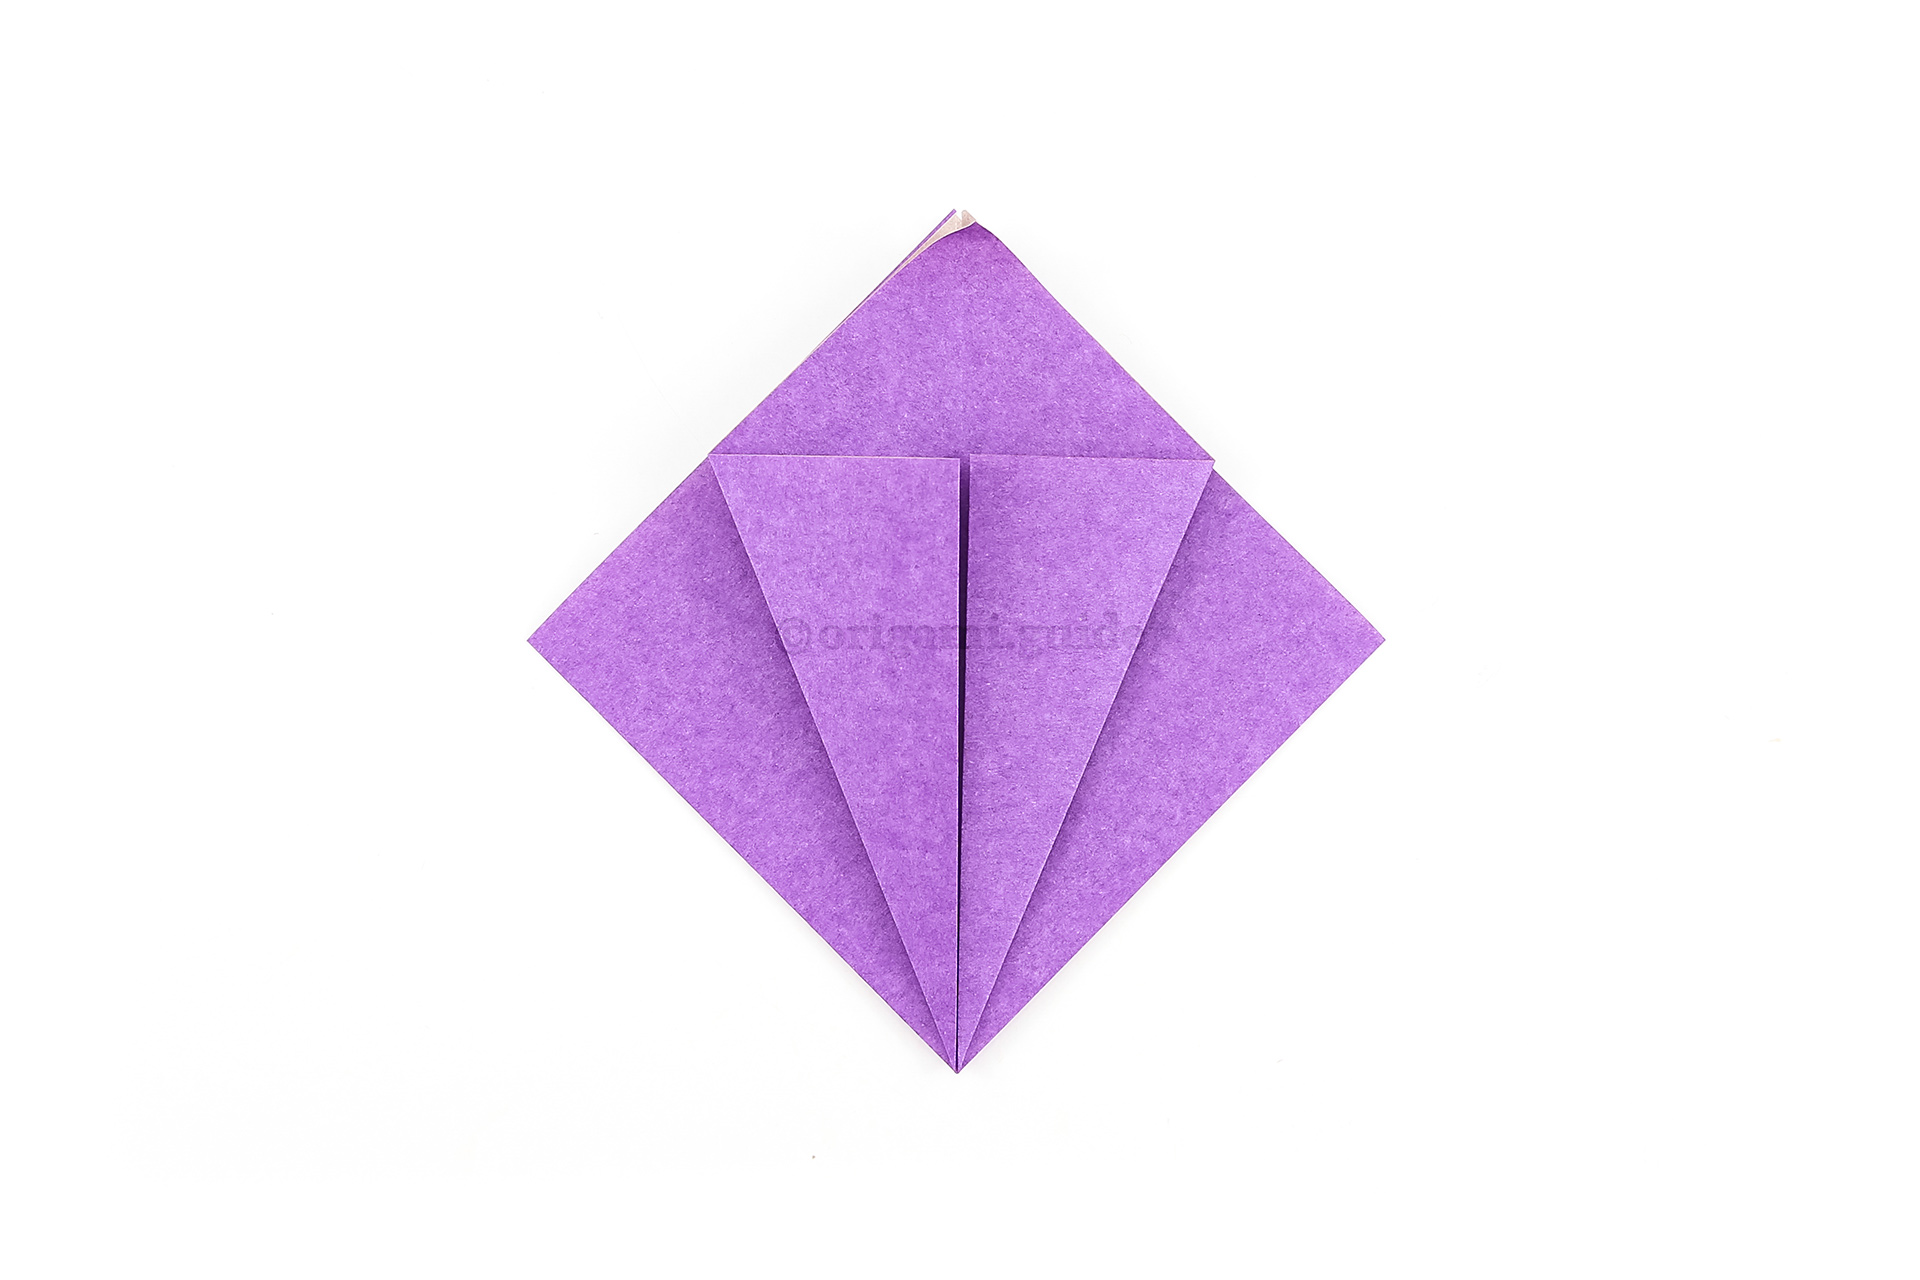
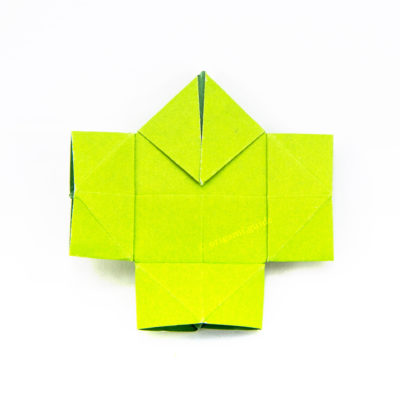
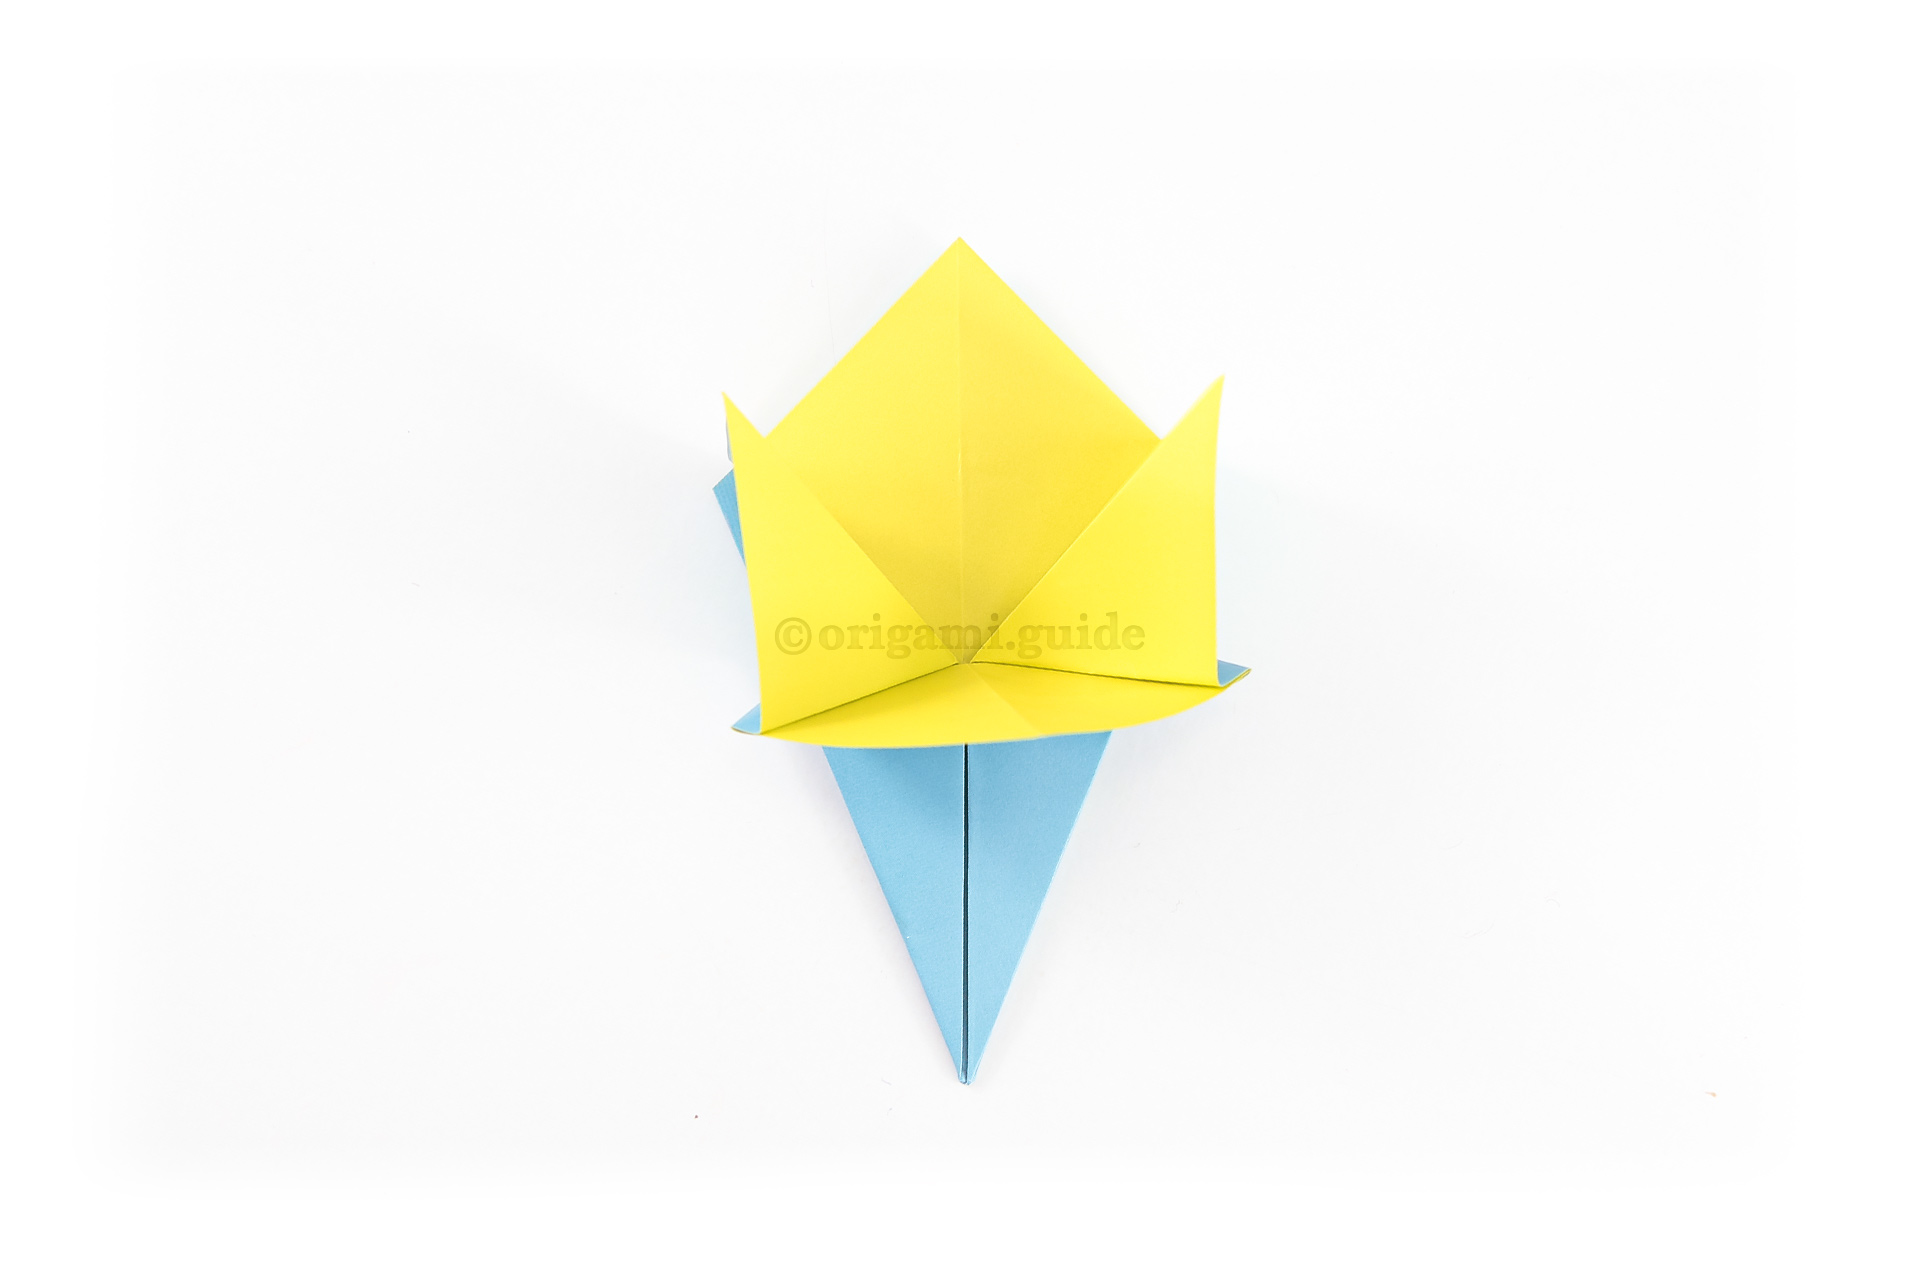
Step 14: Fold the front left and right diagonal edges to the middle as shown.
-
15
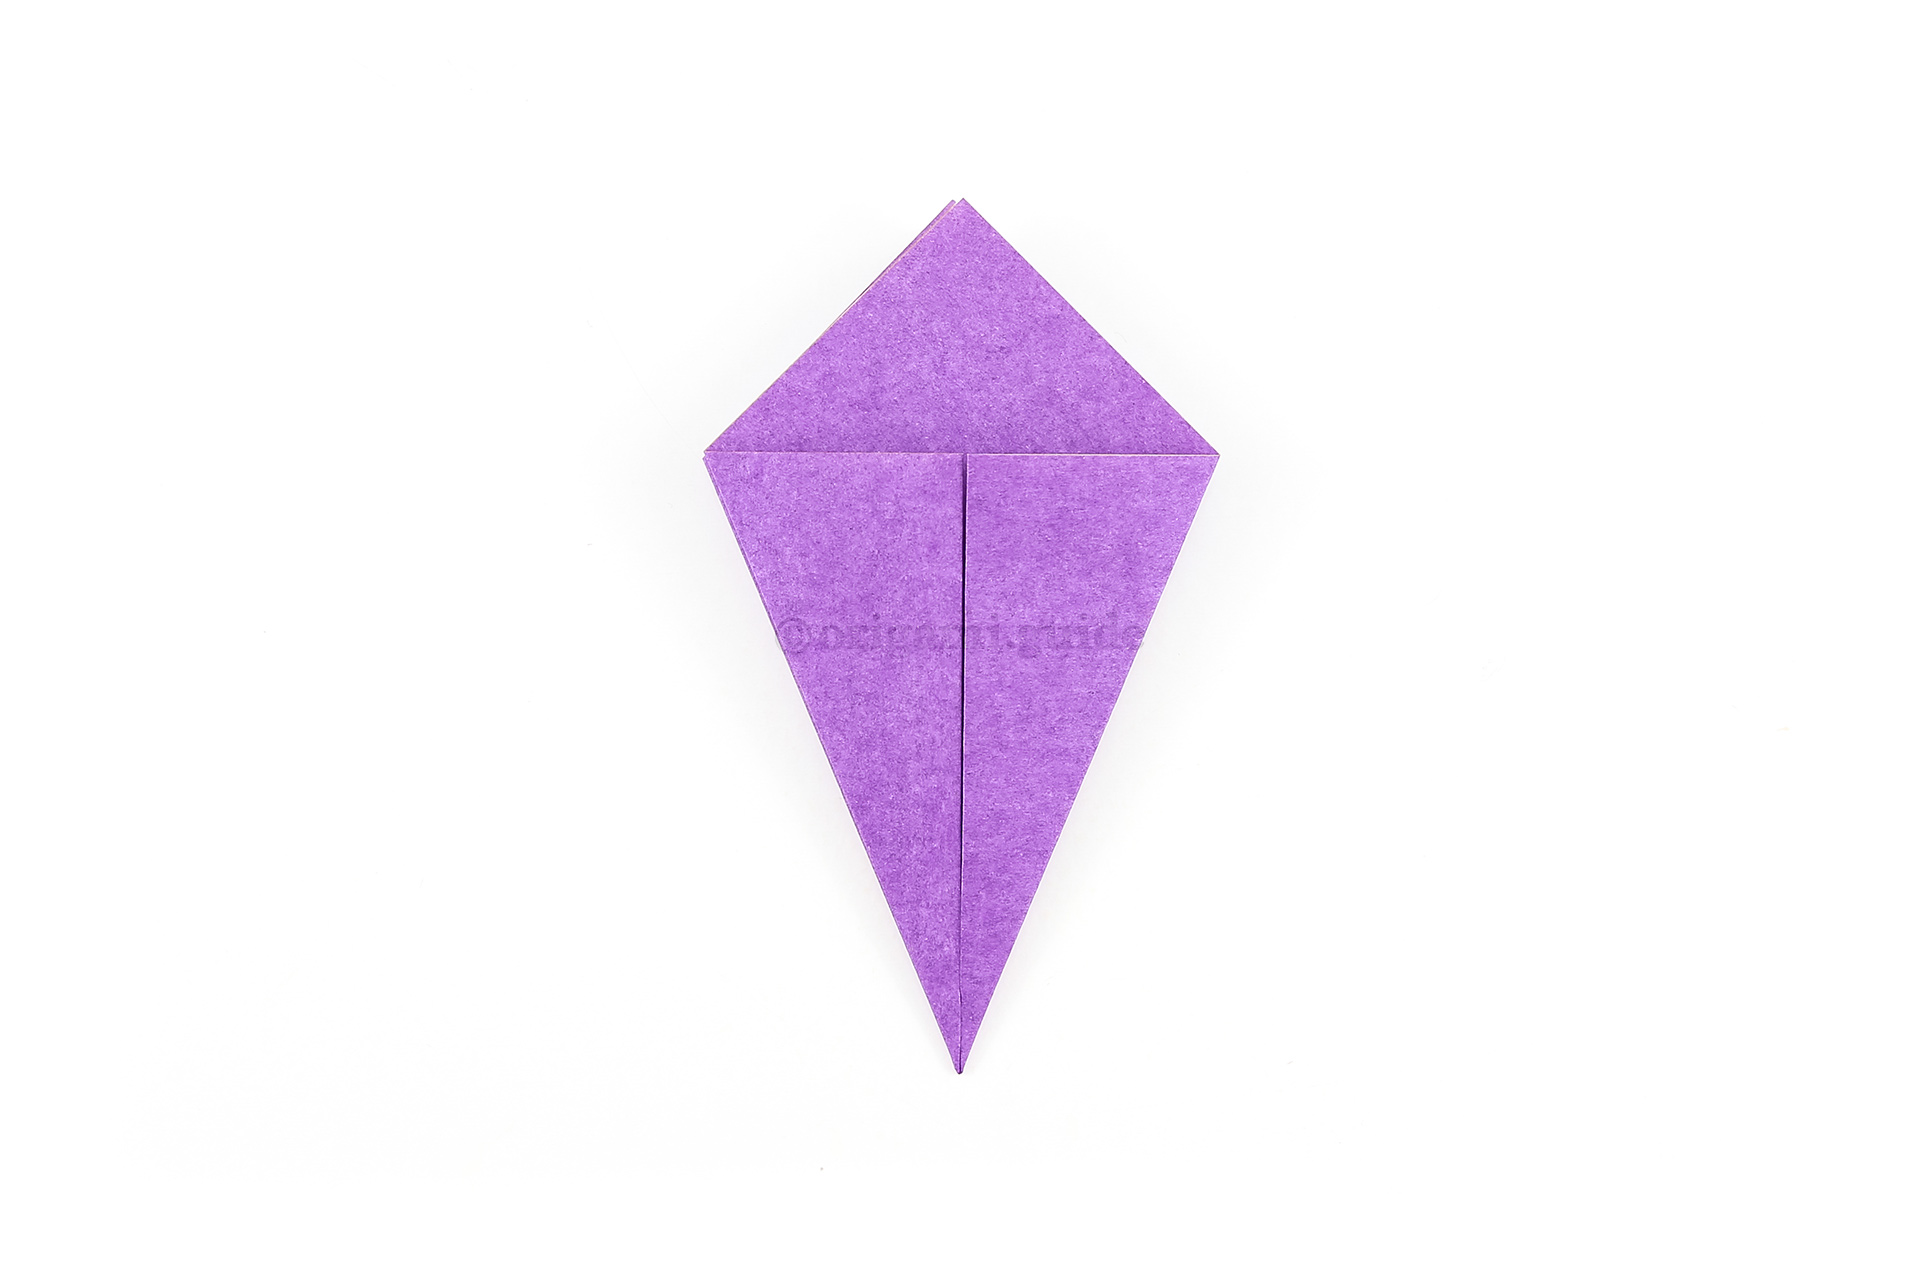
Step 15: Flip the paper over from left to right and repeat the last step.
-
16
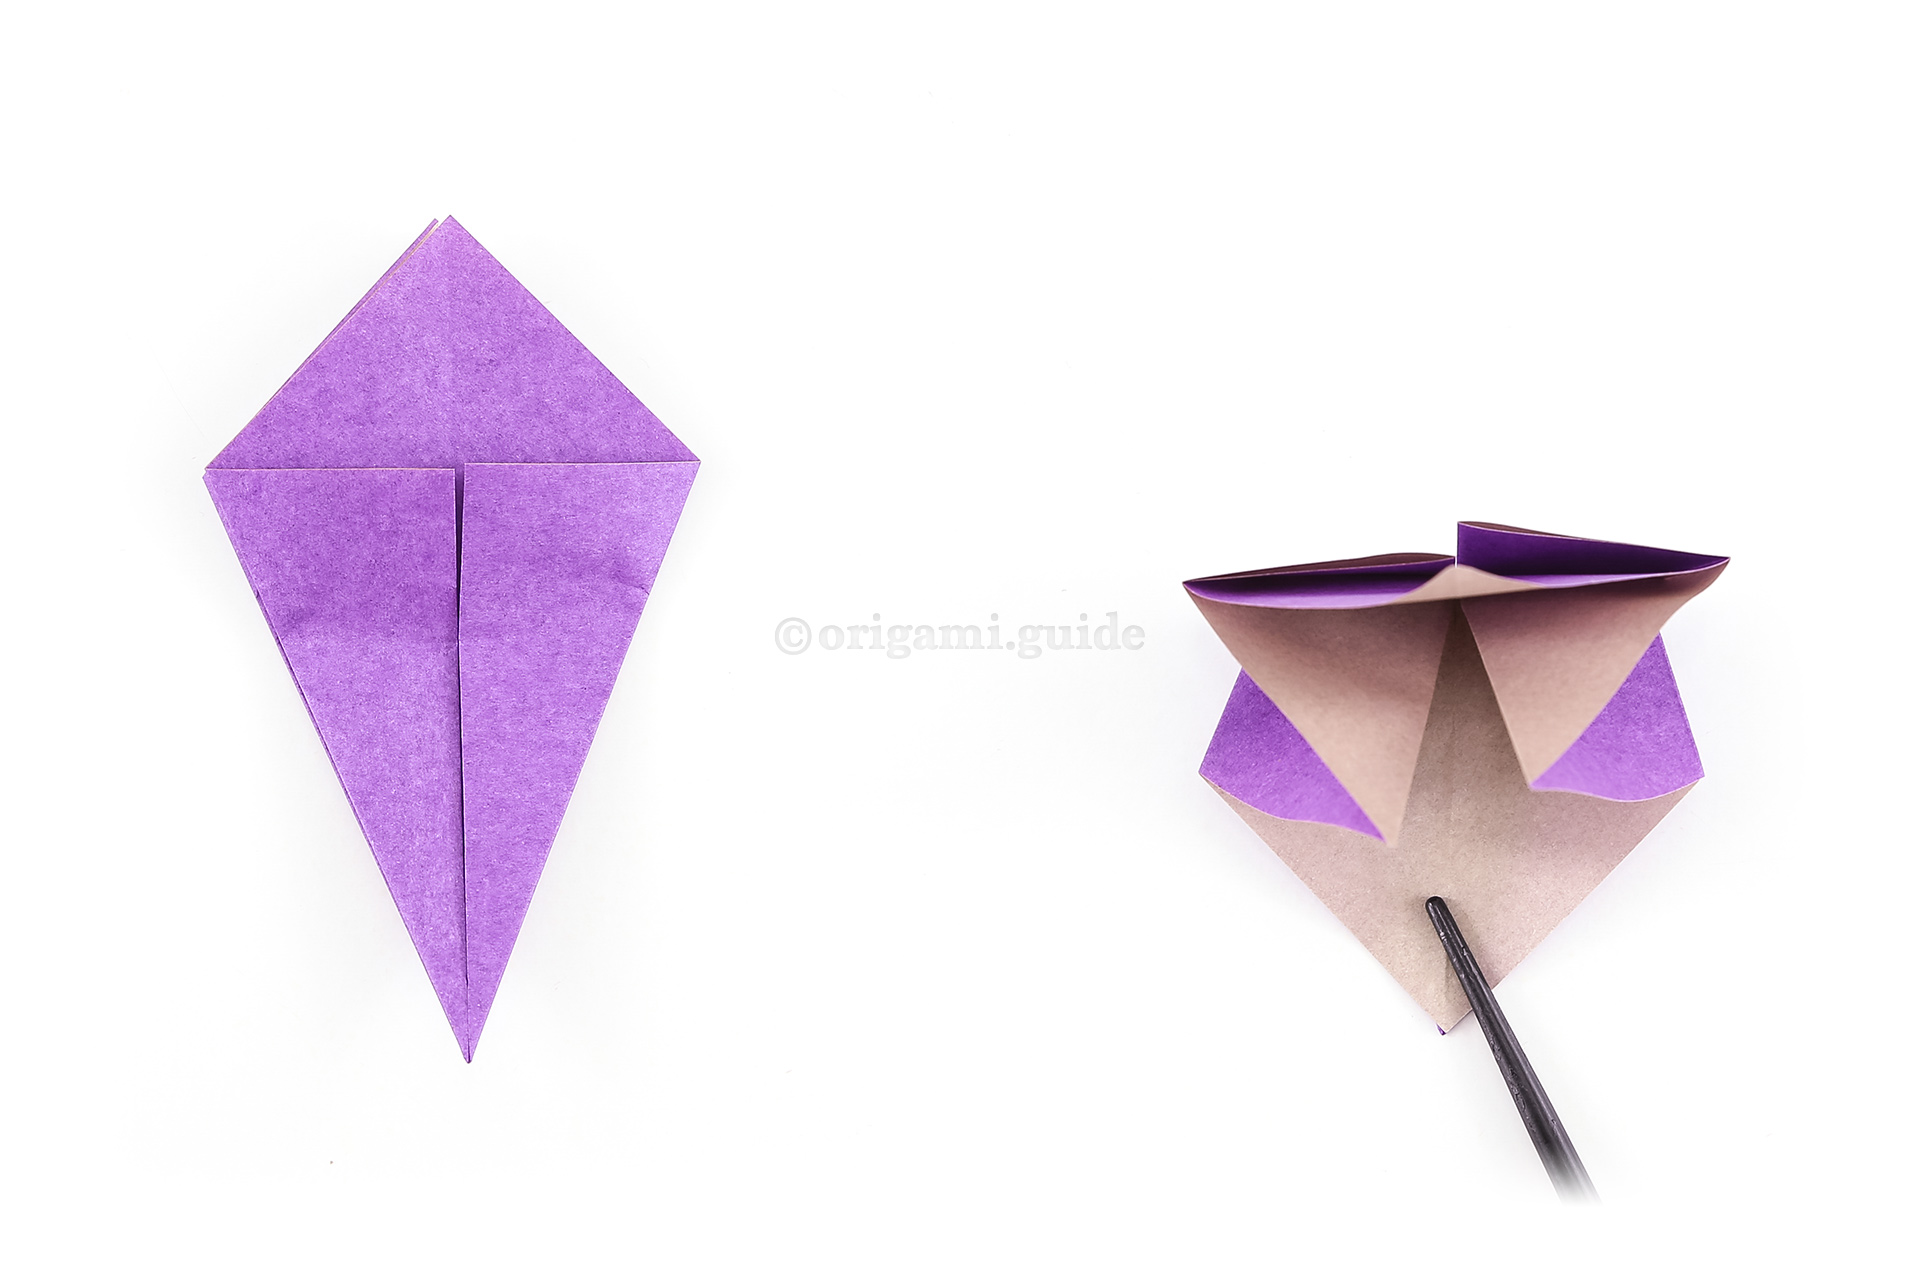
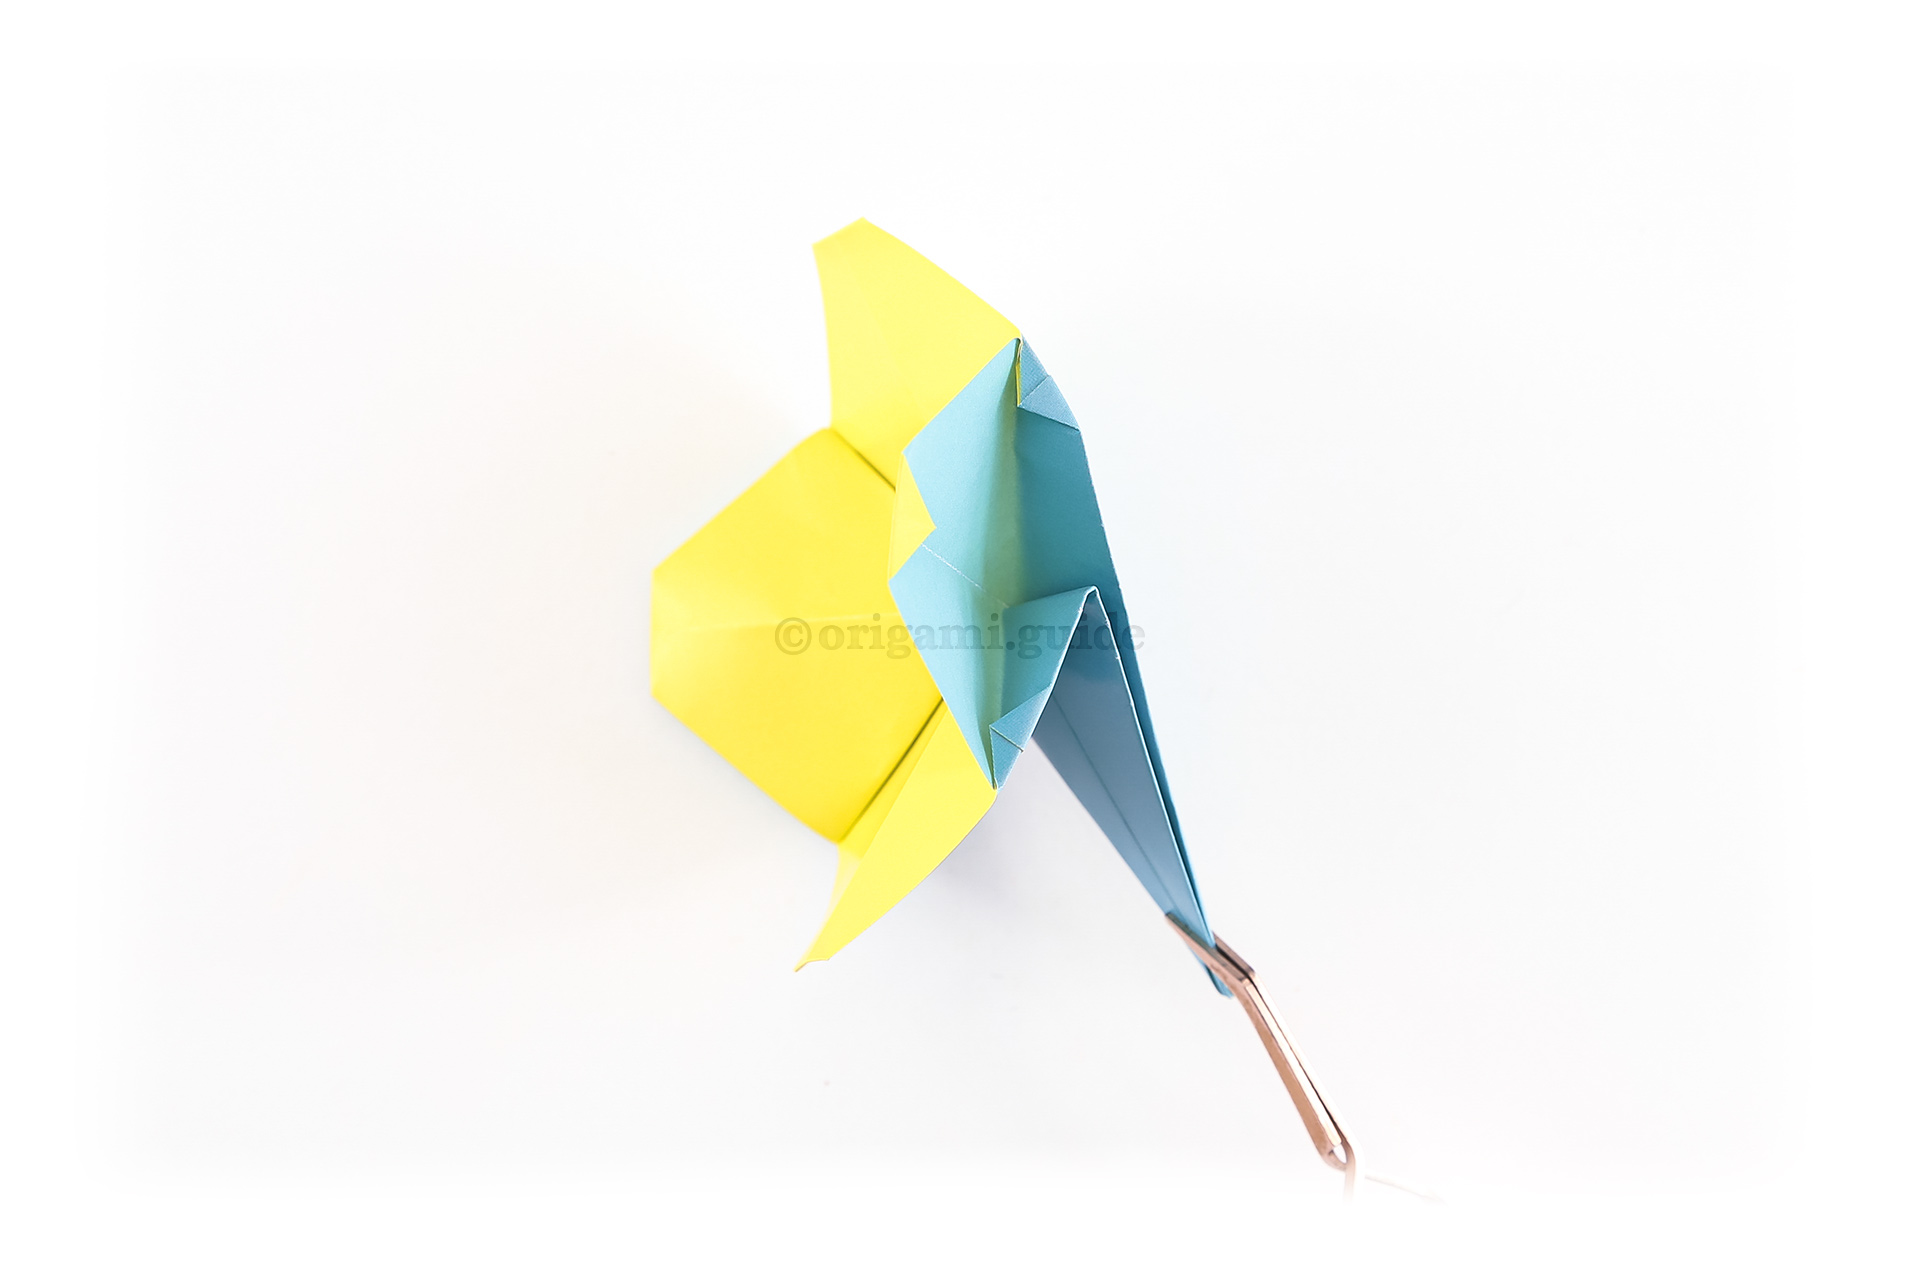
Step 16: Fold the top point down to the bottom point, allowing the inner part of the flower to "open".
-
17
Step 17: Flatten the inner part of the flower to form the petals. You can keep pulling the petals down and apart until there is no more "give".
-
18
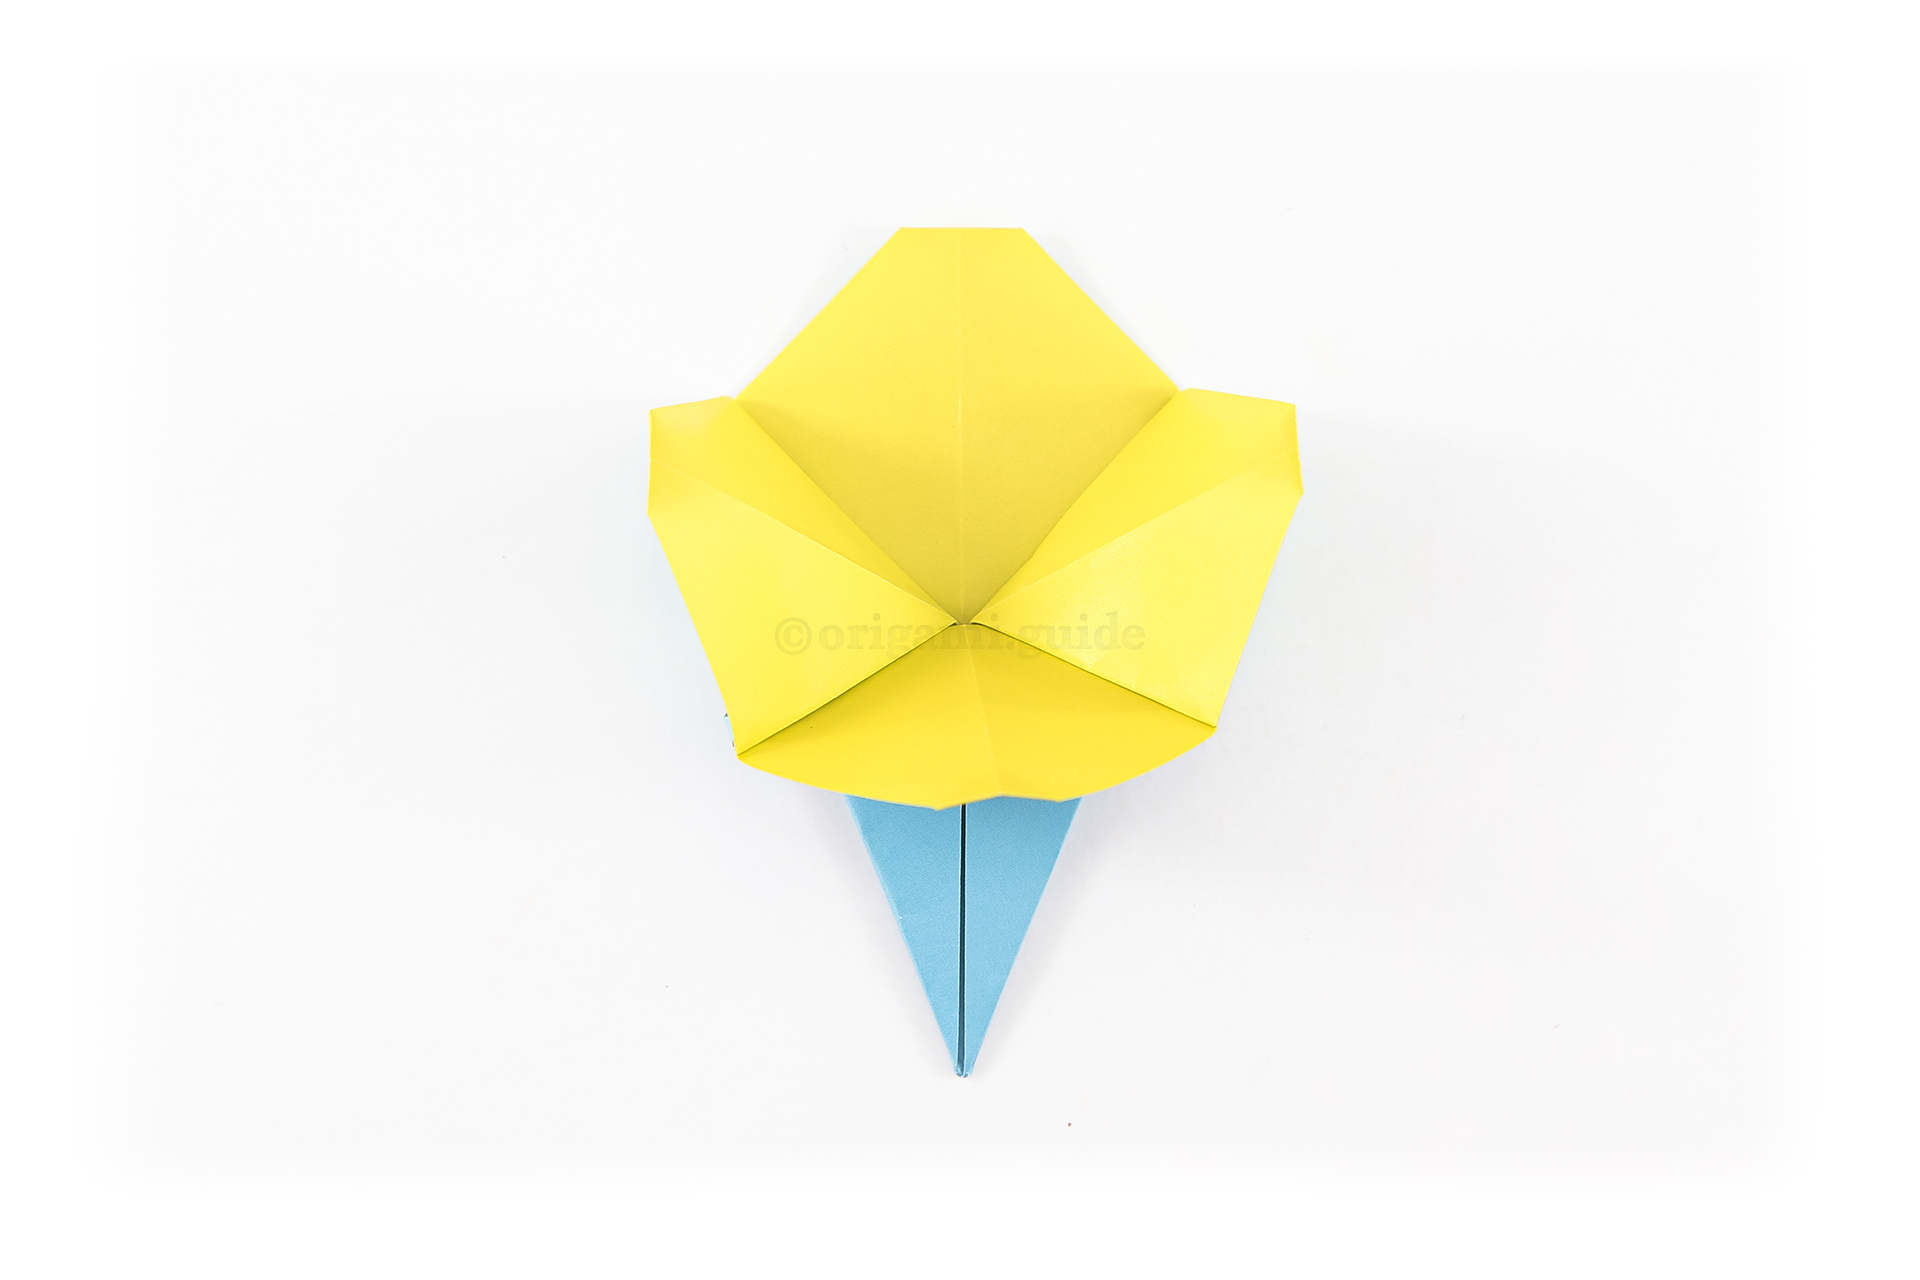
Step 18: We folded this flower again, this time, without pulling the flower like the previous step.
-
19
Step 19: You can tuck these little corners behind as shown.
-
20
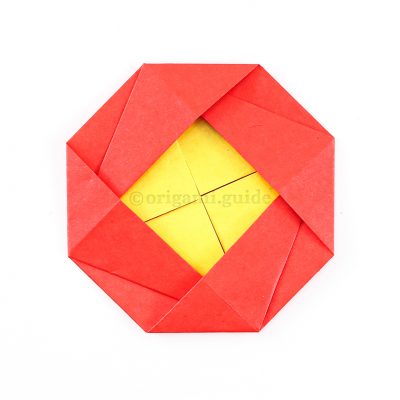
Step 20: Round the petals by folding them behind.
Your Origami Simple Flower is Complete!
You’ve completed the Origami Simple Flower, why not check out our other Origami Flowers, here.
Did you make this origami? How did it go? Leave a comment & submit your photo here.
Related origami: Easy Origami
Traditional Origami
Origami Flowers
What Origami Flowers To Fold Next?
- « How To Make An Origami Daylily

- How To Fold An Origami Bellflower »
 View all Origami Flowers Tutorials
Leave A Comment
Did you fold this Origami Simple Flower? Let us know what you thought.
You can also upload a photo of your result!