Made this origami? Leave a comment & submit your photo here.
-
9
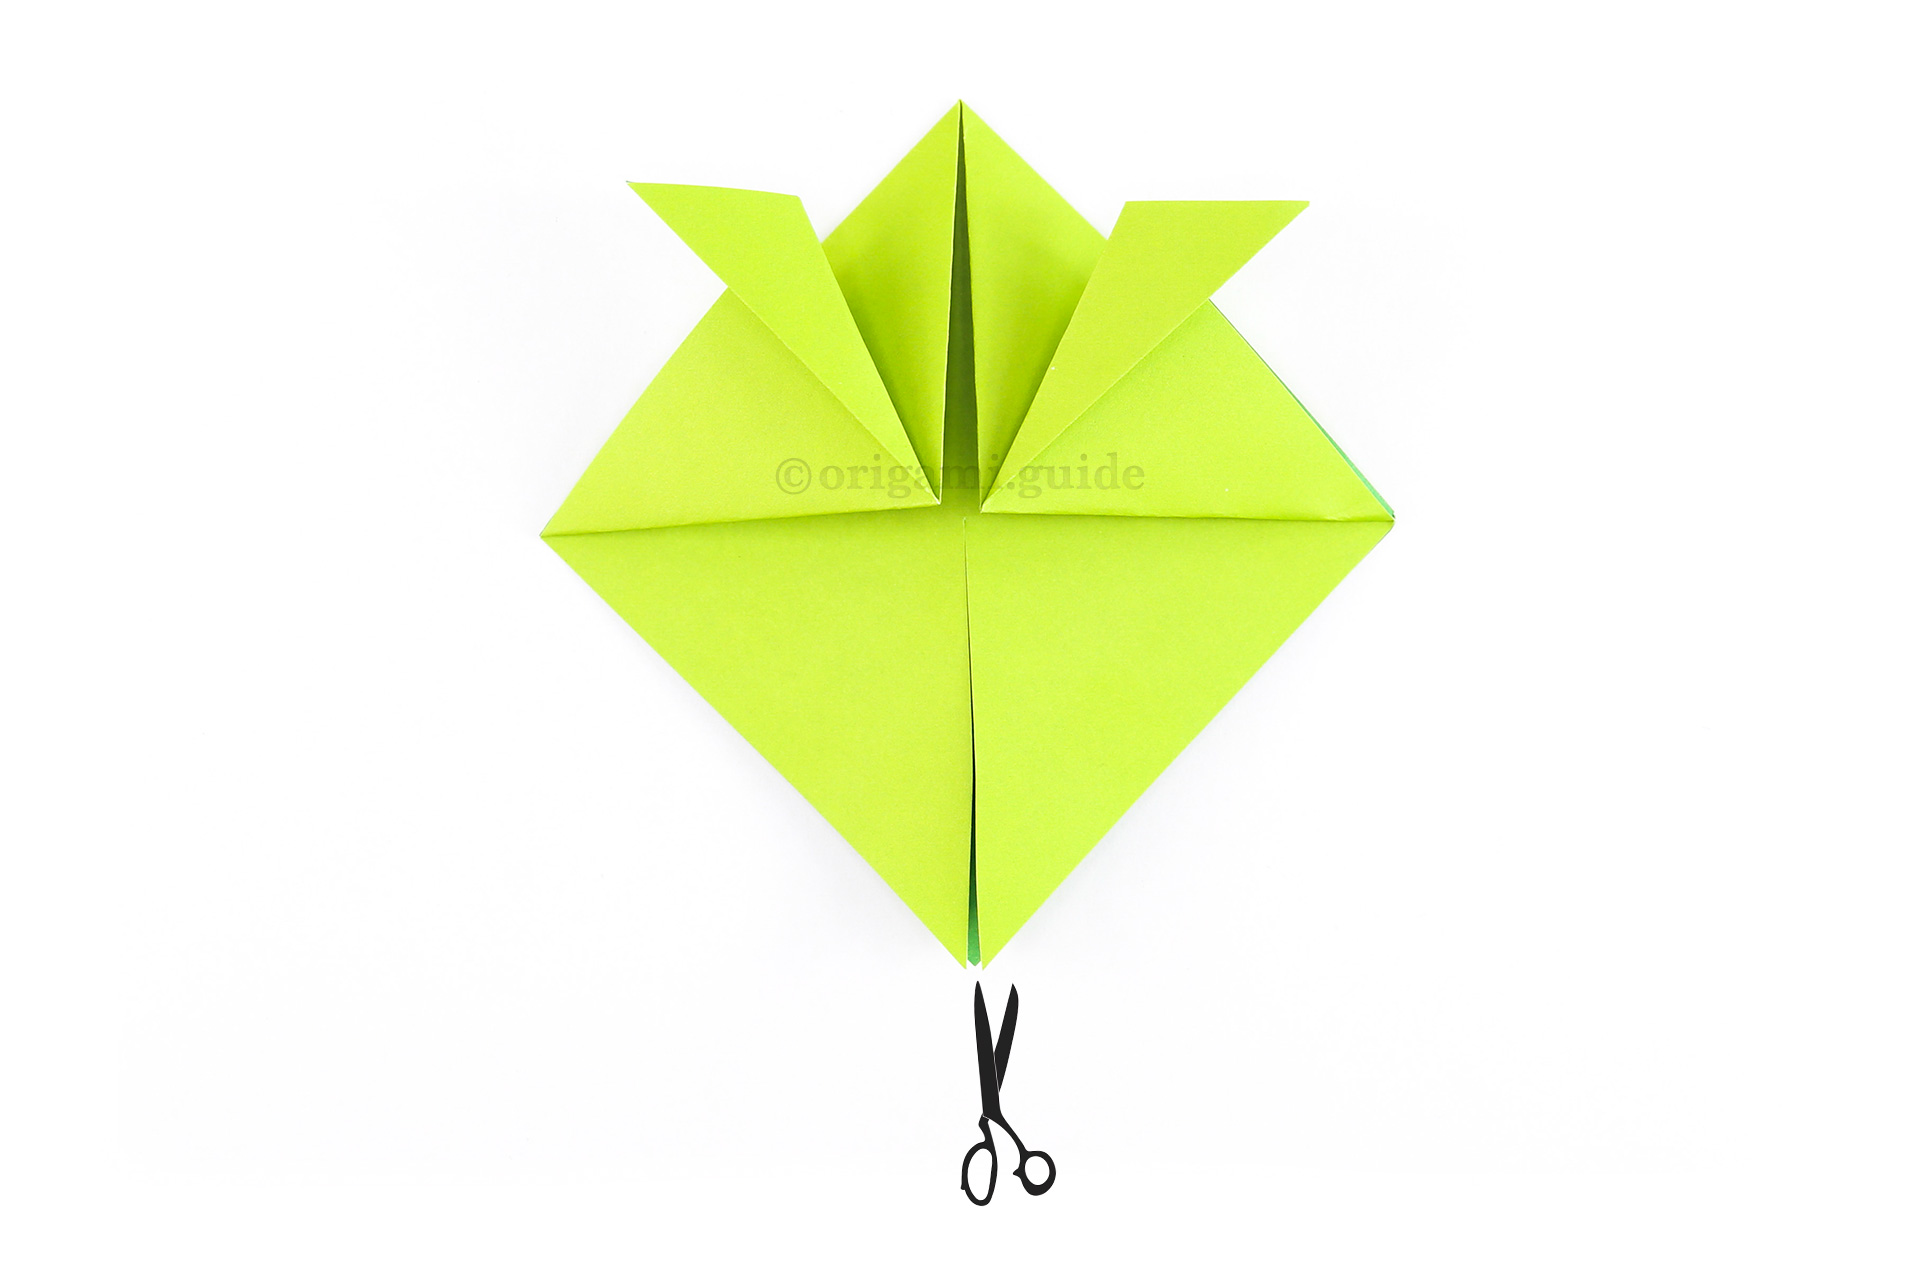
Step 9: Using scissors, cut where indicated. Cut only the front-most layer of paper.
-
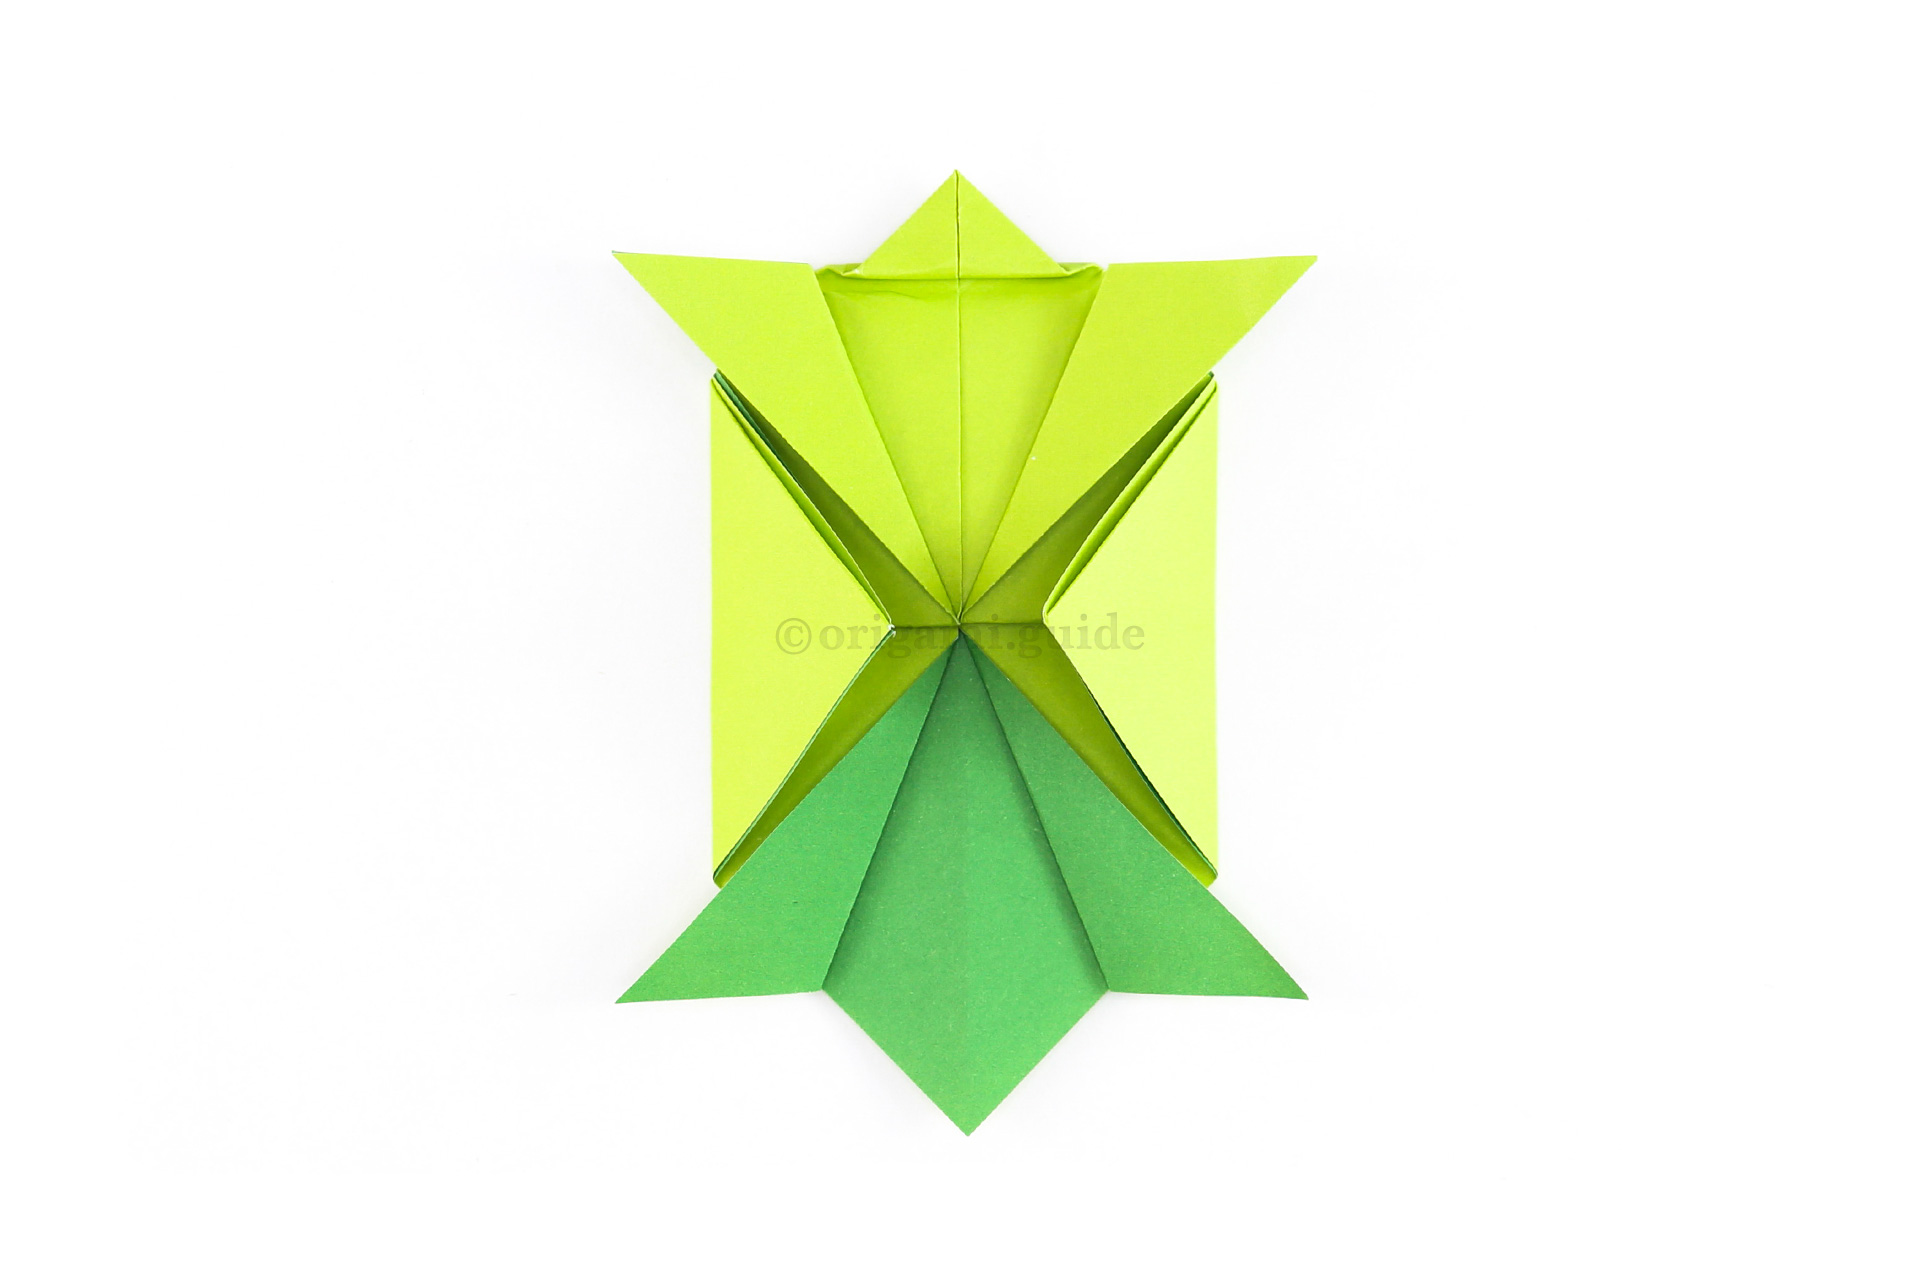
10
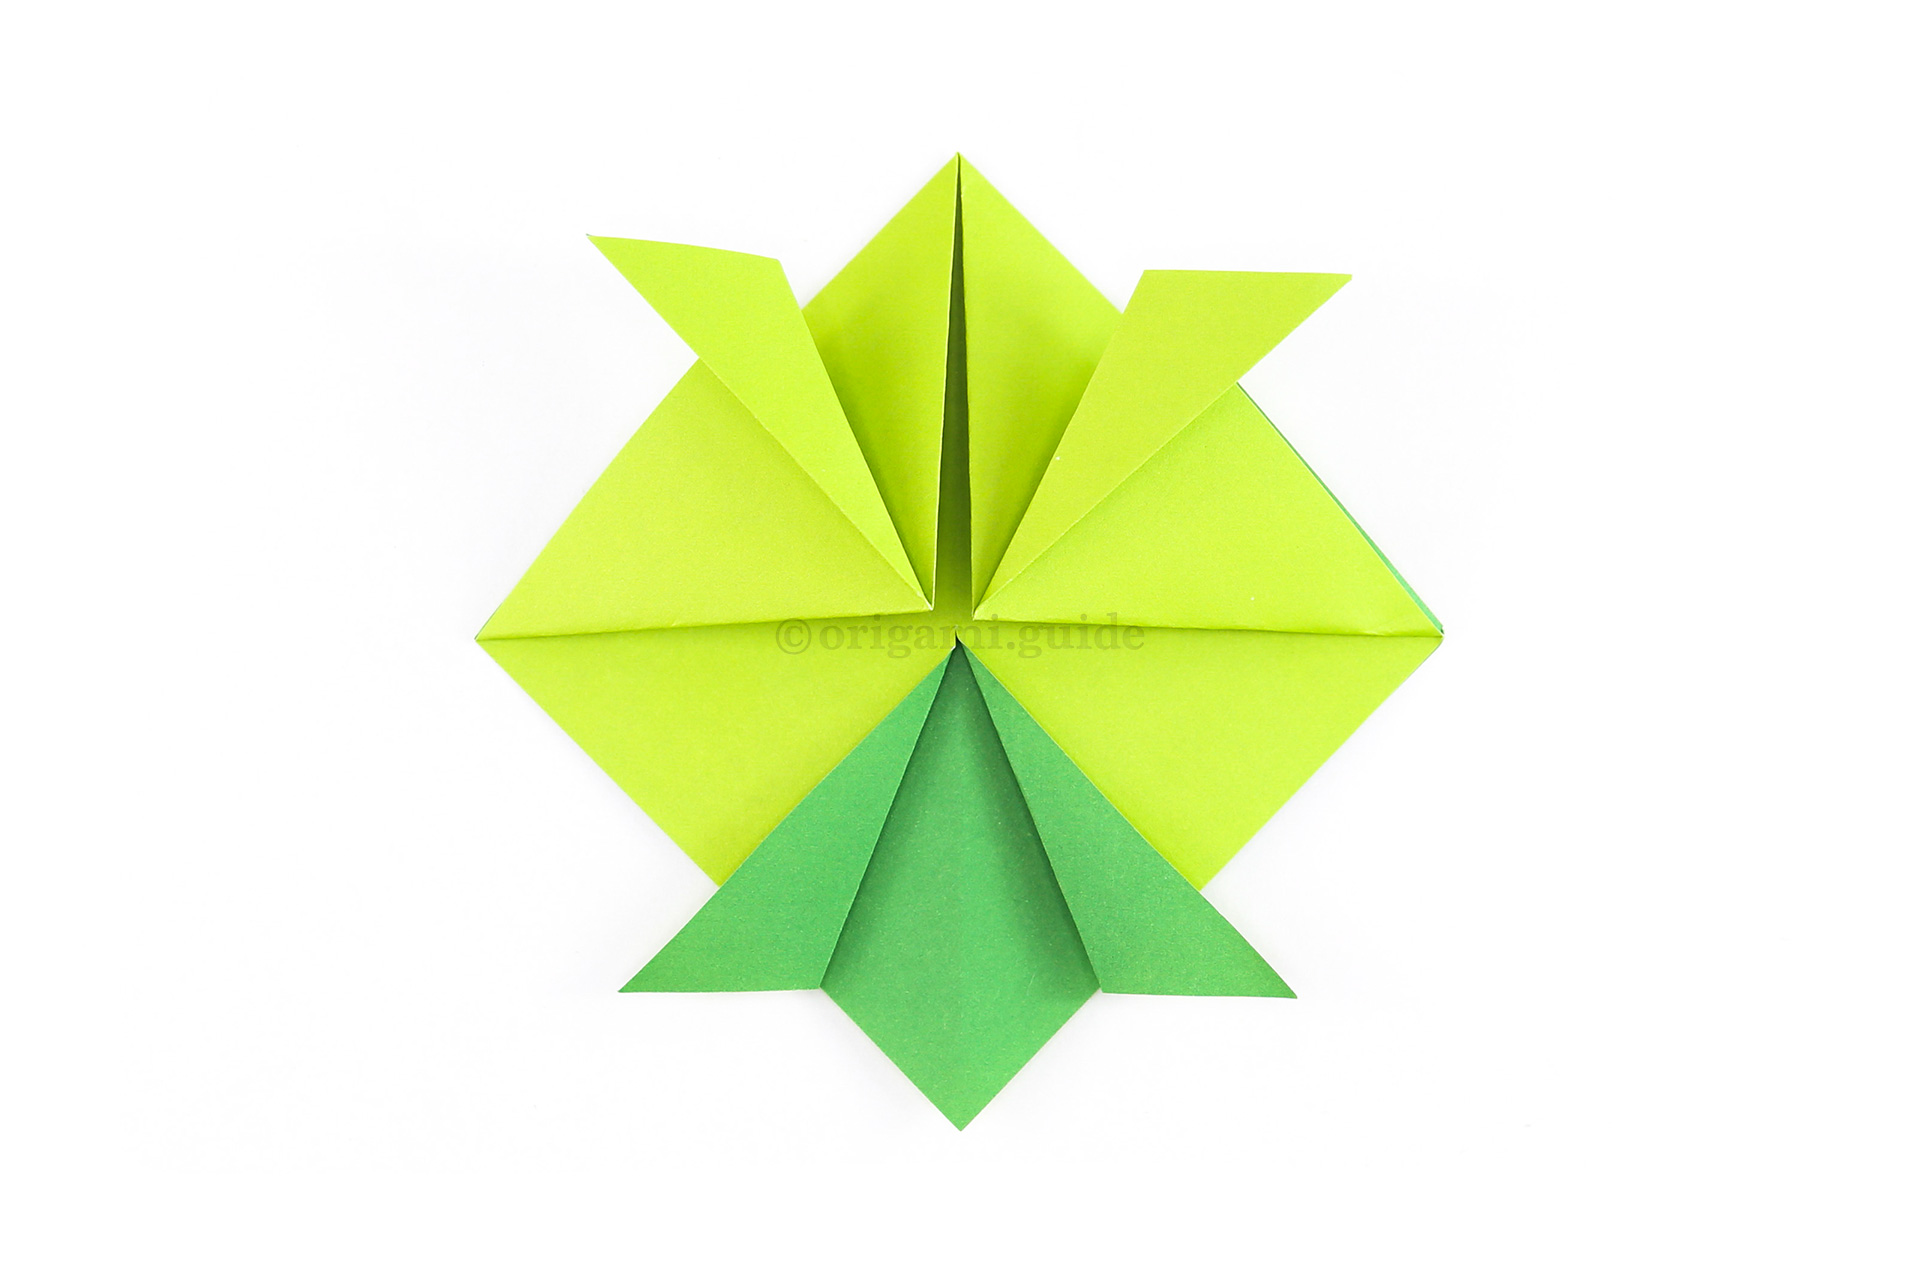
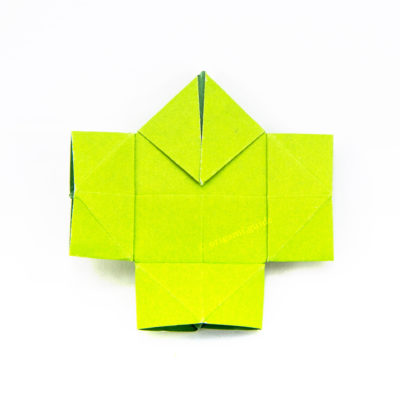
Step 10: Fold the two flaps outward to match the ones at the top.
-
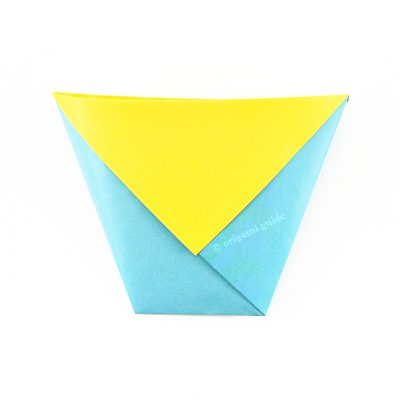
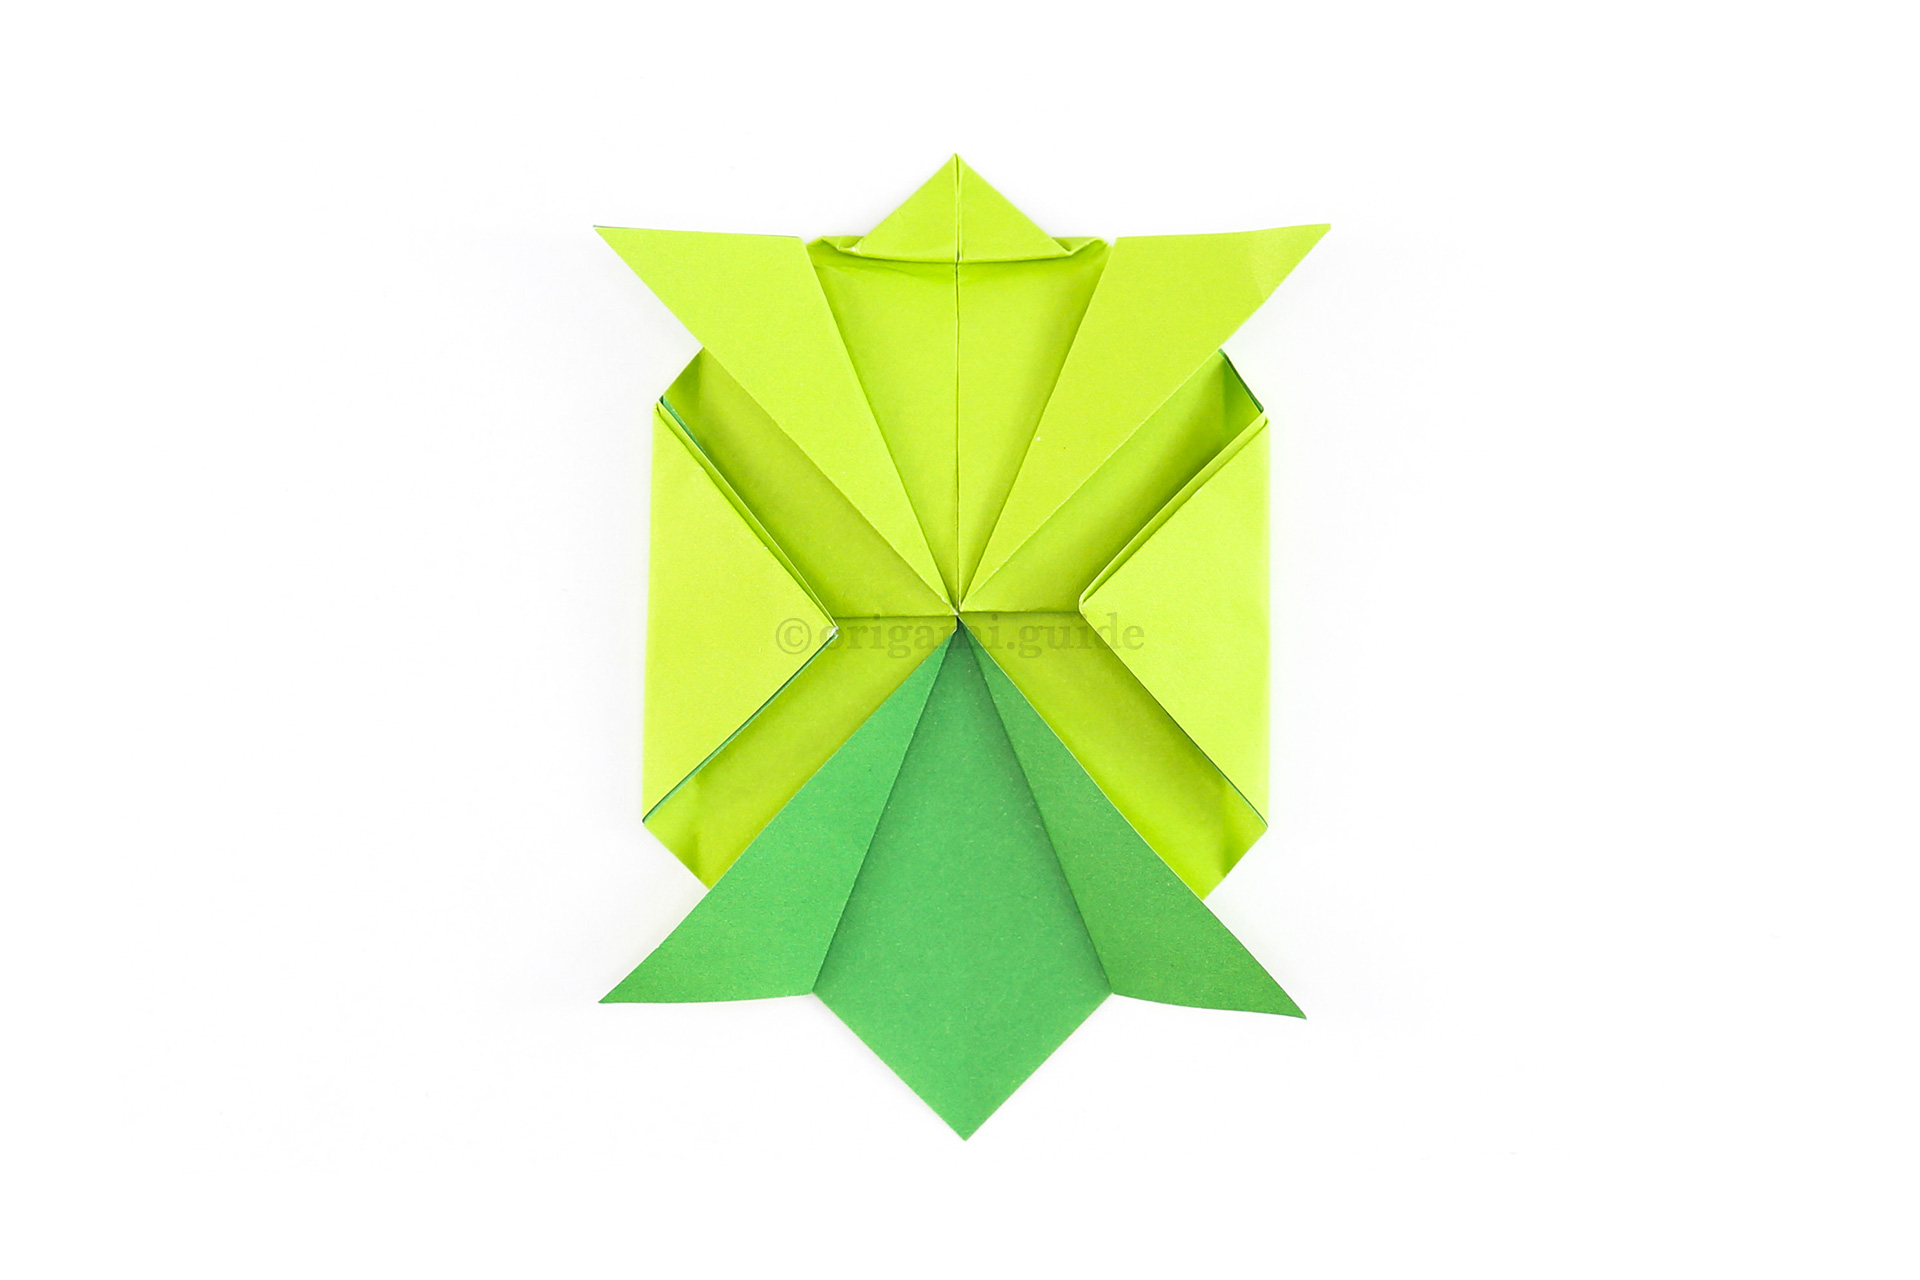
11
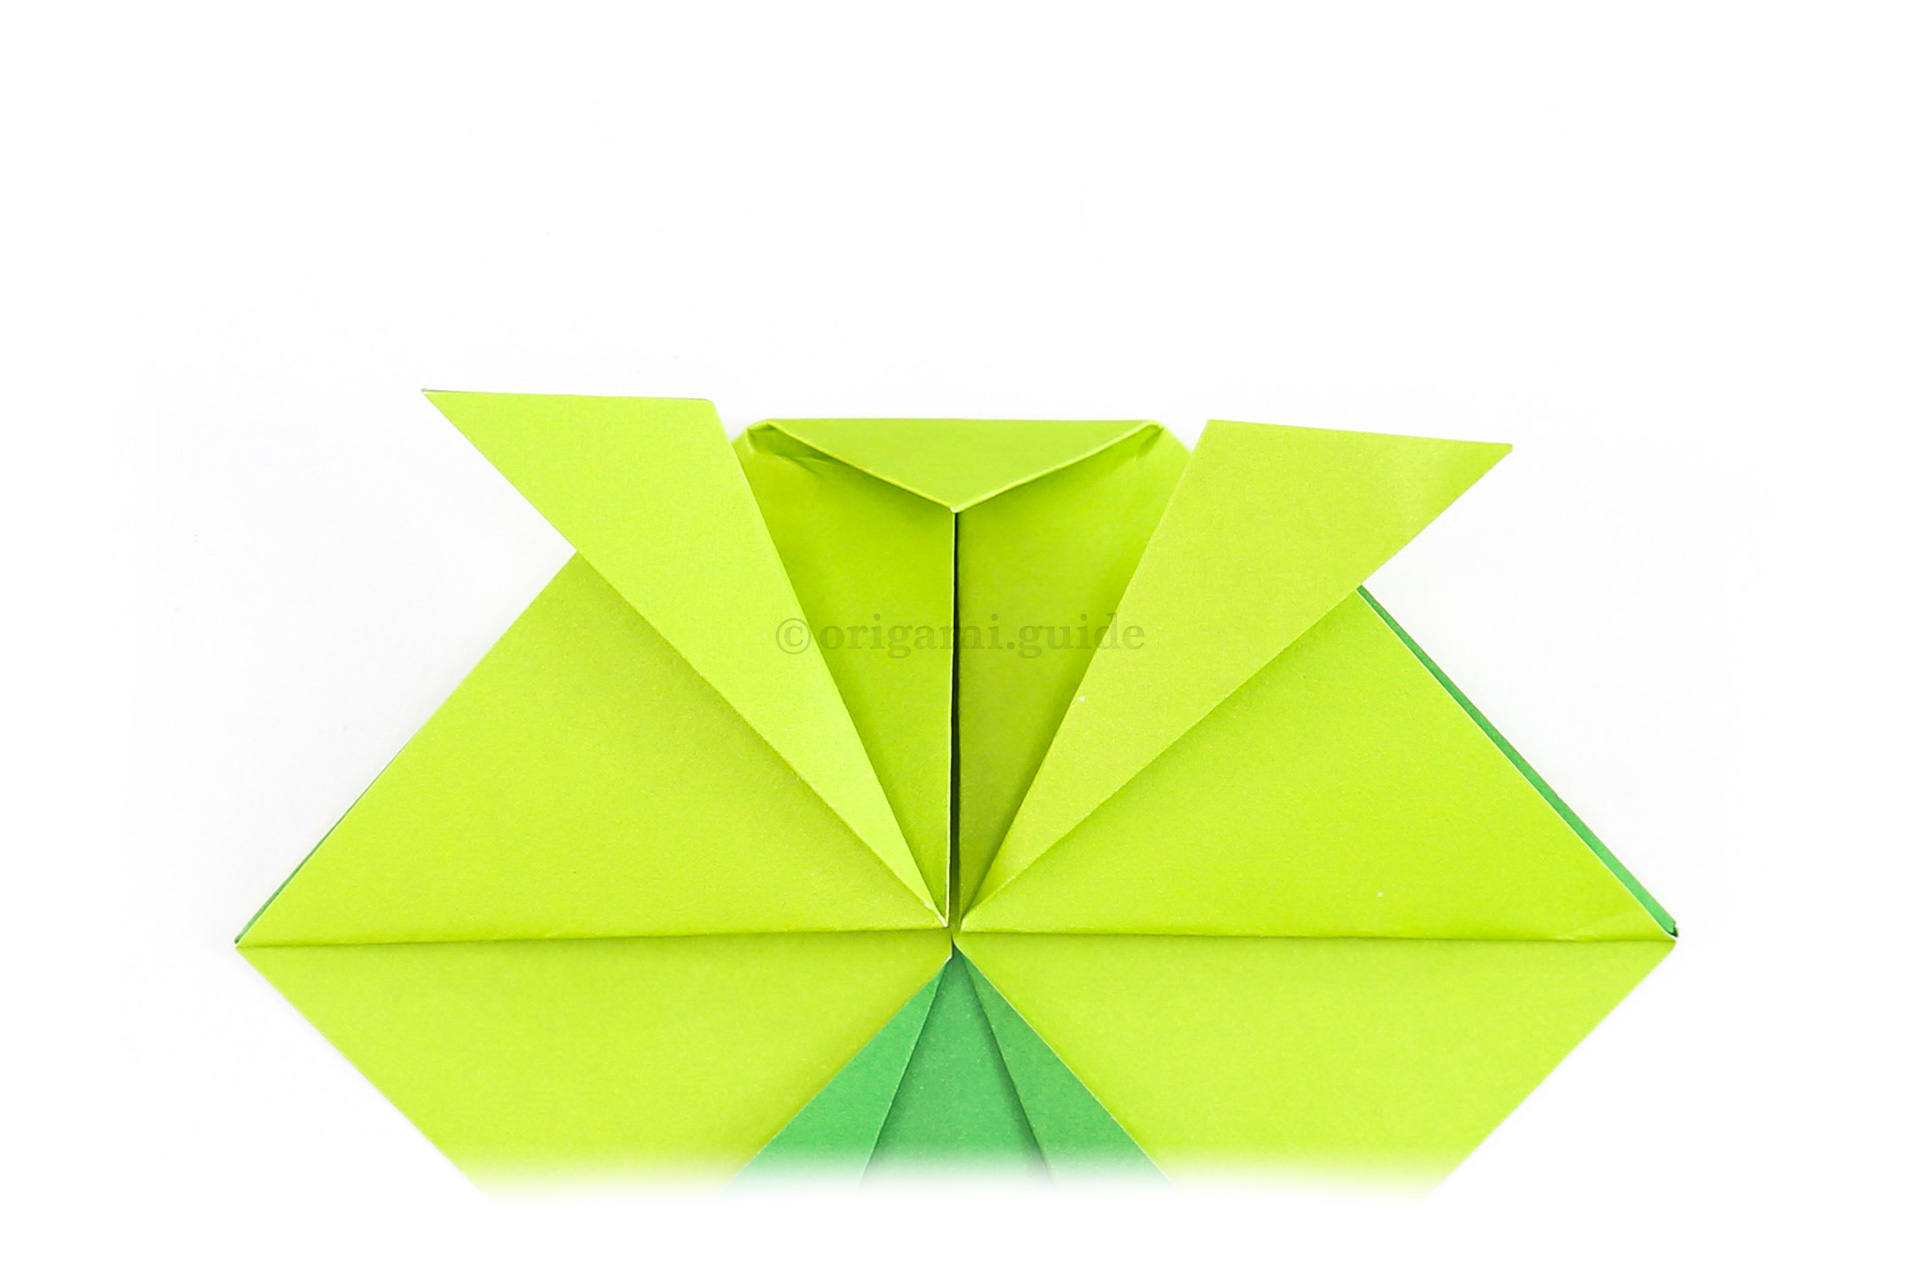
Step 11: Fold the top point down.
-
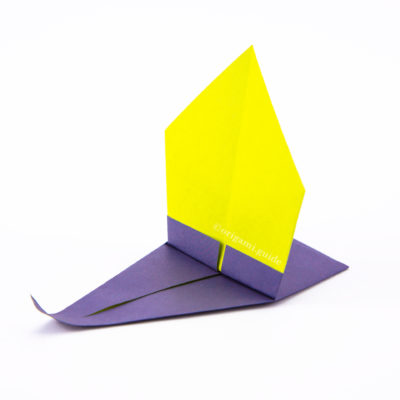
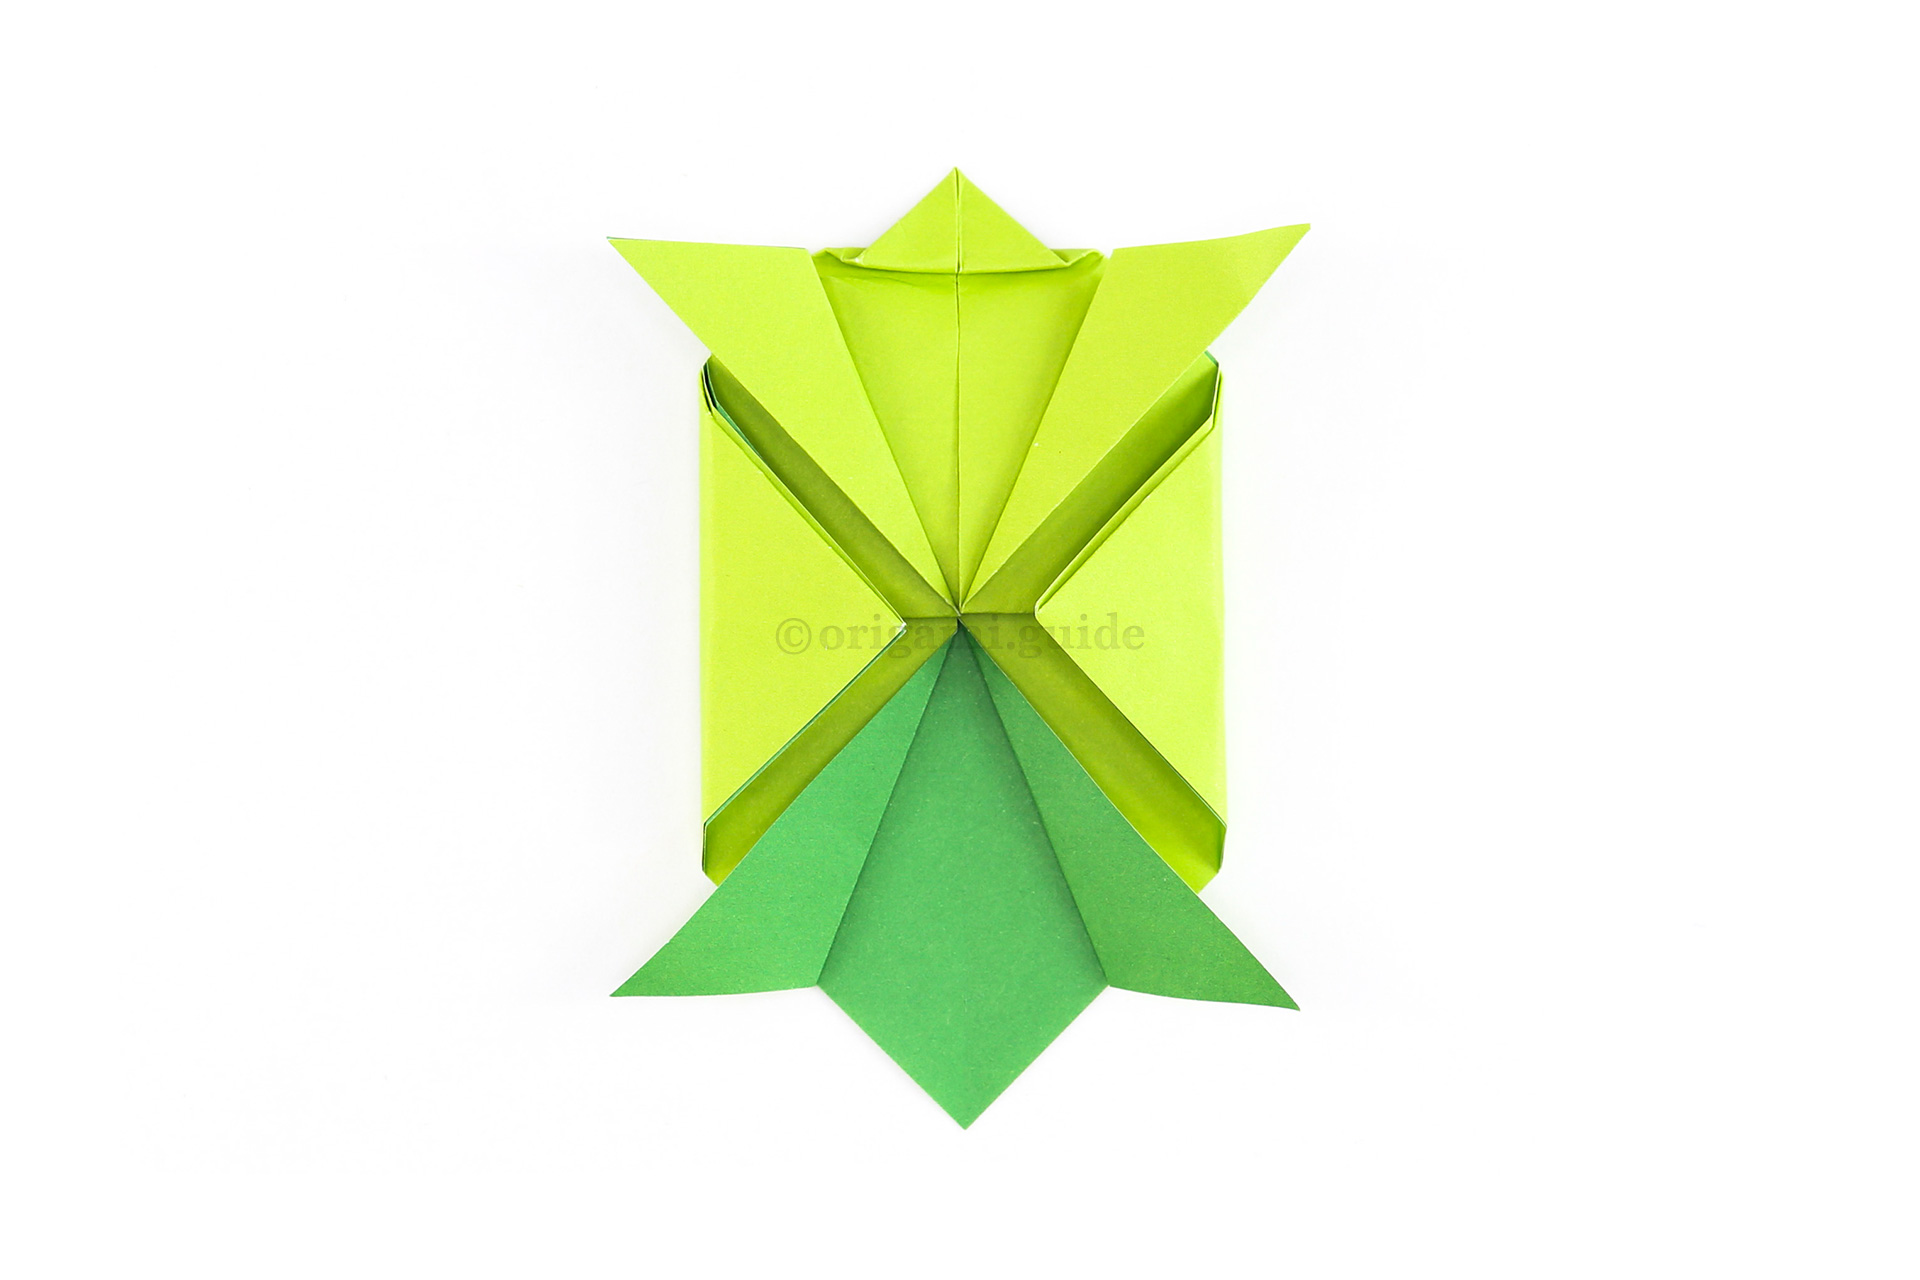
12
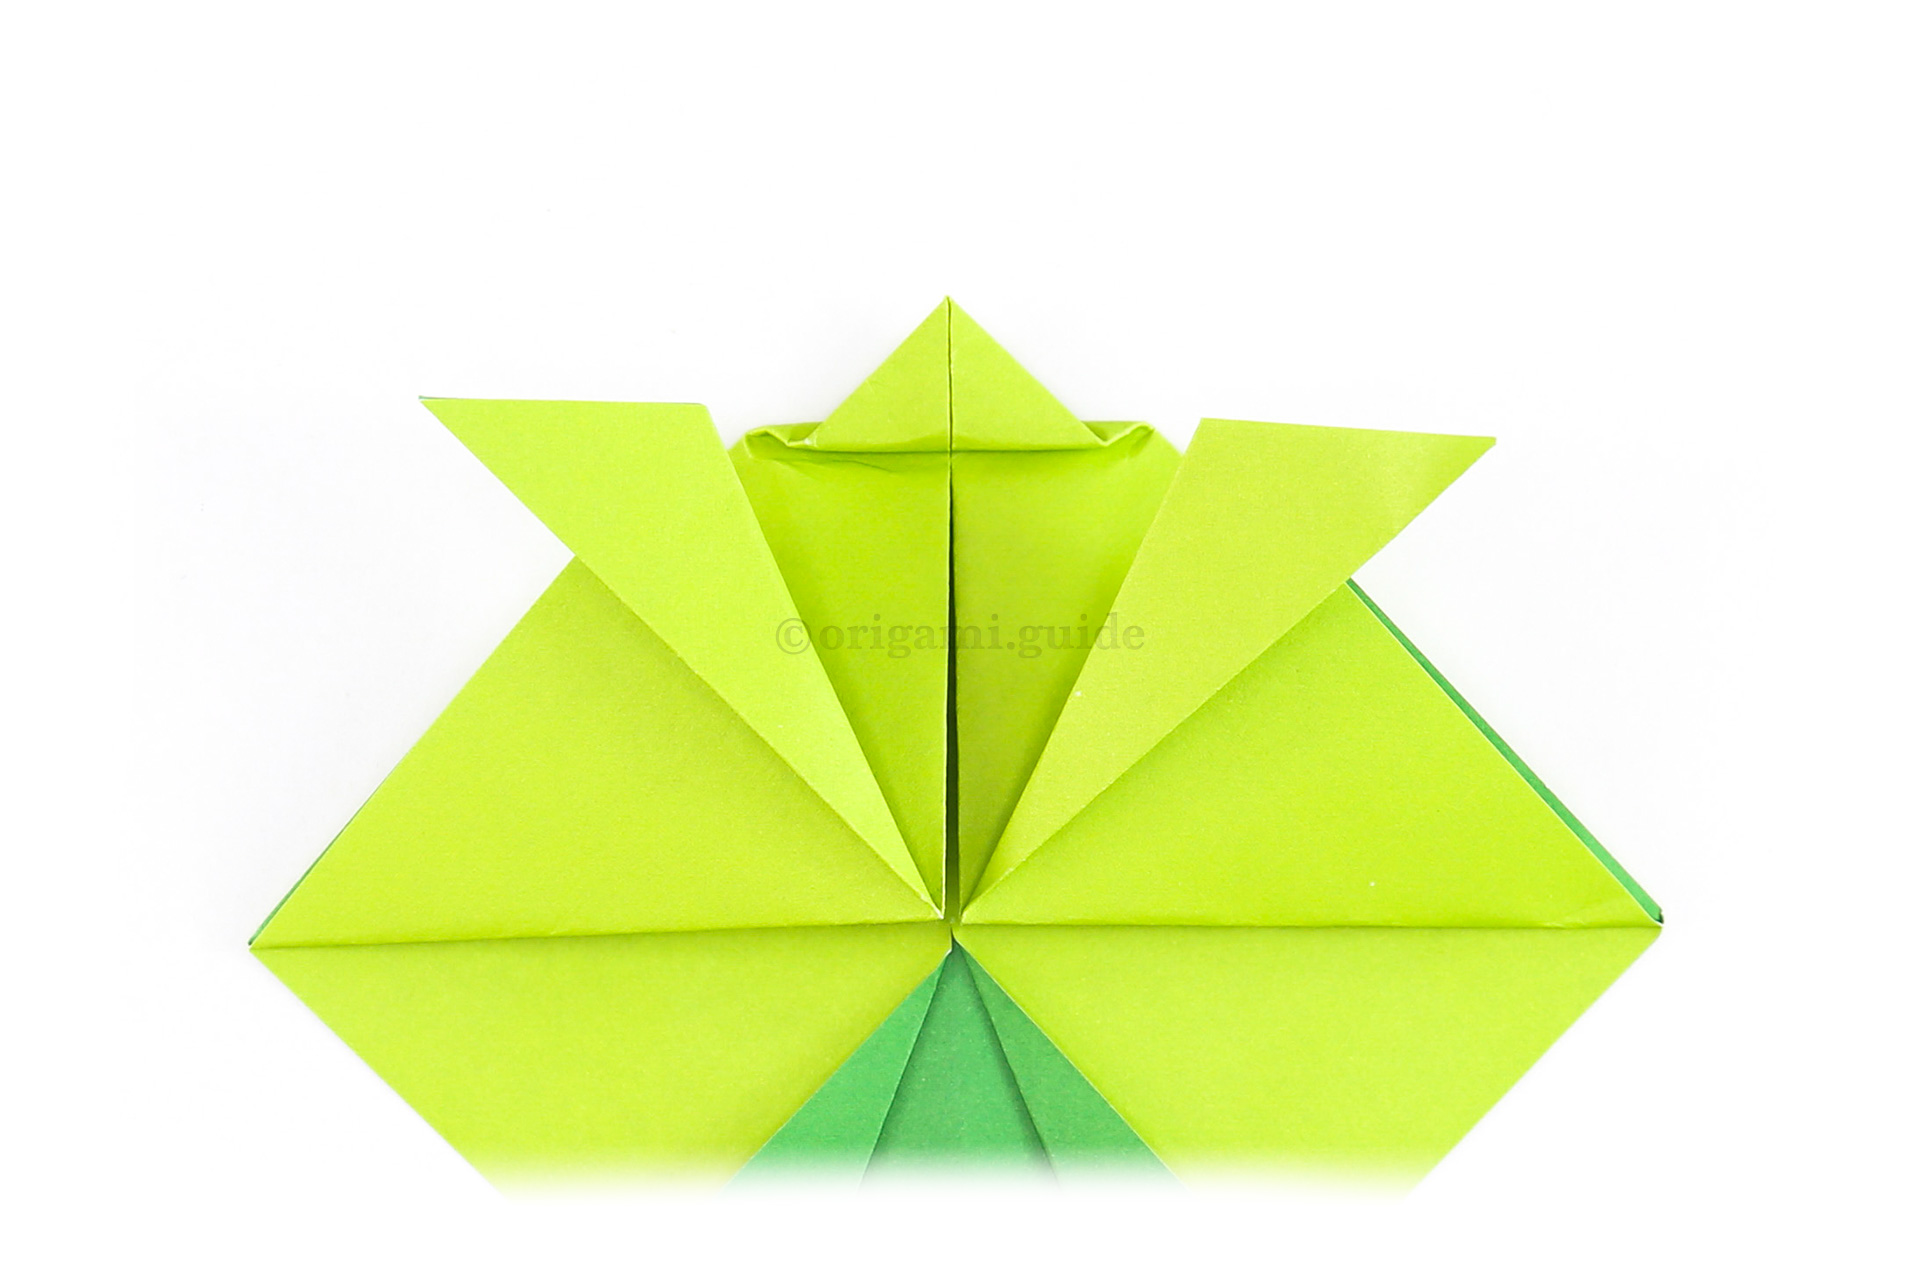
Step 12: Fold the top flap back upwards, leaving a small gap, this is a pleat fold.
-
13
Step 13: Fold the left and right points to the middle.
-
14
Step 14: Unfold the previous step and fold the left and right points again but this time leave a small gap.
-
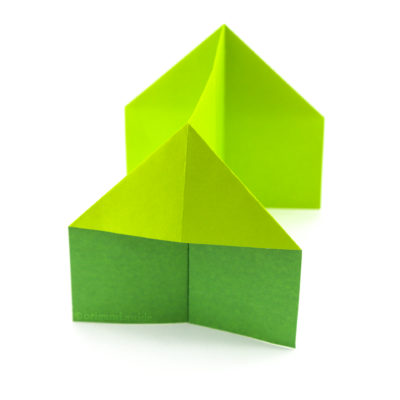
15
Step 15: Finally, push the left and right sides in again, this will give the turtle a more 3D look and allow the feet to rest underneath the turtle.
-
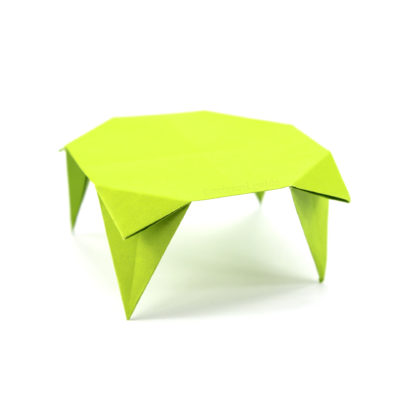
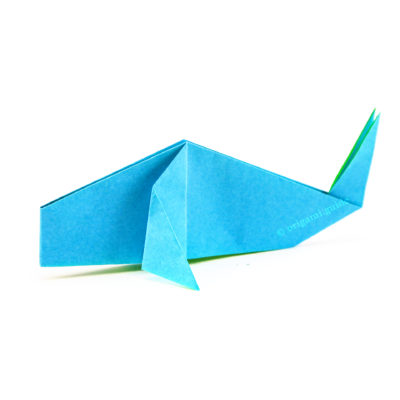
16

Step 16: Flip the origami turtle over to the other side and adjust the legs however you like. You could draw a little face on the turtle as well.
Your Origami Turtle is Complete!
You’ve completed the Origami Turtle, why not check out our other Origami Reptiles, here.
Did you make this origami? How did it go? Leave a comment & submit your photo here.
Related origami: Easy Origami
Traditional Origami
Origami Reptiles
Origami Turtles
What Origami Reptiles To Fold Next?
- « How To Make An Easy Origami Turtle

- How To Make An Easy Origami Turtle »View all Origami Reptiles Tutorials
Leave A Comment
Did you fold this Origami Turtle? Let us know what you thought.
You can also upload a photo of your result!