Easy Origami Arrow
Learn how to make a cool origami arrow! This easy origami arrow is great to use as a magnet or decorate scrap book projects with them.
This origami arrow is a simple modification of the traditional origami fir tree (tutorial).
Easy Origami Arrow Instructions
Scroll down to follow the photo tutorial for the Easy Origami Arrow.
Made this origami? Leave a comment & submit your photo on the last page here.
-
1
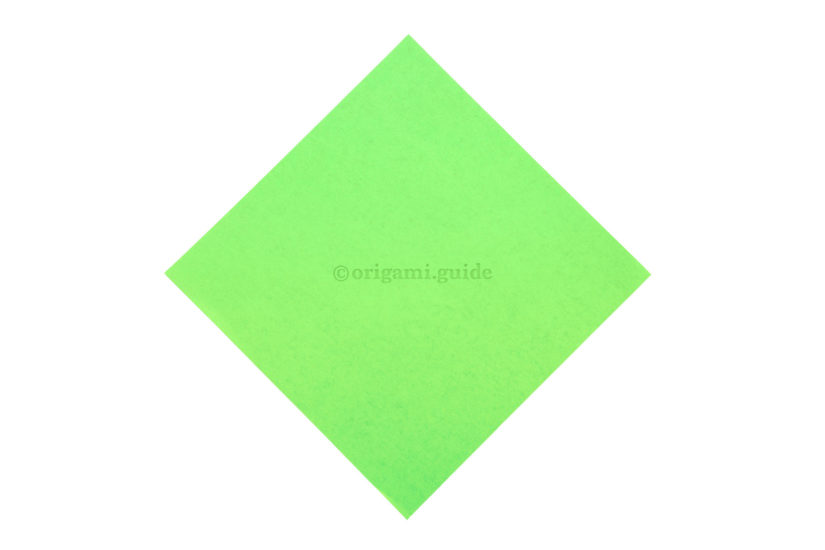
1. This is the front of the origami paper, our arrow will end up being this colour.
-
2
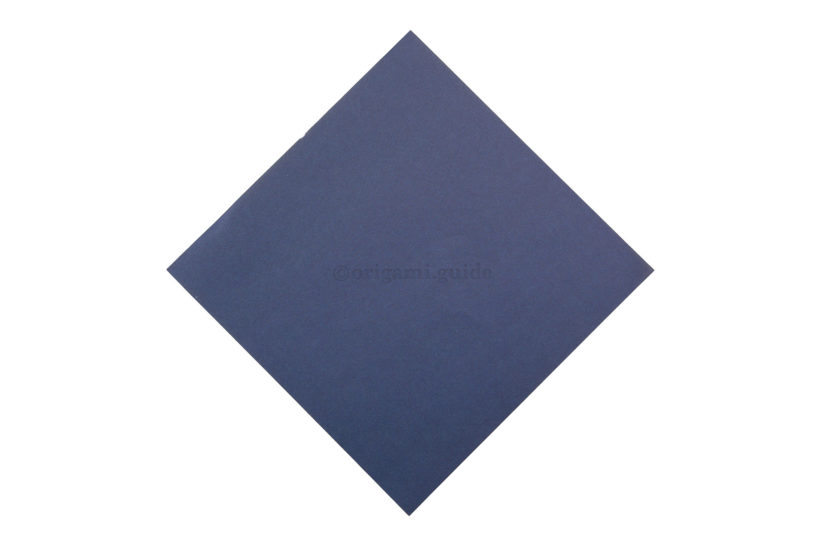
2. Flip the paper to the back, origami paper is usually white on this side.
-
3

3. Create a central vertical crease by folding the right point over to the left point.
-
4
4. Unfold the previous step.
-
5
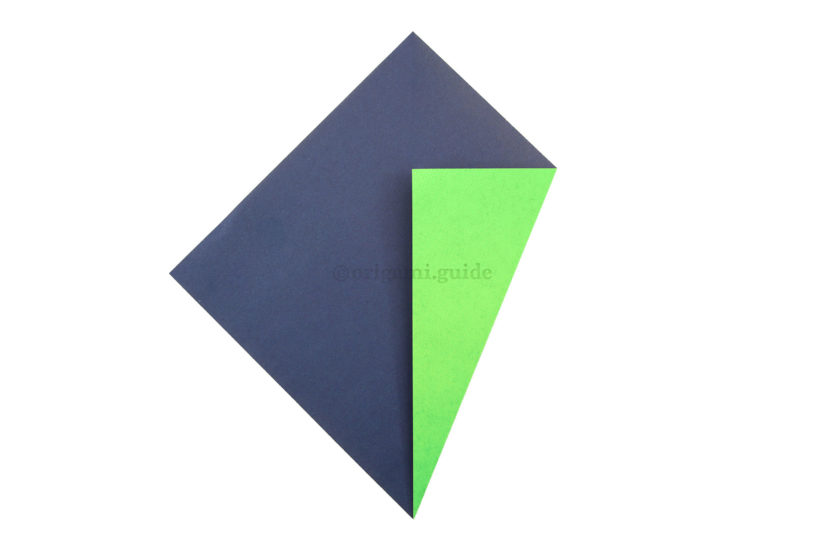
5. Take the bottom right diagonal edge and fold it to align with the central vertical crease.
-
6
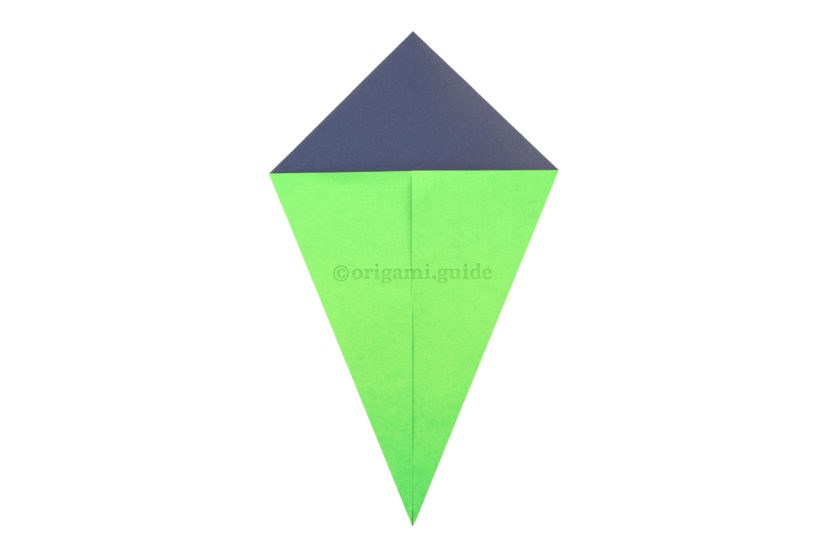
6. Repeat the last step on the left side.
-
7
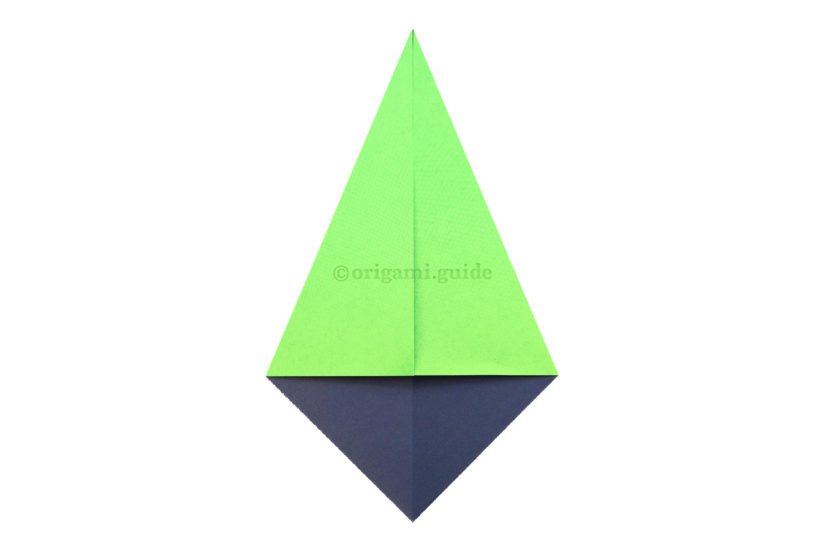
7. Rotate the paper so that the wide end is at the bottom.
-
8
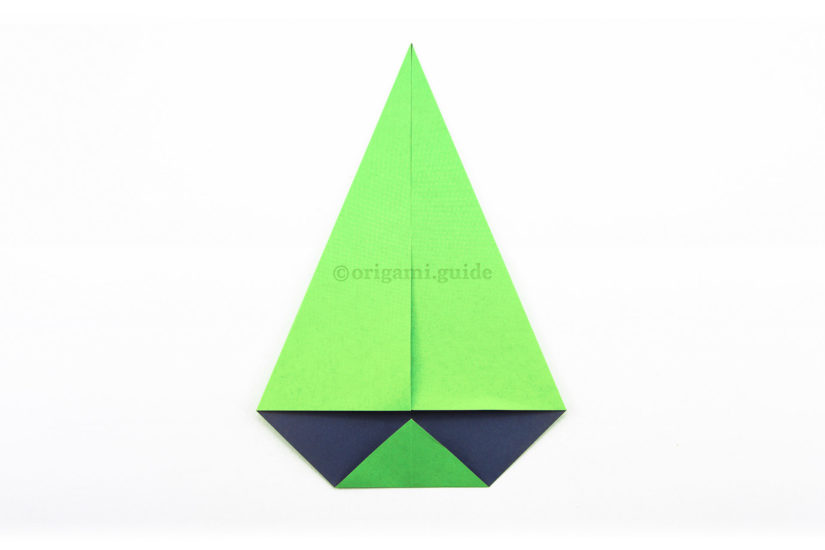
8. Fold the bottom point up to meet the bottom of the two left and right front flaps.
-
9
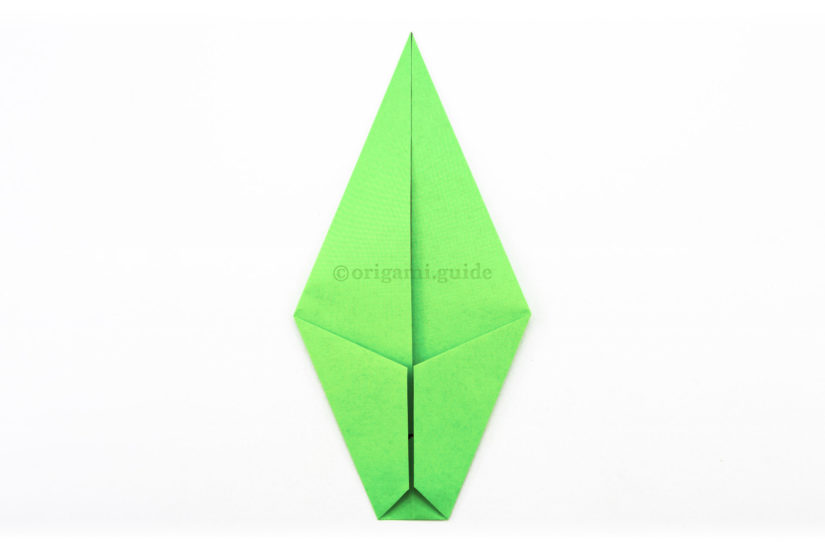
9. Fold the lower left and right diagonal edges to align with the central vertical crease.
What Misc Origami To Fold Next?
- « How To Make An Origami Shield With Cross

- How To Fold An Origami Drinking Cup »
 View all Misc Origami Tutorials

Leave A Comment
Did you fold this Easy Origami Arrow? Let us know what you thought.
You can also upload a photo of your result!