Made this origami? Leave a comment & submit your photo here.
-
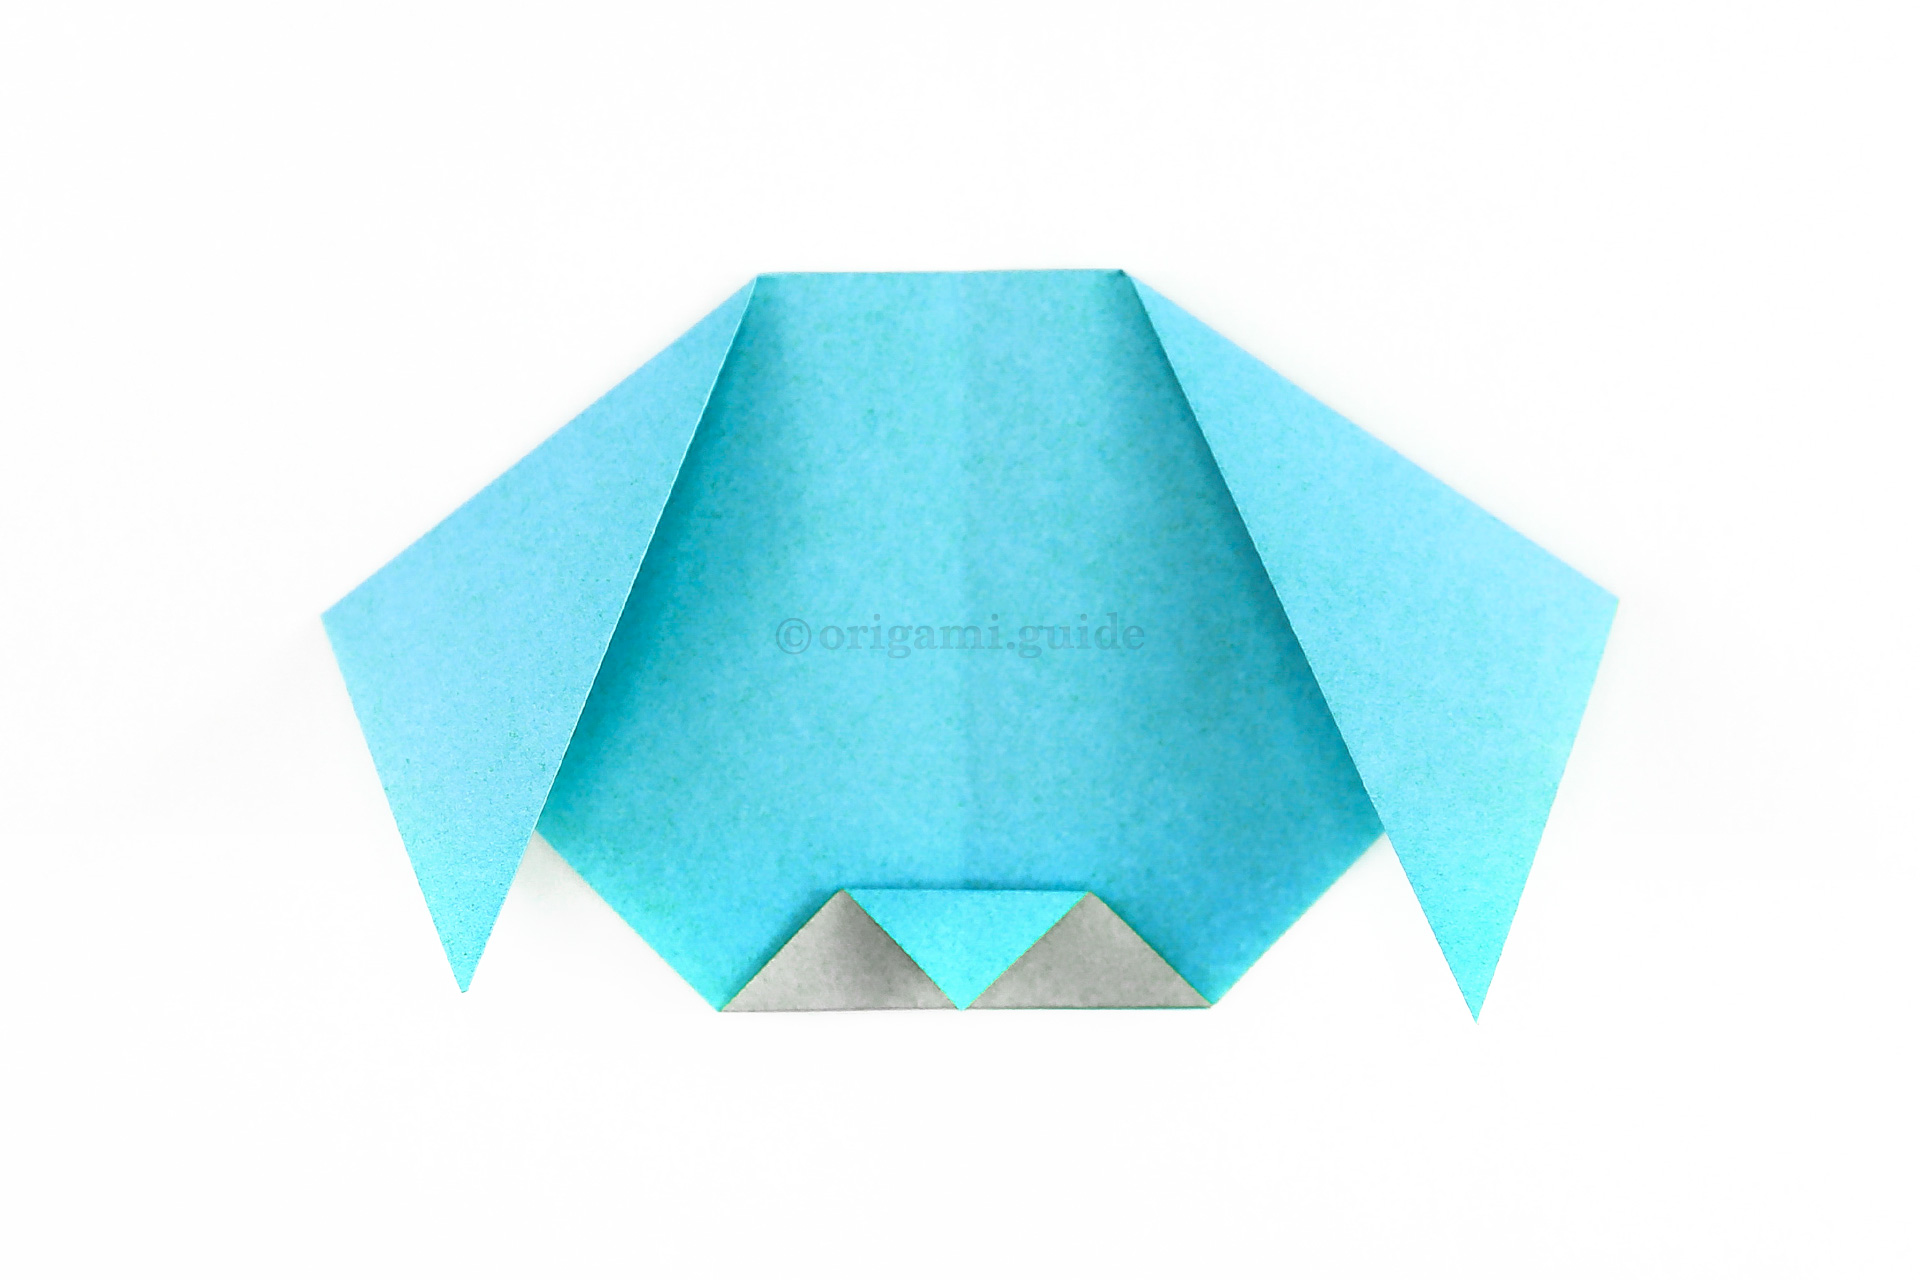
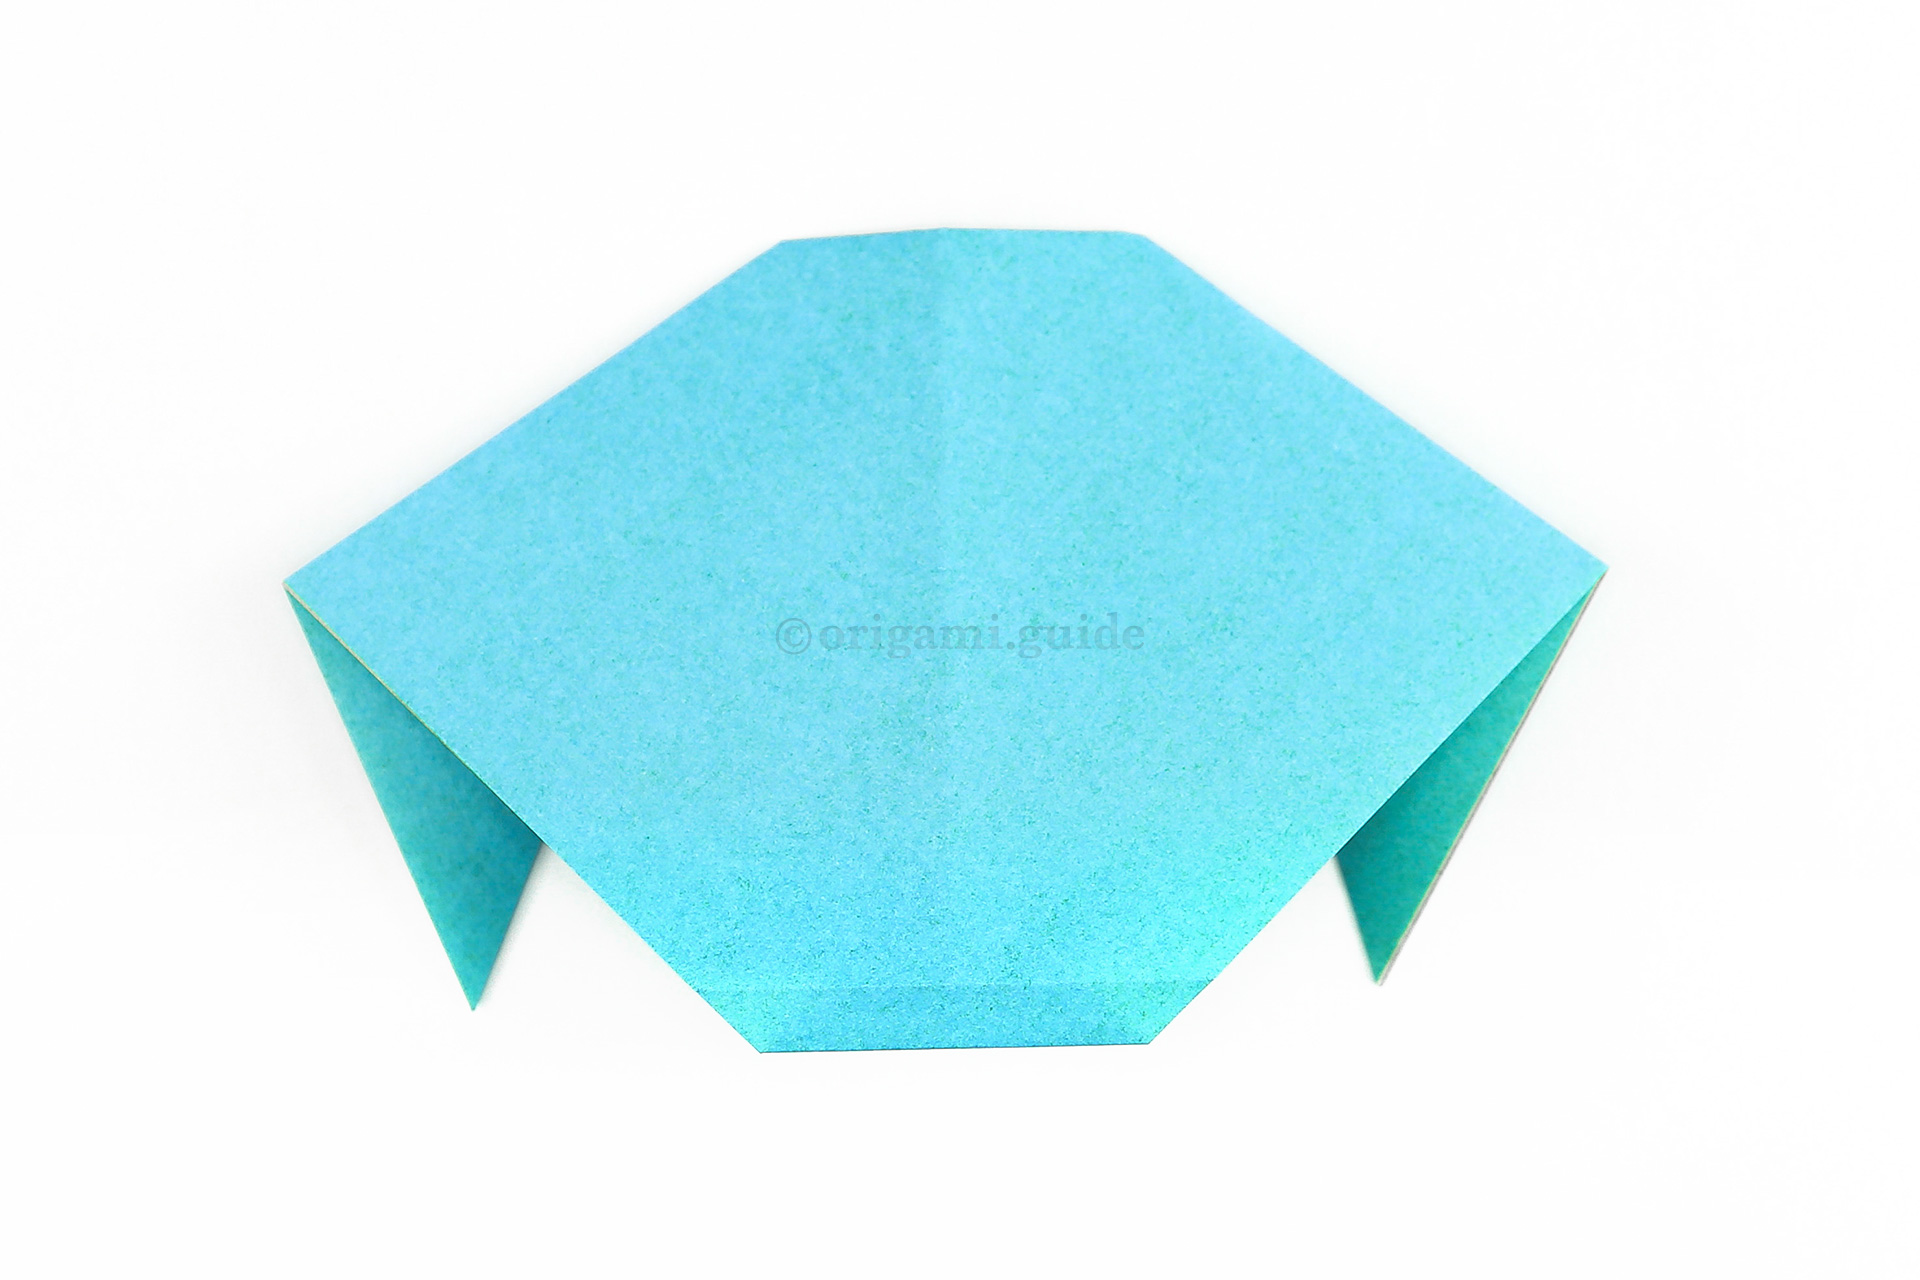
9

Step 9: Tuck the front flap underneath, in-between the two layers.
-
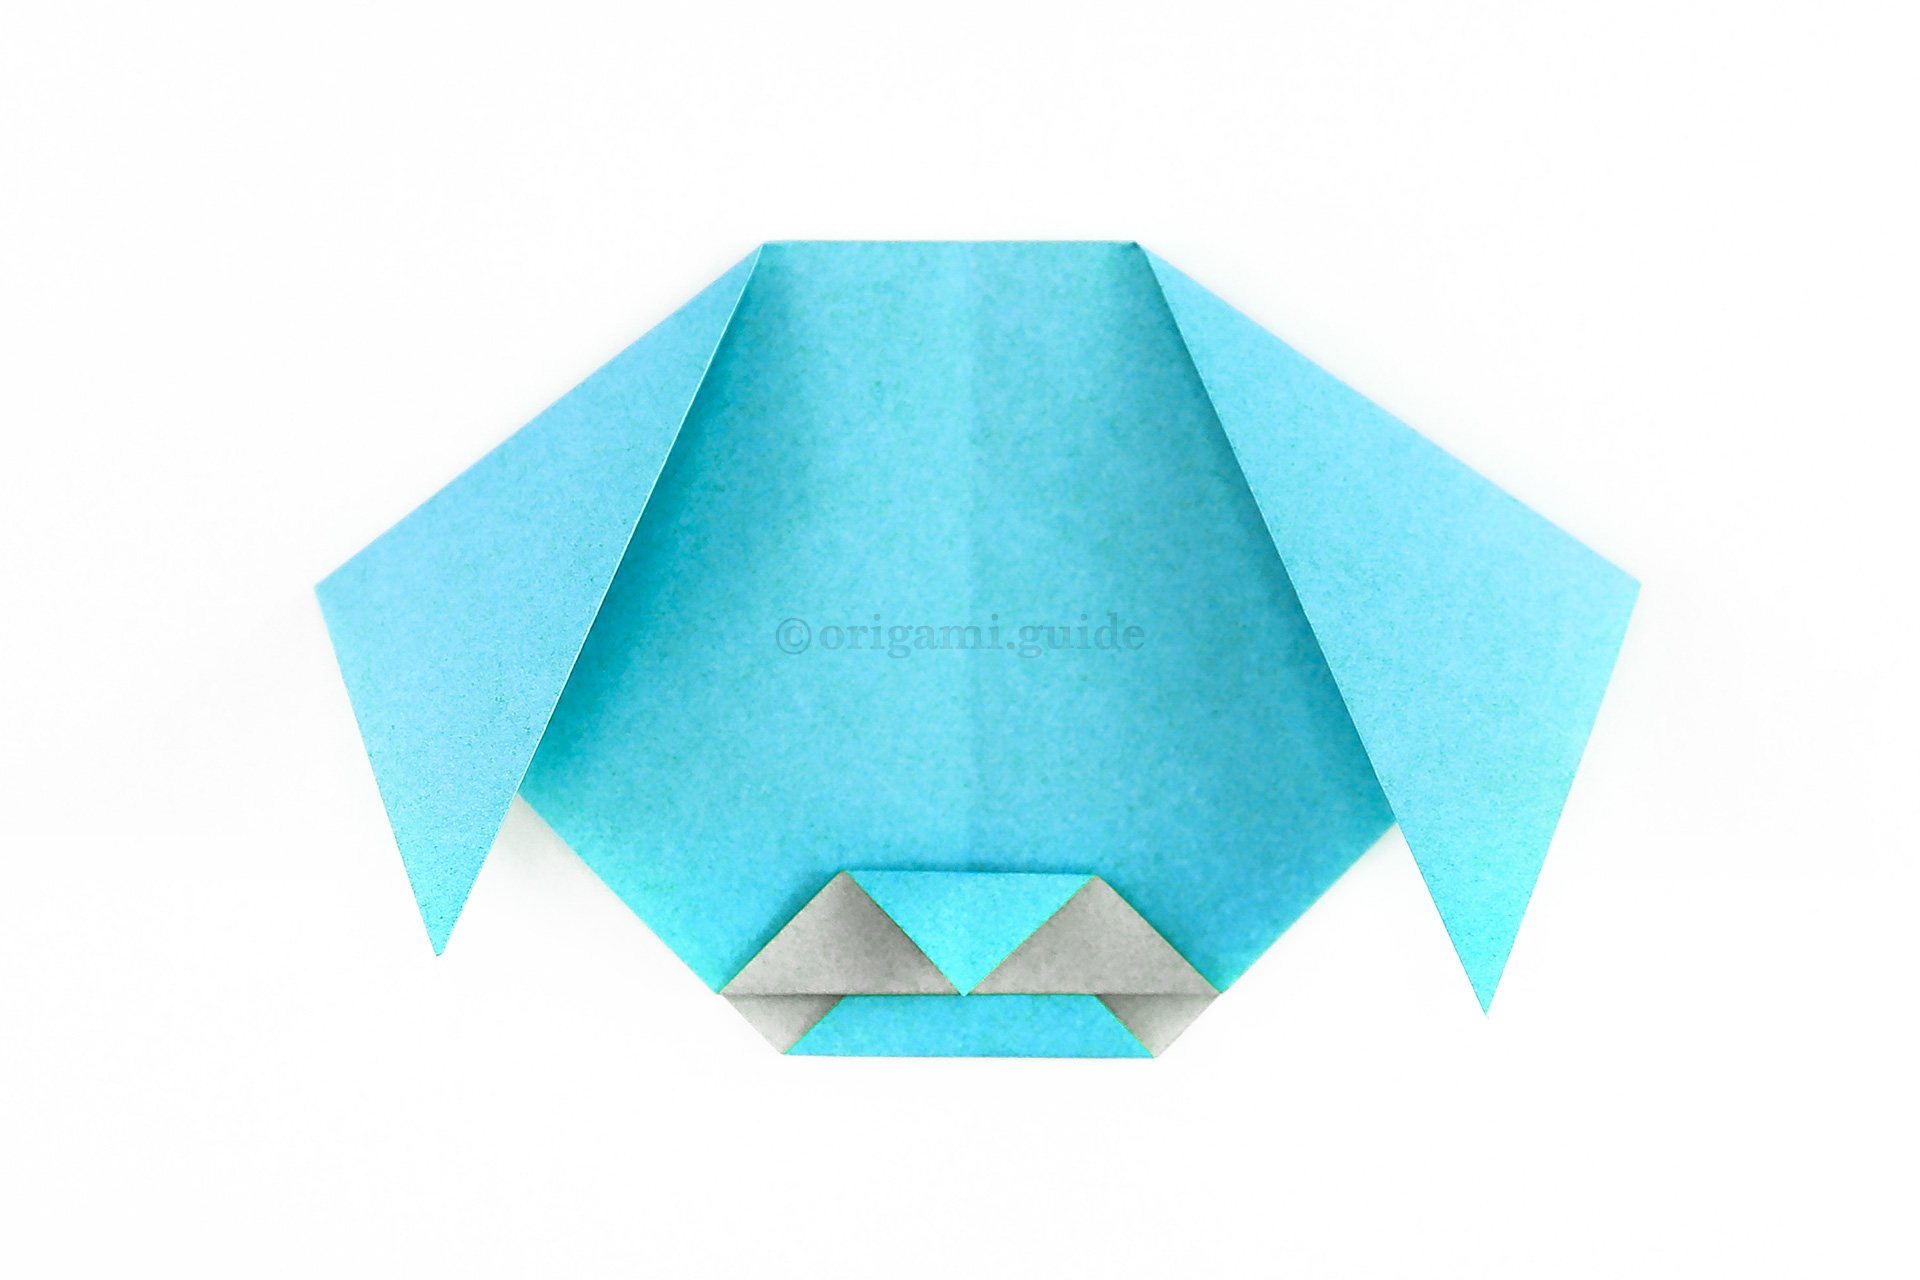
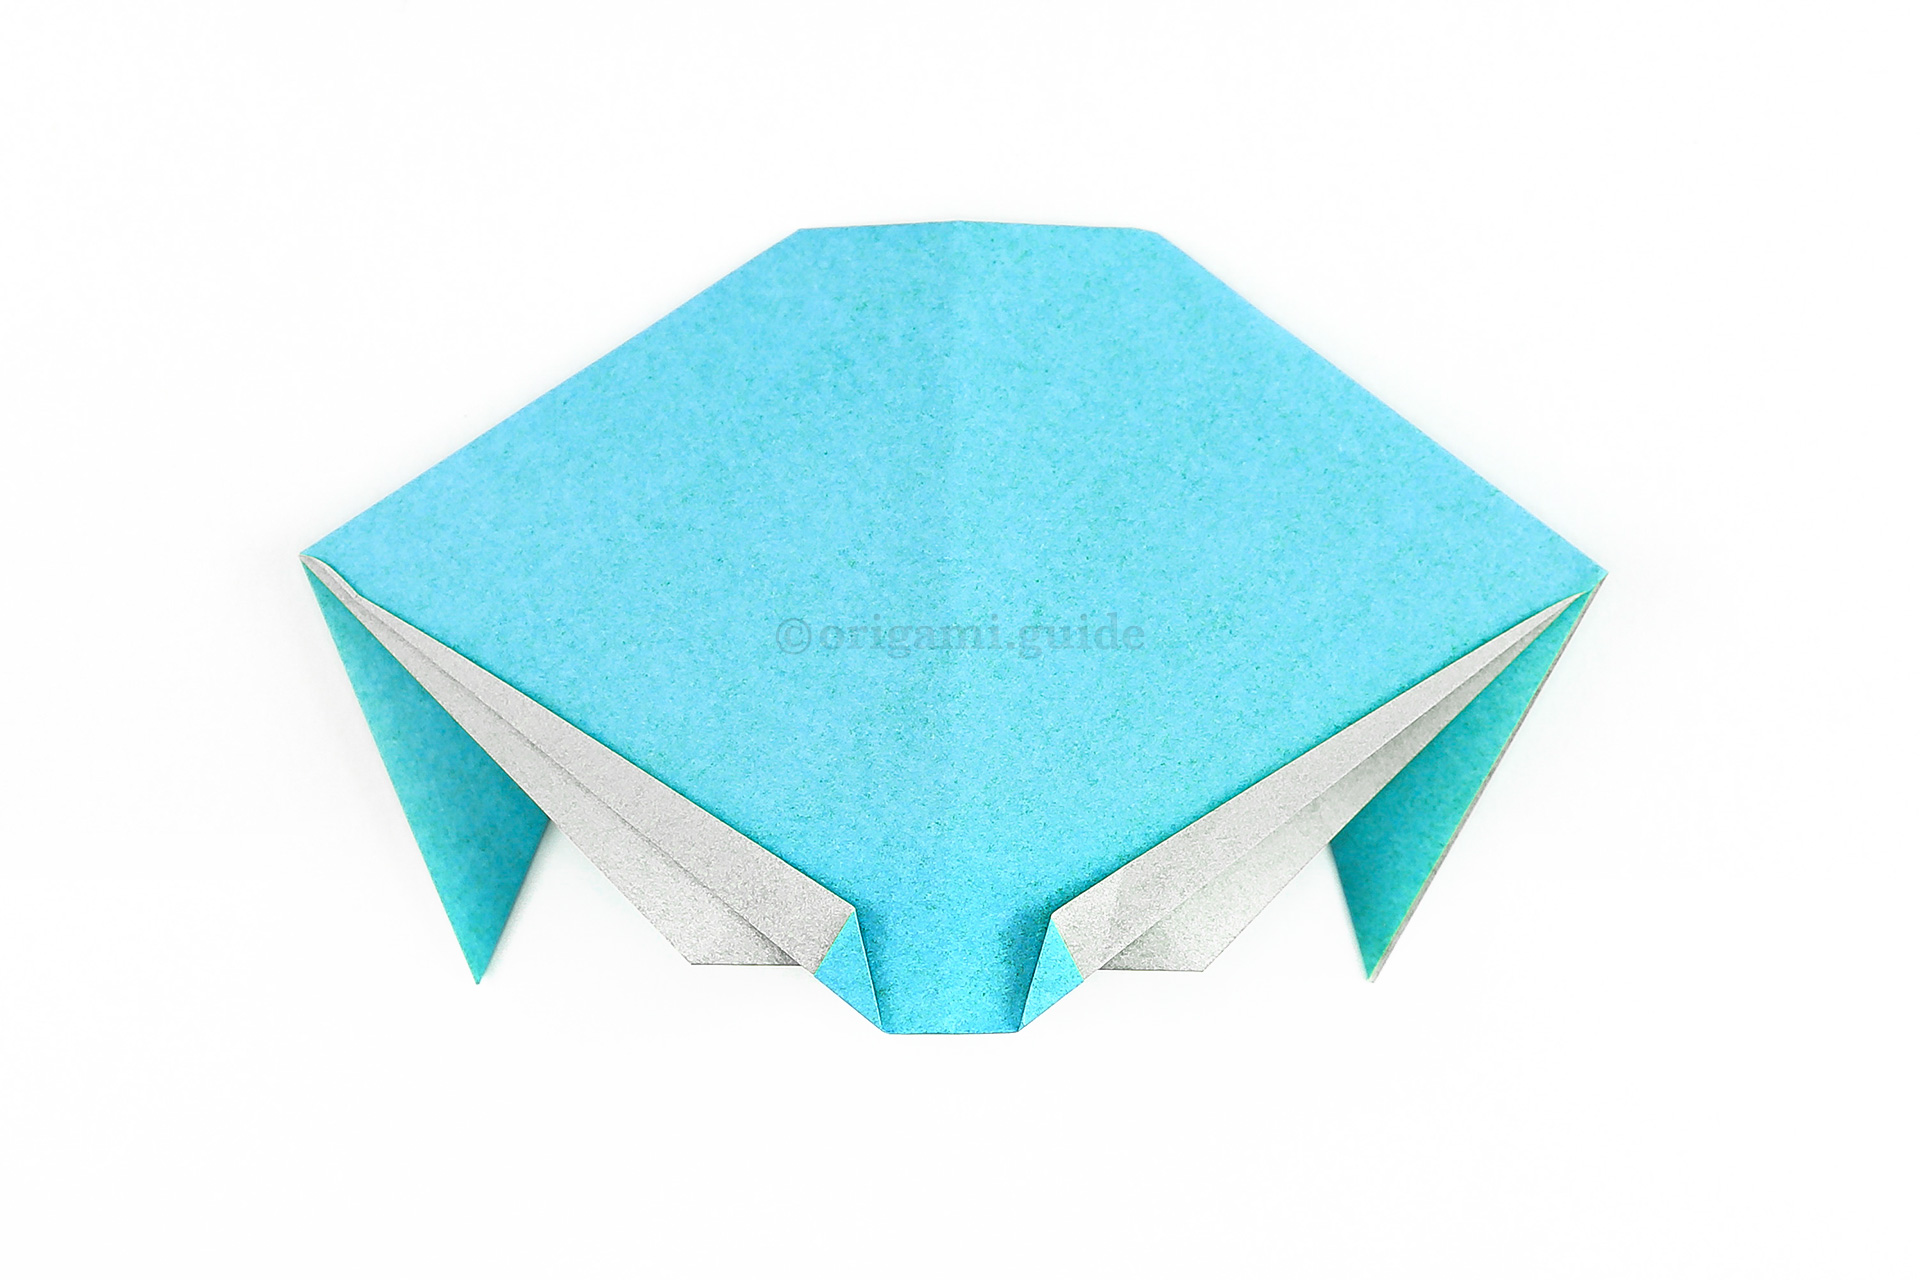
10

Step 10: Fold the top point of the flap down to the bottom to finish the nose.
-
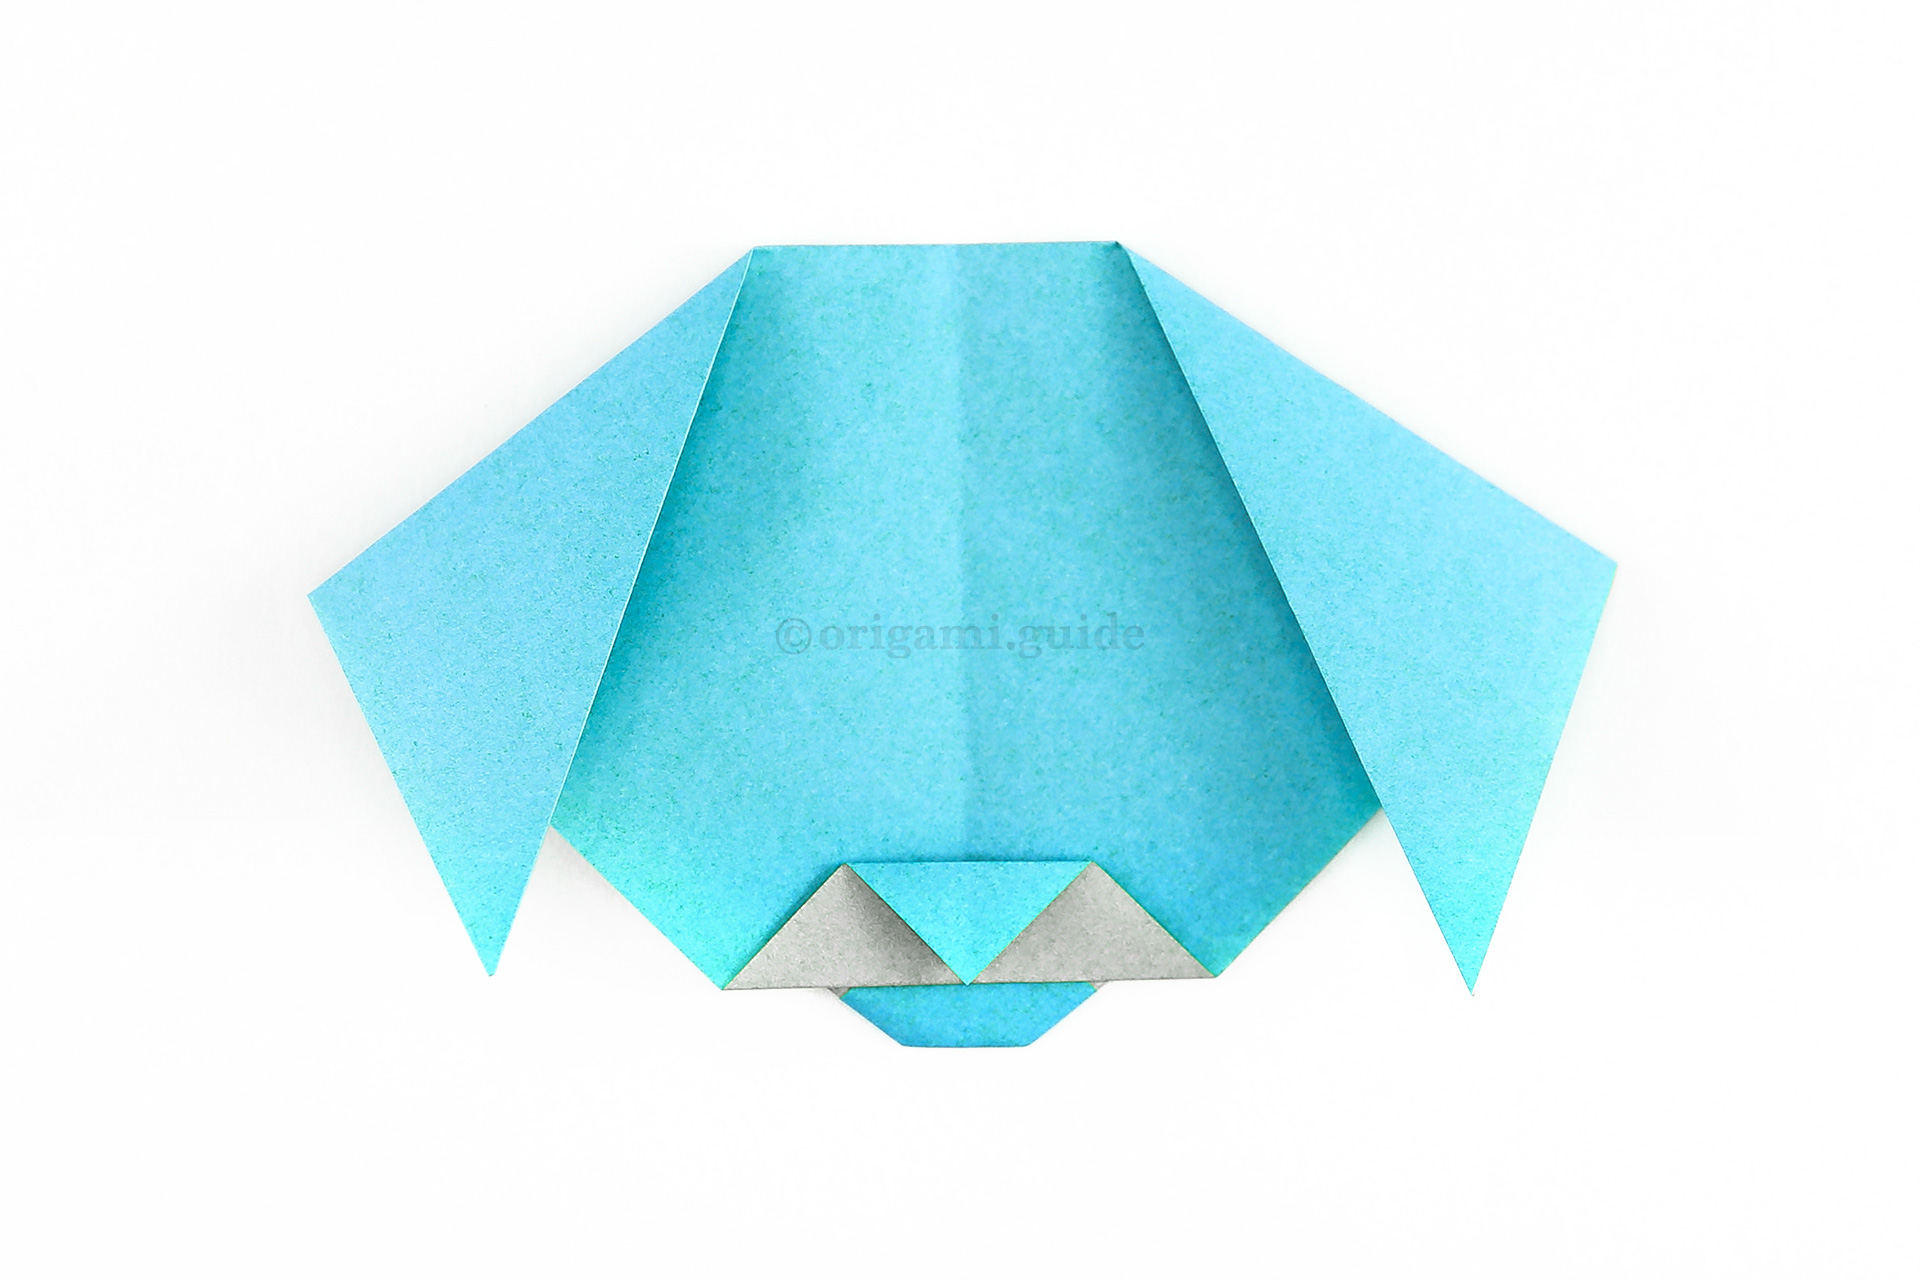
11
Step 11: To create a chin, unfold the flap that you tucked inside and re-fold it a little lower.
-
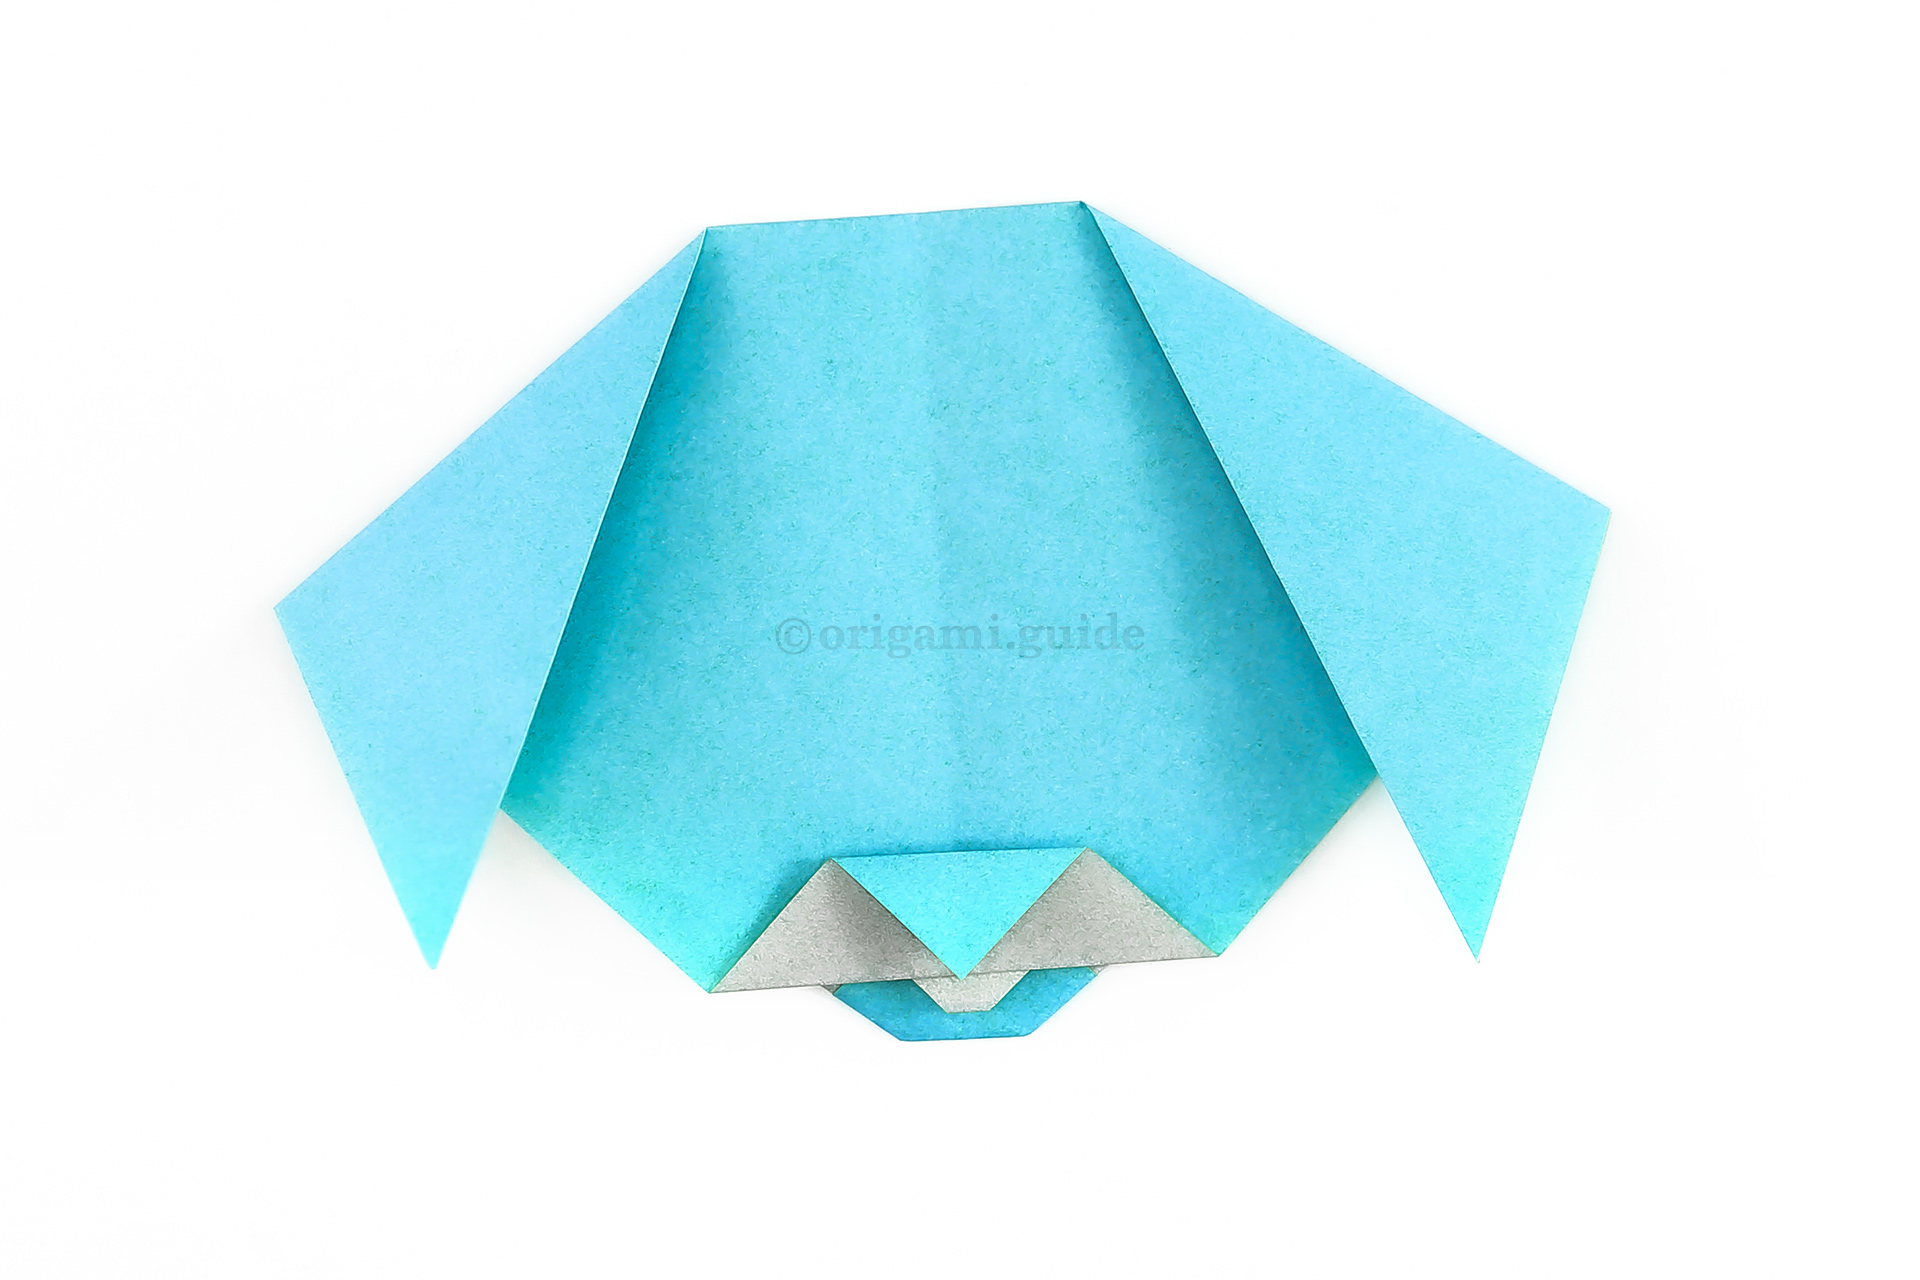
12
Step 12: Flip the model over to the other side.
-
13
Step 13: Make these two folds on the lower left and right diagonal edges.
-
14
Step 14: Flip the model back over to the front.
-
15
Step 15: You can make a little tongue by folding the top point of the chin down a little and then folding the point under to round it.
-
16
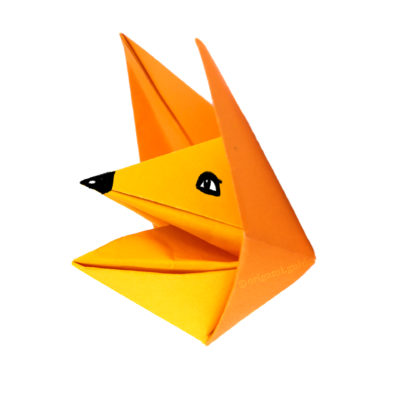
Step 16: Finally, you can draw a face on your origami dog, even use some pens to colour the nose and tongue.
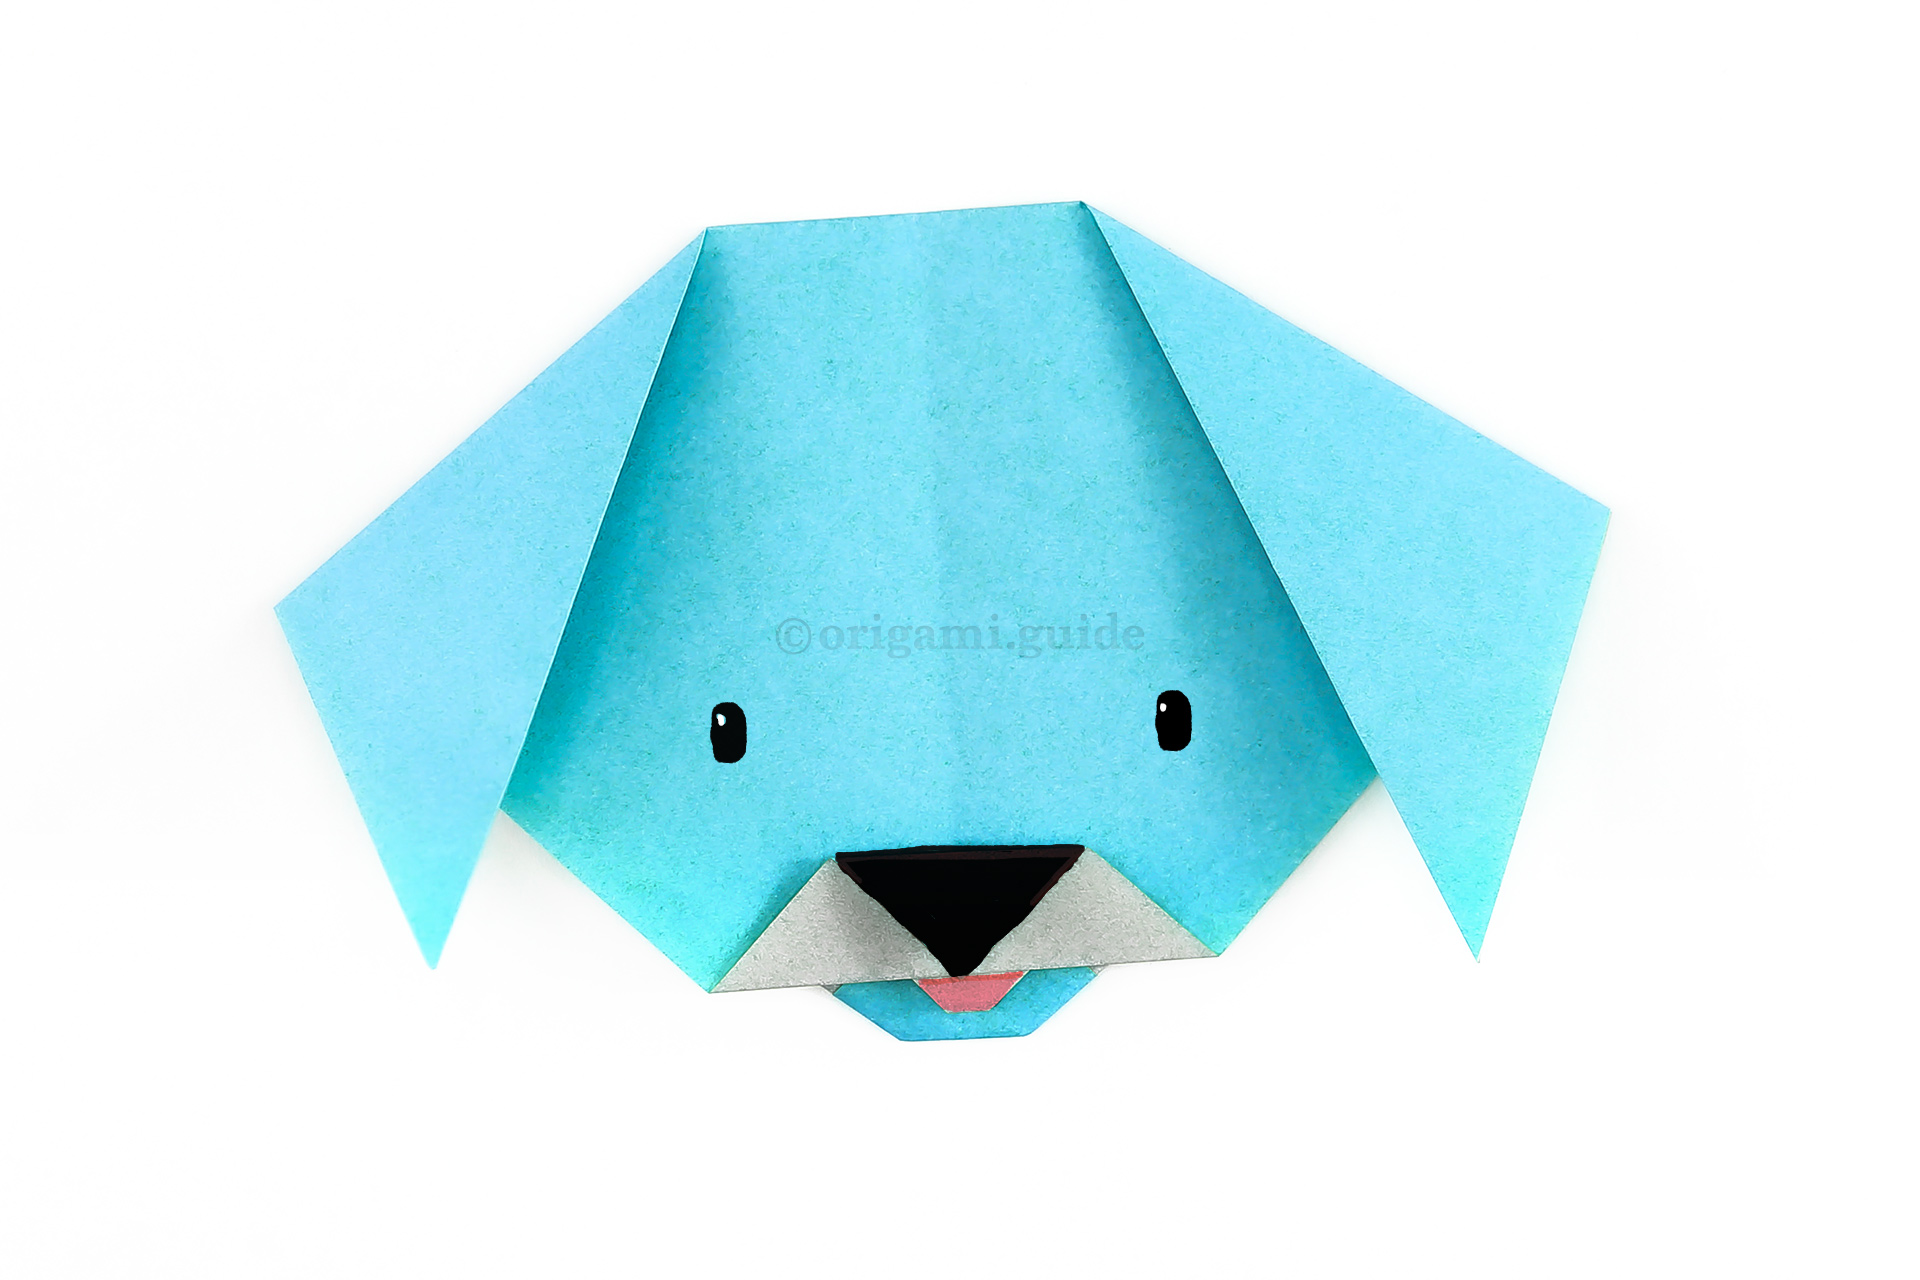
Your Easy Origami Dog Face is Complete!
You’ve completed the Easy Origami Dog Face, why not check out our other Origami Dogs, here.
Did you make this origami? How did it go? Leave a comment & submit your photo here.
Related origami: Easy Origami
Traditional Origami
Origami Dogs
What Origami Dogs To Fold Next?
- « How To Fold An Easy Origami Dog Face
- How To Fold An Easy Origami Dog Face »View all Origami Dogs Tutorials

Leave A Comment
Did you fold this Easy Origami Dog Face? Let us know what you thought.
You can also upload a photo of your result!